Yagi 3d printing
▷ yagi antenna 3d models 【 STLFinder 】
Yagi Antenna
thingiverse
To built this antenna I used following materials: 8mm aluminum pipe for directors and reflector 10mm aluminum pipe for folded dipole 18x18x1 and 20x20x1 profiles for boom (I put one inside second) M3 screws To calculate dimensions I used program form...
yagi antenna
thingiverse
made a boom isolated yagi using one of the many online calculators. ...This one is designed to use with the smaller diameter brazing rods, 2.3-2.5mm in thickness
2m Yagi Antenna
thingiverse
2m Yagi antenna for HAM radio. ...
Details to follow
Fiberglass Ultralight YAGI Antenna
thingiverse
DF6MH design adopted for 3D printing. ...More info: https://reflector.sota.org.uk/t/fiberglass-vhf-yagi-antenna/20650
Handle for Yagi Antenna
thingiverse
For more comfortable field work, targeted scanning for radio/wifi signals, and for the lulz, I designed a pistol grip handle for my Yagi antenna
Yagi antenna connector
thingiverse
A connector to connect a 8 mm aluminum pipe to a 15x15 square tube to build a Yagi antenna.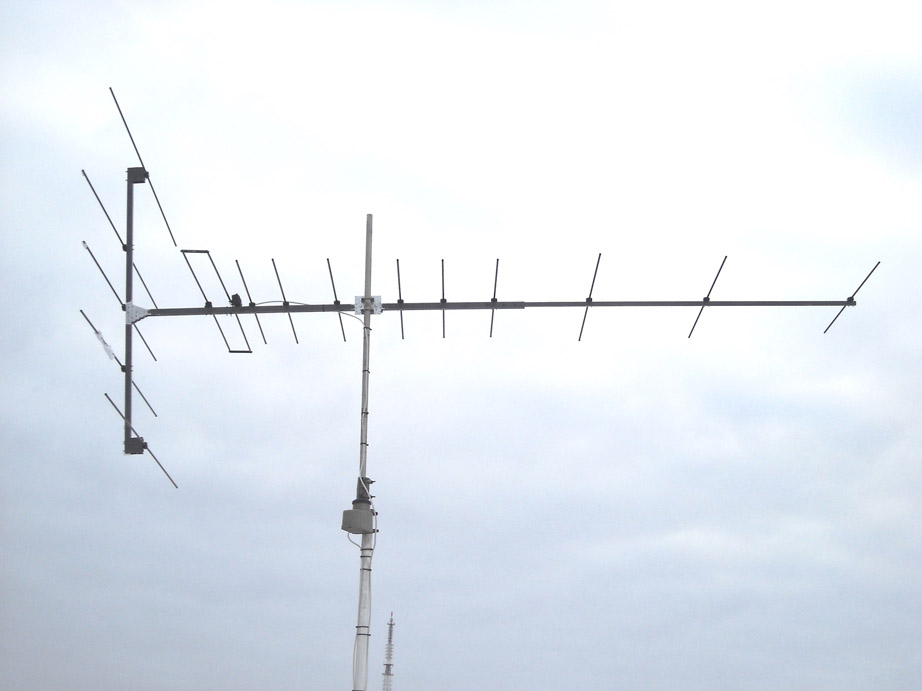 ...
I used PETG to print 4 of these.
...
I used PETG to print 4 of these.
YAGI antenna mount
thingiverse
This is a mounting bracket for a 1,2-1,3GHZ YAGI antenna. Made specifically for the RMRC (Ready made rc) antenna tracker. Works great in PLA. ... I used a layer height of 0.15 and an infill of 30%
Yagi antenna bracket
thingiverse
Bracket for YAGI antenna mounting it's elements to main beam. Beam width: +/- 26mm Element diameter: 10mm Screw hole diameter: 3.8mm Printed in PETG, tested both on 0.4 as well as 0.8 nozzle on 0.28 or 0.3 layer height, mind that PETG...
Yagi antenna elements holders
thingiverse
Two holders for elements of the Yagi antenna. Developed for 16 mm boom and 3.5 mm elements.
Elements can be placed using the hole in the holder (round wire) or mounted on the top (flat wire).
... The driven element is designed in a way allowing the...
Developed for 16 mm boom and 3.5 mm elements.
Elements can be placed using the hole in the holder (round wire) or mounted on the top (flat wire).
... The driven element is designed in a way allowing the...
Portable YAGI antenna components
thingiverse
... terminal. Radiator is 4mm brass welding rod. You can build any antenna from http://www.qsl.net/dk7zb/PVC-Yagis/PVC-details.htm You can buy 3D printed components here: http://hamshop.cz/antennas-c9/portable-yagi-antenna-components-kit-i301/
Hiking Pole Yagi Antenna
thingiverse
Using Arrow antenna elements (or other elements provided by the operator), a simple lightweight Yagi antenna can be created for back country VHF antenna use. Considering the operator will already have the hiking pole with them, the only additional...
Customizable Yagi Antenna Holder
thingiverse
A simple DIY Yagi Antenna design is available here: http://dk7zb.darc.de/Duoband/duoband_2-70_2-3.htm. The .stl files are available for a few dimensions. OpenSCAD source file is also available if you require any other dimension. Also needed any...
Yagi Antenna Mount Brackets
thingiverse
I made two of these heavy duty yagi mount brackets for my custom made yagi antenna (19 element 17.1dBi Yagi - 28 deg beam width) which was fitted over a 2" PVC pipe. I needed to make a couple brackets to improve on my long range FPV record.
...
I needed to make a couple brackets to improve on my long range FPV record.
...
Yagi antenna element holder
thingiverse
An element holder for Yagi-style antennas. ...You can position antenna elements with 6mm diameter over a 10mm boom and it needs a single M3 bolt and two nuts for each element only. ... I build small VHF / UHF antennas for portable use.
Retractable yagi antenna parts
thingiverse
Yagi antenna support parts. These parts were designed to be used with measuring tape as the radiating elements. Both the reflector and directors use the same part while the Driven Element has a special part for itself. The size of the elements...
yagi antenna handle
thingiverse
Handle for tape measure yagi antenna used in amateur radio fox hunts. You have 2 printing options. Option 1: You can print just the handle and an HT holder Option 2: If you have the kc9on offset attenuator, you can print the handle and a...
Yagi Antenna Fixtures
thingiverse
To build a yagi antenna, you need a dipole as the driven element, a reflector and one or more directors. I've created a holder for both the dipole driven element and the reflector/director that fit on a 3/4" non-conductive tube (21.5mm).
The. ..
..
Yagi Antenna Actobotics Pattern Mount
thingiverse
Mount a Yagi antenna onto a Servocity Actobotics 1.5 and .770 pattern (https://www.servocity.com/hole-pattern-information).
YAGI Antenna 70cm or 2m
thingiverse
A set of 3D printing parts to build a YAGI antenna for 70cm or 2m. Boom: 20x20 mm, Antenna elements: fi 8 mm. ... 73 SP9MX
Pistol Grip for Yagi Antenna
thingiverse
I was looking for a simple grip for my Yagi antenna and couldn't find one. I found the design by Bhyde101 and decided to modify it to fit my antenna by adding the top mounting plate and setting the dimensions. ...Hope some one gets some use out of it...
Portable 2.4Ghz Yagi Antenna
thingiverse
A 2.4Ghz Wifi Yagi Antenna that can be folded to be easily stored. ... Soon I'll be uploading the guide, until there, follow this guide: https://www.ab9il.net/wlan-projects/wifi6.html It's using the same measurements as the 15 element version, the...
WiFi YAGI Antenna 2.4GHz
thingiverse
I made a Yagi antenna to attach to the antenna of the router. As a result, the strength of WiFi waves has almost tripled.
Note: This adapter turns omnidirectional antenna into directional antenna. ...
The sensitivity increases in the directivity...
As a result, the strength of WiFi waves has almost tripled.
Note: This adapter turns omnidirectional antenna into directional antenna. ...
The sensitivity increases in the directivity...
Stand for Biquad Yagi Antenna
thingiverse
This Item is a remix to the Biquad yagi antenna. You can attach the upper part to the elements with superglue or with your soldering iron. From an old rod lighter i used the rod to connect the bottom part and the part attached to the yagi. ... I...
Yagi antenna parametric element clamp
thingiverse
This is a parametric clamp for the elements of a Yagi antenna. You can define the diameter of the antenna element, the diameter of the screw used to attach the element to the boom, and the boom width. ...
Yagi Antenna element mounting tab
thingiverse
For building your own Yagi Antenna. I've included both partial and fully enclosed mounts. On the partials, for "Connected" use 1 metal screw through the center. For "Insulated" use 4 screws, on the sides. Full mount already has places for set screws,...
403MHz 2 element Yagi antenna
thingiverse
Used this tool to calculate the yagi: https://www. changpuak.ch/electronics/yagi_uda_antenna_DL6WU.php And obtained these details: https://www.changpuak.ch/electronics/yagi_uda_antenna.php Javascript Version 12.01.2014, based on Rothammel / DL6WU...
Biquad Yagi Antenna Customizer - OpenSCAD
thingiverse
For a ready-to-print 2.4 GHz antenna with boom tubes, check out the 2.4 GHz Biquad Yagi Antenna. I don't design antennas professionally, nor do I have any formal education in antenna theory and design. ... This file takes as many variables in to...
Yagi antenna kit
thingiverse
Design goal: create custom part for assembling Yagi antenne.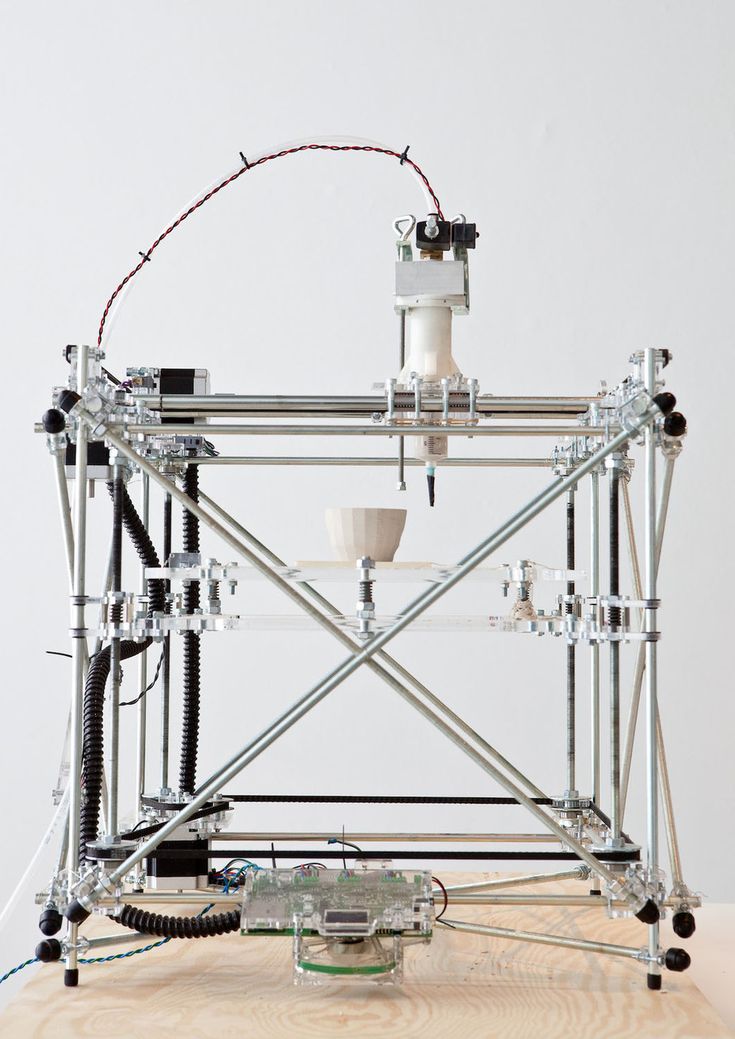 You can print light yagi components. The boom is 25 mm Al pipe but you can use pipes from various materials (this affects only the weight of the structure).
Elements are 8 mm Al tube.
You can print light yagi components. The boom is 25 mm Al pipe but you can use pipes from various materials (this affects only the weight of the structure).
Elements are 8 mm Al tube.
Tape Measure Yagi Antenna
thingiverse
This is a re-design of the classic Yagi Fox Hunting tape measure antenna. I used a fiberglass kite spar for the center. Print 3 of the Cylinder part and 6 of the Tapered rings. The spar I use is 8.65mm. Lookup Tape measure Yagi for dimensions...
K1PDX Yagi Antenna Kit
thingiverse
Element length and space determined using VK5DJ Yagi Calculator: https://www. vk5dj.com/yagi.html I was able to print all parts with no supports or rafts (with the exception of the PLA set screw which needs to be printed horizontally with supports...
3D Print - 3 element 2m (145 MHz) Ultra Portable yagi
Posted date: in: AntennaNo Comments
3D Print – 3 element 2m (145 MHz) Ultra Portable yagi
Description
Tape measurement yagi. Weight only 170 g. The longest part is 530 mm, easy fit to your backpack. Very easy and fast deploy. Great for SOTA and portable operation. Can be used in horizontal or vertical polarization.
Not good for windy weather.
Instructions
Easy to print, maybe you need adjust boom diameter.
Part needed:
- PVC pipe 25 mm diameter 530 mm
- Measuerement tape width 12 mm lenght 3m
- M3 screws 10 mm lenght
- M3 Nuts
- Coax cable with connector
- Magnets – 8 mm diameter
Dimensions (based on DK7ZB design):
Read Full Article:
ARCO Cross Controlled Rotators
April 07, 2022
Demonstration of ARCO feature to control another rotator physically connected to different ARCO controller. ARCO is a completely self-contained stand... Read more
Most Expensive Handhelds TESTED!
November 03, 2022
We’re back at the park to test the most expensive ham radio handheld radios available today. Which radio will have the strongest transmit signal... Read more
Amazing Christmas 70cm contacts
December 26, 2018
“On the 22 of December, two amazing contacts took place on 70cm EME (moon bounce). MX0CNS using a single 17 element DG7YBN GTV Yagi with just 60... Read more
Japan and 160m band
April 21, 2020
In JA, the following frequency ranges were permitted by the Ministry of Internal Affairs and Communications today (21 Apr. 2020) . 1800kHz – 1810kHz (... Read more
A Super J-Pole Antenna for the 4m (70Mhz)
September 17, 2015
A Super J-Pole Antenna for the 70Mhz (4m) Amateur band. The Vortex ‘Super J-Pole’ Antenna consists of a five eighth wave vertical radiator, a half wav... Read more
9M4SI Pulau Indah AS-074 (Indah Island)
February 05, 2015
2015 Activation Detail Iota on The Air (IOTA) : #AS-074 Date : 07/02/2015 (6 UTC) – 09/02/2015 (3 UTC) Freq band : 40m to 10m Mode : CW, SSB, PS... Read more
Revised IARU Region 3 Band Plan Released
March 18, 2019
Dear Colleagues, The IARU Region 3 Band Plans have been reviewed at the triennial IARU Region 3 Conferences. A version using a new format was adopte... Read more
Build Your Own Satellite Ground Station
October 01, 2015
Build Your Own Satellite The quickly dropping cost of access means that the number of small amateur satellites in Low Earth Orbit is increasing rapidl... Read more
There are no ads, please add some
Warning: file_get_contents(https://plusone.google.com/_/+1/fastbutton?url=https%3A%2F%2Fqrznow.com%2F3d-print-3-element-2m-145-mhz-ultra-portable-yagi%2F): failed to open stream: HTTP request failed! HTTP/1.0 404 Not Found
in /home/qrznow/public_html/wp-content/themes/goodnews5/framework/functions/posts_share.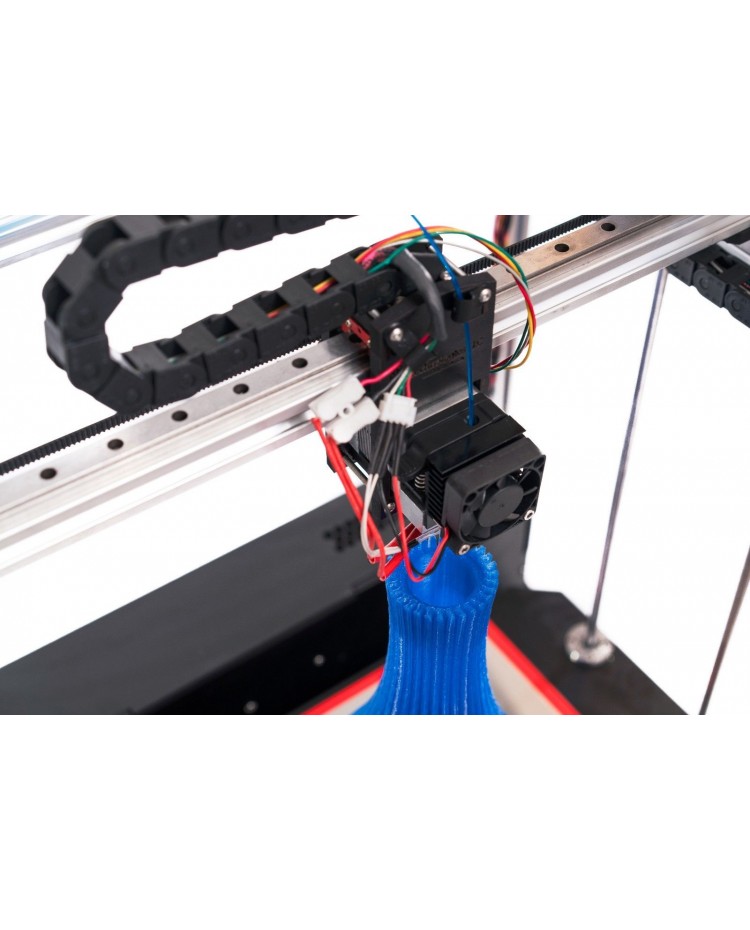 php on line 151
3D Printer to Print Nose for Little Brit
3D Printer to Print Nose for Little Brit - BBC News Russian ServiceBBC News, Russian Service
3D Printer to Print Nose for Little Brit
Modern medicine knows no more than 50 cases of congenital aplasia of the nose, registered in different countries.
Researchers at Queen's University Belfast see the solution to the problem in 3D prostheses. They should begin to be printed from living tissue in 5-6 years.
Tessa Evans, 2, who suffers from nasal aplasia, is looking forward to this moment.
Report by Chris Buckler
See also
-
Video, Google Cardboard turns a smartphone into 3D oks
-
video, British "printed" a skull on a 3D printer
9000 9000 -
video, created a detailed detailed video, created a detailed detailed video 3D human brain map
Most viewed video
-
0038
-
Video, Escaped from unit due to threats.
 How a mobilized St. Petersburg citizen tries to transfer to an alternative service, Duration 6.36
 -
Video, "All day I heard how others are being tortured." Tales of torture in Kherson during the occupation, Duration 4.34
-
Video, Protesters set fire to the house of Ruhollah Khomeini in Markazi province, Duration 1.58
-
Video, "Lying in your own grave." How mobilized Russians die in Ukraine, Duration 27.34
-
Video, Three days that shook European football. What happened to the Super League?, Duration 2.54
-
Video, Kherson from the moment of occupation to liberation.
 Chronology of events, Duration 9, 38
 -
Video, "All in Qatar!": The Russian team met with fans, duration 1.56
-
Video, Belarus will enter the war with Ukraine? Possible scenarios, Duration 6.26
-
Video, Air strikes on Ukraine. What is known? Duration 1.14
3D printing and Ubiquiti In step with the times.
Electronic equipment has always been at the pinnacle of technical thought. And this is especially true of digital communications, which have incorporated all the most modern technologies, both in the field of IT and in the field of wireless data transmission. Suffice it to say that WiFi access points use many technologies that were originally developed in closed design bureaus by order of the military of various countries.
UniFi Switch 8
UniFi Switch 8 is a powerful all-in-one switch that is well suited for both connecting small network segments and when you need to distribute traffic between WiFi access points.
16 GB/C
60 W
24200
Available
Unifi Switch 8-60W
The switch has 8 gigabit Ethernet ports, with the possibility of POE power distribution on ports from 5 to 8 to 8. The total power available for transmission to connected clients is 60 watts.
16 Gb/s
60 W
24201
Available
UniFi Switch 8-150W
and if necessary, the distribution of traffic between WiFi access points.
20 GB/C
150 W
24064
Available
Unifi Switch 16-150W
Unifi Switch 16 150 A wonderful solution for the network from UNIFI devices, as well as any other equipment, as well as any other equipment especially when PoE is needed. The high performance of the computing part with more than double the power reserve guarantees the stable operation of the switch in any modes.
36 GB/C
150 W
24089
Available
Unifi Switch 24-250W
Unifi Switch-Poe SFP ports US-25-250W, US-24-500W , US-48-500W, US-48-750W. Using the latest technology and supporting modern standards, UniFi Switch is a full-fledged Layer 3 switch.
26 Gb/s
250 W
23379
In stock
UniFi Switch 24-500W
Ubiquiti UniFi Switch 24-500W is a powerful layer 3 switch that is perfect for both networking in a large office and for providing a video surveillance system on the enterprise premises. A feature of the model is a reinforced 500 W power supply.
26 GB/C
500 W
23380
Available
Unifi Switch 48-500W
UBIQUITI SWITCH 24-500W-this is a productive switch 3 of the level, which is perfect for creating a network, which is perfect for creating a network in a large office, and to ensure the operation of the video surveillance system on the territory of the enterprise. A feature of the model is a reinforced 500 W power supply.
70 GB/C
500 W
23381
Available
Unifi Switch 48-750W
The new UBIQUITI SWITCH 48-750 switch will perfectly cope with the widest circle of large "enterprise", before interconnecting segments of smaller networks or ensuring the operation of video surveillance. A feature of the model is a reinforced power supply.
70 Gb/s
750 W
23382
In stock
UniFi Switch 24
The switch received 24 gigabit Ethernet ports, and 2 sfp ports that allow you to connect UniFi Switch 24 to fiber, which is a very useful feature in the professional segment where these switches are used.
26 Gb/s
25 W
24203
Available centrally configure all connected...
70 Gb/s
56 W
24202
In stock
UniFi Swith 16 XG
Powerful switch, ultra-high bandwidth fiber The switch is capable of processing traffic up to a total of 160 Gb / s, which allows it to be used to connect small and medium-sized network segments
160 Gb / s
36 W
24206
In stock
UniFi Switch 8 5-pack
a set of five Ubiquiti branded switches designed to distribute traffic between devices when there is no need to distribute PoE power.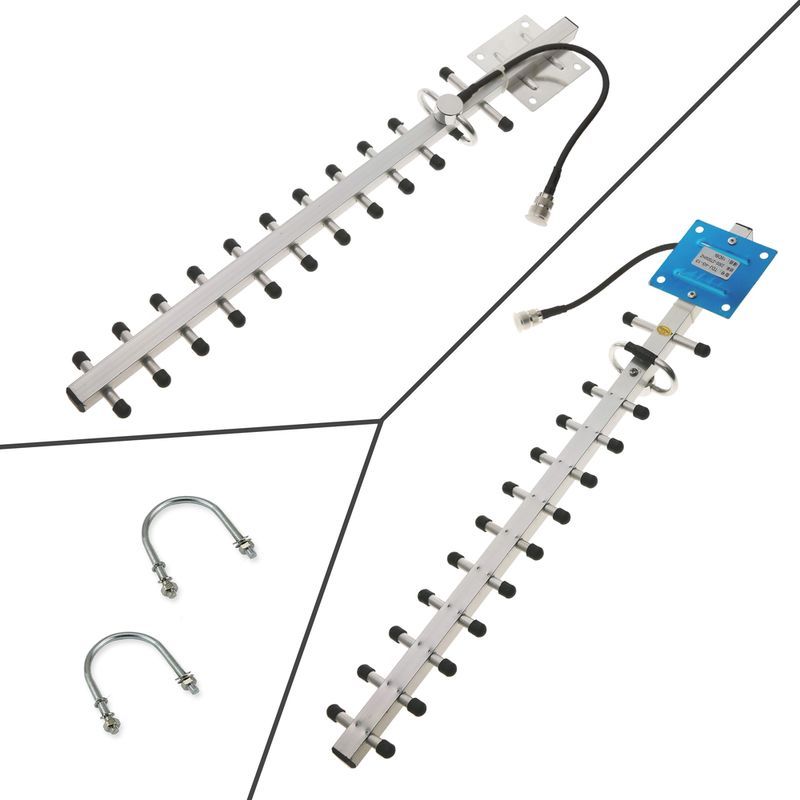 Thanks to the support of management through the interface of the software complex ...
16 GB/s
60 W
24296
In the presence of
Unifi Switch 8-60W 5-Pack
UNIFI Switch 8-60W 5 pack - a set of five high-performance switches, each of which is perfect for distributing and processing traffic between access points with the ability to provide PoE power to each of them.
16 Gb/s
60 W
24298
In stock
For example, the well-known today, and optionally supported in the latest revision of WiFi 802.11 AC, the BeamForming scheme, which is designed to improve the signal at the subscriber's location, was originally used in the radar stations of supersonic fighters to improve their performance. We have this scheme - when a lot of antennas, controlling the phase shift of the signal, achieve the effect of the so-called "constructive" or amplifying signal interference, it was called "phased antenna array". And by the way, the palm in development here belonged to our engineers. Of course, radars have orders of magnitude more complex algorithms for its use, but the principle is identical.
This small lyrical digression is intended to emphasize the complexity and manufacturability of digital wireless equipment. However, complexity does not mean at all that ordinary users and administrators are not able to improve and refine it, if not in the electronic part, then at least in design and usability. For example, it often happens that there is so painfully lacking any option for mounting a WiFi access point, or a bracket for installation in a non-standard place.
Wishing to make a creative contribution to the improvement of Ubiquiti equipment, the UBNT.SU team will enrich the mosaic of Ubiquiti accessories by printing them on a 3d printer. And it is about the implementation of this idea that we will tell in our review.
As you know, it's better to see once than hear a hundred times, and in confirmation of following this statement, your obedient servant and author of the UBNT.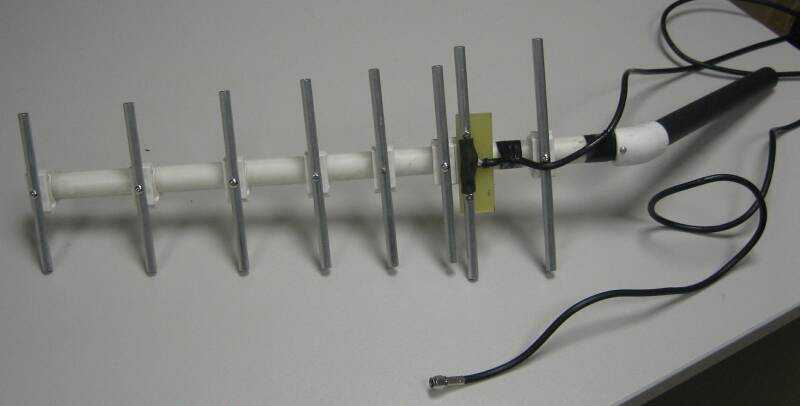 SU news column printed out a stand for desktop installation of the switch and prepared a small photo report about this fascinating process.
The stand allows you to pass the cables under the switch body, giving you quick access to the ports, which is very convenient. You can also install a cooler under the switch, in case of heavy load. However, this option is not so important, since the UniFi Swith 8-60 is not a "hot" model.
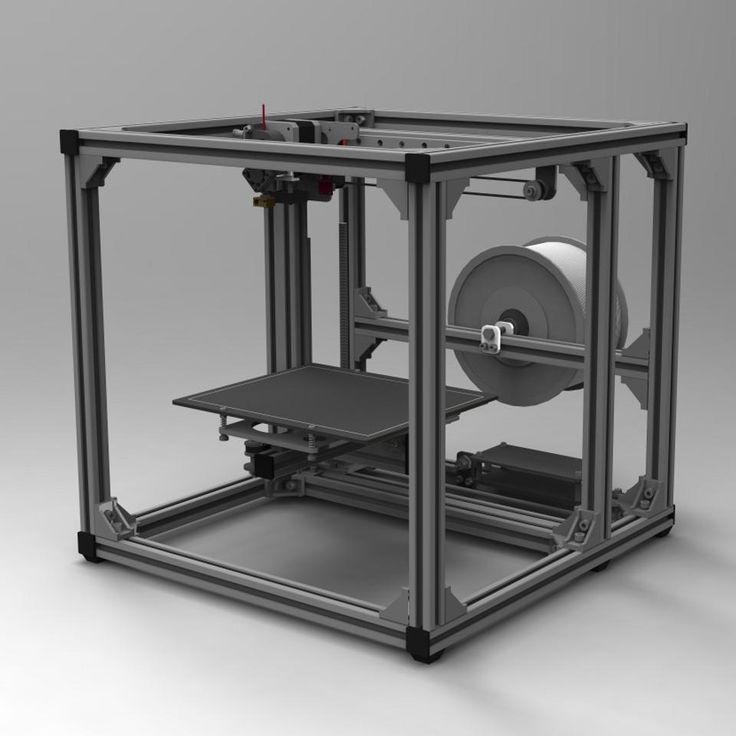
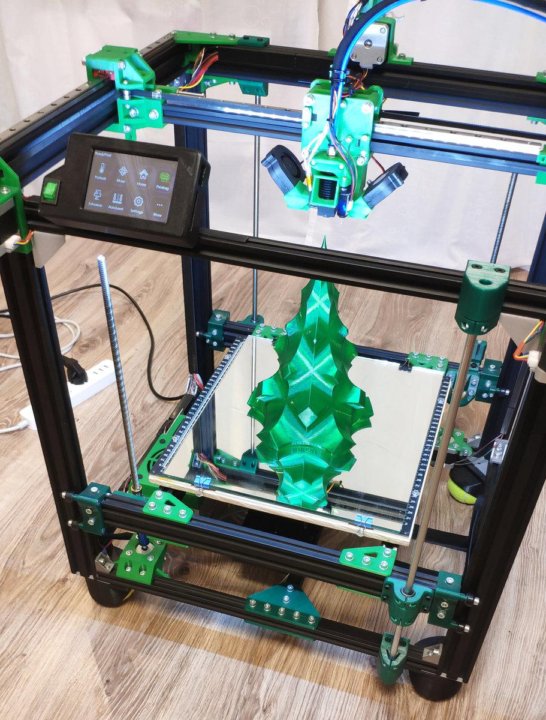
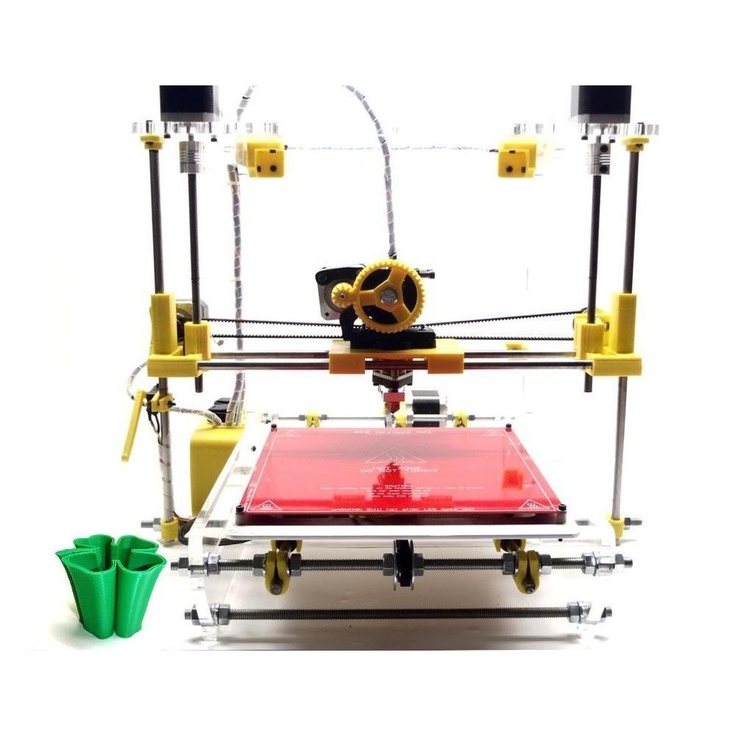
For printing, you can use 3D printers of various price categories. However, for household items, it makes no sense to use ultra-precise models that work on the SLA principle and print with a polymer cured in an ultraviolet laser beam, it does not make sense. The most popular FDM printers are quite suitable here, the principle of operation of which is based on the layer-by-layer fusing of plastic, supplied in coils, with a rod of 1.75 mm in diameter.
The UniFi Swith 8 stand was printed on the popular BlakWidow printer, made using a machine profile. Its main features are an enlarged print area - which is 25 * 37 * 40 cm, and fairly high accuracy due to good structural rigidity.
So, from the beginning it is required to prepare the printer's table - the platform on which the model is formed. Here it is necessary to ensure the adhesion of the model at the time of printing the first layer, for its fixation. The mirror installed on top of the table is not accidental - it provides a perfectly flat surface, since the gap between the nozzle and the table must be set the same over the entire area of the table and at the same time very accurately.
Having covered the table with a special composition, we give it time to dry, and at the same time we activate the function of preheating the print head to the melting temperature of the plastic and heating the table.
In the meantime, we load the finished model of the UniFi Swith 8 stand into the slicer and set the technical parameters. We set the layer height to 0.15 mm, which is quite enough for high-quality printing of such a part, we select 20 percent filling of the model (solid areas will have a mesh structure inside to save material and time)
We choose the melting temperature of the plastic, the printing speed, and other necessary technical parameters. It largely depends on them how high-quality the product will be. If the settings are incorrect, the finished product may come out uneven, with streaks and other defects, and in the worst case, the printing process may even fail.
After the process of entering parameters is completed, the 3D model is converted into a g-code with layer-by-layer cutting for printing on a 3D printer. When the conversion is completed, the slicer displays the approximate print time - 3.5 hours, as well as the final weight of the model. We save the finished g-code to a flash card in sd format.
The table is already dry, the extruder has warmed up and the printer is ready to print. We select the desired color of the filament, and refill it into the extruder of the printer. We force a few millimeters through the printer menu to make sure that the plastic reaches the nozzle and is not wedged anywhere.
After checking the nozzle, insert the flash card in the menu, select start printing. The process has begun. We observe how the first layer lays down, it is very important that the plastic is “smeared” over the surface. If the printer is poorly calibrated and the extruder nozzle “does not reach” the surface, the model will not fix on the table and printing will not be possible
There should be a gap approximately equal to a sheet of paper between the printer nozzle and the table. In our case, the calibration is in order.
Next, we observe the process of growth of the model. Printing is not a fast process, but this is not surprising, given that we create in matter what previously existed only in the digital reality of 3d modeling.
The printing of the stand for UniFi Swith 8 looks very exciting and unusual, going up to a working printer you want to look and look at this process.
In my opinion, to the saying that you can always look at 3 things, you can safely add the fourth - a working printer.
Gradually it becomes clear what the product will look like. It is important to ensure that the filament from the reel does not get tangled during printing and does not break, which, unfortunately, sometimes happens as a result of winding defects.
Upon completion of printing, we see the fruits of the printer's work, a ready-made stand for UniFi Swith 8-60, which came out of high quality, without significant defects.
UniFi Swith 8 fits perfectly on the stand. Below there are special channels designed to fix the cable.
Everything looks very neat and presentable.