3D printing maximum size
What manufacturers don't want you to know: The truth about 3D printer maximum print areas
One of the most fundamental decisions you can make when choosing a 3D printer is the size of the build area. While printer prices vary for many different reasons, it's pretty much a constant that the larger the build area, the more expensive the printer.
In this edition of DIY-IT's 3D Printing Discovery Series on ZDNet, we'll take a hard look at the different build areas available for different 3D printers and then I'll take you into the dark underbelly of the 3D printing world to show you what manufacturers don't want you to know: the truth about 3D printer build areas.
This was a much bigger and more complex project than I expected and it took a whole lot of filament to produce the build area samples used in my testing. So before I get started on the details, I'd like to shout out a thank you to the folks at ColorFabb for providing the filament used in these examples. I'd also like to shout out to MakerBot, Ultimaker, Lulzbot, Dreammaker, and New Matter for providing unrestricted access to their printers so I could perform these tests.
Put simply, when a manufacturer specifies a maximum print areas (also known as a build area), it's the maximum size of an object the printer can (theoretically) print. Technically, a 3D shape that's not equidistant on all sides isn't a cube, it's a cuboid or a convex polyhedron bounded by six quadrilateral faces.
The accompanying video shows what the build areas look like for the five printers I have here in the shop. I designed and printed shapes that represent the maximum build areas for each of these printers. I've posted each of these on Thingiverse with links below, you can print your own sizing templates.
- MakerBot sizing template
- Ultimaker 3 sizing template
- LulzBot Mini sizing template
- Overlord Pro Plus sizing template
- New Matter MOD-t sizing template
Here they are in the printers. You can start to see how they relate to each other in size. From left to right, you're looking at the New Matter MOD-t (silver), the Dreammaker Overlord Pro Plus (blue), the LulzBot Mini (green), the Ultimaker 3 (white), and the MakerBot Replicator+ (red).
Another way to look at these is by stacking them together. In the video, you can really see how they differ in size when placed inside of each other.
Also, don't confuse what may look like available build area with actual, functional build area. For example, on the Overlord Pro, it looks like the model of the Vanderbilt Mansion would print. But if you compare the model with the actual buildable area, the mansion just won't fit. A mighty fine stack of three and half Yoda heads would easily fit in the Overlord's build area, but not the Vanderbilt Mansion. On the other hand, the mansion does easily fit in the build area of the Lulzbot.
As I alluded to at the beginning of this article, there's a lot about build areas that are misleading.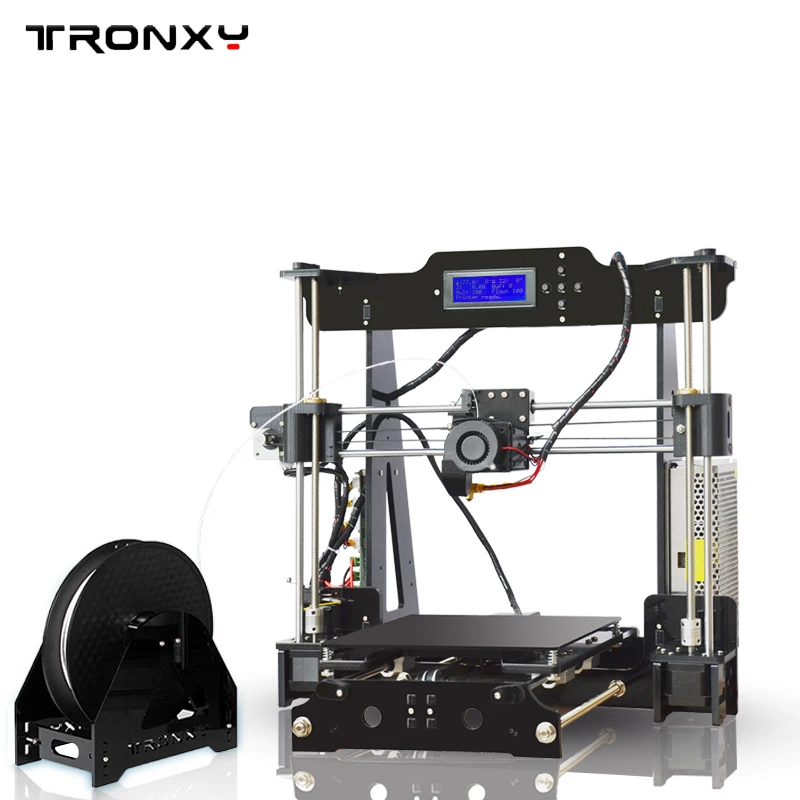 Of the five vendors, not one specified a maximum print size that I was actually able to print.
On the MakerBot, the full cube I started to print began to disintegrate near the end, and I wasn't able to complete that print. On the Overlord, Cura wouldn't accept the dimensions specified on the Dreammaker site, except for the vertical Y-axis dimension. When I printed a test bar, the Overlord Pro wasn't able to actually meet that height and caused a very messy jam.
New Matter's slicer accepted a model for printing, but after two tries, you can see just how messy the results were. Once I reduced the model's size, it eventually printed. In the case of both the Lulzbot and the Ultimaker, Cura simply wouldn't accept a model sized for the maximum printable area described in the specs for each printer.
After a lot of test prints, here's what I found.
| Printer | Specified Width | Actual Width | Specified Depth | Actual Depth | Specified Height | Actual Height |
|---|---|---|---|---|---|---|
| MakerBot Replicator+ | 295 | 292 | 195 | 192 | 165 | 165 |
| Ultimaker 3 | 197 | 188 | 215 | 185 | 200 | 200 |
| LulzBot Mini | 152 | 152* | 152 | 152* | 158 | 158 |
| Dreammaker Overlord Pro Plus | 125 | 79 | 125 | 79 | 280 | 255 |
| New Matter MOD-t | 150 | 145 | 100 | 95 | 125 | 125 |
*There's a trick to making this work.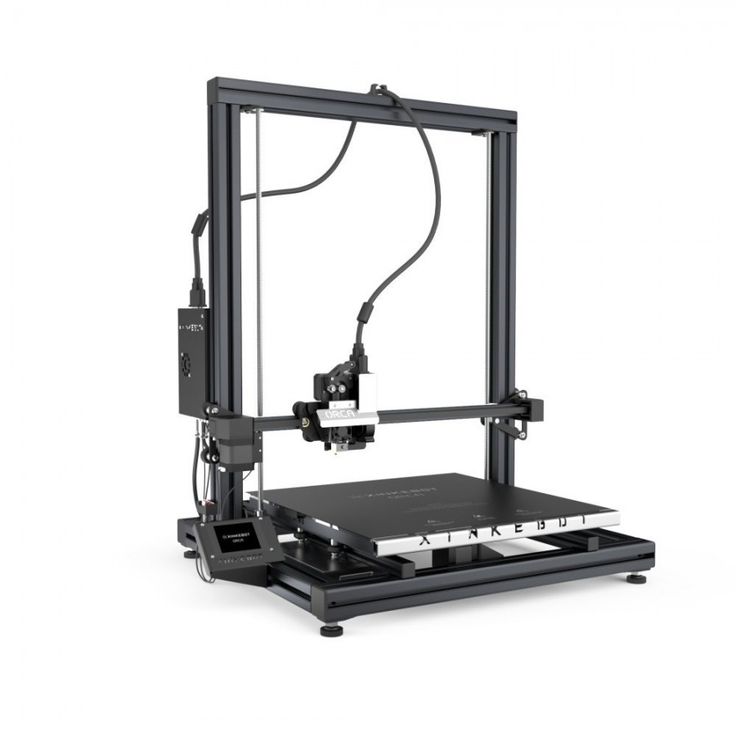 See the article below.
On the MakerBot Replicator+, the specified maximum print size was 295 millimeters long by 195 millimeters deep by 165 millimeters high. Actual build area was 292 millimeters long by 192 millimeters deep by 165 millimeters high, so length and width were three millimeters smaller than specified.
On the Ultimaker 3, the specified maximum print size was 215 millimeters long by 215 millimeters deep by 200 millimeters high for a single extruder. This machine supports using two extruders at once. For a dual extruder setup, the specified maximum print size was 197 millimeters long by 215 millimeters deep by 200 millimeters high.
I tested with both extruders active, and my best results were 185 millimeters long by 188 millimeters deep by 200 millimeters high, so length and width were more than a centimeter smaller than specified, at least for a true rectangle. Ultimaker says that you can increase this a bit if you have longer areas in the middle, but you can't go all the way out in the corners.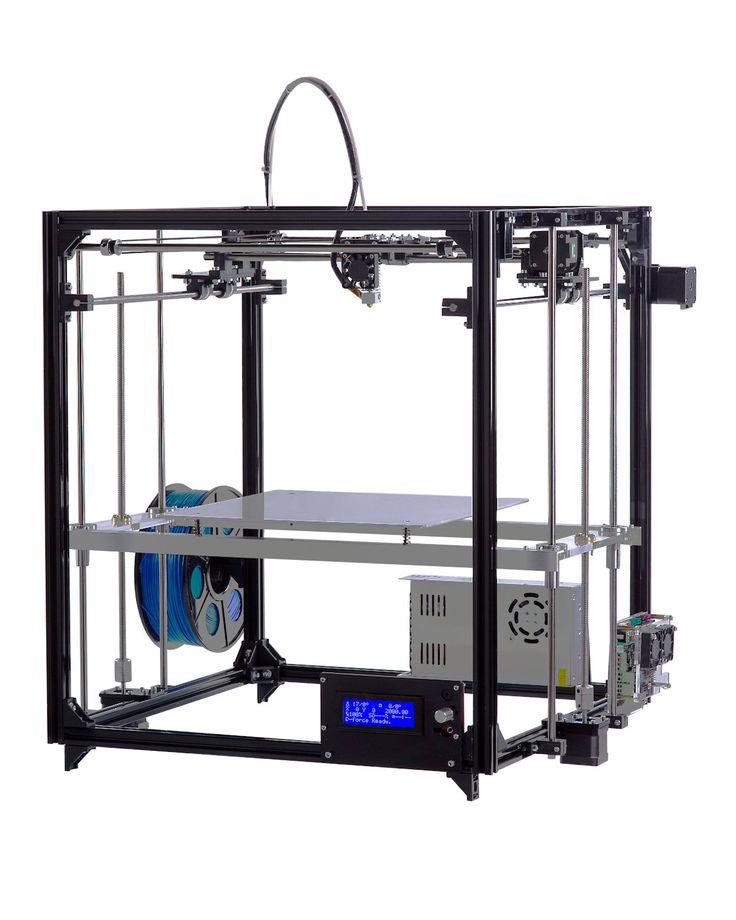 In any case, like the other vendors, the company didn't meet it's published spec.
On the LulzBot Mini, the specified maximum print size was 152 millimeters long by 152 millimeters deep by 158 millimeters high. The actual max print area area allowed by Cura was 145 millimeters long by 145 millimeters deep by 158 millimeters high, so length and width were six millimeters smaller than specified.
UPDATE: The LulzBot folks reached out to me and described a trick (changing the Skirt Line Count in Cura) that lets it print to the full 152x152 spec. I tested it and it works. Here's a short video that shows how it's done. Very cool.
The Overlord is interesting, because the Delta architecture means it should print cylinders that have a large diameter than the length and width dimensions of a cuboid. That said, for consistency sake, I went with squared edges. Dreammaker specifies 125 millimeters long by 125 millimeters deep by 280 millimeters high. The width and height weren't even close, at 79 millimeters by 79 millimeters. Even though I'm using the taller Overlord Pro, this was the only printer that completely failed at its specified height. Instead of 280 millimeters, the best I got without making a mess was 255 millimeters. Essentially, the Overlord's maximum specified print area was about 25 percent more than reality.
Finally, there's the New Matter MOD-t. Although the New Matter slicer accepted a print designed at its maximum print size of 150 millimeters long by 100 millimeters deep by 125 millimeters high, the results were a mess. I finally managed a print that was 145 millimeters long by 95 millimeters deep by 125 millimeters high, so the MOD-t lost about 5 millimeters off the X-and-Y axis.
What does it all mean?
So now that you've seen the results of my little study, what does it all mean?
My recommendation is that you do't freak out too much about the fact that the specified maximum build dimensions and the actual ones are slightly different. In most cases, the difference is a centimeter or less.
That said, if you're buying a 3D printer for a project that is tightly dependent on certain dimensions, you should make sure to factor into your decision the fact that the build area documented in the specs is lightly to be optimistic by about 5 or 10 percent. If you're particularly dependent on an exact size, ask the vendor to print a part sample to see what the machine will produce.
Beyond that, if you're in the market for a new 3D printer, think carefully about how much build area you really need. Since build area is one of the most fundamental drivers in printer price, you save money and get a lot more capabilities in a printer if you're willing to sacrifice some build area. Conversely, if you need to print larger objects, you'll definitely need to be aware that size does matter when it comes to your buying budget.
You can follow my day-to-day project updates on social media. Be sure to follow me on Twitter at @DavidGewirtz, on Facebook at Facebook. com/DavidGewirtz, on Instagram at Instagram.com/DavidGewirtz, and on YouTube at YouTube.com/DavidGewirtzTV.
Understand Units and Sizes for your 3D printing Dimensions
3D Learning Hub
See all categories
Contents:
- Introduction
- How to Choose a Unit of Measure for your CAD File
- Dimension, Weight and Size Constraints of a 3D printing
- Modify the Size of Your 3D Printed Object
Introduction
Designing for 3D printing requires to keep in mind that your object will be a physical object with weight, size and constraints.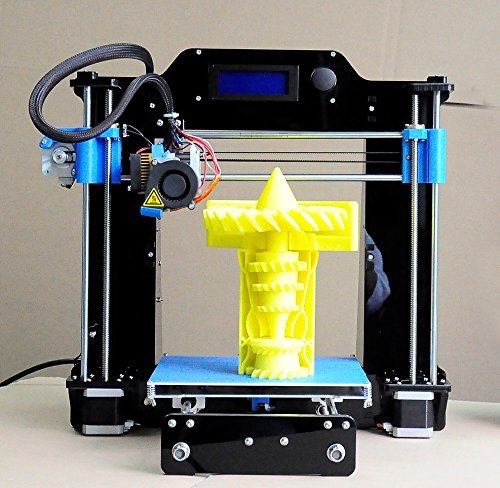 Even if your object is coherent and seems to be at the dimensions you wish on the screen, it is really important to check if the 3D printed object will match your expectations and the machine constraints. Here are some tips to help you manage the units and size for 3D Printing with Sculpteo.
How to Choose a Unit of Measure for your CAD File
Whether you use the metric system or not, you need to know the exact size and dimension of your model.
Quite frequently, when you create a new file or scene in your CAD software, you are asked what unit of measure you want to use for this modeling project.
If not, you can modify it in the software settings. We wrote tutorials for the most used CAD software, that you can discover here.
On Sculpteo the default measure unit set is the millimeters, but you can choose, before you upload your file, between Millimeters, Centimeters and Inches as unit of measure for your 3D print.
Be careful however because if you designed your model in centimeters in your CAD software, when you’ll upload it on Sculpteo and choose millimeters, your object’s unit of measure will be changed.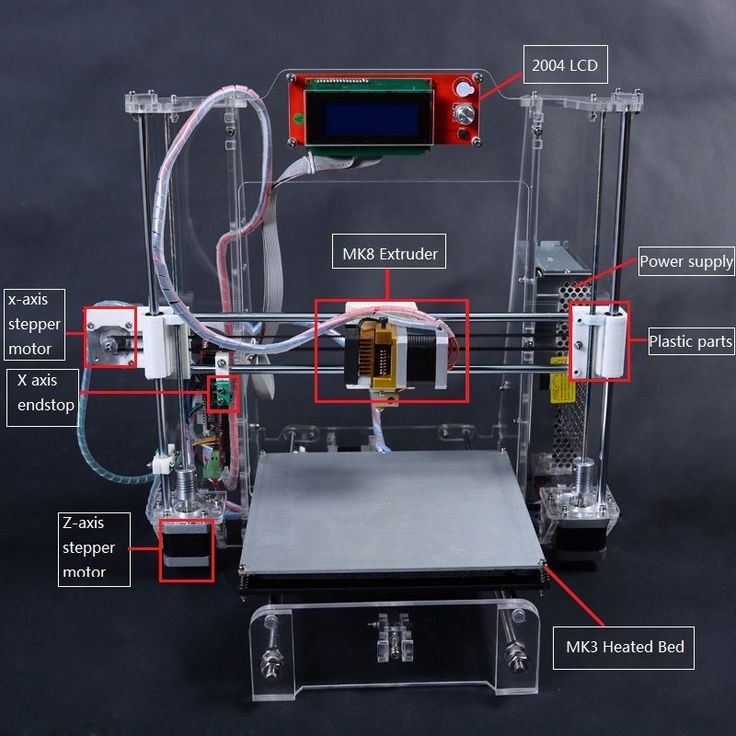
For example, a cube of 10x10x10cm will become a 10x10x10mm cube. That’s why it’s extremely important to choose the same unit on our platform as you did on your CAD software.
If you forget to choose the unit of measure before uploading your file, don’t worry! You can still do it afterwards.
In the 3D printing settings tab, under Review and Checkout, you can see a recap of the options you chose before placing your order. If the measure unit doesn’t match your CAD file settings, modify it. As you change the settings, the price will automatically adjust (as you can see on the image below).
Dimension, Weight and Size Constraints of a 3D printing
The 3D printing process observes some constraints depending on the material you choose and the associated 3D printer.
The printing surface is indicated on the material page of our Learning Center.
For example, 3D printing in white plastic polyamide (PA11) with raw finish involves a maximum size of 677 x 368 x 565 mm.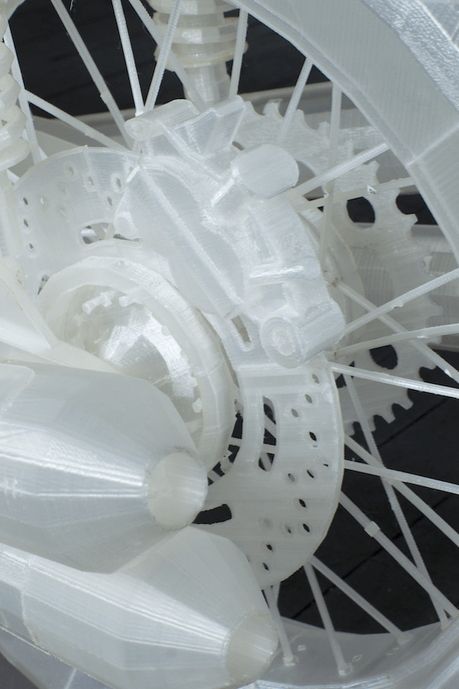
Depending on your material, finish and needs, the size plays a great role in the success of your 3D printing project.
To learn more about the material sizes of each material, you can visit our Learning Center.
The weight of your model also plays a role in the price and the size of your object. A bigger object involves more raw material, which leads to a more expensives and heavy object.
To counter this effect, you can hollow your model in your CAD software or directly on Sculpteo with our automatic Hollowing tool.
You just have to place two holes on your model to allow the unfused material to be evacuated, your model to become lighter, and its price to be reduced in real time on the platform.
Modify the Size of Your 3D Printed Object
As you are going to transform a digital model (you CAD file) into a physical object (the 3D printed object), it is quite important to control the size of what you designed.
To modify the size of your object in your CAD software, you can see our tutorials on how to prepare your CAD file for 3D printing.
The method consists in using a measure tool on each part to check if the object is at the right size. Another technique is to create a cube you know the dimensions of outside of your model. When your object is inside of the cube, you obtain the approximative area occupied by your object in the machine’s tray.
We did a video to show you step by step how to control the size of your object in 3Dstudio Max.
As you can see, this method is slow and specific. To simplify the process, we decided to provide a scaling tool directly on Sculpteo that allows you to modify the global scale of your object and see the impact on the price.
To use that tool, you just have to go in the 3D Printing Settings and modify the scale values. The online tool scales the object proportionally in every axis to keep its proportions.
Be careful however to not oversize your object as it has to fit in the machine’s tray.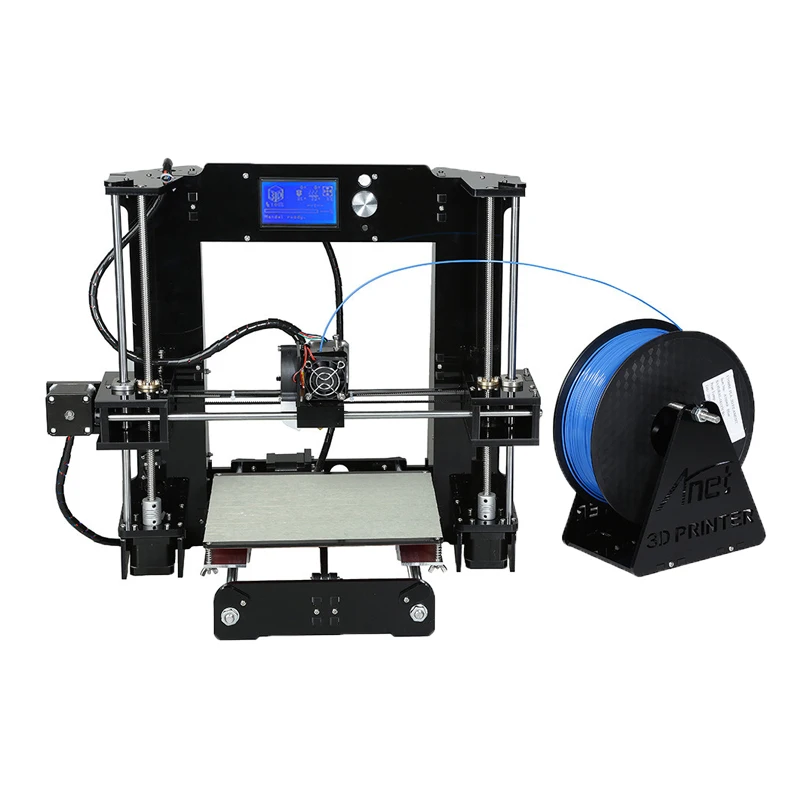 A message will display if the object size exceed the machine’s capacity.
On the contrary, do not reduce too much the scale of your object as finest parts may not be 3D printed. Our online solidity check tool will verify if the thinnest parts could be printed or not and warn you about it. If parts of the model are too thin, our thickening tool could fix the issue directly online.
To learn more about the help tools to optimize your file, you can visit our Learning Center and upload a file
Related Topics
- Return to Top
Get the latest 3D printing news delivered right to your inbox
Subscribe to our weekly newsletter to hear about the latest 3D printing technologies, applications, materials, and software.
How to choose the nozzle size for a 3D printer? Pros and cons
3DPrintStory 3D printing process How to choose nozzle size for 3D printer? Pros and cons
When choosing your 3D printer, the nozzle size of your 3D printer may have been the last thing on your mind.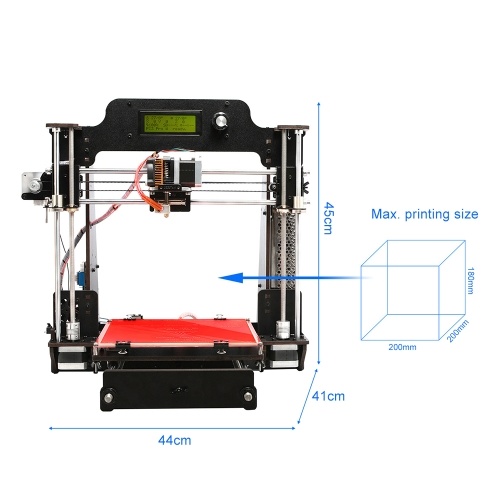 This is a detail that is often overlooked. But depending on what you need to print, the wrong nozzle diameter can get in the way.
In this article, we'll take a look at the different 3D printer nozzle sizes and why you should consider this assembly, what materials it's made from, understand the relationship between nozzle size and layer height, and how to measure the actual nozzle diameter.
How does nozzle size affect 3D printing?
Nozzle diameter affects the extrusion width of the 3D printer line. This affects some elements of your model. If you are 3D printing for business (make a lot of orders), you need to make sure your extruder is feeding the right amount of material. If too much material is fed, then more filament is used than is actually required for successful 3D printing. Well, a smaller number can simply lead to marriage.
Or maybe you're printing different designs, some of them very detailed and intricate, and some more practical (like a replacement doorknob) that just needs to be printed quickly and with maximum durability.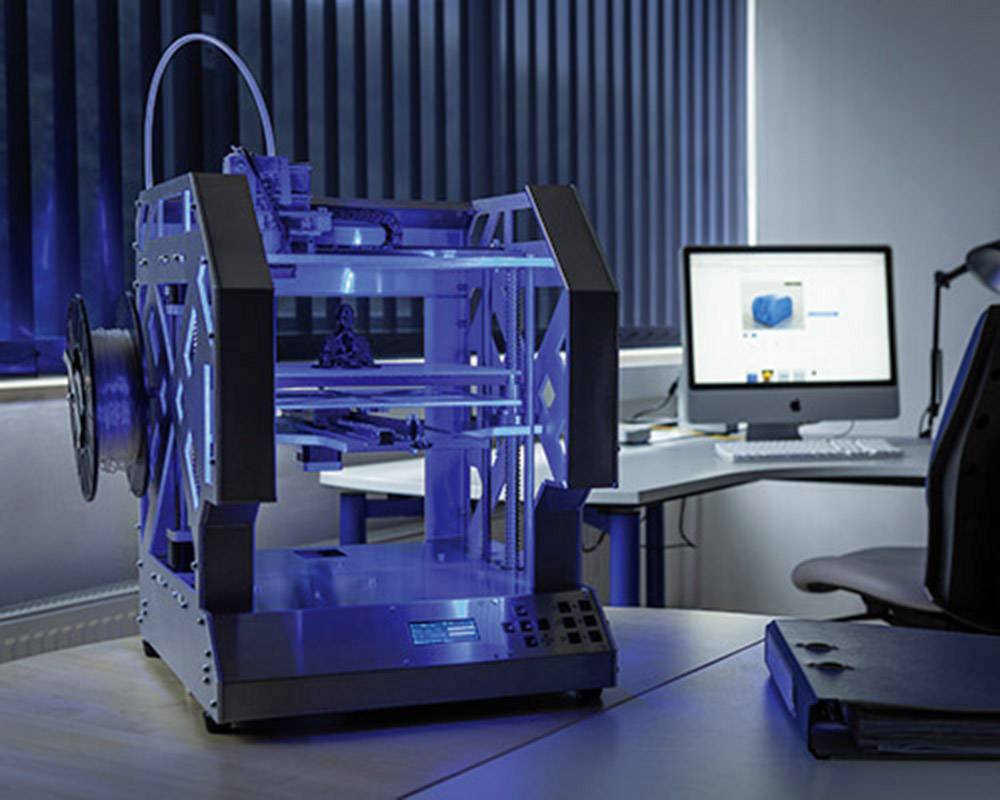
In any case, you will need the correct setting to save time, material and ensure the normal quality of the 3D model.
There is no easy answer to what is the best nozzle size for a 3D printer. You need to weigh what you want to achieve and what elements of the 3D model are most important to you.
Depending on your 3D printer, the nozzle can be quite easily replaced (most of them are mounted on screws), and buying a package with different sizes will cost you a lot.
Most common 3D printer nozzle options
The most common standard nozzle size is the 0.4mm (or 0.35mm) nozzle used by most modern 3D printer manufacturers. The reason for this is that it is a rather large and yet versatile nozzle size. This means that you can print with exceptional detail in no time.
With the 0.4 mm 3D printing nozzle you can print up to a layer thickness of only 0.1 mm or up to 0.3 mm. The lower the layer height, the better the detail (on the Z axis) and the larger the layer height, the faster your 3D print will be, but with worse detail quality.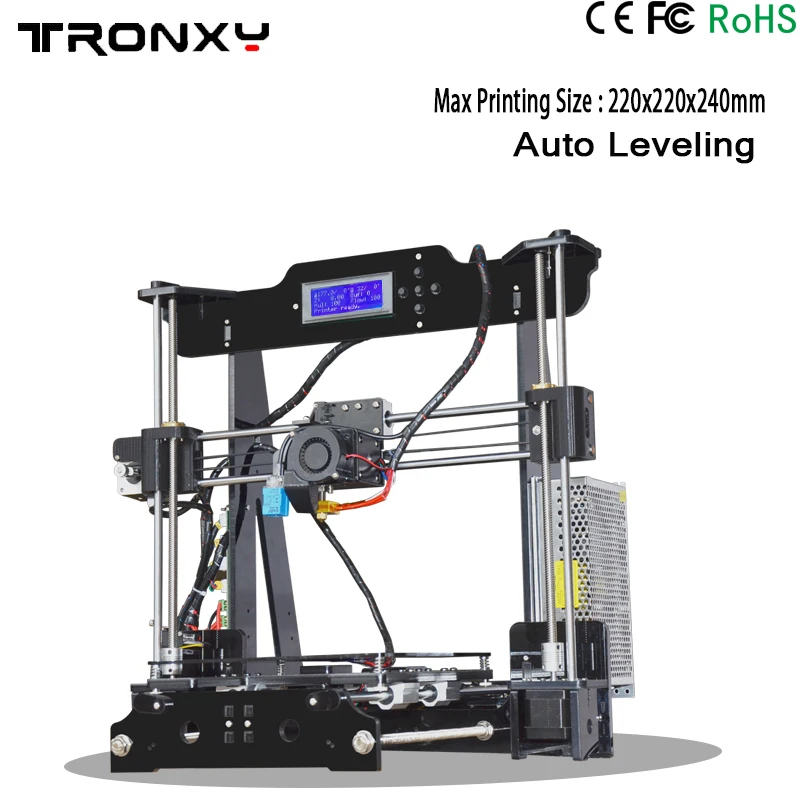
A common misconception is that if someone doesn't get good enough 3D print quality on their printer with a 0.4mm nozzle, they immediately think they need a smaller 3D print nozzle.
Another common smaller size is 0.25 mm. Some 3D printers offer 0.2mm, 0.15mm, and Mass Portal is even experimenting with 0.1mm 3D printer nozzles. And the experiments are really interesting. Thanks to this miniature nozzle, they were able to print the clock mechanism with excellent detail.
How is nozzle diameter related to 3D printer resolution?
Theoretically, smaller 3D printer nozzles allow for greater precision. But for many 3D printers, especially cheaper or older models, a smaller extruder nozzle won't necessarily make a difference if your printer doesn't support the higher resolution you need. It's like putting low-profile, high-performance tires on an old classic car - it doesn't make it go faster, and it doesn't necessarily make it better cornering.
This is also similar to how the specifications of a 3D printer on paper (eg advertised resolution) do not always result in the best print quality of the finished product.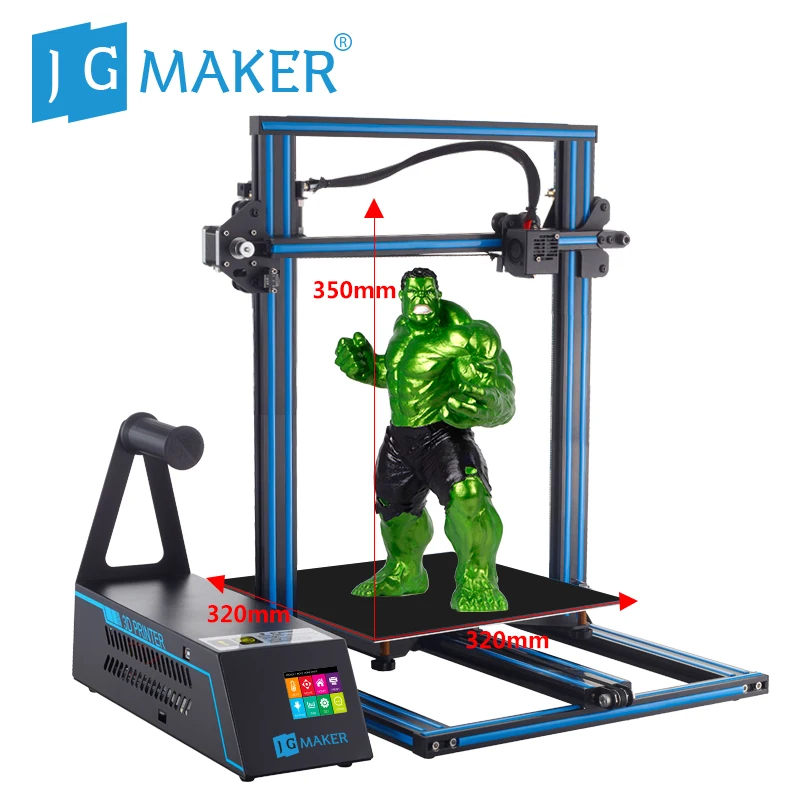 Just like Ultimaker and Zortrax have very similar resolutions on paper, but in many actual tests, Zortrax produces better models than Ultimaker 2.
smaller nozzles as resolution across the board is getting better every day.
Let's look at the pros and cons of 3D printing with smaller nozzles. Some are less obvious than others. Next, we'll look at the larger, underpriced nozzles available. I hope after reading this article you will be able to answer the question: "What nozzle size should I print?".
You probably already guessed that the smaller the nozzle size in the extruder, the more detailed model you can get as a result of 3D printing. The thin nozzle is great for complex figures, or if you need to print very thin walls for aircraft skins, or high transparency models, etc.
The photo below shows the printed skin of a model aircraft, which was made with a standard 0.4 mm diameter nozzle. If the same skin is printed with a nozzle with a diameter of 0.2 mm, then the weight (and strength) would be halved.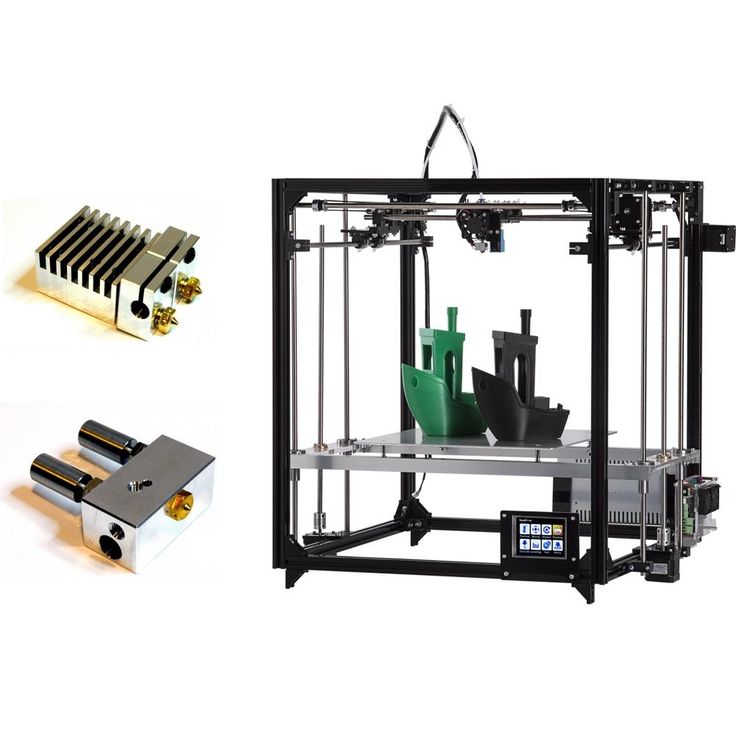
It is worth noting that a 3D printer with a 0.2 mm nozzle feeds half as much material as a 0.4 mm nozzle. And this actually leads to an increase in print time by the same two times. It should be noted that strength and detail are reciprocals of time. So to get high-quality 3D models using a thin nozzle and high resolution, you will have to be patient (2 times more than when printing with a standard 0.4 extruder :)). In some cases this is justified, in others it is a waste of time...
As a general rule, the smaller the nozzle size, the higher the chance of problems with the 3D printer. Especially if you are using cheap materials - they can work well with low models and thicker nozzles, but if you need detailed models that are printed using a thin nozzle, then you should also be puzzled by buying quality filaments for 3D printing.
Other factors are less obvious when 3D printing with a thin diameter nozzle - for example, protrusions can be problematic. This is because each layer has a smaller width for the next layer.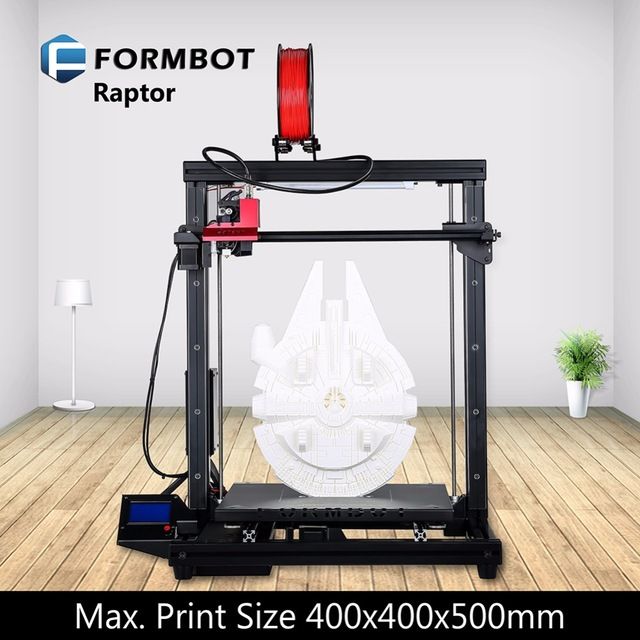 Crossing bridges can also be difficult.
But there is good news too! Where overhangs form, the caliper material will be much easier to remove if printed with a thin nozzle. Due to the increased accuracy, your slicer can use a minimum amount of material between your model and supports, so they will break off more easily and have fewer damaged pads that need to be sanded.
And finally, the most annoying thing about a thin nozzle is the ease with which it clogs. If you downsize to 0.2mm or even 0.1mm, you'll need a small particle to clog the hotend. You need to be very careful about the cleanliness of your 3D printing material and regularly clean the nozzle of your 3D printer. Otherwise, you will not end up with additional unnecessary problems.
It is also worth taking the time to understand the relationship between nozzle size and layer thickness. In short, the first parameter determines the horizontal detail (along the x and y axes), and the second adjusts the resolution along the vertical or z axis.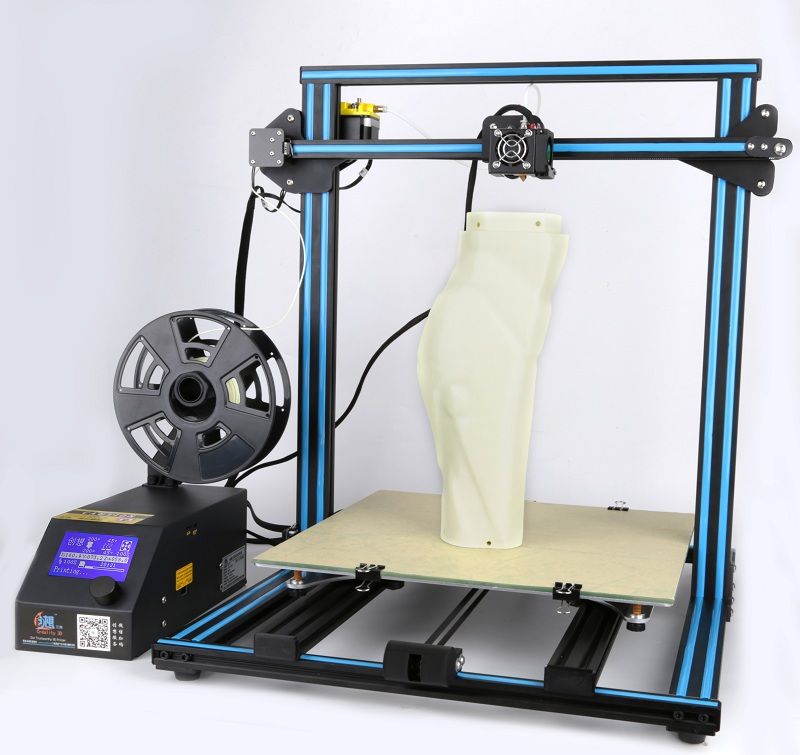
How to measure the nozzle size of a 3D printer?
Although the actual nozzle diameter should be engraved on the side of the nozzle, it is not always possible to read this value if it is already installed in the extruder or if you have been printing with it for some time. After all, there is the concept of wear and you may not be sure that the nozzle is the same size as before.
To determine what size your nozzle really is, very slowly extrude some material into the air (high speed may change shape or size) at the lowest setting you can feed material at (approximately 1 mm/s). Once cool, use a micrometer if you have one. They are generally more accurate than digital calipers. Keep in mind that the filament will probably expand after being extruded. Poor quality material or an extruder that is too hot (especially if you extrude at 1mm/s) will cause the material to expand more, resulting in inaccurate readings.
It can also be useful to know the size to which your material expands after extrusion if you are working on getting a really nice and accurate model.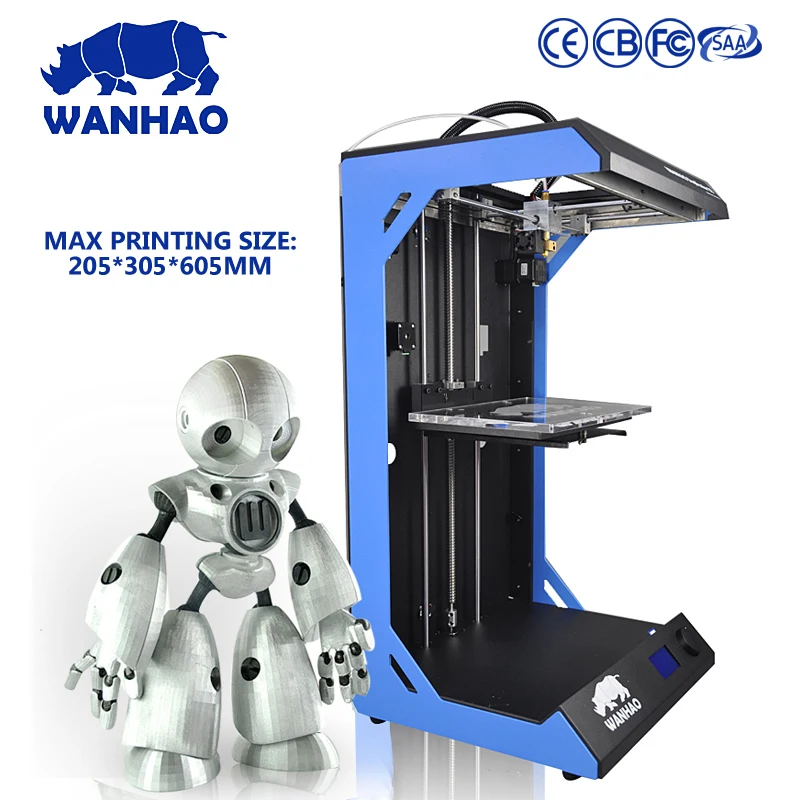 So feel free to experiment with higher speeds that are a bit more like your actual 3D printing.
What is the relationship between 3D print layer height and nozzle diameter?
In simple terms, this is the thickness of each line of extruded material that makes up each layer of your model. The thinner the layer height (or layer thickness), the finer the print detail in the Z-axis (the vertical dimension of your model), but the more layers will be required. Increases print time.
These characteristics are related, but not completely. For example, you can print using a thinner, thicker nozzle if vertical resolution is less important to you. Or you can use a thicker nozzle with a very small layer height. Although in this case, do not get too carried away. To maintain adequate pressure, your layer height should be at least 20% less than your nozzle width - and in most cases, for best 3D printing results, it should be around 50%.
How to determine the correct distance from the nozzle to the desktop of a 3D printer?
With the correct setting of the distance between the table and the nozzle, the base of the finished model should have an almost perfectly smooth, glassy surface. Many people assume that you need to use a stylus to properly set the distance between the nozzle and the 3D printer bed, but in fact, even that can be too thick. So it's worth thinking in the direction of the already proven table calibration with a piece of paper. You should use thin paper. For example, check paper is a great choice. Place the receipt paper under the nozzle and gradually lower the nozzle down until the receipt paper resists a little when you try to push it out. 3D printing at this height will give the bottom of the model a great look, and in the case of tall models, the print will definitely not go astray.
What is the maximum 3D print layer height compared to the nozzle size?
You don't necessarily need a layer height calculator on your 3D printer, but typically the maximum layer height is 50% of the nozzle width. In some cases, you can go higher (perhaps 75%), but in this case, you must be aware that you can sacrifice reliability.
It's best to experiment with the parameters of your model if you understand the relationship between the 3D printer's nozzle size and the layer height you'll be using to print. So for a 0.4mm nozzle, you will need to print with a layer height of 0.2mm, or up to 0.3mm. Your minimum should be around 0.1mm. If less, then in fact you just increase the waiting time without much benefit (on the same 0.4 mm nozzle).
In most cases, it is worth printing thinner layers with smaller nozzle diameters and generally thicker layers with thicker nozzles. Just note that if you are printing with a thicker nozzle diameter and very thin layer height, you will need to lower the extrusion settings in your slicer to prevent overfeeding.
It's also worth noting that no matter the size, you should always make sure you always have a clean nozzle. One of the easiest ways to do this is to use a high quality cleaning floss. You only need to use a few grams of it each time you brush, but this will prevent carbon buildup over time.
So why should I use a 0.8mm nozzle or thicker?
Similar nozzle sizes were more common on older 3D printers but are making a comeback. It's all about using what you need and nothing more. For a large number of models, the 0.4mm headroom that your 3D printer probably comes with may be overkill in terms of detail.
If you need strength and speed, but detail is less important, then you should use a 0.8 mm or even 1.0 mm nozzle. And don't forget that models printed with a 0.8mm nozzle can be very detailed, as a lot depends on your 3D printer as well.
The only slight disadvantage may be that you use more material, but with thicker part walls you can probably compensate with less infill.
There is no single optimal nozzle size for all models, you just need to take all factors into account and decide which nozzle size is best for you.
What nozzle size should I use for composite materials?
It is worth noting that composite materials (any particulate filament such as wood filler, copper filler, carbon fiber nylon or glass reinforced nylon) will cause extrusion problems when using a thinner nozzle.
This is because these filaments contain particles which, although nanosized, can cause problems when passing through nozzles smaller than 0.4 mm. For composite materials, it is better to use nozzles of at least 0.5 mm, and for any metal, glass or carbon fiber materials, you will need a hardened nozzle. The brass nozzle that comes with your 3D printer will most likely not last long and will increase in diameter after a few hours of printing.
A 0.5 mm stainless steel or tungsten nozzle will last much longer for composite materials, but will, of course, be more expensive.
So, if you're still wondering "What size extruder nozzle to choose?", here are the results for a nozzle with a diameter smaller than the standard 0.4 mm:
- worth using for small detailed models if your 3D printer supports high resolution;
- 3D printing can take significantly longer, thicker nozzles can significantly reduce print time;
- overhangs are more difficult to print, but supports break off more easily;
- you need material from a quality proven manufacturer, otherwise the nozzle can easily become clogged.
What is the actual size of the product after 3D printing?
05/10/2018 in 3D Modeling, Expert Blog, Instructions
In this article, we will consider the most common reasons for changing the final dimensions of manufactured products printed on a 3D printer. This article will be helpful for designers and inventors to understand how to design 3D models for 3D printing.
First, let's introduce some terminology. All deviations that occur in the technological process of 3D printing and related technologies, we will call “error”. Consider what types of errors are and delve into each of them.
- Extrusion width error.
- Approximation of radii depending on layer height.
- 3D printer extruder positioning accuracy.
- Inertial beats.
- Uncontrolled material shrinkage.
- First layer error.
- Porosity.
- Matching accuracy after printing details, splitting into components.
- Support material tearing points.
- Thin wall roughness.
Extrusion width error.
Preparing a 3D model for 3D printing comes down to creating a so-called G-code. G-code is a computer code that sets the movement for all the electric motors of a 3D printer. These motors include those responsible for moving the extruder (the 3D printer's 3D printed head). The movements and movements of the extruder are given by the trajectory, which is determined by the line. In preparation for 3D printing, the model is split along the Z axis into layers, determined by the selected layer height. The trajectory of the extruder is built based on the dimensions of these layers, and in the case of the layer perimeter, it describes the outer surface of the model, averaged along the Z axis. In turn, the extruder repeats the trajectory laid down in the G-code, namely the center of the nozzle. Ultimately, when designing models, it is necessary to take into account the fact that the nozzle itself has a hole diameter through which plastic is extruded. In simple terms, the nozzle radius is added to the size of the 3D model. When choosing a 3D printer, in terms of extrusion width error, the accuracy of the part will be higher on the one with a smaller diameter nozzle. And when designing three-dimensional models for 3D printing, it is necessary to lay a margin for model widening. I want to note that in other 3D printing technologies that use a laser or an illumination device, the width of the outer perimeter line depends on the focus, that is, on the thickness of the beam. As a rule, these parameters can be clarified with the manufacturer of the 3D printer or with Studia3D specialists.
Let's see how this works on the example of a 3D model that has a hole.
The figure shows the 3D model, rendering of the prepared G-code and the trajectory of the movement of the center of the extruder nozzle for the 7th layer of 3D printing. Select the perimeters of the holes and overlay the actual extrusion width on the trajectory (Highlighted in light green).
As you can see, the hole diameter is smaller. How much? On the nozzle radius on one side + the nozzle radius on the other. That is, when designing a hole, I need to lay a gap equal to the width of the nozzle. The same goes for all other cars. The smaller the nozzle size, the closer to the nominal dimensions the part will be. At the same time, printing with a nozzle of a smaller diameter will cost more. This is due to performance. Through a larger nozzle, more plastic comes out per unit time, which affects the speed of printing. The operating time of the printer, as well as the amount of material, affects the cost of obtaining the product.
Approximation of radii depending on layer height.
The specified layer height directly affects the accuracy of 3D printing. This is clearly expressed on the radii in the sections of the model along the vertical. Consider the part from the previous paragraph, positioning it on the edge in the 3D printer chamber.
As you can see in the figure, the quality of the hole depends on the selected layer height. The lower the layer height, the better the detail. In this case, it is worth considering the time of 3D printing. As the layer height increases, the print time decreases by reducing the total length of the trajectory described by the extruder. Accordingly, the price of the part is reduced, because. The operating time of a 3D printer directly affects the cost of 3D printing.
3D printer extruder positioning accuracy.
This parameter determines the accuracy of repetition by the center of the extruder nozzle of the trajectory specified in the G-code. In other words, this parameter characterizes the maximum possible deviation of the center of the extruder nozzle from the trajectory during printing. This parameter is specified by the 3D printer manufacturer for a specific printer model. But it should be noted that this parameter corresponds to the manufacturer's recommended 3D printing speed. In turn, Studia3D specialists, when preparing the G-code, reduce the influence of this parameter to a minimum, but do not exclude it at all.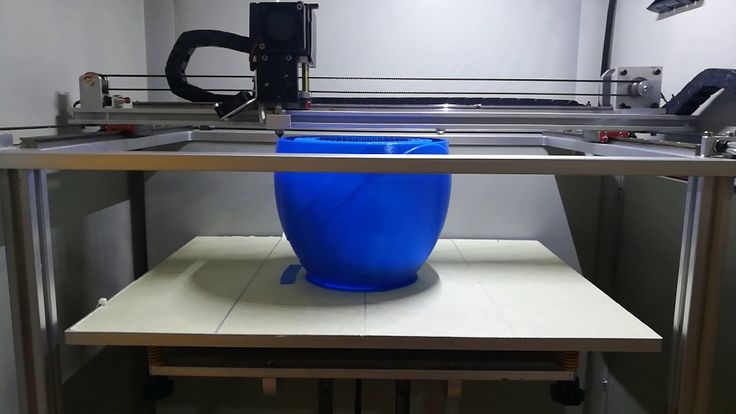 In addition to speed, this parameter is affected by the rigidity of the 3D printer and the extruder drive system.
Inertial beats.
As a special case of positioning accuracy, we single out inertial beats that occur during 3D printing as a separate point. This parameter is affected by the same positions that were described in the previous paragraph, however, this error is reduced in a different way. This can be understood by studying the moment at which the influence of this error on the print quality arises - a sharp change in the direction of the extruder's motion vector. When the electric motors, together with the drive system, abruptly change the direction of the trajectory, the print head, which has some characteristic weight, continues to move in the previous direction by inertia. As a result, dynamic damped oscillations occur, which negatively reflects the surface. The influence of this error is reduced in two ways. Decreasing the speed of printing the outer perimeter, which we use when printing all models without exception and is laid at the stage of preparing the G-code.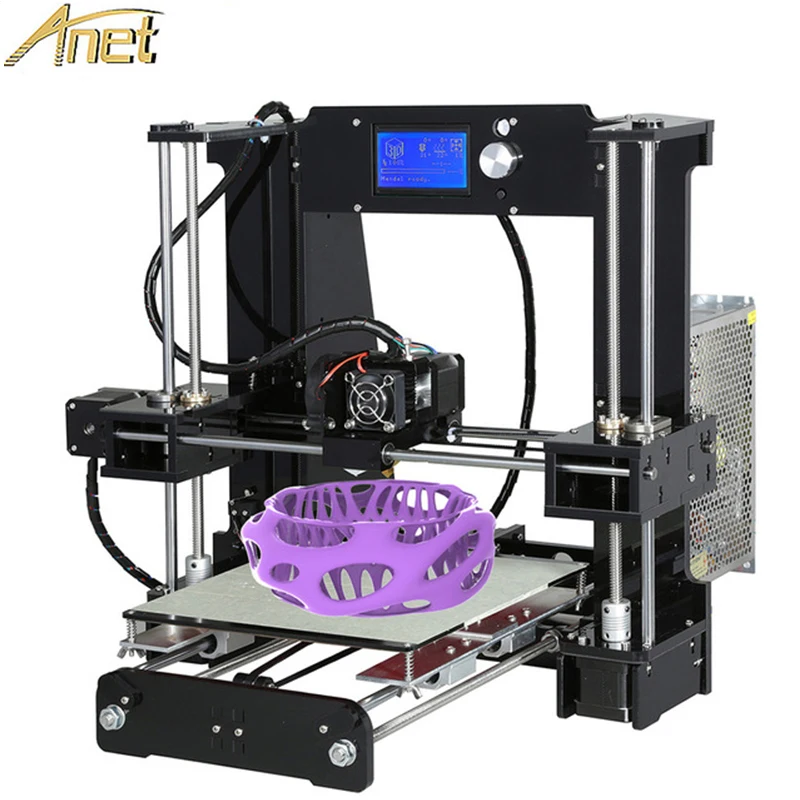 The second method is laid down when designing the model: if possible, it is necessary to add mates to acute-angled faces in the model, which, when the part is positioned on the 3D printer platform, in sections parallel to the XY plane, will give sharp corners in the perimeters. As practice shows, a pairing of 2 mm is considered sufficient. We show with an example.
As you can see in the figure, by rounding the corner (by entering a fillet on the face), we minimized the influence of this error.
Uncontrolled material shrinkage.
This parameter has its effect, as a rule, in the case of 3D printing of large objects. Large - this means more than 30% of the maximum size of the 3D printer camera along any of the coordinate axes. Most often, this error manifests itself in interlayer adhesion and a decrease in dimensions in planes parallel to XY.
Our observations have shown an approximate shrinkage for some of the most common materials in relation to cross-section dimensions parallel to the coordinate axes.
ABS: XY ≈ 5%; Z ≈ 1%
PLA: XY ≈ 2%; Z ≈ 0.5%
Polypropylene: XY ≈ 7%; by Z ≈ 10%
First layer error.
The G-code preparation program considers the platform of the 3D printer to be absolutely parallel to the XY plane, however, in practice, platform calibration also has its own error. In Studia3D, the norm for the difference in thickness of the first layer is:
Δ=0.1 mm from a layer height of 0.2 mm
Δ=0.05 mm from a layer height of up to 0.2 mm
Porosity.
Porosity in the case of 3D printing is usually discussed only in the case of the percentage of filling of internal floors up to 100%. However, when printing with 100% infill, the porosity does not go anywhere.
This can be clearly seen by examining the gap in the workpiece through a microscope to determine the strength characteristics.
If the model is not included in the printable area of the 3D printer, it is split into components.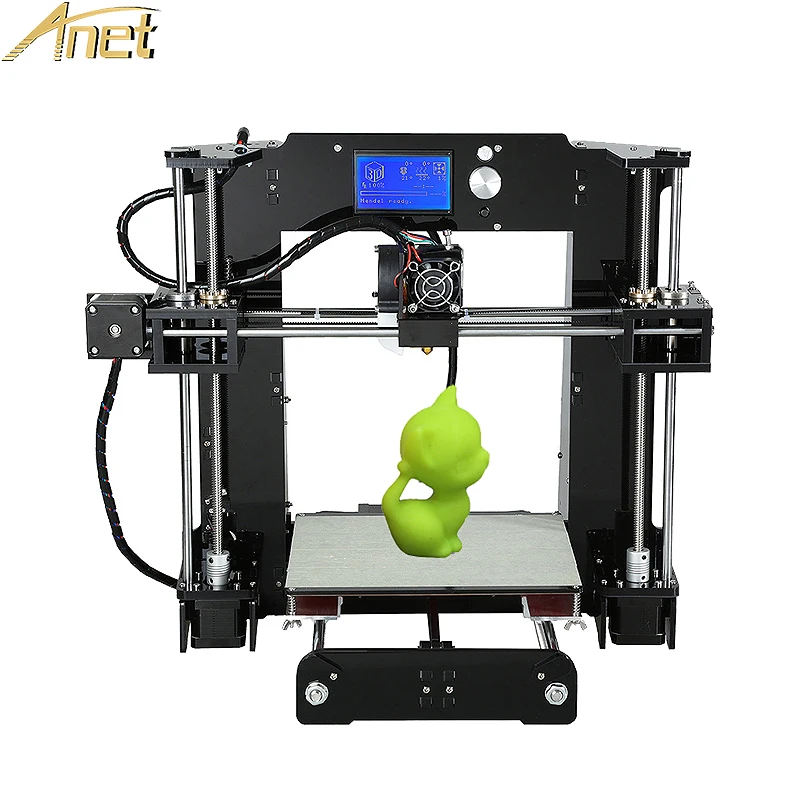 In the best case, grooves are provided for the most accurate assembly. You need to understand that the assembly of the model from the components also affects the accuracy of the overall design. This accuracy is very difficult to assess. We accept deviations from the given model of the order of + - 2%. To fix the joint, we almost never use glue, but use a special chemical solution. Ultimately, the parts are not glued, but soldered, only not by thermal melting of the material, but by chemical. As for the adhesion strength: it is higher than the adhesion between layers. In simple terms, if you throw such a part against a wall, it will break, but first of all not at the joints.
Locations where support material has been torn off.
This item applies to mechanically removed supports. Since the material of the support and the material of the main part consist of the same material, they are simply soldered together under the influence of temperature. When such supports are torn off, traces, threads, chips, etc.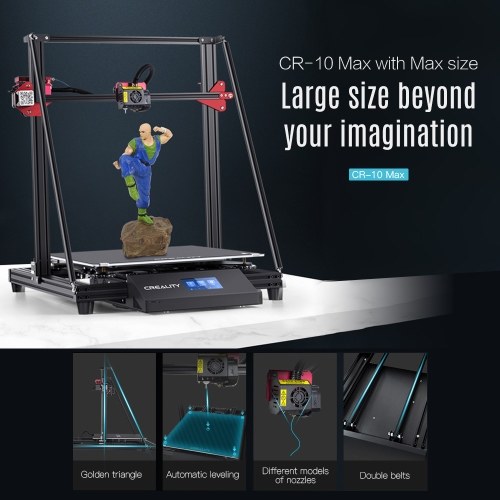 remain.
To minimize this error, it is necessary to order 3D printing with soluble supports. Due to the expensive soluble support material, the cost of 3D printing also increases significantly. Accuracy, like beauty, requires sacrifice.
Thin wall roughness.
When preparing a G-code in standard form, the program strives to make your part as strong as possible. This is bad only in one case, when the product has thin-walled elements. When constructing a trajectory, we set the minimum wall thickness inside which the infill will be built. As a rule, this thickness is equal to the 3rd nozzle diameter. But in cases where there are places where the thickness is less than the thickness of the outer wall, when constructing the trajectory, the program will draw one perimeter on each side, and fill the void between them. Due to the fact that filling will occur at a distance of 1 to 2 nozzle diameters, the extruder will begin to vibrate, inertial beat will begin (see point inertial runout ). The more this distance is reduced to 1 nozzle diameter, the faster the near-resonant frequency occurs. All this negatively affects the appearance of this wall, since the vibration is transmitted to the adjacent material. Let's look clearly.
To minimize this error, it is necessary to design the part in such a way that the wall thickness is a multiple of the nozzle diameter. Face difference!
Output.
In conclusion, I want to note that when designing three-dimensional models for 3D printing, it is necessary to take into account the totality of all factors affecting the accuracy of products, and not consider any particular one. The Studia3D team works every day to ensure that the 3D printing process is completely predictable and controllable, however, like any kind of production, 3D printing has its own precision. There are no ideal sizes. Therefore, we are very pleased if, in addition to three-dimensional models, a working drawing of the product is provided, where all fits, tolerances, roughness, etc.


