Petg 3d printers
Everything you need to know about PETG 3D printing
Before you get started with PETG 3D Printing, we’ve compiled some of the basic information you’ll need to know. Read on to learn the advantages, disadvantages, history and applications of PETG 3D printing.
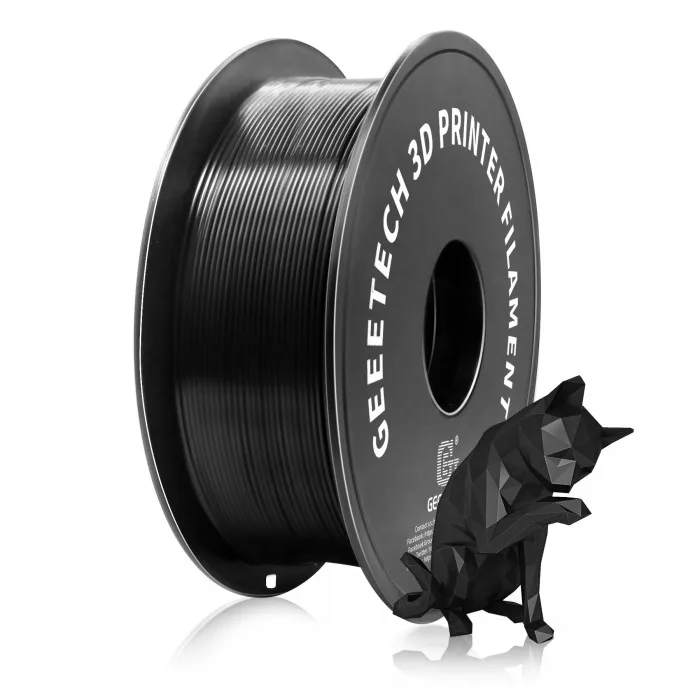
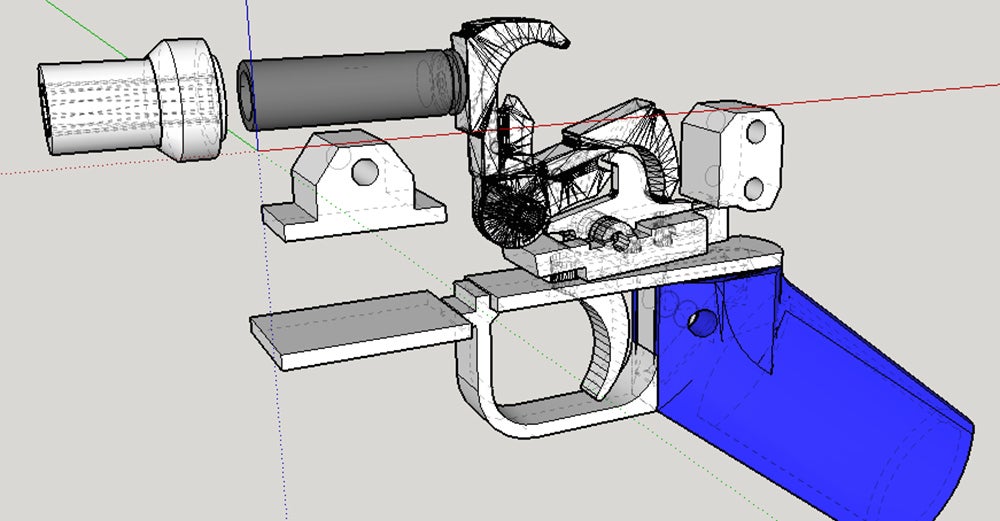
PETG Filament and 3D Printed Vacuum Nozzle
FDM (fused deposition modeling) 3D printing is one of the most practical and popular 3D printing technologies today due to its ability to print a wide range of materials (i.e., polymers, composites, metals). One such material is PET, a polymer most notably used to make plastic bottles, among other consumer packaging products, making it one of the world’s most-used plastics. Due to its adaptability, PET has become popular as an FDM 3D printing material in the modified version called PETG.
PETG is a reliable and affordable material with a lot to offer for designers and engineers, among other users. Through this article, you will find more information about this versatile filament, including benefits, drawbacks and how to get the best results for PETG 3D printing.
PET AND PETG - VERSATILE POLYMERS
Chemical Composition
PET (polyethylene terephthalate) is a transparent and lightweight thermoplastic polymer resin part of the polyester family that is derived from petroleum. First synthesized by the DuPont Company in the 1940’s, PET has become the world’s most used plastic. PET can be easily modified for use in a wide range of applications with the modifier being identified as a suffix letter in the name.
PETG is a modified version of PET, with the “G” standing for “Glycol,” a molecule added during the polymerization process to make it less fragile, more durable and easier to use. This version is preferred for FDM filaments used in additive manufacturing and is generally translucent but also available in a range of colors. PETG exhibits excellent mechanical properties and also boasts resistance to moisture, chemicals and heat, particularly when compared to PLA.
Applications of PET
Food and beverage packaging often takes advantage of PET in the form of PETE due to its limited reactivity to moisture and chemicals.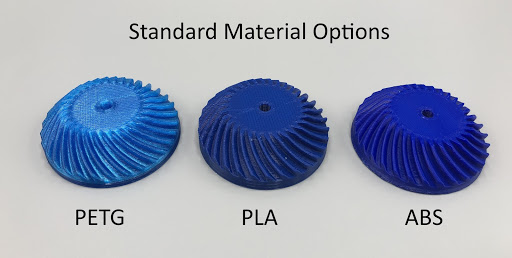 PETE is one of the most commonly recycled types of plastic due to its sheer volume of production.
Source: Coca-Cola
Packaging for consumer products other than foods such as cosmetics, soaps and detergents, and various other reactive chemicals are used by major consumer products companies like Procter & Gamble and Colgate-Palmolive.
Source: Colgate-Palmolive
The textiles industry utilizes PET in both new and recycled form to create polyester fabrics. These textiles products can range greatly - from fleece jackets to sleeping bags to dog beds and much more.
Source: Patagonia
In dentistry and orthodontics, PETG is used for dental aligners with some of the more recent brands, like Invisalign and Smile-Direct Club, creating plastic, form molded alternatives to traditional metal braces.
Source: Invisalign
PETG 3D PRINTING
Applications of PETG 3D Printing
PETG is now widely available as a filament for FDM 3D printers and, thanks to its material properties, has become popular in a number of different professional applications.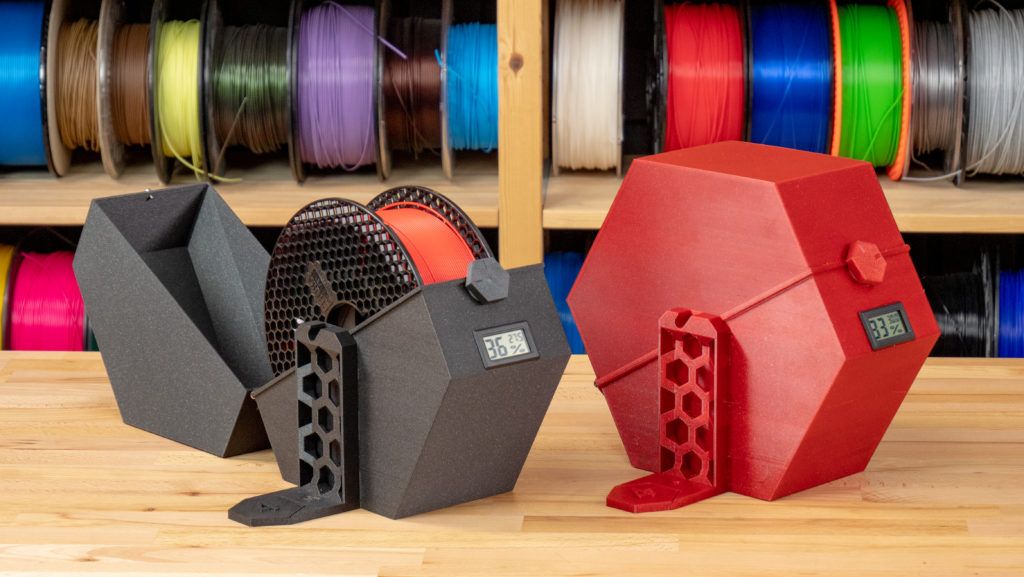
When working on new concepts, designers and engineers can take advantage of its transparency, moisture and chemical resistance to make great functional prototypes such as containers for liquids, signage and graphic displays, enclosures for electrical equipment, etc. The most obvious use of PETG 3D printing is for the design and prototyping of the packaging for consumer products that will be later made out of some form of PET when it enters mass production.
Also suited for more demanding environments, where heat and chemical resistance is required in addition to mechanical resistance, machinists and manufacturing engineers can use PETG to create durable custom parts such as manufacturing tools and aids, testing components or robotic end effectors.
Additionally, because PETG remains a durable and performant polymer, engineers and machinists can create true end-use parts including snap fits and living hinges, protective guards or custom machine parts.
MakerBot PETG Material
Tips for PETG 3D Printing
The material properties for PETG vary depending on the material grade or producer, so it is best to follow the manufacturer’s recommendations first and foremost (MakerBot PETG, for example, is optimized and tested to work with METHOD and thus the default settings will yield optimal results).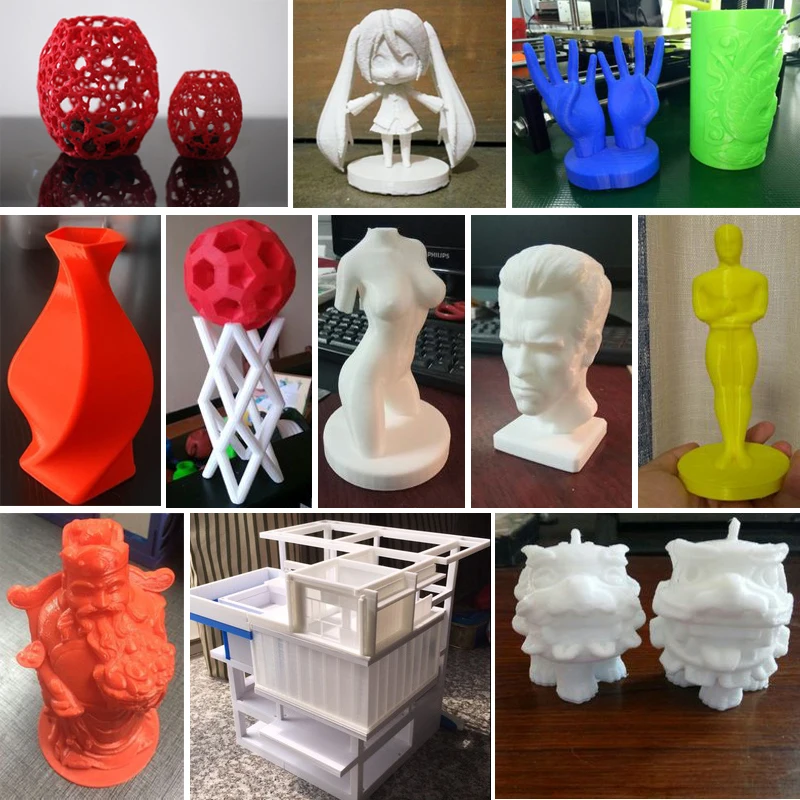
Generally, PETG’s melting point is around 260°C, and it starts transitioning to a more liquid state at about 230°C. Don’t forget to ensure your FDM extruder and nozzle are able to heat up to temperatures in this range. Additionally for best results, it is recommended to use an FDM 3D printer with a heated print bed or, even better, a heated build chamber with a temperature setting somewhere around 60°C-80°C. This will enable better temperature control when the polymer starts to solidify and minimize the risk of warpage.
For optimal adhesion of the part in PETG 3D printing, it is highly recommended to use a build plate adhesive – a regular old glue stick will work for this. This will help prevent the print from curling off of the print bed which can be a common occurrence in PETG 3D printing.
| PARAMETER | Imperial | Metric |
|---|---|---|
| Moisture Resistance (ISO 62) | 1,104 ppm | 1,104 ppm |
| Heat Deflection (ASTM 648, 66 psi) | 158°F | 70°C |
| Flexural Strength (ISO 178) | 10,007 psi | 69 MPa |
| Flexural Modulus (ISO 178) | 297,327 psi | 2,050 MPa |
| Tensile Strength at Yield (ISO 527) | 7,251 psi | 50 MPa |
| Tensile Modulus (ISO 527) | 292,976 psi | 2,020 MPa |
| Strain at Yield - Elongation (ISO 527) | 6% | 6% |
| Notched Impact Strength (Charpy Method 23C) | 3. 85 ft-lb/in² 85 ft-lb/in² | 8.1 kJ/m² |
Specifications for MakerBot PETG
Ultimate Materials Guide - Tips for 3D Printing with PETG
Overview
PETG is a Glycol Modified version of Polyethylene Terephthalate (PET), which is commonly used to manufacture water bottles. It is a semi-rigid material with good impact resistance, but it has a slightly softer surface which makes it prone to wear. The material also benefits from great thermal characteristics, allowing the plastic to cool efficiently with almost negligible warpage. There are several variations of this material in the market including PETG, PETE, and PETT. The tips in this article will apply to all of these PET-based filaments.
- Glossy and smooth surface finish
- Adheres well to the bed with negligible warping
- Mostly odorless while printing
- Poor bridging characteristics
- Can produce thin hairs on the surface from stringing
Hardware Requirements
Before 3D printing with PET / PETG make sure your 3D printer meets the hardware requirements listed below to ensure the best print quality.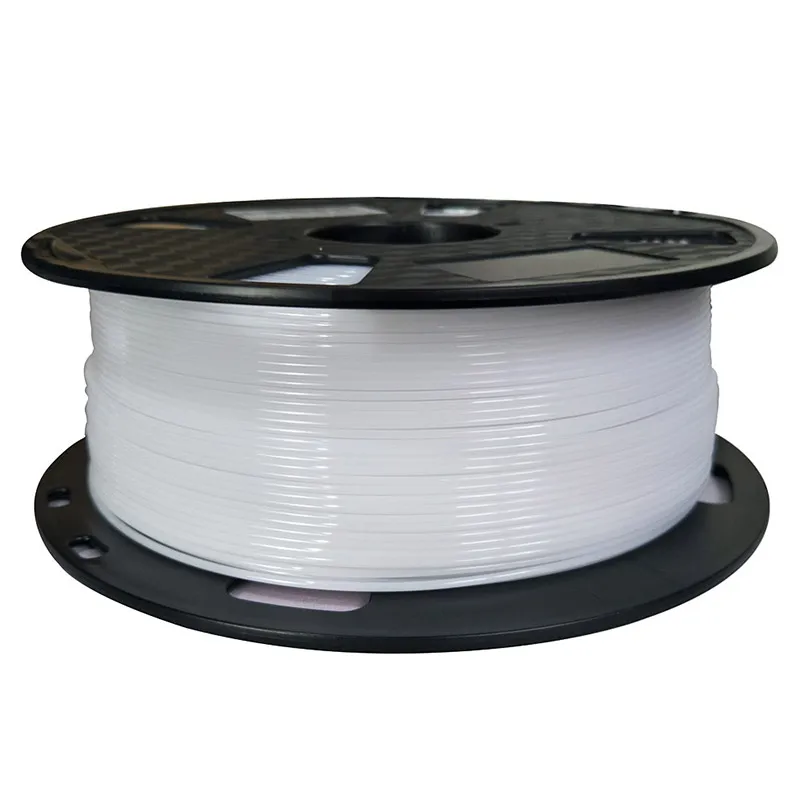
Bed
Temperature: 75-90 °C
Heated Bed Recommended
Enclosure Not Required
Build Surface
Glue Stick
Painter’s tape
Extruder
Temperature: 230-250 °C
No special hot-end required
Cooling
Part Cooling Fan Required
Best Practices
These tips will help you reduce the chances of common 3D printing issues associated with PET / PETG such as stringing, oozing, and poor bed adhesion.
Invest In a Good Build Surface
Some 3D printers come with a glass bed or blue painter’s tape installed on the bed. Although these surfaces might work fine for PETG, we recommend using a heated build platform for best results. The heated bed can significantly improve the first layer adhesion, making things much easier for future prints. Many of these heated beds come with a glass surface, allowing you to print directly on the bed without needing to apply any additional layers of tape or glue.
Calibrate Retraction Settings to Reduce Stringing
One of the few common issues that we see with PETG is stringing.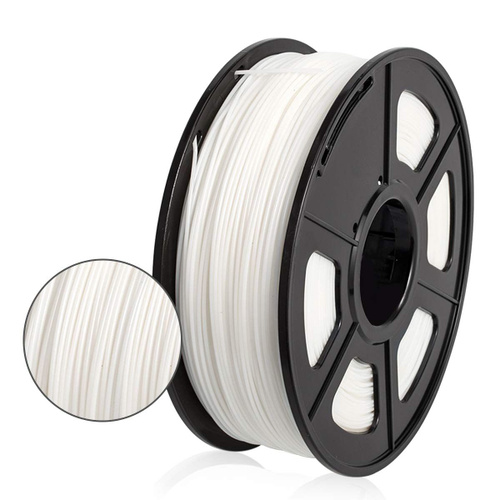 These strings are thin hairs, similar to a spider web, that run between the different surface of your 3D print. Preventing these strings requires precisely calibrated retraction settings, so make sure to adjust your retraction distance and speed for the best results. Simplify3D also includes several useful features that can further reduce stringing. The first is called Coasting, which works by reducing the pressure in the nozzle right before the end of a segment. This way, when moving to the next segment, there is less pressure in the nozzle, so you are less likely to see stringing and oozing during that move. Another great option can be found on the Advanced tab of your Simplify3D process settings. By enabling the “avoid crossing outline for travel movements” option, the software will automatically adjust the travel movements of your print to stay on top of the interior of your model as much as possible. This means that the strings stay inside of your part where no one can see them, instead of being on the outside of your model.
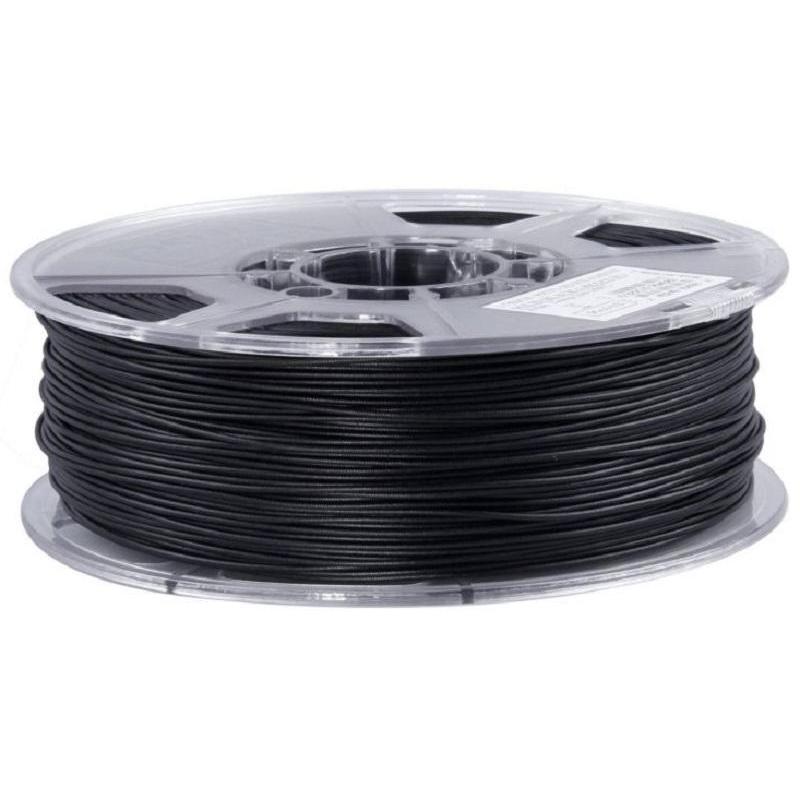 If you are looking for more tips to reduce stringing, we have an entire section dedicated to this issue on our Print Quality Guide: How to Reduce Stringing and Oozing.
Optimize Extruder Settings to Prevent Blobs and Zits
When 3D printing at higher temperatures associated with PETG, you may notice small blobs or zits on the surface of your model. These print defects typically occur at the beginning or end of each segment, where the extruder has to suddenly start or stop extruding plastic. There are several ways to eliminate these print defects such as enabling “Extra Restart Distance” or “Coasting” options located in the Extruder tab. Simplify3D also includes an option to perform a dynamic retraction, where the filament is retracted while the extruder is still moving. This completely eliminates blobs that are typically formed from a stationary retraction. To learn more about these features and other tips for reducing blobs on the surface of your print, please refer to our Print Quality Guide.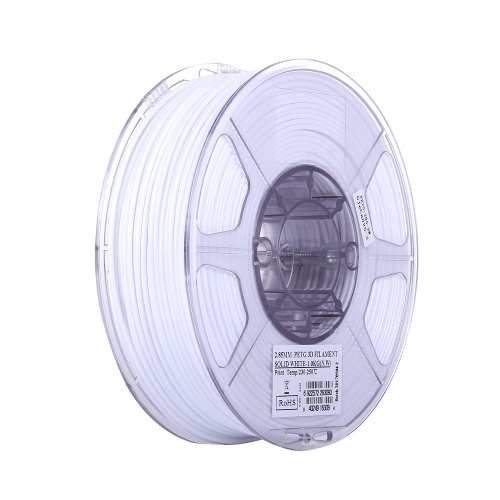
Pro-Tips
- The glossy surface of PETG is especially useful when using rafts. The part separates easily from the raft and maintains a clean surface finish.
- Try disabling your part cooling fan for the first few layers of the print to prevent warping. This trick especially works well for larger prints.
Get Started with PET / PETG
Now that you are ready to start printing with PET / PETG, here are a few ideas to help you get started – from common applications to popular filament brands.
Common Applications
- Water proof applications
- Snap fit components
- Planter Pot
Sample Projects
- Self-watering Planter
- Water Bottle
- Snap Fit Parts
Popular Brands
- ColorFabb PETG
- eSun PETG
- E3D Spoolworks Edge
- Hatchbox PETG
- HobbyKing PETG
PETG plastic - optimal 3D printer settings
3DPrintStory 3D printing process PETG plastic - optimal 3D printer settings
One of the positive things about FDM 3D printing is the huge variety of materials you can work with.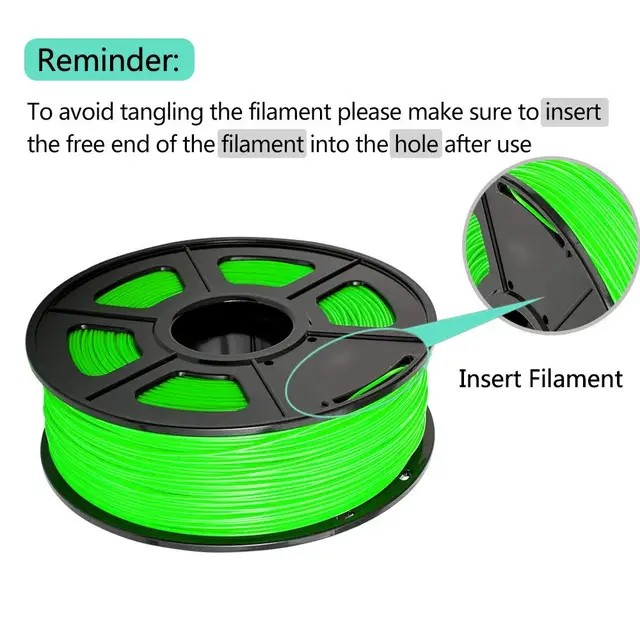 There are flexible materials, those that mimic the finish of wood, and some even have some degree of electrical conductivity.
The downside of having all of these filament options is that each of them requires some specific usage. In this article, we will look at how to get good quality 3D prints using PETG plastic, which, judging by the trends, will soon become one of the most popular. What 3D printer settings are best for PETG? What problems can you face when printing PETG plastic?
What is PETG?
PETG is a derivative of the extremely popular polyethylene terephthalate (PET). The "G" in PETG stands for "high glycol". The addition of a glycol group makes PETG slightly stronger and less brittle. It also has better optical properties and is easier to work with than PET. It has excellent chemical resistance and is a good moisture barrier.
In the world of 3D printing, PETG is often touted as the best of the two most popular materials, PLA and ABS. It prints at high temperatures, which provides good heat resistance. However, it does not have a high shrinkage ratio and has better adhesion between layers, which means that it does not have major warping problems. It also does not emit harmful gases during printing, which is one of the worst aspects of printing with ABS.
So PETG gives you almost all of the mechanical and chemical benefits of ABS with the same ease of processing as PLA. It is a good choice for functional parts that must withstand constant movement or pressure. Using PETG plastic, you can get almost completely transparent products, which makes it an excellent material for decorative elements.
Set up the 3D printer table
If you've ever printed with ABS, you know how difficult it is to get the first layer of an ABS model to grip the table. PETG also has some problems, but the reverse is that it sticks too well. If you do not take the necessary measures, you may end up with a finished model that cannot be removed from the table without damage.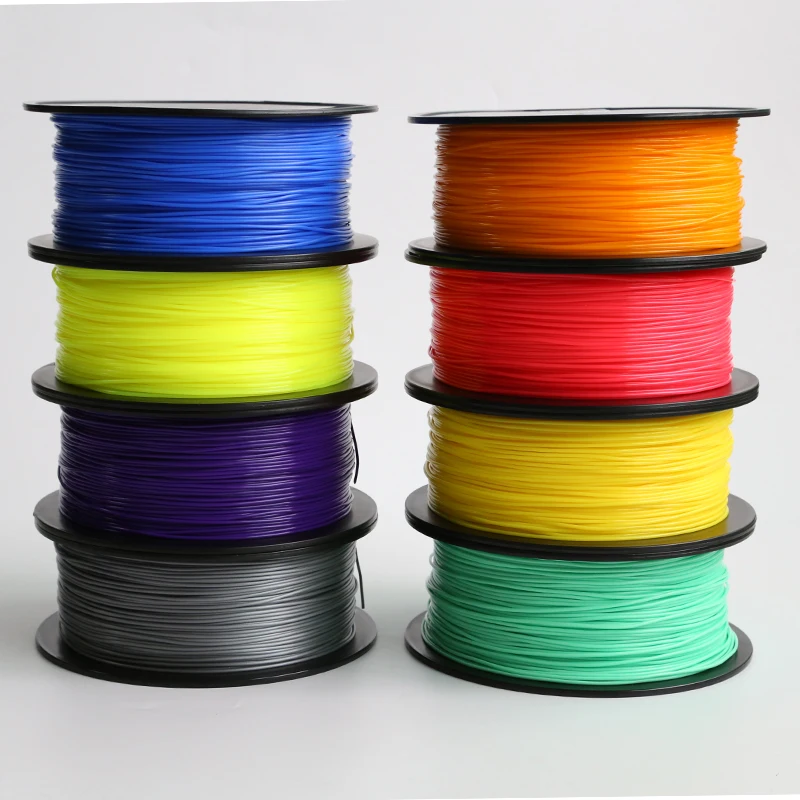
Due to the high printing temperatures of PETG, you still need a heated bed. A sudden drop in temperature will almost certainly cause warping if your 3D printing table is too cold. For PETG plastic, it is recommended to set the table temperature between 70° and 80° C. If you still have problems with adhesion to the layer at these settings, you can gradually increase the temperature up to 100° C.
To ensure that the 3D printed model comes off easily enough, it is recommended to use an adhesive that will come off with the model, such as glue stick or hairspray. Do not print directly on the glass to avoid scratching the table surface. Don't use BuildTak as every time you work with PETG you will almost certainly damage the BuildTak surface (which can be quite expensive).
Because PETG has no adhesion problems, there is no need to set the nozzle too low for the base coat. This is a technique used to "press" the first layer onto the table and improve the adhesion of the base layer. If you already have a run-in nozzle height setting for ABS or PLA, you can safely set a value that is two or three times higher for PETG. To improve aesthetics, it is worth using as high values as possible, so you can start with the maximum values and gradually lower them if you have any problems with adhesion.
If you want to accurately calibrate the nozzle height, a setting of 0.02-0.05 mm nozzle to table is a good starting point. You can set this to both the initial height of the nozzle and the height for the rest of the 3D model.
3D printing temperature, speed and retract
The main reason PETG is compared to ABS is that it prints at relatively high temperatures. A range of 220° to 265° C is commonly used, but your plastic manufacturer's recommendations may vary slightly. While PETG virtually eliminates any kink issues, you still run into other issues.
The first thing you need to do is determine if your 3D printer is capable of reaching the required temperatures.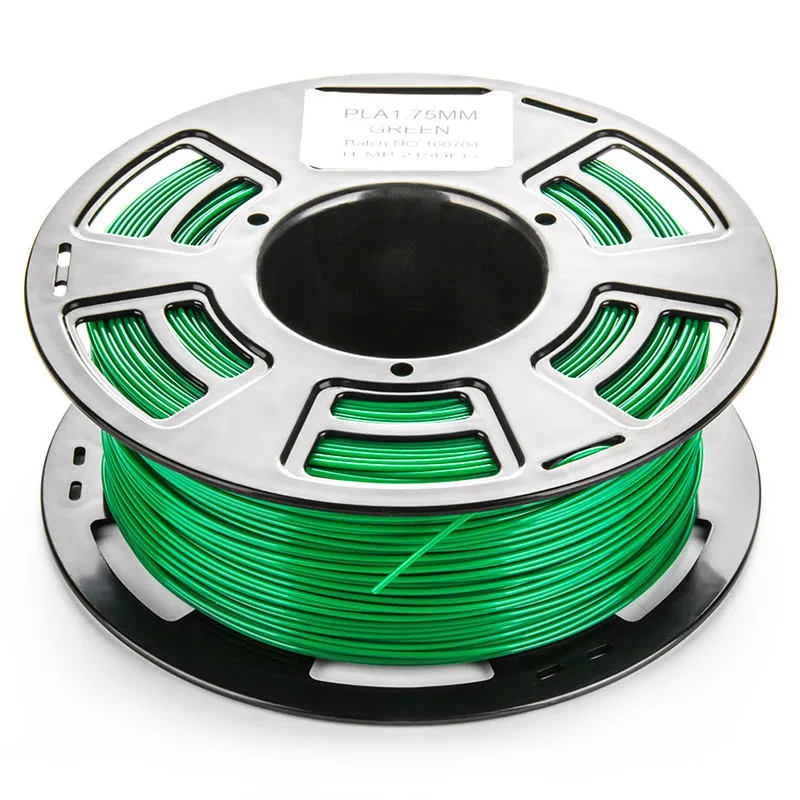 Some 3D printers provide 250°C, especially those that use PTFE tubing inside the extruder assembly. If you try to print with the wrong equipment, you will end up ruining not only your model, but also your extruder.
Setting the 3D print speed is a matter of getting the right balance, which should also consider the 3D print temperature. Printing at high speed, if your temperature is too low, can cause "overshoot" in the extruder because the material is not soft enough to come out of the nozzle. However, fast printing at very high temperatures can cause material residue to form between the voids in the model.
Start with a relatively moderate speed of 25 mm/s. If there are no problems with this setting, then you increase the speed to 50 mm/s. This should be enough to get a good PETG model without spending too much time. You can see information about printing PETG at 60 mm/s, but this is probably the absolute maximum if you do not want to have problems with material residue between the walls of the model.
Dealing with plastic residue between the walls of model
One of the most common problems when using high temperature materials is the aforementioned plastic residue, cobwebs between the walls. This occurs when molten material seeps out of the nozzle as the print head moves. These plastic residues are particularly troublesome when using PETG, as the material is strong and difficult to remove.
Unfortunately, the material that melts at high temperatures also has a low viscosity, which makes it even more prone to web formation. If you're having this problem when 3D printing PETG plastic, the first step is to lower the temperature and print speed a bit, although this will definitely reduce the overall time it takes to print any model.
Another option is to enable retract on your 3D printer, if possible. The retract allows the extruder mechanism to "pull in" a small amount of material to relieve pressure on the molten material that is right at the tip of the nozzle.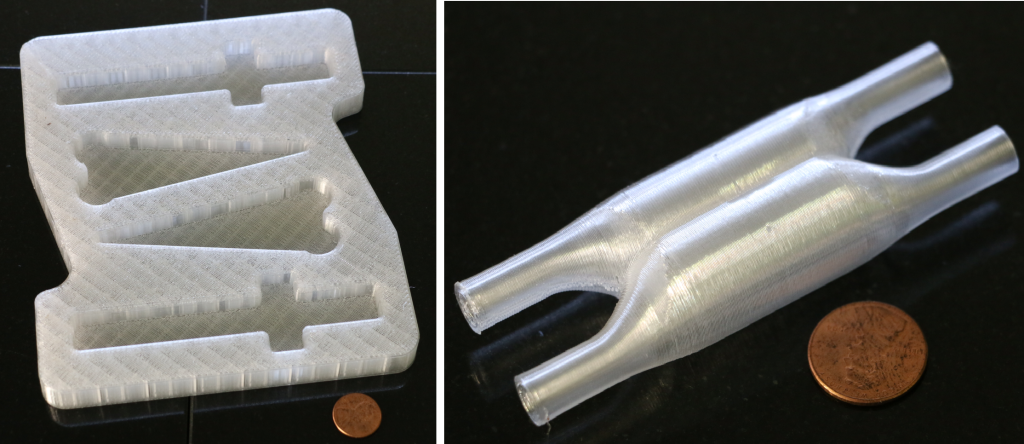 You can refine some parameters, such as retraction distance or speed, until there are no signs of plastic residue.
Turning down the cooling fan speed
PETG prints great and maintains a good level of detail without a cooling fan. Lack of cooling will also lead to better adhesion between coats. Printing PETG with the cooling fan turned off is perfectly normal.
Some users find it unnecessary to use the fan only for the first two layers and then print with the fan at 100%. This can be a good case if your 3D model has a lot of bridges and protrusions, or if you want your product to be as detailed as possible. In any case, watch out for any signs of cracks or layers peeling off during 3D printing, as PETG prints at high temperatures and doesn't like sudden changes in temperature.
The key to success is experimentation
PETG may be easier to work with than ABS, but if you're just getting started with it, it's worth learning about its features. Different grades of PETG materials can also behave differently and unpredictably. It may take some time to properly adjust the 3D print temperature, bed temperature, print speed, and retract settings. But once you find that sweet spot, you can enjoy all the benefits of PETG without the many problems that other plastics have.
When buying, you should choose a polyethylene terephthalate filament from a reliable manufacturer and work only with it without changing the manufacturer. Before you can get the optimal settings, you will probably have to print a few unsuccessful models. But don't despair, keep optimizing your settings and after a while working with PETG will become easier.
Conclusions
Many 3D printing professionals have long brag about PETG because of its potential to dethrone ABS from the Big Two position. After all, it has comparable properties, but it's not that hard to work with.
To say that PETG is as easy to work with as PLA is an overstatement. PLA will always be a filament for beginners because it is comfortable for people with basic skills and equipment. PETG will still need a high end 3D printer due to its thermal requirements. Finding the optimal balance of temperature, speed and retract will take some time, but through trial and error you will achieve the desired result.
I hope this material will help some of you to be less afraid of PETG and encourage you to try it out.
5 Easy Tips for PETG 3D Printing and 3D Printer Setup
How to Succeed in PETG 3D Printing? Here are our five simple tips and best settings for PETG.
Overview
PETG, or polyethylene terephthalate glycol, is a tough, heat-resistant, impact-resistant plastic widely used in FDM 3D printing.
In this article, we'll show you how to successfully print PETG and help you solve the most common problems. PETG printing is definitely not as painful as ABS printing, but there are some nuances here.
Note:
- Nozzle temperature
- Working platform temperature
- Sticking to the platform - adhesion
- Retraction settings
- Fan speed
- Support settings
- Moisture absorption
Fine tune print settings
Set the settings to optimal performance (Youtube Thomas Sanladerer)
To get to the print settings, start the slicer software. You must set it to the optimal mode for working with PETG.
Initial settings
If your slicer already has profiles for PETG, you're in luck. If not, you can take the initial settings for PLA and change something in them:
- Let's increase the nozzle temperature to the manufacturer's recommended one (usually from 220 to 260 ºC).
- Increase the print platform heater temperature to the manufacturer's recommended temperature (typically 50 to 85 ºC).
- Reduce the fan speed to 20.
 ..50%.
Fine tuning
Once everything is set up as described, you can start the test printout. You will notice that PETG tends to create filaments and excessive cooling can cause the layers to split.
Look at the test printout and correct the settings. If the layers do not stick together, reduce the fan speed or increase the print temperature. If the threads look menacing, increase the retraction speed or distance. If the object is deformed, twisted, lower the print temperature.
Continue tuning until you are satisfied with the result. If the problems do not want to be solved, then we will now give some tips that may come in handy.
Tip #1 Use glue stick or hairspray
PETG sticks too well to glass. (Youtube Thomas Sanladerer)
Usually a glue stick is used when the part doesn't adhere well to the print bed, so that it sticks better.
The opposite is true for PETG. It adheres so well itself that the part can sometimes be separated from the working platform only in parts.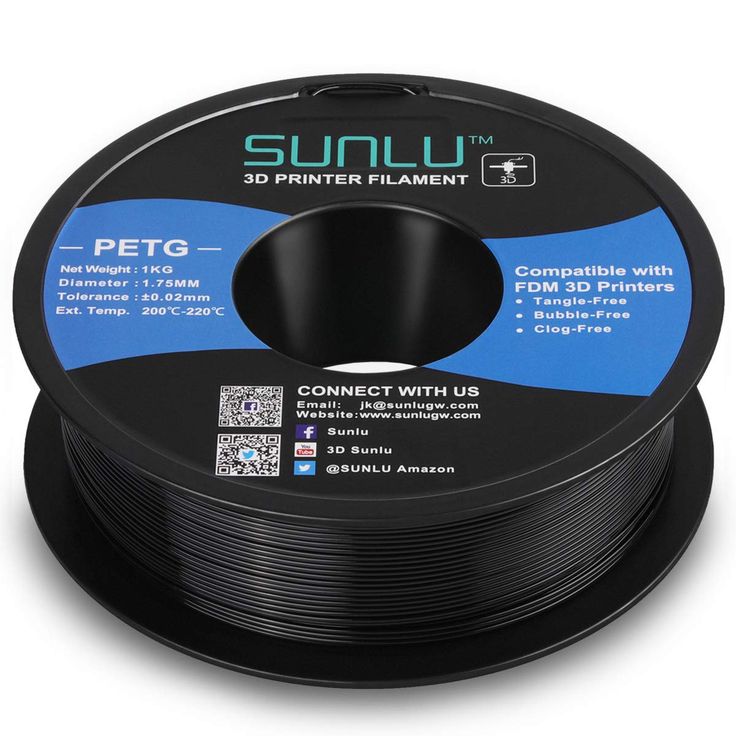
It is therefore always recommended to have a glue stick or hairspray on hand to act as an intermediate release agent. Do not print PETG directly on Fixpads, PEI, or glass. If these agents are used, then the part will separate with them and neither it nor the precision printing platform will be affected.
Tip #2 Adjust Retraction
PETG loves to filament (Youtube Thomas Sanladerer)
As already mentioned, PETG loves to filament and run. And the strength of the material makes these threads strong, as a result of which cobwebs and thickets can form on the printout, which are difficult to get rid of.
But they can be nipped in the bud if you set the print settings correctly, as mentioned above. In particular, try to increase the retraction distance, the retraction speed, the movement speed - within reasonable limits, of course.
Finally, if nothing else saves, a hot air gun can provide some help in the fight against hairiness.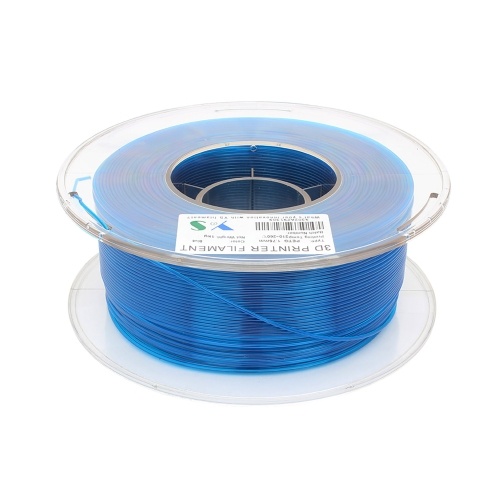
Tip #3: Avoid Cracking
Layers in PETG Prints Can Crack (Youtube Thomas Sanladerer)
If you switch to PETG from PLA, you will find that PETG cracks much more easily. PLA from abundant cooling only gets better, but PETG can suffer from this.
If print layers begin to separate or crack, reduce fan speed. PETG retains its shape at much higher temperatures than PLA, so overhangs and intricate shapes remain crisp. By reducing the cooling, the newly extruded plastic has more time to fully bond with the rest of the model.
Tip #4: Give space to the support structures
There needs to be more space for props in PETG (3DHubs)
As is often the case with FDM, some PETG models require support structures. However, if we set the bonding of the layers correctly, the PETG will adhere too well and will not let go of the props.
Here advanced slicer settings will help us, in which we need to increase the gaps between the support structures and the model itself (“Support Z Gap” or something like that).