Oneup 3d printer kit
Q3D ThreeUp Version 2 3D Printer Kit Full Review 2023
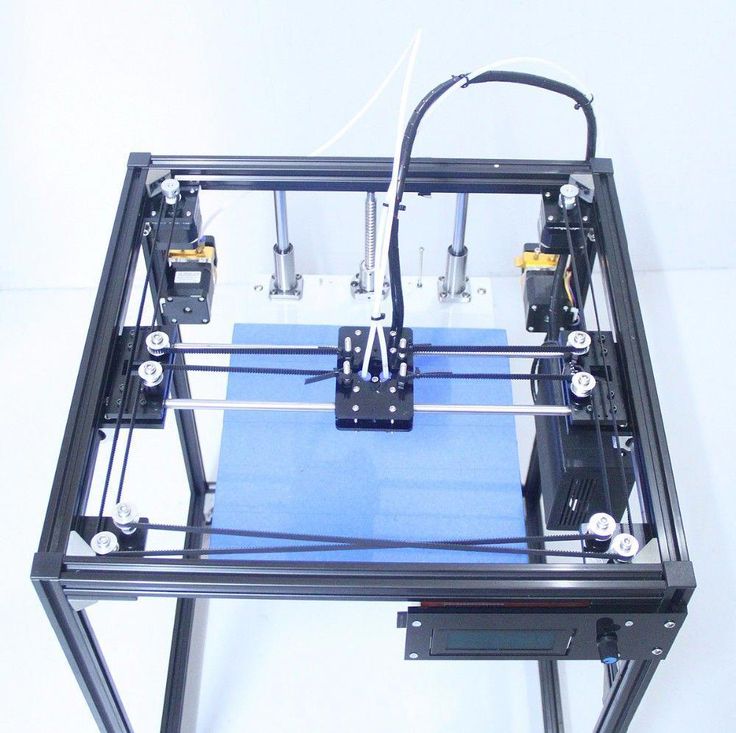
The Q3D ThreeUp Version 2 3D Printer is one of the best entry level 3D printers on the market.
With both dual and synchronized z-axis motors, its secure screws and nuts allow for rock-solid performance at incredibly high printing speeds.
Not only that, but the X gantry in the 2nd version has been reinforced to help improve printing quality to the next level.
The build area comes at 175 length x 175 width x 210 H in mm, which is definitely the largest among all entry-level printers.
Improvements include bolted on linear brackets equipped with additional rigidity in order to eliminate sag and shorten build time. In short, you’ll notice a huge difference in build quality with an increase of ease in calibration.
The initial setup of electronics has been replaced with replaceable stepper drivers and a more robust system which allows for higher printing speeds.
Customization and installation is much simpler and instructions make assembly a breeze.
What trumps all of these new features is not only is it more accurate when printing in fine detail, but the v1 nut is self-lubricating eliminating any squeaking sound.
A Great Introduction
The Q3D ThreeUp Version 2 3D Printer is a great introduction to 3D printing and is made for those looking to get into the industry or just want to use it for personal use.
As for speed, it has been comparable to the Makerbot for a fraction of the price with less amount of desk space taken up.
One difficulty that new users may find it’s slightly difficult to get the extruder dialed in, but with a flow rate of around 102% you’ll see a drastic increase in print quality.
This could be due to a slightly undersized filament, however. We’ve tested our prints with Hatchbox filament, and it was hardly different from the 10-foot sample that came included in the Q3D kit at a considerably cheaper price.
We recommend setting aside a minimum of 4 hours on a weekend in order to get everything together and setup.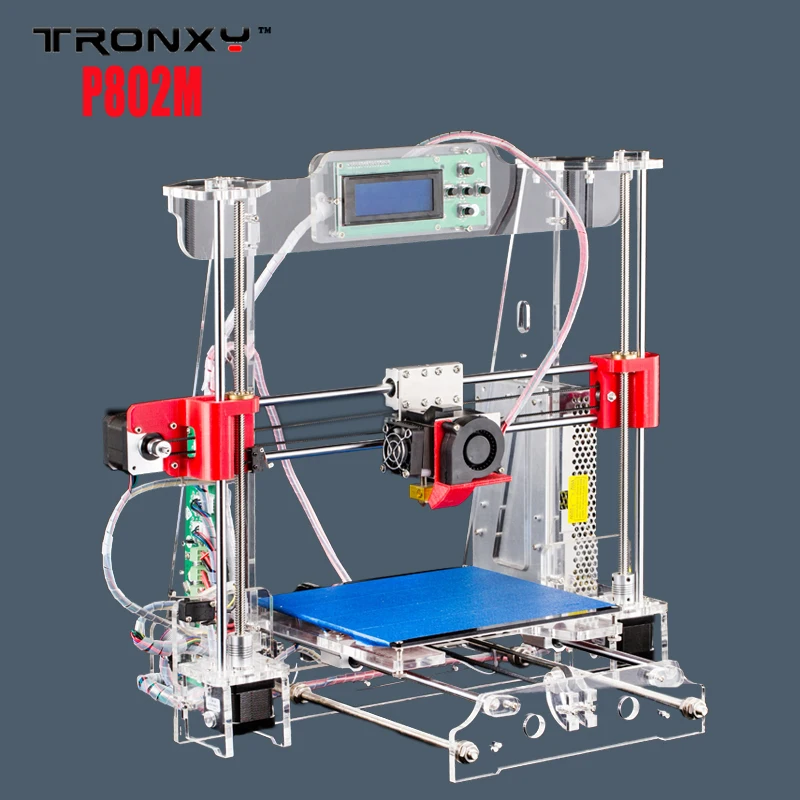
Calibration may take an additional hour, but it’s definitely needed to perfect your prints.
Instructions are well-put together and make assembly a breeze.
While we wish that the software that comes with it is a little bit better designed, it does serve its intended purpose and the same software tends to be the same for most entry-level printers.
It’s recommended that Simplify 3D is one of the best softwares on the market, but with its high price it’s not really necessary.
The Details
The Version 2 is different from Version 1 in many areas, but we’re going to be covering the main ones. First of all, this is one of the lowest-priced 3D printers that you’ll find on the market that comes with a decent and detail-oriented print quality.
A step below the ThreeUp is the TwoUp 3D printer which adds 75mm on both the X- and Y- Axes in the building area, with the Z-axis maintaining the same dimensions at 125mm.
If you’re looking to get started and don’t want to pay as much, this may be a good choice.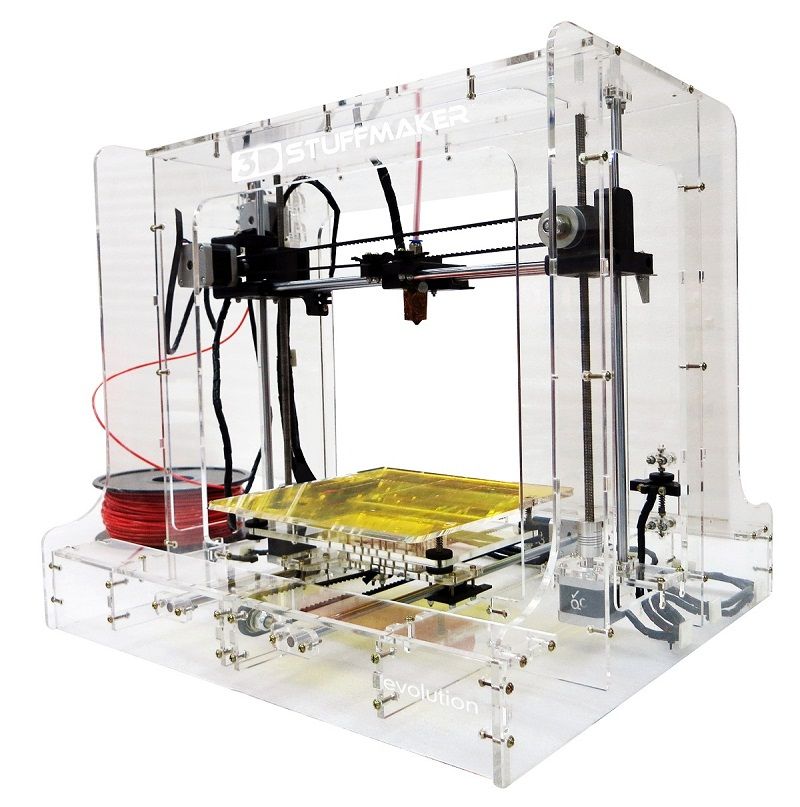
Yet if you really want to get serious about 3D printing with an entry-level model, we recommend going straight for the featured ThreeUp since you don’t end up buying two different printers.
Version 2 comes with a much better power supply due to the fact that the bed is basalt-heated with a silicone rubber heater and different electronic connectors.
This allows printing with ABS and Nylon material to reduce warping when plastic cools down.
You’ll see this when you initially build the device, and most reviews state that it’s usually a good idea to build your first one in order to get a feel for how it works.
This will make calibration that much easier, and thus improve the print quality dramatically.
While some may be opposed to this, our testers actually found this part one of the funnest part about the ThreeUp 3D Printer.
What we’re featuring in this review is a full self-assembly kit that includes a reliable extruder, instructions, tape, and a manual for starters who are new to the 3D printing world.
Other than the factors mentioned in the introduction and the heated bed, most other aspects between the OneUp, TwoUp, and the ThreeUp printers are essentially the same.
This is great, as we had little troubles with previous versions.
Other Notes
The printer is made of mdc coated in melamine, containing a very limited lifetime if you constantly tweak it.
This is why we recommend doing a thorough and detailed job the first time you assemble it. The quality of parts you receive with the printer are of incredibly high-quality for its price tag.
After we tested over 2 pounds of tape, we never had a single issue. However, the slight sag is noticeable on the printer, yet it doesn’t reflect print quality as long as everything is tight, motors are calibrated, and the bed is level.
When you first get the printer and have it assembled with everything working properly, we highly recommend printing replacement parts and upgrades.
You must understand that while this is great for an entry-level printer, you do get what you pay for and sometimes parts may need to be replaced.
Surprisingly enough, the heated bed doesn’t take away from the build area with the screws. One thing that we did notice is that taping the screws down in place sometimes increases print quality as well as reduce noise and cut down on tilting.
Make sure to slow down speeds until you get upgrades, as you don’t want to exert the printer on your first try and damage it right out of the box.
A final note is that you should measure the thickness of your paper when leveling the bed.
This can also be used to zero out your Z-axis for the first layer of height. All of these notes make the learning curve a little bit steep, but this is the case with most 3D printers.
By taking care of your product and taking all necessary precautions, it will have a long life, prints will come out perfect from the get-go, and you’ll be pleased with how much money you ended up saving.
Final Thoughts
Again, we recommend the Q3D ThreeUp Version 2 3D Printer Kit for those who are new to the 3D printing world. Those with experience will want something with more features and a longer-lasting life.
Any other printer that you want to start off with with such a large bed will cost you up in the thousands.
You’ll be amazed at the incredible print qualities that you can obtain with this device along with its ease of use and the ability to support both PLA and ABS tape.
When it comes to cheap products, you usually get something that’s of poor quality and limited use, but that’s not the case with the ThreeUp.
Tags:Q3D, ThreeUp
[mc4wp_form]
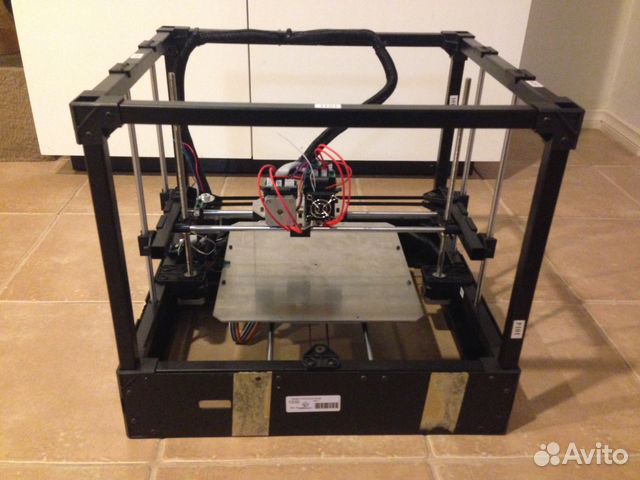
Hands-On With the $200 OneUp 3D Printer
I first spotted the OneUp 3D Printer at the 2014 Bay Area Maker Faire (San Mateo, CA) this last May. What caught my eye was not just the simplicity of the printer but also the colors… a variety of colors of laser-cut acrylic made the little 3DP really stand out. Both kids and adults were gawking and squeezing in for a closer look. I made a note to myself to keep an eye on this company…
Turns out, the OneUp had its start with a very successful Kickstarter campaign in late 2013 that raised $413,530. Part of that success could have been that the company had decided to make the little printer Open Source, but I think the real reason was the price… $199.00 for any backer that chose the single Extruder option. (The TwoUp almost doubles the print area for $279.00.)
Since that time, the company (QU-BD – short for Quintessential Universal Building Device) has continued to make improvements on the OneUp as well as add additional 3D printer models.
I reached out to the team at QU-BD and requested a OneUp for testing, and not only did they deliver a working OneUp to my doorstep, but they responded quickly to phone calls and emails when I had some questions. It turns out that many of my questions could have been answered if I’d checked out their well-done forums, but I still appreciate the fast responses — I can place a check in the “Good Customer Service” check box!
Part of keeping the price low on the OneUp is that the kit ships unassembled. Yes, this is a DIY kit… you will need to put it together yourself. I’ve looked at the assembly instructions and they are amazingly detailed and in full-color. I say I looked at them because the box that arrived (along with some test filament) on my door contained a fully-assembled OneUp. The team had put it together for me. For this reason, I cannot verify the actual time needed to assemble but the estimate is between two and eight hours depending on your comfort level and who you ask. Still, the first 3DP I put together took me dozens of hours due to trial-and-error and just not having actual instructions — I was actually WRITING the instructions for assembling the thing with its creator.)
After unboxing and plugging everything in, I was ready to start testing. With the OneUp, the motor controller board and power supply are mounted on an external board — all the wires from the Extruder, the fan, the motors, and the HotEnd terminate on the board, and the board communicates with your computer via an included USB cable. I was already quite familiar with the recommended Repetier Host software — I run it on my Mac, but it also works on Windows. (It’s also free for hobbyist users, although if you’re like me and find it very useful, you might want to consider making a donation to keep the updates and development going.)
Set up for the OneUp is pretty straight forward, involving a few setting tweaks in Repetier. You can find a detailed set of instructions here that include screenshots. The only real trial-and-error I had to perform with the OneUp was dialing in the proper temperature for the PLA filament I was feeding it. My other 3DP also uses PLA, and I have the temperature set to 203 degrees F for just the right melting point and solidification upon exiting the HotEnd. With the OneUp, I found that a setting of 193 degrees F worked the best. This took me about 5-10 minutes of tinkering, and once I had it dialed in I began tweaking a few other items such as movement speeds and Fill settings.
One of the first things I noticed with the OneUp is that it runs a little bit slower than the other 3D printers I’ve tested and used in the past. Not a LOT slower, but slower. Maybe 60% of the standard speed I’m used to seeing. This is fine… I’ve long accepted the fact that printing ANYTHING with a 3D printer that you wish to actually use will take some time. If you’re looking for a speed-demon 3DP, this is not going to be the machine you want. But I’m going to add this in there (and quite often) — at $200, you’re going to be quite satisfied with the quality of print you can obtain if your patient.
The specs on the OneUp are quite good — the motors are NEMA 17 and are quite typical. The filament used is 1.75mm and the 0.4mm nozzle on the Extruder began to give me pretty much identical results with some additional tweaking and testing. Print area is going to be on the smaller size — 4″ x 4″ x 5″ (inches) but again… you’re dealing with a $200.00 3D printer versus a $500+ printer for a slightly larger print area.
During printing, the OneUp is surprisingly quiet. It’s not noise-free by any means, but I’ve seen more expensive 3DPs produce much louder movements.-kupit-v-soin-store.ru-7.png) The OneUP uses notched belts for movement for X and Y axis moves and a lead screw for the Z axis — movement in all directions was smooth and not jerky. I’ve seen some 3DPs that shake quite a bit with all the motor movement, so I was quite surprised and happy to see that the OneUp wasn’t going to walk itself off my desk. (I still set it on a small grippy pad, but it was probably not necessary.)
The OneUP uses notched belts for movement for X and Y axis moves and a lead screw for the Z axis — movement in all directions was smooth and not jerky. I’ve seen some 3DPs that shake quite a bit with all the motor movement, so I was quite surprised and happy to see that the OneUp wasn’t going to walk itself off my desk. (I still set it on a small grippy pad, but it was probably not necessary.)
It took me about five or six prints to get my standard Maker token to come out at the print quality level I expect. This is not typical — you will likely spend MORE test prints dialing in your own 3D printer and getting it just the way you like. I have prior experience on my side which allowed me to reduce the time spent on tweaks and such… that said, I have no doubt there are still some tweaks I could make for even further improvements in the quality of my prints. (If you’ve never owned a 3DP, you should know that the tweaking of settings is a never ending thing, and users are ALWAYS looking for a small value change here or a decimal tweak there to eek out a subtle improvement. )
)
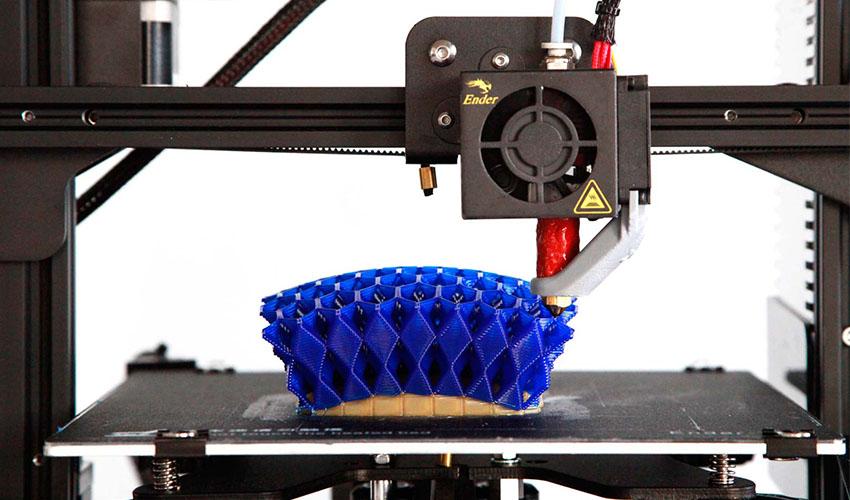
I said earlier that I didn’t build this machine, but I did examine its assembly to see what’s involved. The laser cut parts are going to fit together nicely… and tight! I tried to pull one side of the base off (because it’s designed to come off) and I was glad to see that while it didn’t come off easily, it also didn’t require ultra-strength to pull it off and a risk to damaging or breaking a part. I’m including a photo closeup below so you can see the notched assembly method that many of the melamine body parts use to “snap” together.
So, the first question is this — is this a good 3DP for the price? Absolutely. Just examining the hardware by itself, it’s a great deal — the NEMA motors are reliable, the Anubis hot-end (with user-replaceable nozzle) is reliable and produces quality layers and final results. The belt-driven movement of the print bed is smooth due to high quality bearings and chrome-plated steel rods.
Another question — is it suitable for beginners? This one’s a little trickier to answer.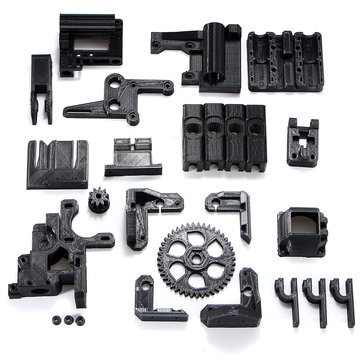 First, it’s a DIY kit, so the print results you get are going to be partially based on how well you put the thing together. My test machine was assembled by the QU-BD crew, so you could argue they’ve probably built enough in their day to know every little in-and-out of assembly and provided me with the most accurately built machine possible. This is where I would point a novice to the company’s forums and tell them to use it whenever in doubt about a step. The assembly instructions are good, but nothing beats reaching out to experts when you have a question. (The other half of the question relates to configuring the Repetier software — and again, there’s PLENTY of advice and instruction on the forums to help a novice figure out what all the settings mean and how best to test for the right values and settings for an individual’s OneUp.)
And another question — is it suitable for kids? At the $200 price point, I can certainly understand why parents would be interested in this printer. But you can’t just drop this kit on a younger user and expect perfect results. This is a great kit for a parent-child project — your patience will probably be tested on more than one occasion (and this happens with ANY DIY 3DP kit), and you want to make certain that your expectations are reasonable. You’re not going to be printing out glass smooth prints 30 minutes after assembling this printer. The assembly process is a learning experience and so is the software configuration. If you’ve got a child who wants to be up and printing as fast as possible… this may not be the path you want to take. I’m a big proponent of DIY — when you build something, you will typically also know how to fix it. If your child has a certain comfort level with tinkering, they may very well love this kit. At age 10 or 11, I would have gone ga-ga over this thing.
Final thoughts? I mean, it’s a $200 3D printer (and for only $80 more, you can have a printer that prints in two colors)! Five years ago, something that couldn’t even provide this quality of final print would have cost about $1000 or more. If you’re expecting to match the speed and quality of a (current) $3000 3DP, you’re going to be disappointed. This is an entry-level 3DP, but it’s certainly capable of producing some outstanding results. But those results will come from time spent with your machine. The melamine pieces are certainly sturdy enough, but you can’t go dropping this thing on the floor from any height. And the electronics are exposed — if this bothers you, you’ll need to create your own enclosure. But again… $200.00 for an honest-to-goodness PLA-printing machine that uses the standard 1.75mm filament with a 0.4mm nozzle. Not. Too. Shabby.
I’d like to thank Nathan and Adam with QU-BD for all their help in arranging for a test machine and for answering my technical questions. I think they must have some really happy customers because they continue to sell out of the kit — I had to wait a bit to get mine, and it was worth the wait to see just how compact and quiet and light this little machine really is… such a great little deal for a very reasonable price.
Liked it? Take a second to support GeekDad and GeekMom on Patreon!
STL file One up shad lure mold・3D printer design download・Cults
The best files for 3D printers in the Tools category
DiscoEasy200 - by Dagoma
Free
Workbee CNC/Endurance Laser Adapter
Free
MEDIEVAL ORGANIZER
0.50 €
CIRCUIT I BM005
Free
Customizable Cooling Fan Speed and Flow Test
Free
Walnut cracker
Free
Dental Aspirator/Vacuum - COVID-19
8.68 €
Ultimaker 2 temperature torture calibration test
Free
Bestsellers in the Tools category
'ELEGANCE' Bambu lab kit and general 3d printers
5 €
well designed: Hemera fan duct
2. 50 €
50 €
Ender 3 Briss fang Gen2, red lizard, spider, nf crazy, dragonfly, etc. nine0008
1.75 €
PET-Machine, make your own plastic bottle filament at home!
15 €
Case for Chill Buddy lighter
0,93 €
Ratchet holders - magnetic - holders for tool box organization
2,68 €
nine0007 INDICATOR FOR BETTER BED LEVELING FOR ENDER 3 V22,37 €
Ender 3 S1 BEST cable guide - vertical
2,50 €
Generativ Design Y-Filamentsplitter Bambulab AMS-Extern RS-CONCEPTS
2,50 €
Phone holder
2.44 €
nine0007 ENDER 3 S1, S1 PRO, SPRITE, HOT END DUCT 4020 OR 5015 FAN, PROBE NO Y OFFSET €2. -20% 1.83 €  28
28
ENDER 3 S1, S1 PRO, SPRITE, V3 AIR DUCT FAN 5015, ACCELEROMETER, LED strip
€2.69 -20% 2.15€
Ender 3 S1 Dual 40mm Fan Hot End Duct
1.42 €
Business card embossing system
3 €
Ender 3 S1 pro fan duct 5015 4020
1,30 €
Printer boxes for Ikea Lack Table
1,99 €
Do you want to support Cults? nine0005
Do you like Cults and want to help us continue our journey on our own ? Please note that we are a small team of 3 people, so supporting us in maintaining the activities of and creating future developments of is very simple.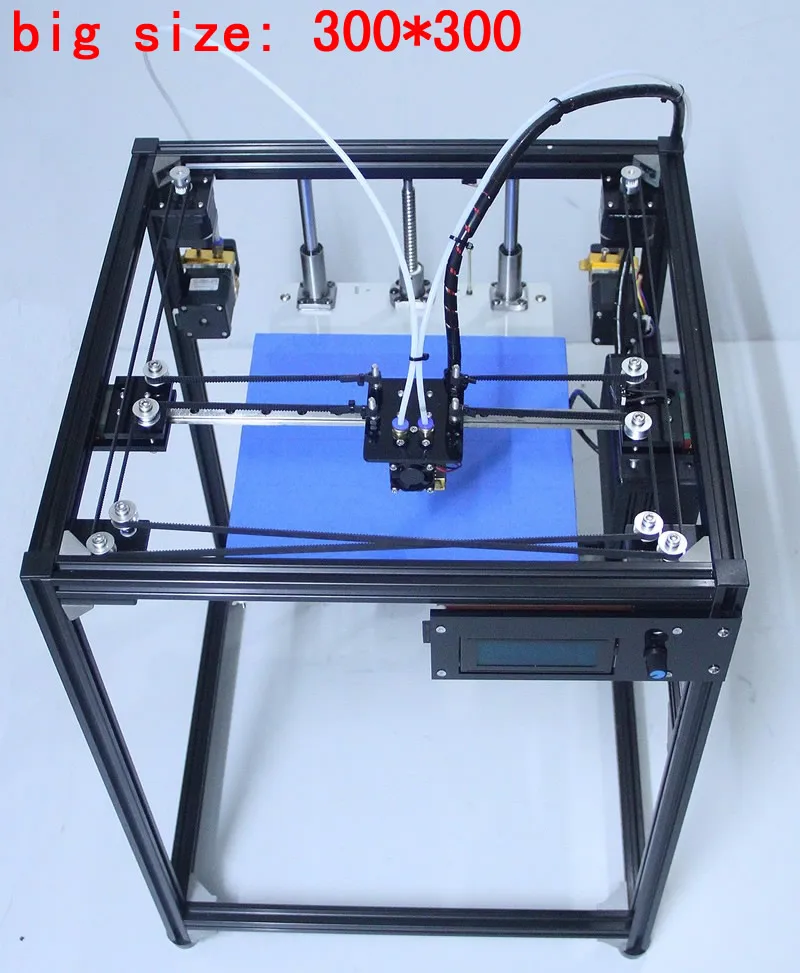 Here are 4 solutions available to everyone:
-
ADVERTISING: Disable the AdBlock banner blocker and click on our banner ads.
-
affiliation: Shop online by following our affiliate links here Amazon.
-
DONATIONS: If you want, you can donate via PayPal here.
-
* INVITE FRIENDS: * Invite your friends, discover the platform and great 3D files shared by the community!
Creality Ender-3 Neo 3D printer
Out of stock
Add to compare
Product added to compare Go
15 890 ₽
Notify me of admission nine0006
Official distributor
We work directly with manufacturers.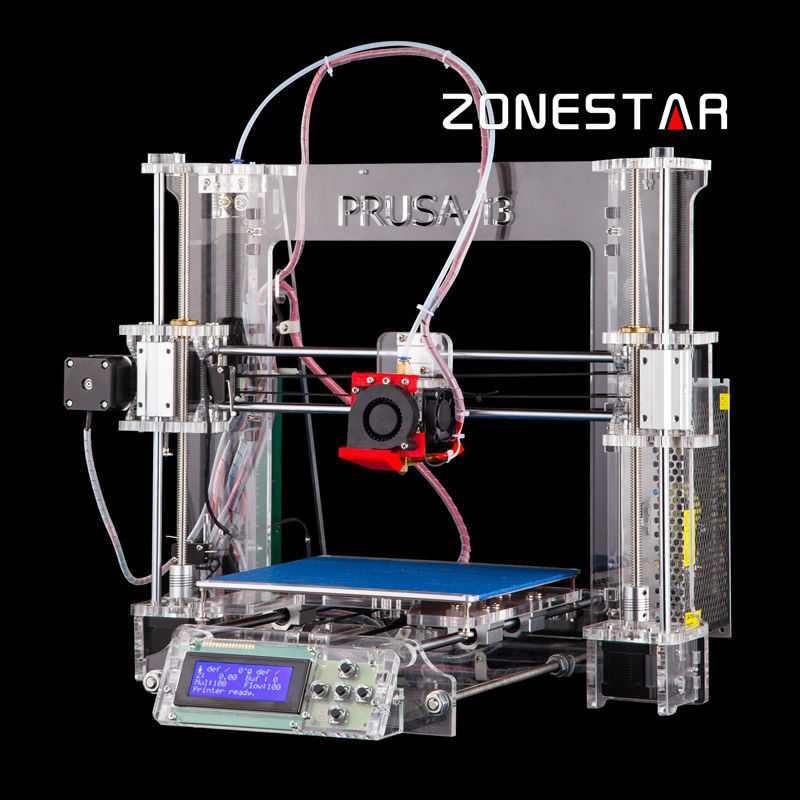
Any form of payment
An opportunity to see the 3D printer in action in our demo room.
Own warranty service
Warranty and post-warranty service of equipment purchased from us.
Permanent 10% discount on consumables nine0006
When you buy a 3D printer from us,
, you get a 10% discount on all consumables.
The Creality Ender-3 Neo 3D Printer is a new and improved version of Creality Ender-3, the most popular budget model among users.
The Ender-3 Neo features an all-metal bowden extruder, Creality's proprietary CR-Touch auto-calibration, a corrugated heatspreader for better heat dissipation, and more.
Creality Ender-3 Neo 3D Printer Features:
- Easier and faster CR Touch platform calibration
Creality's own development, CR Touch provides automatic calibration by adjusting the height between the nozzle and the platform, making alignment easier and more accurate.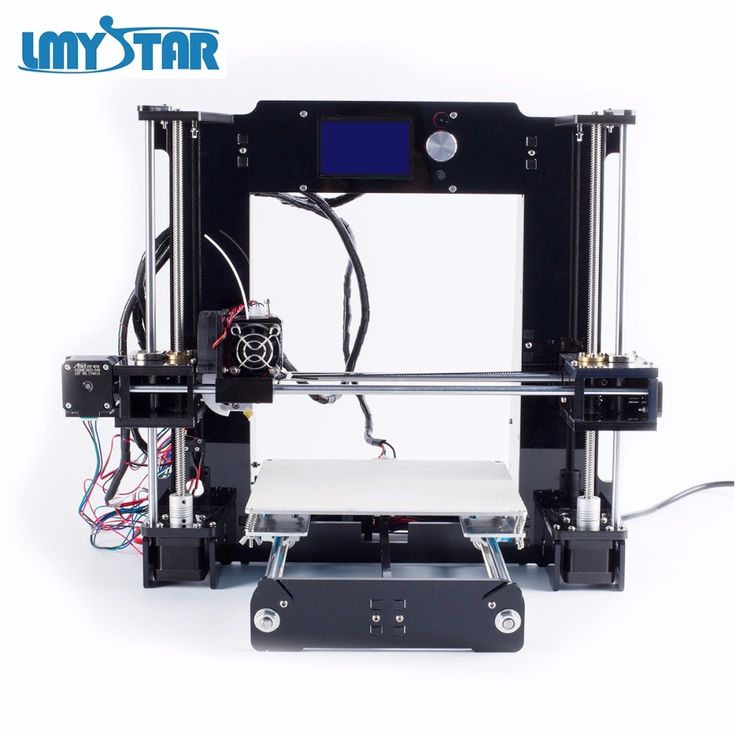
- Enjoy Quiet Printing with the Silent Motherboard
- Rapid heat dissipation
The corrugated heat sink increases the area of influence. Rapid heat dissipation greatly reduces the risk of clogging of the guide tube. nine0006
- Smooth Filament Feeding All-Metal Extruder
It is more durable and ensures smooth material feeding.
- Quick and easy assembly
You can assemble the printer yourself quickly and without much hassle.
- Stable printing with durable print bed surface
The solid surface of the carborundum glass platform is characterized by uniform heating, reduces the risk of deformation and ensures good adhesion. nine0006
- Heavy duty alloy steel springs provide better platform support
- No more worries about power outages
The Resume Print feature allows you to resume printing from where it left off, avoiding crashes and wasted media.