Make whale 3d printing
▷ whale print 3d models 【 STLFinder 】
Blue Whale 3D print model
cgtrader
Blue Whale 3D print Model File: OBJ ((Merged Dynamesh Decimated Cleanup ) STL (Model is STL file format and Ready to 3D Printing ) Zbrush ZTL Zbrust2019 Image : Zbrush
Whale 3D print model
cgtrader
blue whale
Whale 3D print model
cgtrader
Whale for 3D Printing or Renderings - Wal für 3D Druck - Ballena para impresión 3d
Cute Whale Easier Print
thingiverse
Based on this (https://www. thingiverse.com/thing:2739346) original design but with a different tail for easier printing. ...Still might need some supports.
whale 3D print model
cgtrader
ballena Polygons: 3,000,000 Approximate hight of 6.8 cm, Approximate width of 4.4 cm, long 18 cm Design for 3D printing License Private Use Only Non Commercial No Derivatives NOTE: Do not under any circumstances share these files for free or...
Humpback Whale 3D print model
cgtrader
Humpback Whale. 3D model prepared for 3D printing. ...The model is presented in formats STL and OBJ
Happy Whale 3D print model
cgtrader
This happy whale comes with 2 files. One is hollowed out and ready to be 3d printed 60mm tall. The second file is the unadultered version that you can prep for printing whatever the scale. ...
Killer Whale 3D print model
cgtrader
Ready to print Killer Whale with realistic modeling, perfect topology, and high resolution of polygon. Comes in the following formats: .Stl .fbx .Obj .Blend .max make it still editable for you, STL & OBJ files have been checked for errors in...
Humpback Whale Easy Print - Remix For Delta Printer
thingiverse
This is a remix of a vertical print of a humpback whale from 2015. I have made a few changes to allow for easy printing on my delta printer. NO supports are needed. It prints vertically. Head down, tail up. I used 5% Gyroid infill. The overall...
Whale Charm 3D print model
cgtrader
A great design with colorful gemstonesl. ...Whale Charm 3D print model. Unique design. Great item to add to your collection! Can be used both as a charm on bracelet and as a pendant. Pandora style. ...
Whale Shark 3D print model
cgtrader
Fish :Whale Shark OBJ (Merged Dynamesh Decimated ) STL (Model is STL file format and Ready to 3D Printing ) OBJ&STL : Splited on 3 part Shark 98,017 Polygon Shark(Rock) 180,830 Polygon Shark(Base) 8,134 Polygon Zbrush ZTL Zbrust2019(Splited on 3.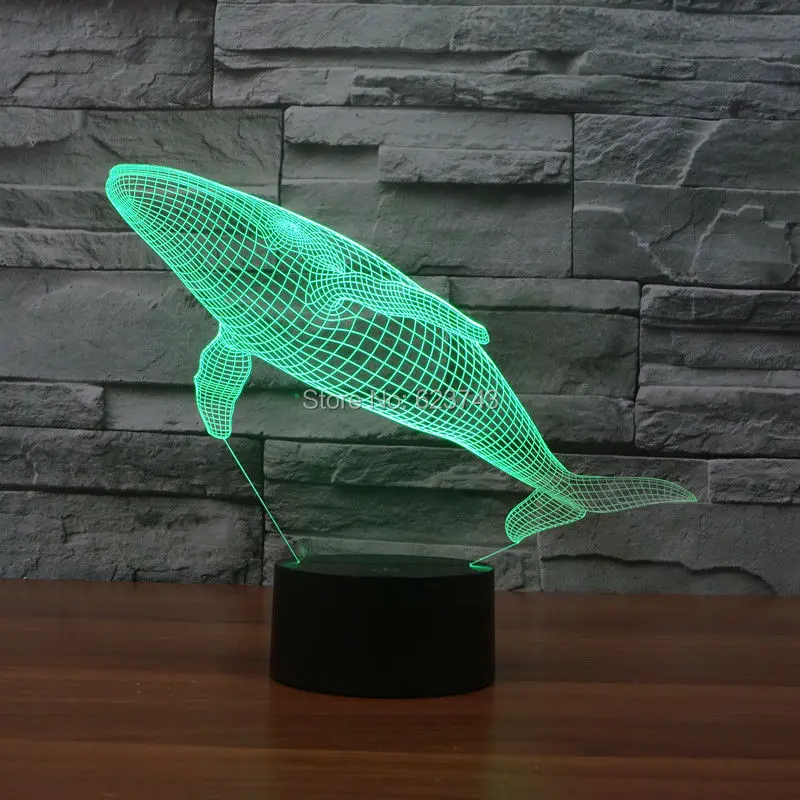 ..
..
KILLER WHALE ORCA 3D print model
cgtrader
simple but beautiful surface model of a Killer Whale/Orca
Humpback Whale Ring 3D print model
cgtrader
Ring size: 18.1mm Metal weight: White gold 18kt - 18gr White gold 14kt - 16.5gr Silver - 12.5gr Model is ready for prototyping on CNC and 3D Printing. ...
Sperm Whale printable 3D print model
cgtrader
Ready to print Sperm While with realistic modeling, perfect topology, and high resolution of polygon. The model have two parts. part 1 : Head x: 92.7 mm y: 86.2 mm z: 146.5 mm part 2 : Body x: 142.9 mm y: 157.5 mm z: 253.3 mm Comes in the...
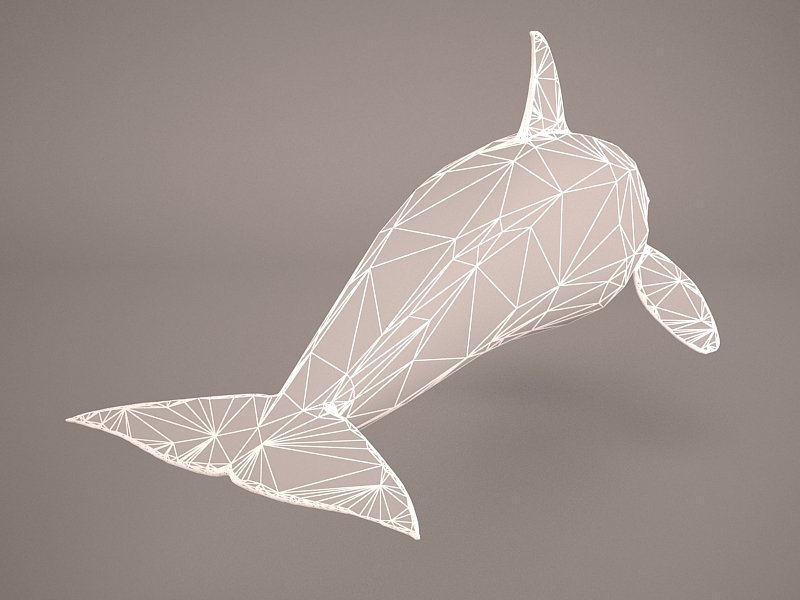
Humback Whale Printable 3D print model
cgtrader
Ready to print Humback While with realistic modeling, perfect topology, and high resolution of polygon. The model have two parts. part 1 : Head x: 65.0 mm y: 54.0 mm z: 101.0 mm part 2 : Body x: 198.6 mm y: 82.2 mm z: 300.7 mm Comes in the...
whale earrings Free 3D print model
cgtrader
whale earrings
Happy whale cookie cutter 3D print model
cgtrader
Printable happy whale cookie cutter
Whale Flowerpot Free 3D print model
cgtrader
DIY : Whale Flowerpot OBJ (Total 228,079 Polygon ) STL (Model is STL file format and Ready to 3D Printing ) OBJ,STL,VRML(Format Printing ) ZTL Zbrust2019 Size : X : Face Length : 5.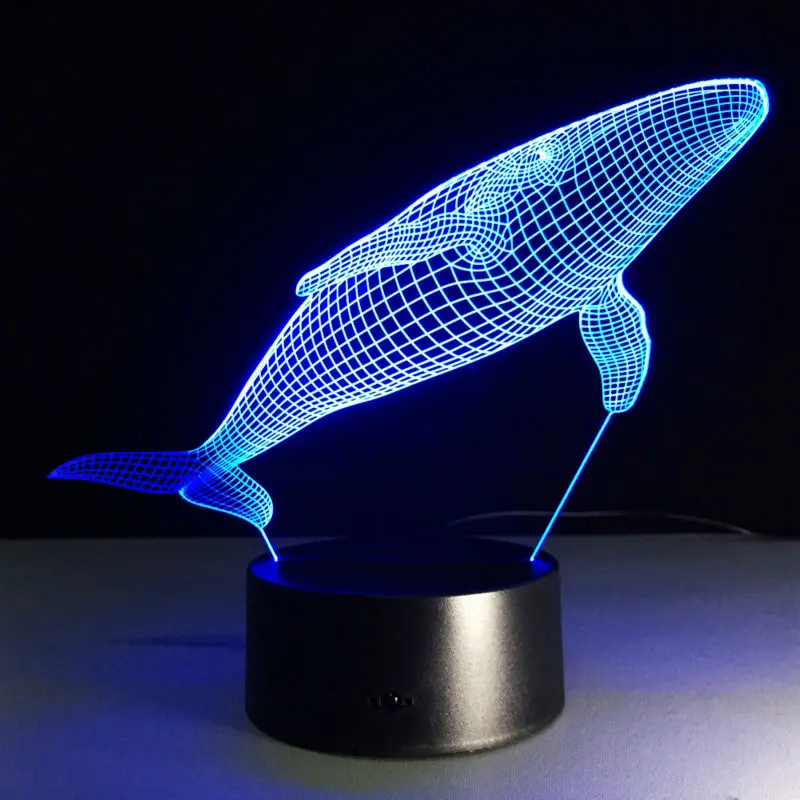 21 Inch Z : Depth Length : 3 Inch Y : Height Length : 3 Inch Printer...
Whale Shark Printable 3D print model
cgtrader
Ready to print Whale Shark with realistic modeling, perfect topology, and high resolution of polygon. Comes in the following formats: .Stl .fbx .Obj .Blend .max make it still editable for you, STL & OBJ files have been checked for errors in...
Sperm Whale Tooth Free 3D print model
cgtrader
Whale ivory and bone were taken from beached whales. Developed as part of the art project series "Ghosts in the form of gifts" commissioned by Massey University Wellington, New Zealand in 2009.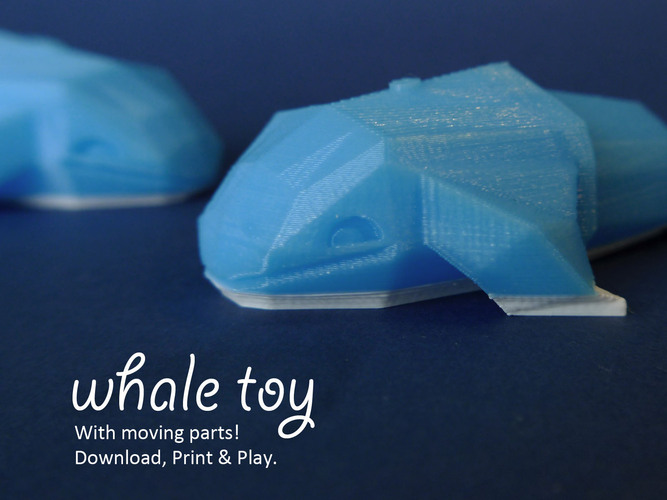 Project page: bronwyn.co.nz/projects/gifts/ The series...
Whale Cookie Cutter 3D print model
cgtrader
This original and exclusive 3d printed cookie cutter is great not only for cookie or playdoh, but also for soft sorts of cheese or fondant. Suitable for 3D printing - wall width 1mm. ... Dimentions of the cutting area: W=4in H=2.6in
Whale tail pattern band 3D print model
cults3d
Whale tail pattern band Ready to print with the possibility to be scaled. Made in solidworks 2020 with highly detailed STLs for optimum 3d printing results. Perfect for gold and silver jewelery.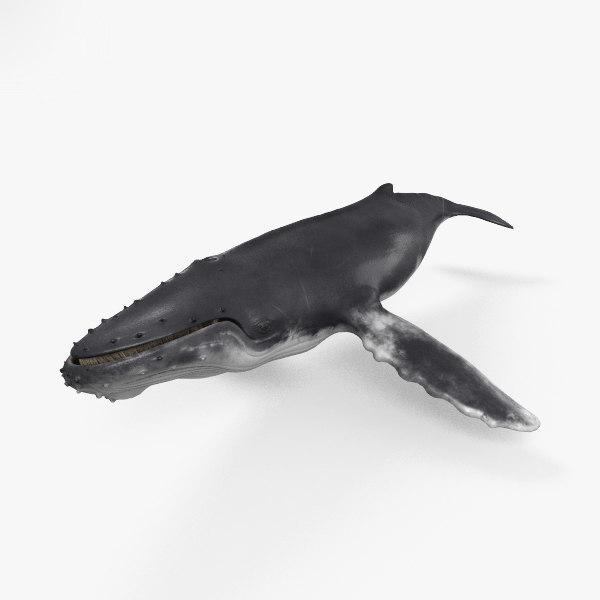 To be used by jewelry designers and craftsmens.
Whale Business Card Holder 3D print model
cgtrader
Print something special for your office or a gift for your beloved one Card space dimensions 95mm*45mm*10mm to fit all business cards sizes File format : STL Support material needed in just the overhang part of the tail end The final model dimensions...
Fossil Whale Optimized for Desktop 3D Printing
myminifactory
Here's a fossil whale .stl we sourced from the Smithsonian X 3D models catalog:http://3d.si.edu/browser It was optimized for desktop 3d printing through quadric edge decimation in order to drastically reduce mesh face count and file size.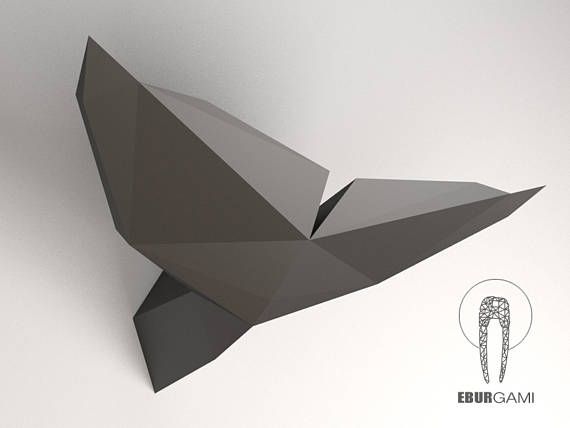 Printed for...
Fossil Whale Optimized for Desktop 3D Printing
thingiverse
Here's a fossil whale .stl we sourced from the Smithsonian X 3D models catalog: http://3d.si.edu/browser It was optimized for desktop 3d printing through quadric edge decimation in order to drastically reduce mesh face count and file size. Printed...
Humpback whale jumping intended for 3D printing
cults3d
There are two variations, base and whale with hole for fitting in on the base and also just a whale with no hole if you want to use him without the stand. Model is 13.36cm tall from bottom of base to top of the whale. But you can easily resize it...
BBW Whale of the Pedo Pals 3D print model
cgtrader
BBW Whale of the Pedo Pals collection.You can buy a 3D Print of it here: https://www.shapeways.com/model/1729357/bbw-whale.html?li=shop-results&materialId=26
Spem whale 3d stl model for cnc 3D print model
cgtrader
Sperm whale, 3d stl model for cnc. Feel free to contact me if you have any questions about the model. Enjoy! ...
Diamond whale tail necklace pendant 3D print model 3D print model
cgtrader
3d model Diamond whale tail necklace pendant in stl, obj and 3dm format Model is ready for prototyping on CNC and 3D Printing. Metal weight : white gold 1.93g Gemstone size: 25 round stones 1.30mm Model size 15.9x15.9mm 46068 vertices, 56950...
Whale night lamp or veladora 3D print model
cgtrader
The assembling is easy, it is better if you glue the 3 sides where the ensamble. Leave the top unglued to be able to take of the lamp in case y burns. Use low consume light bulbs. You will need a lamp holder, a switch, cable an the plug. ...
Whale 3d Print - Etsy.de
Etsy is no longer supporting older versions of your web browser in order to ensure that user data remains secure. Please update to the latest version.
Take full advantage of our site features by enabling JavaScript.
Find something memorable, join a community doing good.
( 429 relevant results, with Ads Sellers looking to grow their business and reach more interested buyers can use Etsy’s advertising platform to promote their items. You’ll see ad results based on factors like relevancy, and the amount sellers pay per click. Learn more. )
3D printing from negative to positive / Sudo Null IT News
When the trees were big and there were no digital cameras yet, everyone used conventional film cameras.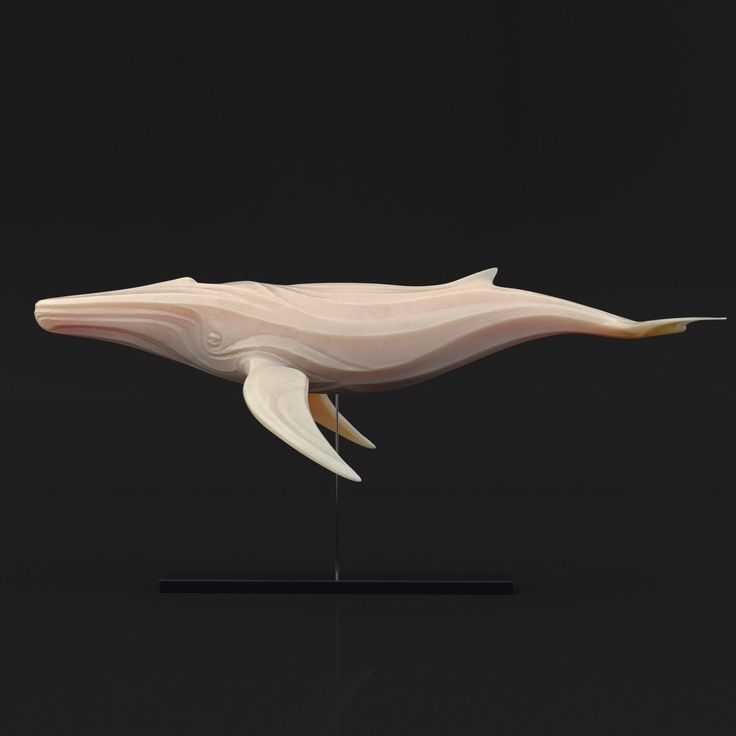 These are the ones that are now shown to children in museums. And our parents, and their parents, and so on, all used such cameras, and then developed films and printed photographs. Many have accumulated rolls of these films that they did not have time to print, and now, sorting through old boxes, many want to transfer these negatives, aging witnesses of history, into digital form for posterity.
This happened to our buyer of a 3D printer from Kostroma. He looked on the Internet for several devices made of cardboard and decided to make a similar device on his own, but using a 3D printer. He designed everything himself, but there was a problem with this very ability to print. In general, he sent a letter with a request to help him solve this problem now, and how not to get into such situations with future work.
His work sent to us, and all the background, of course, published with the permission of our buyer.
We were sent a *stl file, which was loaded into the print program, and we saw the thinnest rectangular hole.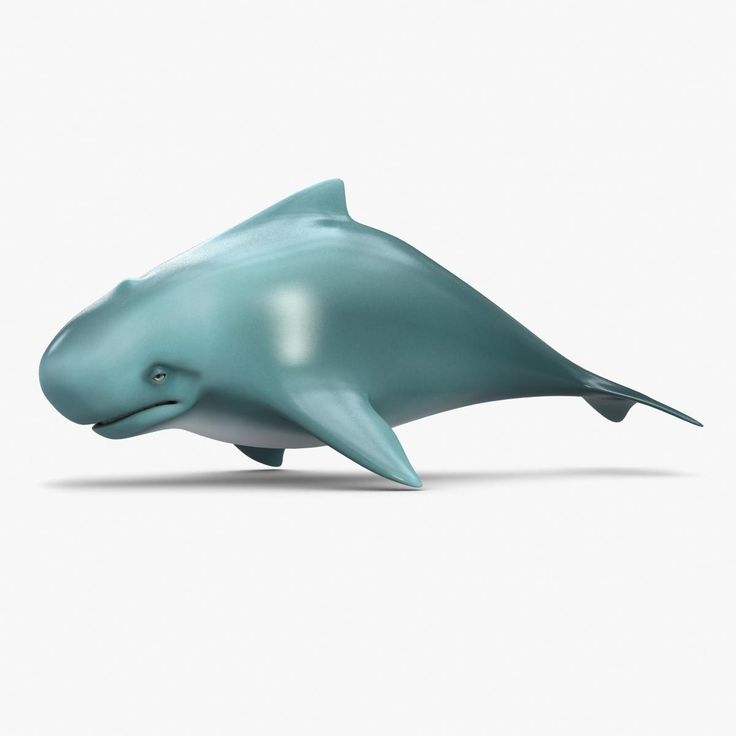 We read further the letter and understand the purpose of this hole and, in general, the whole structure, and then we delve into its problem and understand that in this variant one cannot do without supports, and they clog this gap with him.
The photo below shows the detail. It's simple at first glance, but when it comes to supports, it's where the little details are always a problem. Therefore, we try to make our various parts in the style of "without supports". And we save plastic and time on peeling.
The source was sent to us, we cut it with a section, designed a spike and a groove for pairing the two halves, as well as protrusions that prevent vertical displacement.
The part turned out to be asymmetric, but when printing two copies, they should fit perfectly.
Everything is printed without supports, and the body halves are oriented horizontally during printing so that the tongue and groove look up. The total weight is about 35-40 grams of plastic and 2 hours of printer operation. When assembling, if the SPIN will not enter the groove, then in order for it to enter, it (the thorn) must be scraped (you can use the edge of a clerical knife) along the entire length on both sides so that it decreases in thickness so that it enters without much effort groove. Then we put on the ring, and on top we put on an extension cord, which fixes the two halves on top and raises the lens to the minimum required height of the “macro mode”. The outer diameter of our model is 50 mm, so if you want to make your own extension, you can focus on this size and make the inner diameter of the extension 50.2 mm.
Assembling the body of the device is a crucial moment. It is important to take packaging from high-quality ABS or PLA plastic, because. only high-quality plastic has high-quality cardboard packaging :)
We mark the place where the light from the lamp will pass and cut it out. Pay attention, in our case we cut exactly the bottom. Next, we lay a sheet of white paper for diffusion and try on a light bulb (here E14, 10W) with a cartridge and a wire.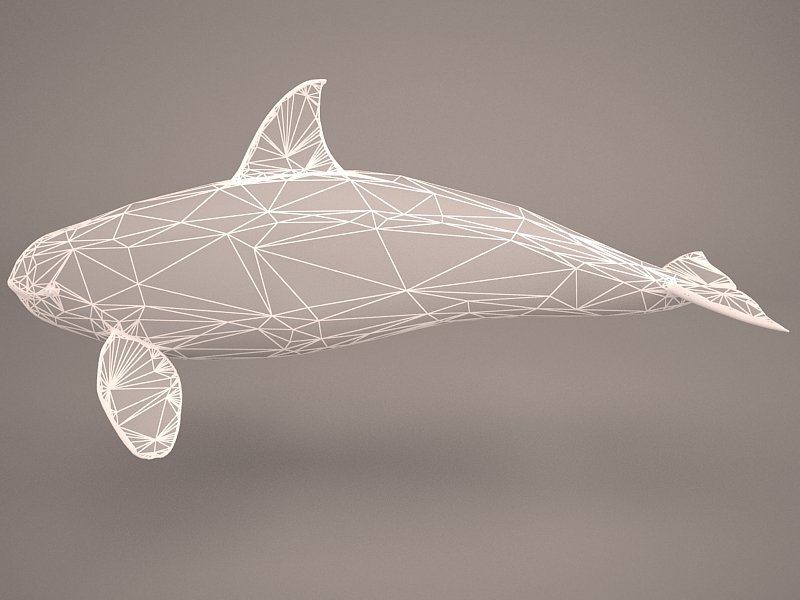 A wire with a plug in this design from IKEA.
Since we have a cartridge with a holder, we cut a lid under it and secured it due to this, and between it and the cardboard we laid a tin from a can to dissipate heat from the lamp.
Everything, the assembly is completed, you can try.
We don’t have films at all in our office, and it was this negative that someone recently showed to someone as a relic from the past, that’s how he waited for it to be used.
After that, any graphics program is used, where there is an INVERT COLORS or MAKE NEGATIVE mode, etc. We used the free PAINT.NET program from the getpaint.net project website
Good luck with turning the NEGATIVE into a POSITIVE, and you can get the stl of all the details on our website :) And you could also make a model of a different shape to do without cutting and supports, but we were asked to make it possible to assemble such a named geometry.
How we decided to make a modular 3D printer
As you know, Master Kit has developed and manufactures several models of 3D printers. Each of these models is assembled from a large number of parts using a noticeable amount of fasteners - screws, nuts, etc. Detailed assembly instructions are attached to each set. As practice shows, we do not like to read instructions, our character is not the same.
To help our users, we are releasing video assembly instructions.
And then one evening, discussing the scenario of shooting such instructions for assembling the MC7 Prime Mini printer, we realized that we were walking through some kind of dark forest. Long, tedious, and the end of this forest is not visible. After all, everyone who has at least a little bit of a screwdriver and pliers will still assemble parts of the printer in their own way, which tells them their own experience.
Maybe, we thought, we should break the assembly process into logical parts and end each part with the appearance of a complete functional unit, for example, an X-axis unit, a plastic feed unit, etc.? The idea seemed attractive, and the script began to turn from a continuous tightening of screws and nuts into logical parts that could be filmed separately.
And that's when it dawned on us... But what if we pre-assemble these nodes and put them assembled in the same box? How many of these nodes will there be, and how easy is it to connect them into a finished printer? Will the parts fit in the box provided?
Experimented. Yes, the pre-assembled units are completely included in the box, even with the power supply. The final assembly requires a minimum number of operations, and they are not difficult. In addition, the knots packed in the box look very aesthetically pleasing!
This is how Master Kit got two kits instead of one: a completely disassembled MC7 Prime Mini for those who are interested in building a device from scratch, and a pre-assembled 3D-START for those who want to start typing as soon as possible. The first one can be offered, among other things, as a tutorial for assembling mechanics such as a CNC machine or developing skills in fine metalwork, the second will be attractive for those who want to quickly master the principles of 3D modeling and printing.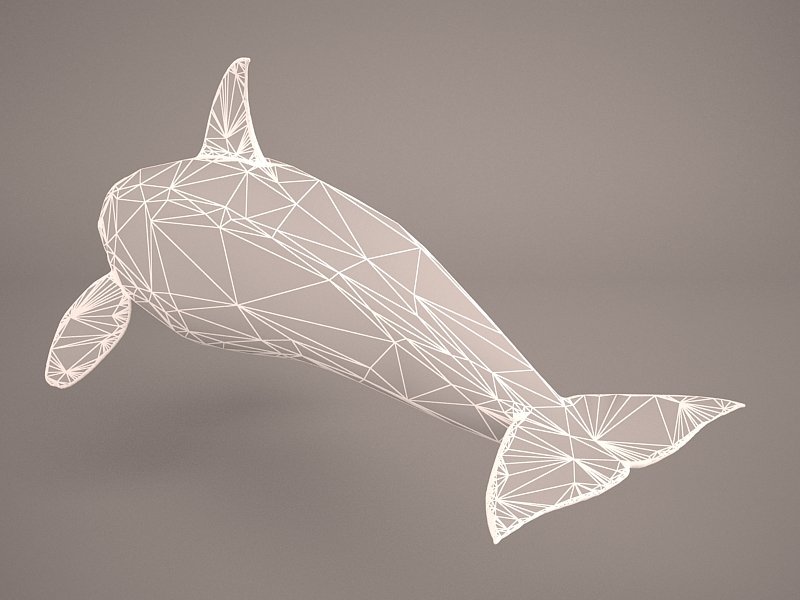
Assemblies of the 3D-START modular set in a package without cover
Let's see what assemblies are included in the pre-assembled printer.
X-axis drive unit (extruder). This is the horizontal axis along which the extruder moves in this kinematics. The assembly includes: a stepper motor with a toothed belt, toothed gear and bearing; X-axis linear bearings with guides with a diameter of 6 mm; Z-axis linear bearings; limit switch along the X axis; Z-axis limit switch pusher; fully equipped extruder E3D V6.
X-axis drive
Y-axis (table) drive assembly. This is also the horizontal axis along which the table with the printed model moves. Composition: base; stepper motor, gear and belt, bearings; linear bearings with guides 8 mm; Y-axis limit switch, glass with holders and four adjustment springs.
Y-axis drive
Z-axis (extruder) drive unit. This is the vertical axis along which the extruder moves. It consists of a stepper motor, a flexible coupling and an M5 threaded stud.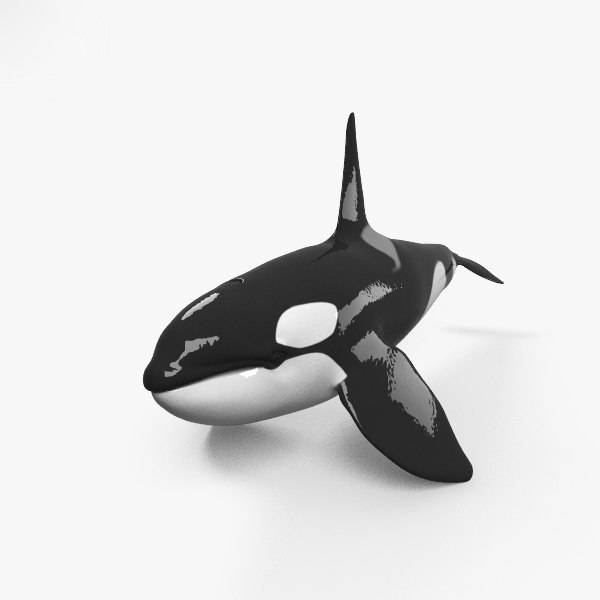
Z-axis drive
Base with plastic feed unit. Consists of a plywood frame that serves as a connecting element of all printer assemblies, fixed to it by the plastic feed unit and fastening parts for the Z-axis guides. A bundle of Arduino Mega 2560 + RAMPS 1.4 with installed stepper motor drivers is mounted on three parts to the Z-axis rails. A Z-axis limit switch is also attached to the node.
Electronics assembly
Rails and fasteners. Two 8mm rails, which are mounted on the base frame, in turn mount the X-axis drive assembly and the electronics assembly. Compared to the previous completely disassembled version of the printer, the number of screws and nuts that need to be used for the final assembly of the printer has decreased significantly!
8 mm rails and fasteners
Printer mechanical assembly can now be described in one paragraph:
with six screws and nuts we connect the base, the Z-axis drive and the table drive; we insert two 8 mm guides, passing them through the base parts intended for this, the linear bearings of the X-axis drive assembly and the electronics mounting parts; then, with four screws and nuts, we connect the frame with electronics to the other two parts of the mount, tighten the six screws of the fastening parts of the guides.