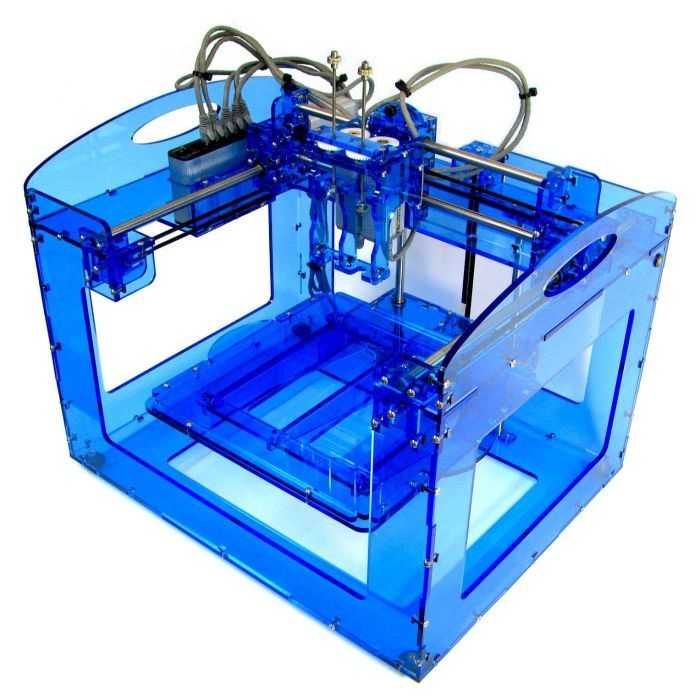
Local motors 3d printer
Local Motors shut down but the 3D printed car dream lives on »
Stay up to date with everything that is happening in the wonderful world of AM via our LinkedIn community.
Local Motors has shut down. The news broke a few days ago. We wanted to independently confirm it and we did. The decision was quite sudden and unexpected (we even had an interview planned for this month’s AM Focus Automotive) but that can sometimes be the case with American startups. For those who saw the company come such a long way and followed its evolution since its first 3D printed car, it’s a sad day.
The company wrote a big piece in the history of automotive 3D printing but AM was not its main focus and it’s probably not the cause of its demise. Starting as a distributed design and distributed manufacturing company, Local Motors became first and foremost a smart EV company. The Local Motors shut down is directly related to a lack of demand rather than an inability to meet that demand in a cost-effective way.
In other words, it’s not that Local Motors was not able to produce enough OLLI 2.0s or that it could not produce them in a cost-effective way. Rather, installing its vehicles in 24 sites around the world to date was not enough to support and finance its continued activity. Yet Local Motors has been responsible for a huge number of AM industry firsts, including the use of LFAM technologies (from Cincinnati Inc first and from Thermwood later) and LFAM composite material from SABIC, to produce large size automotive final parts.
“I am disheartened to announce that Local Motors will cease to exist as of January 14 […]”, Chris Stoner, former Vice President of Sales and Customer Success wrote on his LinkedIn page. “The autonomous vehicle space is an exciting emerging market with plenty of opportunities. Experiencing first-hand the skill and dedication of the people I worked with, I have no doubt AVs (like Olli) are the future of transportation. ”
”
The Local Motors experience has not been lost. Projects and companies offering LFAM extrusion have multiplied over the past five years and so has the demand of composite pellet materials for these technologies. Much like other large failed projects (for example the 3D Printed Canal House in Amsterdam), Local Motors inspired a revolution that will continue to grow and evolve.
That said, we also need to move some criticism to the company’s strategy. When it launched its very first 3D printed car, the Strati, Local Motors intentionally created a major hype around the concept of a fully 3D printed vehicle. While hype is not all bad and does help to broaden an industrial or technological market segment, Local Motors’ idea was never truly feasible and did take some of the focus away from real and profitable automotive AM applications, from prototyping, to tooling to modeling to the production of certain final parts.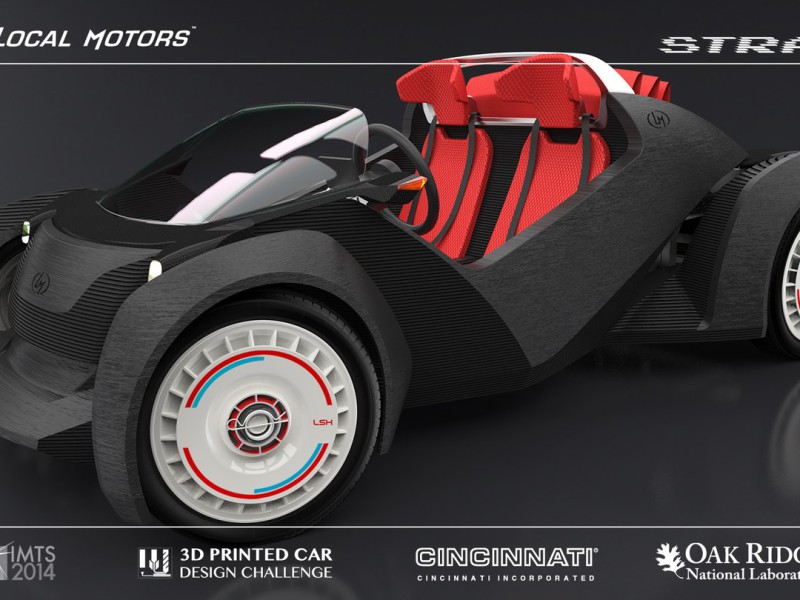
In addition, targeting a broad segment such as automotive mobility, even with a specialization as EV and AV, is very challenging for a small, innovative new entry company. Tesla has done it successfully it but there can only be one Tesla. We are partial but we think that Local Motors should have been truer to its nature as a 3D printing company, continuing to emphasize and develop this production method and targeting other LFAM applications along with the OLLI.
Perhaps, in doing so, the company would have received more support from AM companies as well. One of the biggest challenges for LFAM hardware providers is finding and qualifying applications. Local Motors could have done that a lot more effectively and perhaps that would have helped the company support its OLLI 2.0 vision and beyond.
BAAM technology in use at Local Motors. It was later replaced by an even larger Thermwood LSAM system.Related Articles
Back to top button
World’s largest composite 3D printer installed by Thermwood at Local Motors to make self-driving vehicles
0Shares
A Thermwood LSAM 10’x40′ 3D printer was recently installed at ground mobility company Local Motors.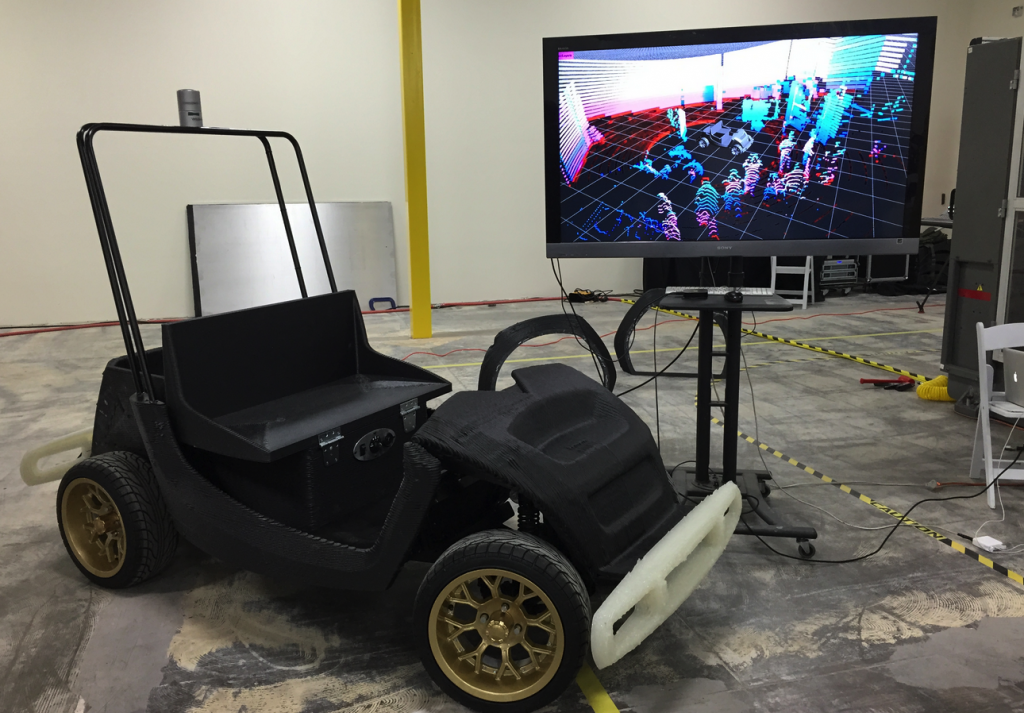
Large Scale Additive Manufacturing
The Phoenix, Arizona headquartered Local Motors recently restructured under LM Industries and announced a Chandler, AZ microfactory focused on the low-volume production of specialist vehicles. LM Industries is also working with the U.S. Marine Corps to develop two vehicles – a Modular Logistics Vehicle and a Unmanned Cargo System.
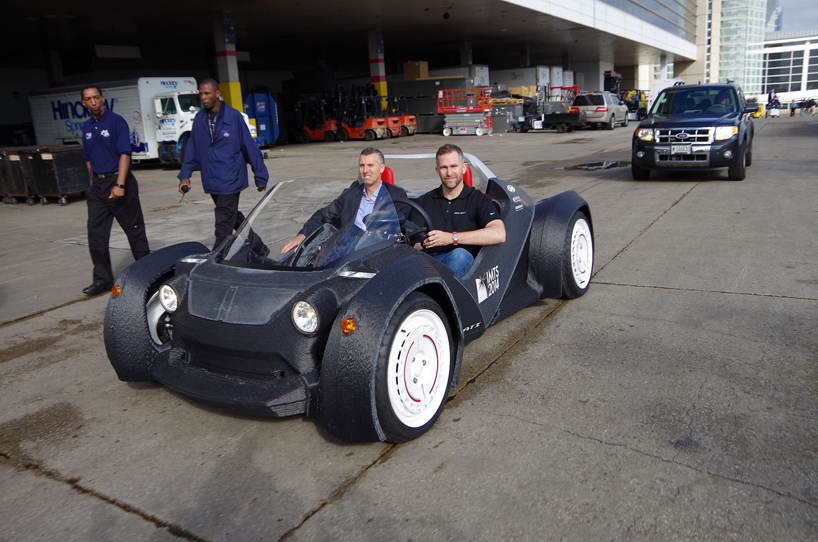
The Thermwood 10’x40′ LSAM at Local Motors. Photo via Thermwood.The 10’x40′ 3D printer installed by Thermwood will be used to produce Olli, a self-driving electric vehicle. I was able to take a ride on Olli during the 2016 edition of the International Manufacturing Technology Show (IMTS) in Chicago.
Olli is designed to be a safe, sustainable and smart electric vehicle designed for use in a range of environments including neighborhoods, campuses and urban city centers.
An Olli bus outside Local Motors, Arizona. Photo via Motor Motor Car3D printing for aerospace, automotive, foundry and boating
Local Motors has previously used the Chicago based event to showcase other 3D printed vehicles including the well-known Strati – a vehicle 3D printed in 44 hours during IMTS 2014. 3D Printing Industry will be at IMTS 2018 and it will be interesting to see if Local Motors bring a new vehicle made on the Thermwood LSAM to the show.
The Strati was 3D printed as a collaboration with Oak Ridge National Laboratory (ORNL) using Big Area Additive Manufacturing (BAAM) technology from Cincinnati Incorporated. Speaking at the time Andrew Jamison, CEO of Cincinnati Incorporated, described how BAAM could be used for production. “The deposition rate of 40 pounds per hour of carbon reinforced ABS plastic and the large size mean that large parts, like a car, can be produced using additive technology.”
Your Author: Licensed for the next 1,000 yearsAs for the Thermwood LSAM 10’x40′ 3D printer, the machine is certainly impressive. LSAM systems are dual gantry additive manufacturing machines. Depending upon the configuration the Thermwood LSAM can trim and 3D print components. While the system installed at Local Motors is 40 feet long, Thermwood says a 3D printer of up 100 feet in length are possible.
For all the latest 3D printing news, subscribe to the 3D Printing Industry newsletter. Also, follow us on Twitter, and like us on Facebook.
Make your next additive manufacturing career move or hire new talent. Search and post 3D Printing Jobs on our free jobs service.
Featured image shows the Thermwood LSAM at Local Motors. Photo via Thermwood.
Tags BAAM Cincinnati Incorporated LM Industries Local Motors LSAM Oak Ridge National Laboratory Olli Strati Thermwood
Michael Petch
Michael Petch is the editor-in-chief at 3DPI and the author of several books on 3D printing. He is a regular keynote speaker at technology conferences where he has delivered presentations such as 3D printing with graphene and ceramics and the use of technology to enhance food security. Michael is most interested in the science behind emerging technology and the accompanying economic and social implications.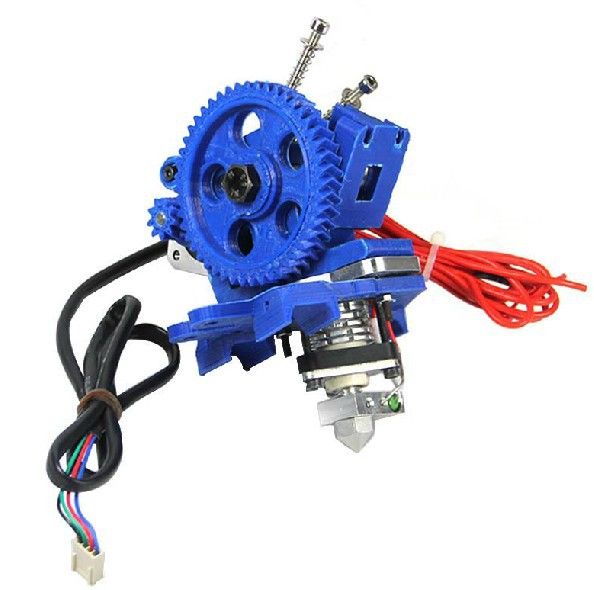
stepper motor choice, which is better
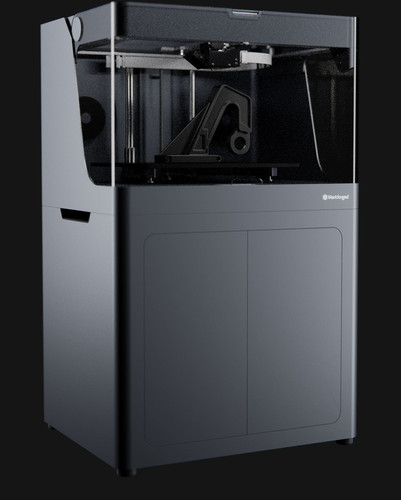
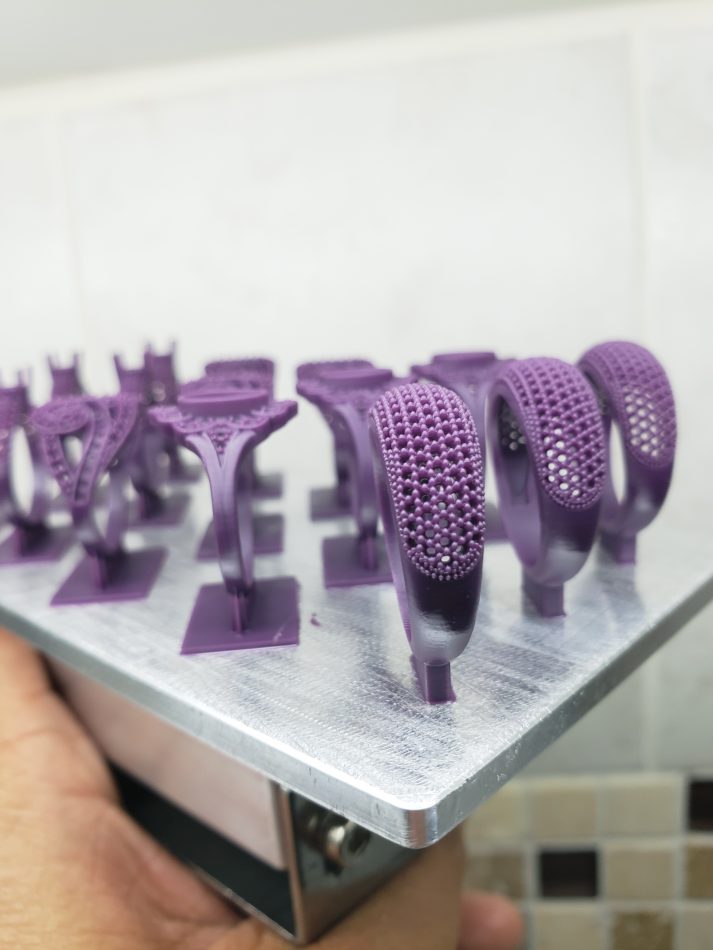
With the advent of 3D printers, people's lives have become much easier. Devices are successfully used in many areas - dentistry, industry, jewelry and medicine. Now a 3D printer is not a luxury item, but a design that is quite affordable. But still there are those who decide to independently manufacture printing presses. Next, let's talk about how to choose a stepper motor for a future 3D printer and what features should be taken into account.
Motor on a 3D printer
In the design of a 3D printer, the main function for the movement of the extruder along the axes is performed by stepper motors. They have low weight and high torque.
A stepper motor is a motor without a commutator, whose rotation is not smooth, but discrete (in steps). By setting the speed and duration of the pulses, you can make the device rotate in a certain direction. In this case, it is possible to adjust the direction of rotation and the number of revolutions of the rotor.

If we talk about the design of such devices, then there are three main types:
- Motors with variable magnetic resistance - have several poles on the stator and a rotor made of soft material, and 3 windings independent of each other. This type is practically not used.
- Permanent Reluctance Motors - Includes stator and magnetized rotor. Such motors have 24 to 48 steps per revolution.
- Devices combining variable and constant magnetic resistance (hybrids) - combination of the best properties of an alternating and constant rotating motor. The number of steps is from 100 to 400.
The hybrid engine is the most common design, which, in turn, is divided into unipolar and bipolar types.
Which stepper motors to choose for a 3D printer: the best options
When buying a rotator for a 3D printer, you should pay attention to the following parameters:
- rotating structure size;
- holding torque - from 2.
 5-4 kg/cm;
 - rated current - optimal version for 1.7 A;
- Shaft - Diameter must match the design of the printer.
The most common motors that are installed on the design of the printing device are bipolar with four leads. Such structures in the event of a breakdown are easy to find and replace.
NEMA marked rotary motors are installed in 3D printers.
NEMA is a National Electrical Manufacturers Association that standardizes rotating devices in terms of flange size and fit. This standard allows different manufacturers to produce engines according to certain parameters, depending on the marking.
Most popular models in the NEMA series:
- NEMA 17 with 42*42mm flange;
- NEMA 23 with 57*57mm flange;
- NEMA 34 size 86*86mm.
Stepper motor drivers for 3D printer
To control motors in 3D devices, drivers installed in the board slot were developed.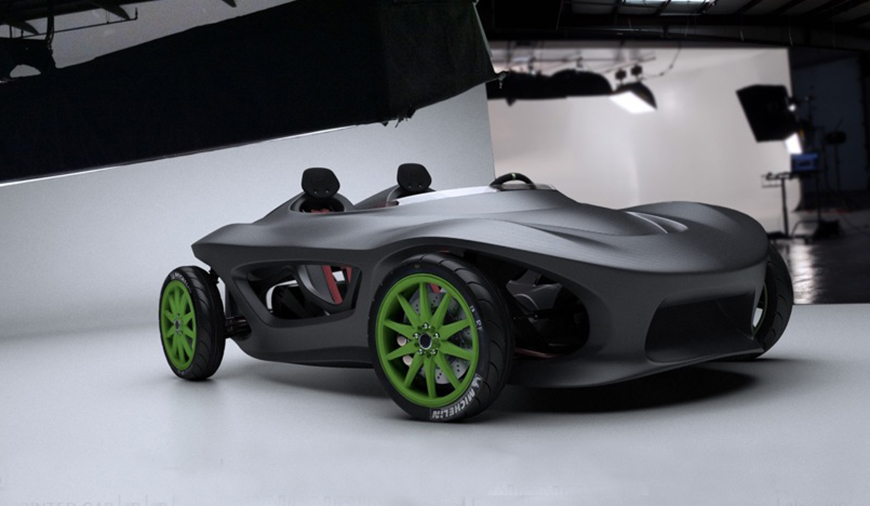
There are several types of drivers:
- Constant voltage - such drivers are inefficient and are used in a product with low speeds.
- Two-Level - These controllers support stepping and half stepping. They reduce engine heat and are efficient in operation.
- PWM drivers are the most popular on the market. They are highly intelligent and have many additional features.
Also, when choosing a driver, you should pay attention to the following parameters:
- current strength;
- supply voltage;
- availability of optoisolated inputs;
- availability of resonance suppression mechanisms;
- availability of protocols necessary for engine operation;
- surge protection;
- micro stepping;
- driver quality.
It is quite possible to assemble a high-quality 3D printer if you follow the recommendations and carefully study the design devices. It is quite possible that such a printing press will cost its owner less. But for beginners, we recommend ordering ready-made 3D devices in specialized stores. So you can learn the basics of 3D printing and get acquainted with the printer device. Good luck!
- May 17, 2021
- 3853
Get expert advice
Custom 3D printer with ToolChanger (Part 2)
Hello everyone.
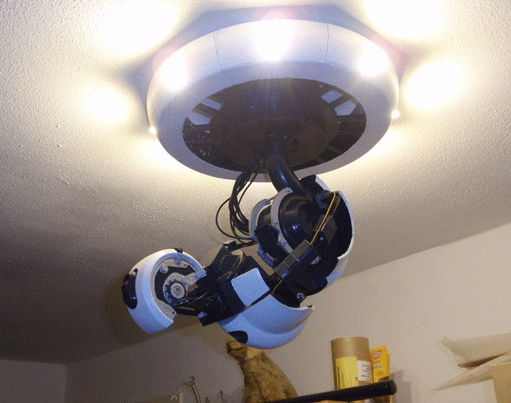
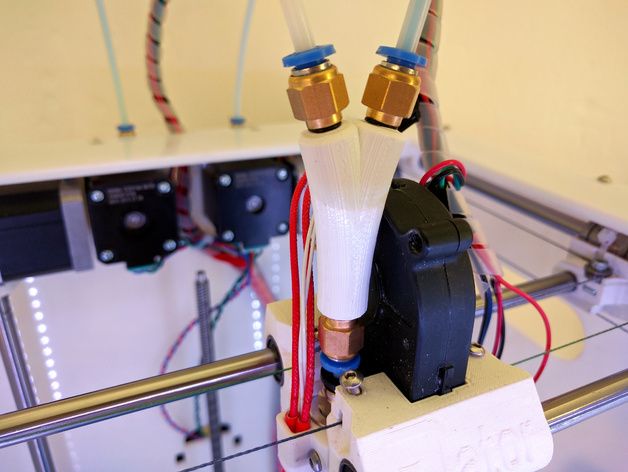
In one of my previous posts, I talked about my 3D printer with ToolChanger. A year and a half has passed since then (how time flies). Now I would like to share my impressions of the operation of this design, as well as talk about the modifications that have been made during this time, and the results of their implementation.
First of all, there are no complaints during operation. Everything works clearly and without problems. The heads are removed without errors, the positioning of the table does not go astray (even automatic compensation for unevenness of the table is not needed). This is very good, because the calibration of the table is doubly important for a printer with interchangeable print heads (PH)./cdn0.vox-cdn.com/uploads/chorus_asset/file/6659527/akrales_160615_1079_A_0397.0.jpg) The only thing that was planned to be modified initially was the design of the print head and the type of print head lock mechanism.
The only thing that was planned to be modified initially was the design of the print head and the type of print head lock mechanism.
Both of these modifications were made at the same time. I really wanted to try a cable drive as a locking mechanism. More details about this design can be found in the project https://www.thingiverse.com/thing:3805144. I took it as a basis, slightly altered. I posted a video about the operation of this system in the last topic, just in case I will duplicate it.
As for the operation of the cable drive itself, I can say that it is quite working, no failures were noticed. But still, I liked him less than the server. This is due to the massiveness of the drive itself on the frame (motor plus pulleys with limit switches inside), as well as the peculiarity of the operation of this mechanism (Figure 1). The fact is that the force of pressing the head to the carriage in it is regulated by a spring wound on the pulleys, and this spring, as for me, does not provide such a good pressure as a servo. Plus, in a mechanism with a servo, this pressure could be easily adjusted, and in a wide range. If the head is heavier than it is now, it may not be possible to securely attach it to the carriage.
Figure 1 – Drive of the SG locking cable mechanism.
Also redid the print head. This time, the possibility was considered to abandon the standard E3D hotend, and make the radiator combined with the blocking mechanism in one piece. In principle, such a head also worked perfectly without any complaints.
Figure 2 – Milled part of PG.
As a result, in the Direct modification, I decided to return to the server and the standard E3D hotend. Well, now, in fact, more about this modification.
ToolChanger: Direct Drive version
Since the rest of the printer components work fine for me, the modification only affected the X-axis carriage and the print head. They will be discussed.
E3D developed a special head with Direct filament feed for its concept, calling it Hemera (not to be confused with Himera). The bottom line is that the extruder is part of the motor, and for the motor, all this is attached to the head. Personally, I don’t really like the idea of \u200b\u200bfencing the motor on a replaceable head. But in the concept of the E3D multifunctional device, where a replaceable head can have either a PG, or a milling cutter, or a laser, or something else, such a variant of the head is justified.
Figure 3 - E3D Hemera Direct Drive Hotend
details. I took the rear milled part from the first version, the front one was completely designed from scratch.
Figure 4 - Milled carriage and head parts
Figure 5 - Front and rear X-axis bottom bracket assembly.
Otherwise, the design of the carriage is the same as in the first version. Except that it now houses the extruder motor. Well, and all the wires going to the carriage are now laid in the cable channel. I took an average NEMA 17 motor in size, its weight is about 250 grams.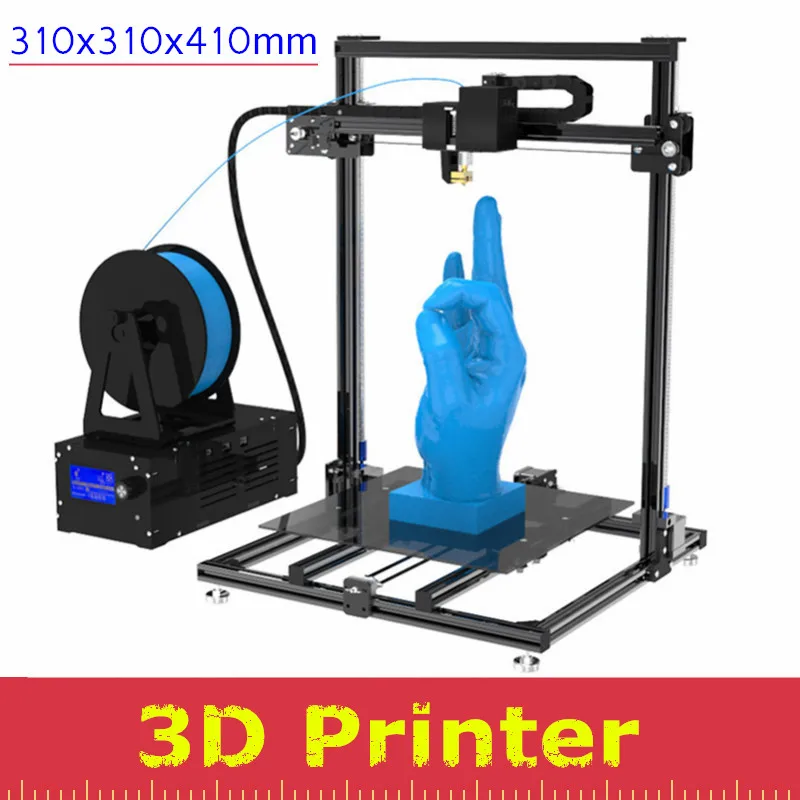 In principle, you can try the smallest size of the motor, if it does not skip steps.
Figure 6 - X-axis carriage assembly.
As for the design of the PG, now each of them is a standard BMG Extruder and E3D V6 hotend, which were used in the first version of the printer. I redid the milled part, but took a replaceable locker from the first model - a part that engages with a shaft with a pin of the locking mechanism. And now, as it turned out, the manufacture of this part separately was a very good decision. And you can change it if it suddenly wears out, and you don’t need to make it every time you change the design of the head.
Figure 7 - Milled part of the PG assembly and locker.
Fans for blowing hot end and printed model with air ducts, as well as a system for fixing the head on the docking station, are attached to the printed part. The weight of the head assembly is 255 grams.
Figure 8 - External view of the print head.
Figure 9 - Print head weighing.
The principle of capturing the head remains the same as in the first version. But there is a peculiarity in the design with Direct drive. Those who assembled the BMG extruder probably know that the gaps in the gears on the shaft of the motor and the driven extruder are minimal and there is no backlash. In the design of the change of heads, which I did, an unpleasant situation can arise when the carriage tries to grab the head. Namely, the gear of the motor shaft can rest against the driven gear of the extruder with all the ensuing consequences - skipping steps along the Y axis, false head capture and, as a result, damaged printing. To avoid such situations, the design of the head seat on the docking station was made in the form of a special profile with a spring-loaded element, and the position of the head on the docking station was 1 mm lower than its design position on the carriage. Thus, when capturing the head, the gears engage with a gap of 1 mm, which excludes their contact, and when the fixing shaft is turned, the head is attracted to the carriage in two directions simultaneously - along the Y axis and along the Z axis. In this case, the gears do not engage in longitudinal direction, but in the transverse direction.
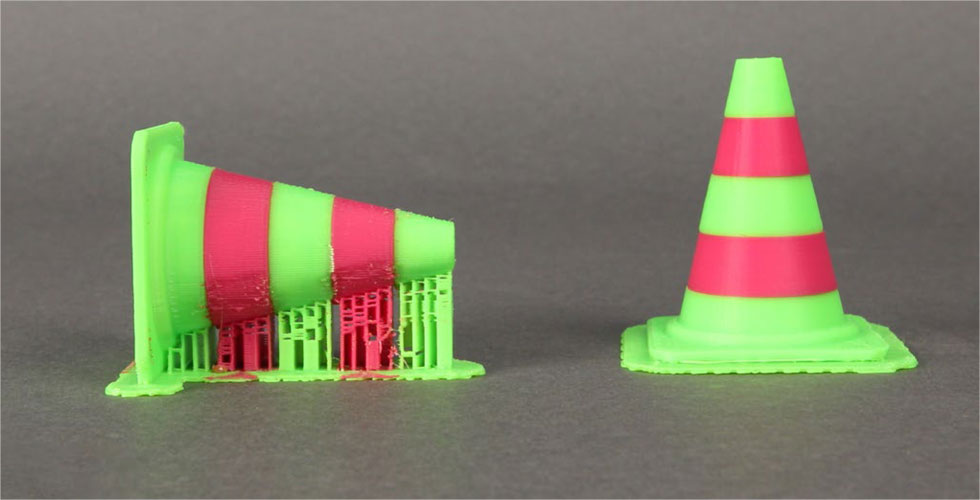
After all the necessary settings, I naturally started printing. And already on this option I decided to try full-fledged color printing. Prior to that, I had practically never printed anything multicolored. And faced with an unexpected moment. Namely, the Cura slicer in multi-color printing prints a cleaning tower for all extruders that are in the printer, even if the extruder is disabled in the program itself. Because of this, it is not possible to properly clean the nozzle when changing the head with all the consequences. While the head is at the station, plastic leaks a little from it and then this snot gets on the model. Also, due to leaked plastic, there is a local underflow on the model at the start of printing. In general, I will deal with the settings of the slicer, or I will make a system for mechanical cleaning of the nozzle - it has been asking for a long time already, but still my hands do not reach.
The second problem I encountered was the servo. During multi-color printing, there is a frequent change of tool, respectively, a large load on the servo with frequent switching. So, printing a colored lizard, a cheap serva died. It died gradually - losing power, and as a result, in one of the switching cycles, it simply could not capture its head. The problem was solved by replacing the servo with a more powerful one. It was not easy to find one in this format. There is also the same one, but for 10 kg, I will take a reserve just in case.
Figure 10 - New servo.
I immediately filmed the video of the work. The principle of operation remains the same as before.
But now it's a direct extruder.