Figure 3d print
3d Printed Figures - Etsy.de
Etsy is no longer supporting older versions of your web browser in order to ensure that user data remains secure. Please update to the latest version.
Take full advantage of our site features by enabling JavaScript.
Find something memorable, join a community doing good.
( 1,000+ relevant results, with Ads Sellers looking to grow their business and reach more interested buyers can use Etsy’s advertising platform to promote their items. You’ll see ad results based on factors like relevancy, and the amount sellers pay per click. Learn more. )
Related to 3d printed figures
- 3d printed jewelry
- 3d printing
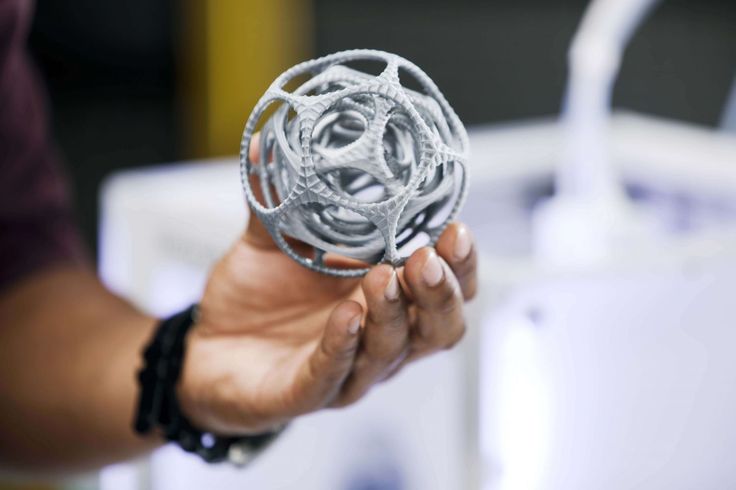
Figure best 3D printing models・Cults
Skip to contentSpider
€1
T800
€3
Genius Billionaire Playboy - Headsculpt for Action Figures
€3. -50% €1.87 75
Chucky
€3.99
Billy the Puppet
€3.99
Demogorgon
€3.99
Sasuke Susano - Funko Pop
€4.45 -28% €3.20
Hound Tlk Gatling gun
€7.62
Miniature Pose People #130
€1.25 -50% €0.63
Miniature Pose People #129
€1.25 -50% €0.63
Miniature Pose People #128
€1. -50% €0.63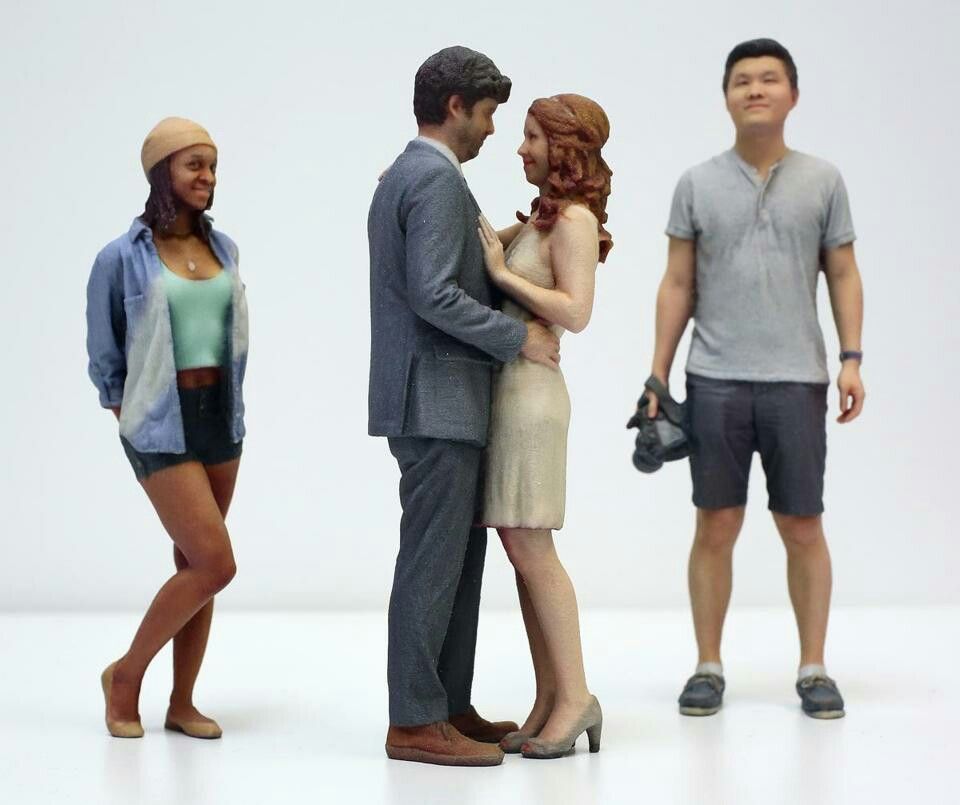 25
25
Miniature Pose People #127
€1.25 -50% €0.63
Miniature Pose People #126
€1.25 -50% €0.63
Miniature Pose People #125
Free
Miniature Pose People #124
€1.25 -50% €0.63
Miniature Pose People #123
€1.25 -50% €0.63
Miniature Pose People #122
€1. -50% €0.63 25
25
Miniature Pose People #121
€1.25 -50% €0.63
Mr. Knightfall - Headsculpt for Action Figures
€4.75 -50% €2.37
Chef Kirby
€1.91
Halloween Pumpkin/Pumpkin
€2.03
Kirby Wizard - Halloween
Free
Kirby Burger Figure
€3.82 -25% €2.87
Ghost Cases for Nendoroids Faces
€2.87
Among Us Character
€0. 50
50
itachi
€2.02
AMONG US JASON
€1
EKKO MASK OF ARCANE / LEAGUE OF LEGENDS MODEL - STL AND OBJ FILES FOR 3D PRINTER
€5.06
Geometric Jack Russel
€3
Pumpkin witch halloween
€1.52
WONDER WOMAN ARTICULATED BUST
Free
Forearm-to-hand Replacement Peg (1/10 Diamond Select Toys)
Free
Rogue 3D Print
€21.01
Chainsaw Man Diorama
€8.60
Milk (Chi-Chi) Dragon ball z
€4.99
Milk (Chi-Chi) Dragon ball z
€4.99
LOCUA MISS KOBAYASHI'S DRAGON MAID
€4.99
LOCUA MISS KOBAYASHI'S DRAGON MAID
€4.99
Tohru Miss Kobayashi's Dragon Maid
€4. 99
99
Tohru Miss Kobayashi's Dragon Maid
€4.99
Bulma Dragon Ball z
€4.99
Bulma Dragon Ball z
€4.99
Gojitank
Free
Arnold Schwarzenegger
€1.20
Dr Strange
€1
The sphinx cat
€1
Miniature Mini-Pack DnD
€14.67 -35% €9.54
Custom Gorr head for toys
€5.06 -10% €4.56
An easy way to 3D print a logo, image, text using only a Cura slicer / 3D printers, machines and accessories / iXBT Live
Recently, a guide was published here on how to print text, a logo, and I think this is not the easiest option.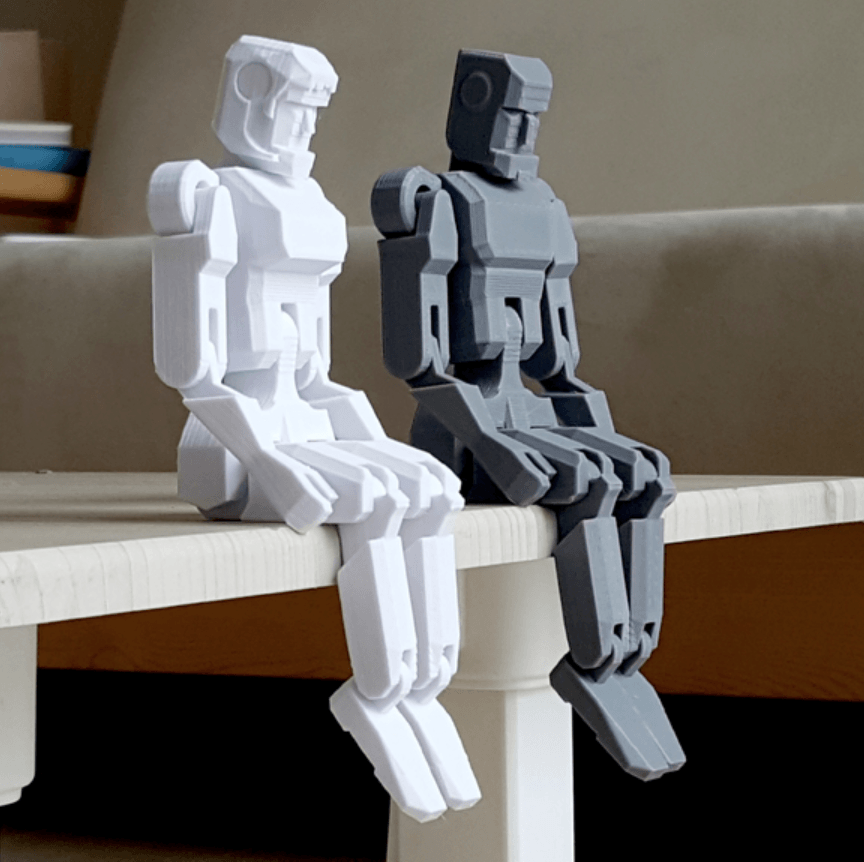 I show how to get a model for printing faster, without using additional programs, but this method has disadvantages.
We need a Cura slicer, along with 3D models and gcode, it can open *.bpm, *.png *.jpg *.jpeg images and convert them into a 3D model using the extrusion method (analogue of the boss tool in a 3D compass, solidworks, etc. .d.).
We open the image we like through Cura and we are greeted by the image conversion dialog:
Height is the future height of the logo / text, the base is the background, you can set it to 0, or you can make some “base” if there are small elements and they do not need to be separated , then I advise you to immediately do it with a base of at least 0.3 mm, then the trifle will not fly away during the printing process. If the elements need to be separated, then in the print settings it is better to select printing on the Raft substrate, it will then be easier to separate small elements from it and they will not fly off during the printing process.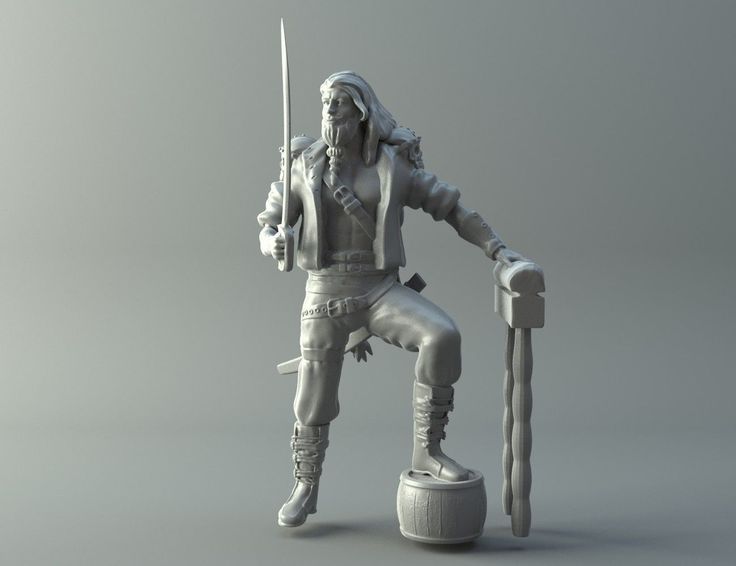
Width and depth are X, Y dimensions, it is better not to touch. But smoothing is an interesting slider, in fact, it sets the conversion factor, and the higher it is, the closer the light areas will be to the dark ones, and the smaller the difference between them will be. For example, I'm using the ixbt.com logo
Top with minimal anti-aliasing, middle with standard (about 2-5%), and bottom with maximum. In this case, the specified height - 5 mm is not achieved, in the upper version it is 3.9 mm, and in the lower 2.7 mm.There are two extrusion patterns "dark above" and "light above".
The top one is “dark above”, the bottom one is “light above”. If we get closer, the minus of this method pops up, as a rule, not one color is used to create a beautiful picture, but a gradient, so the darkest areas rise to a given height, and those that are lighter linearly are lower, resulting in "corner extrusion" and uneven edges on the model. But after slicing, small irregularities will practically not be visible.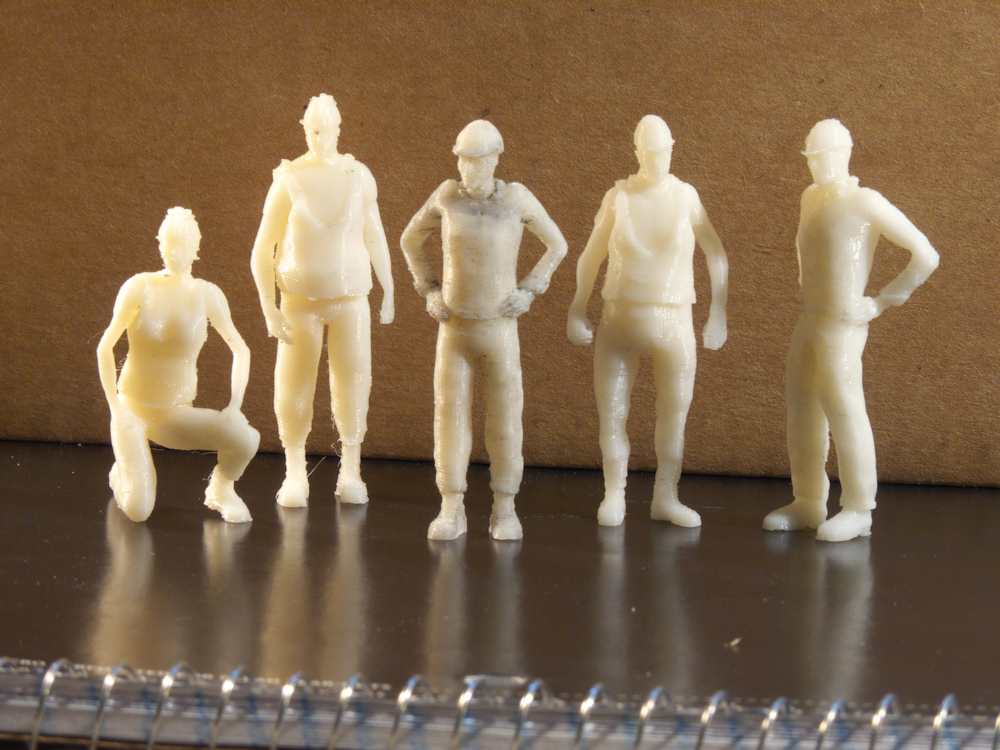
In paint, I added a contour, and when exporting the model, I made the base 1 mm thick
After printing, it remains to remove unnecessary elements and you will get a finished keychain. It was also possible to make the “Light above” option, and then fill the contour in the shape of the logo with melted plastic of a different color.Print settings: 0.6 nozzle, layer height 0.2, 150mm/s, ABS plastic. I print on an open printer, so I also added Raft. You can see over-extrusion on the upper layers and floating corners, this is more likely to be related to the printer settings.
In this way, for example, you can make cookie cutters, print key rings, make templates (patterns), etc. without using 3D modeling. And in order for the borders to be rigid, it is better to use one color, preferably black, to create an outline.
News
Publications
No, Google is not replacing its human employees with artiodactyls. However, it's time to update the skills section of your resume: if you can stand for hours, love animals, and can.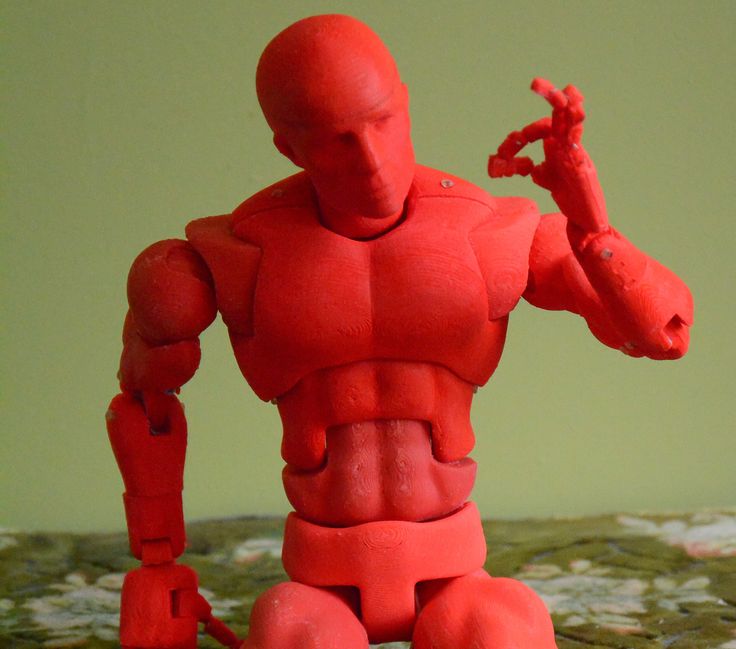 ..
..
This time I got my hands on a budget Hiper Media ATV 8K TV Box. This is a very compact device designed to play both online and offline content. Thanks to HDMI...
An international airport in the middle of five-thousander mountains, at an altitude of 2244 m, where landing is only allowed during daylight hours and with a limited number of pilots - hmm, sounds dangerous. So it is,...
Today I'd like to show you some compact chest bags that are convenient to use in an urban environment for everyday life. In such a bag it is convenient to place: a tablet or an e-book,...
One of the most extravagant houses in Moscow. Walked up to him. On the way I saw a lot of interesting things: a strange sticker, a glass cube on the roof, a house with narrow windows and Soviet artifacts,...
The Roman Empire was the greatest state, the official language of which was classical Latin. Now, if anyone knows this language, then these are doctors, scientists and clergymen, and the world has long been. ..
..
My first drawing on a 3D printer....
FoX87
Loading
02/12/2017
8458
I have been thinking about drawing with my good old HULK cyborg 3D printer for a long time! And stumbled upon the 3dtoday article Once again about drawing with a 3D printer. I suffered for a long time, tried and nothing happened according to this recipe ... I decided to try it in my own way .... For this, I needed 2 programs: SketchUp and Simplify3D and the original image ....
Through SketchUp made an image in STL format.... In Simplify3D made gcode parameters do not differ from normal 3D printing only: set the temperature for the table and extruder to 25°C.
You also need to increase the parameter retract vertical lift because the pen will scribble when moving from one place to another.
well, 15 minutes of printer operation and here is the result
Of course, there is something to work on a little . ...
...
Ah yeah! I tied the handle to the extruder with an ordinary screed ... When I pressed the print, I let the table drive as close as possible to the handle and pressed the sensor like it was pressed by the table, then twisting the ball screw 9 by hand0003
brought the table properly to the drawing pen, that's all ....
I think I haven't forgotten anything else ....
Subscribe to the author
Subscribe
Don't want
8
Article comments
More interesting articles
brtv
Loading
10/16/2022
2177
9
Subscribe to the author
Subscribe
Don't want
Hello my friend! Today I decided to assemble a simple pneumohydraulic generator or Generator.