3D printer tornado
Homers/TEVO Tornado 3D Printer – TEVOUP
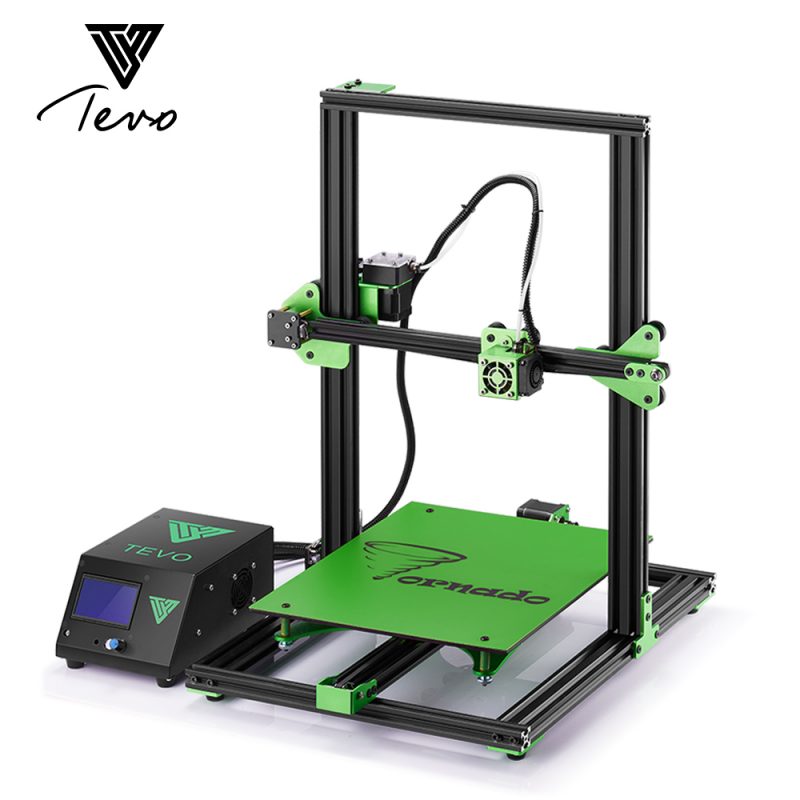
Tornado 3D Printer (300*300*400mm)
If you work in the product structure design industry, toy modeling, architectural design, fashion jewelry design industry, parts manufacturing or daily necessities and education, this is the perfect printer for your use.
- The Tornado is another affordable and awesome large volume 3D printer made by TEVO. The TEVO Tornado comes 95 percent assembled, requiring you to do a minimum and easy assembly with high performance.
-
This desktop 3D printer’s all-aluminum frame provides a sturdy structure with smooth and precise 3D printing powered by Tornado’s V-slot linear guide system. With its large build volume of 300mm x 300mm x 400mm it is one of the most popular 3d printer on whole market.
-
It has a maximum print speed of 150mm per second, a voltage power of 110V or 220V, a 250W at 50Hz with 0.89A and an LCD screen with its print support materials as ABS, Carbon, Fiber, Flexible Filaments, PETG, PLA, PVA, and Wood.
-
The Tevo Tornado 3d printer has a material diameter of 175mm and a nozzle diameter of 0.4mm. Its file formats are G-code and STL with its host computer software as Cura, Repetier Host, or Simplify3D. It also supports the Windows, Linux and Mac operating system.
-
The awesome and smart printer takes the Bowden Style Titan Extruder with improved hot end design featuring fat heating AC heat bed. It has a compact and small size all in one power box with LCD control panel which makes it fun to operate.
-
This printer features a heating plate of 60 to 110°C and operates at an ambient temperature of 25°C with a recommended extruder temperature of 210°C and a maximum of 260°C. It also features a layer resolution of 50 microns with thickness between 0.05 to 0.4mm.
-
The Tevo Tornado has a CE, FC and ROHS certification with a weight of 14Kg. The printer accepts conection via TF card or USB and prints at 50 microns high accuracy printing quality with high transverse speed.
 At it’s price, this is a great buy and you’ll be doing yourself a great favour buying this printer now especially if you belong to any of the afore mentioned set of people.
Get your Tornado now by ordering right away!
Note: TORNADO in green and gold color shipped randomly
- Printer Type: Cartesian
- Print Size: 300*300*400 mm
- Layer Resolution: 0.1mm
- Print Bed: AC heated
- Nozzle Diameter (stock): 0.4 mm
- Nozzle Type (stock): MK8
- Extruder Type: Titan – Bowden
- Nr. of Extruders: 1
- Filament Diameter: 1.75 mm
- Printing Material: PLA, ABS, …
- Printing Speed: 60mm / sek
- Max. Printing Speed: 150mm / sek
- Delivered as: Pre-Assembled (90%)
Download Firmware Here: Google Drive
Download User Manual Here: Google Drive
TEVO Tornado - guide, settings slicer, review, upgraded
Short specifications
- FDM(Fused Deposition Modeling)
- 300x300x400 printing size
- 150 mm / s
- 1.
 75mm
75mm - Hotbed 260 ℃
- 1 Nozzle 0.4mm, max 260℃
Category: 3d printers
Additional information
| Type 3d printer | Home |
|---|---|
| Brand | TEVO 3D |
| Technology | Fused Deposition Modeling (FDM / FFF) |
| Сountry | China |
| Site | https://tevoup.com/ |
| Filament diameter | 1.75 |
| Speed | 150 mm / s |
| Nozzle quantity | 1 |
| Nozzle Diameter | 1.75 |
| Nozzle Temperature | 260 |
| Area Size | 300x300x400 |
| Bed | Heated |
| Hotbed Temperature | 110 |
| File Format | STL, OBJ, X3D, 3MF, BMP, GIF, JPG, PNG |
| Work | USB, Card Reader |
| Addittional | LCD Screen, USB, Card Reader, Touch Screen |
Description
Manual
Loading...
Taking too long?
Reload document
| Open in new tab
Download
https://drive.google.com/drive/u/1/folders/1iI6HhyJsM6vwOOVGR0yjpQZgEaCMrtPP
Basic Software
Download simple 3D printer software (slicer):
- Ultimaker Cura
- Repetier-Host
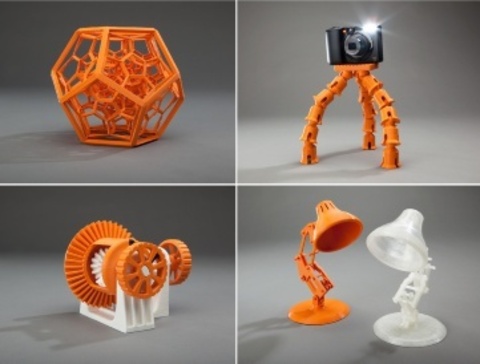
Test models for printing on TEVO Tornado 3D Printer
Calibration check and first print model.
XYZ 20mm Calibration Cube
This is a simple calibration test cube for your 3D printer.
https://www.thingiverse.com/thing:1278865
Cali Cat
Cali Cat is designed to be the purrfect initial calibration and benchmarking print.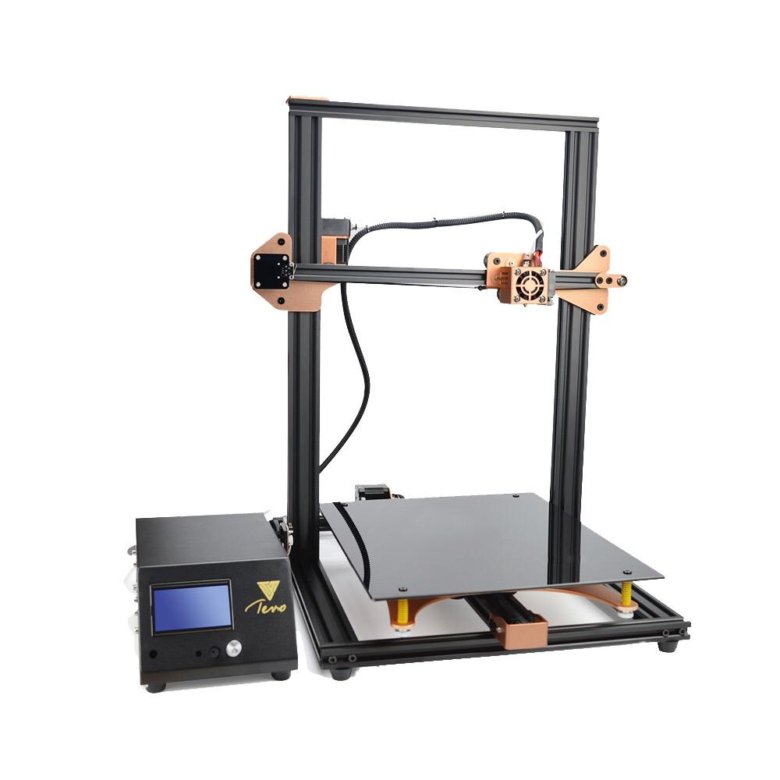
https://www.thingiverse.com/thing:1545913
Two towers
Ultrafast and economical stringing test
https://www.thingiverse.com/thing:2219103
Fast full test
https://www.thingiverse.com/thing:2656594
Settings for 3D printing
Basic settings for printing with various filament.
Final printer settings depend on model and filament!
PLA
- Nozzle temperature – 200℃
- Bed temperature – 60℃
- Start speed – 20 mm/s
- Printing speed – 60 mm/s
- Fan – 100%
ABS
- Nozzle temperature – 230℃
- Bed temperature – 100℃
- Start speed – 20 mm/s
- Printing speed – 40 mm/s
- Fan – 0%
- Raft
PETG
- Nozzle temperature – 235℃
- Bed temperature – 70℃
- Start speed – 20 mm/s
- Printing speed – 60 mm/s
- Fan – 80%
COLOR PRINTING? EASILY! TEVO TORNADO 3D PRINTER - voltNik
Hello friends, got a big box with a new 3D printer.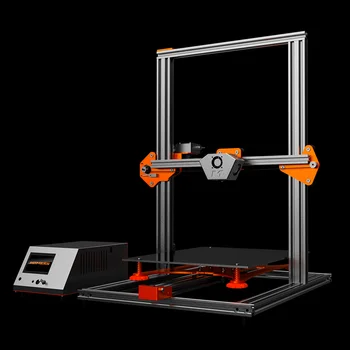 Many are often interested in whether a 3D printer can immediately print a model in color. Well, yes, such printers exist. They have 5 spools of plastic of different colors installed at once, and when printing, the colors are mixed and it is possible to get a full-color palette. The cost of such color 3D printers is of course high, it is in fact ten times the cost of a conventional 3D printer. So today I'm going to show you how to 3D print in color on a budget.
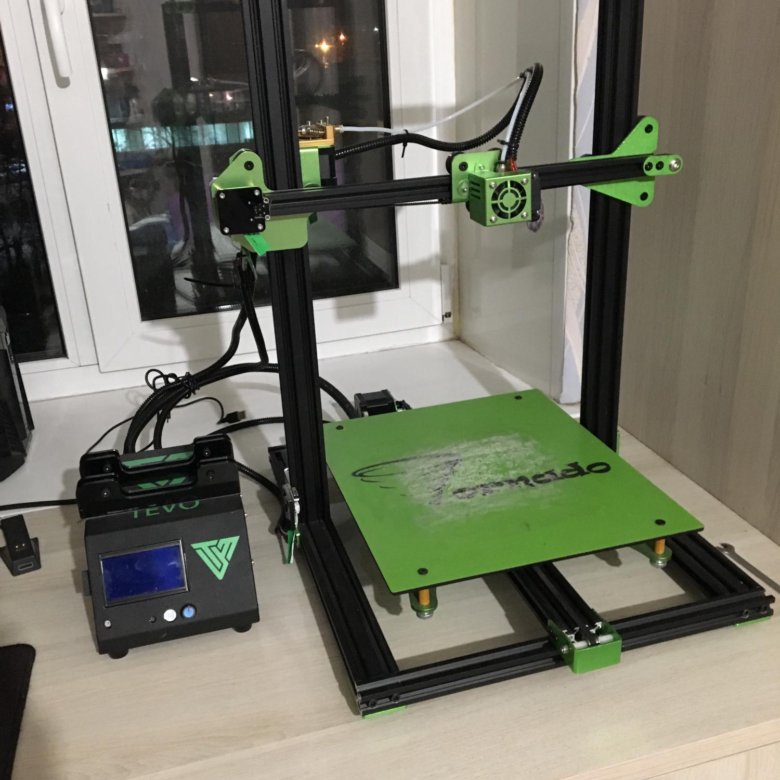
So, the printer comes in a huge box weighing 25 kilograms. We get it. Upon opening, you are immediately greeted by instructions. Like "Wait buddy, first read the instructions, and then climb on." The printer itself is all wrapped in polyethylene foam. Therefore, even if you kick and throw this box, it is unlikely that anything will break in it. Control block. Frame, and on the second floor of the box is a table. Those. the printer is sold almost completely assembled and consists of three main parts, an electronic control unit, a profile frame and a large heated table.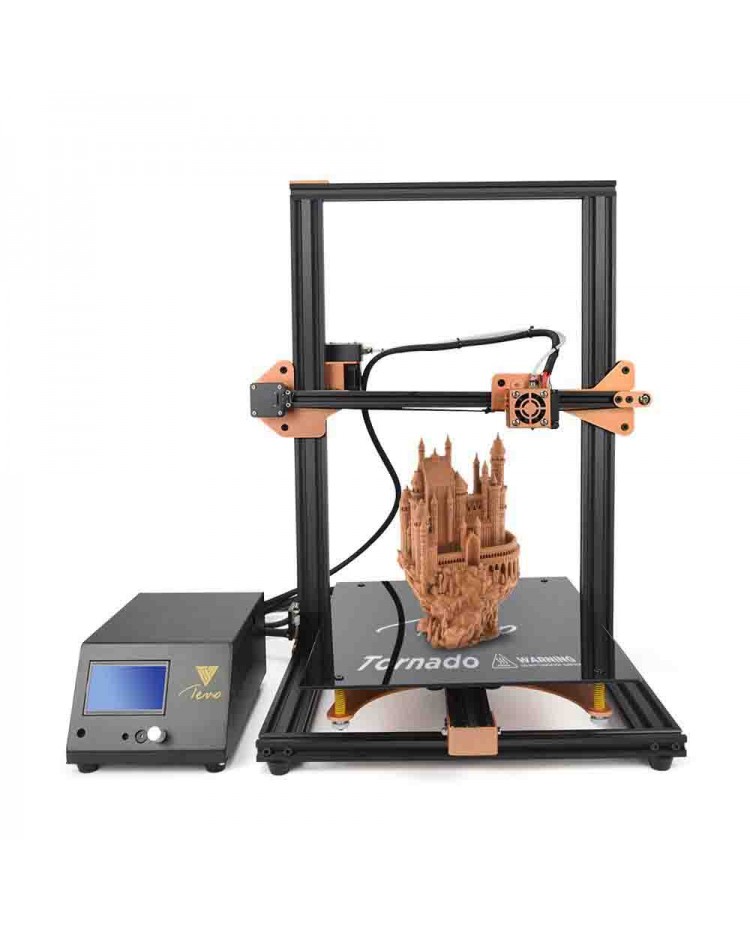 The model of the printer is called Tevo Tornado, a distinctive feature of this model is a huge print area. It is 30 by 30 centimeters with a height of 40 centimeters.
By the way, the white grid on the table is a test print of the manufacturer for the entire area. Those. the printer comes from China tested in printing, which means that the chance of getting a marriage or an assembly error is practically zero. My last Tevo Michelangelo printer also came tested in print. By the way, this is a wonderful little printer, quiet, compact. The channel has a detailed review of it, I really liked it, and I regularly print small details on it.
Let's go back to the Tornado and let's assemble it right away. The kit includes five bags with fasteners and screws to assemble the printer. There is also a spatula, a power cable and a USB cable for connecting to a computer. A 512 MB flash drive is also included. Assembly is simple and not difficult. First, we fix the table with spring-loaded screws.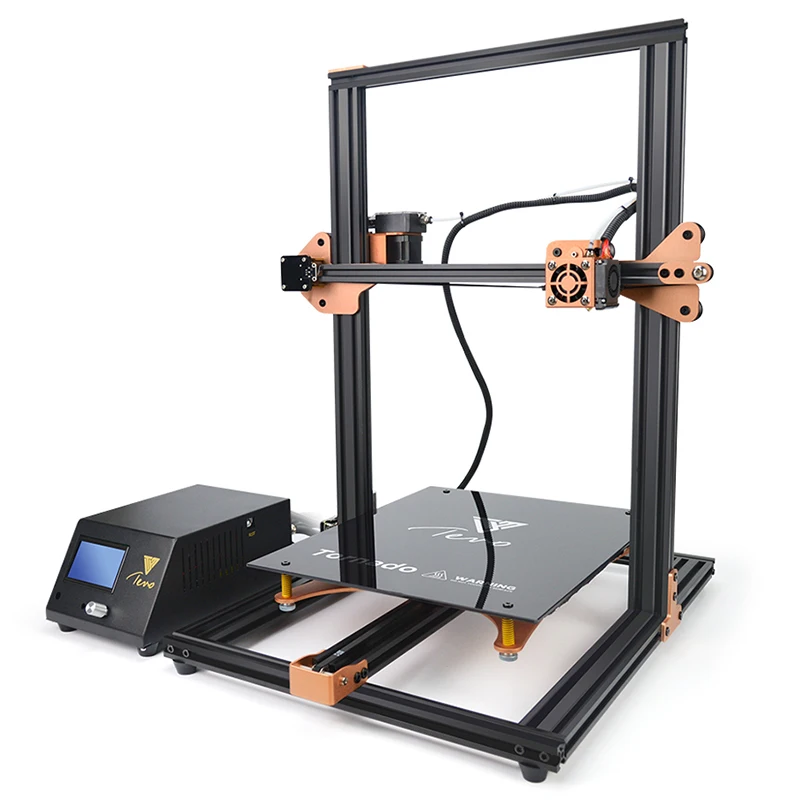 Next, we twist the frame on the fasteners that come with the kit. The nuts must first be loosened a little, and then tightened. Then they turn and fall into place in profile.
Well, the last step is to connect all the wires from the control unit. There are motors and limit switches along the axes, everything is signed, so it will be difficult to make a mistake. Assembly takes about 30 minutes, and you will receive such a skein after. Further, when laying and fixing the wires, you must take into account the movement of the desktop. So that the wires do not bite and do not break. Also, be sure to secure the power to the hot table, otherwise the wire will fray over time.
Turn on. We are greeted with firmware version 1.1, a typical Marlin upgraded by the manufacturer for himself. The firmware is a sketch on Arduino, the source is available on the official website. Therefore, changing, adding and correcting the functionality will not be difficult.
The first step after switching on is to set the zero level of the table. To do this, select "Custom commands - Home" in the menu. And the extruder moves to the zero point, focusing on the end switches of the guides. As you can see, the extruder significantly pressed the table in height. We tighten the nuts more and adjust the level of the table. The point is that in the menu you need to choose to move around the four corners of the table and adjust the height with the nuts so that a piece of paper passes under the nozzle without getting stuck. Be sure to check the corners twice in a circle when you tighten the nut on one side, the table leads away from the opposite side. The printer does not come with a plastic stand. But on the flash drive there is a model for printing it, I printed it, but it seemed inconvenient to me. Mounted on the profile at the back and will always be among the wires.
Therefore, we go to the Thingiverse website, search for Tevo Tornado and look for a suitable stand for this printer. There are different ones, I liked the model on bearings, I just have them in stock.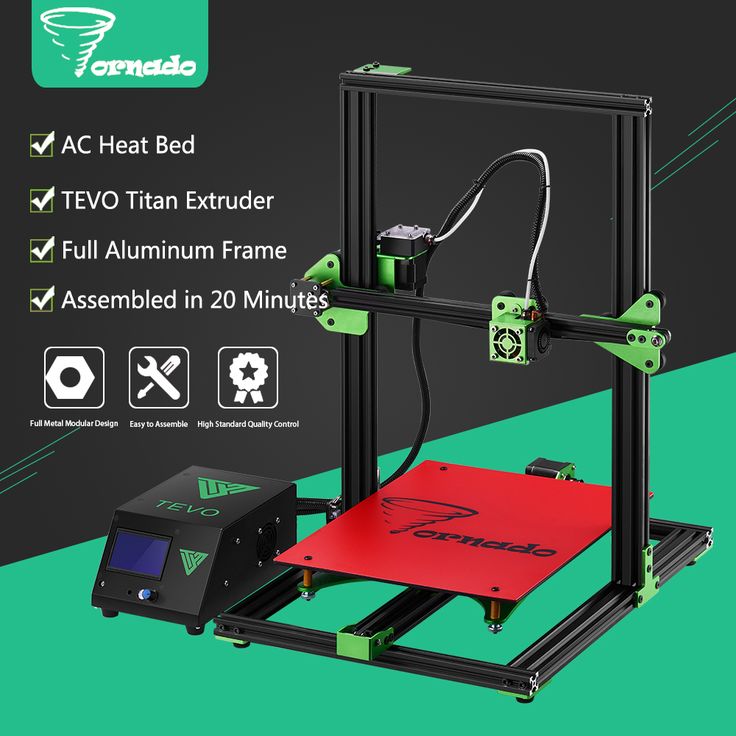 There are also other models of racks, such or such. We download the model from the site, launch the Cura program, add a printer with a print area of 300 by 300 by 400 to it and set the checkbox for the presence of table heating. We save the file to a USB flash drive, select pre-heating for PLA plastic in the menu, manually fill the plastic into the extruder (it's faster this way). Install the memory card in the printer and run. Because The printer has already warmed up, it immediately starts printing. I managed to set up the table correctly, so I didn’t even have to adjust it. At first, white plastic came out of the extruder, with which a test grid was printed, and then the yellow one that I installed came out.
The first part of the rack is ready, three of the same ones are still needed.
Printed four knobs on the nuts for more precise adjustment of the table. With them, it became much easier to turn the small nut and adjust the level of the table. And here is what the bearing assembly looks like.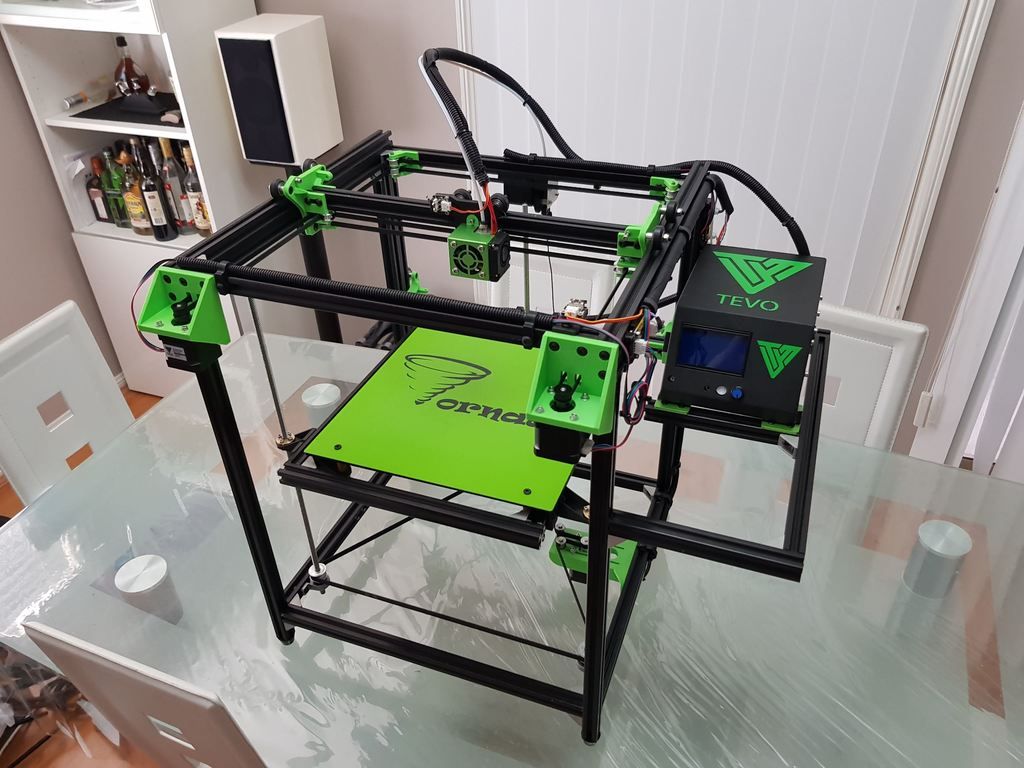 I fixed it to the case with double-sided tape, it's very convenient, now the coil is installed directly on top of the control unit.
Well, let's print something big. Along with the printer, I ordered a spool of PLA gradient plastic. I am launching a large model of a medieval castle, its height is almost 30 centimeters, the weight of the model is 500 grams and half of the reel will be used for printing. The gradient will make the model more interesting, bright and colorful. For speed, I had to set the accuracy worse. I printed such a lock for more than a day, and then I was tormented by tearing it off the table. But it turned out very nice and detailed.
I also liked the model of the Cheshire Cat from Alice in Wonderland, it is also in color and I will use pink and purple plastic for printing it. The head is ready. And this is how it looks assembled, but in total the whole print took about two days. An hour or two for each piece. We launched the model - removed it, launched the next one, nothing complicated. Parts are assembled by docking and glued together. I spent another hour assembling the cat, it turned out very cool. The cat is really cool. Every 3D printer reviewer should print it.
Let's talk about the specifics of the printer, the advantages and features of this model. Before buying it, you definitely need to think about where you will install it, the printer is large and requires a lot of space. The overall dimensions of the frame are 60 by 40 centimeters. But when printing, the table extends beyond its limits and there is still a separate control unit. Therefore, in reality, the printer occupies an area of 70 by 70 centimeters on the table, while having a height of 60 centimeters. Printing parts on all 3D printers takes quite a long time, and sitting next to such a buzzer will be uncomfortable for your psyche. Keep this in mind and place the printer where it will not be heard. If you use the entire print area, then the model, depending on the detail and the selected speed, will be printed for a day, two, or maybe even three.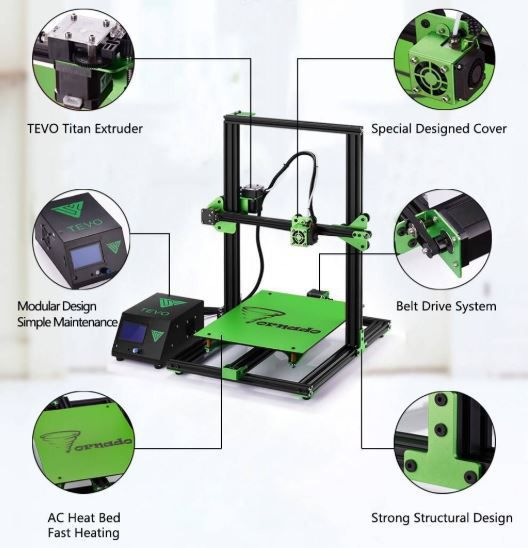 And here it is definitely worth thinking about buying an uninterruptible power supply for its power supply. It will be very frustrating to print for two days and get a reboot during a short power outage.
So, the advantages of this model are, of course, the print area. It is really huge and will allow you to print large models at once without docking them. The printer is also assembled and tested in print, so you don't have to mess around with it. It is possible to add a second extruder and print with two different plastics at once.
But the printer also has disadvantages. Personally, I did not like the coil of wires coming out of the control unit, of course it is all behind and does not interfere with printing, but somehow it is not aesthetically pleasing. Another zero point is right on the table, so when the nozzle was heated, the plastic melted there. This also does not affect printing in any way, it starts with an indent. The absence of a plastic stand in the kit is also a minus, first you have to collect something to print it first. 4
4
All in all a good printer and I would recommend it without hesitation if you need a large printable area or if you think you might need it. There are no jambs in the assembly and in the kit, everything is enough and everything works.
I ordered a printer on the Aliexpress website, delivery took about three weeks by a courier company right to my house. A link for ordering a printer is in the description of the video, I will also leave a link to the firmware and a review of the Michelangelo printer.
And that's all for today, thank you all for watching, have a nice day and bye bye!
Flyingbear P902 Tornado High Precision 3D Printer Review
Today I will talk about a 3D printer. More precisely, about its purchase, assembly and first steps. It’s too early to talk about something more, because at the moment I don’t have any typing practice or skills in 3D modeling programs.
Purchase
This purchase, unlike many others, was not hatched for a long time through detailed comparisons of analogues. Everything was limited to viewing a few articles and videos. The site has a great selection. Based on customer reviews and the price of the product, the choice was between the model that is in the Flyingbear-P9 review today02 and Tarantula 3D printer. According to the description, it was clear that the devices are not bad and are similar in characteristics and I don’t know how and why, but in the end it turned out that Flyingbear-P902 became my first 3D printer.
Shipping
Delivery took about three weeks. Came in a regular cardboard box.
Arrangement
Everything is well packaged. The seller put a set of fasteners with a small margin, plus an additional 0.3mm extruder nozzle. Included in the package is a spool of white PLA plastic, 1.75 in diameter, weighing 250 grams, a very generous investment for a test sample. Good quality plastic.
Assembly
There were no problems with assembling this 3D printer, everything is very well and detailed in the instructions, there is a video description of each assembly step.
The assembly was carried out without haste, everything is installed easily, without much effort.
The frame joints and articulations are quite rigid, but I would add extra angles to the vertical posts, at least 2 each, as the frame wobbles a little when printing fast, which affects the evenness of the printed parts.
Now about the most pleasant, about the electrician. The quality of soldering and PCB layout is at its best, there is enough solder everywhere, there is no residual flux. I was very pleased with the additional cooling of the motor step controllers, they do not even heat up during operation. The length of the wires from the kit is sufficient, the crimping and assembly of the connectors are of high quality. The power supply is more than enough. The connection and wiring of the elements are described in detail in the instructions.
Six hours and this is the result
For some reason, the screen flickers during operation, I asked the seller a question. Waiting for an answer. If anyone has come across, tell me, if not difficult, what is the reason.
First works
The first pancake, as always, is lumpy. The asterisk did not turn out. Aborted the process.
The second work is a case for charging 18650 batteries. It seems to me not bad).
Output
This is my first printer, to be honest I don't know how good or bad it is.
My very modest experience only allows me to note that the device is still rather good for a first acquaintance with 3D printing, given the clear step-by-step instructions and ease of assembly.