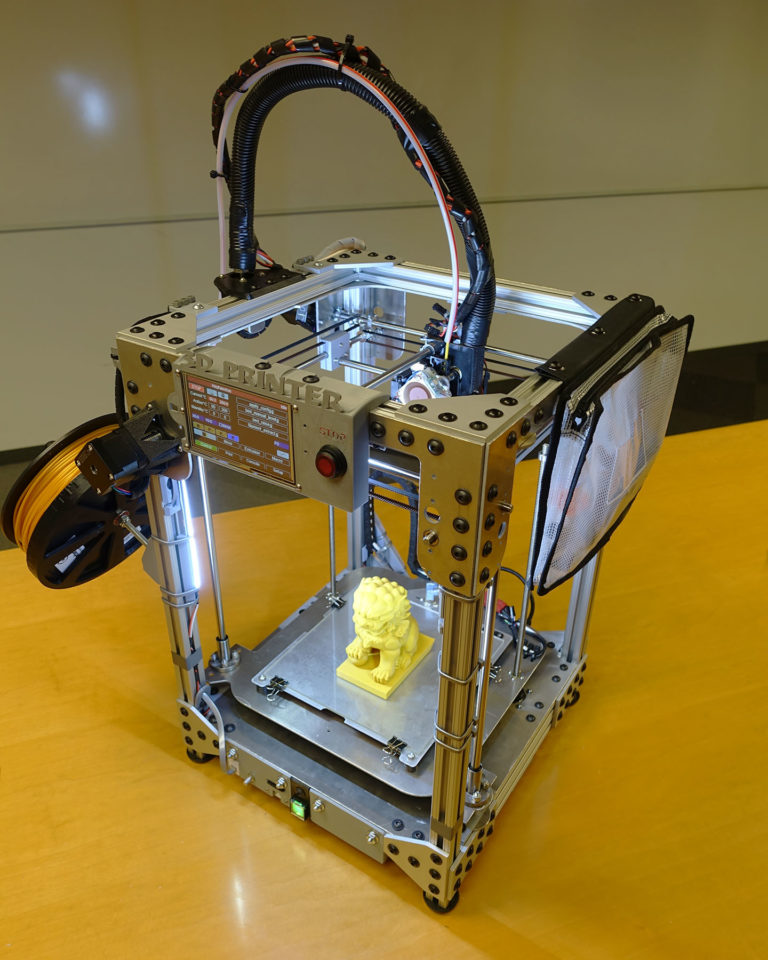
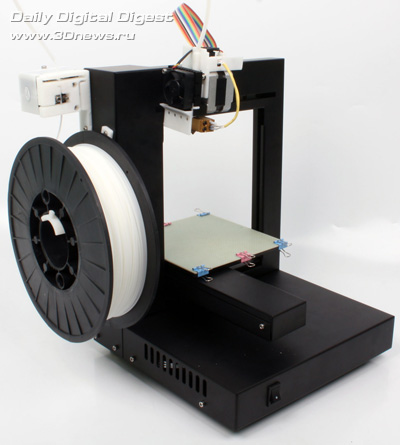
3D printer model making
Full Guide! – 3D Solved
You bought your first 3D printer and already printed the files that came with it as well as some of the free 3D models available on the web.
However, once you’ve done that it’s time to start designing your own prints, but to do that you’re going to have to learn some 3D design.
So, in this article, I will be giving you a full guide on how to start designing your own 3D models to print afterwards, what software to use, where to find courses for those 3D design software, and much more.
So, without any further ado, let’s get started!
Table Of Contents
- Design your Model using a CAD software
- Free CAD Software
- Tinkercad
- Fusion 360 Personal License
- FreeCAD
- Blender
- Paid CAD Alternatives
- Free 3D Design Courses
- Some 3D modelling tips
- Design the parts with a flat base
- Avoid Steep Overhangs
- Consider Layer Line direction (Stronger prints)
- Pay attention to size for dimensional accuracy
- Free CAD Software
- Slice the model using a Slicer
- Free Slicers
- Ultimaker Cura
- PrusaSlicer
- Premium Slicer Alternatives
- Save the Model to the SD card
- Use Octoprint as an alternative
- Free Slicers
- Conclusion
Design your Model using a CAD software
Fusion 360 CAD.CAD software, or Computer Aided Design software, lets you build 3D models on a computer which can then be 3D printed. Of course, these types of software are not only good for designing your prints but are also used for creating any kind of 3D element, be it for video games, animation, and more.
Once you’re done printing the free test prints that come with your printer, you generally download designs that other people made (you can use our own search engine to find amazing designs here). However, the ultimate challenge is to create them yourself using a CAD software, but this is definitely a lot harder to do than it may seem since 3D design can be quite complex.
There are some free CAD alternatives out there that are really simple to learn and use as well as some others that offer way more functionality at the cost of having a steeper learning curve. Of course, if you want to learn how to create your own models via a course, then check out this post I wrote about some of the best online 3D design & 3D Printing courses available (Free and also Paid).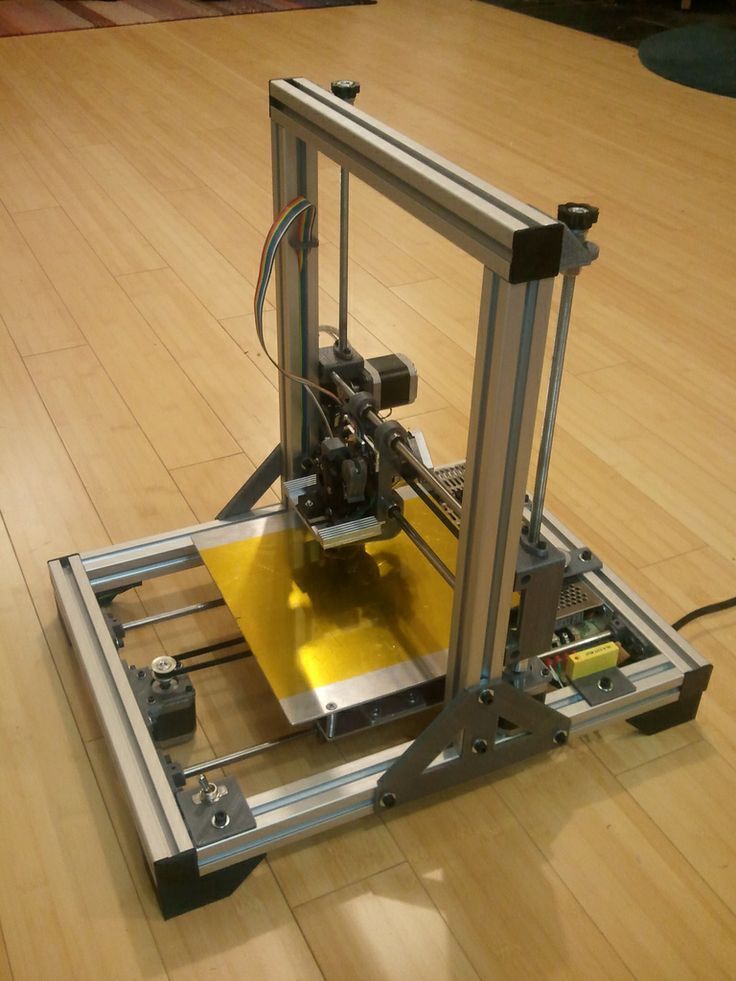
Now, let’s check out some free CAD software!
Free CAD Software
I just want to note that Free software isn’t necessarily worse than their premium counterparts. In fact, Fusion 360, which is the go-to design software used by most 3D printing enthusiasts, offers a free license for personal use with only a couple limitations. However, it’s not the easiest CAD to learn.
Tinkercad
Tinkercad (Link to Review) is a browser-based CAD that is 100% free and that is ideal for absolute beginners since it relies on a drag-and-drop interface where you can select different objects, such as squares, circles, etc., and use those to create the final design.
In addition to this, even though it’s really simple and straight forward to use, it’s also a lot more powerful than it seems and will suit most of your 3D design needs, plus every design you create gets saved in the cloud and you can always access them from any device.
Check out Tinkercad here.
Fusion 360 Personal License
Fusion 360 (Link to Review) is probably the best-known CAD currently being used by 3D printing enthusiasts since it’s extremely powerful and capable of creating every 3D model imaginable.
The learning curve is a lot steeper than the one of Tinkercad, but it’s also a much more professional software capable of creating more complex designs.
It offers a couple different pricing options and let me tell you, it’s not a cheap software, but they offer a personal license that you can use for free for 3 years and that only comes with some minor limitations when compared to the premium version.
If you’re a complete novice when it comes to 3D design, Fusion 360 might not be the friendliest CAD to get you started, but if you follow some courses and if you take the time to learn it, you’ll be able to create much better designs than with something like Tinkercad.
FreeCAD
FreeCAD (Link to Review) is a general-purpose and open-source 3D parametric design software that has a wide range of uses. Its main purpose is for designing mechanical engineering, electrical engineering, and architectural objects.
For that reason, it is best used for geometric designs like accurate replacement parts, detailed technological parts, scale models, and edit gadgets.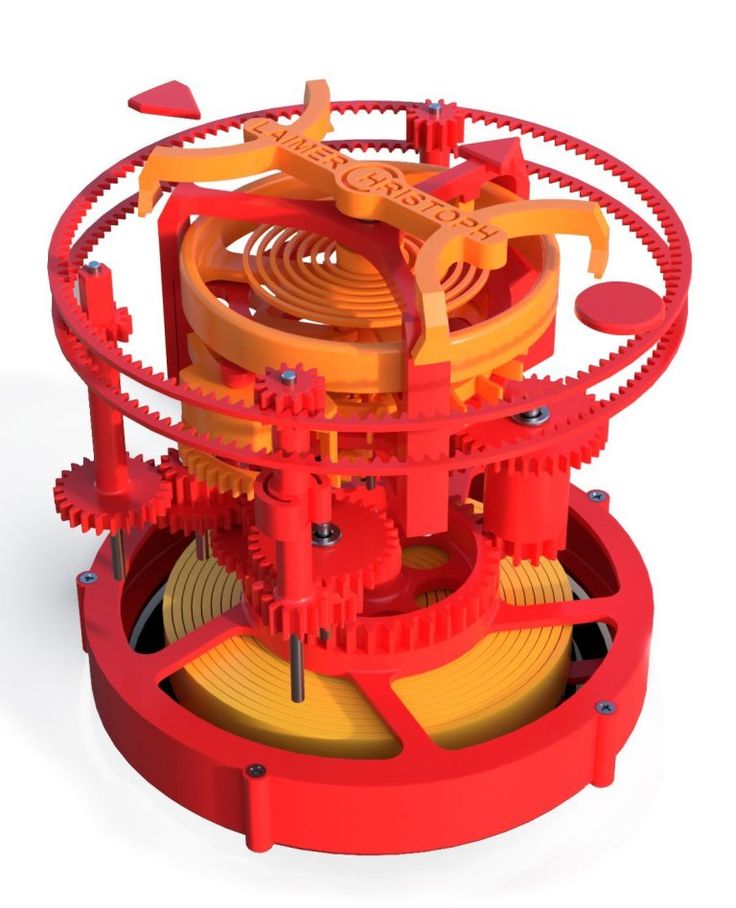
FreeCAD (link to website) could be considered a middle ground between Fusion 360 and Tinkercad since it’s a bit more powerful than Tinkercad while also being more beginner-friendly than Fusion 360, and there’s also loads of online resources available where you can learn the ins and outs of FreeCAD to design your own 3D models successfully.
Blender
Blender (link to review) is a 100% free 3D design software and it’s the most used software for 3D printing when it comes to creating organic shapes. Otherwise, it is not the most practical software for designing precise and technical objects for which there are better-suited programs, like Fusion 360.
If you want to model organic shapes such as animals, humans, or monsters, Blender is one of the best options available simply because of the fact that it is free, open-source, has powerful features, and a thriving community that is constantly improving the program.
Paid CAD Alternatives
Most paid CADs are not aimed at hobbyist designers but rather professionals and corporations that use this software for commercial purposes, which is why their licenses are usually very expensive and paid yearly.
For 99% of people reading this, none of these alternatives will be of much use to you since you can definitely get by using Fusion 360’s personal license and achieve astounding results with it.
However, some paid CADs include: AutoCAD, Fusion 360 (not the personal license one), Solidworks, Sketchup Pro, Solidedge, ZBrush, and many more.
Free 3D Design Courses
There are multiple free online 3D printing and Design courses available, but here are some of the ones I found to be the most useful:
- Tinkercad Tutorial Series by Promo Ambitions.
- Fusion 360 for 3D Printing 2021 by Austen Hartley.
- Foundations of Blender: Jewelry Design in 3D (By Gesa Pickbrenner).
These three courses are all completely free and you have one for Tinkercad, one for Fusion 360, and another one for Blender, which should cover 99% of your needs.
Note: The Skillshare courses are not free but you can sign up for the free trial that lasts a month and finish all the courses you want.
In the article I just linked, there are many more free courses as well as paid ones, but there’s also plenty of YouTube tutorials out there that provide excellent information for each of those CADs.
Some 3D modelling tips
Here are some tips I thought of that should improve your chances of success while printing the models you designed, since there are some fairly common mistakes you can make that may end up ruining your print.
Design the parts with a flat base
Left: Round base, pool adhesion.Right: Flat base, much better adhesion.
Probably the most important factor when it comes to a successful print is achieving a good bed adhesion, which means that the surface of the model that’s contacting with the bed should be as big as possible.
Imagine printing a round sphere where the bottom is rounded as well. In that case, there’s not a lot of surface available to achieve a good bed adhesion, which means that the print will detach from the bed and the printer will continue printing in mid-air, leaving plastic strings all over the print surface.
However, if you change the shape of the bottom of the model so that it’s completely flat, and if possible also with a large surface area, then bed adhesion will be much better and your prints success rate will be much higher.
Avoid Steep Overhangs
3D printing is done layer by layer from the ground up and the printer can print at an angle without any issues or loss in printing quality as long as that overhang angle isn’t too steep.
If you look at the image below, you’ll see that it has an angled overhang on the left, a bridge overhang in the middle, and a cantilever overhang on the right. This is an object designed to show you what types of overhangs your printer can deal with as well as which ones it can’t.
The angled and bridged overhangs (left and middle) are no problem for the printer since there’s enough support material available to keep the print from failing. But the right overhang, since the printer would need to print in mid-air, will fail since there’s no support structure for the filament to grab onto.
To circumvent this issue, you should either print using overhangs of no more than 45° or include supports (a setting that is enabled in the slicer) since these will form a support structure under any overhang above a specific angle to keep it from failing.
Consider Layer Line direction (Stronger prints)
Since FDM 3D printing is done in layers from the ground up, we can adjust the position of the model in the slicer before printing it to make it stronger.
Left: Vertical layer lines, much stronger when a “pulling” force is applied.Right: Horizontal layer lines.
This works because layer lines are very strong but the adhesion between those layers isn’t. So, if you look at the image above where I sliced the exact same model but one gets printed vertically and the other one horizontally, the one with horizontal layer lines won’t withstand as much of a pulling force while the one with the vertical layer lines will be much stronger.
You should always adjust the position of the model in the slicer so that the layer lines are parallel to the force that the object is going to be subjected to and not perpendicular, this way you aren’t relying on the strength of layer adhesion as much.
Pay attention to size for dimensional accuracy
When first starting out you’ll probably design something that needs to be functional and fit tightly with another object, only to find that the dimensions you set were completely off.
In Tinkercad, as well as every other CAD, you can see the grid (generally in millimeters) which gives you a visual cue of how large the model is going to be. But you can also click on the model and adjust the length, width and height easily by typing it in.
Always make sure to use calipers to take the right measurements and enter those into your CAD to be as precise as possible.
Slice the model using a Slicer
FDM 3D printing works in layers: The printer starts from the very bottom, prints an entire layer and then moves up to the next one, etc. until the printing process is complete. Slicers essentially “slice” the model up in different layers from the bottom up and create a gcode file which contains all the information the printer needs in order to print the object.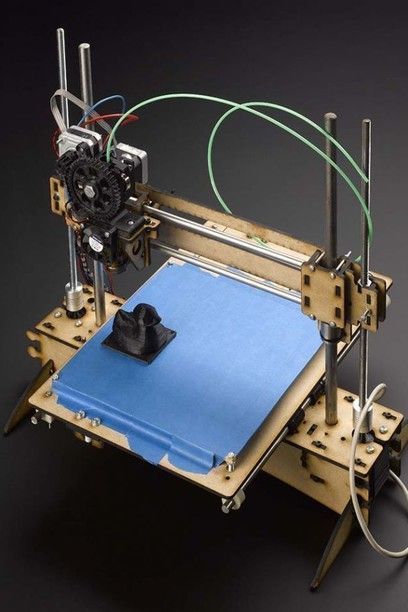
Luckily, all free Slicer currently available are absolutely fantastic and work really well, and there’s rarely a case where going with a premium Slicer makes any sense nowadays.
Here’s a list of the best free Slicers:
Free Slicers
There’s probably a dozen different free Slicers out there, however, I’m only going to list two since I think that those will cover all your needs!
Let’s start with the one I use, Cura.
Ultimaker Cura
Cura is the most-used Slicer out there simply because it works, it’s intuitive, it gets consistent updates, and it also feature a huge number of free plugins that you can install and which will make your life a lot easier.
For example: If you are trying to find a way of positioning the model to be sliced so that it uses the least amount of support material possible, well Cura has got you covered.
Definitely check Cura out, it’s a great software.
PrusaSlicer
PrusaSlicer, contrary to Cura, not only works with FDM printers but also SLA (resin printers), which makes it extremely versatile.
However, it doesn’t come with any free plugins that you can install, but it does offer bridge detection and “if-statements”, plus it’s also getting updated regularly, meaning that it’s only going to get better over time.
Premium Slicer Alternatives
I already mentioned that I don’t think that most people will ever need to pay for a premium slicer, especially considering how fast all the free ones are improving.
However, going with something like Simplify3D may make sense if you’re running a 3D printing shop, but I generally recommend going with the free alternatives.
Save the Model to the SD card
This is a very easy and straightforward step, but you need to do it in order to get the information over to the printer if you want to be able to print the model.
Cura automatically lets you save the file to the removable drive and even ejects it for you, but depending on the slicer you might have to do this manually. Make sure to always name the file appropriately so that you know what file you’re selecting from the printer.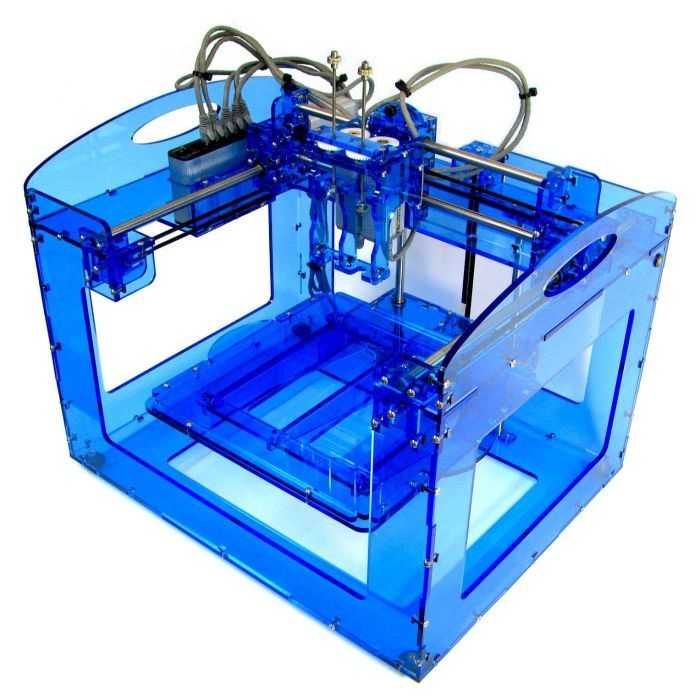
However, if you’re running a printing farm or if you want to control the printer remotely, then there’s a more efficient way of doing things.
Use Octoprint as an alternative
OctoPrint is a web interface for your 3D printer that allows you to control and monitor all aspects of your printer and print jobs right from your within your browser.
You can access a webcam feed to make sure the print is moving forward as expected, as well as being able to take a look at temperatures, view reports on the progress of the prints, control the printer itself, create a printing queue, analyze the bed level via the bed level visualizer, and more.
Conclusion
Creating 3D models that can be printed on your 3D printer is a fairly simple process, with the hardest part being designing the actual model itself.
I’d recommend starting with Tinkercad since it’s extremely intuitive and easy to use, and as long as you don’t need to create really complex models don’t upgrade to Fusion 360 since it will take you a lot longer to learn the software.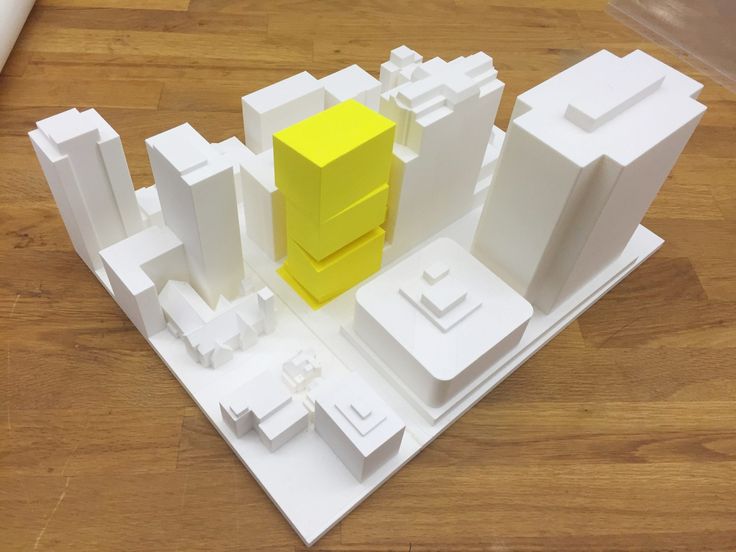
The rest of the process is extremely simple, really, so I’d mainly worry about learning 3D design.
I hope this was useful!
Have a great day!
We created a recommended products section that will allow you to remove the guesswork and reduce the time spent researching what printer, filament, or upgrades to get, since we know that this can be a very daunting task and which generally leads to a lot of confusion.
We have selected just a handful of 3D printers that we consider to be good for beginners as well as intermediates, and even experts, making the decision easier, and the filaments, as well as the upgrades listed, were all tested by us and carefully selected, so you know that whichever one you choose will work as intended.
Is Tinkercad good for 3D Printing? – 3D Solved
With so many different CAD software out there, some free and some extremely pricy, it’s hard to really choose which one to go for, especially if you’re just starting out.
I got started on Tinkercad and managed to create some pretty cool 3D designs with it which I then printed on my 3D printer, and then moved on to other more fully-featured CAD software.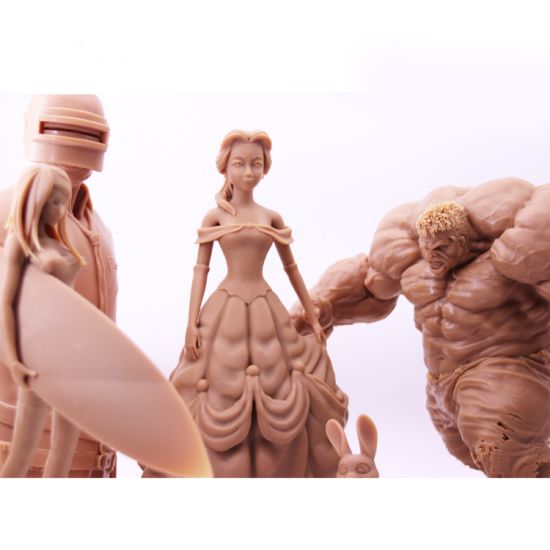
So, in this article, I will give you an overview of Tinkercad, if it’s easy to learn, and I will also compare it to some other reputable CAD software out there.
In short; Tinkercad can be used to design 3D objects which can then be saved as an .STL file to be printed with any 3D printer, and while it may not be as fully-featured and capable as other design software out there, it’s free, easy to use, and the ideal CAD for beginner 3D printing enthusiasts.
Now, without any further ado, let’s get started!
Table Of Contents
- Is Tinkercad easy to learn?
- Can you design anything using Tinkercad?
- Online resources for learning Tinkercad
- Popular Tinkercad alternatives
- How to export a file from Tinkercad
- Which CAD software is used the most in 3D printing?
- FAQs
- Conclusion
Is Tinkercad easy to learn?
Tinkercad is a free computer-aided design program (CAD) where users can design, modify, and create 3D objects. Its step-by-step design process is simple and beginner-friendly as it uses constructive solid geometry (CGS), allowing users to create a complex designs by starting with one simple geometric shape and slowly adding other ones, which means that no prior 3D design knowledge is needed.
Tinkercad is available for free and is used by school students, teachers, 3D hobbyists and designers alike. The beauty of the software is that it is user-friendly and is an excellent alternative to other 3D modeling software like SketchUp and Fusion360.
The whole point of Tinkercad is to be as simple and easy to use as possible while still allowing you to create very complex objects by offering a very generous learning curve, which means that you will be creating incredibly difficult designs in no time.
A big bonus with Tinkercad is its growing community of designers which is always very welcoming to new and aspiring tinkerers, and the number of resources available to help you on your way is astounding.
The best part is that there is no cost in learning through being part of the Tinkercad community and there is always someone, or perhaps even a group of designers, that will offer their guidance and support.
Tinkercad is the easiest way for beginners to get started with 3D modelling since it’s designed from the ground up to be as simple and intuitive to use as possible without limiting you too much, since once you get the hand of it you should be able to design fairly complex models.
Can you design anything using Tinkercad?
While you can certainly design almost any kind of 3D model on Tinkercad, there are a few limitations when it comes to complex and extremely precise moving parts, such as the ones designed by industrial designers and engineers , and this is where other CAD software might be better. However, for most people who need to design more conventional models, Tinkercad is more than enough.
However, the more you use and experience the software with all its different tools, the more you realize just how versatile and user-friendly Tinkercad actually is.
As far as general everyday designs go, the sky is the limit, so Tinkercad will be more than adequate to meet the average design requirements for most users. To give you an idea of what Tinkercad is capable of, below are some designs created by a few advanced users.
- DeLorean
- Ray Gun
- Futuristic City
- Mustang
- Mad Max Guitarist Truck
Online resources for learning Tinkercad
Tinkercad’s official tutorial.There are plenty of tutorials available online, be it on YouTube, Websites, Forums, you name it, and performing a quick Google search for “Tinkercad Tutorial” will yield dozens of useful results.
Here are some of the most useful tutorials/guides available:
- Learn Tinkercad (official Tinkercad Tutorial)
- Learn Tinkercad in 5 Steps (all3dp tutorial)
- Tinkercad Tutorial by Promoambitions
- Instructables Tutorial
For those of you who prefer watching video tutorials as opposed to reading, YouTube has got you covered. Here are a few links.
- All3DP Tinkercad Tutorial
- Bai Tinkercad Tutorial
- Chaos Core Tech Tinkercad Tutorial
- Makerspace tutorial
- Tinkercad tutorial by PromoAmbitions (best video tutorial available)
Tinkercad uses rather simple geometric shapes that can be either “solid” or “hole”, and when combining the two you can create new shapes. In addition to this, you can create custom shape generators using a built-in JavaScript editor which can then be imported in three different formats: STL and OBJ for 3D, and 2-dimensional SVG shapes for extruding into 3D shapes.
Tinkercad even includes a feature to export 3D models to Minecraft Java Edition, and also offers the ability to design structures using Lego bricks.
Popular Tinkercad alternatives
As mentioned, there are alternatives to Tinkercad, and each has its own set of pros and cons. The two main alternatives are SketchUp and Fusion360, so let’s see how Tinkercad compares to them.
Tinkercad vs SketchUp
Both Tinkercad and SketchUp are suited to beginners with little to no background knowledge on 3D design programs. This gives users a leg up on the basic understanding of design without first going through a rigorous learning process.
SketchUp was created by Google and had a huge following with 30 million activations in the last year alone, and the idea behind it, and Tinkercad alike, was to create a 3D modelling software that’s accessible to the general public without the need of a prior education in the field.
Is SketchUp free?
SketchUp Free is the free version of the software that has some tantalizing benefits attached to it, including 10 gig cloud storage, a SketchUp viewer app for mobile devices, and the ability to import a number of different file types. However, there are limitations to what you can get for free and the pricing ranges from $119 per year for a simple personal license up to $639 per year for the “Studio” version.
Tinkercad, on the other hand, is 100% free.
Tinkercad vs Fusion360
Tinkercad caters to younger users without any design experience or knowledge, whereas Fusion360 is designed with more seasoned users in mind who have a more advanced knowledge and who need to be able to create prototypes and more intricate parts.
Tinkercad, however, is easy to learn and moving parts can be made relatively quickly. It is interactive and engages young minds in a fun and educational way that provides the opportunity to design and build basic everyday items. However, it is limited to a point with the shapes available. Another downside is that editing is difficult because there is no history tree to refer to.
Fusion360, on the other hand, gives the user complete control over shapes and boasts some powerful modelling tools that are ideal for making complex mechanical parts. Also, having a history tree makes editing a lot easier but with this comes a lot more learning, and because of the range of tools available in Fusion 360, knowing which one to use at any given time will come with experience, or in other words, time investment.
How to export a file from Tinkercad
To export a file from Tinkercad you need to select the object you want to print (if it’s multiple ones then you’ll need to select them all) and then click on “Export” in the upper right corner making sure to select the .stl format, which will immediately download the file.
If you’re going to be printing the model on a 3D printer, you will need to load the .stl file on a Slicer software, slice it, and then load it on the printer (usually via an SD card).
Which CAD software is used the most in 3D printing?
As there are no CAD app statistics available from the 3D printing community, it is best to distinguish between hobbyists and professional designers. Tinkercad and SketchUp are popular among hobbyists, while most full-time professional designers prefer Fusion360.
CAD software is wide-ranging and is preferred for the more technical type of designs. However, here is a list of software programs suited for both beginners and experts alike:
- Blender: For beginners and is free.
- Tinkercad: for beginners and is free.
- Freecad: For beginners and is free.
- Blockscad: For beginners and is free.
- Creo: For Intermediate and costs $2310 per license.
- Autodesk Fusion360: For intermediate and costs $60 per month or free to students and educators.
- SolidWorks: For Professionals and costs $3995 for each license.
- Autocad: For professionals, and costs $185 per month or $1470 per year. Students and faculties can download a functional version at no cost.
- Catia: For professionals and costs $10 000 and up.
- Openscad: For Professionals and is free.
- Rhino3D: For professionals and included different bundles that include Rhino 6.0 for windows that start at 995 Euros and Rhino 5.0 for Mac that starts at 695 Euros.
FAQs
Is Tinkercad free to use?
Tinkercad is 100% free to use and doesn’t feature any additional upgrade plans like most other “free” CAD software out there that you would need to pay for. This, however, comes at the cost of being slightly more limited than other similar software.
Can you download Tinkercad (and use it offline)?
Tinkercad is only accessible online and at this time, you cannot download it for offline use. This means that you must always have an active Internet connection and all the projects you create will be saved on the cloud. Periodic requests have been made to Autodesk for an offline version, but so far, there has been no solid commitment besides the fact that they are looking into it.
Can you render objects in Tinkercad?
Rendering an object in Tinkercad is possible but in a very basic form. Here is a five-step process that will guide you through it. Alternatively, it will be best to import into Fusion360 if you want a more realistic scene. Here is a video that shows you how to do it properly.
Conclusion
Tinkercad is a great tool for creating 3D designs that you can then print, and it’s especially good for beginners since it’s got a very gentle learning curve.
Additionally, it’s not as limited as you might think, just check out the designs I linked earlier and you’ll see what I mean.
Most people who are trying to create models for 3D printing will find that Tinkercad is more than enough for their needs.
I hope this information was useful!
We created a recommended products section that will allow you to remove the guesswork and reduce the time spent researching what printer, filament, or upgrades to get, since we know that this can be a very daunting task and which generally leads to a lot of confusion.
We have selected just a handful of 3D printers that we consider to be good for beginners as well as intermediates, and even experts, making the decision easier, and the filaments, as well as the upgrades listed, were all tested by us and carefully selected, so you know that whichever one you choose will work as intended.
Manufacture of custom-made metal and plastic cases for electronic equipment, devices
Manufacture of custom-made metal and plastic cases for electronic equipment, devicesOrder housing
Our advantages
A variety of materials
More than 15 materials with different textures and technical characteristics
Production from 1 piece
Individual development and production of plastic cases for REA, electronic devices and equipment
We work quickly
Rapid prototyping on household and industrial 3D printers with a period of 1 day or more
Serial production
Profitable technology of molding plastic into silicone molds for mass production
Convenient delivery
Express delivery throughout Russia and the CIS, same day delivery in Moscow
Detailed consultation
Consultation and assistance of our technical specialists at all production steps
Work examples
Plastic molding
Plastic molding
Plastic molding
ABS 3D printing
ABS 3D printing
ABS 3D printing
polyamide 3D printing in polyamide
3D printing in polyamide
3D printing in various plastics
3D printing in photopolymer
3D printing in polyamide
3D printing in polyamide
ABS 3D printing
ABS 3D printing
ABS 3D printing
ABS 3D printing
ABS 3D printing
3D printingABS
3D printed polyamide
3D printed ABS
Find out the cost of your hull
Prices and terms
ABS / 3D printed
High impact, heat resistant plastic in a wide range of colors. Well suited for cases with simple geometries, it gives a rough surface with noticeable layers of printing.
From 1 day
From 15 q/cm 3
Polyamide / 3D printing
Flexible and durable plastic. Ideal for prototyping complex shapes, provides a smooth, slightly rough, good quality surface
From 3 days
From 99 q/cm 3
Photopolymer / 3D printing
fine detail, accurate prototypes and high-quality master models, printing accuracy up to 16 microns.
From 1 day
From 230 q/cm 3
10+ types of plastic /
Molding in silicone molds
More than 10 types of plastics with different surface textures and temperature and strength characteristics are available for casting.
From 10 days
From 10,000 q
Material/Technology
ABS / 3D printed
Impact-resistant, heat-resistant plastic, wide color palette.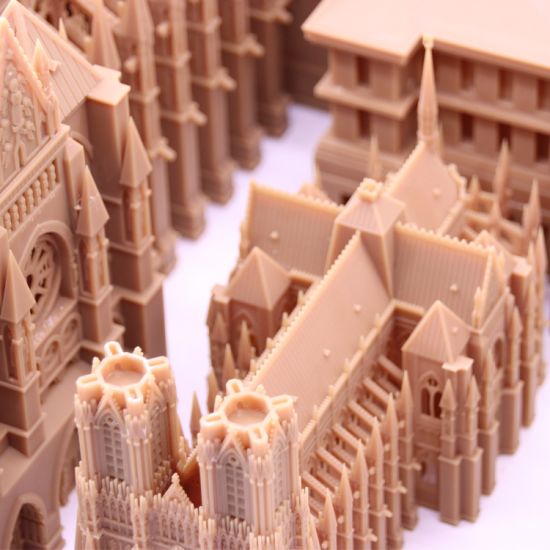 Well suited for cases with simple geometry, gives a rough surface with noticeable layers of printing.
 Deadline: From 1 day
Price: From 15 q/cm 3
Material/Technology
Polyamide / 3D printing
Flexible and durable plastic. Ideal for prototyping complex shapes, provides a smooth, slightly rough, good quality surfaceDeadline: From 3 days
Price: From 99 q/cm 3
Material/Technology
Photopolymer / 3D printing
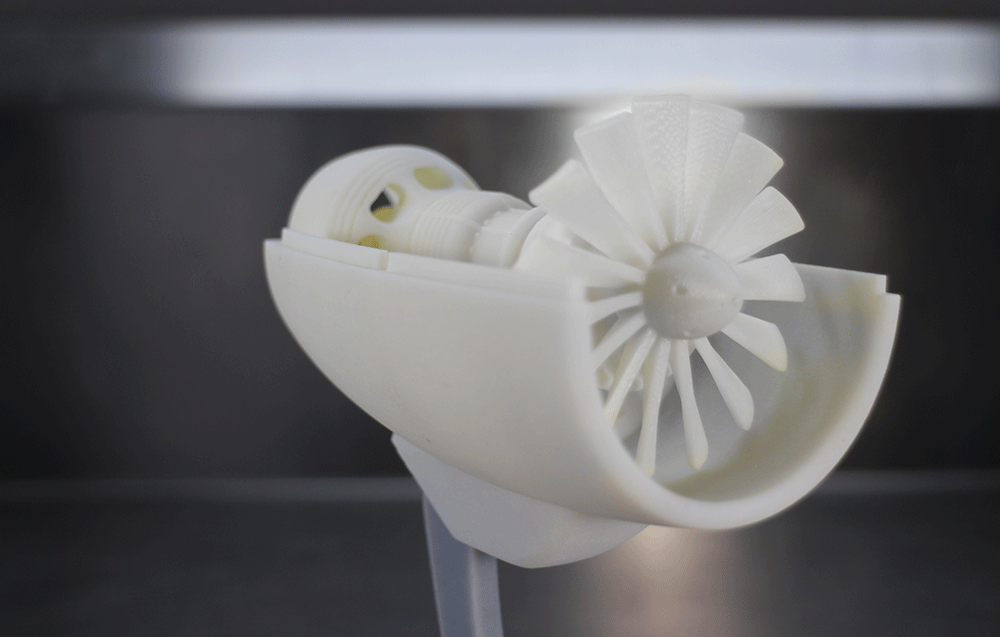
Smooth and detailed plastic, used for 3D printing of oversized objects with fine detail, accurate prototypes and high-quality master models, printing accuracy up to 16 microns.Deadline: From 1 day
Price: From 230 q/cm 3
Material/Technology
10+ types of plastic /
Casting in silicone molds More than 10 types of plastics with different surface textures and temperature and strength characteristics are available for casting.
Deadline: From 10 days
Price: From 10,000 q/cm 3
If typical plastic cases for electronics are not suitable for you, we offer piece and serial production of cases for electronic equipment, devices and equipment to order using 3D printing and injection molding of plastic into silicone.
3D printing of cases is commonly used for prototypes, test samples, single products or small series in a relatively short time. If necessary, you can conveniently modify the digital 3D model and print different versions of the case for testing quality and technical characteristics. If a showcase or prototype is required for demonstration, we offer the following post-processing services cases printed on a 3D printer: sanding, priming, painting, gluing, varnishing.
Molding of plastic housings into silicone molds is usually advantageous for the production of a small series of products (10 - 1000 pieces).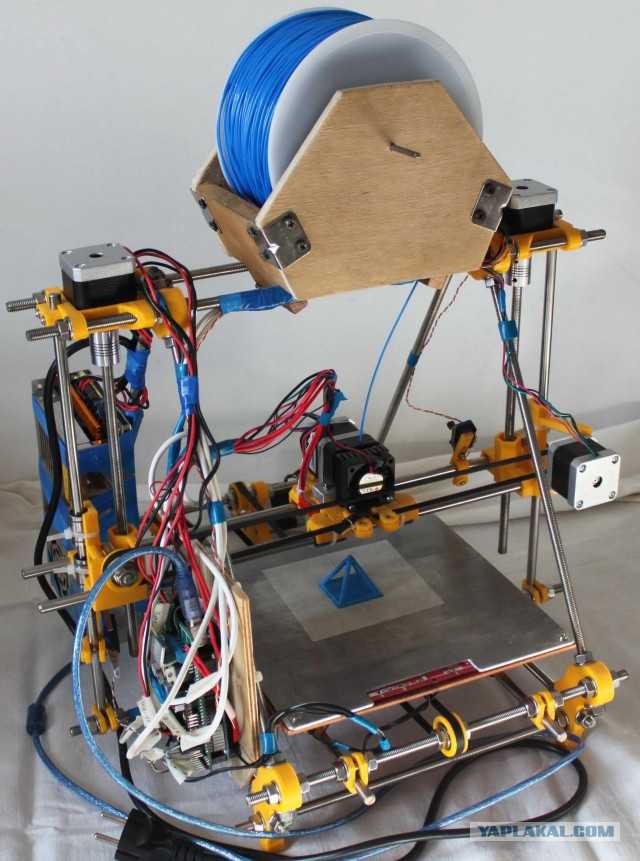 Inexpensive and relatively easy to manufacture compared to metal tooling flexible silicone mold for casting allows you to optimize the cost and production time of the batch. More than 10 types of plastics with different surface textures and temperature and strength characteristics are available for casting. The larger the batch size per casting, the lower the unit cost.
Application for the manufacture of housing
If you have a 3D model, upload the file and calculate the cost 3D printing online
You need a housing product with dimensions: length mm, width mm, height mm. In the number of pieces.
Material requirements:
Finished case to be received My name is:
Send the answer to the mail: Phone for operational communication:
Send request
Thank you for submitting your application!
Our specialists will consider your request and will definitely answer.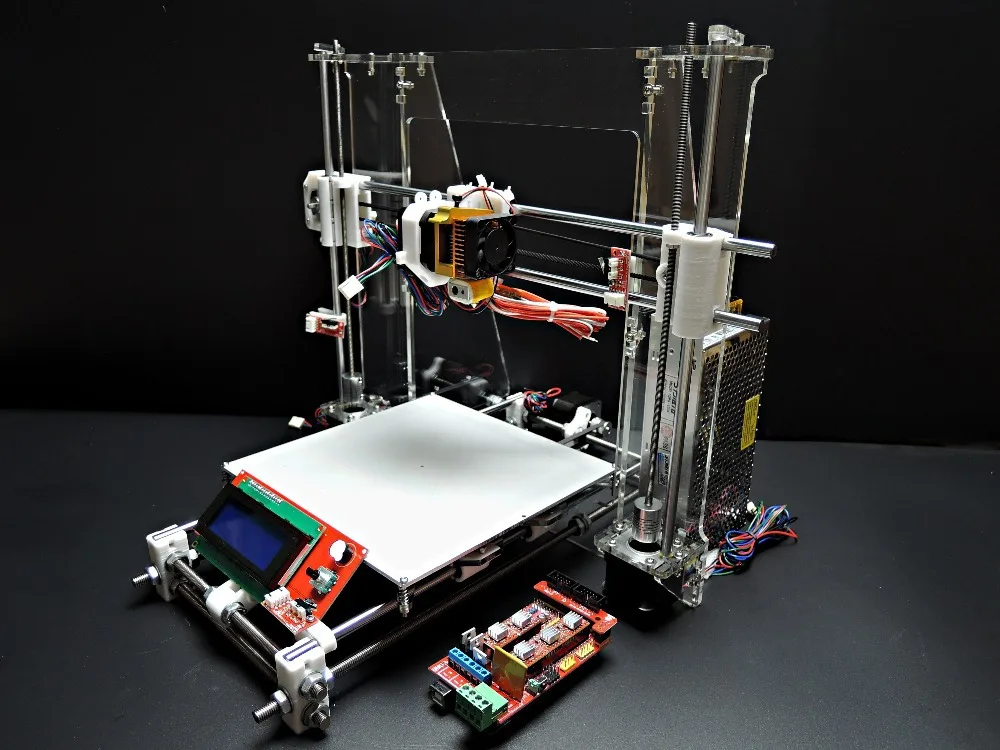
If you already know that you need 3D printing to produce a layout, and you have a prepared 3D model, you can upload the file to our website, calculate the cost and place an order online.
Submit new application
Application for the manufacture of housing
If you have a 3D model, upload the file and calculate the cost 3D printing online
CONTACTS
Name *
E-mail *
Hotline .
DEADLINE
Deadline
CHARACTERISTICS
Quantity, pcs.
Dimensions (mm x mm x mm) X X
ADDITIONAL INFORMATION
If you have any file that will help our specialists understand your task, attach it to the application:
Material requirements:
3D Printing News & Events CubicPrints | All News
3D Printing News & Events CubicPrints | All news | Page #13D Printing News & Events CubicPrints
All News Interview Developments Contests 3D printing in the world
Intake manifold aluminum milling
We were recently approached by a customer with the task of manufacturing a durable intake manifold part for a Mercedes Sprinter engine. Surely many owners of the Mercedes Sprinter on the 646 engine are familiar with this weak link in the car. The logical decision in this situation was the manufacture of a similar, but more durable metal parts. We proposed to make a collector from aluminum using CNC milling.
How to export 3D models from different programs to STL?
To start printing on a 3D printer, you need to prepare a digital 3D model. In order for the digital model to be accepted by a 3D printer, you need to export it to the .STL format suitable for most printers. In this article, we will show you how to export a 3D model to STL format in the most common 3D modeling programs.
Where can I find ready-made 3D models for printing on a 3D printer?
The first and indispensable condition for 3D printing is the availability of a digital 3D model in the .STL format “edible” for most 3D printers. We have compiled a selection of sites with ready-made 3D models for 3D printing.
3D modeling lessons
We told the Smart Country portal about the essence of 3D printing
Many people know that 3D printers exist and function successfully, but they still do not understand exactly how the process of “growing” real products from digital models takes place. Our CEO Roman Arkhangelsky spoke in detail to the platform about innovations and technologies "Smart Country" about the essence of 3D printing, its current development and prospects.
We invite you to the Interplastica exhibition from 23 to 26 January!
We invite you to the exhibition of additive technologies in industry "3D fab + print Russia", which will be held in Moscow as part of the international specialized exhibition of plastics and rubbers Interplastica 2018. The exhibition will be held from January 23 to 26 at the Expocentre Fairgrounds, we will accommodate pavilion, booth 2. 3D40. We will give the first 150 visitors a 3D-printed bicycle constructor.
Happy New Year 2018 and give an additional 5% discount in January!
Dear friends and partners, we wish you a Happy New Year and Merry Christmas! We give a 5% discount on an online order placed in January! To activate the discount when placing an online order, enter the promo code: NY2018
How to make a solar ship controller?
Summing up the results of the outgoing year, we want to tell you about one of the most interesting projects that we managed to implement together with our colleagues from the technopark - the engineering company "Electric Transport Technologies". It was necessary to make 30 controller cases for solar-powered racing ships for participants in the All-Russian engineering competition "Solar Regatta".
Why is CNC milling better than a turner?
Milling is the processing of parts by hand or on a machine using a cutter.