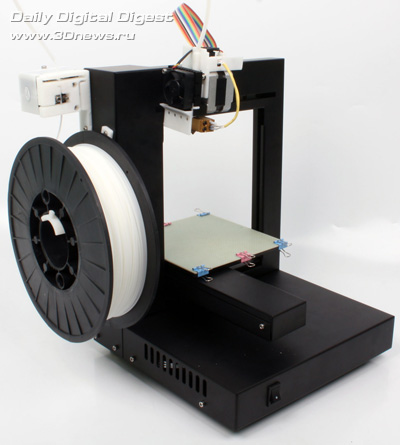
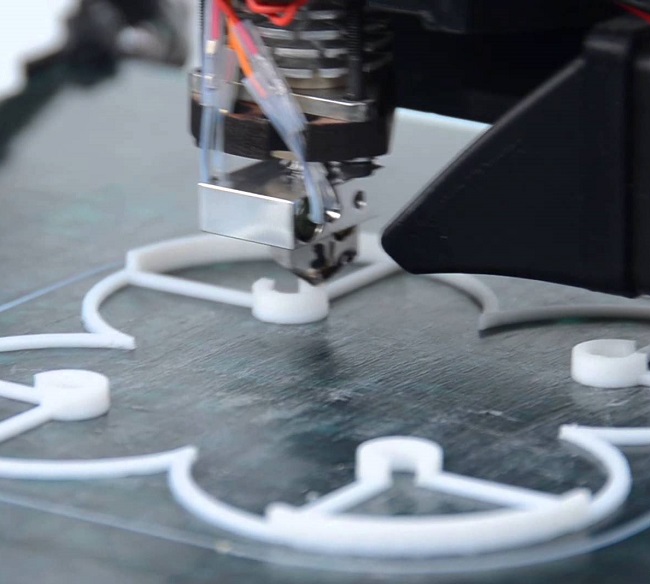
Hips 3d print
Ultimate Materials Guide - Tips for 3D Printing with HIPS
Overview
HIPS, or High Impact Polystyrene, is a dissolvable support material that is commonly used with ABS. When being used as a support material, HIPS can be dissolved in d-Limonene, leaving your print free of any markings caused by support removal. HIPS has many of the same printing properties as ABS, making it a logical dual extrusion partner. Not only is HIPS great for supporting your ABS prints, it’s also more dimensionally stable and slightly lighter than ABS, making it a great choice for parts that would end up getting worn out or used in applications that can benefit from the lighter weight.
- Low cost
- Impact and water resistant
- Lightweight
- Dissolvable by d-Limonene
- Heated bed required
- Heated chamber recommended
- High printing temperature
- Ventilation required
Hardware Requirements
Before 3D printing with HIPS make sure your 3D Printer meets the hardware requirements listed below to ensure the best print quality.
Bed
Temperature: 100-115 °C
Heated Bed Required
Enclosure Recomended
Build Surface
Glue Stick
Glass Plate
Kapton Tape
PET Sheets
Extruder
Temperature: 230-245 °C
No special hot-end required
Cooling
Part Cooling Fan Not Required
Best Practices
These tips will help you reduce the chances of common 3D printing issues associated with HIPS such as warping and poor bed adhesion.
Invest in a Good Build Surface
Kapton tape can be applied on top of your heated build platform, creating an ideal surface for HIPS to adhere to. Each layer of Kapton tape is about 0.1mm thick, so make sure to account for this in your first layer settings. You can make this adjustment in Simplify3D by increasing the global Z-axis offset on the G-Code tab of your process settings. PET sheets can also be applied over a glass bed to greatly enhance the adhesive properties while keeping the surface finish smooth. These solutions will all help to mitigate warping from your HIPS prints. If you need more suggestions on how to improve the bed adhesion, we have a section on our Print Quality Guide dedicated to this issue: How to Improve First Layer Adhesion.
Print with a High Ambient Temperature
To keep HIPS from contracting rapidly, you can try to increase the temperature surrounding the 3D printed part. This can be accomplished by enclosing the build environment and allowing the heated bed to slowly heat the air to the desired temperature. Some newer printers may actually include a heated chamber out-of-the-box which makes this process even easier. If you aren’t able to enclose the printer’s build volume on your own, you can also try using an ooze shield in Simplify3D, as this will create a shell that encases your model, allowing the air within that shell to stay at a higher temperature. This shield can also act as a wind block to keep colder air from rapidly cooling your freshly extruded plastic.
Adjust Settings to Prevent Layer Separation
Printing with HIPS can require some extra care to ensure that each layer of the print is securely bonded to the prior layer. Otherwise, you may notice splitting or cracking between layers. To improve the bonding between layers, consider lowering your layer height or increasing the extruder temperature. Both of these changes will help improve the adhesion between layers. If you want more information on how to combat this issue, please refer to our Print Quality Guide which contains an entire section dedicated to this issue: Layer Separation and Splitting.
Pro-Tips
- Some HIPS filaments include additives that make the filaments easier to print, but these same additives can frequently make the material harder to dissolve and remove if you plan to use HIPS as a support material.
- To improve bed adhesion, consider using an ABS slurry. This mixture can be created on your own by mixing pieces of ABS filament with acetone and then applying the mixture to your print bed surface.
Get Started with HIPS
Congratulations you are now ready to start 3D printing with HIPS! Get project ideas from our common applications and sample projects and check out the popular HIPS filament brands below.
Common Applications
- Dissolvable Support Material for ABS
- Cosplay & Wearables
- Protective Cases
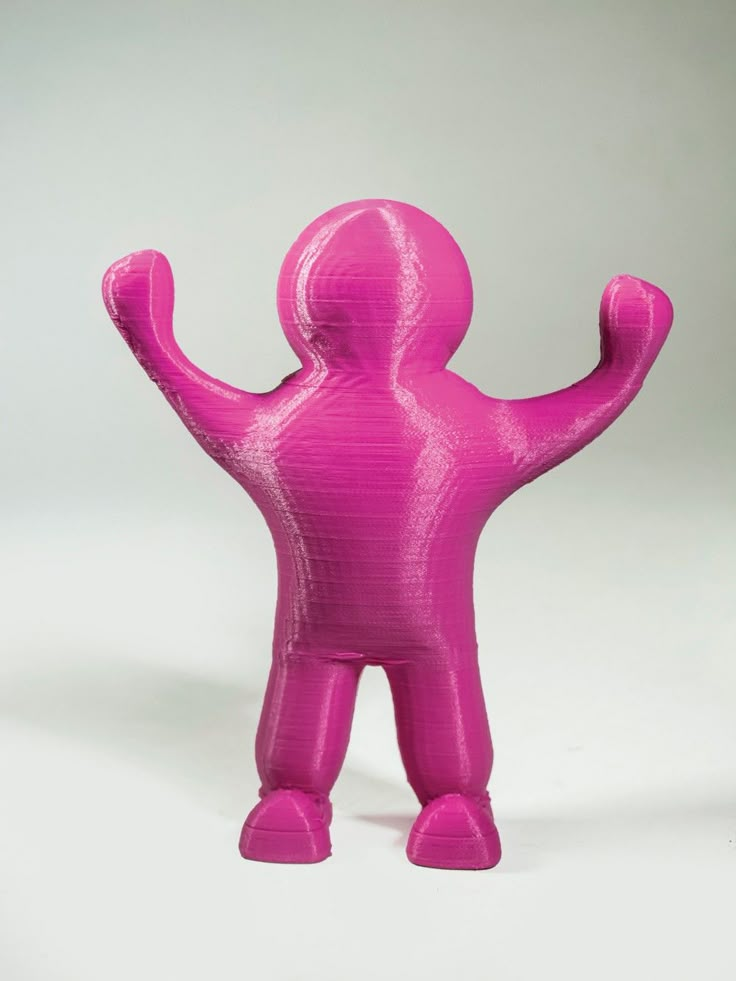
Sample Projects
- Dissolvable Material Pivot Test
- U-Joint
- Cosplay Rick’s Portal Gun
Popular Brands
- GizmoDorks HIPS
- FormFutura EasyFil HIPS
- Matterhackers HIPS
- eSun HIPS
Ultimate HIPS 3D Printing Guide
Hi everyone! This is Top 3D Shop with another informative addition about printing materials for FFF/FDM 3D printers. This time, we are going to tell you everything you’ll need to know to succeed in 3D printing with HIPS.
In this article, we will provide you with optimal settings for printing with HIPS on popular FDM 3D printers, review the most popular problems and their solutions, and show you some of the most neatly looking HIPS-based models.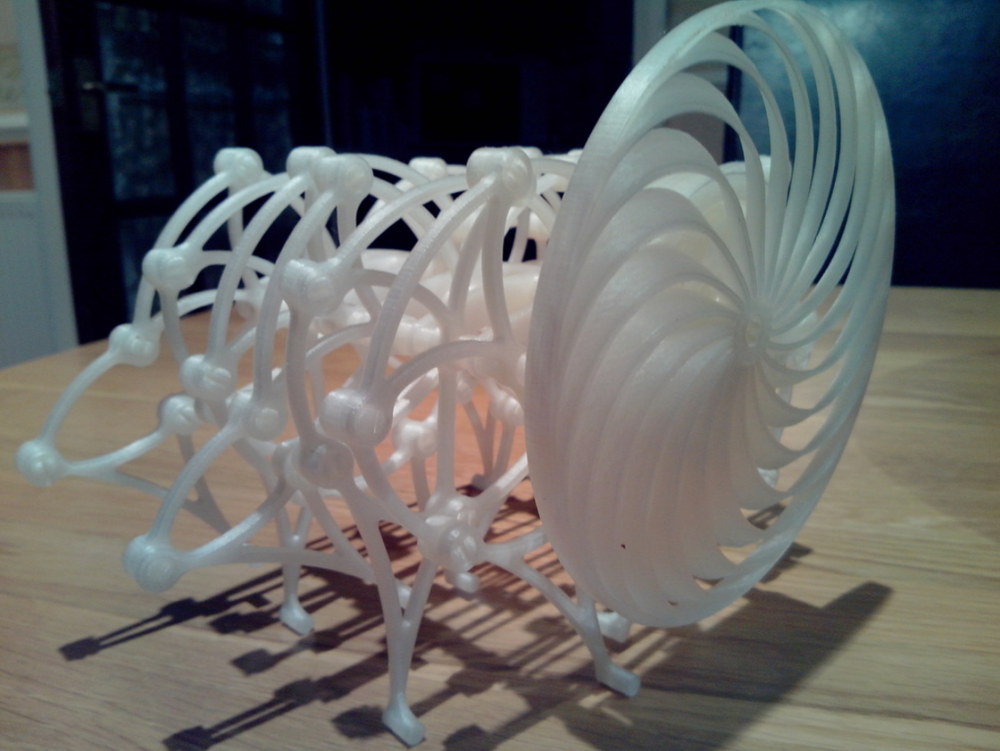 Read the guide to obtain in-depth knowledge about the material and learn how to organize your workflow in an efficient and streamlined way.
About HIPS
History
Source: thoughtco.com
«HIPS» stands for High Impact PolyStyrene. It is one of the most versatile and cost-efficient 3D printable plastics available on the current market. The material was discovered back in 1839 by a German apothecary Johann Eduard Simon. It all began with his decision to distill an oily substance that he synthesized from the resin of the Sweetgum tree known as Storax (Styrax). Several days after the synthesis, to his amazement, he found out that the Styrene he created had thickened into a jelly-like substance that he initially named «styrene oxide».
Source: thoughtco.com
But it was not until almost a century later when professionals finally realized their full potential and started to use the material in industrial applications. The first company to use it was IG Farben, a renowned German chemical and pharmaceutical conglomerate. The thing is that pure polystyrene is quite fragile and is unsuitable for many industrial applications in its initial state. Therefore, it has to be combined with polybutadiene or rubber to create a copolymer and make it much stronger, that is, to turn pure polystyrene into HIPS.
Source: hrjsurgicals.com
Just like that, HIPS has become a more cost-efficient solution for products that were previously manufactured from stamped galvanized steel. Nowadays the material is used to manufacture automobile parts, electronic appliances, laptop cases, soft drink cups, plastic cutlery, food packaging, and a plethora of other products.
To get an accurate idea of how HIPS-made products look like, imagine a yogurt jar. Most of the jars are made from this material because it is tough, moisture-proof, and food-safe. Moreover, HIPS is easy to thermoform and is 100% recyclable.
Features
Source: airwolf3d. com
com
HIPS is a lightweight shockproof thermoplastic that provides models built from it with a neatly-looking appearance. It is a more lightweight analog of ABS that is easy to sand, polish, and dye with acrylic paints. Besides, it can repeatedly undergo melting and hardening without losing its mechanical properties.
The main features of HIPS are the following:
- Density: 1.04 g/cm³;
- Strength, flexibility, and impact resistance;
- Shrinkage and deformation: from minimal to normal;
- Durable under normal conditions;
- Safe for people and animals;
- Carcinogens-free;
- Soluble in D-limonene;
- Melting temperature: 180-260 °C;
- Glass transition temperature: 100 °C;
- Tensile modulus: 1.55 GPa;
- Tensile strength: 22 MPa;
- Releases hazardous chemicals when heated;
- Budget-friendly;
- Waterproof.
Pros and Cons
Source: all3dp.com
Among the main advantages of HIPS is its budget-friendly price tag, ease of post-processing, recyclability, resistance to alkalis, acids, mineral oils, and solubility in D-limonene.
On the other hand, this flammable material releases toxic styrene when heated and offers poor resistance to solvents. Besides, there is a need to use moderately toxic D-limonene when working with the material.
Safety Rules
Source: all3dp.com
The most troublesome quality of HIPS is that it releases toxic styrene fumes during 3D printing. Therefore, it is strongly recommended to place your printer in a well-ventilated room as well as follow both electrical and fire prevention & safety rules during printing.
HIPS in 3D Printing: An In-Depth Overview
Source: all3dp.com
As we have already mentioned, HIPS-based products are incredibly similar to their ABS-printed counterparts. As a matter of fact, HIPS boasts superior impact resistance and is more lightweight. The material is easy to paint, post-process, and it is compatible with a plethora of adhesives. Moreover, HIPS is FDA-compliant, meaning that the material is safe for direct food contact. In 3D printing, HIPS is mainly used as an auxiliary material because it dissolves in D-limonene. This completely eliminates the need to remove all the unnecessary parts (e.g. supports) with abrasives, cutting tools, and other instruments that can damage the final product.
Source: all3dp.com
Even though HIPS is mainly used as a material to print supports, it can still be successfully used as an independent material to create durable, precise, and dimensionally accurate 3D printed models. In fact, the contemporary additive manufacturing market offers a wide array of HIPS-based filaments to choose from. There are transparent, matte, white, colored, and fluorescent filament spools that can be used on both single and dual extruder 3D printers.
Filament Drying
Source: wanhao3d.ru
Since HIPS is a hygroscopic material, it needs to be stored in a sealed container with desiccant to prevent it from absorbing moisture. In case you are unsure if the material was properly stored before printing, drying it in a filament dryer like the Wanhao Box 2 would always be a good idea.
Print Bed and Build Chamber Requirements
Your printer needs to be equipped with a heated print bed and enclosed build chamber to reliably print with HIPS. Optimal first layer adhesion can be achieved by covering the bed with basically any type of adhesive.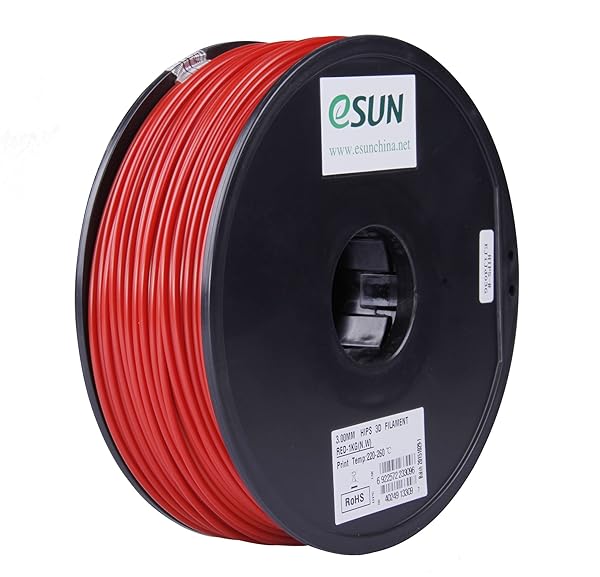 For instance, you can employ high-end coatings such as Kapton or BuildTak, use a hairspray, ABS juice, or even a glue stick. Make sure to decrease printing speed and increase the initial printing area by creating a raft when printing the first layers to achieve the best adhesion.
Printer Settings
- Extruder temperature: 220-240 °C;
- Heated bed temperature: 90-110 °C;
- Printing speed: from 40 to 80 mm/s;
- Disable cooling and decrease printing speed when printing the first layers.
The above-mentioned settings are rather arbitrary and highly depend on the printer manufacturer and printing environment, as well as on filament brand and condition. Therefore, the best way to find the correct settings for your particular project would be to create a couple of test prints.
Cooling
Turn the extruder-powered cooling on while printing the product just like you would’ve done when printing with ABS. To ensure optimal first layer adhesion, however, turn off the cooling while printing the first layers.
Post-Processing
Source: all3dp.com
Since HIPS is primarily used as a material to print supports, the main post-processing method would be to immerse printed models in a D-limonene solution and wait until the supports are dissolved.
HIPS-made parts can be easily glued together by using almost any adhesive, so you won’t likely encounter any problems with the process.
Troubleshooting
Poor Bed Adhesion
Poor bed adhesion is one of the most commonly encountered FDM 3D printing problems. The problem manifests itself when the first layers don’t provide enough adhesion to hold the final product in place. You can either increase the temperature of the heated bed or cover the platform with an adhesive (e.g. hairspray, glue stick, ABS juice, Kapton, or BuildTak coatings) to deal with the problem once and for all. You can also ensure better layer adhesion by increasing the area of the bottom layer that holds your print in place by creating a raft.
Stringing/Oozing (Thin Cobwebs)
Stringing is yet another common issue that appears when printing on FFF/FDM-powered machines. This tends to happen when you set the extruder temperature too high, which makes melting plastic too liquid and lets it flow out of the nozzle under the influence of gravity, heralding the appearance of thin web-like structures in places where the printer was not even supposed to print.
Lower the extruder temperature and activate retraction in your slicer settings to solve the problem. Retraction is an indispensable function that pulls the filament back in the extruder when the print head moves between the printing points.
Use Cases
Source: fabsterdam.com
Source: fabsterdam.com
Source: fabsterdam.com
Source: blog.zmorph4d.com
Source: twitter.com
Source: makergear.zendesk.com
Source: youtube.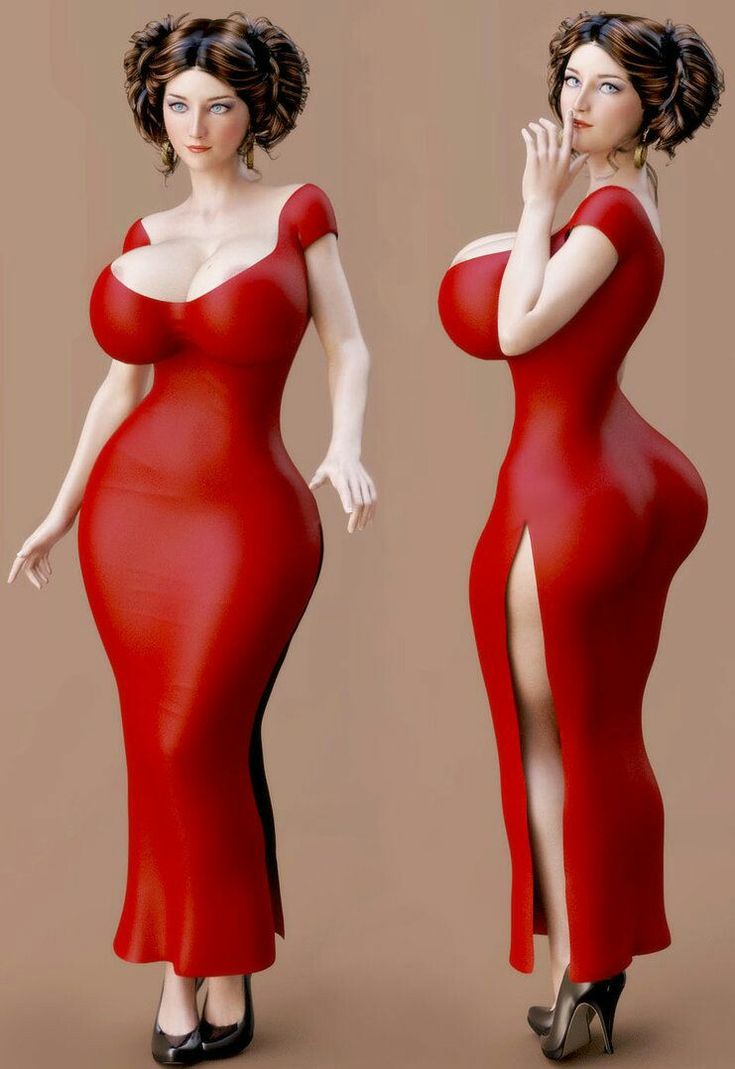 com
com
Scale Model of the Solar System by Chris Garrett
Source: makerhacks.com
Chris elaborates:
«I like the white HIPS! It is very white, has a chalky texture, and layers bonded well, despite not having an enclosure on my CR-10. The CR-10 did a great job on my solar system print, considering the above, but unfortunately I was a bit over enthusiastic removing the print from the bed while still warm. It stuck VERY well, so well that it tore a little removing it. I think next time I will use my enclosed printer and dial in the temperatures.»
Intricate Model by Matt Stultz
Source: 3dppvd.org
Matt says:
«When printing with an FDM 3D printer, such as a Makerbot or RepRap, you run into problems when printing objects that have large overhangs or bridges within your model.
I have been working with HIPS (High Impact Polystyrene) plastic, printing in combination with ABS. When printed as a tearaway support structure, HIPS can be easily torn from the ABS – leaving an even finish behind. The real power, though, comes from the ability to remove the HIPS support material by dissolving it away. HIPS is soluble in a chemical called Limonene. When a print is placed in a bath of Limonene, the HIPS portions are completely dissolved away – leaving behind just the ABS sections. This opens up the potential for moving parts and more complicated structures to be printed in one print instead of multiple.»
Source: 3dppvd.org
«I made my prints with a Makerbot Replicator 1 with two extruders. My process was simple:
- Both extruders set to 235 °C;
- Heated bed set to 115 °C (HIPS sticks really well at this temp and I did not have any curling issues).
- Wait for print to fully cool. HIPS stays very pliable until it’s cool and will bend when removing from your plate if not fully cooled.
- Place in a glass jar with enough limonene to cover for 24 hours, agitating as frequently as possible. Time may vary depending on the amount of material used, so monitor status every couple of hours.
- Remove your print and rinse in fresh water.»
Recommended Equipment
Picaso 3D Designer X Pro
The Picaso 3D Designer X Pro is a professional 3D printer that boasts its dual extrusion system and state-of-the-art heat bed that can be heated up to 140°C. This fully enclosed machine can reliably print with all kinds of high-temperature materials with a melting temperature below 381°С, including carbon fiber-reinforced and other engineering plastics. Its dual extrusion system lets you effortlessly print complexly shaped and intricate parts with supports and bridges made from HIPS. Besides, the printer features an innovative kinematics system that ensures high precision, dimensional accuracy, and printing speed. Moreover, this 3D printer offers automatic bed leveling and an advanced self-monitoring system to provide you with a streamlined printing experience.
Specifications
Picaso 3D Designer X Pro 3D printer
- Assembly Fully-assembled
- Built in camera for monitoring No
- Closed print chamber Yes
- Connectivity USB cable, Ethernet
- Display LCD
- Extruder type Single
- Filameter diameter 1.
 75 mm
75 mm - Frame Aluminum
- Manufacturer Picaso 3D
- Manufacturer country Russia
- Max extruder temperature 380 °C
- Max heated bed temperature 150 °C
- Max print speed up to 100 cm3/h
- Mechanical arrangement Cartesian-XZ-Head
- Nozzle size, mm 0.
 3 mm
3 mm - Number of nozzles 2
- Operating system(s) Windows
- Outer dimensions millimeters (xyz) 492 x 390 x 430 mm
- Printable material(s) ABS, FORMAX, PLA, ULTRAN 630, ULTRAN 6130, ASA, ABS/PC, PET, PC, FRICTION, CAST, RELAX, ETERNAL, FLEX, RUBBER, SEALANT, PETG, AEROTEX, CERAMO, WAX, SBS, SBS PRO, PROTOTYPER SOFT, PRO-FLEX, TOTAL PRO, NYLON, etc.
- Slicing PICASO 3D Polygon X™
- Weight kg 16 kg
- Build volume 200 x 200 x 210 mm
- Layer height 50 - 250 Microns
- Technology FFF FDM
Go to product
Raise 3D Pro2 Plus
The Raise3D Pro2 Plus is a large-format industrial-grade 3D printer designed for 3D printing labs, entrepreneurs, and manufacturers of fully functional prototypes. The machine has been made from high-quality components and can be effortlessly controlled by using its full-color touchscreen. The Pro2 Plus offers automatic bed leveling and is easy to move around thanks to being equipped with wheels that can also be fixed in place to make the device immovable. It is a professional machine with a fully enclosed frame and transparent see-through panels that lets you reliably print with ABS, HIPS, and other high-temperature materials. Besides, the Pro2 Plus is equipped with a high-end cooling fan with a HEPA filter that reduces emissions up to 90%. The Pro2 Plus features a stunning build volume of 305 x 305 x 605 mm that lets you print several large or medium-sized models in one go. It has a large and durable nozzle that offers an unbelievable level of Z-axis positioning accuracy of just 5 microns, ensuring accuracy and precision. It is compatible with PLA, ABS, PEEK, HIPS, PC, TPU, TPE, Nylon, PET-G, ASA, and PP filaments and can also print with flexible and abrasive materials as well as with glass-, carbon fiber-reinforced, and metal-filled plastics.
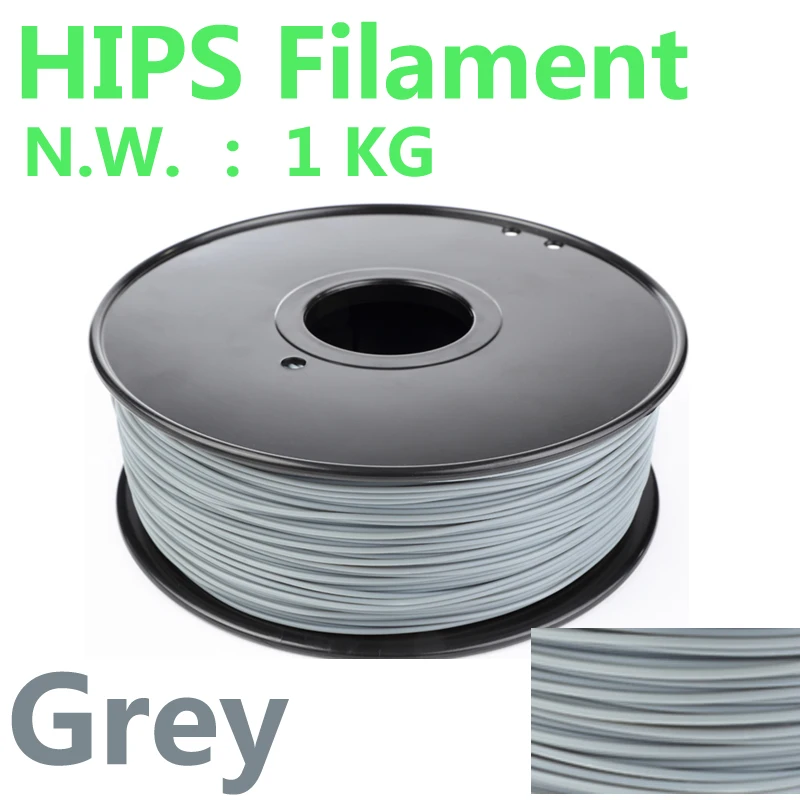
Specifications
Raise3D Pro2 Plus Dual Extruder 3D Printer
- Accuracy 0.78 x 0.78 x 0.078 micron
- Assembly Fully-assembled
- Compatible with 3rd party filaments? Yes, an open material system
- Connectivity Wi-Fi, LAN, USB port
- Display LCD touch screen
- Extruder type Dual
- Filament diameter 1.
 75 mm
75 mm - Firmware Closed-source
- Manufacturer China
- Manufacturer country USA
- Max print speed 100 mm/s
- Max.
 extruder temperature 572 °F / 300 °C
 - Max. heated bed temperature 230 °F / 110 °C
- Mechanical arrangement Cartesian-XY-head
- Min.
 layer height 10 microns
 - Nozzle size, mm 0.2–0.8 mm
- Operating system(s) Mac OS X, Windows, Linux
- Printable material(s) PLA, ABS, HIPS, TPU, PC, Nylon, TPE, FLEX, PETG, Metallic PLA, Wood PLA, Carbon Fiber, and other materials
- Printer type Filament
- Weight kg 52 kg
- Build volume 305 x 305 x 605 mm
- Technology FDM
- Outer dimensions 620 x 590 x 1105 mm
- Price $4,999.
 00
00
Go to product
Bottom Line
HIPS is one of the oldest 3D printable plastics with a set of well-researched features and a plethora of workflow guidelines. It is an affordable and easy-to-print polymer that boasts its durability and dimensional accuracy after post-processing. Besides, HIPS-based parts are incredibly easy to paint and glue together. It can be successfully used both as an independent and supporting material.
You can purchase HIPS 3D printer filaments from Top 3D Shop. Our team will provide you with the best service possible, just like we always do.
the first 3D printed hip is already 10 years old
3D printing
aircraft details to almost perfect replicas of the human skull.
 But back in 2007, few could dare to print a part that would be implanted in the human body.
 That was before the Italian surgeon Guido Grappiolo of the Orthopedic Biomedical Research Foundation in Savona found a patient who needed a hip replacement. When the patient first came to him ten years ago, she had advanced arthritis and a titanium hip cup that the doctors implanted with screws.
Grappiolo has teamed up with orthopedic implant maker LimaCorporate and 3D printer maker Arcam (now part of GE Additive) to make a landmark medical operation possible.
With their technological help, he was the first in the world to implant in the hip cup a Trabecular Titanium (TT) prosthesis printed on an industrial metal 3D printer. A trabecular bone graft, or cancellous bone graft, is a three-dimensional hexagonal cell structure that mimics the morphology of trabecular bone.
Electron Beam Melting (EBM) allows you to build a precise prosthesis in any 3D design. The main advantage of the technology is that when creating a prosthesis, the printer builds particles in layers, and does not remove excess material from some rough shape.
A few months after the operation, Grappiolo performed a CT scan of the patient and saw that her bone tissue had already begun to grow into the hexagonal cells of the implant, printed on a 3D printer. The patient could bend her leg to her chest and felt well.
How long can a 3D printed hip last?
It is difficult to make predictions because not many years have passed since the first operation. But the prognosis is good, given that Grappiolo's implant is still strong, as are other clients. Since then, the surgeon has personally implanted about 600 hip joints and another 1,500 of his colleagues. He believes that devices can last a lifetime. Doctors around the world use the 3D-printed Trabecular Titan hip prosthesis in their daily practice, resulting in thousands of thousands of patients using such implants since the first operation.
According to GE Additive Orthopedic Industry Specialist Maria Pettersson, for a person who has had conventional hip surgery, implant replacement often occurs after 10 to 15 years of use due to wear and tear. In the best case, the replacement can be extended over 20 years.
Orthopedic implant manufacturers can tailor the design of the final implant to the needs of the patient and surgeon while retaining the same characteristics of the original structure, including complex three-dimensional hexagonal cells on the surface.
This degree of freedom in adapting implants to the needs of different patients is why the power of 3D printing is increasingly used for dental implants, hearing aids, prostheses and even surgical instruments.
Pettersson reports that more than 100,000 thigh cups have been made on Arcam EBM and GE Additive company 3D printers and then implanted into patients.
Even though this is still a small proportion of the total number of hip replacement surgeries performed in hospitals today, Maria Pettersson says demand from surgeons is growing. In her opinion, clinics that do not yet use the possibilities of 3D printing are starting to lag far behind in medical technology and quality of services.
Comment by NISSA Digispace expert Pavel Trusov:
“To date, Russian companies have already implemented several projects for the manufacture of implants using additive technologies. In recent years, in our country, several hundred prostheses have been manufactured and implanted in this way in patients, including unique ones that have never been used in domestic medical practice before. Despite the presence of some obstacles associated with the imperfection of legislation in the field of certification, the medical segment of the additive technologies industry is one of the most dynamically developing.”You can learn more about the models, capabilities and cost of industrial metal 3D printers for medicine by clicking on the link.
Subscribe to the author
Subscribe
Don't want
4
More interesting articles
brtv
Loading
10/16/2022
238
3
Follow author
Follow
Don't want to
Hello my friend! Today I decided to assemble a simple pneumohydraulic generator or Generator.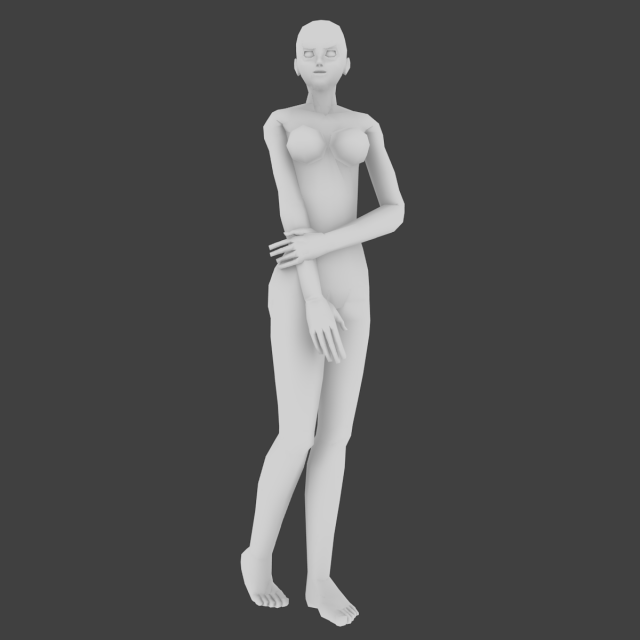 ..
..
Read more
302
Subscribe to the author
Subscribe
Don't want
Hello dear community!
If the experiment was successful, then something is wrong here...
Read more
198
Follow author
Follow
Don't want
Here I am again :)
With good and joyful news.
But first I want...
Read more
Fashion 3D file Beautiful woman long dress posing arm hip 3D printing model・3D printing template to download・Cults
Posing 3D Printable Model VolleyBall Girl 1
0,50 €
Athletic woman practicing yoga in downward facing dog 3D print model
5 €
30 Lowpoly Character Models for Woman 3D Printable Model
15 €
3D printed Mamut
0,50 €
Sexy schoolgirl posing in a short skirt 3D print model
5 €
Attractive young woman in bra posing 3D Print Model
7 €
Beautiful bride in a white dress on her wedding day 3D printed model
5 €
A young man in a dark blue suit 3D printed model
5 €
Best Files for 3D Printers in the Art Category
Christmas Tree Spinning Keychain and Ornament (Articulated)
Free
Cute autumn gnome decoration, with pumpkin and leaves, without the support of the autumn garden statue
1,29 €
Text flip - Panda
1. 50 €
50 €
flexible Iron Man (articulated)
2.50 €
SHE SPAWN
18.06 €
Stylized dragon skull
€6.15 -52% 2.95 €
3D printed Violin • VLNLAB: VLA (Viola)
Free
The Division Bell statue - Pink Floyd
3,50 €
Art category bestsellers
SKULL OF A BEARDED PUMPKIN
3.52 €
Catacombs Skull of bones, creepy skull of a skeleton, skull of a pile of bones
6.10 €
GIANT CROCODILE HINGED
4.54 €
Baby Crystalwing, Cinderwing3D, articulating Flexi Wiggle Pet, print on site, fantasy
4. 11 €
11 €
Flexi-print "Fish"
2.01 €
Cute T-Rex dinosaur with flexi print
3,03 €
Cute turtle with flexi print
2.01 €
Leopard gecko articulated toy, imprinted body, snap head, cute flexi
3,07 €
Cute skeleton with flexi print
3.03 €
Pink Dragon, Valentine's Day, Articulating Animal Flexi Wiggle, Print on the Spot, Fantasy
4.18 €
Cute sloth with flexi print
3.03 €
Archaeopteryx nibbler
3 €
Skeleton hand with flexi print
2.05 €
Biting dragon
3 €
GHOST ZU - GHOST WITH FEET
2,95 €
Flexi Print-in-Place Foot
2.