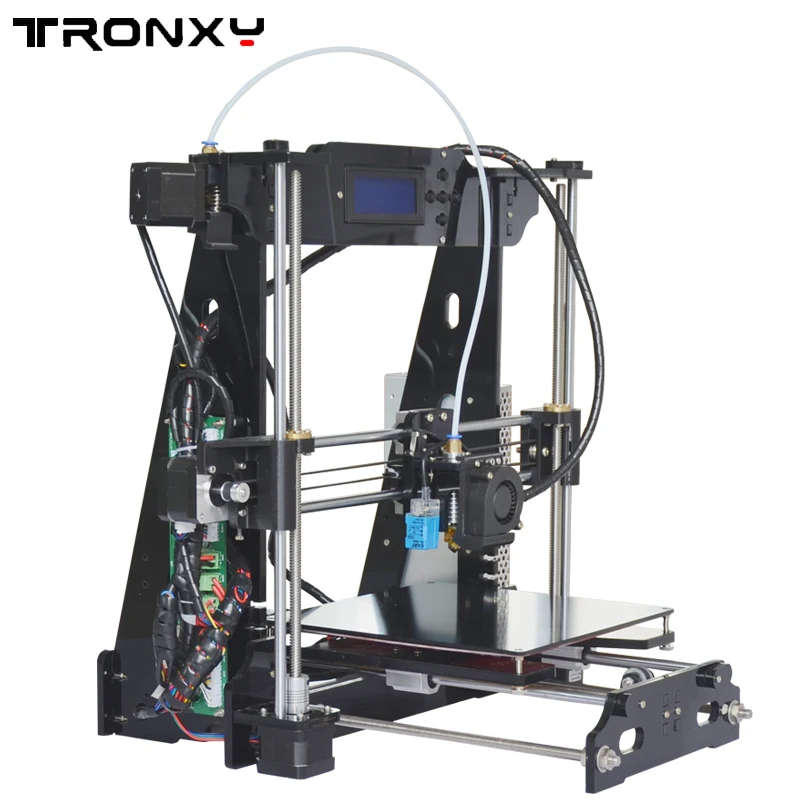
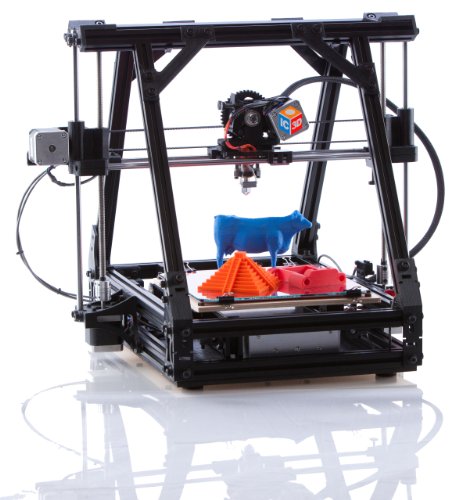
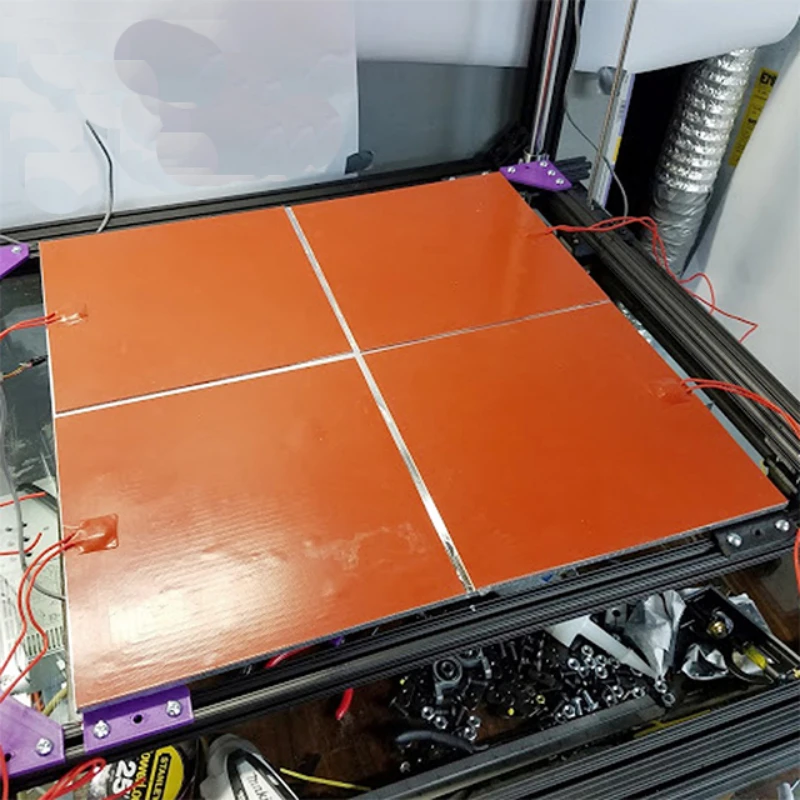
3D printer in garage
10 things to consider before putting a 3D printer in a garage workshop
Many home users of 3D printers over time feel a want or even a need to provide better enviroment for their 3D printing processes. But, as with any manufacturing unit, there are a number of considerations in addition to just the space required for the equipment and the materials.
If you have yet to purchase a printer for your workshop, it a good idea to consider the following specs for printing in a partial outdoor environment.
- Strong power supply: If the printer will be in location that is cold year-round or a place that experiences freezing winters, the printer will require a lot of juice to heat up at a reasonable amount of time. Having a strong power supply and a fast heating printer will make printing much easier.
- Active cooling: Fast and efficient cooling is as important as snappy heating of material and build surface. In hot summer days, a printer may struggle to keep cool which will reflect in the quality of prints.
- Safety features: safety features like thermal runaway becomes more critical in a less controlled environment.
3D printers are sensitive electronic equipment that need proper protection as well as maintenance and cleaning over time. This requires space, as well as isolation from any would-be inopportune affects.
3D printers have a finite threshold of ambient operating temperature. Too hot, and the electronics and motors begin to overheat and malfunction. Too cold, and the safety mechanism kicks in and shuts the device down.
The filaments or liquid resins, on the other hand, just ask to be put away in cool, dark and dry places; like a closet or a large enough cabinet with some silica gel packets. These printing materials do, however, need to be provided the right ambient conditions for producing 3D prints of optimal resolution and strength. Too high a temperature may lead to parts deforming, whereas too low a temperature would lead to warping and delamination between print layers.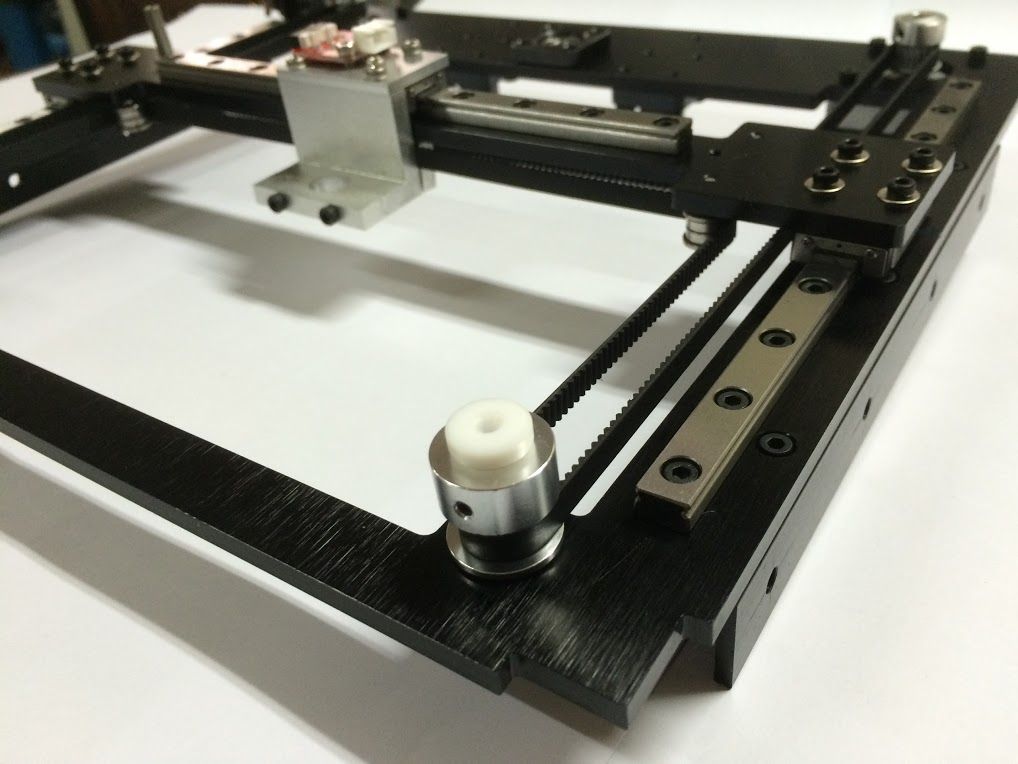 And in case of resin based printers, unsuitable temperatures will lead to improper curing, leaving either a poor quality print, or a mostly uncured one, neither of which is desirable.
When any 3D printing enthusiast wishes to utilise his or her 3D printer for more than just casual use, the garages, to most home owners as well as shared accommodation residents with access, become the de facto location. It is indeed an ideal choice as opposed to the bedroom, corner spare room, or any other location within the house.
That is until they come out with a new printer that unfolds and prints an extension to our existing home. See our definitive guide to 3D printed houses (with pictures).
But first, some basic requirements need to be established for building or furnishing out a 3D printing workshop in your garage:
- Consider how much space you would actually need. This includes the 3D printer, the filaments, or resin bottles, the laptop, cables, your “work-bench” for post-processing as well as a dedicated space for maintenance and maintenance-related gear.
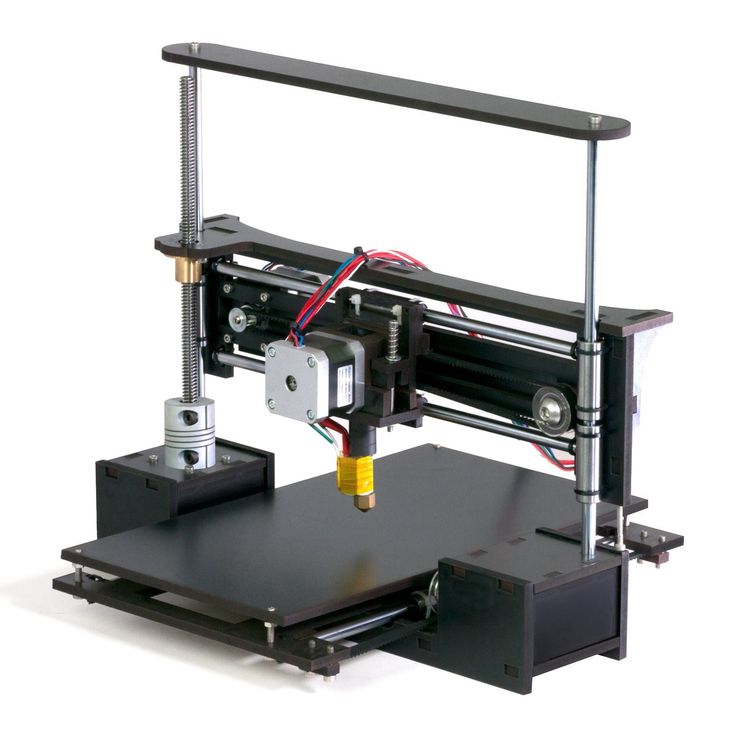
- Figure out how much time you would be spending in you the new workshop. If for example, someone were considering setting up a workshop for business purposes, then they would be spending considerable hours every day inside their new workshop. The workshop then needs to provide both the right amenities (fridge or icebox, air purifier, washroom or toilet access) as well as proper ventilation and enough clean air circulation so that the harmful emissions of the 3D printers do not become pronounced.
- Consider the existing safety features, as well as the cost of installing the essentials like a fire extinguisher, additional vents, and a safe exit or at the very least, a clear path to the main exit or closest washroom if there is only one.
- If motor vehicles are actively parked and removed from the garage, the likelihood of which is of course, extremely high…Then how much separation can be practically provided to the entire 3D printing space from the vehicles along with their related tools and equipments.
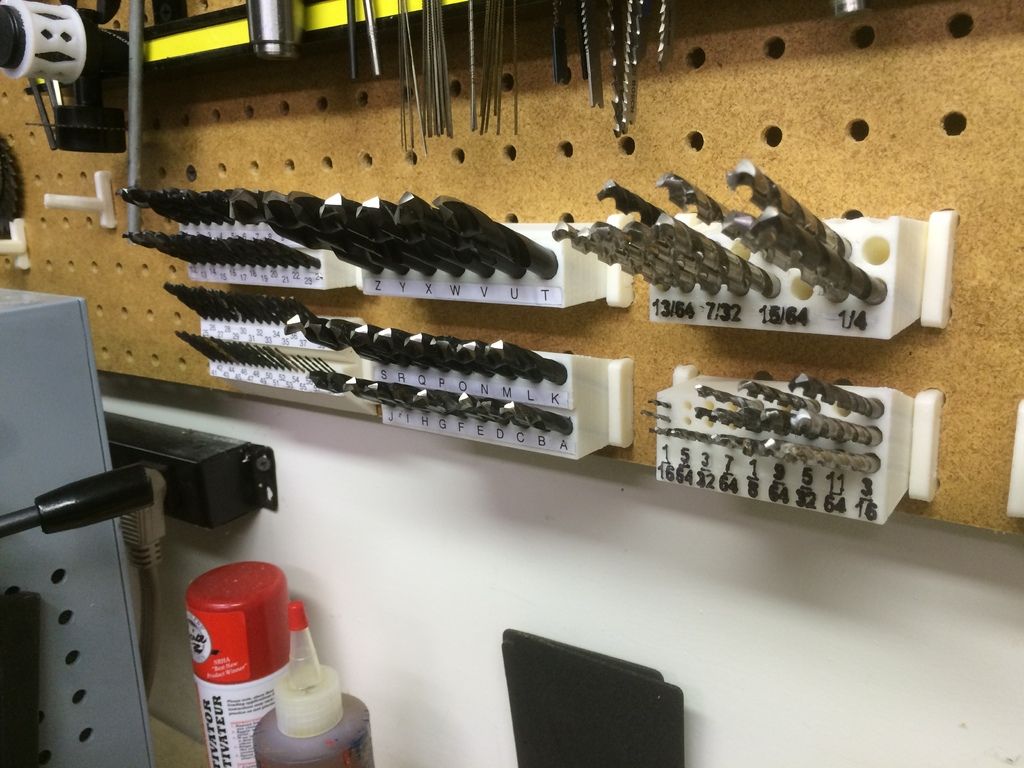 Ideally, there should be a practical way to seclude the two from each other.
Practicality-wise, attached garages provide easier reach to all amenities since the main home is literally through a door, they also have the added benefit of access to all the utilities – heating, lighting, power – of the main house.
One possible drawback is the noise, more for FDM than Resin-based 3D printers. Further, the ease-of-access to the garage also means that it would be difficult to properly isolate or separate the 3D printer or printers from family members, housemates, or even energetic pets, jeopardizing the safety of both the equipment as well as the persons and/or pets.
Similarly, while a detached garage would probably need additional wiring, lighting and/or heating arrangements, its isolation and separation from the main house would be a benefit both for safety reasons as well as for providing a much more controllable workspace for the user.
A detached garage may require addition insulation to mitigate cold temperature in winter seasons.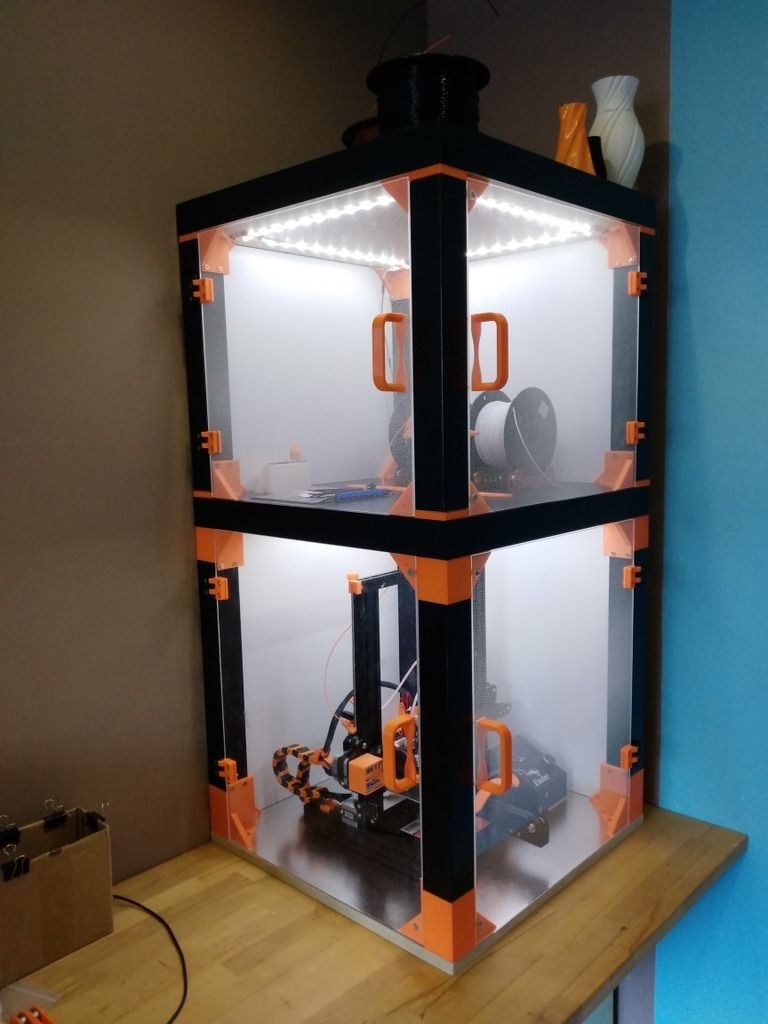 Most detached garages typically lack air conditioning and heating, some even insulation.
In most cases, printing in a garage will be no different than printing inside closed quarters within a home. Things like humidity may become more noticeable. One may encounter more problems with filament quality overtime. The printer is controlled by onboard software that can adapt to the environment its in.
In some unique cases, you may find that your favourite print profiles and printer settings are not as effective when printing in sub exterior spaces. Printing different material may require further tuning to find the perfect configuring once again. In severally cold weather, or while printing high temperature materials, there may be a need to disable cooling as some printers may struggle to maintain a good temperature. Things can be more erratic and less controlled. Seasonal changes may call for different configurations. After a few rounds of printing in the same environment, everything will start to make good sense.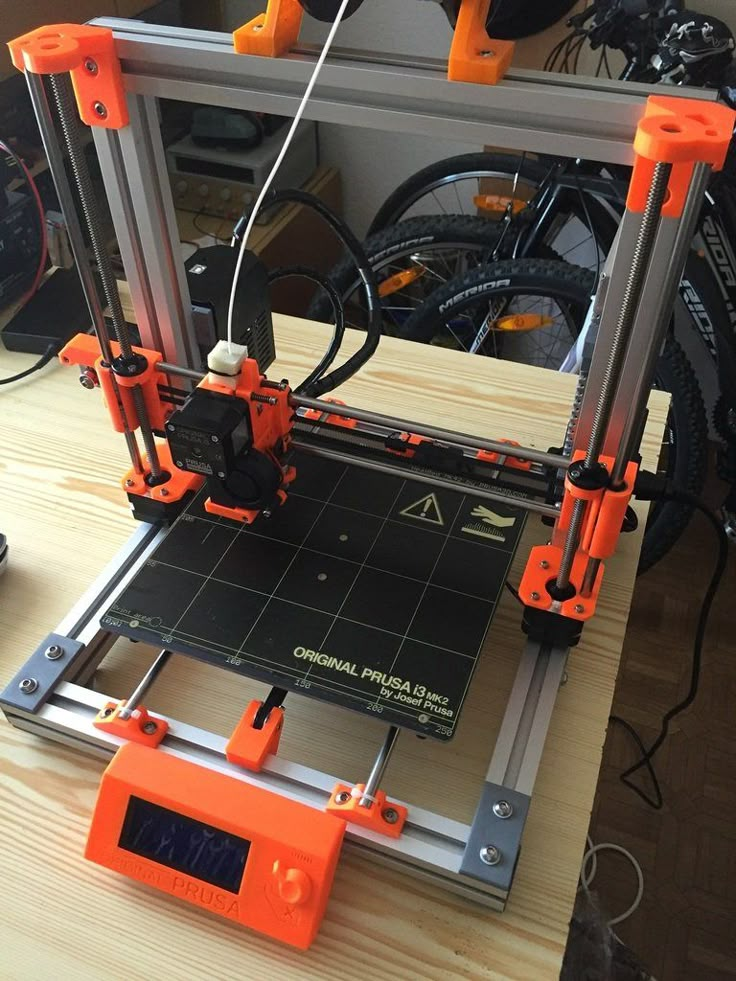
Let’s assume that the garage has either fulfilled the requirements mentioned above, or it is your only option anyway for placing the 3D printer. In either case, the set-up is honestly as simple as it could possibly be.
- Provide a properly secure and stable surface for your 3D printer or printers;
- set yourself a workbench to place your laptop and a place to perform post-processing of the 3D printed parts;
- and finally, set-up or move your storage arrangements for the printing materials.
Additionally, make sure to have a nice safe spot to place your 3D printer maintenance gear. If you are using a resin-based 3D printer, remember to secure the 3D printer in a leakproof dish (to avoid any liquid resin spilling out from the inner vat in case of a failure in the 3D printer) as well as to invest in some chemical resistant vats for washing off uncured resin from the printed parts.
Now if the garage already has adequate heating, cooling, and ventilation arrangements.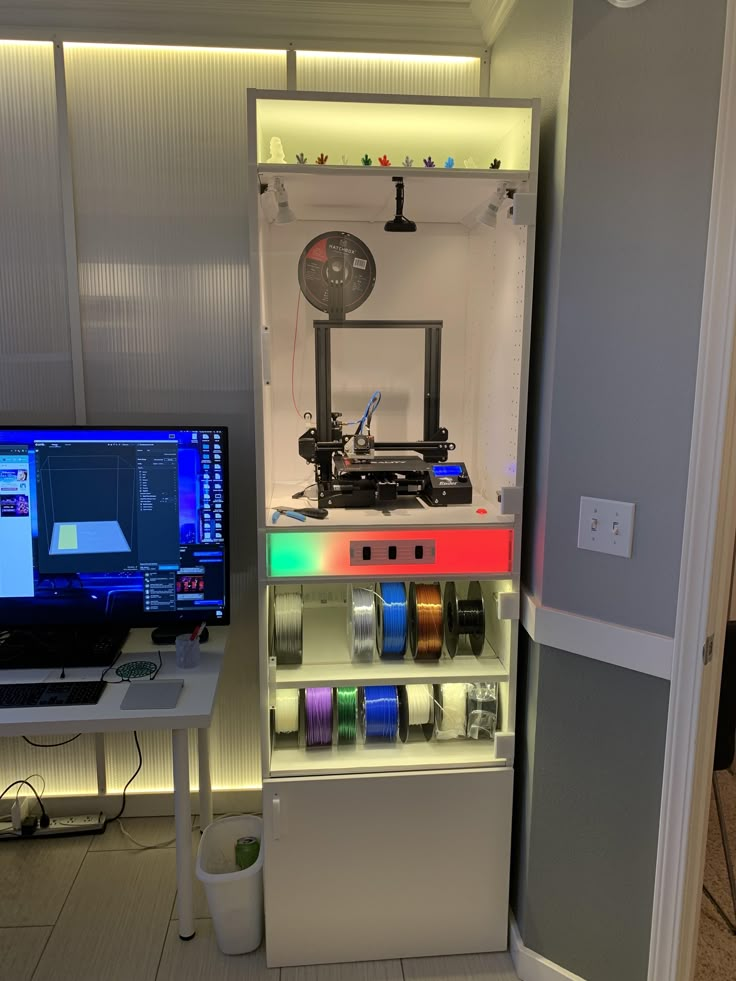 You can simply set the thermostat right, turn on the exhaust for some fresh air, and get to work. If it doesn’t however, then a little bit more work would be required to make sure your 3D printing workshop is set for the long haul.
Consistent temperature control is key to maintaining both good health of your 3D printers as well as to ensure optimal print quality in terms of resolution as well as part strength.
All 3D printers have a baseline minimum temperature to properly function. For extrusion-type 3D printers, the baseline is quite low at around 50°F (10 °C) for the machines themselves. However, practically no filament would produce useable quality 3D prints at such a low temperature.
PLA is the easiest filament to print with. It can produce good quality with no noticeable warping or delaminating with temperatures as low as 59 °F (15 °C). Other higher temperature filaments such as HIPS, PETG and ABS require suitably higher ambient conditions, at least standard room temperature of 77°F (25 °C) or higher for trouble free printing and ideal print quality.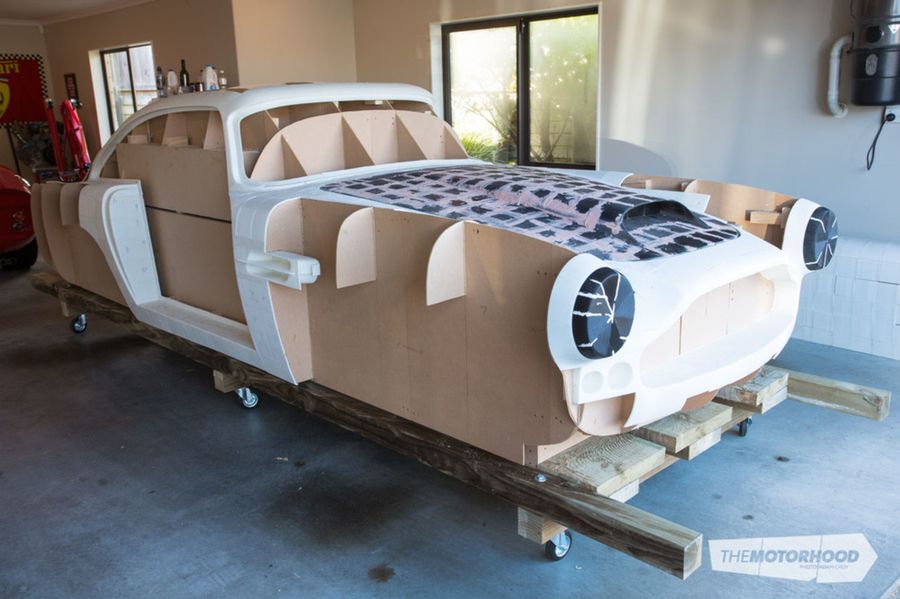
While resin printers are not affected as much as FDM/FFF, that is only true to an extent. All resins have an ideal print temperature for curing correctly. While most resin-based printers nowadays have automatic heat control built in, if yours doesn’t, then a heated enclosure or a direct heating mechanism will be your only option to ensure good print quality.
Lastly, no 3D printer likes to print when it is too hot. 3D printers generate a fair amount of heat on their own, and if ambient temperatures reach around 104°F (40 °C) or higher, then expect your equipment to overheat and/or malfunction without adequate cooling.
A long-term method for ensuring the safety of your 3D printer as well as higher and more controllable print quality, is to build an enclosure around the printer. At its simplest, an enclosure is simply a box or similarly shaped container to securely place your 3D printer in.
Ideally, however, you will want to consider:
- Adding temperature control either through a separate heater and cooler placed inside.
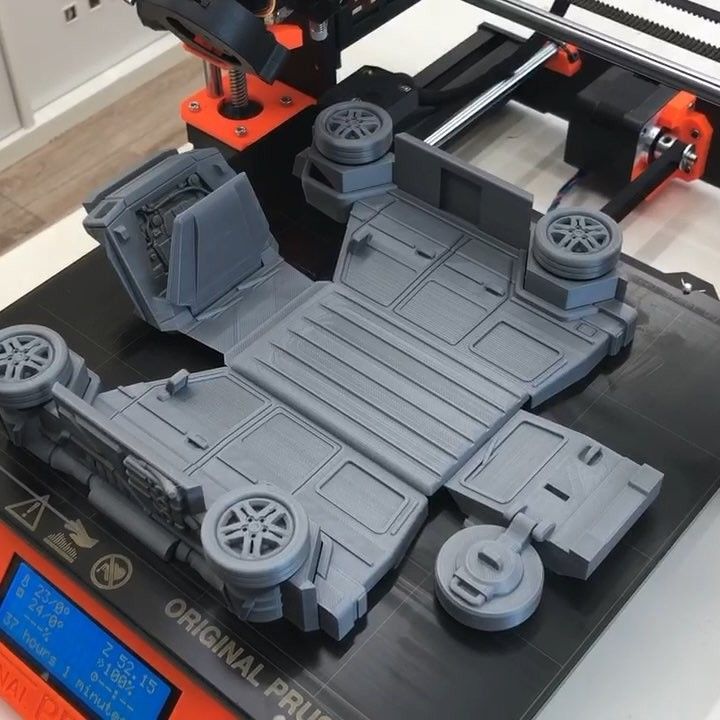 You can also build an inward vent with a temperature gage so that you can feed hot air into the enclosure in the winter, cold air in the summer, or as required by the current print job.
 - Making sure that you have easy and quick access in case anything goes wrong
- Making the enclosure out of fire-resistant material
- Adding an outward exhaust with a HEPA or Carbon filter to vent out any toxic fumes and UFPs, ideally this should be towards an open window and NOT within the garage itself. Another option is to build a filtration system to filter the air as it escapes the exhaust system. This one is tricky, even in theory but entirely possible.
- Equipment should place away from direct sunlight
Building a 3D printing workshop is inevitable for anyone whose interest in 3D printing can be classified as more than a “casual hobby”. A garage is a great place to start off with, and as long as your 3D printers, materials and everything in-between can last in those confines, then more power to you.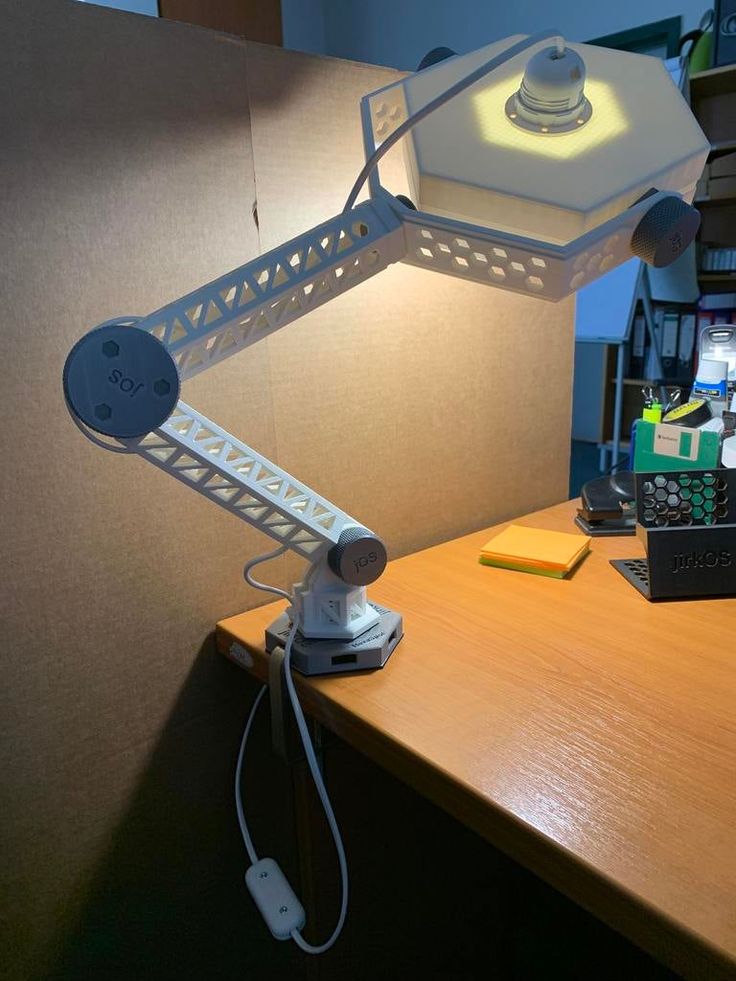
Just remember to keep the temperature cosy, ventilation on, and everything away from sunlight for high quality and consistent printing. And an enclosure will provide greater overall control. Happy Printing!
Tags: 3D printerEnvironmentGarageHomeMaintenanceWorkshop
Can a 3D Printer Be Used in a Hot or Cold Room/Garage? – 3D Printerly
3D printers are great machines that produce lovely models, but one question that people wonder is whether 3D printers can be used in a hot or cold garage, or even outside.
It’s a perfectly valid question, which I will aim to answer in this article so it clears up any things you may have been thinking.
A 3D printer can be used in a hot or cold garage, but it needs to have temperature regulated in some kind of enclosure and some protection against drafts. I wouldn’t recommend putting a 3D printer outside because you can get significant temperature changes too rapidly, resulting in bad quality prints.
There are definitely some 3D printer users out there that 3D print in their garage, so I will give some tips on how to do so, as well as answer further questions surrounding this topic.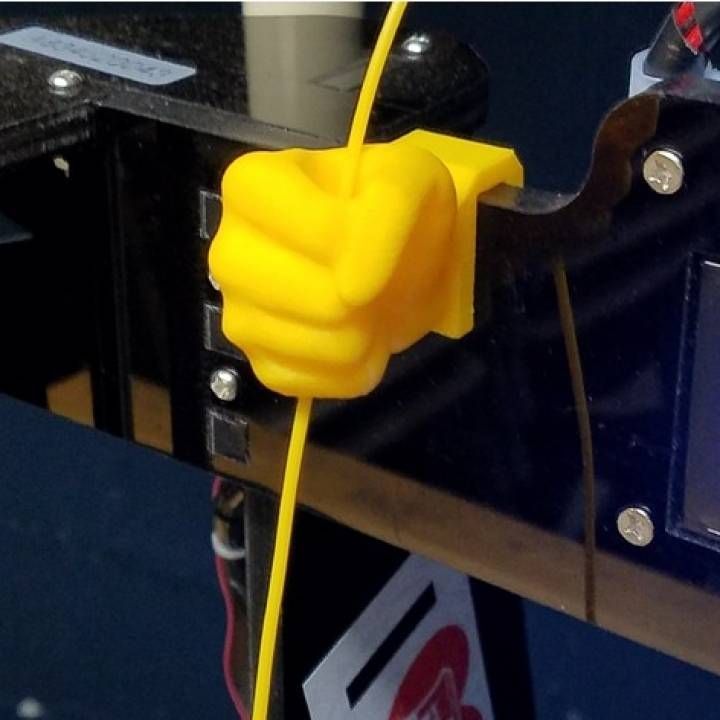
Can You 3D Print in a Cold Garage/Room?
Yes, you can 3D print in a cold garage if you take the right precautions such as using a heated enclosure and using build surfaces which don’t fluctuate in temperature too much. A strong power supply also helps with 3D printing in a cold room or garage.
You do have to worry about more factors in order to be able to successfully print in a cold room or garage but it isn’t impossible.
The biggest issue I think you’ll face is the increased level of warping, and prints becoming loose during the printing process before they have the chance to actually finish.
Aluminum is thermally conductive, but it is susceptible to temperature changes by the environment.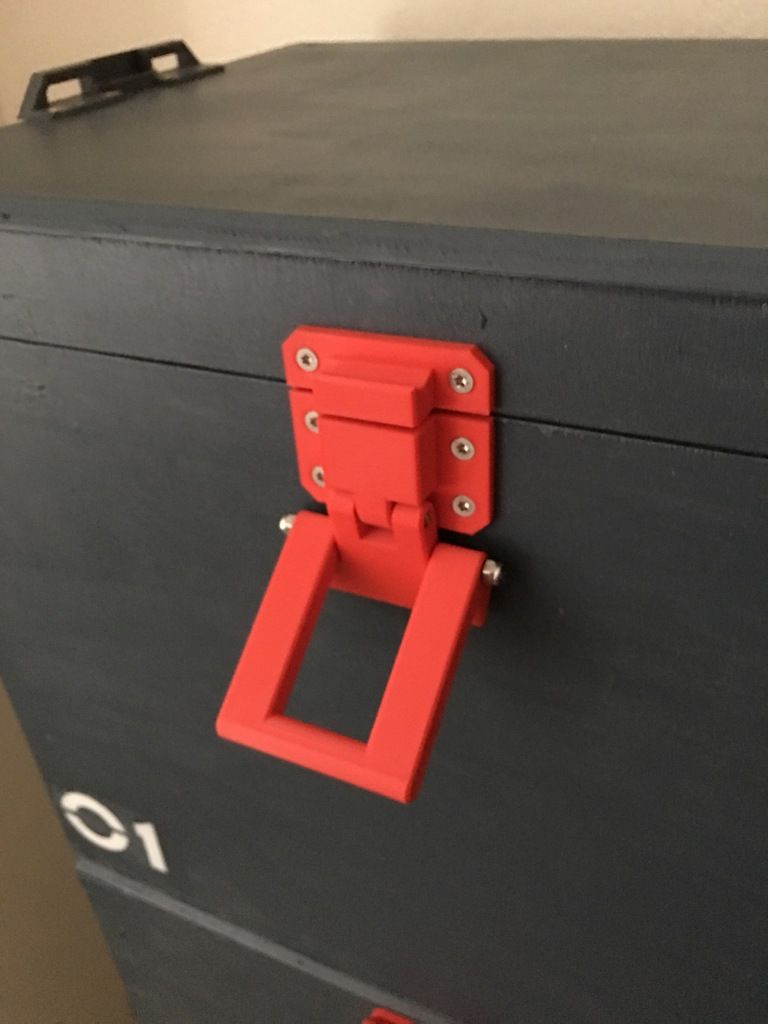 The best way to overcome this factor is to put a heated enclosure around your 3D printer or some kind of temperature-controlling barrier.
One user who had many problems getting successful prints in a cold room kept having the nozzle knock over the prints and just resulted in many failed models. The room was under 5°C which is very cold compared to a normal room.
Building an enclosure helped tons with this issue.
Some people even opt-in to put a simple cardboard box over their 3D printer to act as an enclosure and retain/control the levels of heat. The worst thing you can do for a 3D printer temperature-wise is to have fluctuating temperatures.
There is also an issue of your actual filament cracking while going from spool to extruder. If you have lower quality filament which has absorbed moisture, it will be more likely to break during the extrusion process.
I’ve written an article behind reasons why PLA gets brittle and snaps which you can check out for more information.
A good thing to have on your 3D printer that is in a cold room is a strong power supply, because your machine will definitely be working hard to keep up with the temperature changes.
A high quality power supply translates to better heating abilities and can really improve your print quality if that is what is holding back your 3D printing.
Printing with ABS in a cold room is definitely going to be difficult, so you’ll have to keep the entire build area at a high enough temperature to stop prints warping. Even PLA requires some kind of heat regulation even though it’s a lower temperature printing material.
It would be a little too expensive to heat up your whole garage constantly.
David Gerwitz from ZDNet found that PLA doesn’t print well at temperatures under 59°F (15°C).
Larger prints are likely to experience layer separation, especially with open 3D printers which are common with FDM style machines.
Can You 3D Print in a Hot Garage/Room?
Yes, you can 3D print in a hot garage or room, but you need to have proper climate control facilities.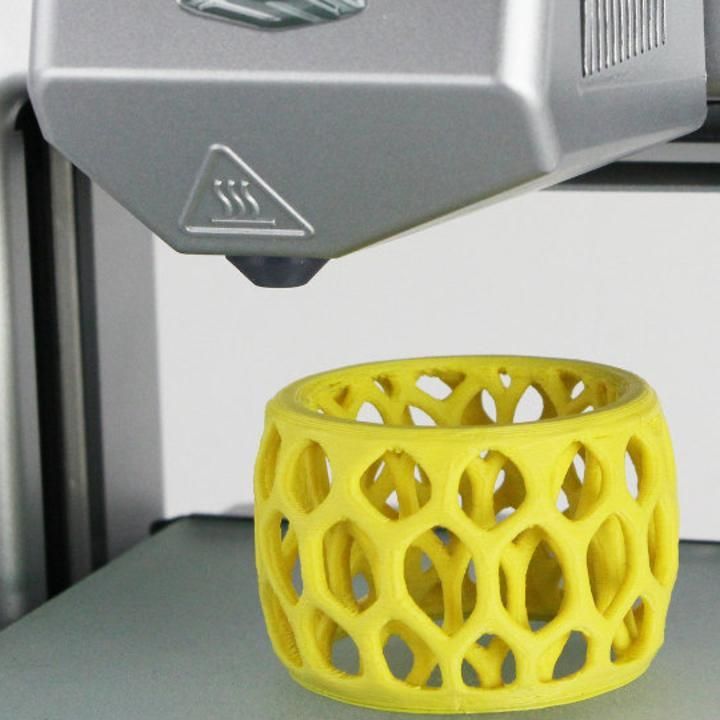 Being able to control the operating temperature and its fluctuations is an important factor in successfully printing in a hot room.
Depending on your location, your room, shed or garage can get very hot so you need to take that into account when putting your 3D printer there.
Some people decide to put a large-sale cooler or air conditioning in there to regulate the internal temperature. You can even get one with a built-in dehumidifier to absorb that moisture from the air so it doesn’t affect your filament.
It probably wouldn’t be as bad printing ABS in a hot room (may actually be beneficial), but when it comes to lower temperature materials like PLA, they get soft, so they won’t harden as fast.
You’ll need a powerful, efficient cooling fan to get the results you need when printing with PLA. I would probably upgrade your stock fans to something more powerful so each layer can harden enough for the next layer.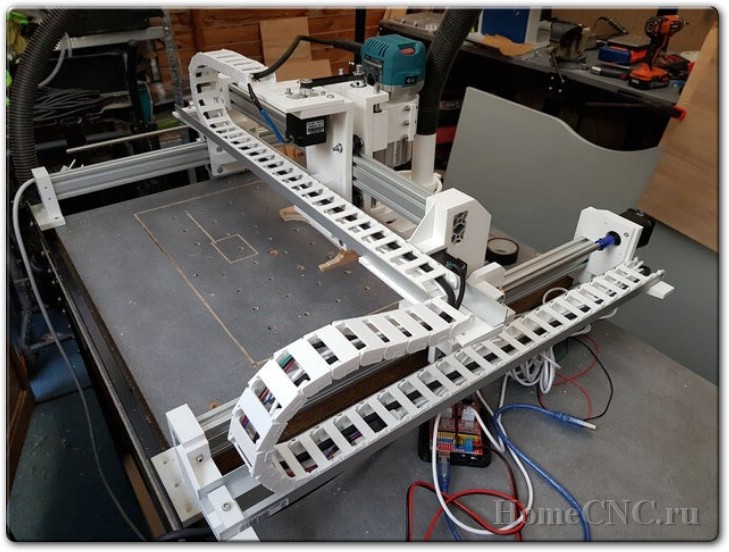
If you are 3D printing in a hot room the main changes you’ll want to make are:
- Decreasing your heated bed temperature
- Using powerful fans for cooling
- Regulate your room temperature to be around 70°F (20°C)
There isn’t really a best ambient room temperature for 3D printing, rather a range but the most important factor is temperature stability.
In the hot weather, the electronic PCB and the motors of the 3D printer can start overheating and malfunctioning.
Extreme high temperature may result in parts deforming, whereas cold temperature may cause the warping between print layers.
In the scenario of a resin-based printer, the cooler temperature may affect the print quality of the printer, which may result in a poor quality of prints.
Does 3D Printing Heat Up the Room A Lot?
3D printing does get hot when you are using the heated bed and the nozzle, but it won’t heat up a room a lot.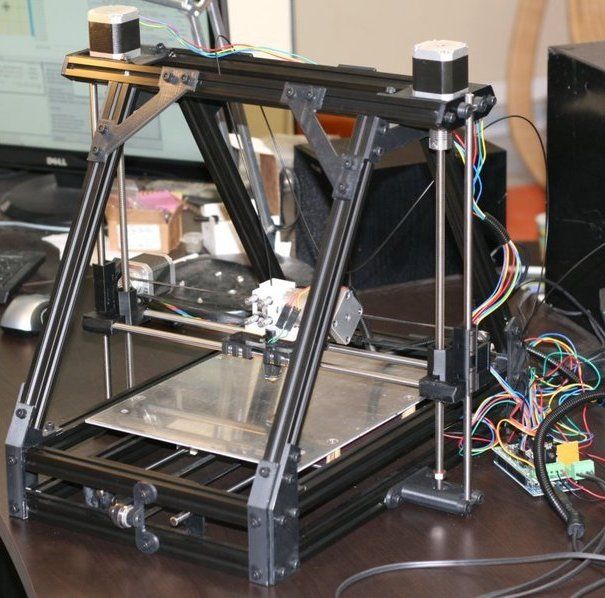 I would say it adds some heat to a room that is already hot, but you wouldn’t see a 3D printer heating up a cold room.
The size, power supply, regular bed and hotend temperature are going to be contributing factors as to whether your 3D printer will heat up a room a lot. It works in the same way as a computer or gaming system.
If you do notice that your room gets hotter when you have your computer on, you can be sure that a large-scale 3D printer will add to that existing heat in your room. A mini 3D printer is a lot less likely to contribute to heat.
To avoid this, you can use low temperature materials and use adhesive substances to get prints to stick rather than using the heated bed element of your 3D printer. A heated bed does reduce warping though so keep that in mind.
You can build an enclosure with ventilation to counter the heat that a 3D printer can create.
Can You 3D Print Outside?
It is very possible to 3D print outside but you should think about levels of humidity and the lack of climate control. Small changes in humidity and temperature can definitely alter the quality of your prints.
A good idea in this instance would be to enclose your 3D printer in an airtight, heat-regulated cabinet of some sort. Ideally it can block out wind, sunlight, temperature changes and not absorb humidity in the air.
You don’t want any sort of condensation affecting your 3D printer and temperature changes can cause you to hit a dew point which draws condensation. Climate control in this event is very important.
Your electronics would be put at extra risk so it isn’t the safest thing to keep your 3D printer outside somewhere.
There are many hardware parts that have humidity corrosion ratings and other standards. It’s a good idea to get materials that are resistant to humidity such as steel, along with bearings and guide that have the right coatings on them.
A rubber seal is a good idea and having a dehumidifier would help out greatly.
Uncle Jessy did a video 3D printing in the snow, check out the results!
Where Should I Keep My 3D Printer?
You can keep your 3D printer in several places but you should make sure it’s on a flat surface, in a well-ventilated area which doesn’t have sunlight beaming down or drafts to affect temperature. Make sure not to put it on a surface which can easily scratch and to really check the surroundings.
I’ve written an article on this topic about Should I Put My 3D Printer in My Bedroom which goes over these things in more detail.
The main things to make sure of is that temperature levels are consistent and humidity isn’t too high. You also want to store your filament in an airtight container of some sort to prevent it from absorbing moisture in the air.
Without taking care of these things, your print quality can suffer and show many failures in the long-run.
The Best Way to 3D Print in a Garage
3D printer climate control is a crucial parameter to maintain longevity of your 3D printers.
All 3D printers come with a minimum baseline temperature to function properly. Extrusion-type 3D printers have a lower baseline of about 10-degree Celsius.
However, practically no filament would create good quality 3D prints at really low temperatures.
PLA is the simplest filament to perform a print. It can deliver good quality without any noticeable warping or delaminating with temperatures as low as 59 °F (15 °C). At the same time, resin printers are not as sensitive as FDM/FFF 3D printers.
All resins have an excellent print temperature to cure perfectly.
While most resin-based printers nowadays have installed automatic heat control built-in. For better monitoring and performance of the 3D printer enclosure heater or a direct heating mechanism will be your only option to ensure good print quality.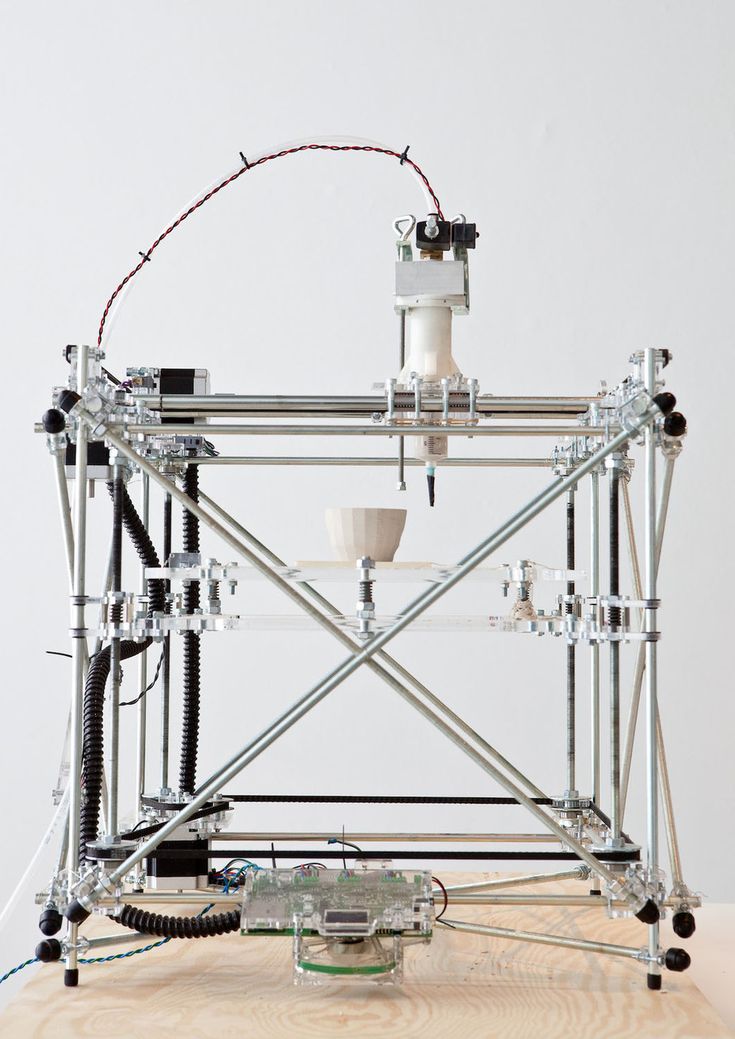
No 3D printer will give high-quality 3D prints at a hot temperature.
Lastly, no 3D printer likes to print when it is too hot. 3D printers ventilate a fair amount of heat on their own, and if temperature comes around 104°F (40 °C) or higher, then the equipment will be overheated without adequate cooling.
Therefore, you need to think about all of these to get perfect 3D prints.
Should I Enclose my 3D Printer?
Yes, you should enclose your 3D printer if you are after the best print quality. Printing with simple materials like PLA doesn’t make a huge difference, but with more advanced, higher temperature materials, it can significantly increase quality and printing success rates.
It’s a good idea to have a cooling system so that you can regulate the operating temperature within the enclosure to fit your desired printing temperature for your 3D printing materials.
Making sure that you have simple and swift access in case anything goes wrong. Another choice is to build a filtration system to filter the air as it escapes the exhaust system. Make sure that the 3D printer parts won’t be affected by direct sunlight.
Attaching an exhaust with a HEPA or Carbon filter to vent out any toxic fumes and UFPs is what some people do to increase safety.
$250 room-sized 3D printer / Habr
Why not make a 3D printer out of a garage or an empty room? An open source project from Sweden makes this possible for $250. Who is less?
Article by Glenn McDonald from Seeker.com translated for you by Top 3D Shop .
Swedish inventor Thorbjørn Ludwigsen has spent the last three years developing a new kind of large-format 3D printer that can create large objects.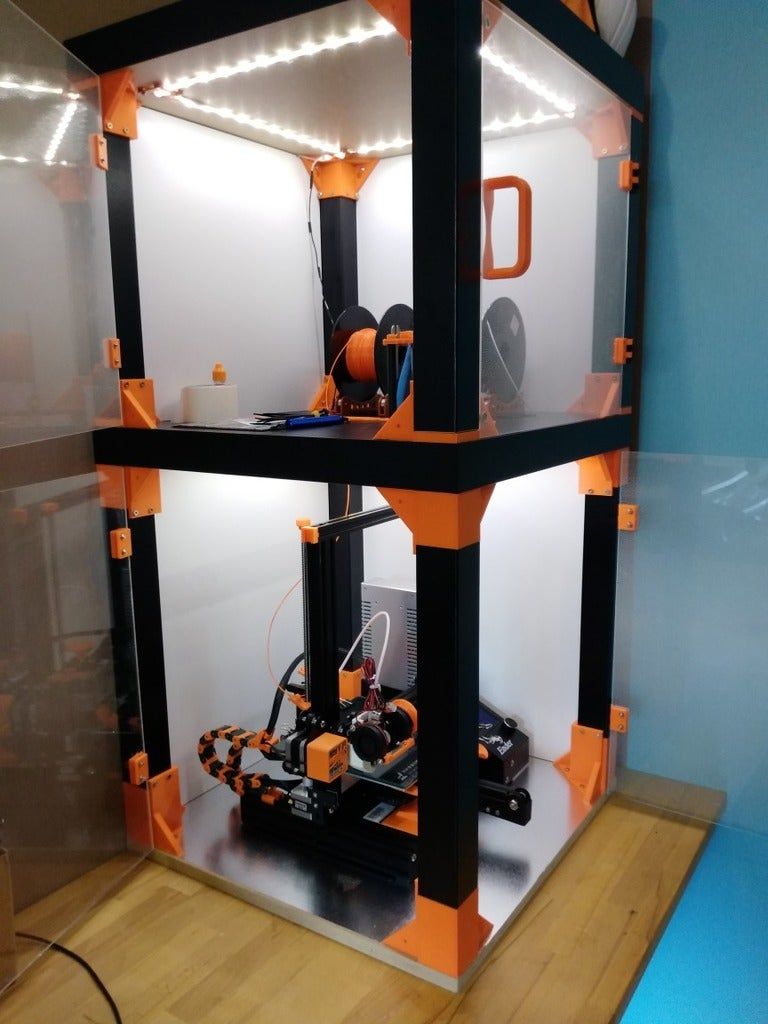 His invention can print furniture right in the room - it's very easy and relatively cheap. Ludwigsen's invention, the "Hangprinter", uses a system of wall, floor, and ceiling-mounted cables and computer-controlled drives on a print head unit. The device uses the room itself as a 3D printer case.
Hangprinter is not the first large format 3D printing system, but it is unique. First, it's cheap. All hardware and firmware components can be purchased for approximately $250. In addition, it is an open project, which means that any user can improve the system and use third-party updates. Finally, Hangprinter is self-sufficient - most of the components necessary for its creation can be printed by it.
It all adds up to a system that Ludwigsen hopes will open up the potential of 3D printing to more people. The developer believes that 3D printing should not be an expensive perk. In his opinion, Hangprinter is not only a technical, but also a social experiment.
“In particular, I want 3D printing to avoid the fate of 2D printing, where machines are programmed to self-destruct after a certain number of objects are made. The best chance to do this is not only to use open source, but also to create self-replicating hardware. Hangprinter manufactures most of the necessary elements for itself.”
- he said.
The Hangprinter project is part of a larger initiative in the 3D printing community known as RepRap. All developers try to optimize prototyping processes as much as possible. The idea is to spread 3D printing technology to low- and middle-income people through open design solutions and self-replicating mechanisms.
“Open technology can empower middle- and low-income families, and I grew up in one of those families,” said Ludwigsen.
The innovator is taking this project very seriously. As a physics student at Umeå University in Sweden, he recently completed his master's thesis on the subject.
In the Hangprinter video, Ludwigsen showed how a 3D printer creates a relatively simple and functional object - a lampshade.
The Hangmaker has also been involved in more artistic projects - Ludwigsen recently used the system to assemble a five-foot sculpture of the Tower of Babel.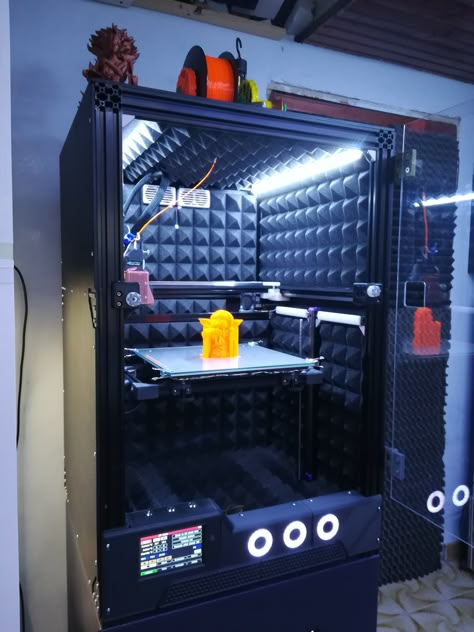
Hangmaker prints the Tower of Babel sculpture. Author: Thorbjorn Ludwigsen.
As the device is optimized, Ludwigsen hopes the Hangprinter will become versatile enough to print furniture, tools and possibly fully functional machines with moving parts. He also hopes to raise money through crowdfunding to continue research and development in this direction.
Although the current version of Hangprinter is fully functional, there are many upgrades ahead of the device, according to its author. In fact, improvements are another reason why the author decided to develop the project as open-source.
“It's a flexible manufacturing technique, so it will be useful in situations I can't foresee. Some of them can be very important/cool/useful. I would not want to interfere with important and useful discoveries.0010 ,
- he said.
Share your opinion in the comments.
10 Benefits of a 3D Printer: Save Time and Money
Until recently, 3D printing was viewed as something completely new.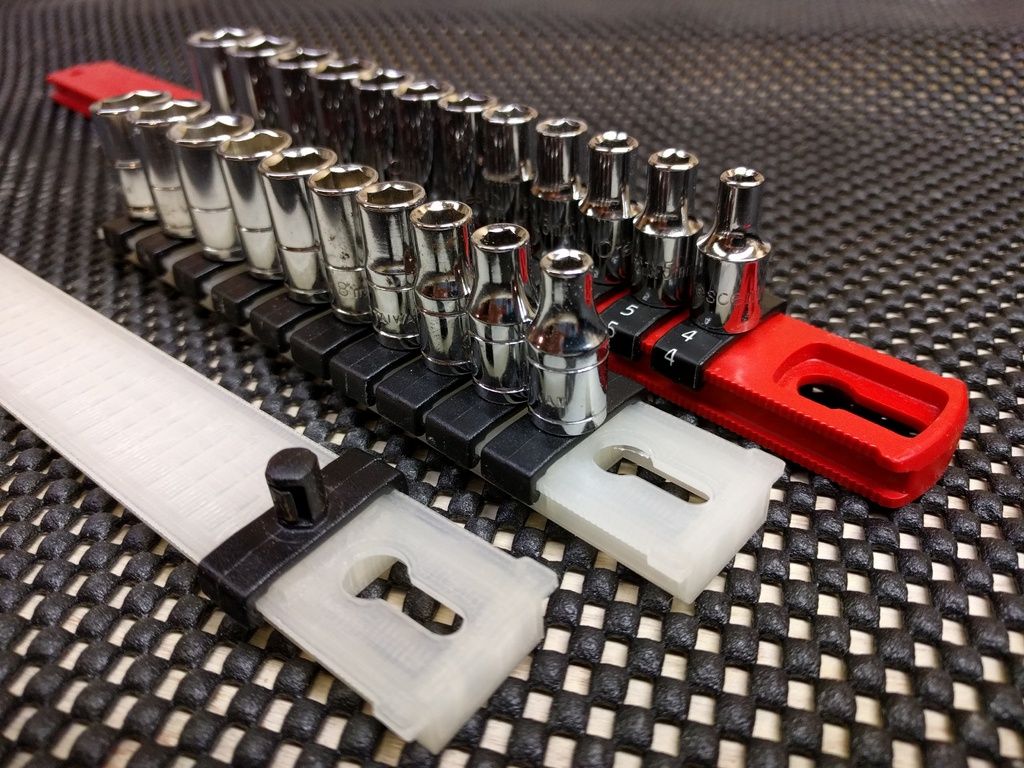 The technology was underdeveloped, the hardware was too expensive for widespread use. But only a few years have passed, and the situation has changed radically. Not only did more and more 3D printers begin to appear in stores, but also some enthusiasts began to assemble this equipment themselves.
1. Cost-Effective
While large-scale projects with thousands of 3D printed parts are not cheap, they are still much more cost effective than other technologies. Many manufacturers use 3D printing for small runs or for prototyping. Plastic can also be used for injection molding, but casting small batches can require expensive equipment. But even in this case, manufacturers can produce cast 3D parts several times cheaper than using aluminum.
Prototype parts printed on Prusa i3 Bizon 3D printer, layer height 0.1mm, PLA material
Compared to traditional production methods, the entire process can take weeks or days, and most products are printed in hours.
 Some manufacturers have even begun to make parts to order, which has also allowed them to optimize their warehouse capacity and resource management scheme, making them more flexible. With this new approach, the manufacturer does not need to store every single part or component, they can simply be printed as needed and immediately put into action.
Miniature parts printed by Wanhao Duplicator 7 photopolymer 3D printer, layer height 0.5mm, photopolymer resin material
It not only affects the reputation of the company in its industry, insufficient technical control can lead to injury to employees and customers. Since 3D printing uses a completely different production method than most machine tool operations, the process has significantly fewer weaknesses and flaws overall.
Model printed on Picaso Designer X PRO 3D printer, 0.2 mm layer, ABS materials, HIPS
4. Less waste
The press is gaining more and more support in the form of supporters of the "green" movement.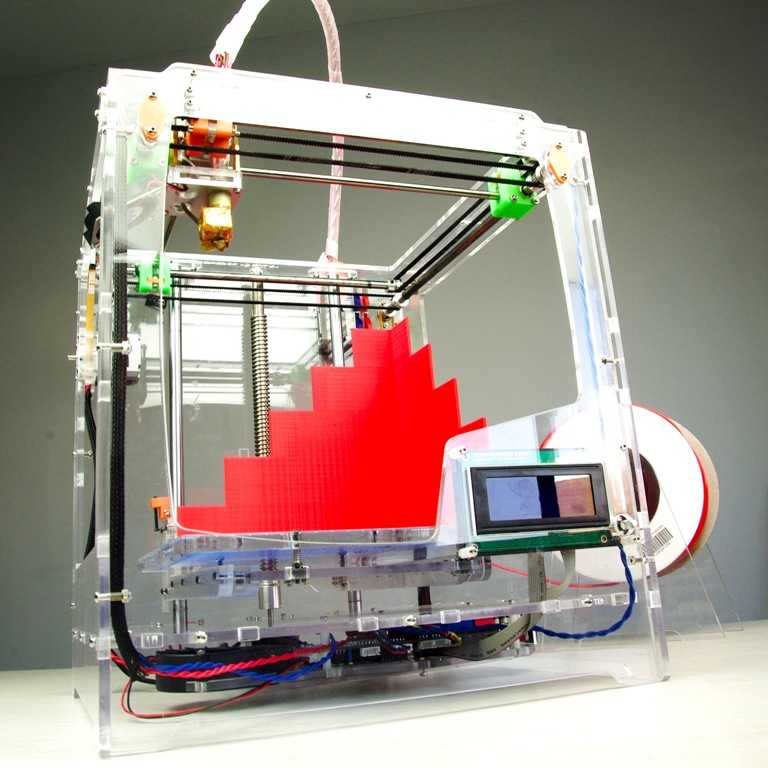 Because 3D printing produces significantly less waste than traditional processing, the technology is more environmentally friendly while reducing costs. 3D printing has even made its way into the textile industry, allowing clothing and prototypes to be printed.
Hercules Strong 3D printed yacht steering parts. Details printed in 15 hours with a 0.5 mm nozzle and a layer height of 0.3 mm at a speed of 60 mm/s.
5. Greater customization
3D printed products are also highly customizable. Parts can be printed not only with light plastic, some next-generation models may also have a metal coating. As a result, objects are not only aesthetic, but also functional. In addition, they can acquire thermal and chemical resistance. The existing metallization method can also be used for plastic.
Functional parts printed on Hercules. Material ABS, nozzle diameter 0.5 mm, layer height 150 µm, filling 100%.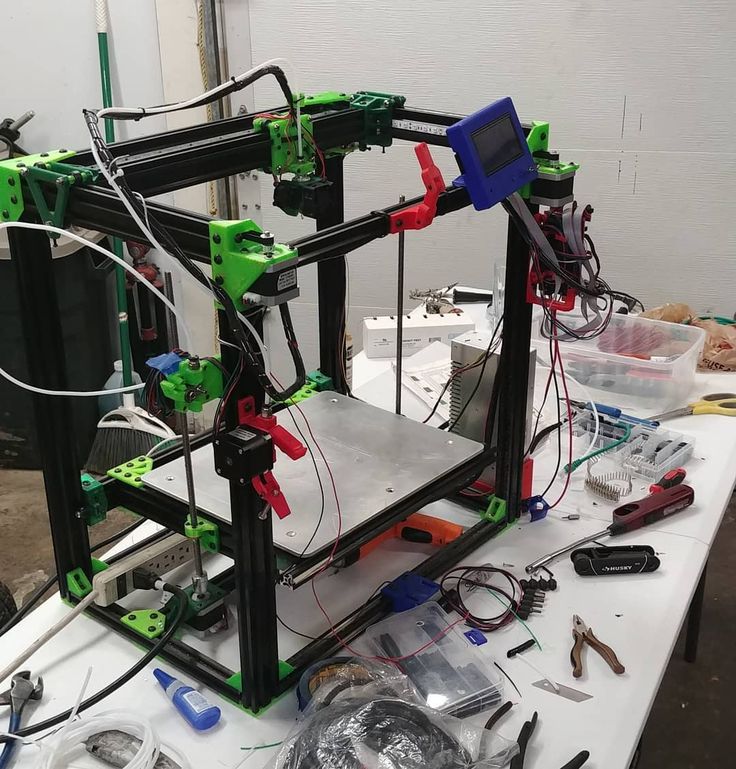 The model consists of 3 parts: the body and 2 halves of the latch, after printing and processing, the parts were glued together with acetone.
6. Customer Availability
If some craftsmen set up small mechanical workshops, for example, in garages, then most of us cannot afford such a luxury. 3D printing allows you to bring a significant part of the manufacturing process directly into the home, made possible by the availability of user-grade 3D technology. While it turns out to be quite expensive for one-off projects, the price of 3D printers and consumables is dropping rapidly.
Technical wing caps in REC RUBBER or REC FLEX. The models are printed on a Prusa i3 Steel 3D printer.
7. High complexity
In most cases, when it comes to complex parts and elements, the manufacturing process imposes certain limitations. Techniques used in casting and finishing objects may not be subtle enough for sophisticated design details.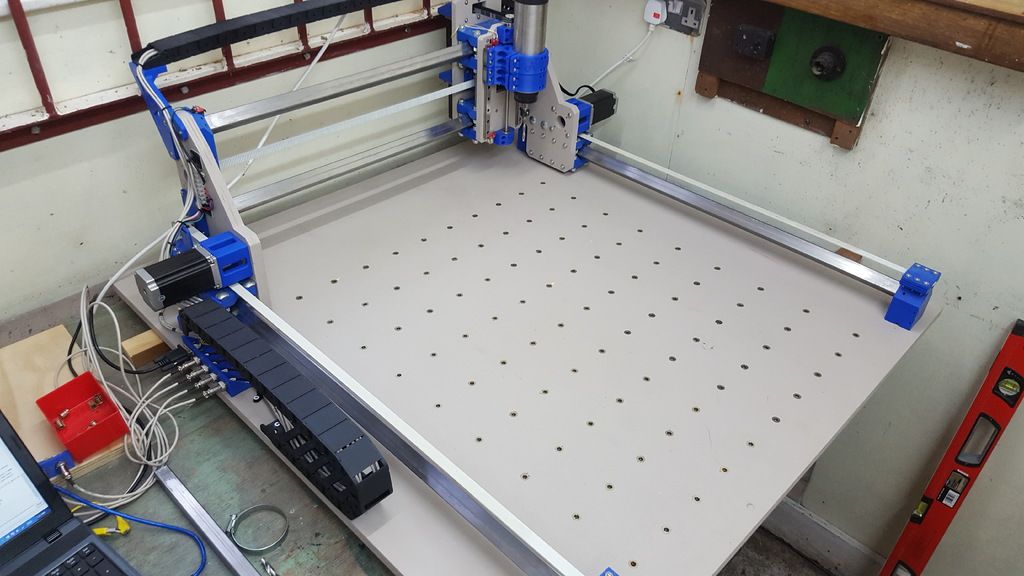 3D manufacturing processes make it possible to realize almost any design solution, regardless of its complexity, and in a reasonable time. This not only eliminates the extra assembly steps required by traditional methods, but also provides more freedom to create future-proof designs.
Zenit 3D Printing Big Details From Engine 3D Printer
While there are inherent risks associated with these new technologies, in terms of day-to-day business, 3D printing risks are significantly lower than with traditional manufacturing methods. Not only is 3D printing much cheaper when it comes to testing a new design or product, the printed prototypes themselves can stir up investor and customer interest and get them to decide whether to proceed with mass production of a product, whether it is worth the time and effort required.
Printing miniature model on Wanhao Duplicator i3 3D printer
9. Variety of materials
The materials used in today's 3D printers are much more diverse than most raw materials in traditional production methods.