3D print props
3D Printing Courses - 3D PRINTED PROPS
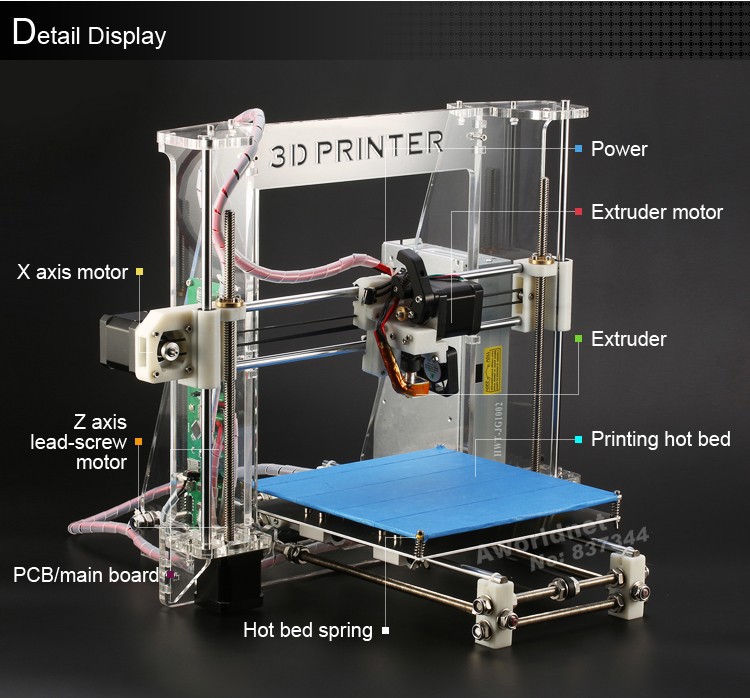
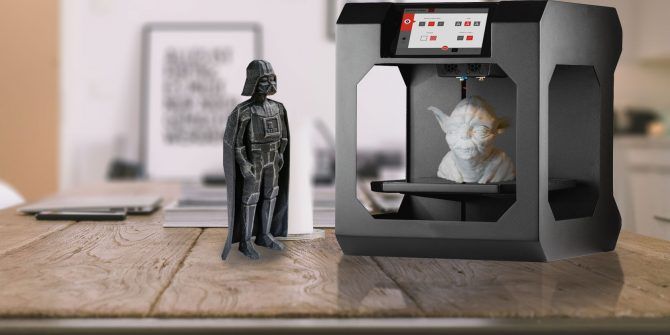
3D Printing Courses3D printing is magical! You take a file, or create your own, send it to your printer and after some time you have an actual solid object. It reminds me of something from the Jetsons. In this course you will learn all stages of 3D printing, from its history, ways to get the best print, using slicers and even finishing your prints.
Yes, 3D printing is magical, but there is also a lot of technical parts to the process, and this course will help you navigate the challenges 3D printer enthusiasts encounter when they start out. This was a fun class to create and I hope you enjoy it and learn how to make great prints!
cHECK OUT COURSE
Have you been wanting to learn about 3D resin printing? Then this is the course for you!
3D resin printing is becoming increasingly popular for good reason. Over the past few years, resin printers and materials have gotten more and more affordable, opening up a whole new world of 3D printing to enthusiasts.
In this course, I will walk you through every part of the 3D resin printing process. We will cover:
- The different types of 3D resin printers
- Factors involved in deciding which resin printer is right for you
- Different resins you can use when printing
- How to prepare your files for printing using the leading 3D resin slicer, Chitubox
- How to properly post-process your files: removing them from the print bed, removing supports, cleaning and curing
- Finishing your prints: Sanding, priming and painting
cHECK oUT COURSE
Do you want to learn how to make money with your 3D printer? Then this course is for you!
I currently run a successful YouTube channel with thousands of subscribers and have a successful website and Etsy shop where I sell hundreds of dollars a month in 3D files and physical prints. I love 3D printing and sharing what I know through my YouTube channel and in courses like this.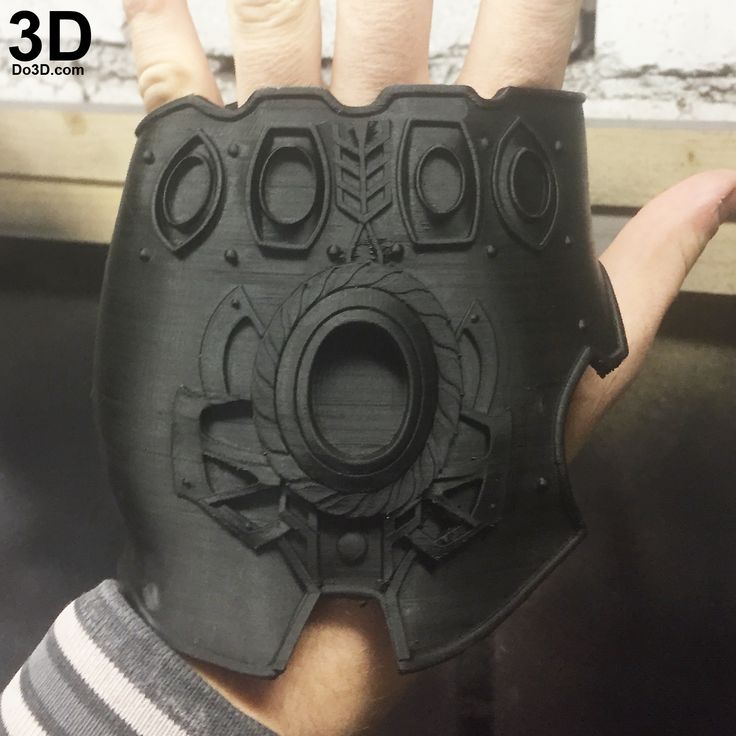 That’s why I created this course to show 3D-printer enthusiasts like you how you can start earning money through your hobby.
In this course, we will cover 7 ways you can use your 3D printer to make money. After covering the basics, I will share details from my own revenue streams and show how much my files cost to commission and print, and how those costs inform the selling price.
We will then look at 3 case studies of other successful Makers who are using their 3D printers to earn money, and I will cover details behind how they print and price their products.
CHECK OUT COURSE
OTHER COURSESWhen you have completed this course and practiced, you will be able to pick up and grade any comic, whether it’s one in your collection or that grail book you finally found at a con.
The Learn to Grade Comic Books course is the most comprehensive course of its kind. In it, I walk you step by step through 27 comics at every grade level from 0.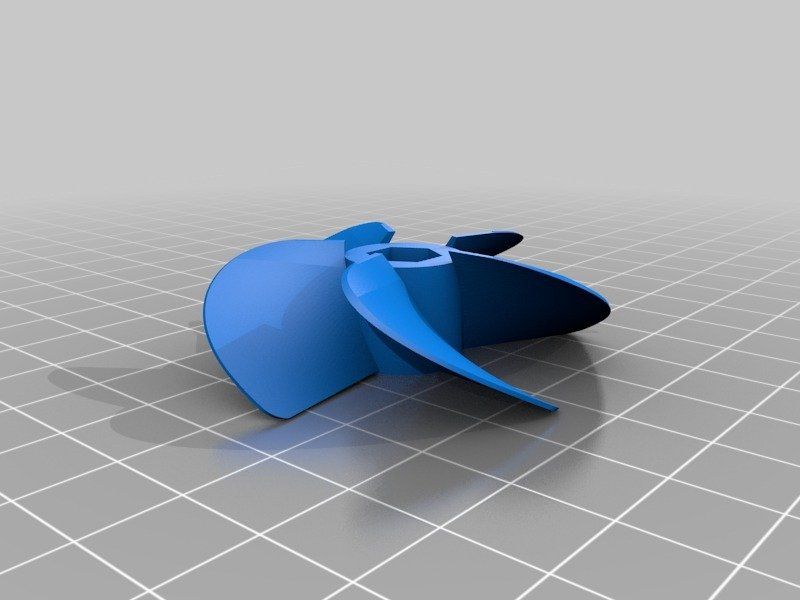 1 to 10.0, explaining in detail why they received that grade. For the 25 grade levels from 0.5 to 10.0, I bought and cracked professionally graded books just for these videos so that we would have a solid baseline for understanding the criteria at each grade level.
In each video, we move up the grading scale, first examining the CGC graded comic, and then we look at two different comics with the same grade to compare and contrast their differences, because even though they are the same grade, they can look quite different.
cHECK OUT cOURSE
This course will teach you graphic design fundamentals and how to employ them to create awesome social media graphics using the FREE design tool CANVA.
- Do you need to create professional looking social media graphics for your side-hustles, but don’t know where to start?
- Have you tried to piece information together from various sources around the web but end up even more confused?
- Don’t have the money to hire expensive graphic designers for your projects.
 ,..who does right?
If you answered yes, to any or all of these questions, then you have found the right course for you.
The life of a content creator is already stressful, having to produce on a daily, weekly or monthly basis. Just spent 3hrs. editing a new youtube video, but remember, you aren’t done till you create that eye catching thumbnail. It can seem overwhelming.
We will use the Fundamentals of Design to create a brand and all the graphics we create in the course will be for an imaginary entrepreneur who has started a travel blog and Youtube channel. This way you also learn how to not only create the images, but why and how they fit into a cohesive brand.
Start creating more professional and eye catching social media graphics and make your brand stand out on the web!
cHECK OUT COURSE
This course will teach you graphic design fundamentals and how to employ them to create awesome classroom handouts, posters, lesson plans and other deliverables’ using the FREE design tool CANVA.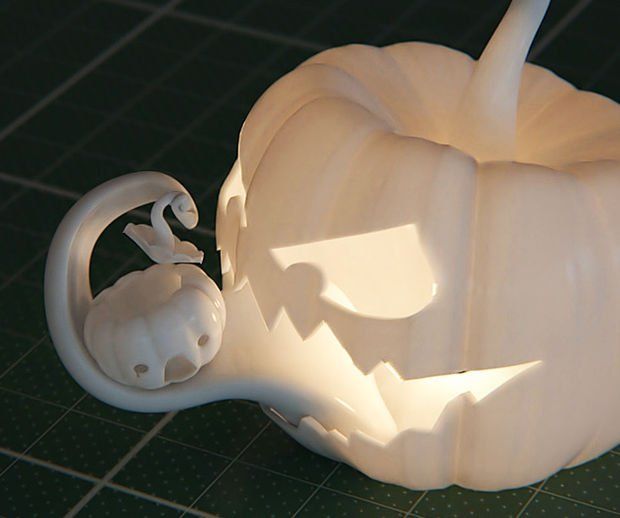
-
Do you want to create fun and interesting handouts for your classroom, but don’t know where to start?
-
Have you tried to piece information together from various sources around the web but end up even more confused?
-
Don’t have the money to hire expensive graphic designers for your projects.,..who does right?
If you answered yes, to any or all of these questions, then you have found the right course for you.
Teaching is hard. Creating handouts that are fun and help your students learn take time to create and can be difficult without the right tools. Using the free online tool Canva is all you need to create everything you need for your class.
This is where this class will help. Anyone can learn how to use the free design tool CANVA. In this class you will learn not only to use CANVA, but before we start creating real-world classroom projects we cover the fundamentals of graphic design that will evaluate your classroom to another level.
We will use the Fundamentals of Design to create a brand and all the graphics we create in the course will be for an imaginary classroom.
cHECK OUT COURSE
Are you struggling with suddenly having to take your classroom teaching online in response to the new way we have to teach? It can be intimidating to make this move – not to mention technology challenges – and hard to know where to start!
This concise one-hour intro course is designed to ease your shift to online teaching and help you be successful delivering online learning to your students.
You’ll learn easy-to-implement techniques and tips from a seasoned instructional technologist and online instructor.
Kevin Volo holds a Masters in Instructional Design and is working on his PhD dissertation in Educational Practice & Theory. He has worked for most of the past decade “in the online trenches” at a State University of New York (SUNY) school, helping faculty engage students in online courses.
It drills down to the most important things you need to know and will leave you feeling comfortable and confident making the shift to online and virtual teaching.
Register today and take your teaching online with confidence and poise!
CHECK OUT COURSE
In this course you will learn to take awesome and memorable travel pictures. We start with lessons on how to use your camera properly so you get the bet possible exposure. We then move on to photographic composition so that your photos are not only exposed well, but are composed well.
We Also Cover Travel Topics Such As:
- Best camera options
- What camera equipment to pack
- What else should you pack to make your trip easier
- Travel safety, and much more
Photography Basics You’ll Learn:
- Exposure
- ISO
- Shutter Speed
- Aperture
- Depth of Field
- Composition Basics
- White Balance
- Lighting
I’ve been a photographer my whole life and have taught traditional and digital photography classes for 20 years. I love everything about photography and hope you will enjoy the course and learn about the joys of travel photography.
CHECK OUT COURSE
3d Printed Prop - Etsy.de
Etsy is no longer supporting older versions of your web browser in order to ensure that user data remains secure. Please update to the latest version.
Take full advantage of our site features by enabling JavaScript.
Find something memorable, join a community doing good.
( 1,000+ relevant results, with Ads Sellers looking to grow their business and reach more interested buyers can use Etsy’s advertising platform to promote their items. You’ll see ad results based on factors like relevancy, and the amount sellers pay per click. Learn more. )
DIY 3D Printed Party Props
3D Modeling
Good afternoon friends! Recently, the use of various props for a festive photo shoot is gaining popularity: glasses, mustaches, beards, hearts, etc.
 on a stick. Today I want to tell you how to make holiday props with your own hands (using a 3D printer of course) without modeling skills, as well as share models that I made myself.
 The first thing we need is somewhere to dig up models for printing. In order not to bother with modeling, I will share the easiest way to make models - it will be a bundle of the flaticon resource + the easiest online program for modeling Tinkercad.
Finding a blank for the model on the flaticon website
Website address: http://www.flaticon.com/ Question : what can be found there?
Answer : blanks for our 3D vector models, which we will later convert to *.stl format
:idea: Important: you need to download vector drawings in *.svg format
I'll show you with lips as an example. Using the search, we find the picture we need:
Move the mouse over the glasses and click view:
In the window that opens, click download in * .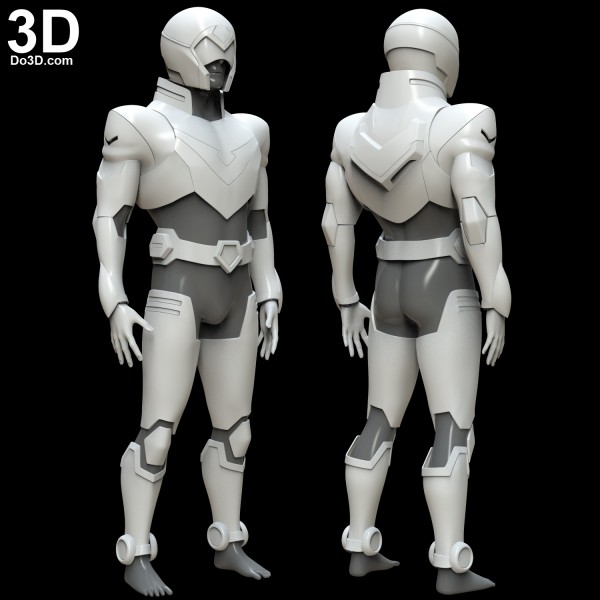 SVG format
So, we have the picture. Next, we need to transform it into a 3D model and make a connector for attaching the stick. You don’t need to make a connector: print it with a minimum thickness and just stick a stick, but I decided to do everything thoroughly.
Transform SVG to STL using Tinkercad
Site address: https://www.tinkercad.com/ If someone else is not registered there, then you need to go through the registration procedure - everything is simple there operating systems not lower than Windows 7
1) Create a new design in Tinkerkade. And in the editor that opens, add your model. To do this:
- open the import tab (1)
- select the file you recently downloaded (2)
- set 30% of the loaded size (otherwise the picture will be loaded on the whole table. You choose the percentage yourself)
- press the import button (3)
2) Then we play with the help of the ruler with the sizes you need:
3) Make a hole for the stick:
- select the Holes section
- transfer the cylinder to the work plane (1)
- set the dimensions of the cylinder
- transfer the cylinder to your model (2)
- select the entire structure with the mouse and press the Group button ( 3)_
4) Save the resulting model in *. STL format and open it in Cur-e
Print, stick in a sushi stick for example or whatever you find at hand and voila:
This is still ... a few more pictures:
Well, the models are ready:
- Mustache with glasses -tyts - lips - tyts - heart - tyts - points - tytsI will add more models as they are made. If you make such props - share models!
Thank you for your attention!
Follow author
Subscribe
Don't want
17
More interesting articles
38
Subscribe to the author
Subscribe
Don't want
Recently, the number of customers who ask to convert models has suddenly increased dramatically...
Read more
vetrock
Loading
09/20/2022
546
four
Subscribe to the author
Subscribe
Don't want
Good morning to those who have read or are still reading me.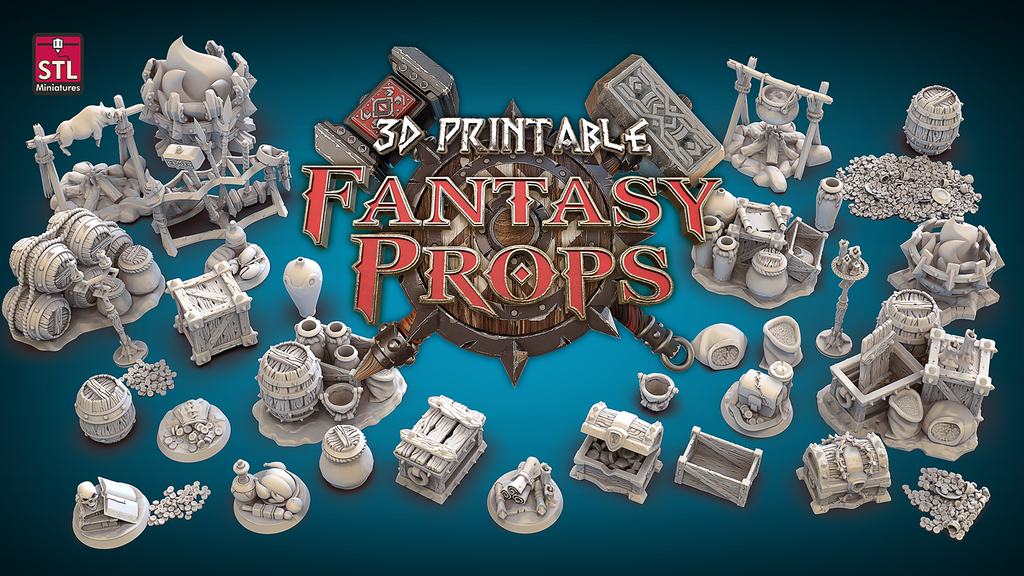 Stand...
Read more
xedos
Loading
04/28/2016
84011
135
Subscribe to the author
Subscribe
Don't want
Good afternoon Dear readers!
Today I would like to talk about the NetFABB B...
Read more
3D printing for the film industry | 3D Print Expo
3D printing is changing the film industry. Shooting props, mock-ups, and even parts of character costumes can now be made faster, more accurately, and cheaper. Of course, this does not mean that props and designers were left without work: on the contrary, they received a new tool that is in many ways superior to the usual ones.
It's cheaper to blow up a printed car than a real one
In adventure films, we often see spectacular explosions of equipment: cars, planes, helicopters. If you use real vehicles for filming, the budget of the film will grow noticeably. And what if it doesn’t come out to shoot from the first take? Then the costs must be multiplied by two, or even by three.
3D printed models made in real scale (eg 1:3 or less) fly just as spectacularly, but save the film crew thousands of dollars. And they can always be reproduced at a lower cost, because the most difficult part of the work is drawing a digital model on a computer. It only needs to be done once. Next will be printing, assembly of modules and finishing of models. This also takes time and effort, but in the end it is cheaper than buying a real car. Or make a model in traditional analog ways.
It was 3D printing that was used by the filmmakers of Skyfall 007 for the Bond car explosion scene. They assembled a 1:3 scale model of a car from 18 printed parts. And the labor was justified, because today this legendary premium car, the Aston Martin DB5, costs over $400,000. Previously, layout decorators worked with cardboard, plaster, plywood and wood; now they have a universal material - plastic for 3D printing.
Night props
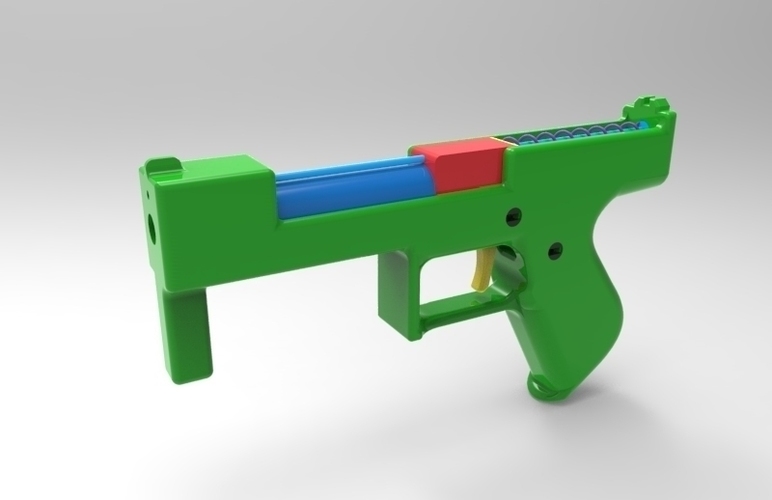
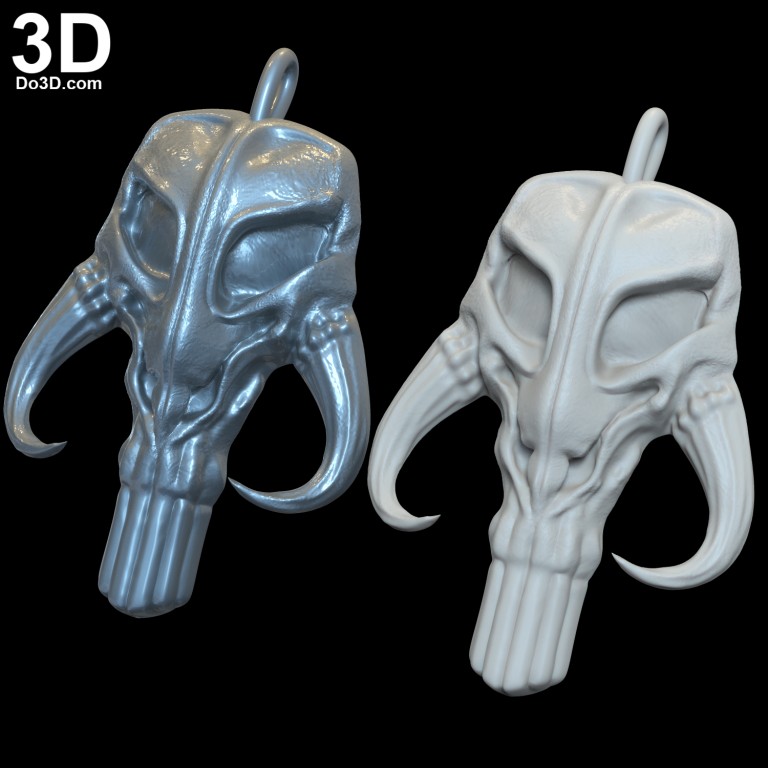
3D printers have revolutionized props making. Now unique items and artifacts, unusual dishes, weapons, armor and interior items can simply be printed. This saves time, especially if you need to make several identical things. Now even the most caustic blooper hunter will not find the difference between the two swords in different scenes: objects made on a 3D printer from the same model are always identical in shape.
In the film industry, plastic is often used to print "secondary" props that appear only briefly in the frame: for example, filling the shelves in the heroes' room; table setting in the background. They require minimal finishing and can be printed faster due to their poor surface quality.
More time is spent on props of the first plan. After printing, it needs to be painted, varnished; apply texture. But still, 3D printers save props a lot of time and money.
There are printed objects in films that are included in the gold fund of world cinema: for example, in The Hobbit, elven swords, artifacts (the key to Erebor), parts of armor (bracers, helmets) and even parts of plastic makeup: ears and noses are made in this way orcs.