Thor3D calibry 3d scanner
Calibry - 3D scanner | Filament2Print
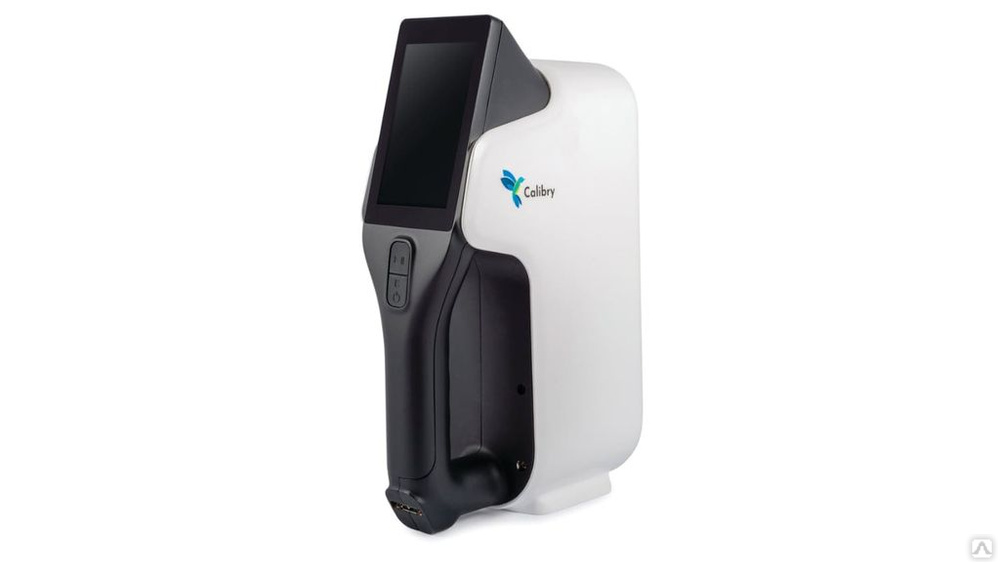
Calibry is a professional handheld 3D scanner developed by the renowned Thor3D, a Russian company based in Moscow specialising in the production of professional 3D scanners.
It has a dynamic and highly qualified team of engineers and mathematicians in charge of developing the complex reconstruction algorithms responsible for the high quality of the models obtained with its equipment. Some of its algorithms and developments are so innovative that many of them are protected by several international patents.
Calibry is based on structured light 3D scanning technology, one of the most widely used at present due to its excellent resolution/cost ratio, as well as its high precision. Using a proprietary Thor3D camera with calibrated lenses, it captures the deformations of patterns projected on the surface of the part, reconstructing the geometry using complex algorithms.
Video 1: Calibry promotional video. Source: Thor3D.
Highest quality and speed
Calibry can scan objects ranging in length from 30cm to 10m. This, combined with the ability to capture point clouds with a point resolution of as little as 0.6 mm, a texture resolution of 2.3 MP, and a maximum accuracy of 0.1 mm, makes it capable of capturing even the smallest details of large objects.
Image 1: Scanning of medium and large parts. Source: Thor3D.
It also has a custom-developed camera capable of capturing up to 30 images per second, which together with its multi-core processor allows it to acquire up to 3 million points per second. This makes it possible to obtain high-density point clouds quickly and accurately.
Complete and advanced features
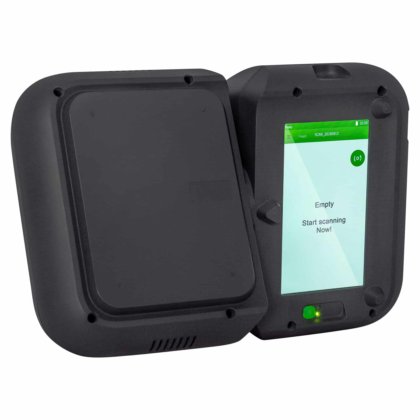
Calibry has a 4-inch touch screen that allows all parameters to be configured and files to be managed. This streamlines the workflow as there is no need to access the computer at any time during the scanning process.
Image 2: Calibry touch screen. Source: Thor3D.
To ensure maximum accuracy and alignment of the point clouds, three different tracking modes can be used: geometry, texture or marker tracking.
Texture tracking is recommended for objects with little geometry but ample contrasting textures, especially antiques or museum artefacts, too fragile and precious for the use of markers. The geometry tracking mode can be used for scanning body parts or objects, and the marker tracking mode for capturing anything with a smooth, shiny or transparent surface, such as a car.
Image 3. The texture, geometry and marker tracking modes (left to right) of the Calibry 3D scanner.
 Source: Thor3D.
Calibry also incorporates a second texture camera that not only allows texture tracking during the scanning process, but also captures textures and colours for later incorporation into the model.
Advanced algorithms
To obtain quality point clouds and meshes, in addition to advanced hardware, it is necessary to implement quality reconstruction and processing algorithms. Thor3D has developed and implemented in Calibry some of the most advanced algorithms on the market, both for point cloud capture and mesh processing.
Image 4: Reconstruction of a defect in the point cloud by interpolation. Source: Thor3D.
These algorithms allow complex elements such as sharp edges, shiny or black surfaces, or hair and fur to be captured with high quality. In addition, efficient interpolation algorithms are available to repair defects or holes in the mesh, making it possible to recover areas that could not be scanned.
A software to match
Calibry incorporates the Calibry Nest software solution, a combination of two software packages that work together, one embedded in the 3D scanner itself and the other in the computer, to automate the workflow and cover all the necessary steps to obtain a quality final mesh.
The embedded software allows all functions required during the 3D scanning process to be performed from the scanner's own touch screen. These functions include managing files, setting sensitivities, selecting the 3D scanning mode and starting and stopping the capture.
The software installed on the computer, in addition to having the same tools as the one embedded in Calibry, has an advanced module for point cloud processing with tools for alignment, interpolation, simplification and mesh processing and repair.
Image 5: Calibry Nest software. Source: Thor3D.
The Calibry Nest software is regularly updated and does not require a licence.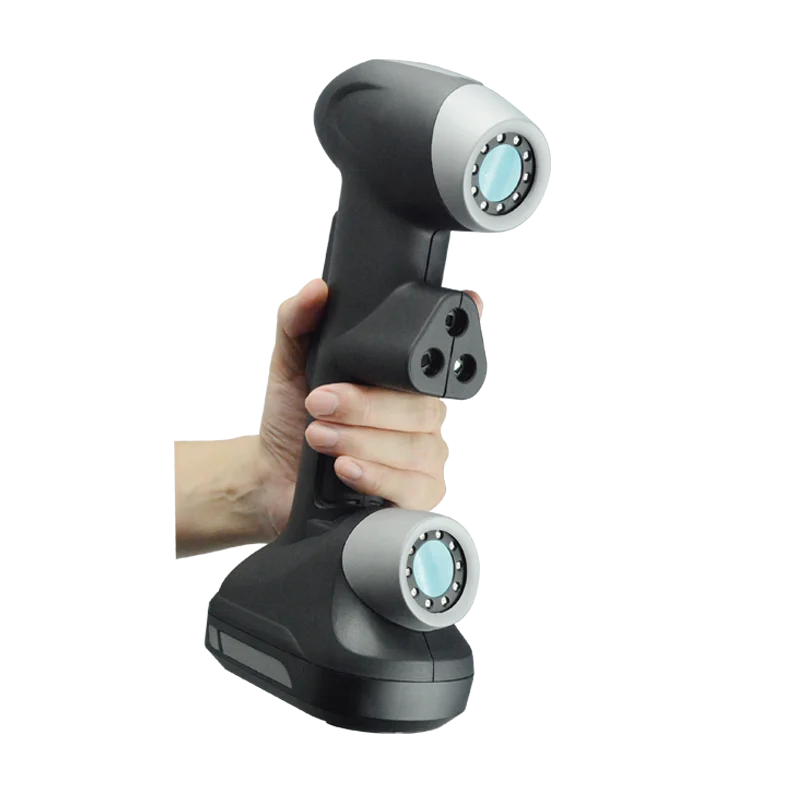 This means that the scanner can be used at facilities such as research centers or schools, with the software installed on multiple computers for one scanner only.
Calibry is the most affordable professional scanner with advanced features on the market for 3D scanning of medium to large objects. Its friendly and powerful software included with the product allows for straightforward and quick scanning in various sectors such as engineering (reverse engineering, quality control), medicine (prosthetics), automotive, biometrics (identification), education, art and design, heritage conservation or computer graphics and animation. Its built-in screen, light weight and 3 tracking modes make it a versatile and comfortable to use tool.
As these are structured light scanners, the quality of the scan may be affected by the lighting conditions of the environment. It is advisable to avoid direct or intense light sources that may cause reflections or glare on the part. Ideally, continuous and diffuse light sources should be used or diffusers should be placed on the lamps in the room where the scanning takes place. When scanning outdoors, it is advisable to avoid direct sunlight falling on the model to be scanned, either by scanning at certain times or by using sunshades to protect the model.
Certain surfaces, especially high gloss, chrome, transparent or some black ones, can be problematic when scanning. In these cases it is recommended to treat the part with a matt powder spray.
Please note that third-party batteries can be used wth the Calibry scanners. Nevertheless, repairs of damage caused to the Calibry 3D scanner due to use of the wrong battery will not be covered by warranty. In order to find out more about the technical requirements for battery power supplies for the Calibry scanner, consult the "Battery requirements" pdf file in the Downloads section.
More videos on how to use the Calibry scanners can be found on the Calibry YouTube channel.
| Manufacturer | Thor3D |
|---|---|
| Version | Calibry |
| Scanning modes | Manual scanning with geometry tracking. Manual scanning with texture tracking. Manual scanning with marker tracking. |
| Scanning accuracy | 0.1 mm |
| Resolution | 0.6 mm (point) 2.3 MP (texture) |
| Scanning speed | 35 captures per second 3 million points per second |
| Alignment mode | Markers Texture |
| Working distance | 55-95 cm |
| Minimum scan size | 20 x 20 x 20 mm |
| Maximum scan size | 1000 x 1000 x 1000 cm |
| Field of view | Min - 280 x 360 mm Max - 490 x 650 mm |
| Light source | White LED |
| Scanning platform | - |
| Screen | 4" touch screen |
| Software | Calibry Nest |
| Operating temperature | 5-40 ºC |
| Weight | 900 g |
| Minimum computer requirements | Operating System: Windows 8. 1 / 10 64 bit 1 / 10 64 bitUSB ports: at least one 3.0 port Video Memory: 2 Gb, OpenGL 4.3 RAM: 16 GB CPU: Intel i5 (gen 3) or higher |
| Recommended computer requirements | Operating System: Windows 8.1 / 10 64 bit USB ports: at least one 3.0 port Video Memory: 4 Gb, OpenGL 4.3 RAM: 32 GB CPU: Intel Core i7 Screen resolution: 1920x1080 |
| HS Code | 8477.59 |
THOR 3D Calibry 3D Scanner
$5,790.00
(No reviews yet) Write a Review
THOR 3D | Calibry
CALIBRY 3D SCANNER - Live View Touch Screen
Rating Required Select Rating1 star (worst)2 stars3 stars (average)4 stars5 stars (best)
Name
Email Required
Review Subject Required
Comments Required
- SKU:
- THOR3D-CALIBRY
PROFESSIONAL, AFFORDABLE, EASY-TO-USE
Calibry is a hand-held 3D scanner meant to capture objects from 20cm to 10m in length. The name invokes images of Colibri (aka “Hummingbird”) which is known for its small size and incredible speed. It is also consonant with the word “calibrated” – accurate, precise.
Calibry was designed to make 3D scanning affordable.
Capture traditionally tricky objects:
CALIBRY IS ALL ABOUT:
Built-in Touchscreen
Allows you to see what you scanned. No need for a computer screen
Lightweight & Portable
Under 900 gr (1.5lbs). Take it with you anywhere you go.
Fast Capture
30 frames per second. What will you do with all that extra time? Get up to 3M points per second!
Scans what others can’t
Sharp edges, black & glossy objects, and fur & hair are no longer a problem.
Complementary & Powerful software
Each device comes with unlimited licenses of our simple, yet powerful software.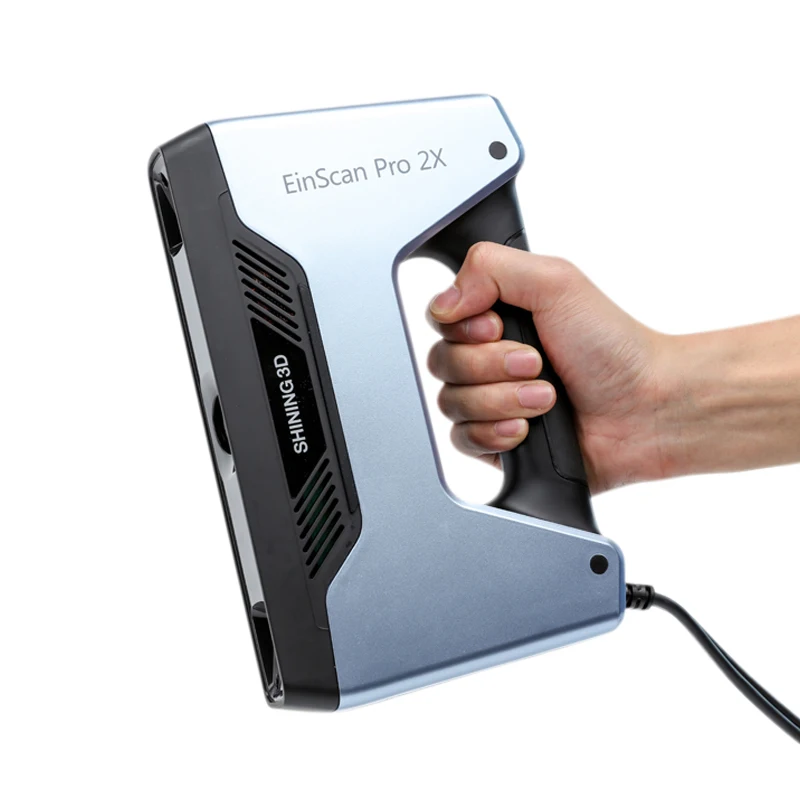
Proprietary Camera
We developed our own camera for this device. This makes Calibry faster, cheaper and better.
3 Tracking Modes
Track by geometry, texture or markers. We made sure you’ll never lose your way.
Calibration
Calibrate or not. Up to you. We’ve provided the board for you just in case the mood hits you.
Almost unlimited-sized scan
Scan the car door or scan the whole car. Both the device and the software can take it!
SOFTWARE YOU WILL LIKE
Our software, which is included in the price of the scanner, takes raw data collected by Calibry and transforms it into a finished model. Fill holes, simplify the mesh, apply texture – all of it can be done in this program. During scanning, you can adjust texture brightness, switch between tracking modes (geometry, markers, or texture), and regulate sensitivity parameters to capture difficult objects.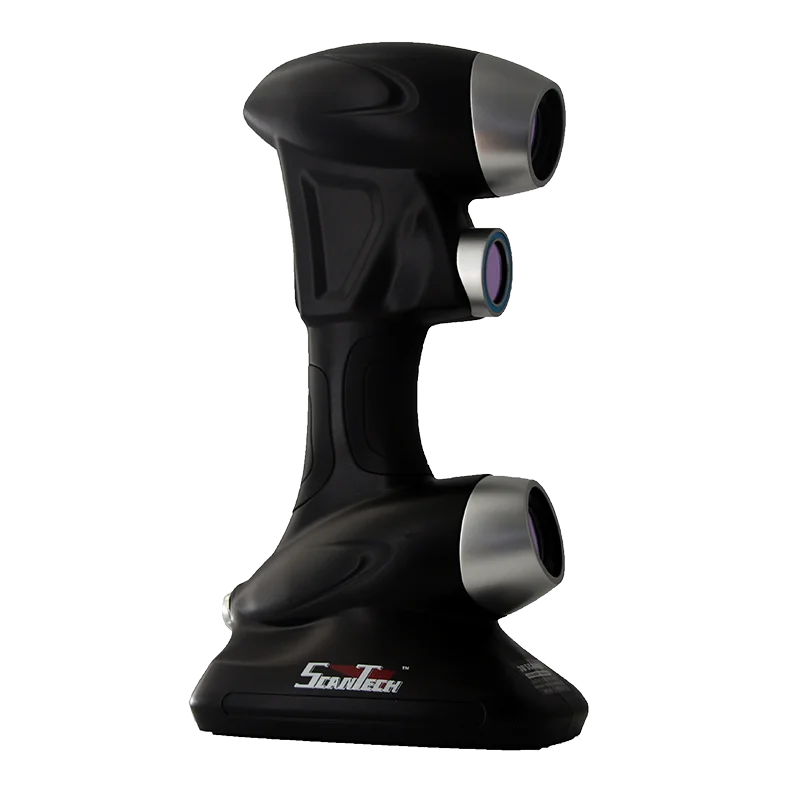
Unlimited technical support
2 Years of Warranty
TECHNICAL SPECIFICATIONS
Accuracy: Up to 0.1 mm
Accuracy over distance: Up to 0.1 mm over 1 m
Point resolution: Up to 0.6 mm
Depth of view: 55-95 cm
Field of view: Min – 280 x 360 mm, Max – 490 x 650 mm
Texture: Yes
Texture resolution: 2.3 MP
Light source: White LED
Frame Rate: 25-30 fps
Data Acquisition speed: Up to 3M points/sec
Multi-core processing: Yes
Weight: 900 gr
Touchscreen: Yes, 4 in
Software: Yes, included in the price
Operating temperature: +5/+40C
Dimensions, in mm: 165 x 85 x 274
Videos Hide Videos Show Videos
-
Calibry - 3D Scanner
Calibry is a hand-held 3D scanner meant to capture medium and ...
- Related Products
- Customers Also Viewed
Practical experience of 3D scanning with Calibry mini scanner from 3Dtool.
Contents:
- 3D Scan Case #1
- 3D Scan Case #2
- And the last 3D scanning case
- Output
Hello everyone, 3Dtool is with you!
Today we will talk about the experience of working with the Calibry mini handheld 3D scanner from Thor3d. We will omit the technical characteristics of the scanner, since, firstly, they are on our website, and secondly, the purpose of this article is to show the practical applications of the scanner from real life, and not just dry numbers of parameters. So let's get started.
Catalog of 3D scanners Thor 3D
3D Scan Case #1
After unpacking the scanner, we need to calibrate it, because during transportation it was shaking, and the ambient temperature changed several times.
The procedure is simple and takes less than a minute.
We install the scanner in front of the calibration sign and position it so that the circles on the screen coincide, the scanner will ask us not to move for some time.
We repeat the procedure 6 more times and, if everything is done correctly, we see the inscription on the screen “Calibration successful”.
It is not necessary to calibrate Calibry 3D scanners before each scan. If you use the scanner in the same place, say in the office, then before the next scan, it is enough to refine the calibration. And when to perform a full calibration, the scanner will prompt itself.
Next, we determine which of the 3 tracking methods we will use for a specific scanning object.![]() There are three types in total:
There are three types in total:
- Geometry tracking. The use of this type makes sense if the scanning object is rich in unique, not repeated geometry.
- Marker tracking. This type allows you to scan objects with simple or repeating geometry.
- Texture tracking. Allows you to scan objects with both simple and complex geometry, the main condition is contrasting texture. For example: paintings, vases with a pattern.
The object of scanning in our case will be a screwdriver, we will use geometric tracking.
During scanning, it is important that the object is in the green field of view of the 3D scanner. If you move too far away from the object, the model on the scanner screen will change color to blue, if you continue to move away, the indication will be purple. When the subject is too close, the color indication will be yellow or red respectively.
In order to get a good quality 3D object, we scanned the model 3 times. In the first pass, we captured everything we could reach. Without turning the model, we registered the scan and saw gaps (zones that did not scan properly ). With subsequent scans, we will scan these places, going a little into the areas of the object that were previously captured, so that the 3D scanner can find three matching points between scans.
Calibry 3D Scanner comes with Calibry Nest software. It is free and comes by default.
So.
Scan #1
Scan #2
Scan #3
Combine all scans
9007 3 9002 Now that all 3 scans are registered in the software and finalized. We can remove the backing the object was on, in our case it was tape.
Next, we need to merge all 3 objects. To do this, select them and press the button on the Align to Points panel. In the first window we have a base scan, in the second window it is aligned, in the third window the result is displayed.
When all objects are merged, we run multiple finalization and get our result, which, if necessary, can be textured and saved in STL or OBJ format.
Total time spent on 3D scanning: 15 minutes , post-processing 15 minutes. Total - about 30 minutes .
3D Scan Case #2
If there is not enough unique geometry on the object, it can be created. Below is a photograph of an object that was also scanned by geometry. When scanning the frontal part, there were no problems, but as soon as we moved to the ends of the frame, the tracking was lost and the scanning stopped because there was not enough geometry in these parts.
There are two ways to solve this problem:
- The first way. Scan the object in the frame by geometry, and the frame itself by markers and merge the 2 resulting scans.
- The second way. Which we used - to add geometry.
In this case, we spread the crumpled napkins around, thus providing the 3D scanner with the necessary geometry.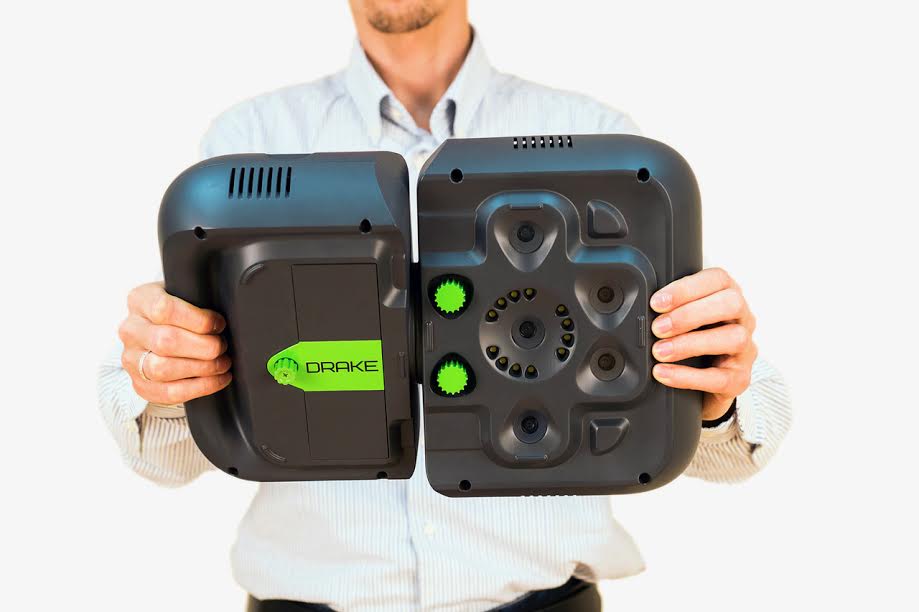 After this simple manipulation, there were no problems with the loss of tracking.
Final 3D Model
3D Scan Case #3
When scanning by texture, you need to follow the same principles as for geometry, except for the choice of the tracking itself, below is an example of scanning such an object.
Final 3D model
And the last 3D scanning case
A cone printed on a 3D printer.
This object was scanned by tags. That is, before scanning, we lay out the labels that come with the scanner. They are also available for download as a pdf document on the manufacturer's website.
Tags are best laid out or pasted on even parts of the object without bends. In our example, we spread them around the object as well. The scanner must have at least five marks in focus ( is actually at least three, but this is a borderline number, and if at least one mark disappears from the scanner’s field of view when tilted or moved, the scanning process will be suspended )
The number of marks in the frame is displayed directly on the scanner screen, which helps us to understand during the preview whether we need to put more marks or not.
Final 3D model
The most problematic color in 3D scanning is black. It is no coincidence that half of the objects in this article are made in this color and nothing prevented us from digitizing them.
Catalog of 3D scanners Thor3D
Output
As you can see, the Calibry Mini 3D scanner is suitable for capturing geometry on completely different objects and confidently copes even with black surfaces. And thanks to the labels, it does not lose the stitching of capture frames even on simple, repeating geometry.
At the same time, the scanning area is enough for scanning small objects ( case No. 4 Cone ), and for relatively large ones ( case No. 3 Vase ). As you probably know ( by the way, we will talk about this in more detail in the next article on Calibry ), model Mini differs in cameras, a projector and electronics, this was done just to optimize work with small objects in addition to the base model Calibry, designed for large-scale scanning.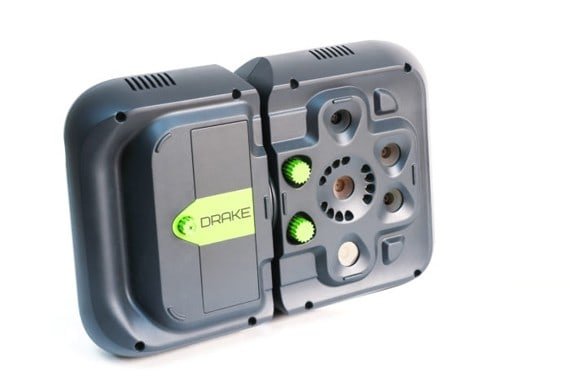
The main concern of buyers regarding the Mini model was the question of whether the replacement of cameras would worsen the detail and quality of the surface, and after extensive testing, we can safely say no. The quality remains the same and even slightly better.
Other materials dedicated to Thor3D scanners can be found at the links:
1) Comparative review of Einscan PRO handheld 3D scanners from Shining 3D and Calibry scanner from Thor3D
2)
And that's all we have! Thank you very much for reading, we hope the article was useful for you!
You can purchase Calibry 3D scanners or other CNC or 3D equipment and consumables, ask your question, or make an offer by contacting us:
• By phone: 8(800)775-86-69
• E-mail: [email protected]
• Or on our website: https://3dtool.ru/
Don't forget to subscribe to our YouTube channel :
Join our groups in social networks:
INSTAGRAM
VKontakte
Facebook
Compare Calibry 3D scanners.
 What is better Calibry or Calibry Mini?
Hello, friends! 3DTool is with you!
Thor3D, a well-known manufacturer of hand-held 3D scanners in Russia and the world, today offers two models of devices - hand-held 3D scanners Calibry and Calibry Mini. It's no secret that both scanners are built on a common platform and even look the same, but as always, the most significant differences are hidden under a beautiful white body. And if Calibry is positioned as designed to capture objects of medium size from 30 cm, then Calibry Mini is sharpened for digitizing small objects from 3 to 30 cm. What are the main differences, and how Calibry Mini has changed compared to its older brother, we will consider in this article .
General information
In one of our previous publications, we compared Calibry and a handheld scanner from Shining - Einscan Pro, by the way, you can read the comparison HERE. In that article, we examined Calibry itself in great detail, its P. O. and features, therefore, in this material we will not repeat ourselves, but will concentrate on the key differences between the models. By the way, Calibry came out then as a confident winner and showed itself well on test objects. He coped better with scanning a person in full growth, however, small objects were given to the brainchild of Thor3D with difficulty, nevertheless, the digital and "iron" filling of this hand-held 3D scanner is more designed to work with large objects. However, part of the camera lens turns out to be small things like interior tuning elements in cars, various technical devices, or art objects - vases, sculptures, dishes. How to be in this case? Especially for solving such problems, Thor 3D introduced to the market a version of its flagship, the Calibry Mini, modified to capture medium and small objects, beautifully solving the problem by dividing models according to specialization.
Let's take a quick look at both models, comparing their features and scanning capabilities, and highlighting the differences along the way.
Comparison of characteristics
Before starting the comparison, it is necessary to make a small reservation. Calibry is a closed platform and you won’t be able to get into the very “inside”, you will have to be content with open data about devices on the Internet and your own user experience. However, if it's important for our readers to know what's inside the scanner, the big positive response will perhaps lift the veil in one of the following materials! 😉 So let's get started.
Catalog of 3D scanners Thor3D
As usual, let's start with the most accessible - characteristics. Below is a comparative table of the main parameters of each of the models. For convenience, we have highlighted the different parameters.
As can be seen from the table, Calibry Mini has higher accuracy, higher scanning resolution and working distance to the object, while using blue structural illumination instead of white in its older brother, has a lower FPS (frame rate) and smaller field of view parameters . Well, this fairly reflects the market positioning of both models in the market, to quote the manufacturer's website:
Calibry 3D scanner
- professional,
- affordable,
- easy to use hummingbird" - this bird is known for its incredible speed and miniature size. Calibry is also consonant with the term "calibrated", which means "accurate".
Ibid., about younger brother:
3D Scanner Calibry Mini
- convenient and easy scanning of small objects
The Calibry Mini is a handheld 3D scanner designed to digitize small objects (2 to 30 cm long). Blue LEDs provide high quality data, and the built-in touch screen makes scanning easy. The device is light, reliable and easy to use.
From the characteristics and description, it can be indirectly assumed that Calibry Mini is better than its predecessor in everything except the maximum size of captured objects, but is it so? Let's check in practice.

Scanning process
To begin with, it should be noted that the two models easily work in tandem. Calibry Mini scan frames are fully compatible with the result of the base model, and you can combine them when working with large projects, for example, if you need to simultaneously scan a large object such as a CNC milling machine and capture its individual parts, a miniature working tool, or a control board.
As with the base model, the Calibry Mini has several operating modes. Capture with textures, capture without textures, as well as presets for various uses - for example, when scanning people or stationary objects.
Before scanning, the device must be calibrated using the tuning table. In terms of working with the program, scanners are no different. Except that the Calibry Nest itself has received several major updates since the release of the basic version.
We will use medium and small objects as an example. Let's start with the car's grille.
 Since the object has a monotonous and repeating geometry, it is difficult to use the geometry capture mode, so it is necessary to complicate the captured image in order to simplify the binding. Arrange objects around the grid - markers
 However, when overlapping scans, due to the reduced field of view, you have to set the matching points manually, and the scanner itself quite often loses its surface. In this case, it is better to use classic round markers so that the program has something to attach to automatically. By the way, pay attention to how the Calibry Mini coped with the black, non-matte, shiny and chrome surface.
Having expanded the labels, we resume scanning. In this mode, the device glues frames much more readily, and after a while we get a completely digestible point cloud, which we can work with further.
Through simple manipulations, the point cloud turns into a full-fledged 3D model. As you can see, the Mini handled the border-sized object quite easily, given the use of special marker marks.
The next item to scan was a screwdriver. Within the framework of this article, we will provide general photographs, more examples of Calibry scanning, including this subject, we considered in THIS article.
The screwdriver did not require any marks or special markers during scanning, its asymmetry in this case played into our hands.
In its raw form, a formalized point cloud turns into several different frames, the combination of which occurs either manually (when we select several identical points on the surface of an object), or automatically, depending on the selected mode. In the case of a screwdriver, Calibry Nest coped automatically, and it was possible to capture the object completely from one “pass” with the scanner to one side of the object.
Even without additional processing, the 3D model turned out well. Some flaws in the overexposure of the surface are visible, but this is solved by more competent adjustment of the brightness and contrast of the cameras.
Well, even these examples show that the Calibry Mini is more willing to work with smaller items. By the way, the blue illumination is more sparingly perceived by the eyes when scanning faces and Calibry Mini is readily used in medicine, facial plastic surgery when planning operations and, for example, when scanning the foot to create individual shoe insoles. The basic version of the device in this aspect loses unambiguously. Although completely capturing the figures of people is a pleasure and the detail in this case is no worse than more expensive analogues.
Summary
When comparing Calibry and Calibry Mini and deciding to buy one of them, you should consider that both devices differ primarily in the methods of use. Where the Mini has a smaller field of view to capture surface details more accurately, the Calibry complements it in scale, allowing you to capture large areas of objects at once and frame more efficiently. In the model line of the manufacturer, the devices complement each other and, answering the main question of the article, it is not entirely correct to compare them “In the forehead”.
Learn more


