3D printer banner
3d Banner - Etsy.de
Etsy is no longer supporting older versions of your web browser in order to ensure that user data remains secure. Please update to the latest version.
Take full advantage of our site features by enabling JavaScript.
Find something memorable, join a community doing good.
( 1,000+ relevant results, with Ads Sellers looking to grow their business and reach more interested buyers can use Etsy’s advertising platform to promote their items. You’ll see ad results based on factors like relevancy, and the amount sellers pay per click. Learn more. )
3d printing service horizontal banner set Vector Image
3d printing service horizontal banner set Vector Image- Royalty Free Vectors
- Printing Vectors
LicenseLearn More
Standard You can use the vector for personal and commercial purposes. Expanded You can use the vector on items for resale and print-on-demand.The license type determines how you can use this image.
| Std. | Exp. | |
|---|---|---|
| Print / Editorial | ||
| Graphic Design | ||
| Web Design | ||
| Social Media | ||
| Edit & Modify | ||
| Multi-user | ||
| Resale Items | ||
| Print on Demand |
Ways to BuyCompare
Pay-per-Image $14. 99 Credits $1.00 Subscription $0.69
 There are three ways to pay for Standard licenses. Prices are $USD.
| Pay with | Image Price |
|---|---|
| Pay-per-Image $14.99 One-time payment | |
| Pre-paid Credits $1 Download images on-demand (1 credit = $1). Minimum purchase of 30. | |
Subscription Plan From 69¢ Choose a monthly plan. Unused downloads automatically roll into following month. | |
Ways to BuyCompare
Pay-per-Image $39.99 Credits $30.00There are two ways to pay for Expanded licenses. Prices are $USD.
| Pay with | Cost per Image |
|---|---|
| Pay-per-Image $39.99 One-off payment, no signup needed. | |
| Pre-paid Credits $30 Download images on-demand (1 credit = $1). | |
Extra ServicesLearn More
Customize image Only available with Pay-per-Image $85. 00
00 Love the image but just need a few modifications? Let our talented artists do the work for you!
We’ll connect you with a designer who can make updates and send you the artwork in a format of your choice.
Examples
- Change the text
- Modify colors
- Resize to new dimensions
- Include logo or symbol
- Add your company or business name
Files Included
Loading Details...
-
- Image ID
- 18095256
-
- Color Mode
- RGB
-
- Artist
- siberianart
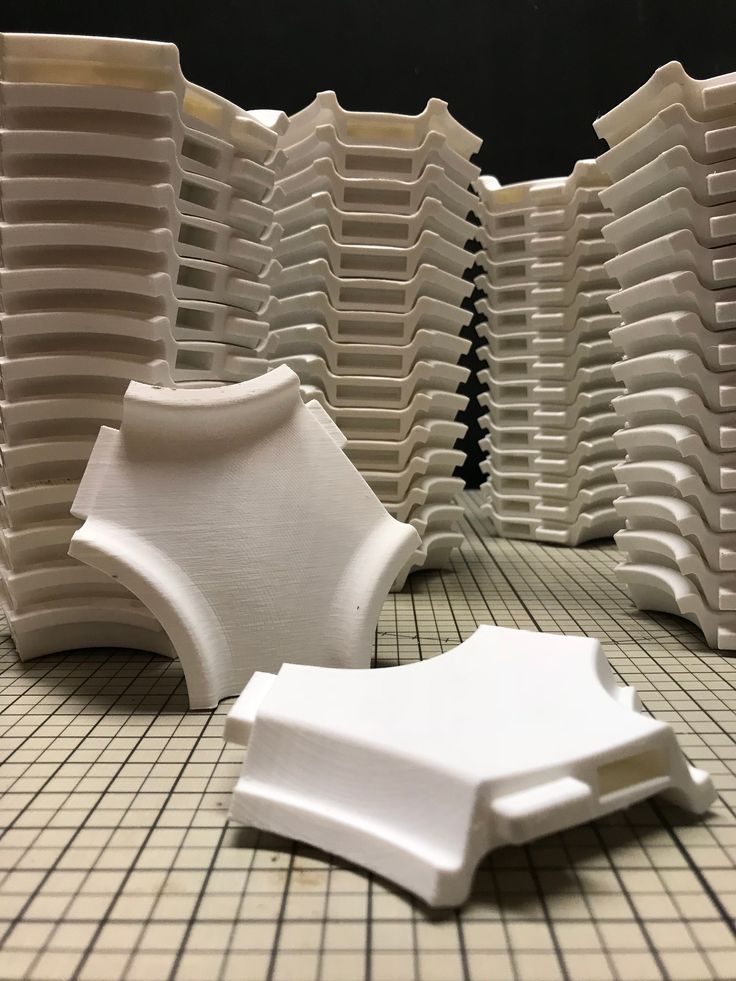
Printing products on a 3D printer
A 3D printer is a modern device with which you can create three-dimensional objects modeled on a computer. These can be toys, souvenirs, cases and cases, spare parts, models and prototypes, designer items and jewelry.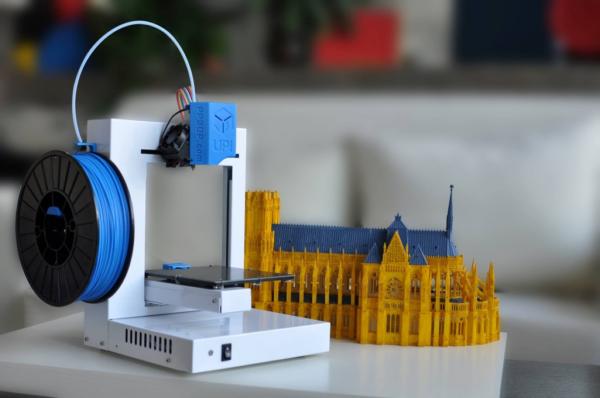 In general, there are no restrictions, and therefore it is simply impossible to list everything. Printing products on a 3D printer is an exciting activity that can become a hobby or be used in professional activities, studies and just in everyday life. You can even make a business out of it, because the possibilities are really unlimited.
Technologies and materials for 3D printing
3D printing is a general concept that hides a large number of technologies. Among the most popular are:
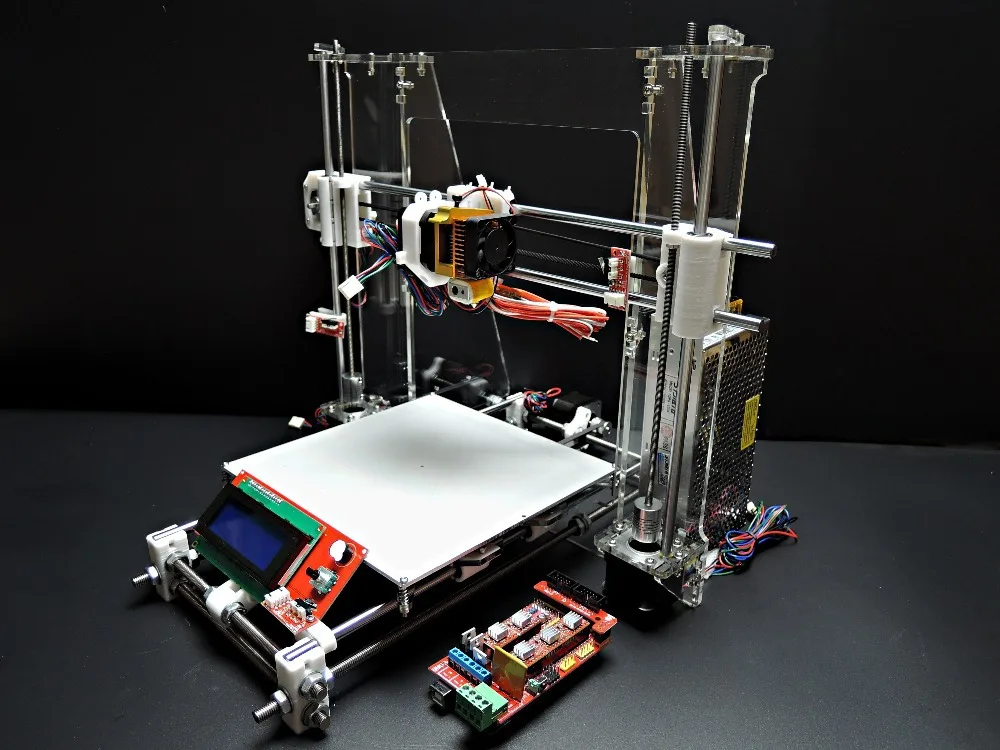
- FDM - 3D printing by melting a plastic thread and applying it in layers, according to a given mathematical model;
- SLA - laser stereolithography, involves the impact of a laser beam on a photopolymer resin;
- DLP - effect of ultraviolet cure on photopolymer;
- SLM - selective laser melting - printing with metals is possible, for which special powders are used;
- SLS - selective laser sintering - printing with powdered plastics or metals;
- LOM - lamination - 3D printing with plain paper, even color printing is possible;
- 3D inkjet printing with dyeing and powder bonding, for which gypsum polymer is most often used.
These are not all possible options, but the choice is already impressive. Differences in technologies are not only in the choice of consumables, but also in the quality of products, the possibility of color printing and areas of application.
Stages of 3D printing
First you need to decide on the equipment and technology, as well as the main consumables. For example, if you need to print on an FDM printer, then the quality and models will be the same. And a completely different result is expected when printing on photopolymer 3D printers.
The first stage is the creation of the model. In principle, you can download a finished model, or you can model something of your own in special programs for 3D modeling. When the model is ready, it is subjected to "slicing" carried out by special slicer programs. This is necessary, since any 3D printer creates a model in layers, as if growing it. And the overall quality of the model will depend on the thickness of this layer.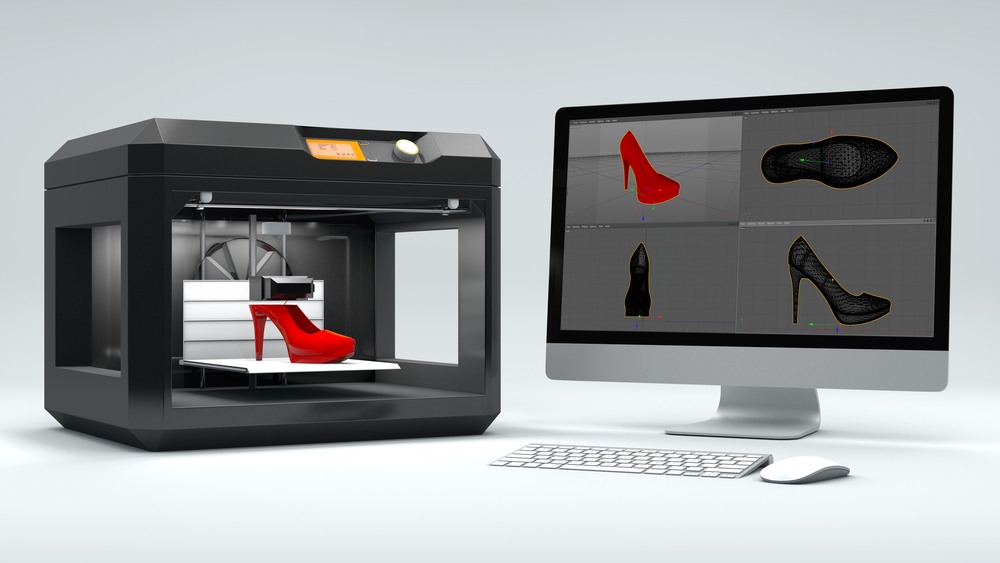 It is clear that the thinner the layer, the more monolithic the model is obtained.
An important point, in a number of technologies for 3D printing of complex and overhanging parts, it is necessary to form supports - special structures that act as supports during printing. They can be printed both from the base material and from a special one, which subsequently dissolves easily.
The model is then printed layer by layer. After completion, the finished product is processed. It involves the removal of supports, smoothing the surface, curing for curing, polishing, painting and other manipulations.
What can be printed on a 3D printer?
In many ways, the possibilities of 3D printing will be determined by technology. Some even allow you to print already assembled mechanisms with moving parts. In general, 3D printing is used very widely and products can be very diverse:
- toys, souvenirs, figurines;
- crockery, vases, decorative items;
- jewellery, bijouterie and prototypes thereof, molds for casting jewellery;
- dentures, surgical templates, dental models, mouthguards and aligners, etc.
 ;
; - earmoulds for hearing aids, plastic surgery items;
- precise surgical planning models, customized prostheses;
- product prototypes and injection moulds;
- architectural and landscape models;
- furniture, clothing, footwear, individual orthopedic insoles;
- phone cases, cases and parts of household appliances;
- unique parts for engineering, aerospace and more
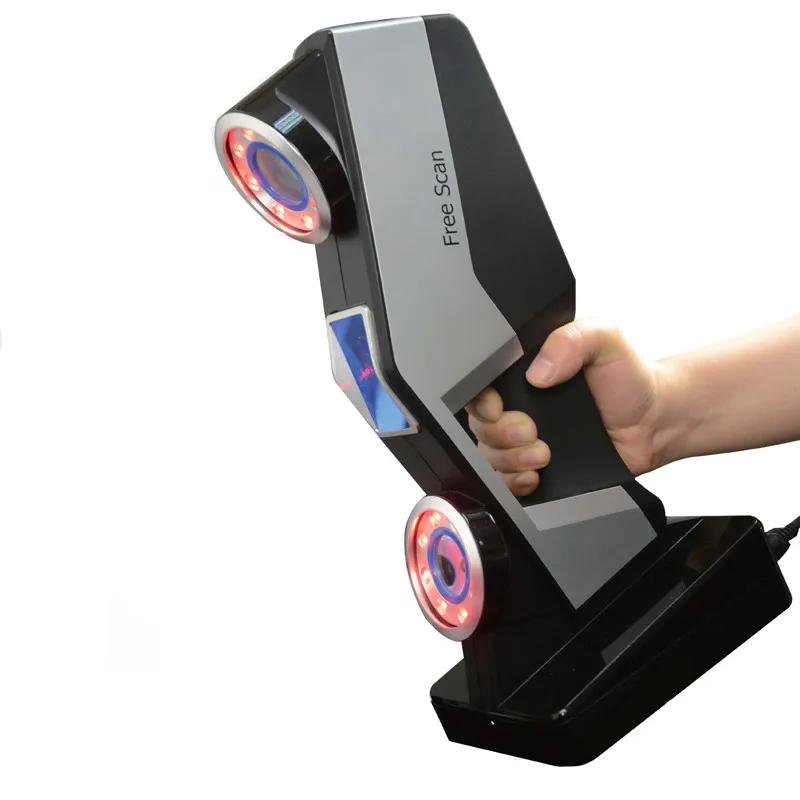
Many people use 3D printing to start a small business, that is, they carry out 3D printing on order. This is a great opportunity. However, there are also more interesting start-ups – the creation of unique jewelry, the printing of figurines based on photographs and 3D scanning data, the printing of unique cases for mobile phones. And that's not all, because 3D printing has not yet exhausted all its "unexplored depths", and this is exactly the "ocean" of possibilities that you should plunge into!
Go to 3D printing services
SLA Technology.
 How SLA 3D printing works.
 Hello everyone, 3DTool is with you!
Today we will look at the basic principles of the SLA technology. After reading this article, you will understand the main points of the printing process using this technology, the advantages and disadvantages of this method 3D printing .
On our website, you can find a list of 3D printers working on technology SLA , at this link: Catalog of 3D printers printing using SLA / DLP technology
Technology 3 D printing SLA
Stereolithography (SLA) is an additive manufacturing process that achieves its result by means of resin polymerization. In the SLA print, the object is created by selectively curing a polymer resin, layer by layer, using an ultraviolet (UV) laser beam. The materials used in SLA printing are photosensitive thermoset polymers that are available in liquid form.
SLA is known as the first 3D printing technology : its inventor patented this technology back in 1986 . When you need to print parts with very high precision or a smooth surface, the SLA comes to the rescue. In this case, it is the most cost-effective and efficient technology 3D printing . The best results can be achieved only if the operator of the equipment on which the printing process takes place is familiar with the technology and some of the nuances. That is, he has the necessary qualifications.
SLA shares many characteristics with Direct Light Processing (DLP ), another photopolymerization technology. For simplicity, both technologies can be considered equal.
SLA printing process
Here's how the process works:
1) 2) 3)
1) A platform is placed in the tank with liquid photopolymer, at the same height from the resin surface.
2) Then the UV laser selectively cures the required areas of the photopolymer resin according to a predetermined algorithm.
The laser beam is focused on a given path using a set of mirrors called galvos. Then the entire cross-sectional area of the model is illuminated. Therefore, the resulting part is completely solid.
3) When one layer is finished, the platform moves to a safe distance and the mixing foot inside the tub mixes the resin.
This process is repeated until the part is printed. After printing, the part is not fully cured and requires further post-processing under the UV lamp . At the end of UV illumination, the part acquires very high mechanical and thermal properties.
The liquid resin solidifies through a process called photopolymerization: during solidification, the monomer carbon chains that make up the liquid resin are activated by an ultraviolet laser and become solid, creating strong, inextricable bonds with each other.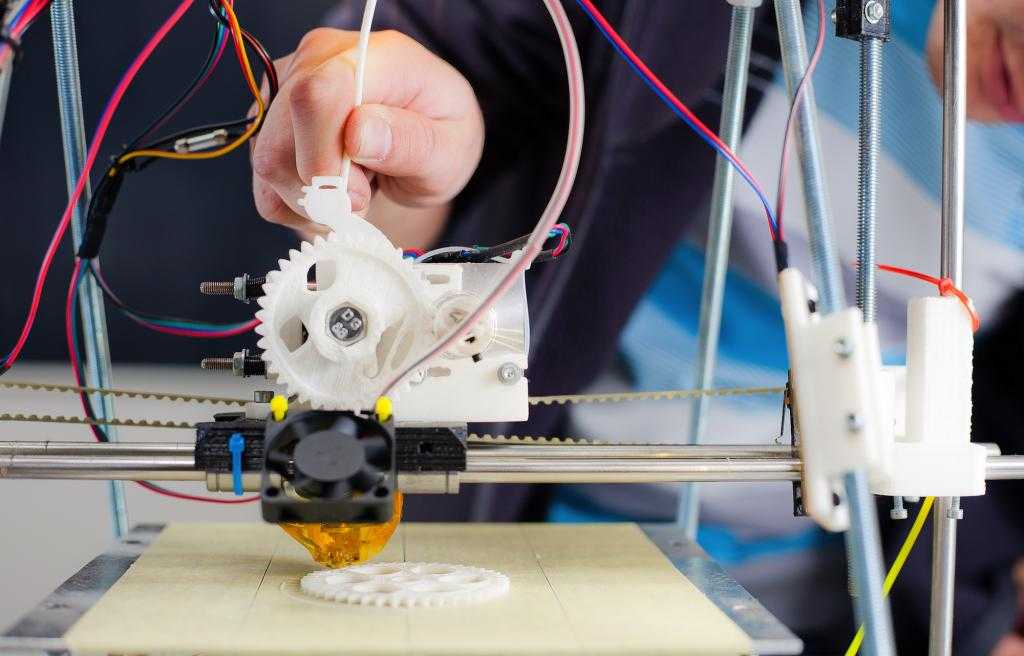
The photopolymerization process is irreversible, and there is no way to convert the resulting parts back into a liquid state. When heated, they will burn, not melt. This is because the materials that are produced by the SLA technology are made from thermoset polymers, as opposed to the thermoplastics that FDM uses.
Worksheet SLA printer
Printer features SLA
On SLA systems, most print settings are set by the manufacturer and cannot be changed. The only inputs are the layer height and the part orientation ( last, locates the supports ).
The typical layer height in the SLA print ranges from 25 to 100 micron .
The lower the layer height, the more accurately the complex geometry of the model will be printed, but at the same time the printing time and the likelihood of failure will increase. The layer height of 100 microns is suitable for most common geometries and is the golden mean.
Another important parameter for the operator is the size of the platform. It depends on the type of SLA printer. There are two main types: orientation top to bottom and orientation from bottom to top .
In the first case, the laser is above the tank, and the part is face up. The platform sits at the very top of the resin vat and moves down after each layer is sintered.
Schematic SLA top-down printer
In the " bottom up " pattern on the SLA printer , the light source is placed under the resin tank (see picture above) and the part is built upside down.
The tank has a transparent bottom with a silicone coating that allows the beam of light to pass through but prevents the cured resin from sticking. After each layer, the cured resin separates from the bottom of the tank as the platform moves up. This is called the sintering step.
Schematic SLA bottom-up printer
The " bottom to top " orientation is mostly used in desktop printers such as Formlabs. The " top - down " orientation is used in the industrial SLA printer .
Printers SLA " bottom up " are easier to manufacture and operate, but the size of the possible print will be smaller, since the forces applied to the part during the sintering stage can cause printing to fail.
Top-down printers, on the other hand, can print very large parts without much loss in accuracy. The wide possibilities of such systems naturally cost more.
The following are the main characteristics and differences between the two orientations:
| "From top to bottom " | |
| Pros: | |
| lower cost | |
| Wide market availability | |
| Minuses: | |
| Small platform size | |
| Smaller range of materials | |
| Requires additional post-processing due to extensive use of supports | |
Popular brands:
FORMLABS
Printable size: Up to 145 x 145 x 175 mm
Typical layer height and print accuracy: 25 to 100 µm and ± 0. 5% (lower limit: ± 0.010 to 0.250 mm) respectively
| "Upwards" | |
| Pros: | |
| Very large platform | |
| Faster Print Time | |
| Minuses: | |
| High price | |
| Qualified operator required | |
| Material change involves emptying the entire tank | |
Popular brands:
PRISMLAB
Print area size: Up to 1500 x 750 x 500 mm
Typical layer height and print accuracy: 25 to 150 µm and ± 0.15% (lower limit ± 0.010 to 0.030 mm) respectively
Support during printing 3 D
Supports are always required at Print SLA .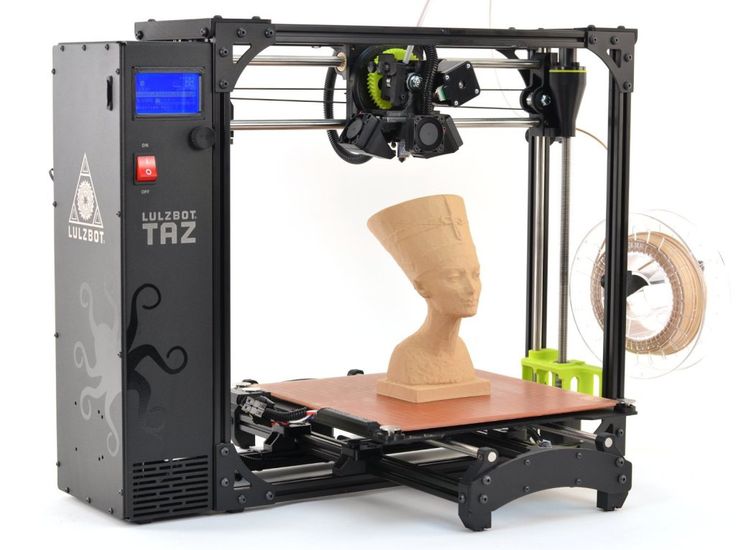 Structural structures are printed from the same material as the part and must be manually removed after printing.
Part orientation determines the location and amount of supports. It is recommended that the part be oriented so that surfaces that require maximum quality do not come into contact with supports.
In different types of SLA printers, support is used in different ways:
For top - down printers , support requirements are the same as FDM . They are essential for accurate printing of overhangs and bridges ( the critical overhang angle is typically 30 degrees ).
The part can be oriented in any position and is usually printed flat to minimize the number of supports and the total number of layers.
In printers like " from bottom to top " everything is more complicated. Overhangs and bridges also need to be supported, but minimizing the cross-sectional area of each layer is the most important criterion.
Forces applied to the part during the sintering step can cause it to come off the platform. These forces are proportional to the cross-sectional area of each layer.
For this reason, the parts must be oriented at an angle, and minimizing supports here is not a primary concern.
On the left - a detail oriented on the SLA printer "from top to bottom" (support minimization).
On the right is a part oriented on the SLA printer "from the bottom up" (minimizing the cross-sectional area).
Removing supports for an SLA printed part
Curl
One of the biggest problems with the accuracy of parts made with SLA is twisting. This problem is similar to the deformation in FDM when materials shrink.
During curing, the resin shrinks slightly when exposed to the printer's light source. When shrinkage is significant, large internal stresses develop between the new layer and the previously cured material, causing the part to twist.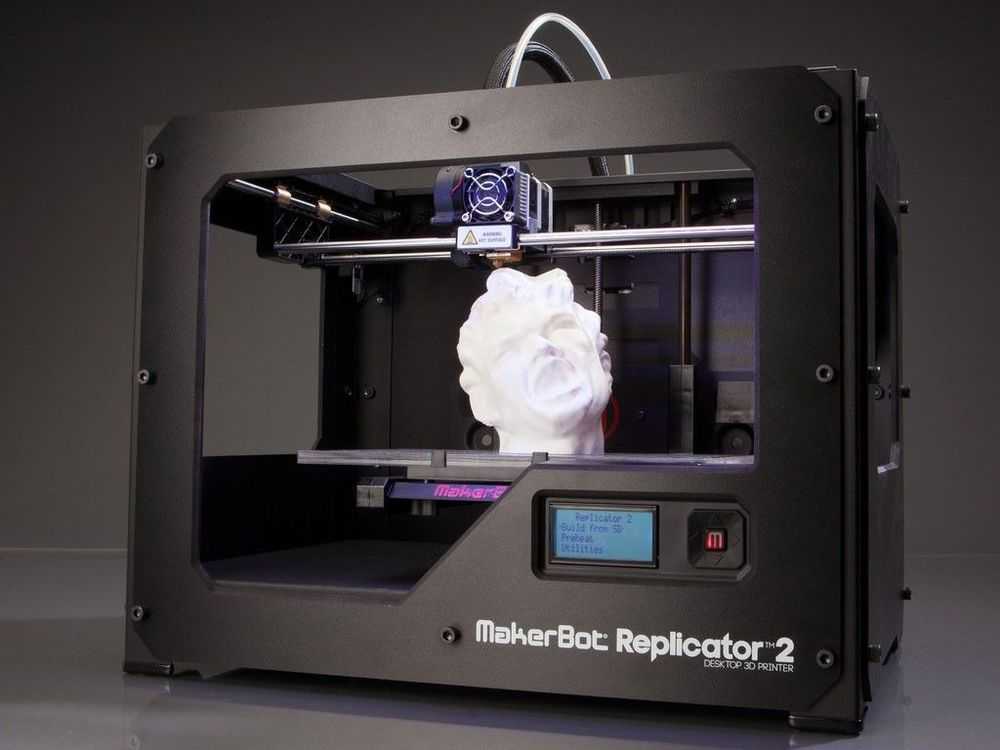
Adhesion (sintering) between layers
SLA printed parts have isotropic mechanical properties. This is due to the fact that one pass UV beam is not enough to completely cure the liquid resin.
Further passes help the previously hardened layers to fuse together. In fact, in the SLA of printing, curing continues even after the printing process is complete.
To achieve the best mechanical properties, parts printed using this technology should be post-cured by placing them in a chamber under intense ultraviolet radiation ( and sometimes at elevated temperatures ).
This greatly increases the hardness and heat resistance of SLA , but does not make it stronger. Rather the opposite.
For example.
Test specimens printed with standard clear resin on a SLA desktop printer have, after curing, almost 2 times the tensile strength of ( 65 MPa compared to 38 MPa).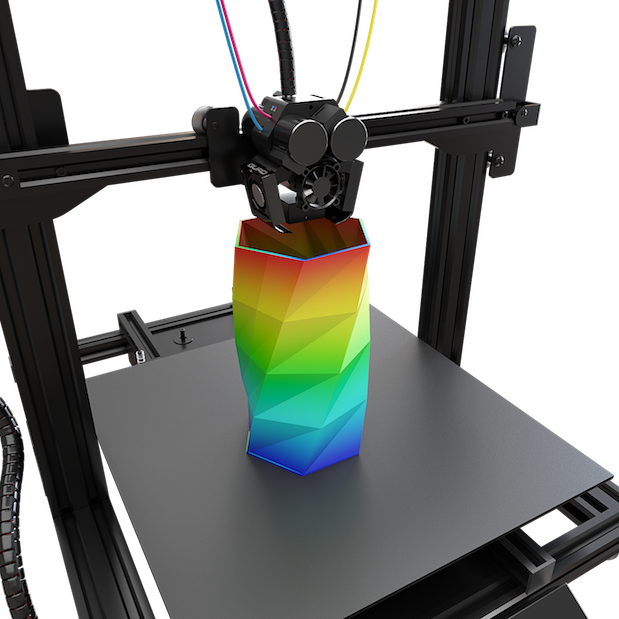
Can operate under load at higher temperatures ( 58 degrees Celsius, compared to 42 degrees ), but their elongation at break is half as much ( 6.2% compared to 12% ).
If you leave the part in the sun, then nothing good will come of it.
Prolonged exposure to ultraviolet radiation has a detrimental effect on physical properties and appearance. The part may curl, become very brittle, and change color.
For this reason, before using the part, it is recommended to apply a spray of transparent acrylic paint resistant to UV .
SLA media
Materials for SLA printing are available in the form of liquid resin. The price per liter of resin varies greatly - ranges from $50 for standard material to $400 for specialty materials such as casting or dental resin.
Industrial systems offer a wider range of materials than desktop systems SLA printers that give the designer more control over the mechanical properties of the printed part.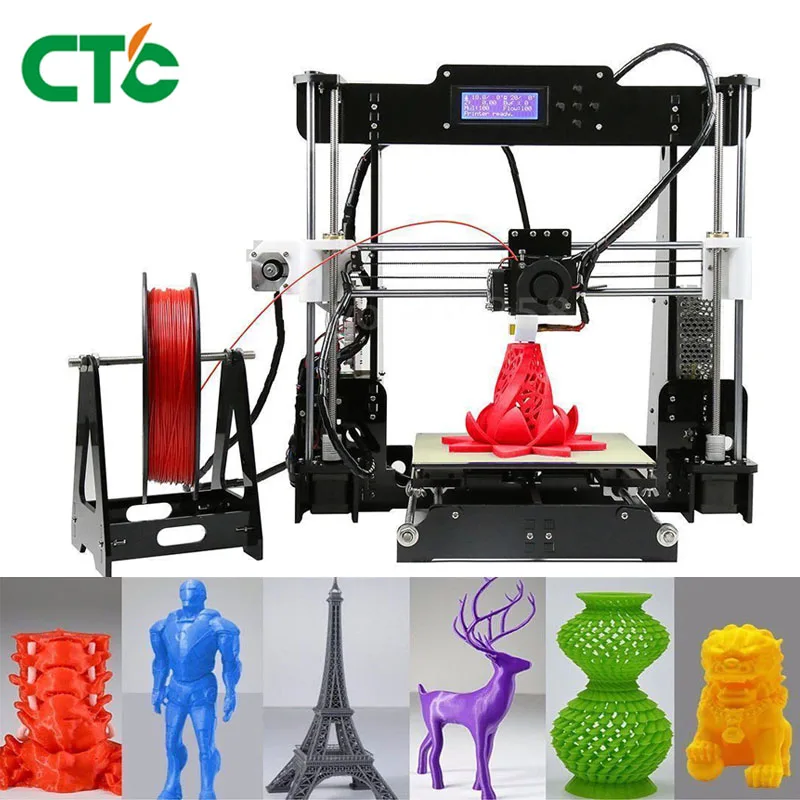
SLA materials ( thermosets ) are more brittle than materials made using FDM or SLS ( thermoplastics ) and for this reason SLA parts are not typically used for functional prototypes that will be subjected to significant stress. However, new advances in materials development may change this in the near future.
The following table lists the advantages and disadvantages of the most commonly used resins:
| Material | Features |
| Standard resin | + Smooth surface Relatively fragile part |
| transparent resin | + Transparent material - Requires post-processing for Presentable appearance |
| casting resin | + Used to create mold templates + Low ash after burnout |
| Rigid or durable resin | + ABS-like or PP-like mechanical properties - Low thermal resistance |
| High temperature resin | + High temperature resistance + Used for injection molding · - High price |
| dental resin | + Biocompatible + High abrasion resistance · - High price |
| Rubber-like resin | + Rubber-like material - Poor printing accuracy |
Post-processing SLA 3D printing
Parts printed with SLA technology can be processed to a high quality using various methods such as sanding and polishing, staining and mineral oil treatment.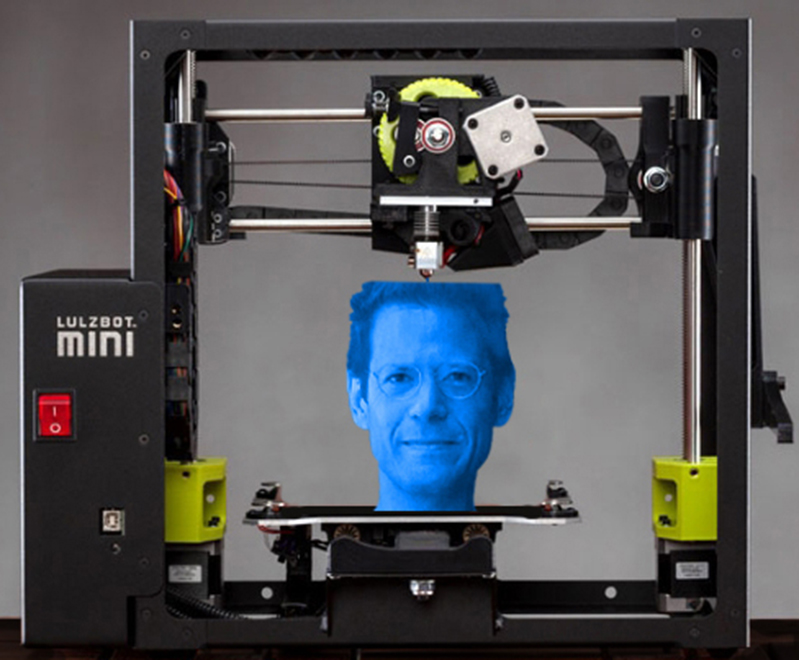 Widely developed articles about post-processing can be found on the Internet.
Transparent resin housing cover for electronics in various finishes. From left to right: removal of the main support, wet sanding, UV irradiation, acrylic and polishing
Advantages and disadvantages of SLA
Pros:
-
SLA 3D printers can produce parts with very high dimensional accuracy and complex geometries.
-
The parts will have a very smooth surface, making them ideal for visual prototypes, for example.
-
Special materials are available such as clear, flexible and cast resins.
Cons:
-
Parts printed using SLA technology tend to be fragile and not suitable for functional prototypes.
-
The mechanical properties and appearance of these parts deteriorate over time.
 They are adversely affected by exposure to sunlight.
 -
Supports and post-processing when printing are always required.
The main characteristics of the SLA are shown in the table:
materials
Photopolymer resins (thermosetting
materials)
Dimensional accuracy
± 0.5% (lower limit: ± 0.10 mm) - domestic
± 0.15% (lower limit ± 0.01 mm) - industrial
typical size
print area
Up to 145 x 145 x 175 mm - for desktop printers
Up to 1500 x 750 x 500 mm - for industrial
Total layer thickness
25 - 100 µm
Support
Always required
(Needed to make an accurate part)
Total
-
SLA print is best for producing visual prototypes with a very smooth surface and very fine detail.
Learn more