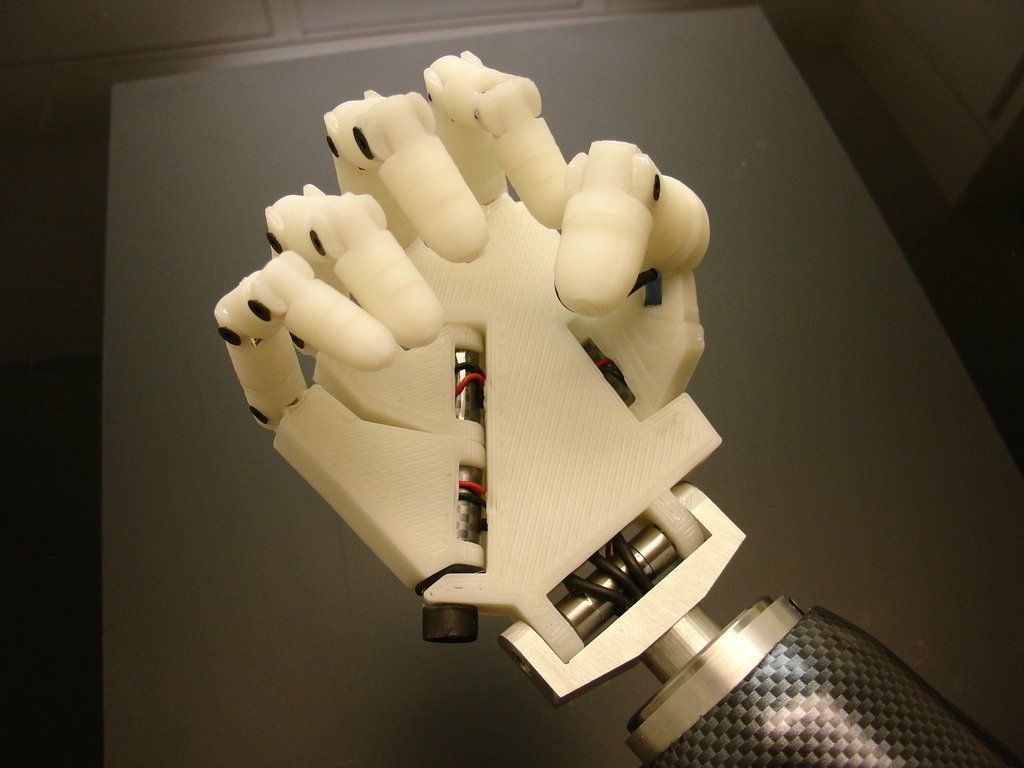
Proteus 3d printer
Products – Proteus 3D Modelling
Skip to content
This is where you can add new products to your store.
-
Quick View
-
Quick View
- £5.00
- 1 x Cradle Baby miniature resin 3d printed These miniatures are perfect for Wargaming, Table Top RPGs, or Dioramas! These figures are in Star Wars Legion Scale; however, these are more realistically proportioned figures that may appear slightly smaller next to Heroic (FFG) proportioned figures of same scale.
- View product
-
-
Quick View
-
Quick View
- £9.00
- Dropship pilot 3d printed in resin and comes with a named base(25mm dia) Suitable for GF9 Please enquire for Prodos scale.
- View product
-
-
Quick View
-
Quick View
- £4.00
- 1x Soup Baby miniature 3d printed in resin. These miniatures are perfect for Wargaming, Table Top RPGs, or Dioramas! These figures are in Star Wars Legion Scale; however, these are more realistically proportioned figures that may appear slightly smaller next to Heroic (FFG) proportioned figures of same scale.
- View product
-
-
Quick View
-
Quick View
- £11.00
- Chief weapons officer w/ hand truck 3d resin printed figure with named base. Suitable for GF9. Please enquire if Prodos scale required.
- View product
-
-
Quick View
-
Quick View
- £9.
 00
00 - Bandana Marine resin 3d printed. comes with Micha grid base resin printed. Suitable for GF9 If you require Prodos size please contact us.
- View product
-
-
Quick View
-
Quick View
- £45.00
- The Spacetruckers crew set includes 8 x resin 3d printed figures(not painted). Captain XO 3rd Officer (with unarmed Detonation box objective marker) Chief Engineer Pilot Engineering Technician Science officer. "Large Stowaway” 45mm high resin 3d printed with a clear resin carapace (removable). Also includes a Ship's Cat. Resin bases included for all models.( 2 packs of Micha`s Industrial bases 10 in total).
- View product
-
-
Quick View
-
Quick View
- £26.
 00
00 - 4 x Rough Rider Squad miniatures, 3d resin printed. 1x Rough Rider Brute 1x Rough Rider Tech 1x Rough Rider Sniper 1x Rough Rider Leader These miniatures are perfect for Wargaming, Table Top RPGs, or Dioramas! These figures are in Star Wars Legion Scale; however, these are more realistically proportioned figures that may appear slightly smaller next to Heroic (FFG) proportioned figures of same scale.
- View product
-
-
Quick View
-
Quick View
- £24.00
- Here it is folks, the Duel that started a whole saga. 3 miniatures bundle printed in 3d resin. These miniatures are perfect for Wargaming, Table Top RPGs, or Dioramas! These figures are in Star Wars Legion Scale; however, these are more realistically proportioned figures that may appear slightly smaller next to Heroic (FFG) proportioned figures of same scale.
 These miniatures were expertly designed and sculpted by SkullForge Studios. I am an authorized printer of these miniatures. These miniatures are completely unofficial, and its contents are in no way endorsed, or affiliated with Disney or Lucasarts.
 - View product
-
-
Quick View
-
Quick View
- £9.00
- 1 x Veteran Mercenary miniature resin 3d printed. These miniatures are perfect for Wargaming, Table Top RPGs, or Dioramas! These figures are in Star Wars Legion Scale; however, these are more realistically proportioned figures that may appear slightly smaller next to Heroic (FFG) proportioned figures of same scale.
- View product
-
-
Quick View
-
Quick View
- £9.
 00
00 - Righteous Sage Miniature (2 styles available - Double Blades or Single w/Poncho) 3d printed in resin and come unpainted. This listing is the Double blade miniature. Single blade and Cloak available in another listing. These miniatures are perfect for Wargaming, Table Top RPGs, or Dioramas! These figures are in Star Wars Legion Scale; however, these are more realistically proportioned figures that may appear slightly smaller next to Heroic (FFG) proportioned figures of same scale.
- View product
-
-
Quick View
-
Quick View
- £10.00
- Set of 5 Facecrab female victims, 3d resin printed.
- View product
-
-
Quick View
-
Quick View
- £15.
 00
00 - 2 x miniature bundle 3d printed in resin. 1x Operator Leader 1x Big gun Operator These miniatures are perfect for Wargaming, Table Top RPGs, or Dioramas!
- View product
-
Close Menu
This website uses cookies to improve your experience. We'll assume you're ok with this, but you can opt-out if you wish. Cookie settingsACCEPT
Original Prusa 3D printers directly from Josef Prusa
Our 3D Printers
Price quote request
Are you considering Original Prusa 3D printers for your classroom, school, library, university or maker space?
Our specialists are here to assist you throughout the whole buying and information-gathering process. To get in touch with us, please fill out the form below and we will take it from there.
Contact us
Bestsellers
Original Prusa i3 MK3S+ kit
Leadtime 1–2 weeks
€849 with VAT
Choose variant
Original Prusa i3 MK3S+ 3D printer
Leadtime 1–2 weeks
€1,159 with VAT
Choose variant
Prusament PETG Prusa Galaxy Black 1kg
In stock
€29.
 99 with VAT
Double-sided Textured PEI Powder-coated Spring Steel Sheet
In stock
€39.99 with VAT
Original Prusa MINI+ Semi-assembled 3D Printer
Leadtime 1–2 weeks
€489 with VAT
Choose variant
Prusament PETG Prusa Orange 1kg
In stock
€29.99 with VAT
Prusament PETG Jet Black 1kg
In stock
€29.99 with VAT
SuperPINDA
In stock
€25.99 with VAT
Spring Steel Sheet With Smooth Double-sided PEI
In stock
€34.99 with VAT
Prusament ASA Sapphire Blue 850g
In stock
€29.99 with VAT
Prusament ASA Lipstick Red 850g
In stock
€29.99 with VAT
Prusament PLA Blend Pearl White 970g
In stock
€29.
 99 with VAT
Hello, we are Prusa Research!
And we make more than just amazing 3D printers!
Read our story
Prusa Services
Printables.com
Discover thousands of great printable 3D models
Downloads
Get the latest firmware and apps
Forum
Discuss 3D printing topics with the community
Prusament
Affordable filament for everyday printing in premium quality
Help
Assembly and troubleshooting guides, technical documentation
Blog
3D printing highlights, tips and interviews all in one place
E-Book: Basics of 3D Printing
This book will help you understand what kinds of 3D printing technologies are currently available and how they work. We will take you through the whole process of 3D printing.
I don’t agree with subscribing to newsletterand I want to buy the e-book for 5 USD / 5 EUR.
News from the blog
Our printers continue to collect great reviews and awards all around the world. Original Prusa i3 MK3/S is the best 3D Printer in the Ultimate Guide to Digital Fabrication by MAKE: Magazine and our printers also received several editor's choices and awards from respected media outlets like All3DP, PC Mag, Tom's Hardware, TechRadar, Forbes, WireCutter, Windows Central and many more!
When we weigh up the price, performance, reliability and overall product, it is highly recommended for most people to purchase because it does things so well.
– 3D Printerly ReviewThe preassembled version of the Original Prusa i3 MK3S is a cinch to get up and running, is easy to operate, and has a good slicing program. It produced consistently beautiful prints in our testing, with no misprints.
– PC Mag Review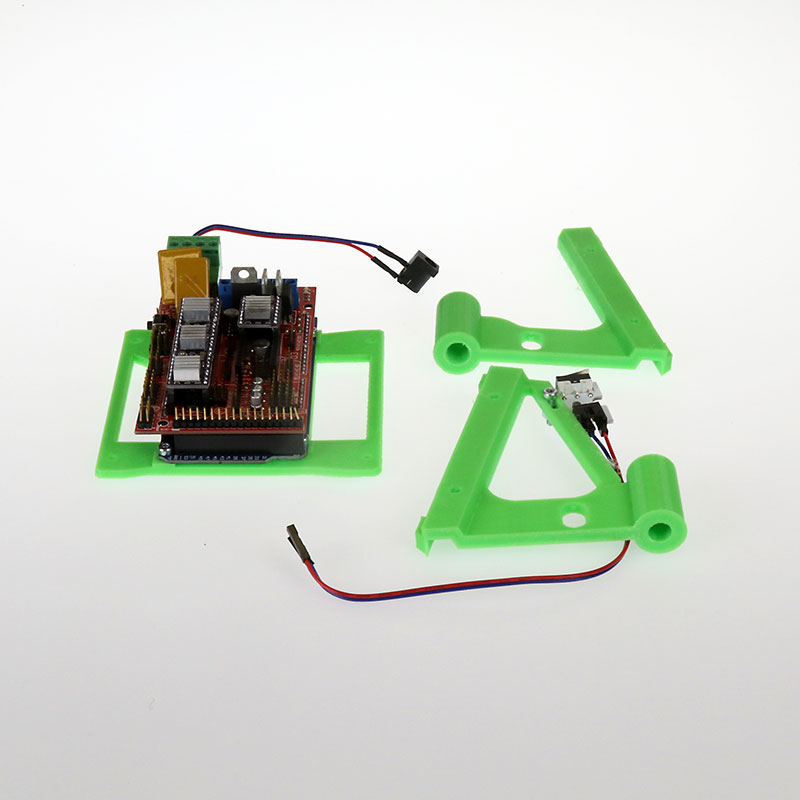
Of the 11 printers we have tested over the past five years, the Prusa i3 MK3S printer has produced the largest and best-looking prints.
– THE NEW YORK TIMES REVIEWWe tested it using its default settings and found it extremely capable. Its print quality is truly exceptional and it’s an easy-to-use, straightforward machine.
– All3DP MK3S ReviewThe team at Prusa Research have made something special with the MK3. If you only ever own one printer, make it this one. Of course, once you buy it you will want more of them, and that's ok too.
– Windows Central ReviewIt is the most well-made resin printer that I have and it objectively produces the best prints.
– The Prusa SL1S redefines SPEED!
Advanced printer auto shutdown.
Beaver to all.
I must say right away that I made the circuit and the sketch for the Lerdge board (s), but I think it will not be difficult to remake the sketch for others, but most likely the shutdown signal will be the same on all control boards.
After buying my first drygost and building a camera for it from Ikeev tables, the topic of switching off began to strain, when I was building it, I thought, I’ll make it control the camera from above, I’ll place all the bells and whistles there, with the advent of some time, I realized not to cook porridge with the drygost the chamber needs to be changed and the printer as a whole needs to be changed. Assembled Z-Bolt Plus stuck a more serious control board. And in a fit of creative passion, he twisted the throat of the thermal barrier to his “bolt”, ordered a new one, and while he rushes from the heavenly realm, right from the hands of a sensitive, attentive, but very slow uncle Liao. I decided not to dig into the guts of the printer.
At first I made a board with a button and a switch, in the end I didn’t even connect it, I don’t like it, I switched it here, I pressed it there. I decided I needed a trigger, I drew a circuit for the NE555, I played in the proteus and that was it. I do not have a circuit engineering education, but in general electronics for me, I took a ready-made circuit and assembled it.
Google did not find anything ready. I set a task for myself, 1 button turns it on and off, but at the same time there should be a shutdown function from the printer control board, protection against accidental pressing (to turn on / off you need to hold the button for 2 seconds). I poked around the gas covers and found the ATtiny85. On the net, I found a very interesting Digispark project, it suited my purposes in a chic way, I don’t know how to write programs in atmel studio, only arduino and crooked code. Digispark is just a tint crossed with arduino IDE Digispark scheme:
It remains to hang a harness on the tinka's legs, the following scheme turned out:
Let's get started.
There are detailed instructions for creating Digispark HERE
We sew bootloader into a tinka
Firmware HERE, and I also duplicated it in the archive.
!!!!Fuses!!!! (you need to be very careful with them, you can easily get a brick instead of a tint):
Extended: 0xFE
High: 0xDD
Low: 0xE1
Once upon a time I made myself an AVR STK500 by Petka programmer and several adapters, this one is very convenient for SOIC cases:
, because I did it first with a linear stabilizer 78L05 in a SO-8 package, but it worked with the relay turned on at the limit of its capabilities 100mA warmed up, for the article I changed the circuit a little only by changing 78L05 to the D2PAK package, it will be more serious.
We solder everything related to Digispark, namely D1, D2, D3, R1, R2, R3, C1, U1, and you will also need LED1, LED3, R4, R9. We are baptized and connect to the computer. If you flashed and soldered everything correctly, the Digispark Bootloader device should appear in the device manager. After installing the drivers that are HERE, namely DigisparkArduino-Win32-1.0.4-March39. zip, such a device should appear, it will “blink” periodically in the device manager, this is normal, the bootloader is trying to launch a program that is not yet in the tin .
Next, configure the ARDUINO IDE, enter:
File >> Settings >> “Additional links for the board manager” http://digistump.com/package_digistump_index.json
Select Digispark board
and programmer
Fill in the sketch.
After the sketch is uploaded, about 1-2 seconds will pass and LED3 should start glowing from bright to almost off (blue in the picture). The libusb device will disappear from the task manager, and Windows may start swearing that an unknown device is connected, as it should be.
We solder the rest of the elements, PC817 can be in a dip case, I just bent the legs in such a way that they would stand on the SMD pads, bit off the excess. The optocoupler itself is very popular, it is found everywhere, most of the switching power supplies have it, you can dismantle it or buy it, I dropped it out of a broken uninterruptible power supply, there were 3 of them.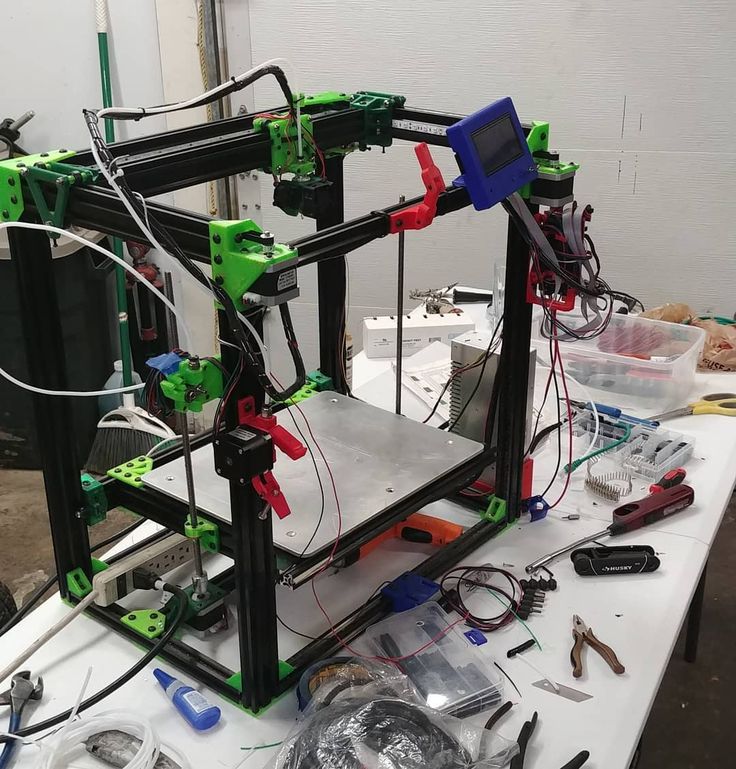 Or it costs mere pennies to buy.
The rest of the loose powder can also be obtained from power supplies and other old unnecessary equipment, but it's better to just buy it). We connect the button and supply power again. We hold the button, the relay should click and LED2 (red) will light up.
if you hold it for 2 more seconds, the relay will turn off and LED2 will go out, it will start again PWM LED3 from bright to dim and back.
Think about the 5v on duty, I gutted the old charger from NOKIA
Disconnect the printer from the 220v network!!!!
We connect 220v from the power supply of the auto switch in parallel to the printer's power connector. We break one wire that goes to power the printer (I have a broken white wire)
connect both contacts to the 220V 50HZ connector
!!!(be very careful, 220 is not a toy, it can end harshly)!!!
Connect the button to connector X6 (Button), external LED, if needed, to X5 (Stand-by), connect + - from the power supply unit to the connector (Power). And finally, I made a switch for my Lerdge board, it has a “power management” connector when the signal line is in a low state, the board is on, when it’s time to turn off in a high state, unfortunately, I don’t have other boards for testing.
Done.
There are two free legs left in the tin, if there are interesting offers, you can hang something on them, places with an excess of about 4.5kb, 2kb were eaten by the loader and 1.3kb by my crooked code.
ARCHIVE
Good luck.
3D printing will pave the way for a new era in the design and combination of optical materials.
A new method for 3D printing chalcogenide glass could lead to a revolutionary breakthrough in the production of infrared optical components at a low cost.
A team of researchers from the Center for Optics Photonique et Laser (COPL) at Laval University (Quebec, QC, Canada) has created a 3D printed chalcogenide glass.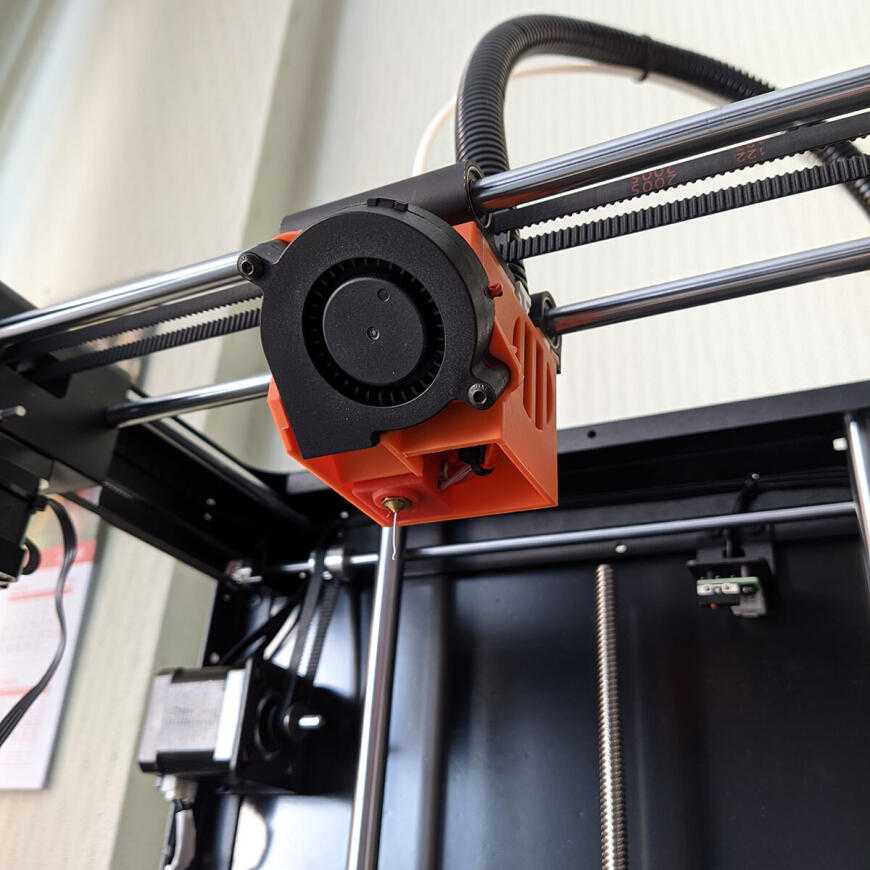 The material is used to make optical components that operate at medium infrared wavelengths. The 3D printing capability of this glass enables the fabrication of complex glass components and optical fibers for new types of low-cost sensors, telecommunications components, and biomedical devices.
In an article that describes the work, research team leader Patrick Larochelle and colleagues describe how they modified a commercially available 3D printer for glass extrusion. The method is based on the widely used fused deposition modeling method, in which a plastic filament is melted and then extruded in layers to create detailed 3D objects.
“3D printing of optical materials will pave the way for a new era of design and material combination for the production of photonic components and fibers of the future,” says Yannick Ledemi, member of the research team. "This new method has the potential to lead to a breakthrough in the efficient production of infrared optical components at low cost.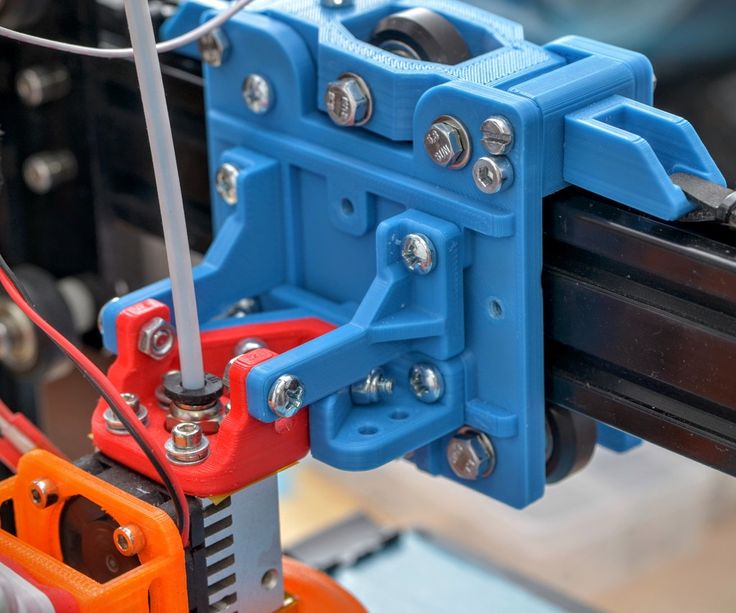 "
"
Chalcogenide glass softens at a relatively low temperature compared to other glasses. Recognizing this, the research team increased the maximum press temperature of the commercial 3D printer from 260°C to 330°C to allow the chalcogenide glass to be extruded. They produced chalcogenide glass fibers with dimensions similar to commercial plastic filaments used with a 3D printer. Then, the printer was programmed to create two patterns with complex shapes and sizes.
“Our approach works very well for soft chalcogenide glass, but alternative methods are also being explored for printing other types of glass,” says Ledemy. “This could allow components to be made from multiple materials. Glass can be combined with polymers with specialized electrical conductive or optical properties to create multifunctional 3D printing devices.”
3D printing would also be useful for making fiber preforms — a piece of glass that is pulled into a fiber — with complex geometries, or multiple materials, or a combination of them. Once the design and manufacturing methods are precisely defined, 3D printing can be used to produce low-cost, high-volume infrared glass components or fiber preforms.
“3D printed chalcogenide components would be useful for infrared thermal imaging for defense and security purposes,” says Ledemy. "They will also enable the sensors to be used in pollutant monitoring, biomedicine and other applications where the infrared chemical signature of molecules is used for detection and diagnosis."
Researchers are currently working to improve the design of the printer to improve its performance and enable the additive manufacturing of complex chalcogenide glass parts and components. Plans are underway to add new resin co-printing extruders to develop multi-material components.
The study is part of the Exotic Multimaterial Fiber Printing (PROTEus) project of the Lumière Matière Aquitaine Québec International Associated Laboratory (LIA-LuMAQ). PROTEus is bringing together researchers from Canada and France to develop new ways to use additive manufacturing and direct laser writing techniques to combine multiple materials to make fiber-based photonic components and devices.