Litografia 3d print
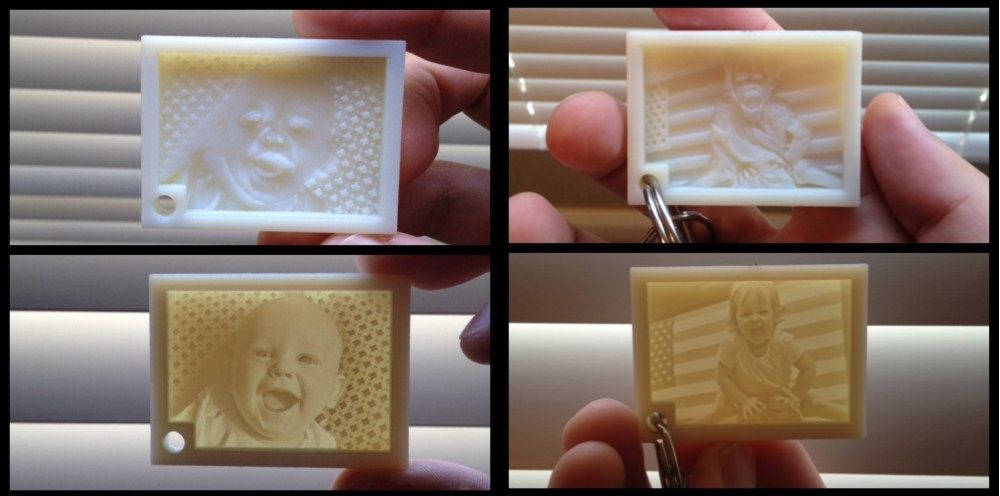
How to Make Your Own 3D Printed Lithophane
A lithophane is a three-dimensional image that changes according to the intensity and quality of the light striking it. The light areas are very thin, allowing more light to pass through, while the thicker parts appear darker.
Lithophanes date back to the 1800s, when they were traditionally carved from wax, molded in plaster, then cast and fired in porcelain. In the meantime, photography was invented as a simpler way to capture an instant, but now, 3D printing enables you to experience the best of both worlds.
Finely detailed and delicate, lithophanes are best suited for 3D printing on a high-resolution stereolithography (SLA) printer. Plastic extrusion fused deposition modeling (FDM) printers will produce thicker layers and unsightly buildup that diminish the appearance of the image.
In this tutorial, we’ll walk you through the process of creating 3D printed lithophanes on a Formlabs SLA 3D printer in three simple steps.
- Formlabs SLA 3D printer
- Formlabs White Resin
- Form Wash or Finish Kit
- Form Cure or alternative post-curing chamber
First, pick a photograph. Lithophanes rely on the difference in contrast between parts of the image. Thanks to the high resolution of SLA 3D printing, any picture with a moderate level of contrast will result in a clear image with stunning details. If the image has low contrast, try converting it to black and white, turning up the contrast, or erasing the background using a photo editing tool.
For 3D printing, convert the 2D image into a three-dimensional lithophane model. There are multiple online lithophane generator tools available, the easiest being a free online lithophane generator, like ItsLitho or the image-to-lithophane converter.
Creating 3D printable lithopanes one takes a few seconds with a drag and drop lithophane generator.
Advanced tools like Adobe Photoshop (download a free trial here) or Blender provide more room for adjustments. The steps for Photoshop are the following:
- Install the “Make Lithophane” action for Photoshop from the Adobe website. Unzip the file to reveal “Make Lithophane.atn.”
- To install the action, open Photoshop and open the Actions window by opening Window > Actions.
- Open the actions menu by clicking on the top right corner of the window, highlighted in red below:
- Click on Load Actions and navigate to the file, “Make Lithophane.atn.”
- You should now see “Make Lithophane” in your actions list.
- Open the image that you’d like to turn into a lithophane.
- Run the “Make Lithophane” action. Photoshop automatically goes through a series of steps to convert the image to grayscale, invert the colors, and make a 3D depth map. It also creates a raised border and a flat surface on the back.
- To export as an STL file to your Form 3 printer, open the print settings in the Properties window by clicking on the red box.
 (You can also access this by going to 3D > 3D Print Settings). Export by clicking on the 3D print button, as indicated by the blue box.
- Set “Print To:” value to Local.
- Set “Printer” value to Export STL.
- Set “Printer Volume” to Millimeters.
- Set “Detail Level” to High.
- Set “Scene Volume” to your desired size, as long as the X is below 125, and Z below 175.
Next, 3D print the lithophane on the Form 3+. For the quickest results, print the file with the flat side directly on the build platform with no supports.
Alternatively, printing vertically will enable you to print large lithophanes, up to 185 mm by 145 mm. This will also simplify removing parts from the build platform and allow you to 3D print up to 19 lithophanes in one build, significantly increasing the efficiency of the process.
- Open the STL file in PreForm, Formlabs' slicing software. PreForm will automatically detect any integrity issues and repair your model.
- Orient the file on the Build Platform using the Select Base feature.
- Print the file in White Resin at 50 microns for the best results. If you’re rushed for time, 100 microns will still give you great results.
Post-processing 3D printed parts is essential for a perfect finish, and due to the delicacy and extreme thinness of the parts, lithophanes require extra care.
For the best results, use the Form Wash and Form Cure automated post-processing solutions from Formlabs that simplify the production of small batches customized products.
- Pull the build platform out of the Form 3+ and place it into the Form Wash, without removing the lithophanes from the build. Form Wash will agitate the IPA to clean even the most inaccessible areas.
- Once the parts are completely dry, gently remove the 3D printed lithophanes from the build platform and put them into the Form Cure. Lithophanes require less time to cure due to their thinness, so select 5 minutes at 40 °C on the device.

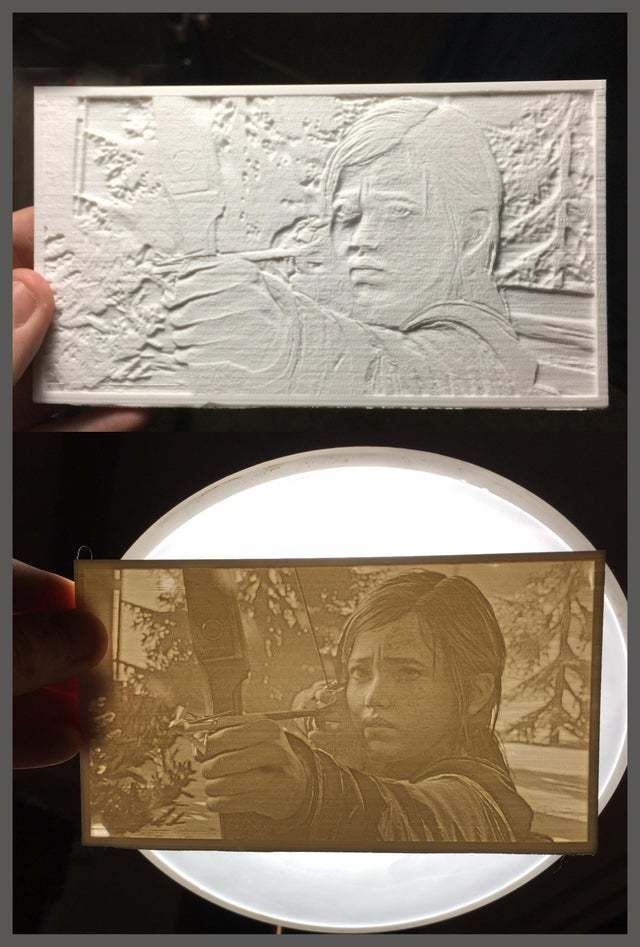
Your 3D printed lithophane is now ready. Thanks to the high precision and level of detail, lithophanes created on desktop SLA 3D printers will yield beautiful results.
Mount it on a window to let the light shine through it or create a LED back light to create a lithophane lamp and enjoy at night. Happy LithoForming!
We’d like to thank Italian Formlabs partner Manufat for their guidance throughout the process.
Learn More About the Form 3+
Image to Lithophane Generator
Turn your pictures into 3D stl files of lamp lithophanes, flat lithophanes, night light lithophanes, and more by using the lithophane makers below. Learn more about how to use LithophaneMaker.com by watching my YouTube tutorials. Click on a lithophane picture or title to go to the tool that created that lithophane. Instructions on how to use the lithophane makers are on their page, and general instructions on how to 3D print a lithophane are on the 3D Printing page. Give me feedback by joining the Lithophane Maker User's group on Facebook.
Heart Lithophane Maker
Turn your pictures into beautiful heartfelt gifts for your loved ones! The new user interface for this tool lets you crop your pictures on the first page, then click the button at the top that says CLICK HERE TO VIEW LITHOPHANE for you to see the lithophane and adjust its dimensions. You can lower the value by the rendering resolution to make the lithophane look more like the final product, or increase the value to make the lithophane render quicker.
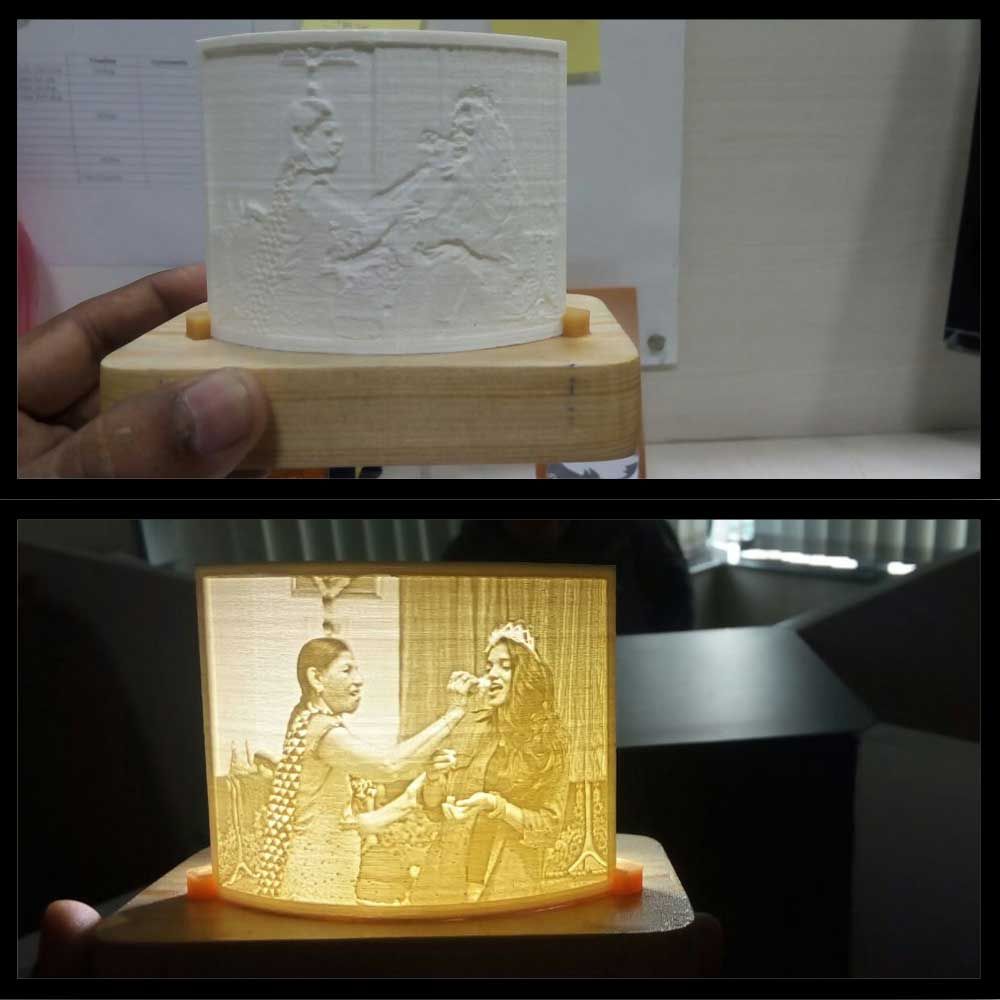
Lithophane Lamp Maker
Turn up to four pictures into a lithophane lamp model using this tool. The tool provides an interface that will work will most lamps. A cutout cylinder with a ledge makes it possible to put the lamp lithophane directly over the lamp's light socket and underneath the light. The default settings work for a lamp that I have at my own house, but I suggest you measure the light bulb socket that you're going to put the lithophane lamp over.![]()
Lithophane Light Box Maker
Turn your photos into a lithophane light box. The lithophane light box was designed to easily take light sockets like the ones you can find here. You can design a customized lithophane light box and crop your photos in just a few minutes using this tool.
Night Light Lithophane Maker
Click the picture above to access the night light lithophane maker. The default settings for the night light lithophane make the lithophane with night lights can be bought here. This webtool gives you the ability to design the night light lithophane to be able to interface with almost any night light!
Flat Lithophane Maker
Turn a photo into a hangable flat lithophane stl with this tool. This tool automatically surrounds the lithophane with a frame and some holes for hanging the lithophane. Some twine and suction cups can be used to attach the lithophane to a window, and pretty much any will work. We used this twine and these suction cups.
Lithophane Globe Maker
Design a spherical lithophane with an optional lunar background. The lithophane interfaces with a light bulb through a cylindrical base, and can have a hole at the other end if desired. You can select the aspect ratio of your picture and crop it in this tool as well.
Curved Lithophane Maker
This lithophane design tool creates curved lithophanes or completely round votive lithophanes. You can adjust the dimensions of the lithophane that are shown in the picture to get exactly what you want.
Ceiling Fan Lithophane Maker
This image to stl generator turns pictures into a ceiling fan lithophane. You can turn up to four pictures into a cylindrical lithophane that has hooks that fit into a circular lithophane that is also designed here. The circular lithophane has 1 or 2 holes that allow you to attach to the ceiling fan's pull string fixture.
Circular Lithophane Maker
This tool with crop an image into a circle and create a flat 3d stl from your photo. The 3d model can have a positive or negative image, so that you can make a lithophane or inverse with this tool. The 3d model is designed to be printed horizontally, and the model comes with a hole for attaching it to a string, hook, collar, or whatever you have in mind!
Color Lithophane Maker
This lithophane tool turns a picture into a the stl files you need to print a color lithophane.
Christmas Tree Lithophane Maker
Turn your picture into a Christmas Tree Lithophane with this tool! These lithophanes can be placed on a table, or hung from a tree. I have found compared two lighting options. This tea light is bright enough to illuminate the lithophane in regular room lighting, but has a battery life of 30 hours and I recommend a clamp diameter of 28.5mm for it. This tea light lasts for 100 hours, but doesn't illuminate the lithophane well in a dark room (but not a bright one), and needs a clamp diameter of 36mm.
I have many YouTube videos that will share with you the basics of using LithophaneMaker.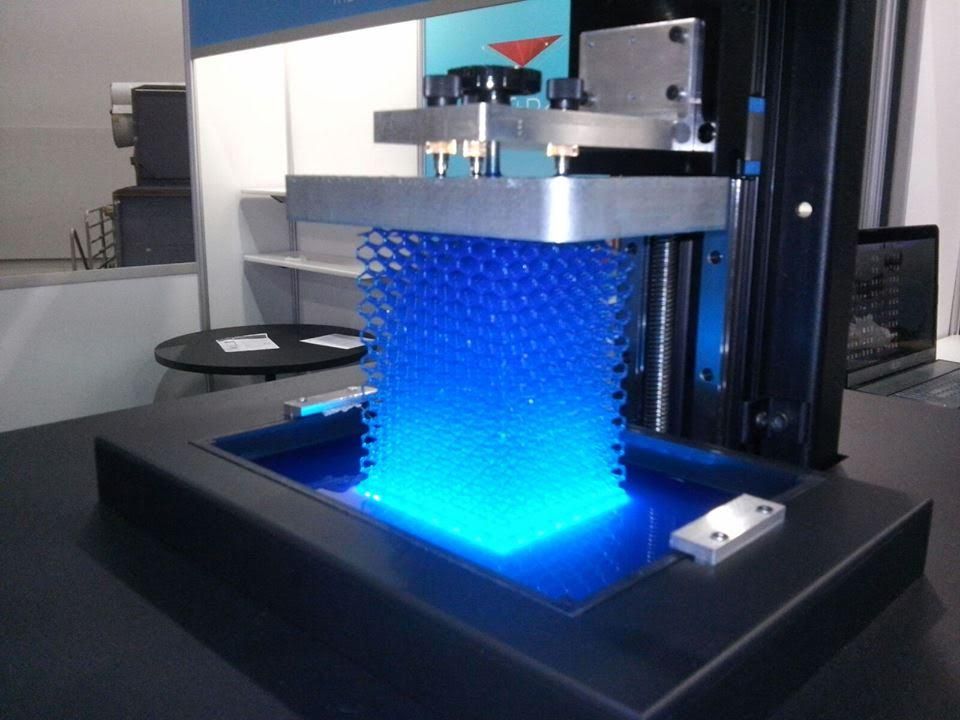 com and 3D printing lithophanes. Be sure to subscribe to the channel and watch the videos to get ideas on how for cool lithophanes you can make!
Join the community on facebook on the LithophaneMaker.com User's Group to ask questions and collaborate on the best practices for making lithophanes!
print your photos in 3D! - qbed
| Detailed instructions for 3D printing of lithophanes |
|---|
3D printed lithophane from kraftly.com
Modern 3D printers allow you to create many original and unique things, and one of them is 3D photo-lithophanes, which are gaining more and more popularity as a customized gift for loved ones or just an original product for sale. Let's take a look at what linophane is and how to print it.
Article content:
What is lithophane?
Designing a lithophane
Selecting a photo
Converting a photo into a 3D model
Creating and printing a 3D model of a lithophane in Photoshop
How to slice a lithophane?
Seal of lithophane
What is lithophane?
Classic lithophane is a three-dimensional image on thin translucent porcelain that can only be seen when illuminated from behind by a bright light source (such as the sun or an ordinary light bulb). The image will appear in gray tones. Traditionally, lithophanes were created in several stages: first, the image was cut out of wax, then, based on the wax model, a mold was created from plaster, into which porcelain was cast, after which the image was fired.
German lithophane of the 19th century, on the left - without illumination, on the right - with illumination. Photo — Diego Verger
The first lithophanes appeared almost simultaneously in several cities of Europe — France, Germany, Prussia and England — at the end of 1820s and their three-dimensionality was strikingly different from the two-dimensional engravings popular at that time and daguerreotypes . The fact is that the quality and quantity of light interacting with lithophane significantly changes the characteristics of the image itself - such dynamism arouses great interest in the viewer.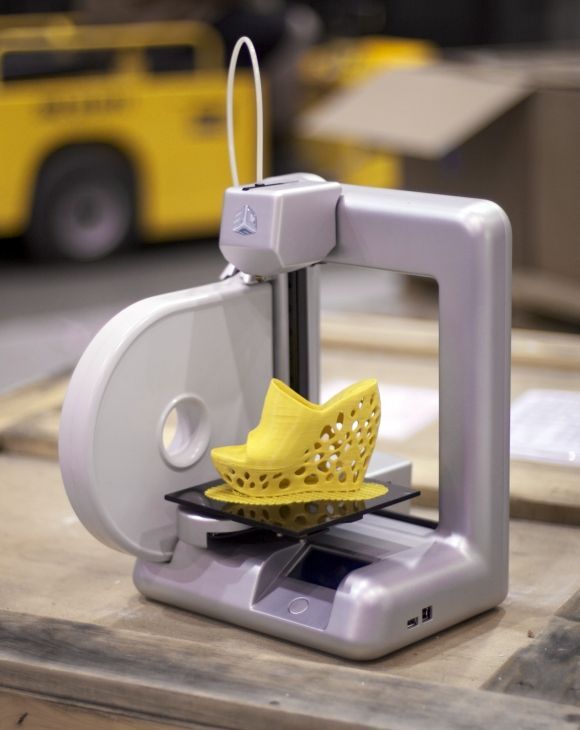 For example, lithophane inserts in windows change their appearance throughout the day depending on the quality and intensity of the sun's rays.
Modern 3D printers allow you to print lithophane from any high contrast photo. How? Varying the thickness of different sections of the 3D model to render different shades of gray when the lithophane is backlit: thin sections let in more light and look brighter, while dense parts of the print let in little light and create dark details in the image. Don't panic, you don't have to manually calculate the thickness of various sections of the digital model - there are many programs that create 3D models for lithophanes automatically and for free! Let's get down to business!
Back to Contents
Designing the Litophane
First we need to create a digital model of the lithophane.
Choosing a photo
The first step to a great printout is choosing a suitable photo , because not all images will look good in the form of a lithophane.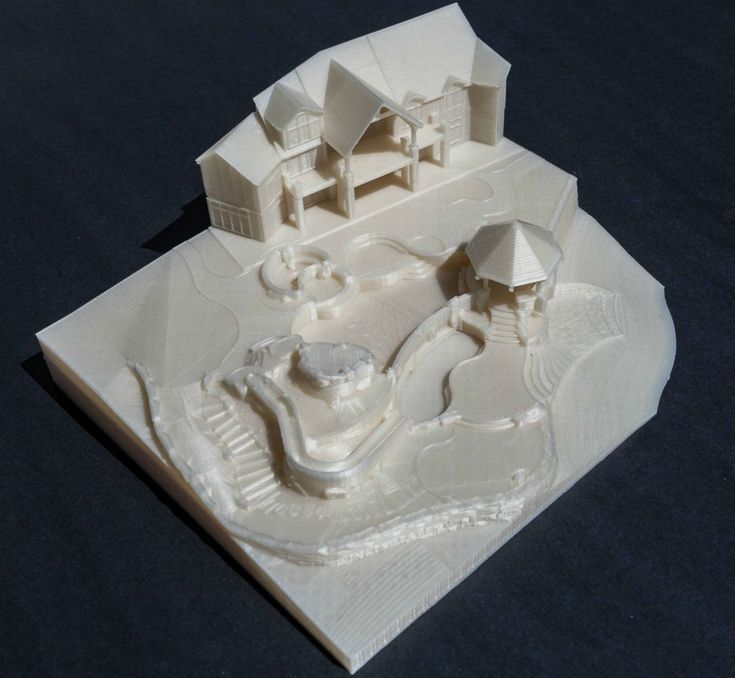
-
Firstly, the finished lithophane will be displayed in grayscale, so images where color plays an important role or where there is a lot of color detail will not work. You can try to convert the photo to b / w in Photoshop or any other program to make sure that you like the picture even if there are no colors.
-
Secondly, it is better to give preference to contrasting photos - so the printed linofan will look more interesting (unlike the image, where adjacent details will merge due to lack of contrast). Again, you can add contrast to the selected photo in Photoshop or any other program.
An example of a low-contrast image, not quite suitable for lithophane printing. Photo — Christina Ryumina
-
Thirdly, avoid photos consisting only of small details , it can be difficult for the printer to print them.
 For lithophanes, images with large contrasting details, such as portraits, are more suitable. Images with a single-color background without details are also good, for example, portraits against a backdrop or against a clear sky. You can clean up the background or create a color fill instead of an existing background in Photoshop or any other program.
Contrast photo on a plain background is ideal for printing lithophane. You can further clean up the background and add photo contrast in any post-processing program. Photo — Christina Ryumina
An example photo with lots of detail is not the best choice for creating a lithophane. Photo — Christina Ryumina
Of course, you don't have to follow these tips. If you print on a high-quality printer with high resolution, then you can handle any details! For example, SLA printers allow you to print smaller details than their FDM counterparts (read more about 3D printing methods here), so a photo for printing on an SLA printer may contain small elements.
Convert photo to 3D model
0011
-
You can convert photo with free online Image to Litophane converter.
-
Models for lithophanes can be created in Photoshop CC by downloading a special Operation (Action) from the official website (read detailed instructions below), or in Blender: these programs have more options to edit the model. It is worth considering that a subscription to Photoshop CC is paid.
-
Cura software (version 13.11 and higher) from Ultimaker will also work. The program is easy to use and allows you to smooth the model, but it does not have the ability to edit the image and create a frame around it.
-
You can use the Customizable Lithopane from printer manufacturer MakerBot on Thingeverse. Here you can add a hole in the frame of the lithophane so you can hang your masterpiece, but in this application your photo resolution will be compressed to 100x100 pixels.
 Another disadvantage: the application can be quite slow, because the Thingeverse website Customizer creates a model and STL file instead of your computer.
-
There is also a free 2D to STL converter for Windows. There are options for smoothing the model, but no way to edit the image.
-
You can create a model for lithophane in a paid Photo to Stereolithographic file converter. This program allows you to create lithophanes on spheres, cubes and other shapes, but the interface here is not the most understandable.
-
There is a nice free Portuguese converter where the language can be changed to English after installation by going to the Iniciar menu, then Idioma and finally selecting English. Here is a link to download the program. In this converter, you can create a frame for the image, edit it before creating a 3D model, and also enlarge / reduce the image. The converter generates models quite quickly, so you can experiment with 3D model settings until you are completely satisfied with the result.

The list of programs, of course, is not exhaustive. You can use any converters of 2D files to 3D models that support export to STL. In this article, we will be using Photoshop CC to create a 3D model from a photo.
Create and print a 3D model of Lithophan in Photoshop
Attention! The operation only works if the interface language in your Photoshop CC is English. You can change the language by going to menu Photoshop CC → Preferences → Interface.
To add an action in Photoshop, go to the program, go to the top menu in Window → Actions or click the icon Play in the side menu (see screenshot below).
Going into the Actions panel in Photoshop
Opening the operations panel, click on the menu icon (see screenshot below) and select the command "Load Actions. .." . We go to the location where your downloaded Lithophane folder and the operation "Make Lithophane.atn" are located and select it. The operation is now available in your Photoshop.
Loading the operation "Make Lithophane.atn"
Operation "Make Lithophane.atn" is ready to go
Open the image you are about to print. You can convert it to black and white, add contrast and make any changes, then print the visible layers into one by pressing Ctrl + Shift + Alt + E (English), or simply merge the layers through the menu Layers (in any case , you will be prompted to merge layers when starting the operation). In the layers panel (marked in blue in the screenshot below), select the layer with the final version of your image and name it Background (or select the Background itself directly if you haven't changed anything). Then open the "Make Lithophane" operation folder, select "Make 100mm x 6.25mm Lithophane" (marked in red in the screenshot), press Play (marked in green in the screenshot). The operation automatically converts the 2D image into a 3D printable object: Photoshop converts the image to Grayscale, inverts the tones, creates a 3D depth map, as well as a frame and a flat surface on the back of the image.
Starting the operation of creating a digital model of lithophane
Litophane in Photoshop CC
To print a 3D object, click on the top menu 3D → 3D Print (marked in red in the screenshot below) or click on the print icon (marked in pink). Next, you will see the 3D printing settings panel (see screenshot below). Select a printer (or specify Printer: STL File if you want to export the model as STL), set Printer Units , Detail Level .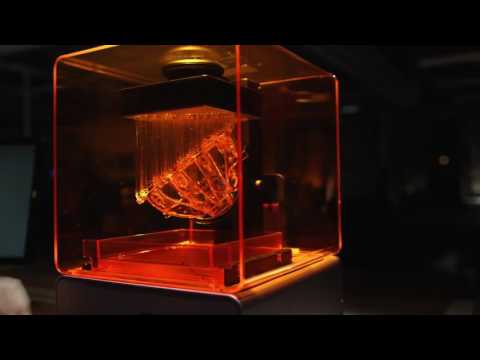 Determine the size of the model by setting the X / Y / Z values. Option Scale to Print Volume will create the largest printout that will fit in your printer's camera.
Click on the icon marked in green in the screenshot below to have Photoshop prepare your model for printing. Photoshop will analyze the object and show you a print preview with supports in a new window (supports are turned on and off by ticking Scaffolding ). From the same window, we can print or export the model.
Preparing the model for printing/exporting
Model
print/export window
Do not forget that the size and thickness of the lithophane, as well as the amount of detail in the photo and model, affect the printing time. Depending on these settings, it may take 30 minutes or 5 hours to print.
How to slice lithophane?
The slicer will help convert our model into a printer-friendly G-code (read more here). To open a 3D model in a slicer, you need to export it as a STL file. To do this, in the Photoshop 3D printing settings panel, select Printer: STL File , export the model as described above, and open it in your slicer to set up the location of the model on the platform and set other parameters. You can also export photos to STL from any of the other converters mentioned above and then open the file in a slicer.
To achieve optimal printing results, it is recommended to slice the lithophanes as follows:
-
Set straight infill to 100% at an angle of 30-35°. 100% infill will provide the best quality lithophane, as there will be no honeycomb inside the layers, which will spoil the tones in the printout.
-
Set the minimum layer height that your printer supports.
 This way you will ensure high resolution details and the maximum number of shades of gray in your lithophane.
-
Print as slowly as possible. Speaking of FDM, slow printing will help you avoid retraction problems, because most of the print is created with little extrusion, which can provoke a huge amount of retraction. To prevent your printer from smearing your printouts with unwanted material smudges and your extruder from clogging due to fast retractions, it is best to print as slowly as possible.
-
Select the optimal lithophane slicing parameters available in your slicer. Different slicers provide different options. Choose the slicer you like, however, be aware that some slicers take longer to layer the model than others, for example, Cura usually slices faster than Slic3r. Experiment!
-
Do not scale the model in the slicer. The model should be scaled in Photoshop or other converters mentioned so as not to lose resolution when printing.
Litophane Printing
Now it's to load our STL file into the printer via USB or SD card (or whatever methods are available on your printer). The faster the connection, the better, since lithophanes can contain a lot of detail, and some types of connection may not be fast enough to send the entire G-code to the printer, and the printer will begin to slow down and smear material on the printout.
Make sure your printer platform is in good condition to avoid warping your printout. Be sure to check the printer calibration and set the correct print temperature to match the melting temperature of the selected material.
It is best to use white material for printing, as colored materials will not give the same strong lithophane effect. Printing lithophane is best with ABS or HIPS, avoiding PLA : If you are going to put lithophane on a window, then PLA can melt in the sun.
Soft light is ideal for illuminating lithophane.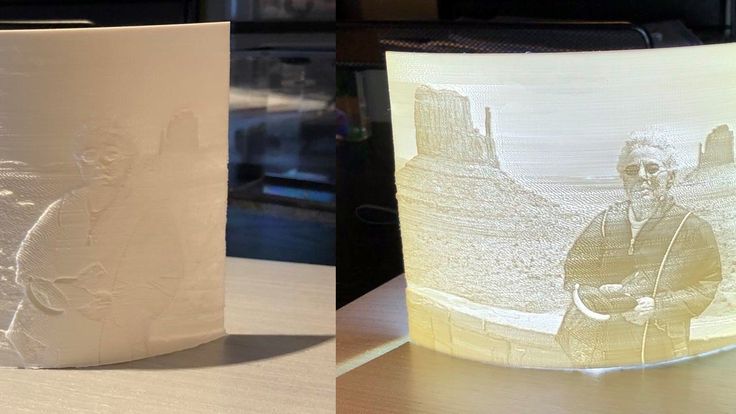 Lithophanes make excellent lamps and even lanterns.
Lithophane lamp. Original photo here
Lantern-lithophane. Original photo here
Back to Contents
Back to Contents
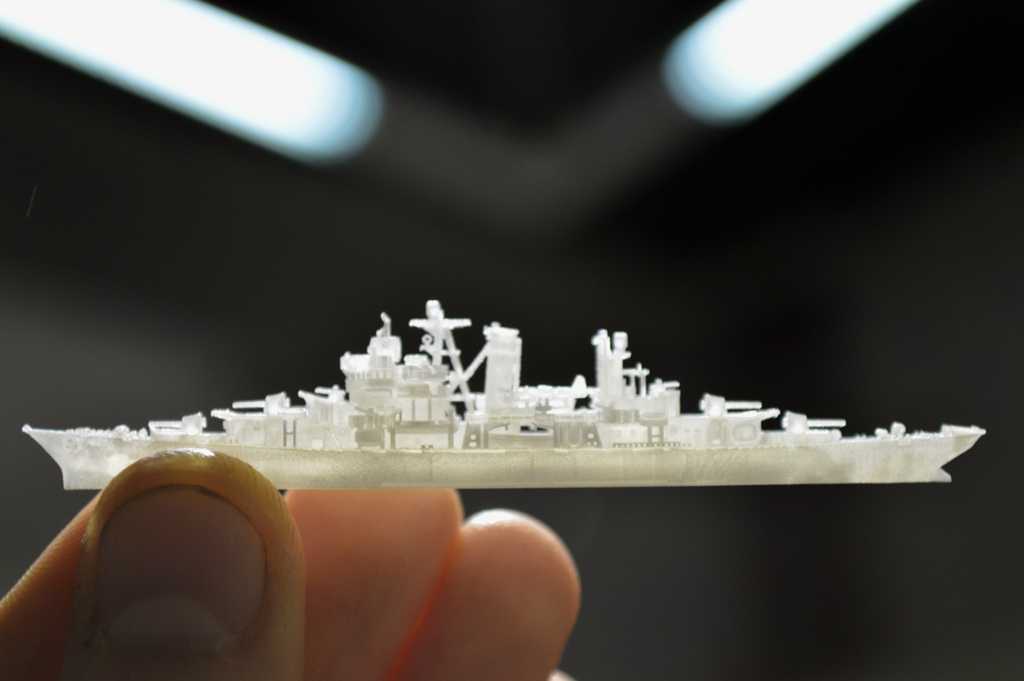
GalleryWhat 3D Printing Can Do
WATCH
Glossary3D Modeling and Additive Manufacturing Terms
WATCH
DIYK. 10 Comments
0 LikesRotary 3D printer printed the entire object at the same time throughout the volume
American engineers have developed a 3D printer that allows you to print the object simultaneously throughout the entire volume, and not in layers. It projects radiation onto a rotating volume of liquid photopolymer, and during rotation, the projected image also changes. The method allows you to print objects from one material around an object from another material, the authors of the article say in Science .
Almost all existing 3D printing methods are based on layer-by-layer creation of an object. During such printing, the printer first creates the entire layer or stripes on it, and then moves on to the next layer. This approach implies that the printer spends a lot of time printing, and also inevitably creates uneven boundaries between the printed layers, which also affects the uniformity of the material properties. Alternatively, some researchers are working on creating methods for printing the entire volume at once, but so far such methods are poorly developed and not applied in practice.
Engineers led by Hayden Taylor at the University of California at Berkeley have developed a new 3D printing method. The authors took as a basis the lithographic method, in which the emitter irradiates a liquid photosensitive polymer precursor and causes it to solidify in the right places. However, unlike most other lithographic methods, the researchers did not use layer-by-layer irradiation. Instead, they opted for a process essentially reminiscent of a CT scan.
Before printing, the object model is converted into a set of projection images, on which the light intensity is calculated based on the material thickness projected to this point. The superposition of all projections gives such an irradiation dose and its volume distribution at which a solid object of a given geometry is formed inside a vessel with a liquid precursor. After the item is printed, the remaining precursor can be drained and the print result can be removed from the vessel. To obtain this radiation distribution, engineers used a cylindrical vessel located on a rotating circle, as well as a projector located next to it.