Fallout 4 pip boy 3d printed
Pip-Boy 3000 Mark IV – Ytec 3D
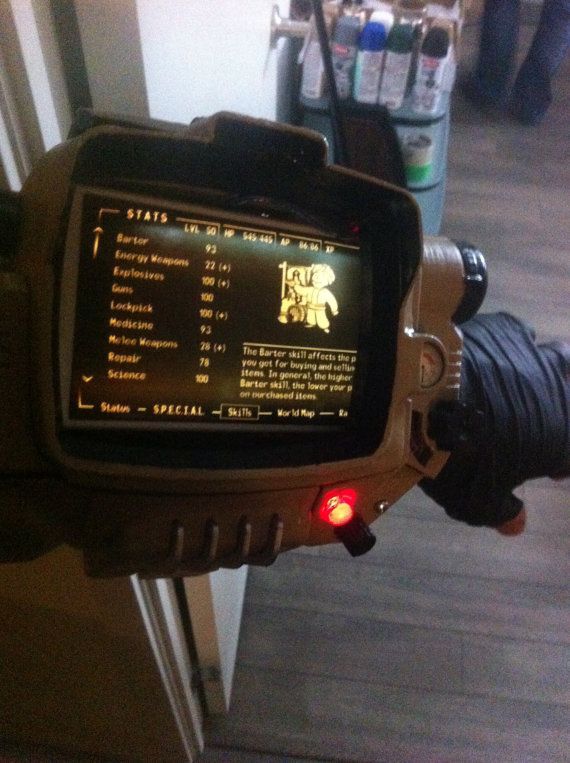
Fallout 4 was anounced June 4th, and I was immediately hooked. I absolutely love Fallout and have been looking forward to Fallout 4 for years. One of the first things that was obvious is that the old pip-boy, the Pip-boy 3000, has been replaced with a different model, the Pip-Boy 3000 Mark IV. The new Pip-Boy has the buttons on the right instead of the left, and there are more buttons. It has a tape player on the top, and the opening mechanism is now defined. Now I rarely move aside running projects for something else, but Fallout is an exception. Time to make the Pip-Boy 3000 Mark IV 3D printable.
Now there is a difficulty with this project, there is only limited reference. The Pip-Boy is already extremely difficult to design with proper reference, but now there is only a teaser trailer and the E3 video. This does not give the kind of reference I usually have. Another challenge is the huge amount of features in the Pip-Boy 3000 Mark IV. I like to make as much features working as possible, and to get some of the features (most notably the tape player) working, was a real challenge. The people at Bethesda really tried their best to make the Pip-Boy as difficult as possible.
Another thing that was a real challenge was getting a phone to fit in this Pip-Boy. At the E3 it was announced that the collectors edition had a wearable Pip-Boy that could hold a phone, and so this 3D printed on also needed to be able to do that. There is only one problem. Smartphones have become bigger since fallout 3, and this Pip-Boy is smaller than the previous one. Bethesda has fixed this by breaking some of the proportions and dimensions to make a smartphone of decent size still fit. In some cases, dimensions are broken by around 1cm (which is way more than it sounds like). For the phone version of this 3D printed version, the proportions have also been broken to make the phone fit.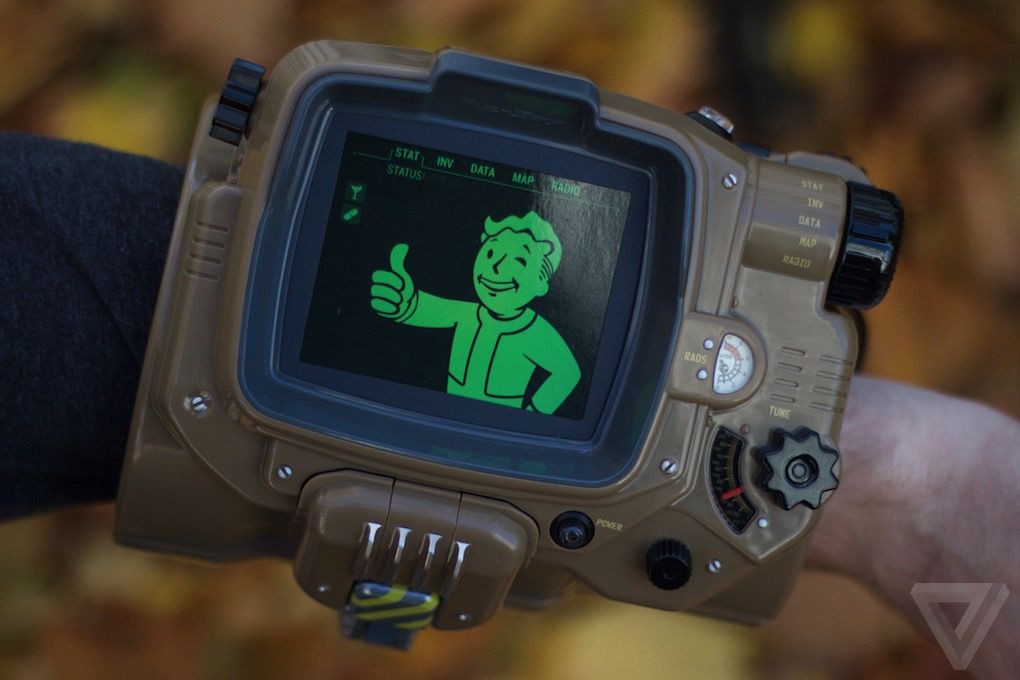
The 3D printed Pip-Boy 3000 Mark IV comes in 3 sizes. This is because the previous version, the Pip-Boy 3000, was already too small for some people, and the Mark IV is even smaller in some regions. Simply scaling the parts up is not only time consuming and prone to mistakes, it messes up the design. Some holes in the parts are designed for the screws to tap threads. If these holes become 10% larger, the screws will no longer fit. The standard sizes that the pip-boy comes in are: 100%, 108% and 115%.
The Pip-Boy 3000 Mark IV Phone edition is the version that will be most useful for most people. It can hold (as the name suggests) a phone that is within a certain size range. It is simply a case of printing it to have a usable Pip-Boy. To access the phone, 2 knobs near the tape player allow the front to come off. No tools are required to place and remove the phone (though it still take a half a minute or so). To make room for the phone, some of the buttons have been merged with the body of the Pip-Boy.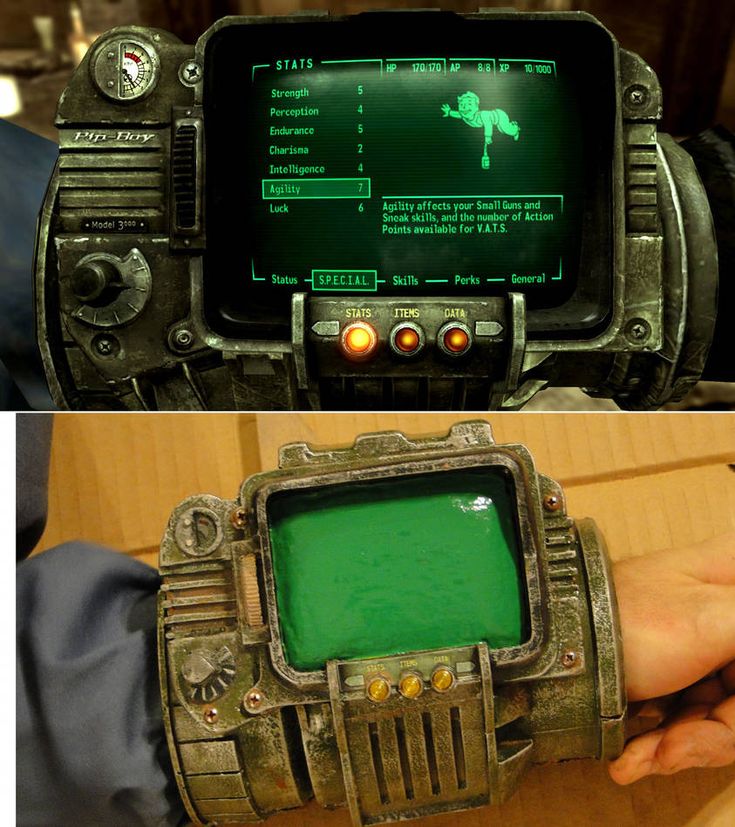 It does have a latch mechanism and a tape player. The lights on the Pip-Boy can be 3D printed in clear plastic, and can be lit using colored LEDS. The gauges however cannot be lit, there simply isn’t enough room to fit lighting with the phone in the way.
(Edit 26-11-2015: The accurate version of the Pip-Boy 3000 Mk4 has been postponed until further notice. To design it I need to completely redo everything about the design (a 30 hour job) and I simply cannot find the motivation to do it with all other projects that I want to do. While I might do it at some point, don’t expect it to happen in the foreseeable future. My apologies to anyone who wanted the accurate version.)
The Pip-Boy 3000 Mark IV Accurate edition (not yet finished) is the version for the serious tinkerer. It is as accurate as I can make it, with no sacrifice to fit anything in. This version can be used to make a wearable Pip-Boy computer, but for instance using a Raspberry Pi. It has all the same tube dimensions as the phone version of the Pip-Boy, but the body may differ in locations.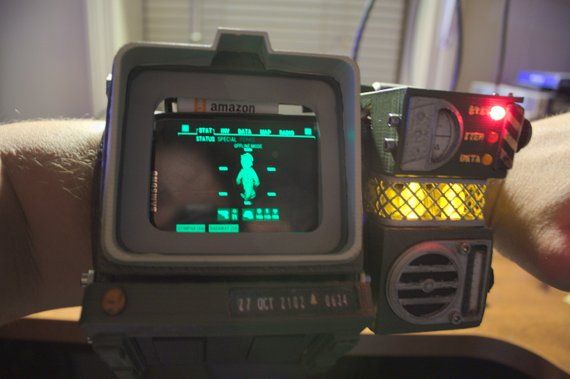 It is also advised to download the source files of the accurate version in stead of simply downloading the STL files and printing, to make the design and all the buttons for to the parts you have available. All mechanical features, the latch and tape player are the same as on the phone edition, but more buttons can be made moving and all of the gauges can be made to light up (or even better, made working).
Making it
Click on the button below to go to the making one page. Here you can find a comprehensive gallery of photo’s on how to make and assemble the phone version, plus all 3D printer files in .stl format of the released versions.
License
The project described on this page is licensed under the Creative commons – Attribution – ShareAlike license.
3D print your own Fallout 4’s Pip-boy (update: new video)
3D print your own Fallout 4’s Pip-boy (update: new video)
This article is also available in following languages:
February 9.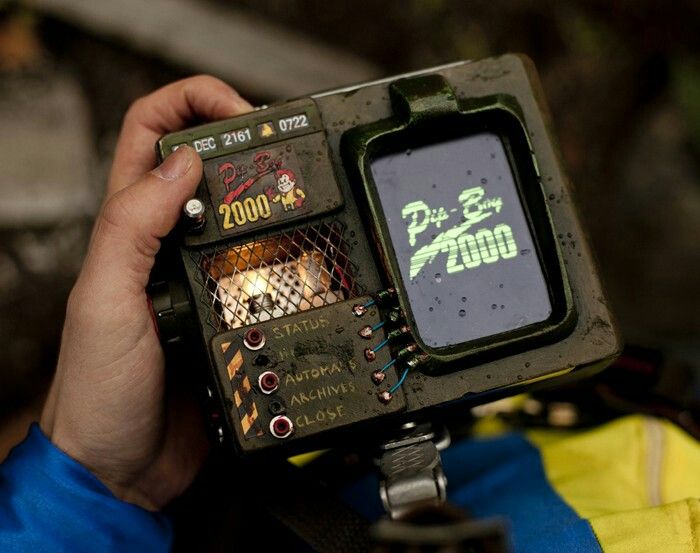 2016
2016
Estimated reading time: 3 minutes
Every time I’m sure there is nothing to surprise me, my customers always prove me wrong. I was contacted by a popular Czech cosplayer Baty Alquawen, when she was considering what is the best way to create her own customized Pip-boy for the Fallout 4-themed cosplay. As a gamer I was looking forward to play new Fallout 4 – and what is Fallout without its iconic wearable computer called Pipboy?! It’s a great idea – if you’ve missed the collector’s edition featuring assembled Pip-boy, you can easily print your own!
For the start you have to get a detailed Pip-boy 3D model. Luckily you don’t need a university degree in CAD because there are designs available for free on the Internet. Baty was so kind to share the whole creative process – this was her first work with 3D printed prop so with no or just little experience, you can create your very own post-apocalyptic personal computer Pip-Boy 3000 Mark IV.
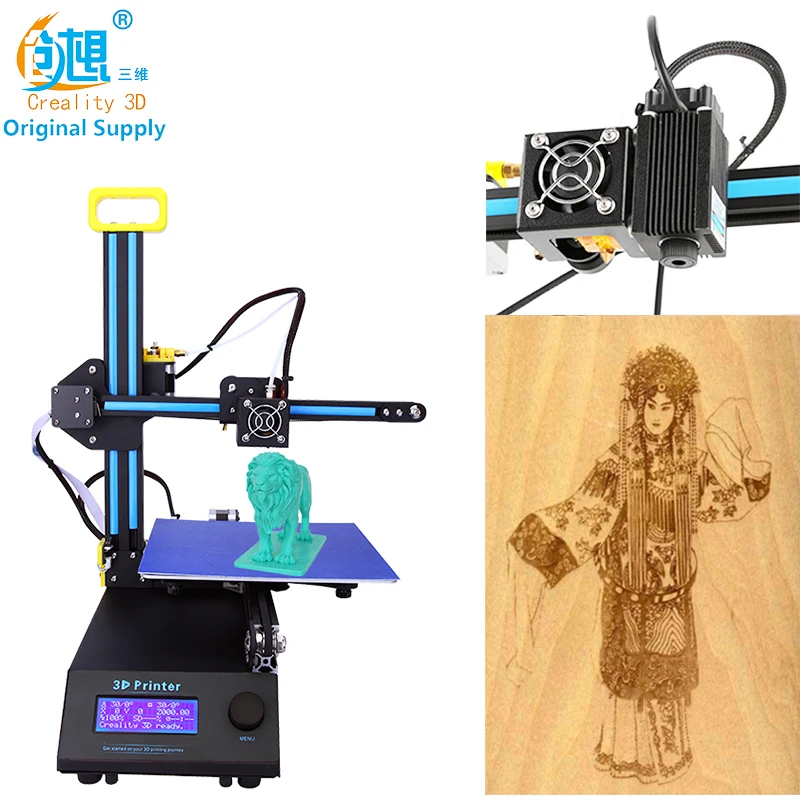
All parts were printed on three Original Prusa i3 printers and it took 36 hours combined to print all pieces. Materials used for the body were silver PLA and transparent PET (LED covers). Don’t forget to get enough nuts and bolts; some glue will come handy too.
All parts were printed on three Prusa i3s in one go
When all parts are printed, first you need to polish a bit the surface. Using knife, needle and pliers remove all the redundant material and clean all bores. Then you can start with the basic assembly – use screws and glue if necessary. Side note: never trust the handbooks they all seem much easier than they are. 🙂 Next step is a surface finish – if you choose ABS you can try the acetone vapors to smooth the surface. I chose the base layer used for painting – every part of Pip-boy got at least 15 layers and when the layers dried completely, I smoothed them out with sandpaper.
Now it’s the right time to start with coloring. Few layers of base paint and then you can add details.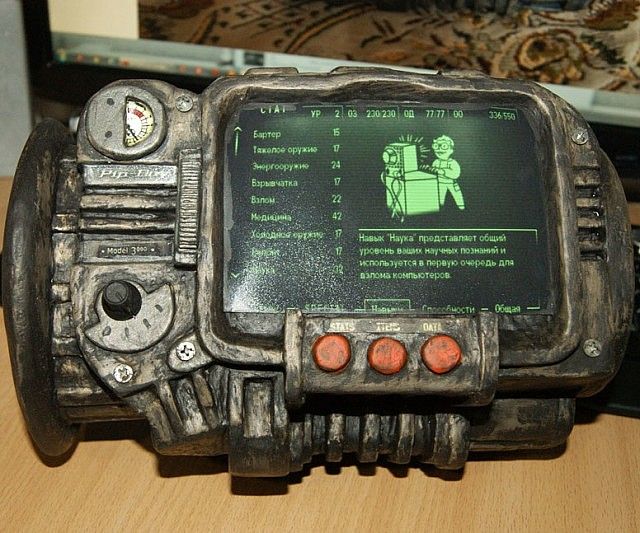 I used a few (not fifty) shades of green; you would also need a black, silver, yellow and orange to imitate a rust. Apply darker shades to corners, gaps and edges, use dry brush for the rusty spots. Do not apply to much paint; it would cover the details you want there.
- Assembling electronics
- Pip-boy after weathering
- First coat of paint
- Acrylic paint was used
- Using filler on assembled Pip-boy
- Pip-boy printed parts
When assembling parts together, bear in mind you work with plastic and excessive power can crack the part… All plastic is then painted with transparent matte finish; indicators are printed on paper and covered with foil.
Pip-boy was weathered after first coat of pain
Next step is an electronic part of a Pip-boy.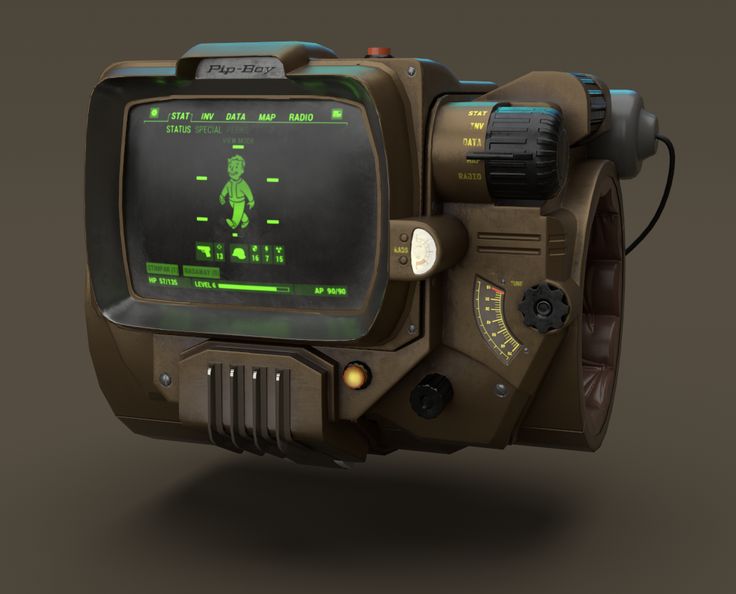 Follow the guide provided on 3D model page, it’s just a simple electric circuit, after few minutes (or hours, depending on your skill and temper) you’ll be rewarded with shining LED.
Then you can add the moving parts, thumbwheels and others controls and finally put the iPhone 6 into the socket. Pip-boy design is customizable so you can change its dimensions to fit any phone and any hand. Time spent with assemble were around 10 hours and the result is definitely worthy.
Finished Pip-boy together with awesome cosplay
Inspired with this awesome piece? Why not to print your own one with Prusa i3 printer? Let me know how you’ve succeeded!
Previous post Next post
Pip-Boy 3000 MK4 wrist computer
Creativity
Subscribe to the author
Subscribe
Don't want
28
The article applies to 14 printers:
TEVO Black Widow
Hi all.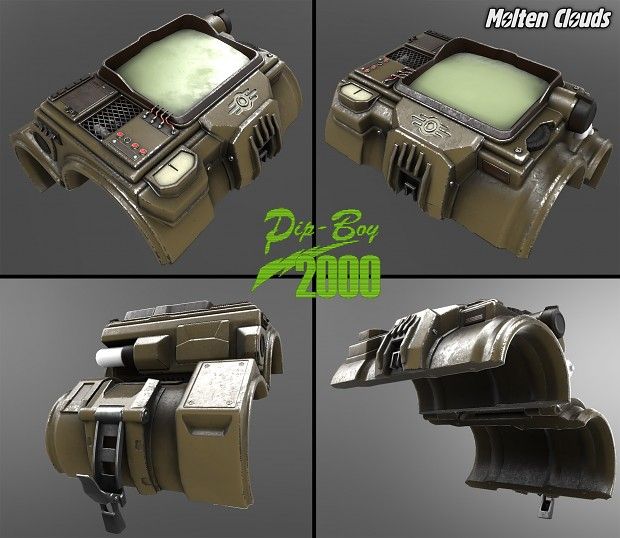 I have long dreamed of my own wrist computer from science fiction films and games. And then I came across a model and detailed instructions for printing and assembling Pip-boy 3000 MK4 from the popular video game Fallout 4. And with a 3D printer and direct hands, an old dream comes true.
Printed with natural abs plastic company Greg at a temperature of 245/100. It took about 70 hours to print and almost a kilogram of plastic (including supports). Printing was performed with the setting of printing fill through the layer to save plastic. After the manufacture of all parts, the parts were polished with sandpaper of different grain sizes. Then gluing with ABS juice
After gluing the parts and grinding the seams, I started priming and painting in a special laboratory box with an exhaust hood. For this model, khaki 9 paint was the best fit.0003
During the manufacturing process, I encountered the problem of the lack of hardware for connecting the body elements. I had to make home-made ones and without additional professional equipment, the project simply would not have been completed. The device contains a cassette holder for holotapes, the holotape model itself, light bulb illumination, a toggle switch and a 3V battery. I fixed the LEDs with hot glue. There is also a compartment for smartphones up to 5.5 inches in size. Additionally, I implemented a polypropylene insert on the front panel, which closes the insides of the computer and limits the screen size in case of using small smartphones. In order for the smartphone not to dangle inside, I glued soft isolone inserts. I glued the computer from the inside with the same inserts so that it would not hang on my arm. The fastener that closes the computer was also originally printed from abs. But because of the thin walls, he could not stand it and broke. It was decided to print from more durable PETG. After assembly, covered with matte varnish
Follow author
Follow
Don't want
28
Article comments
More interesting articles
eleven
Subscribe to the author
Subscribe
Don't want
Hi all.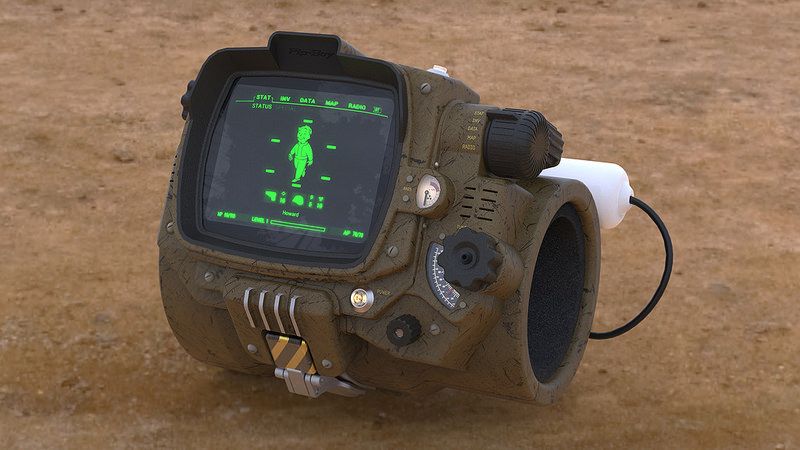
Finished an order from fans of the "alien" universe. Made with great pleasure...
Read more
eight
Subscribe to the author
Subscribe
Don't want
Hello. I want to present to everyone the solution of the old problem, and again on the basis of hydrodynamic systems,...
Read more
NotJes
Loading
14.02.2017
39124
212
Follow author
Follow
Don't wish
Greetings to all readers of the portal! After my article a lot of people asked what paintwork I used...
Read more
Want your own Pip-Boy? Print it on a 3D printer!: antony_w — LiveJournal
?- Techniques
- Technologies
- Games
- CANCEL
The Fallout 4 Collection publication will be delivered with a plastic remark of the Pip-Boy portable computer for $ 120. But the main problem is that Bethesda will release it in a very limited edition. In fact, you can no longer buy it, since it is completely sold out on pre-orders. What to do for those who did not have time to buy their own Pip-Boy? Correctly. It needs to be 3D printed.
Thanks to enthusiast Yvo de Haas at Ytec3D, anyone can download the 3D schematics of the Pip-Boy 3000 Mark IV and, with two arms growing out of the right place, build themselves a personal computer from a post-apocalyptic future that is vastly superior to the one that will be comes with the Fallout 4 Collector's Edition.
Printed Pip-Boy model, of course, requires some work before you can use it. The design of this gadget is quite intricate, and the creator of the 3D model even noted that the engineers at Bethesda did everything possible to ensure that no one could reproduce the Pip-Boy at home.
You can choose from three sizes of Pip-Boy 3000 Mark IV by measuring your wrist circumference and comparing it with the table on the developer's website. The standard model of the gadget is designed so that you can insert your smartphone into it. The developer is currently working on the most detailed Accurate Edition version of the device, which will use a stand-alone screen and Raspberry Pi as a computer stuffing.
On top of the gadget there is a hinged cover, under which there is a place for cassettes with games. Of course, the gadget does not play cassettes, but it still looks very impressive. With the right skill and patience, you can even print transparent Pip-Boy elements to place LEDs underneath. But all these improvements are up to you.
To create a gadget at home, you will need about 0.5 kilograms of plastic for a 3D printer, various bolts and rivets, springs, wires, sandpaper, glue, acetone, a set of paints and much more. Let the “home version” turn out to be not as glossy and glossy as the original, but we get a truly fascinating designer for those who like to create with their own hands. You can download schemes for a 3D printer, as well as all the necessary instructions, on the developer's website.
Tags: 3D printer
Subscribe
-
-printer.…
-
Sheet metal 3D printing technology enters the market
Desktop Metal Inc, an American manufacturer of 3D printers, has announced its readiness to launch the Figur G15 machine, which is capable of printing…
-
Scientists come up with the concept of an ultra-precise 3D printer the size of a shoebox
Scientists from the Karlsruhe Institute of Technology (KIT) and the University of Heidelberg figured out how to make 3D printing with nanoscale precision…
-
Startup created Juicy Marbles technology filet mignon steak printing
A start-up from Ljubljana, Slovenia, has attracted the first investment to create a plant-based alternative for deli meats using its technology.