Filament grinding 3d printer
Grinding Filament
Grinding Filament
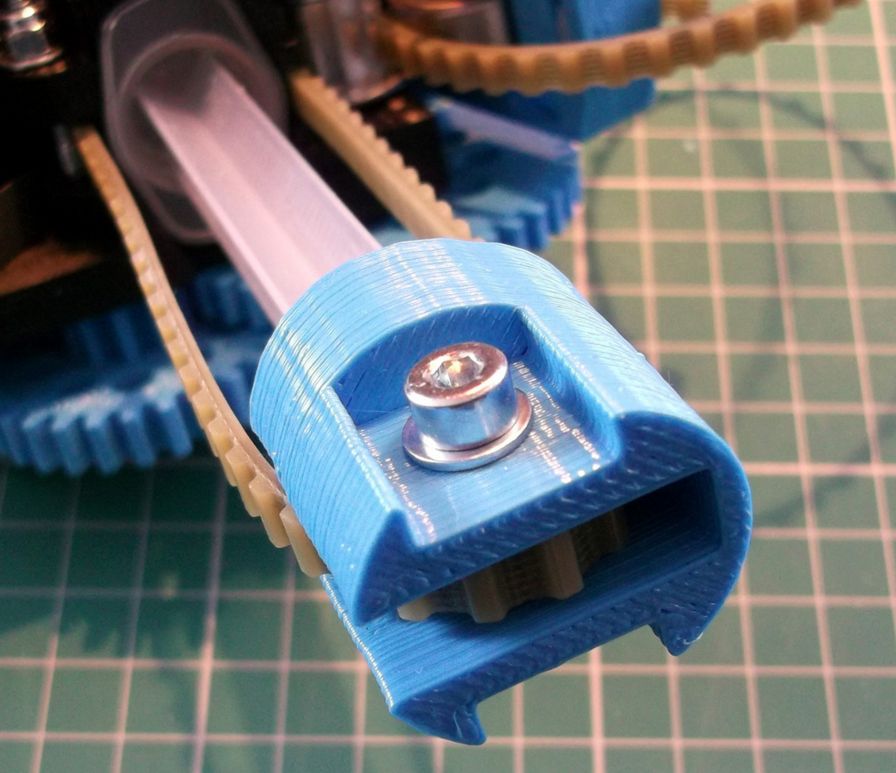
Most 3D printers use a small drive gear that grabs the filament and sandwiches it against another bearing. The drive gear has sharp teeth that allow it to bite into the filament and push it forward or backward, depending on which direction the drive gear spins. If the filament is unable to move, yet the drive gear keeps spinning, it can grind away enough plastic from the filament so that there is nothing left for the gear teeth to grab on to. Many people refer to this situation as the filament being “stripped,” because too much plastic has been stripped away for the extruder to function correctly. If this is happening on your printer, you will typically see lots of small plastic shavings from the plastic that has been ground away. You may also notice that the extruder motor is spinning, but the filament is not being pulled into the extruder body. We will explain the easiest way to resolve this issue below.
Common Solutions
Aggressive Retraction Settings
One of the first things you will want to check are the retraction settings for your extruder. If the retraction speed is too fast, or you are trying to retract far too much filament, it may put excessive stress on your extruder and the filament will struggle to keep up. As an easy test, you can try reducing your retraction speed by 50% to see if the problem goes away. If so, you know that your retraction settings may be part of the problem.
Increase the extruder temperature
If you continue to encounter filament grinding, try to increase the extruder temperature by 5-10 degrees so that the plastic flows easier. You can do this by clicking “Edit Process Settings” and selecting the Temperature tab. Select your extruder from the list on the left and then double-click on the temperature setpoint you wish to change. Plastic will always flow easier at a higher temperature, so this can be a very helpful setting to adjust.
Printing too fast
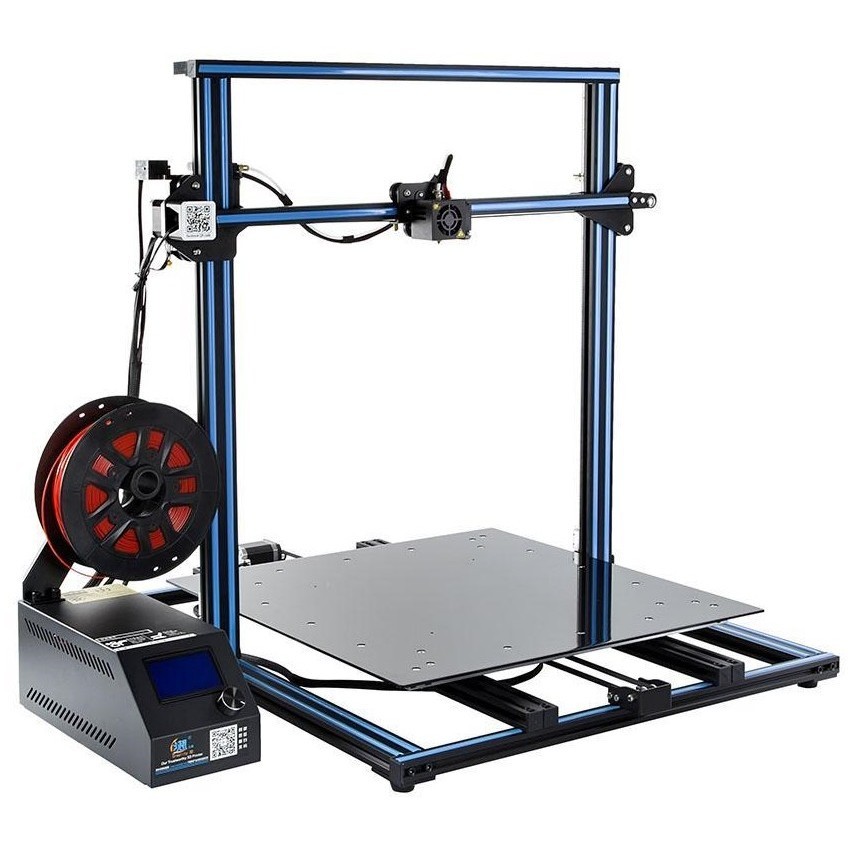
If you continue to encounter filament grinding, even after increasing the temperature, then the next thing you should do is decrease the printing speed. By doing this, the extruder motor will not need to spin as fast, since the filament is extruded over a longer period of time. The slower rotation of the extruder motor can help avoid grinding issues. You can adjust this setting by clicking “Edit Process Settings” and selecting the Speeds tab. Adjust the “Default Printing Speed,” which controls the speed of any movements where the extruder is actively extruding plastic. For example, if you were previously printing at 3600 mm/min (60 mm/s), try decreasing that value by 50% to see if the filament grinding goes away.
Check for a nozzle clog
If you are still encountering filament grinding after increasing the temperature and slowing down the print speed, then it’s likely your nozzle is partially clogged. Please read the Clogged Extruder section for instructions on how to troubleshoot this issue.
Related Topics
How to fix filament grinding
In this article you will learn to fix issues that result in the filament being damaged before reaching the hotend
BCN3D printers extrude the filament by pushing it between two gears that spin. The gears bite into the filament to move it up, but in the case, the filament gets stuck, the gears will continue spinning and consequently damage the filament. You can identify this problem by looking at the filament after it has passed through the motor.
In this article, you will find the most common problems and some tips to fix it.
Check the material configuration
In most cases, the wrong Stratos profile configuration can cause underextrusion or other printing issues that result in the material being grinded. We recommend the default profiles in Stratos. These profiles are made to ensure the best print quality. If you are experiencing filament grinding with our material while also using our default profiles, go to the next point.
1. Hostile retraction settingsThe retraction settings are usually tweaked to avoid printing issues like stringing but a very high retraction speed or a very long retraction distance can cause grinding issues.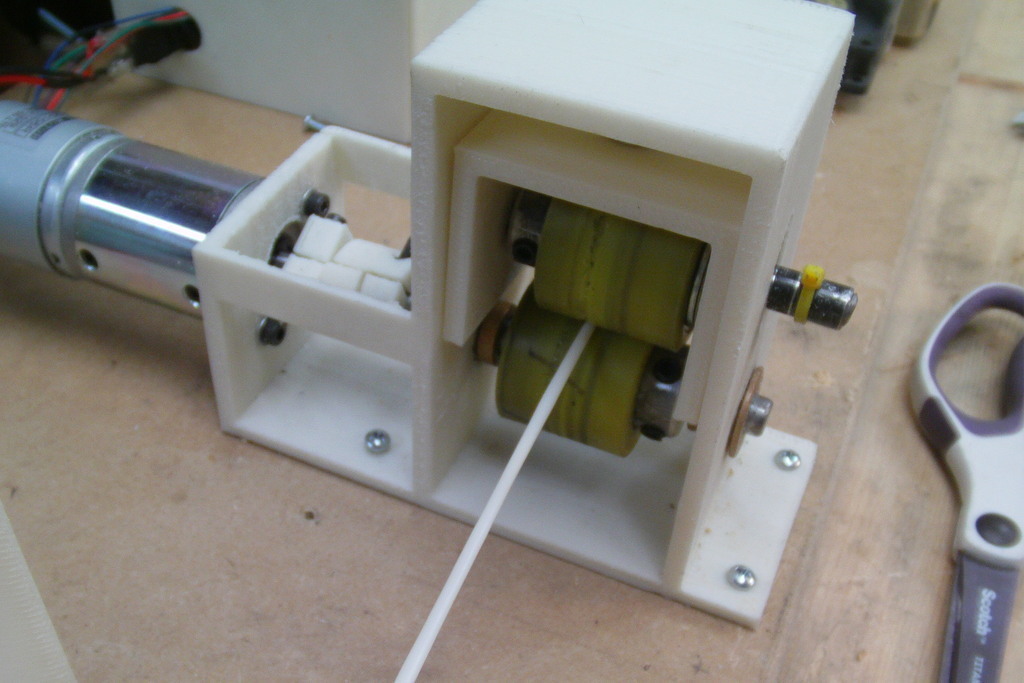
To avoid this problem is necessary to retract the filament slowly, reducing the retraction distance and the retraction speed:
- We recommend a maximum retraction distance of 7mm.
- You can also try to reduce by 10mm/s the retraction speed to see if the issue is solved.
If the material is not being melted at enough speed, it will get stuck on the hotend while the motor keeps pushing which results in it being grinded, try to increase the temperature by 5ºC or 10ºC to help the filament melt in time.
If you need the technical sheet for the BCN3D filament, you can check the filament category in our knowledge base: Filaments
3. Printing SpeedPrinting at high speed means that the gears on the motor will spin faster. During long-time prints, the filament can get grinded by the friction between the components of the extruding system and the high speed of the motor.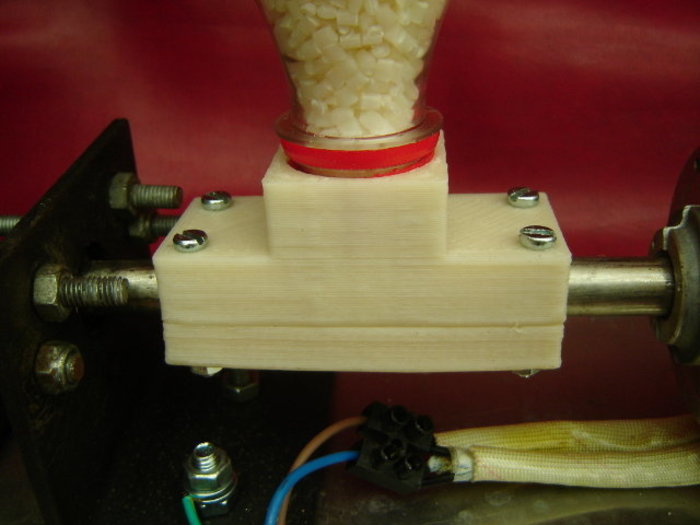
To fix it, you can reduce the printing speed allowing the extruder motor to work at lower pace; try to reduce the speed by 50% to check if the problem is gone or decrease the speed in steps by 10mm/s.
Solving mechanical issues
The configuration is not the only cause of the grinding problems, if you have already checked the steps above, the following steps will help to solve any mechanical issue that cause grinding.
1. Hotend clogIf you use different materials or the wrong configuration, parts of the filament can get stuck on the hotend and produce grinding on the filament, to avoid and solve it, is recommended to clean the hotend frequently.
- Click on the picture corresponding to your printer type know how to clean or unclog the hotend:
If the extruder motor is not properly adjusted, the gears might not be able to grab the filament or the filament gets crushed by the high pressure, in both cases causing underextrusion.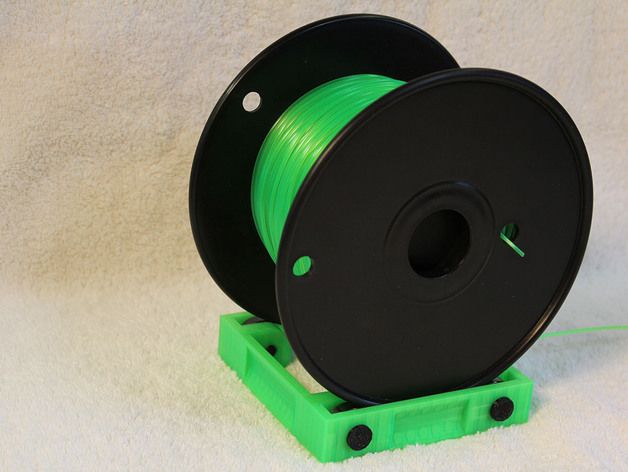
To adjust it properly, fully screw the knob and then lose one turn.
| Note: If you have the R16|R17 extruder motor the screw needs to be positioned at the same high as the block. |
The filament travels through the bowden which causes some friction during all its curves; if the bowden is damaged, the friction at the damaged point can cause the filament to get stuck. Visually check if the bowden has a notch. Insert a filament through the bowden to check if it can flow easily.
Get in contact with your distributor or with the BCN3D support team to get a new one in case it is faulty.
Extra tip: Remember to clean the extruder gears
if you had experimented with this issue to remove the dust that must have on the gears and avoid underextrusion issues related to the lack of traction of the filament
- To clean the extruder motor, click on the picture that corresponds to your printer:
| How to clean the extruder motor | |||
- Use the recommended profiles to check if the problem is coming from the printing settings or the hardware.

- Adjust the temperature, reduce the printing speed below 50mm/s and avoid aggressive retraction settings.
- Clean your hotend each time that you need to change the type of material to avoid clogs.
- If you still experience filament grinding issues, get in contact with our support team by filling this form.
| Send us your comments about this article | |||
|
RELATED ARTICLES | |||
Beginner's Guide to Smoothing 3D Models
3DPrintStory 3D printing process Anti-Aliasing PLA: A Beginner's Guide to Anti-Aliasing 3D Models
Sooner or later, all owners of 3D printers think about smoothing the surface of printed 3D models. In this article, we will look at how to achieve a smooth surface of the printed model if you are using PLA plastic for 3D printing.
Sanding the printed model
Almost any model will require sanding to smooth it out. It is best to use sandpaper with different levels of grit. You can start with a grit of 200, and continue to increase the grit up to 4000. It is best to sand in a circular motion against the fibers of the layer lines.
Resist the urge to use a power tool because the strong vibrations generated by power tools will easily melt plastic, deforming the surface. Even when sanding by hand, remember that friction generates heat that can damage the 3D model by melting the plastic.
The best sandpaper is waterproof or wet/dry because you can wet it to cool the plastic. You should also constantly rinse the 3D model to remove any particles that form during the sanding process. An added benefit is that the water prevents small plastic particles from getting into the air and being inhaled. Wet/dry sandpaper can be distinguished by color. Its grains are black, not brown or beige.
Polishing options with pastes and special coatings
With PLA smoothing, sanding will never completely eliminate layer lines. One effective method is to apply polishing paste to the remaining lines of the layer. Polishing pastes have varying degrees of quality, following the example of sandpaper. These compounds are usually designed for use with metals, but work quite well with plastics. Simply apply the compound to a sanding wheel or similar rotary tool attachment, then apply it to the plastic for a smooth and shiny finish. As with sanding, remember that polishing creates friction and therefore heat. When smoothing PLA with a grinding wheel, it is better to use a lower speed.
Another method for smoothing PLA is to use a sandable primer with a high filler content. Thin, even coats dry quickly, after which the primer can be sanded down to plastic so that it remains only in the recesses of the layer lines. Repeat the process until all 3D printing flaws are gone.
For both procedures, always use primer and paint from the same manufacturer and never mix acrylic and enamel. This can crack the paint and put an end to all the hard work you've done before.
Another product worth mentioning is Smooth-On's XTC3D Finish Coat. It uses two liquids, one of which catalyzes the other, to create a resin-like material that can be brushed onto a 3D model. The coating is evenly leveled, leaving no brush strokes. Although Smooth-On claims that XTC3D does not melt plastic, the resin definitely gets hot as the mixture begins to set. The end result is a smooth and hard appearance that can be painted over or used as a final coat.
Heat gun
A less popular option for smoothing PLA plastic is to use a heat gun. This method requires some practice because the tool obviously generates a lot of heat which can destroy your 3D model. Pre-sanding the model helps to expose the plastic, making the final effect much more effective. The key is to keep the gun moving across the surface of the model, never letting the gun linger on one area that could easily melt the plastic.
While PLA does not generally emit odors when extruded, heat will certainly produce fumes as the plastic softens. Regardless of which PLA flattening method you choose, always try to work in a well-ventilated area because heated plastic, resins, and spray paint release potentially harmful fumes.
Using Polymaker's Polisher
A well-known method to get smooth 3D models out of ABS is to place the model in a sealed container filled with acetone mist. The acetone interacts with the ABS and slowly melts the plastic, creating a super smooth model. Note : be sure to read the necessary precautions if you decide to try this method.
Unfortunately, you cannot do the same procedure with PLA because it does not react in the same way with acetone. Some other chemicals will do the same but are difficult to obtain and very dangerous and toxic to use.
Polymaker, best known for its 3D printing materials, has introduced its own anti-aliasing agent called Polysher. Using a proprietary PLA-like filament formula, the 3D model is lowered into a sealed chamber where isopropyl alcohol is sprayed, creating a mist around the object to be smoothed out. The 3D model rotates in an alcohol mist that reacts with the plastic and melts it. The longer the process, the smoother the model will be. When you take the 3D model out of Polysher, its surface will be sticky, so it's best to leave it for about half an hour. It also improves the final look, which may not be as smooth as you would expect.
As with the other procedures described here, a little sanding helps the process but is not necessary. Tip : Expose the 3D model to shorter Polysher sessions and flip the model between sessions. Surprisingly, this method also produces near-transparent models when used with Polymaker's transparent PolySmooth material.
Conclusions
Creating smooth surfaces on 3D models will require some work. Sanding will either prepare your model for other processes, or it will create a nearly flawless surface on its own. No matter which procedure you choose, there are always some caveats to any PLA smoothing process.
All processes remove material from your model. Sharp edges will be smoothed out, and it will be very difficult to get around fine details. So if you break your model into separate nodes, each of them can be smoothed using the most appropriate process. And as a result, it will be possible to assemble the final, smooth and professional looking model.
3D printed plastic post-processing, mechanical and chemical
The most popular finishing methods for 3D printed objects are sanding, sandblasting and solvent vapor treatment.
It is a misconception that 3D printing cannot produce objects that are as smooth and polished as traditional industrial technologies. Such claims can be countered with simple sandpaper, and this finishing technique is very common.
Which finishing technique is used depends largely on the geometry and material of the part. These factors determine both the level of aesthetics that can be achieved and its functionality, because different methods allow you to achieve different textures and appearances. Some methods are better suited for prototypes and exhibition models, while others are better for machine parts.
Sanding
Although fusing systems are designed to produce high-quality parts directly from the printer, the layer connection lines remain visible and the end user does not need this at all, especially when it comes to a solution in which the aesthetic appearance is priority. Sanding eliminates these shortcomings and can be used for models, sales samples or concepts, fully functional prototypes and end-level assemblies and mechanisms.
Many high-quality 3D-printed objects can be smoothed with sandpaper to get rid of lines where layers overlap.
Everyone knows the process of sanding. Plastic parts are processed by hand or on a grinding machine, as is done with wooden or metal elements. Sanding is inexpensive and effective, and it is a proven method by which a quality finish can be achieved. In fact, this is the most common way to refine 3D printed objects.
All but the smallest details can be sanded with sandpaper. And they can be large as much as you like, although it can be difficult to manually get to small defects and irregularities. In typical situations, the process is relatively fast. In layer-by-layer welding, we are usually talking about the fight against stepped surfaces. Steps on a part the size of a remote control take about 15 minutes to clean, while painting the same part takes 2 hours due to additional steps such as preparation and drying.
When a part must be precise and durable in the first place, it is very important to consider how much material will be removed by sanding. If a lot of it is removed, it is necessary to make changes to the design before printing, to make the walls thicker. The requirements for the part also determine which sanding technique will be used, manual or mechanical, and which tool will be used.
Sandblasting
The second most common finishing method is sandblasting. In this case, the operator controls the nozzle, from which a finely dispersed material is sprayed under pressure onto the part in order to hide traces of layers on it. The process is fast, takes 5-10 minutes, the result looks whole.
When sandblasting is placed in a closed chamber, a stream of small plastic particles is sent to the part, as a result of which the surface becomes smooth after 5-10 minutes.
This technology is easily modified and can be used with most materials. It is also used during the development and manufacture of a part, at any stage - from prototyping to production. This kind of flexibility is due to the fact that processing is usually done with fine particles of finely processed thermoplastic. It is this "sand", the abrasive characteristics of which, when sprayed, are in the range from medium to high.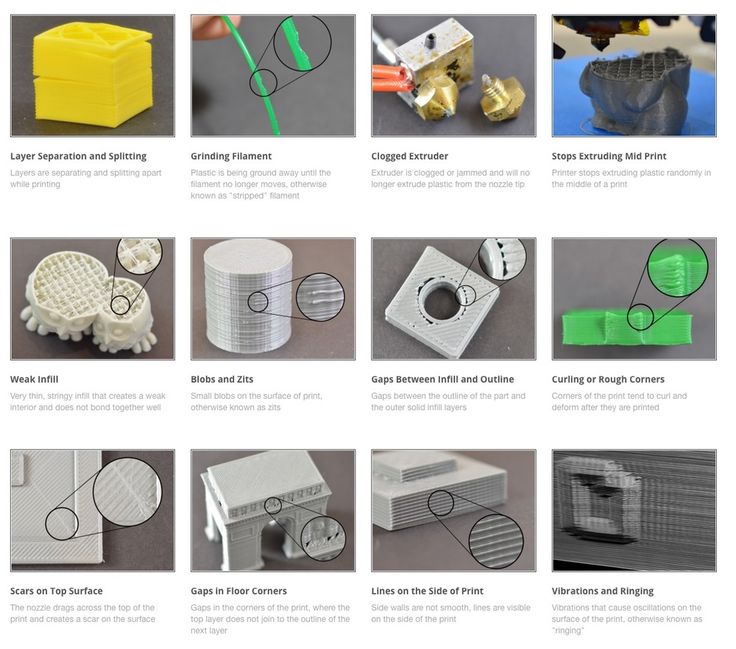 Baking soda works very well as it is not too harsh. However, it is somewhat more difficult to work with than with plastic.
One of the limitations of sandblasting is the size of the object. Since the process is carried out in a closed chamber of limited volume, it is usually up to about 60 x 80 x 80 cm.
Steaming
The third most popular finishing method is called steaming or steaming. In this case, the part is in an atmosphere of evaporation of a substance brought to the boiling point. The particles of the evaporating substance are fused into the treated surface to a depth of approximately 2 microns, making it smooth and shiny in just a few seconds. Those who prefer a matte finish can sandblast the part after steam blasting, when the part has already been smoothed and mechanical contact stress has been removed.
Acetone vapor treatment of ABS plastic makes the surface smooth and glossy, the only disadvantage of this technology is that corners and small parts are folded
Since the surface is very smooth, vapor treatment is widely used for consumer goods, prototypes and medical applications.