3D printing layering
8 Ways How to Fix 3D Printing Layers Not Sticking Together (Adhesion) – 3D Printerly
If you want a strong, reliable 3D printed part, layer adhesion and proper bonding is needed. Without this, you are likely to experience layer separation, splitting or delamination of your parts, or in simple terms, layers not sticking together.
Getting your layers to stick together in your 3D prints is important for getting a successful print that you can be proud of. There are some main issues that cause this layer separation, so if you are experiencing this, the following article should help you solve this problem.
The best way to get layers to stick together for your 3D prints is to do a series of slicer tweaks such as increasing printing temperature, decreasing printing speed, adjusting your cooling fans, increasing flow rate. Use trial and error for these settings with printer calibration tests.
There is more detail that is necessary for you to really know how to deal with this issue. I go into exact ways you should trial and error these settings, as well as give some good printer calibration tests so keep reading for this key info.
Why Do 3D Printer Layers Not Stick Together?
When your 3D printer layers don’t stick together, this is also known fancily termed, layer delamination.
It’s basically when your 3D printed layers are having physical issues layering on top of each other evenly, but it can happen for a number of reasons. The usual reason is because the melting of your filament isn’t being done adequately.
Your filament needs to be able to flow with an ideal amount of viscosity or liquidity so if your filament can’t get there with the right temperature, it can easily lead to layers not being able to stick together.
Other than that, it comes down to abrupt changes in temperature from cooling, under-extrusion or not giving your 3D printed layers enough time to settle and bond with each other. Fixing underlying under-extrusion issues can definitely help out.
When your layers are extruded at the necessary hot temperature, it can cool and shrink which puts pressure on the layer below it. With high levels of cooling that pressure can build up and cause layer separation.
A few setting changes in your slicer should be able to solve your 3D print layers not sticking together.
I will go directly into what you can do to solve this issue.
How to Fix Layer Adhesion Issues in 3D Prints
1. Increase Your Printing Temperature
The best solution that works for most people experiencing this issue is to increase your printing/nozzle temperature. Your filament needs to be melted enough to adhere to each other properly, so a higher heat will help that process.
Your best bet is to print out a temperature tower, where you gradually change the printing temperatures while it is printing.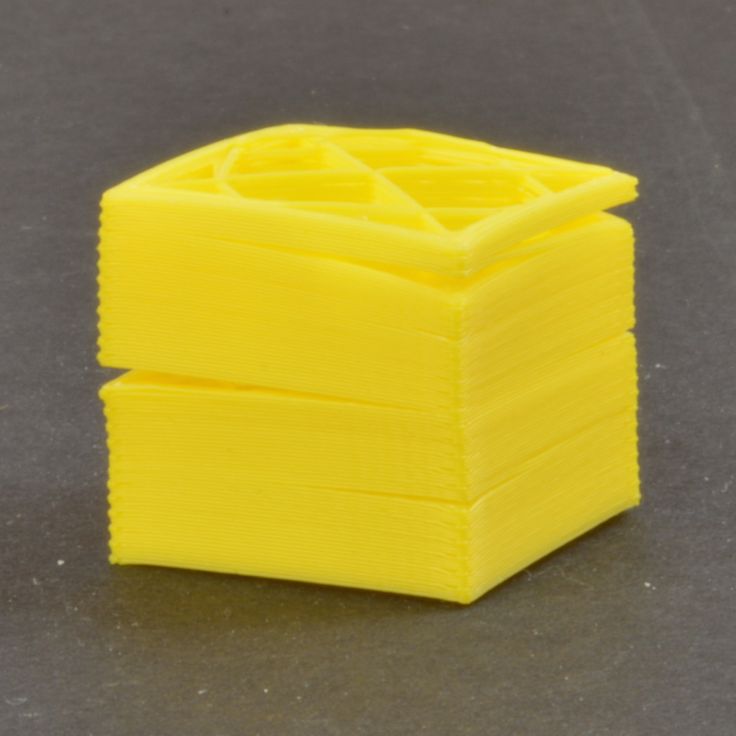 You should change them in 5C increments until you find the sweet spot that produces print layers that stick together.
3D printer filament do have a fairly wide range of temperatures that work for it, but depending on the brand, color and other factors, it can make a difference.
Using a temperature tower should be able to get you to your perfect temperature in just one print.
The temperature tower I use is the Smart Compact Temperature Calibration Tower by gaaZolee on Thingiverse. This was made because many of the other temperature towers out there were just too bulky and took a while to print out.
It’s a great layer adhesion test print as well.
This one is compact, made for many materials, and contains a number of calibration tests such as overhands, bridges and stringing all in one tower.
There has actually been an update in Cura where you can generate a temperature tower directly in there, so check out the video below to learn how to do this.
Temperature definitely affects layer adhesion, so keep this in mind when 3D printing, especially when changing filaments.
2. Adjust Fan Speed & Cooling
A cooling fan which isn’t working at its optimal efficiency can definitely contribute to your 3D prints not sticking together. If you find that other fixes aren’t working, this could be your issue.
What you can do in this instance is to print out some kind of duct specific for your 3D printer to help direct the cool air directly to prints. You don’t want huge changes in printing temperatures, rather a consistent temperature.
That should help out quite a bit, but you can also get yourself a more efficient fan altogether. One that is well-known and respected in the 3D printing community is the Noctua NF-A4x10 Fan from Amazon.
It’s currently rated 4.7 out of 5 stars with over 2,000 individual customer ratings, most of which are from fellow 3D printer users.
Not only is it a quiet cooling fan, but it is built for optimal cooling and power which you can easily control in your slicer.
Different materials require different levels of cooling. For a material like ABS, it’s sometimes recommended that you totally turn your fans off so it doesn’t warp, having a better chance to print successfully.
Nylon and PETG also aren’t big fans of cooling fans, so using your cooling fan at a rate as low as 30% can be advised for these materials.
3. Dry Your Filament
You can experience layer adhesion issues with your 3D prints if the filament itself has absorbed moisture from the environment. Many people don’t know that thermoplastic filaments for 3D printing are hygroscopic, meaning they absorb moisture.
Luckily we can actually dry out this moisture from the filament by using either an oven, or a specialized filament dryer. A lot of ovens aren’t calibrated very well at low temperatures so I don’t usually recommend using one unless you know the temperature is accurate.
For people that plan to 3D print long into the future, you can get yourself the SUNLU Filament Dryer from Amazon for your filament drying needs.
To make your 3D print layer adhesion better, place your filament in the filament dryer for the designated time for your specific filament at the right temperature.
4. Increase Your Flow Rate
Increasing your flow rate isn’t an ideal fix to go with straight away because it’s more of a symptom fixer. On the other hand, it can work pretty well to help bond your layers together.
Increase your flow rate or your extrusion multiplier means that more filament is being extruded. This gives your print layers a better opportunity to adhere to each other, resulting in less layer separation and stronger layer bonds.
It can cause over extrusion if you go overboard, so increase this in small increments. Increments of 5% per print should be enough to find that sweet spot for non-separated print layers.
Also, changing your extrusion width to above your normal nozzle diameter can combat the shrinkage of your filament.
This can fix issues such as 3D print wall delamination, which is when the exterior of your 3D model has layer splitting or layer separation.
5. Decrease Your Printing Speed
The same way your 3D printer temperature can cause layer separation, so can your printing speed.
Your prints do need time to settle in with each other, so they can peacefully bond before the next layer comes in.
If your prints don’t have the time to bond properly, layer separation or delamination can occur so this fix is definitely one to try out.
This is pretty self-explanatory, slow down your printing speeds in small increments, 10mm/s should be fine to test out.
There are speeds that 3D printer users usually stick between, which does vary between printers.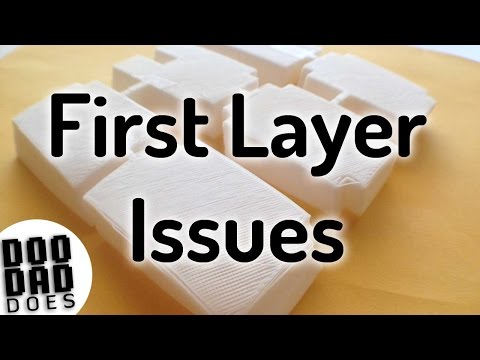 For a casual Ender 3 which I have, I find sticking anywhere between 40mm/s-80mm/s works out fairly well.
There are also speed calibration towers that you can print with to find your ideal printing speed.
The speed tower that I use is the Speed Tower Test by wscarlton on Thingiverse. You use a starting speed of 20mm/s and alter printing speed at 12.5mm up the tower. You can set up instructions in your slicer to ‘Tweak at Z’ to alter print your print speeds.
6. Decrease Your Layer Height
This one is a less well-known method to fix your layers not sticking together. There is a usual layer height that is advised, dependent on what nozzle diameter you are using.
At a certain point, your new layers won’t have the necessary bonding pressure to adhere to the previous layer.
You can get decent results by decreasing your layer height if your 3D printing layers aren’t bonding, but I’d recommend trying the other fixes before doing this since it’s more of a symptom fix rather than a causal fix.
A good guide to follow in terms of this is to have a layer height which is 15%-25% lower than your nozzle diameter for a successful print. The usual nozzle diameter you’ll have is a 0.4mm nozzle, so I’ll use that as an example with a midpoint of 20%.
For a 0.4mm nozzle:
0.4mm * 0.2 = 0.08mm (20%)
0.4mm – 0.08mm = 0.32mm (80%) of nozzle diameter.
So for your 0.4mm nozzle, a 20% decrease would be a 0.32mm layer height.
For a 1mm nozzle:
1mm * 0.2 = 0.2mm (20%)
1mm – 0.2mm = 0.8mm (80%) of nozzle diameter
So for a 1mm nozzle, a 20% decrease would be a 0.8mm layer height.
Using a layer height above this gives your layers less chance to properly adhere to the previous layer. Many people overlook this so if you see that your layers aren’t sticking together, try this method out.
7. Use An Enclosure
As previously mentioned, having a consistent printing temperature is ideal for many 3D printed materials. We don’t want external factors negatively affecting our prints because they can cause layer splitting or print layers separating.
PLA is less affected by these external influences, but I have had instances of PLA warping from drafts and breezes that came through the window. An enclosure is great to protect your prints from such things and is more likely to give you better quality prints.
A great enclosure that is gaining a lot of traction is the Creality Fireproof & Dustproof Warm Enclosure. It provides plenty of protection, noise reduction, but most importantly, that constant temperature printing environment to reduce the presence of print layers not sticking together.
Due to popular demand, they’ve also included a larger version for those bigger 3D printers out there.
If you are getting 3D printing layer separation in PLA or another filament, using an enclosure is a great fix since it keeps the temperature more stable.
8. Use a Draft Shield Setting
Cura has an experiment settings option called a Draft Shield which builds a wall around your 3D print. The goal of this is to trap hot air around your prints to solve warping and delamination issues, so it’s made specifically for our main issue here.
The first section of the video below goes over this Draft Shield option so check that out if you are intrigued.
I hope this article helps you to solve the frustrating issue of your 3D prints separating during the printing process. With a little trial and error, you should be able to put this problem behind you and get some great looking prints.
If you are interested in reading more about 3D printing, check out my post on the 25 Best Upgrades You Can Do For Your 3D Printer or Are 3D Printed Parts Strong? PLA, ABS & PETG.
How to Fix Layer Separation and Avoid It?
Among in 3d printing troubleshoot, layer separation could be one of the most disastrous. Not only does a print with separated layers look terrible, but it also has virtually no mechanical strength.
It’s also irreversible – by the time you see layers splitting in your project, you will likely have to start over.
Contents(show)
What Is Print Layer Separation?
Layer separation also called layer splitting or layer delamination is caused by the filament material layer’s inability to bond between layers.
Without anything to latch on to, the material expands as it cools, creating the characteristic appearance of the layer warping upward.
Reasons for 3D Printing Layer Separation
About print separate, there are so many factors that could lead to this problem. such as software setting(cure), types of filament, and printing preparation.
It is not the problem with 3d printer, you don’t need to upgrade special hardware for your printer.
Filament Type
The melting flow rate is different among 3d printer filaments. When coming back to 3d printing, some has better adhesion of layers. ABS and Nylon are two outstanding examples.
If you’re having delamination between layers with ABS or other material which needs high print temperature, switching over to something like PLA or PETG might be the easiest solution.
Nozzle is not Clean
Any residual filament, dust, or dirt in the nozzle can cause extrusion problems because of clogging.
Inconsistent extrusion can lead to poor layer adhesion and eventually, layer separation.
Improper Setting
3D printers can be quite unforgiving when dialing in the proper settings for any given filament.
Improper printer settings can lead to delamination layers. It includes cooling fan speed, layer thickness, printing temperature, and so on.
Want to Fix Layer Separation? Try These Solutions
To develop a comprehensive solution to the layer separation problem, we must look at each possible reason and try to address it.
Reduce Layer Height
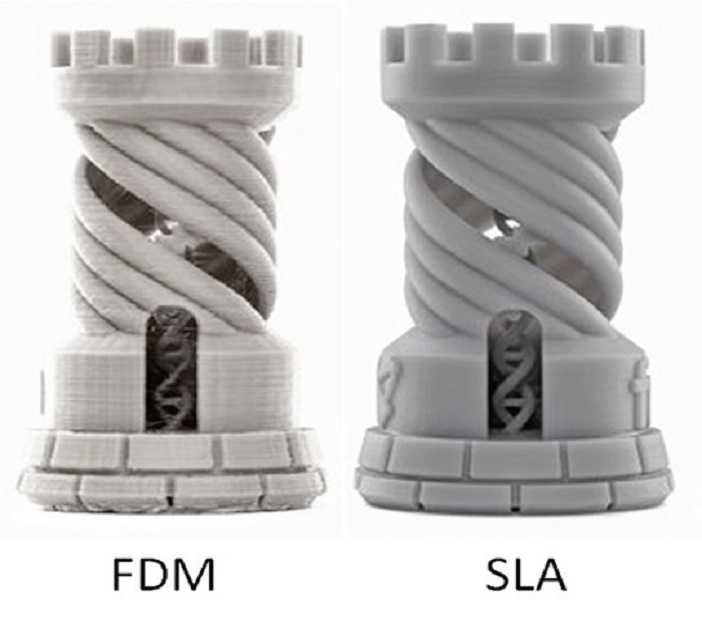
When printing with an FDM printer, the rule of thumb sets the layer height at about 80% of the nozzle diameter. Any higher setting and you run the risk of layer separation.
Reducing layer height creates a “squishing” effect when the material is extruding. This action can mechanically aid layer adhesion by pushing the layers together. Adjusting the layer height settings can be one of the most straightforward fixes to layer separation.
Improve Nozzle Temperature
Plastic at a higher temperature will always bond better. You can take advantage of this behavior by increasing your nozzle temperature. If you’re having layer separation problems, try increasing the hot end temperature by 5 °C increments.
You can continue doing this as long as you’re still within the acceptable temperature range of your filament. Also, watch out for stringing or blobs – that’s a sign that your temperature is already too high. Dial down the temperature a bit and look at other possible solutions.
Slow Printing Speed
As with most 3D printing problems, taking it slow and steady is a safe approach to eliminating layer separation. In this case, you may want to reduce the speed of movement of the print head.
Try to reduce your print head movement speed by increments of 10 mm/sec until you can see a marked improvement. Ensures that enough filament extrudes out as the print head moves. It also gives the filament enough time to create strong bonds with the previous layer as it cools down.
Print In Enclosure
One of the most reliable ways to avoid layer separation is to slow down the filament’s cooling.
Allows the material to maintain high temperatures longer, thus bonding better with the preceding layer. It also redistributes thermal stress in the material to avoid the usual warping issues.
A great way to slow down cooling is to print in an enclosure. It can maintain an elevated temperature in the printing chamber and prevents heat loss to the surroundings of the 3D printer.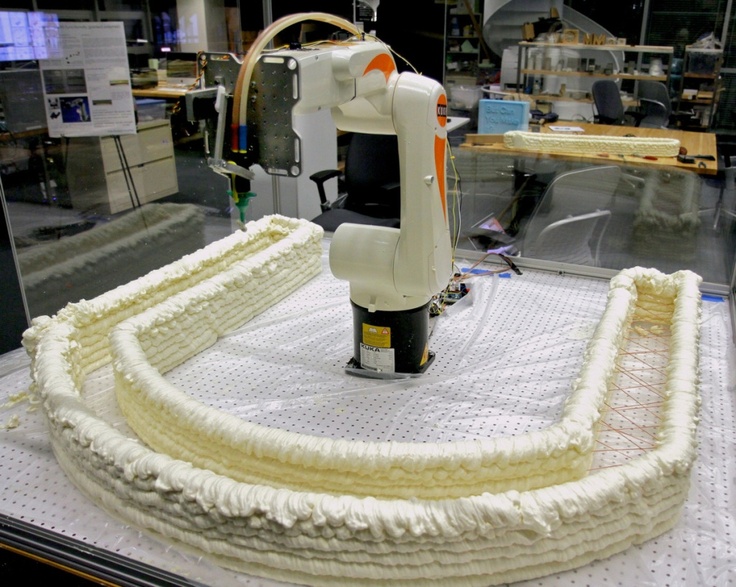 This way is advantageous if you’re printing in a room with an open window and periodic gusts of wind.
If your 3D print does not come with a built-in enclosure, you can buy a third-party product. You can even DIY a 3D printer enclosure using inexpensive materials. Just make sure not to use materials that can melt or catch fire easily.
Check Clogged Nozzle
The clogged nozzle will almost certainly lead to under-extrusion. The layer will have holes or gaps in them and compromising layer adhesion.
Any residual filament, dust, or grime can get burnt inside the nozzle and cause a clog. To avoid this, you can use a brush with brass or steel bristle to clean the inside of the nozzle periodically.
You can also do the “cold pull” method. Insert a piece of Nylon filament inside the nozzle, heat it, cool it down, and pull it out.
If this still doesn’t work, then you can disassemble the nozzle and soak it in acetone. While you’re at it, take the time to clean your entire extruder assembly.
Improve Print Cooling
The cooling fan in your 3D printer is there for a reason. However, that does not mean that you need to use it all the time.
If you’re having problems with layer separation, the best course of action would be to turn your cooling fan off.
Other Tips You Need to Know
The solutions we have listed above all have to do with the actual 3D printing process. Just as crucial as dialing in the correct settings is making sure that you are working with a suitable filament.
Here are a few things to check on the raw material side of 3D printing.
Filament Quality
When you work with cheap and poor-quality filament, you cannot expect it to perform just as well as those coming from reputable brands.
A common characteristic of cheap filament is that they have poor diameter consistency. It will lead to extrusion problems and inconsistent layers.
If you cannot get your layers to print perfectly, you will almost certainly have layer separation problems.
Store 3D Filament Properly
It has been repeated time and time – humidity is the mortal enemy of 3D printing filaments. Filament materials are naturally hygroscopic, which means that they absorb moisture readily from the environment.
The filament that is absorbed with moisture will lead to heavy extrusion problems. Water will expand and evaporate in the hot end, resulting in layers with holes or gaps. These are weak points in layer adhesion and will eventually cause the layers to start splitting.
To make sure your filament stays in good condition, keep it in an airtight container with some desiccant. Silica gel is an inexpensive and easily accessible desiccant option. You can also consider drying your filament in an oven for 4 to 6 hours before 3D printing.
Summary
3d printer layers separate are frustrating because there’s no way to salvage. For this reason, it’s worth the time to double-check your 3D printer and slicer settings to make sure that no layer separation takes place.
It’s also essential to use high-quality filament and kept away from moisture. This may sound like a lot of work, but it is still better than letting all the filament waste.
Need Any Services? Contact Us Now!
Fused Deposition Modeling (FDM)
- 1 FDM Technology
- 2 History
- 3 Process
- 4 Application
- 5 Other 3D printing technologies
FDM technology
Heacenth FFF printer based on Prusa Mendel open source RepRap design
Fused deposition modeling (FDM) is an additive manufacturing technology widely used in 3D modeling, prototyping, and industrial manufacturing.
FDM technology involves the creation of three-dimensional objects by applying successive layers of material that follow the contours of a digital model. As a rule, thermoplastics supplied in the form of spools of filament or rods act as printing materials.
FDM technology was developed by S. Scott Trump in the late 1980s and entered the commercial market in 1990.
The original term "Fused Deposition Modeling" and the acronym FDM are trademarks of Stratasys. 3D printing enthusiasts at RepRap have coined a similar term, "Fused Filament Fabrication" or FFF, to circumvent legal restrictions. The terms FDM and FFF are equivalent in meaning and purpose.
History
Fused Deposition Printing (FDM) was developed by S. Scott Trump at the end of 1980s and introduced to the market by Stratasys since 1990. At the moment, the technology is becoming more widespread among enthusiasts creating open source printers, as well as commercial companies, due to the expiration of the original patent. In turn, the widespread adoption of the technology has led to a significant reduction in the prices of 3D printers using this production method.
Process
Stratasys' latest Connex3 multicolor FDM printer
The production cycle begins with the processing of a 3D digital model.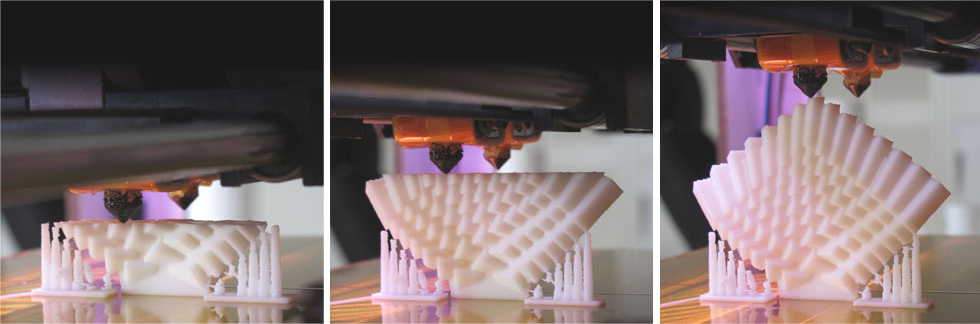 The STL model is divided into layers and oriented in the most appropriate way for printing. If necessary, the supporting structures needed to print overhanging elements are generated. Some devices allow the use of different materials during one production run. For example, it is possible to print a model from one material with supports printed from another, easily soluble material, which makes it easy to remove support structures after the printing process is completed. Alternatively, it is possible to print different colors of the same type of plastic while creating a single model.
An article, or "model", is made by extrusion ("extrusion") and the application of microdroplets of molten thermoplastic to form successive layers that harden immediately after extrusion.
Plastic filament is unwound from a spool and fed into an extruder - a device equipped with a mechanical drive for feeding the filament, a heating element for melting the material and a nozzle through which the extrusion is carried out directly.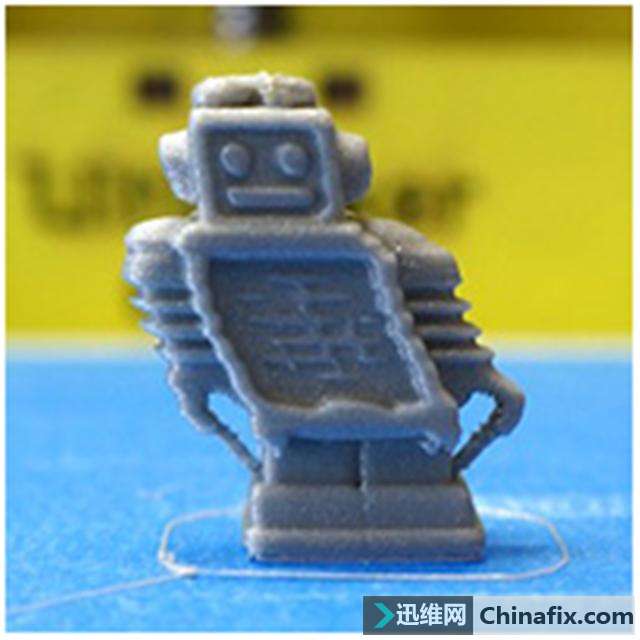 The heating element serves to heat the nozzle, which in turn melts the plastic filament and supplies the melted material to the model being built. Typically, the top of the nozzle is instead cooled by a fan to create the sharp temperature gradient needed to ensure smooth material flow.
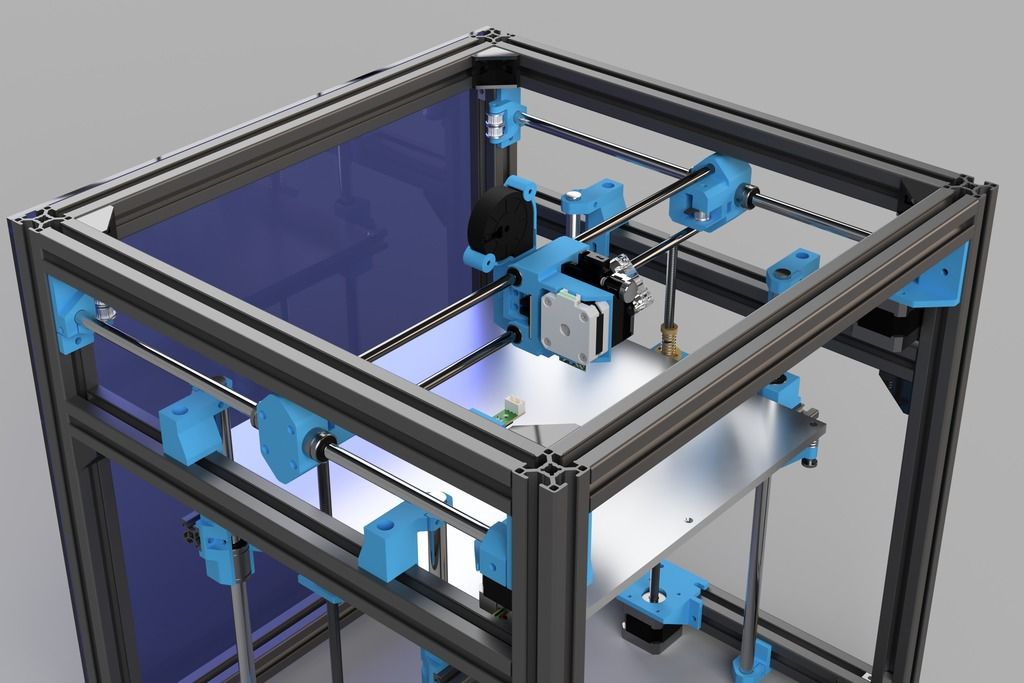
Diagram of a typical FDM printer
The extruder moves in the horizontal and vertical planes under the control of algorithms similar to those used in CNC machines. The nozzle moves along a trajectory set by a computer-aided design system (“CAD” or “CAD” in English terminology). The model is built layer by layer, from bottom to top. Typically, the extruder (also called the "print head") is driven by step motors or servos. The most popular coordinate system used in FDM is the Cartesian coordinate system, built on a rectangular 3D space with X, Y, and Z axes. An alternative is the cylindrical coordinate system used by so-called "delta robots".
Typical filament spools used by FDM and FFF printers
FDM technology is highly flexible but has certain limitations.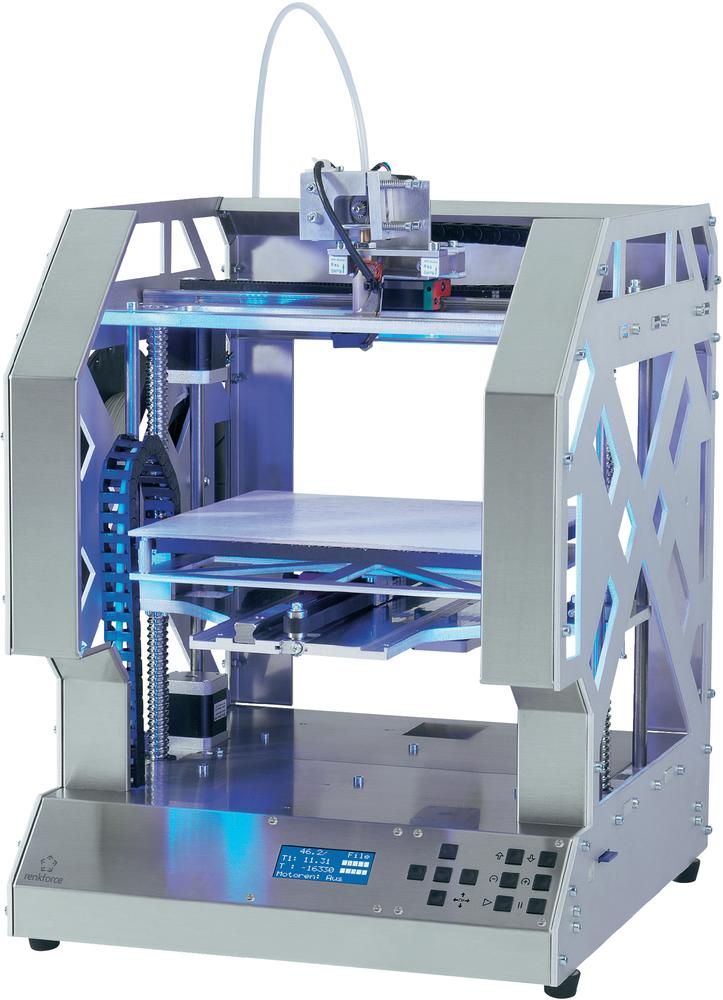 Although overhanging structures can be created at small angles, large angles require the use of artificial supports, usually created during the printing process and detached from the model at the end of the process.
A variety of thermoplastics and composites are available as consumables, including ABS, PLA, polycarbonates, polyamides, polystyrene, lignin, and many more. As a rule, various materials provide a choice of balance between certain strength and temperature characteristics.
Application
Printrbot FFF Extruder
Fused Deposition Modeling (FDM) is used for rapid prototyping and rapid production. Rapid prototyping facilitates re-testing with consistent, step-by-step object upgrades. Rapid production serves as an inexpensive alternative to standard methods when creating small batches.
Materials used include ABS, polyphenylsulfone, polycarbonate and polyetherimide. These materials are valued for their heat resistance. Some variants of polyesterimide, in particular, have high fire resistance, making them suitable for use in the aerospace industry.
FDM is one of the least expensive printing methods, which contributes to the growing popularity of home printers based on this technology. In everyday life, FDM 3D printers can be used to create a wide variety of purpose-built objects, toys, jewelry and souvenirs.
Other 3D printing technologies
- Mask stereolithography (SGC)
- Multi-Jet Simulation (MJM) Technology
- Color inkjet (CJP)
- Digital LED Projection (DLP)
- 3D Inkjet Printing (3DP)
- Selective Laser Sintering (SLS)
- Selective laser melting (SLM)
- Stereolithography (SLA)
- Selective heat sintering (SHS)
- Lamination of objects (LOM)
- Electron Beam Melting (EBM)
- Direct Metal Laser Sintering (DMLS)
- Electron Beam Fusion Manufacturing (EBFȝ)
Go to the main page of Encyclopedia of 3D printing
3D printing: layer-by-layer bonding
3D printing service is becoming more and more popular . Previously, 3D printing was used primarily to create a prototype object . That is, for promotional and marketing purposes , industrial design , and medicine and cinema . This technology was considered expensive and available only to large manufacturers.
\n\n
Now 3d printers are becoming almost non-devices for everyday use. Their dimensions are gradually decreasing, and the number of models is increasing exponentially every year.
\n\n
Among other articles on our site, you can read volume how to choose a 3D printer - so that it meets all your needs. And, in a separate order, we will tell you where to buy a 3D printer overpaying .
\n\n
\n\n
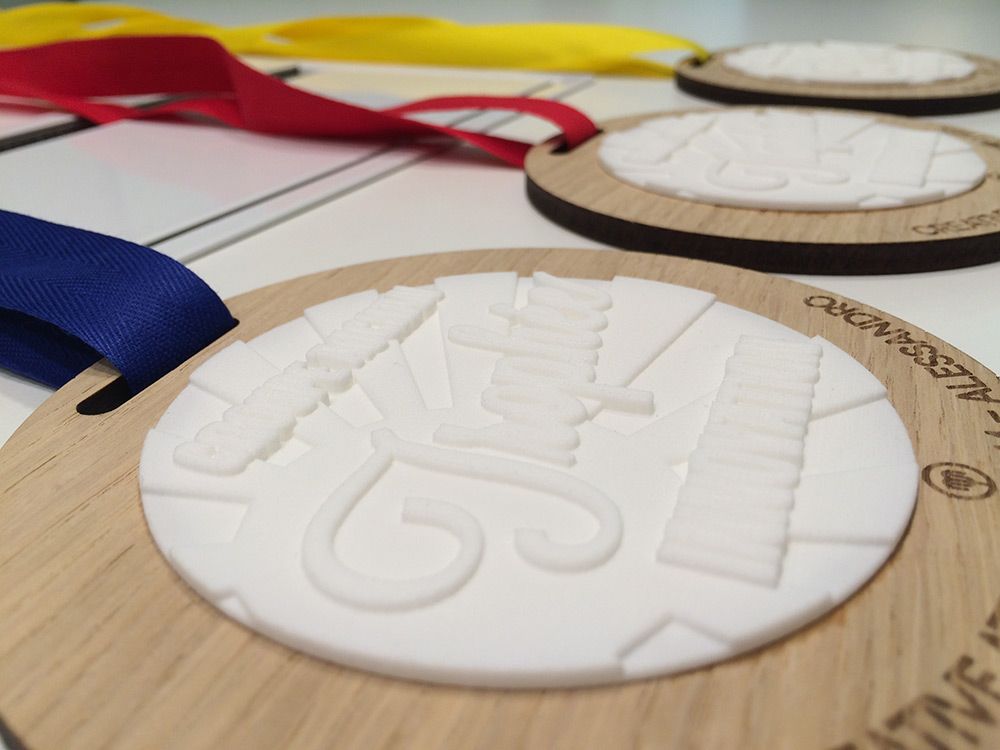
In this article, we will introduce you to one of the 3D printing methods - three-dimensional printing technology by layer-by-layer gluing.
\n\n
KOLORO has rich experience in providing 3D printing services , therefore, our engineers, when creating 3D objects of various sizes and complexity, are guaranteed to select the most profitable 3D printing method for the client .
\n\n
Today, there are several most common 3D printing technologies:
\n\n
- \n\t
- Powder laser sintering technology;
- \n\t
- Layering method;
- \n\t
- Stereolithography.
- \n
\n\n
All of the above methods are very popular, but for more than five years there has been another 3D printing method on the market - layer-by-layer gluing .
\n\n
Layer bonding
\n\n
\n
\n\n
Layer bonding technology is the 3D printing process based on layer-by-layer bonding of laminated paper or resin film.
\n\n
A prototype is cut out from a stack of sheets formed by a three-dimensional printer and glued together using a laser or other cutting tool. At the same time, the model of the formed prototype itself is located on a movable magnetic platform, and the knife or cutting laser is fixed on the movable, forming the prototype, head of the 3D printer. As for the sheets glued together, the glue is applied to the entire surface of the sheet film, and in those places where the knife must pass, a special substance is applied - a special "anti-glue". Anti-glue application provides easy removal of excess material during 3D printing and post-processing of the resulting prototype. Anti-glue is applied by the 3D printer itself using special markers.
\n\n
Solido 3d printer. How it works
\n\n
\n
\n\n
Today only one 3d printer uses layer-by-layer bonding technology - this is 3d printer Solido . Its consumable material is a reel with a special film, weighing seven kilograms, which is inserted into the printer. It should be noted that the sheets for gluing are not laid on the entire length of the working platform, but exactly as far as the length of the three-dimensional model requires. The magnetic backing of such a printer should be replaced after 5-10 printing cycles.
\n\n
The printer has two blades. The first one is responsible for cutting the sheets, and the second one is the shaping tool for the 3D model. It is worth noting that the second blade should be changed at the rate of: one blade - for two or three reels. The size of the working area in this three-dimensional printer is 160x210x135 mm, and the overall dimensions of of the printer itself are 770x420x465 mm. The weight of the Solido 3D printer is 40 kg.
\n\n
3D printing steps
Benefits:\n\n
- \n\t
- Small size allows you to place the printer directly on your desktop;
- \n\t
- Low noise;
- \n\t
- Absolutely harmless to humans;
- \n\t
- Created prototypes require minimal post-processing;
- \n\t
- Low consumable cost;
- \n\t
- Possibility of color 3D printing.
- \n
\n\n
Among the negative qualities, it is worth mentioning that a fairly large amount of used film goes to waste - about 50%. This happens, for example, during the manufacture of the body of the instrument . However, this disadvantage is compensated by the low cost of consumables for 3D printer . Also, film consumption can be optimized due to the correct location of several objects for 3D printing on the working platform at once.
\n\n
\n\n
In addition to high material consumption, one of the disadvantages of layer-by-layer gluing printing is the small size of the built prototypes. But, for example, in the case of building up to a dozen small prototypes for a three-dimensional physical presentation to the customer of the developed packaging , this visualization method is extremely interesting!
\n\n
Scope of Solido
3D printer\n\n
\n
\n\n
These 3D printers are widely used in work:
\n\n
- \n\t
- educational institutions;
- \n\t
- design offices;
- \n\t
- design studios, etc.

Learn more