3D printing flexible materials
Ultimate Materials Guide - 3D Printing Flexible Filament
Overview
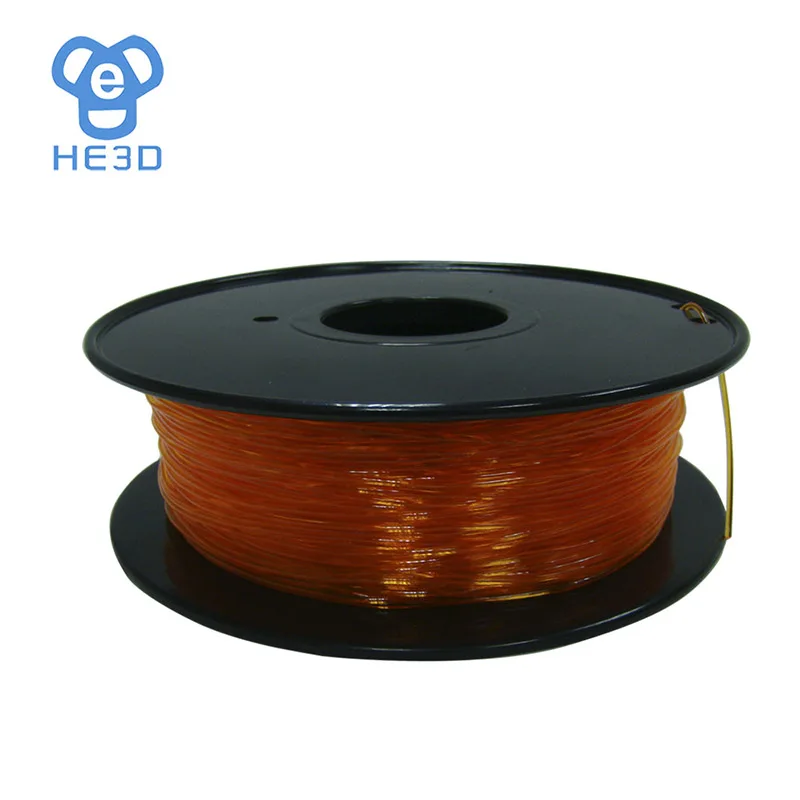
Flexible filaments are made of Thermoplastic Elastomers (TPE) which are a blend of hard plastic and rubber. As the name suggests, this material is elastic in nature allowing the plastic to be stretched and flexed easily. There are several types of TPE, with Thermoplastic polyurethane (TPU) being the most commonly used among 3D printing filaments. In many cases, these terms are used interchangeably, along with popular brand names such as Ninjaflex. The degree of elasticity in the plastic depends on the type of TPE and the chemical formulation used by the manufacturer. For example, some filaments can be partially flexible like a car tire but others can be elastic and fully flexible like a rubber band. This guide will cover tips to help you with both of these variations of flexible filaments.
- Flexible and soft
- Excellent vibration dampening
- Long shelf life
- Good impact resistance
- Difficult to print
- Poor bridging characteristics
- Possibility of blobs and stringing
- May not work well on Bowden extruders
Hardware Requirements
Before 3D printing with flexible filaments, make sure your 3D printer meets the hardware requirements listed below to ensure the best print quality.
Bed
Temperature: 45-60 °C
Heated Bed Optional
Enclosure Not Required
Build Surface
PEI
Painter’s Tape
Extruder
Temperature: 225-245 °C
Direct Drive Extruder Recommended
Cooling
Part Cooling Fan Required
Best Practices
Flexible filaments come with many unique challenges that you want to be aware of. These tips will help you reduce the chances of common 3D printing issues such as clogging, kinking, and stringing.
Use Direct Drive Extruders
While some partially flexible filaments work fine with Bowden Extruders, most fully flexible filaments require a Direct Drive extruder for best results. The distance between the drive gear and the melt zone of the hot-end needs to be as short as possible to efficiently feed the filament into the nozzle. Additionally, the pathway through which the filament travels into the melt zone should have tight tolerances to prevent the filament from kinking or coiling inside.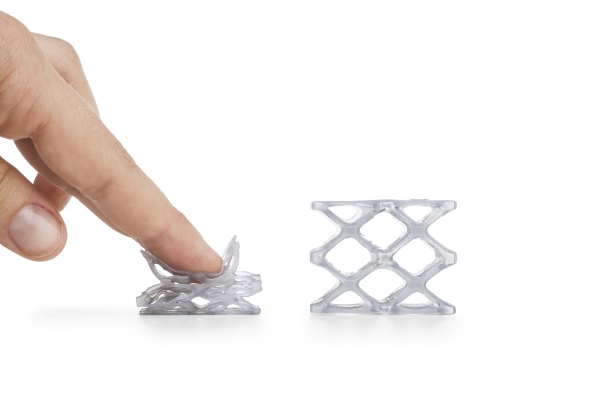 For these reasons, it is typically much easier to print flexible filaments with a Direct Drive extruder versus a Bowden extruder. If you are unsure about your 3D printer’s capabilities, you may want to check with the manufacturer to see if the extruder has been approved for use with flexible filaments.
Use Slow and Consistent Feed Rates
Flexible filaments typically print best using a slow and consistent feed rate. Because the material is elastic, it can be very difficult to control sudden changes in the print speed. Higher print speeds can cause the filament to compress and will most likely result in a jam. Slow and steady is the best approach. Simplify3D provides all of your feed rate settings on the Speeds tab of your process settings so that you can easily configure these values. Finding the optimal print speed for your material can take several attempts based on trial and error. We have seen that speeds of 1200 mm/min (20 mm/s) can be a good starting point for most materials.
Reduce Resistance from the Filament Spool
A few tweaks to your material spool can also make a big difference with flexible materials. Typically, your extruder will pull the filament into the nozzle, forcing the filament spool mounted on your printer to unwind a bit of plastic in the process. However, because flexible materials are elastic, this will stretch the filament out as it is being pulled in and can actually result in under-extrusion. Try mounting the spool above your printer so that the filament unwinds in a downward direction which can reduce the resistance. It can also be incredibly helpful to mount the spool’s hub on a bearing to allow the spool to spin as freely as possible.
Tune Your Retraction Settings
The elastic nature of flexible filament makes it sensitive to quick movements such as retractions. In order to successfully print the filament, you will need to optimize your retraction settings to reduce these movements. While you are first starting with this material, we would recommend disabling retraction completely. You can make this change in Simplify3D on the Extruders tab of your process settings. With retraction disabled, you can focus on finding the perfect speed and extrusion rates that allow you to reliably print your models. After you are more confident in these settings, you may wish to add a very small amount of retraction with a slower retraction speed to help with any potential oozing from the hot-end. Simplify3D also includes a unique option called Coasting, which will automatically help lower the pressure in the nozzle when you approach the end of a segment, which can significantly reduce blobs and stringing with these materials. If you want more information about other options that can help reduce hairs and stringing on your prints, we have an entire section on our Print Quality Guide dedicated to that issue: How to Reduce Stringing and Oozing.
Optimize Your Travel Movements
Retractions can be particularly troublesome for flexible materials, so it is typically best to minimize the number of retractions required for your print.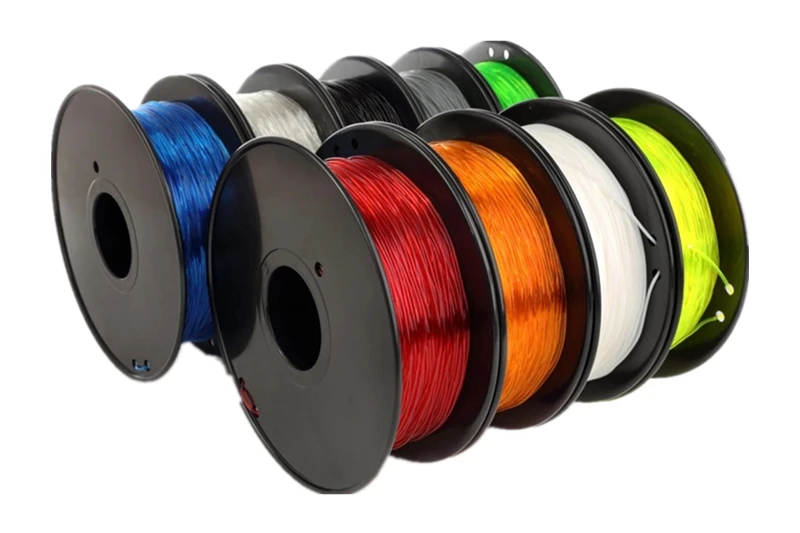 Simplify3D has a great feature that was built specifically for this situation. Instead of moving in a straight line from point A to B, the software will actually choose a completely new path when moving between these points, with the goal of staying within the interior of your object so that there won’t be any oozing or stringing. With this unique feature enabled, you can greatly reduce the amount of retractions required for your print and significantly improve your print quality. To use this feature, click on the Advanced tab of your process settings, and enable the “Avoid crossing outline for travel movement” option.
Pro-Tips
- Optimize the feed rate by printing at lower layer heights in the 0.1mm – 0.2mm range. The lower layer height requires less plastic, so it allows your extruder to use a lower feed-rate, relieving the burden on the filament.
- Try to avoid using rafts with flexible materials, as the base layers of the raft have higher extrusion rates which may create issues.
- If you are designing a flexible part that needs to fit on top of another object, try using a negative tolerance between the parts so that the flexible part will need to stretch to fit over the other object snugly.
Get Started with Flexible Filaments
Now that you’re ready to start printing with flexible materials, we have a few tips to help you get started. View some typical applications below, try out a few of our sample projects, or choose a popular filament brand to purchase for your next project.
Common Applications
- Vibration dampening
- Grip Sleeves
- Phone cases
Sample Projects
- RC Car Tire
- Phone case
- Bike Handle
Popular Brands
- NinjaTek Ninjaflex, Armadillo, Cheetah
- Polymaker PolyFlex
- eSun TPE
- Sainsmart Flexible TPU
Here are our best tips!
3D Learning Hub
See all categories
Contents:
- Introduction
- What are your possibilities when it comes to flexible 3D printing?
- What can 3D printing flexible materials can be used for?
Introduction
What are your possibilities when it comes to flexible 3D printing?
Ultrasint® TPU01
Ultrasint® TPU01 is an elastomer, a flexible material belonging to the thermoplastic polyurethane family, and has been developed for HP’s Multi Jet Fusion 3D printing technology. This material presents a very high elasticity, characterized by an elongation at break of over 260%. Along with this flexibility, Ultrasint® TPU01 is a strong, durable material offering great rebound and shock absorption capabilities.
Thanks to these properties, this high-performance material has much to offer to final part production projects: Ultrasint® TPU01 can indeed be utilized along with lattices to design light sports equipment, footwear, and orthopedic soles, but can also be used for other applications such as car interior component or tool manufacturing.
Other than its performance, Ultrasint® TPU01 combines a great surface quality and a potential for advanced finishings. The raw material is grey and can undergo chemical smoothing to get a shiny black finished look.
Parts printed with Ultrasint® TPU01 should be provided with a 0.8 mm minimum wall thickness.
via GIPHY
Ultrasint® TPU 88A
Ultrasint® TPU 88A is, just like Ultrasint® TPU01, a thermoplastic polyurethane presenting similar fatigue resistance, flexibility, energy return, and shock absorption capabilities. Designed for SLS 3D printing technologies, this elastomer shows a high UV resistance and resilience after deformation.
Unlike its Multi Jet Fusion counterpart, Ultrasint® TPU 88A parts come out white and can be post-processed with chemical smoothing to get a slightly translucent finished look. Parts produced with Ultrasint® TPU 88A should also have a 0.8 mm minimum wall thickness.
PEBA
What is PEBA material? PEBA is a plastic material, but a little bit different than hard plastic materials we are used to working with in the additive manufacturing industry. Indeed, it is a rubber-like material, it is flexible but also quite resistant, which makes it quite an interesting material. It can totally resist to stress and fatigue. PEBA 2301 is great for both experienced professionals and beginning designers because of its high precision and low cost. Unpolished, the material is white, granular, and somewhat porous.
Elastomeric Polyurethane
Elastomeric Polyurethane, also referred to as EPU, is a high-performance polyurethane elastomer. Developed for CLIP DLS processes, what makes this material stand out is its great elasticity under cyclic tensile, compressive loads, and under wide-ranging temperatures.
The stretchability and durability of EPU make it a perfect fit for applications in which tear and impact resistance are needed. Examples of applications for this resin are gaskets, grommets, cushioning, and flexible watertight seals. This material comes out black, with a rubbery touch, and can be polished in order to get all supports or eventual bumps removed. The minimum wall thickness EPU parts are to be provided with is 1mm with supports or 2.5mm without supports.
Flexible Filament
Using a desktop 3D printer, you could also use a flexible filament in order to manufacture your parts. 3D printing with flexible filaments using the FDM technology could be a solution for you to make some rapid prototyping.
What can 3D printing flexible materials can be used for?
3D printed joints and snap fits
You could need to 3D print flexible part in order to connect to parts. Indeed, you could certainly glue your components but designing flexible parts will help you reduce your assembly time.
Do you want to create 3D printed joints? Follow our tutorial to learn how to make 3D printed joints and snap fits in order to connect two parts. See how you could create these design features by yourself!
As the MultiJet Fusion PA12 material is both strong and flexible, our professional designers chose it to create several joints and snap fits possibilities.
3D printed clothes and shoes
A 3D printing material like PEBA can be used by the fashion industry for example. Most of the time, designers 3D printing clothes are using flexible materials to get parts responding to the movements of the body.
For example, this following dress is made by the American designer Travis Fitch, with at least 30 different sections. It has been 3D printed using a flexible colorful multi-material.
A few years ago, at Sculpteo, we 3D printed a clothes collection with the designer Anastasia Ruiz, the “Virus Collection”. More than flexible materials, in order to get wearable clothes, you will need to get specific designs for your 3D models in order to create innovative articulations and this Virus collection is actually showing it quite well.
Here is another example of the use of flexible materials in the fashion industry: The famous shoemaker Adidas is also using 3D printing to create soles for the Futurecraft 3D, a pair of running shoes. For this 3D printed sole project, they had to use flexible material, as a shoe sole has to be a little rigid, but still a little bit flexible, as it has to be wearable.
virus collection fashion 3d printing
3D Printed footwear & sports equipment
High-performance flexible 3D Printing materials such as Ultrasint® TPU 88A and Ultrasint® TPU 01 offer new perspectives to sports equipment manufacturing. Indeed, the bedrock requirements for such projects combine high-durability and light weight. In that regard, These two materials have no match. Their shock absorption and energy return properties live up to the damping standards for shinguards, helmets, shoes, and much more, while lattice designs open up lighter equipment production possibilities.
Have you already used 3D printing flexible materials? What are your thoughts about it? Share your experiences with us in the comments! If you want to start and create your project using flexible parts. Tell us if you prefer to use 3D printing filaments or professional 3D printing technology such as SLS or MultiJet Fusion. Don’t hesitate and start to upload your 3D files on our 3D printing service right now!
Related Topics
- Return to Top
Get the latest 3D printing news delivered right to your inbox
Subscribe to our weekly newsletter to hear about the latest 3D printing technologies, applications, materials, and software.
How to print flexible materials on a conventional FDM printer? Likbez from the company REK.
Along with beautiful photos and interesting videos, where someone prints high-quality models with flexible material on a regular FDM printer without any problems, there are many questions and messages on the Internet, such as “How to print with flex?”, “I generally have flex doesn’t work, what should I do?” etc.
In short, the average picture looks something like this:
Time to end this. Likbez from the company "REK".
Foreword.
For flex printing, it is important to observe some points. Alas, not all 3D printer manufacturers create their product with the ability to print with flexible materials. But after all, you already have such a powerful tool as a 3D printer, on which you can print any desired part, so it's time to put the old joke “buy a 3D printer - print a 3D printer” into practice. The entire printer will most likely not need to be printed, but a quick and easy tuning will be needed. 9).
9).
Hardware. extruder. The most common problem is that the extruder chews up the rod and it looks something like this (the problem area is circled):
No matter how carefully and accurately you push the flex into the extruder, after 5 seconds or after 5 minutes, it still chews up. This happens because there is a gap between the feed rollers and the entrance to the hot end or tube (bowden) channel in which the flexible rod will jam (YES, even if it is a very small gap. YES, even if there is only a couple of mm).
Familiar ABS and PLA are quite hard, they are difficult to crumple even in a centimeter gap. Flexible plastic should not be left even the slightest opportunity to go somewhere “not there”, so this gap in the extruder must be removed. For RepRap owners, this will not be difficult at all, because. they probably already have tuning experience; in free catalogs of 3D models (such as thingiverse or youmagine or myminifactory) everything has already been invented before us and there are already ready-made models of modified extruders or parts for tuning existing ones. In general, the new extruder will be different in this:
Here are some examples of tuning extruders for different printers:
http://www.thingiverse.com/thing:247024 - Solid Dulls and analogues
http://www.thingiverse.com/thing:191503 - Printbots (masterkits)
http://www.thingiverse.com/thing:16319 - MK9 Extruders
http://www.thingiverse.com/thing:231310 - Replicator 1, Duplicator 4
http://www.thingiverse.com /thing:18875 - Makerbot variant
http://www.thingiverse.com/thing:553917 - DaVinci
http://www.thingiverse.com/thing:391803 - 3DRag
http://www.thingiverse.com/thing:550788 - Robo3D
https://www.youmagine.com/designs /um2-feeder-sp3d-version - Ultimeker 2
http://www.thingiverse.com/thing:99395 - Orca 0.43
Add to the list in the comments :) Hardware #2. Hot end. (Let's come up with a normal Russian name for this thing). Not all “hot ends” (hot ends) are equally useful and this needs to be corrected.
This moment, by the way, concerns not only flexible rods, but also often causes difficulties when printing PLA.
The essence of the problem lies in the fact that the bar, getting into the hot end, begins to melt even before it reaches the nozzle, and a so-called “plug” from the material melt appears, which is not easy to push through. If a rigid PLA rod can still push through the melt due to the power of the extruder, then such a trick will not work with a flexible material - it will wrinkle, bend and curl even in those places where it seemed impossible. Very often, owners of 3D printers in frustration call such a situation “nozzle clogged”, although this is not entirely true.
The picture below shows a schematic of a hot end. Where the color indicates the normal state of the bar during the printing process. (blue indicates where the rod is still hard, red indicates where it begins to melt)
In this state, the plastic will exit the nozzle quite calmly without any difficulty, but if the heat goes higher, the rod will begin to melt earlier (in the cold zone) and will create additional resistance for the extruder. Solution: cool the top of the hot end by any means. Put the fan on the hot end, smear the heatsink (if any) with thermal paste at the junction with the hot parts, make the air flow directed (to the hot end), etc. etc.
Once you've got a sharp enough transition from cold to hot, you won't have any problems with hot-end 'plugs' anymore.
For lovers of a thorough approach, I can recommend the article http://3dtoday.ru/blogs/akdzg/struggling-with-obstruction-of-steel-channel-gotanda/ as an addition to the above recommendations.
Software.
In addition to the “iron” nuances of working with flexible materials, there are also software ones. All printers are different and the “slicer” programs are also different, but the general principles work the same everywhere, the main thing is to understand them.
So, after successfully tuning your 3D printer, you need to choose the optimal print speed settings, and there is only one method - trial and error. From experience, you can designate the operating range of print speeds for flexible materials:
REC RUBBER - from 5 to 20 mm / s
REC FLEX - from 10 to 40 mm / s
If you get it faster - you are a real Jedi! 8)
As for temperature settings, here they are:
REC RUBBER
Nozzle temperature 210 - 240°C
Table temperature 100 - 120°C
Requires an adhesive film or varnish on the table.
REC FLEX
Nozzle temperature 220 - 240°C
Table temperature 80 - 110°C
Printed on glass, any film will be permanently welded to the model.
If you are not confident in your abilities, but you really want to try flexible materials, welcome to the office of the REK company - we will give you a free material sample.
3D printing FLEX plastic in Sprint 3D
FLEX (Flexible PolyEster) - is a plastic used for 3D printing complex shapes containing flexible elements.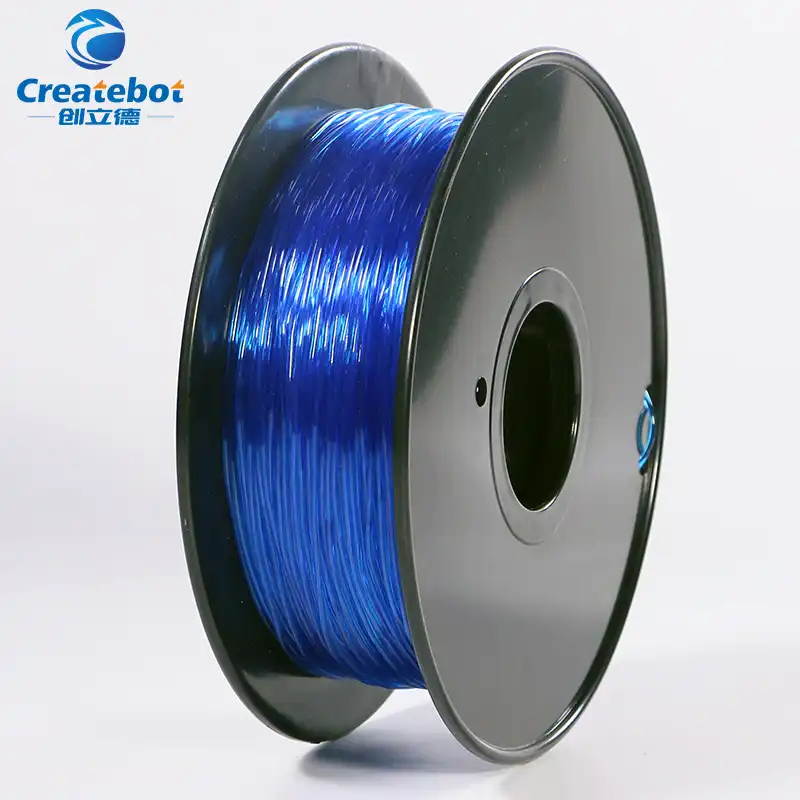 The material is rubber-like, so you can easily print a flexible part or a separate component for the finished product. The emergence of flexible elements in 3D printing is a new step in its development, opening up even more possibilities. 3D printing of FLEX with plastic in Sprint 3D means high quality with fast order execution.
FLEX plastic for 3D printer allows you to create rubber parts for machinery and equipment, soft toys, plastic shoes and much more. High elasticity, resistance to tearing, resistance to moisture and other negative factors - all this makes FLEX simply indispensable in modern 3D printing.
Material specifications
Among the main features are the following:
- High melting point. The table heats up from 80 to 110 degrees, and the nozzle - from 220 to 240 degrees Celsius.
- Resistant to mechanical stress and even to fairly aggressive solvents.

- No reaction with any of the essential oils.
- Large selection of material colors.
- Relatively difficult machining.
3D printing FLEX plastic allows you to create complex three-dimensional models, the individual elements of which are connected using a soldering gun or synthetic rubbers. The sophisticated FLEX print of allows the production of prosthetics, military models and other items where maximum wear resistance is required.
The nature of FLEX plastic for 3D printer is quite similar to PLA plastic, also being a product of natural origin. The main production material is corn. This not only ensures safety and environmental friendliness, but also guarantees complete biodegradability. Unlike a number of other plastics, the use of
3D printing FLEX - basic rules
Flexible plastics are specific materials that require a clear understanding of how to work with them.
 When working with FLEX filaments, there are three main rules to follow:
1. Do not put pressure on the filament from above so that it does not bend inside the extruder.
2. Printing should be carried out at low speeds - up to 40 mm. Otherwise, the filament may sometimes bend and slip between the extruder wheel and the presser mechanism.
3. There must be no space between the thermal barrier and the extruder wheel. If there is one, the thread can also bend, as a result of which it will fill the voids.
We at SPRINT3D have been printing using flexible materials for several years now and create unique products of any complexity, shape and purpose. If you are interested in production using flexible plastic FLEX, , please contact us at any time.
5 reasons why FLEX 3D printing is better than analogues
The properties of
FLEX plastic for 3D printer can be compared with other materials: Elastan, Elastan D and Plastan.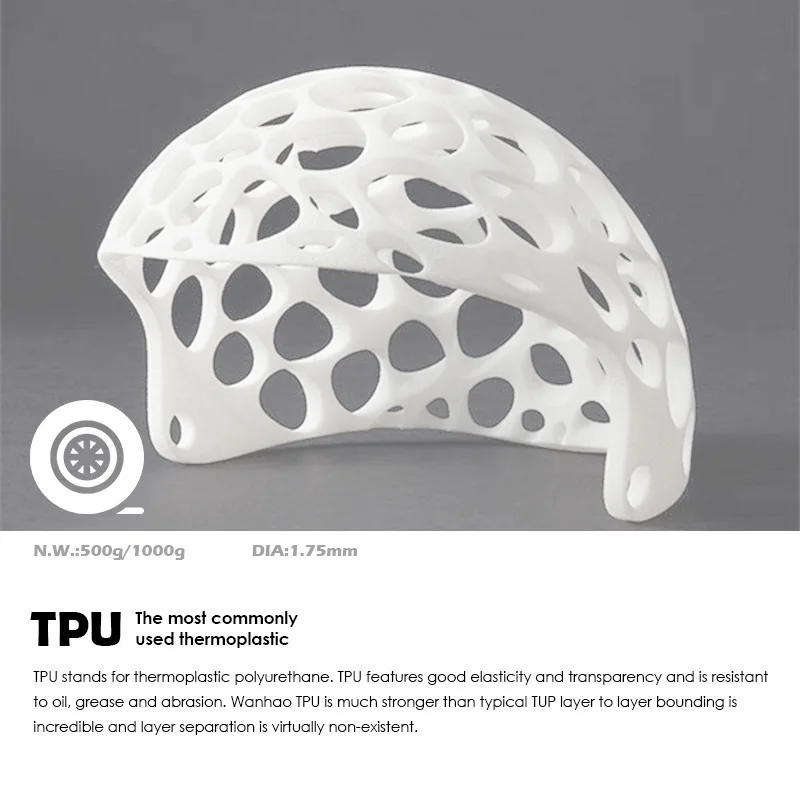 But it does have a number of key benefits:
1. It is the most flexible plastic of all.
2. By its properties, it resembles rubber to the maximum, which opens up wide opportunities for the production of original products.
3. Strength and heat resistance are an order of magnitude higher.
4. Better elasticity than the materials in question.
5. Neat appearance of end products due to material properties.
Of course, there are some difficulties with this flexible plastic. Due to its high flexibility, it can be more difficult to load into the printer, parts are sometimes blown off the platform, etc. And this once again confirms that this work should be done by experienced specialists. Otherwise, there is a risk not only to transfer expensive material in vain, but also to damage the printer itself, which will result in expensive repairs.
FLEX print. Process
Loading material into a 3D printer is almost always done manually.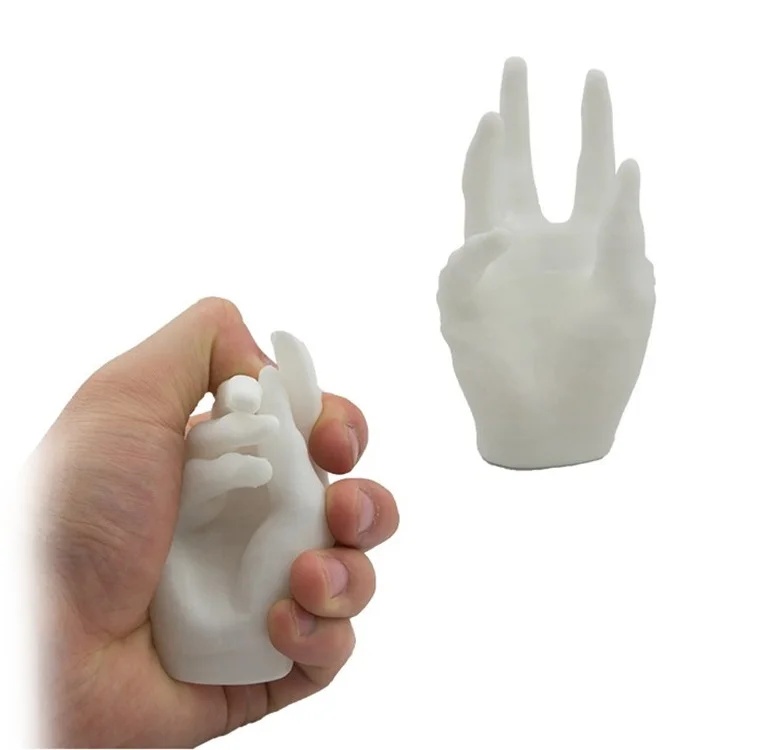 Automatic loading is practiced only under the condition of a low thread feed speed. But even in such cases, to guarantee the result, we prefer to load the material manually. New generation clamping mechanisms are used, which greatly simplifies the work and guarantees the absence of defects. Old-style clamping mechanisms are simply not adapted to work with such soft materials.
Use settings close to those for PLA plastics. The differences are small: the temperature of the platform is 80 degrees, the increase in the “Border” parameter and the use of a table substrate, which can be a special glue or ordinary blue tape. We keep the printing speed within 20-40 mm per second, which guarantees the highest printing accuracy and the absence of defects.
Wide color gamut for original results
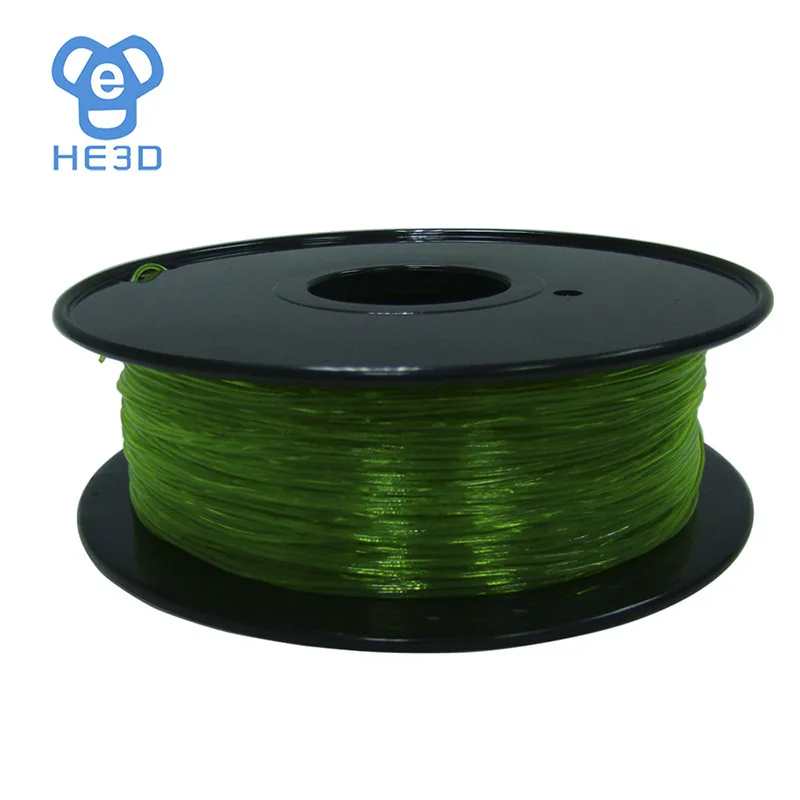
Like most 3D printing consumables, FLEX is available in a wide range of colors. Including there is a transparent version with good light transmission.