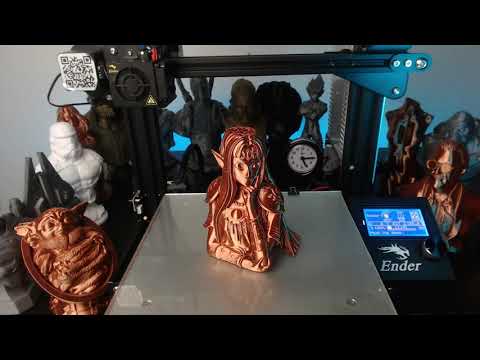
3D printer timelapse
How to create beautiful 3D print timelapse videos
We’re often asked how to make great looking time-lapses with a digital camera and our Original Prusa i3 3D printers. While OctoLapse is a good solution for some users, we’re using something a bit more special – a custom-made remote trigger, which is controlled by the Einsy RAMBo board. It’s not too difficult to make one and we’ll show you how to get started. However, if you would like something simpler and solder-free, wait until next week – we will show you how to make a Bluetooth shutter compatible with pretty much all modern smartphones.
WARNING: THIS METHOD REQUIRES YOU TO SOLDER A CUSTOM CABLE TO CONNECT A CAMERA TO YOUR 3D PRINTER – THERE’S A CHANCE OF POSSIBLE DAMAGE TO YOUR DEVICES IN CASE OF INCORRECT WIRING/CONNECTIONS!
A bit of theory
To record a timelapse of a print, a couple of things are needed:
- Original Prusa i3 MK3/S or MK2S / 2.
5 / 2.5S 3D printer
- A digital camera with a port for a remote trigger (power adapter recommended)
- Video editing software
- Custom-made cable (see below)
Our solution has some pretty good features: the cable can be made with just a few basic (and cheap) components, so it can be tailor-made to suit your setup perfectly. We’re using custom G-code to move the extruder aside and push the print bed all the way forward to have those clean, nice-looking shots. The cable is essentially a remote camera trigger, which is controlled by activating a pin on the Einsy / mini RAMBo. There’s one downside: remote shutters differ based on the camera manufacturer, so every cable will be slightly different depending on the camera model. The main difference is usually the connector, the way how the wires are connected and the voltages for the focus and shutter functions.
Some cameras have proprietary connectors, which usually means that you need to buy a pre-made remote trigger, disassemble it and modify it.
We’re using Panasonic Lumix digital cameras, so the sample cable described in this article is meant to be used with a Lumix camera. However, you can find a comprehensive list of popular camera brands at www.doc-diy.net along with diagrams depicting the parts required for making these cables. The way it works is pretty basic: three wires are all you need – ground, focus, and shutter. Once you connect the focus or shutter wire to the ground, the camera will perform the required action.
How a Lumix remote shutter works (by Doc-diy.net)
Making a cable for a Lumix camera
All cables will have two input wires: +5V and ground. We’re using a Toshiba TLP621 transistor as a switch to activate a separate trigger circuit, and an LED to check whether there’s power on the input pin. The “U2” part on the right is actually a 4-segment 2.5mm jack that will be plugged into the camera. The complete diagram is below:
If you decide to solder your own cable for a different type of camera, the parts to the right from the TLP621 will be different (namely R3, R4, R5, and U2).
Here’s a complete list of all required parts for Lumix cameras:
- 2x jumper wire with a male connector – for MK3/S
- 2x jumper wire with a female connector – for MK2.5/S
- 2x 68k resistor
- 1x 2.2k resistor
- 1x 470 resistor
- 1x 1k resistor
- 1x LED
- 1x Toshiba TLP621 or another optocoupler with the same parameters
- 1x cable with a 2.5mm 4-segment jack (we recommend buying a 2.5mm jack with a cable already soldered to it for easier setup)
The total price for the needed parts is roughly 5-7 USD, but the overall price will be a bit higher since many of the parts can be bought only in larger quantities. You can even buy pretty good sets of various types of that part, so you have some extra stuff for future projects. 🙂
- Jumper Wire Set
- Resistor set
- LEDs
Connecting the cable to the MK3/S
We have designed the cable to fit the Raspberry Pi W Zero port on the Einsy RAMBo motherboard.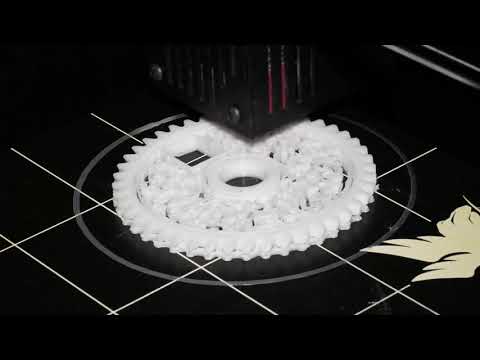 As long as you are not using the RasPi, the port is free (and if you have a RasPi Zero, you are most likely going to use the OctoLapse plugin anyway).
There are two ways how to connect the wires to the RasPi port – either from inside the case or from the back. The choice is yours. We found it to be a bit easier to remove the back door from the case and connect the wires from the back. Just remember to do this when the printer is turned off!
Please refer to the illustrations below to learn how to connect the wires correctly
It’s always better to test the cable before you connect it to the camera. Simply run the modified G-code without the camera connected – the blinking LED will tell you whether the connections work.
Connecting the cable to MK2S / 2.5 / 2.5S
As described in the previous chapter, our solution is designed to work with the MK3/S primarily, since the cable is connected to the Raspberry Pi port, which is not present on older Mini RAMBo motherboards. With a very limited selection of pins, the easiest option is to disconnect the filament sensor and plug the timelapse cable in its place – see the illustration below.
Remember that you will need to use the latest MK2.5 firmware for the M42 Gcode to work!
This also means that the cable is connected to a different pin than in the case of MK3/S – it’s P20 instead of P73, so the G-code you’ll find in the next chapter needs to be modified. We’ll show you how.
Preparing the G-code
The best way how to create fluid timelapse is to take a picture after each layer. This is done by adding a piece of custom code to every layer change. Slic3r PE can do this for you.
The code we’re talking about is this (for MK3/S):
;AFTER_LAYER_CHANGE
G1 X5 Y205 F{travel_speed*60} ;Move away from the print
G4 S0 ;Wait for move to finish
G4 P500 ;Wait for 500ms
M42 S255 P73 ;Trigger
G4 P200 ;Wait for 200ms
M42 S0 P73 ;Untrigger
G4 P500 ;Wait for 500ms
;[layer_z]
In case you have an MK2.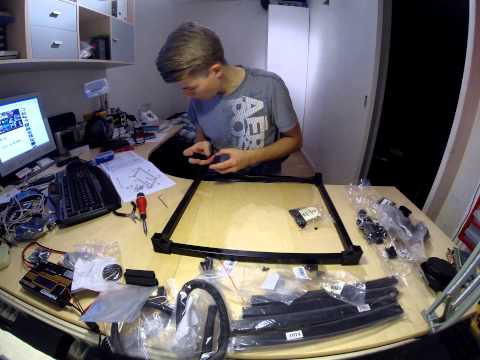 5/S, you need to change the pin number to P20:
;AFTER_LAYER_CHANGE
G1 X5 Y205 F{travel_speed*60} ;Move away from the print
G4 S0 ;Wait for move to finish
G4 P500 ;Wait for 500ms
M42 S255 P20 ;Trigger
G4 P200 ;Wait for 200ms
M42 S0 P20 ;Untrigger
G4 P500 ;Wait for 500ms
;[layer_z]Let’s take a look at each step:
G1 X5 Y205 F{travel_speed*60} – this code tells the extruder to move all the way to the side and the print bed to move all the way forward
G4 S0 – waits until these moves are finished
G4 P500 – wait 500 milliseconds
M42 S255 P73 – M42 G-code activates pin 73 (P73) with 5V. S0 = 0V, S255 = 5V. Since we’re using fixed (manual) focus, we don’t need to worry about focusing the camera first
G4 P200 – wait 200 milliseconds
M42 S0 P73 – disabling (S0) pin 73, aka “untrigger”
G4 P500 – wait 500 milliseconds
After these actions are performed, the printer returns the extruder and print bed back to the original position and continues the print.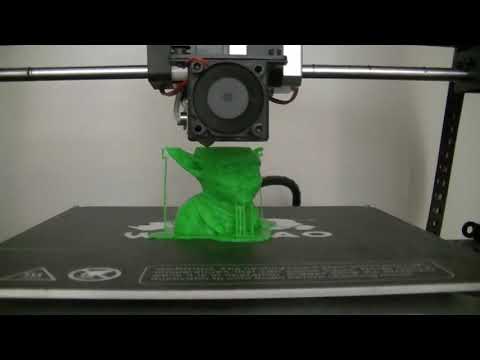 This procedure won’t affect the look of the model in any way.
Adding custom G-code is easy. Open Slic3r PE, go to the “Printer Settings” tab and look for “Custom G-Code” section. Add the code above into the “After layer change G-code” textbox and save the profile as something easy to remember – e.g. Original Prusa i3 MK3S Timelapse. It’s advised to save this as a new printer profile, because when you slice an object with these settings, it will always perform the “move to the side” action after each layer, no matter whether a camera is connected or not. This, of course, makes the printing times noticeably longer.
Once you have the custom G-code implemented, you can slice the object as usual – you can choose any layer height or material.
Keep in mind that printing objects with the timelapse mode on will extend the print time noticeably.
Setting up the camera and preparation of the timelapse
To make a good looking timelapse video means first and foremost to ensure stable lighting conditions in the environment. If you have the printer located in a room where there’s a lot of sunlight and the lighting conditions change during the day (and people are often using light switches at night), the timelapse video will be extremely inconsistent.
A good solution is to place the printer in a dedicated room with minimum “traffic”. Sunblinds on a window are recommended. Set up artificial lights, so the 3D printer is nicely lit – we are regularly using “arch lamps” such as this one: https://www.thingiverse.com/thing:3469190 It’s easy to print and it creates some really good lighting conditions. And by the way, if you want to learn more about 3D printing and LED lights, check out our previous article!
Mount your digital camera on a tripod, change the focus mode to manual and push the print bed all the way forward – this will be the position where the printer will move the print bed during timelapse videos. Don’t zoom all the way in – you can easily do that in post-production.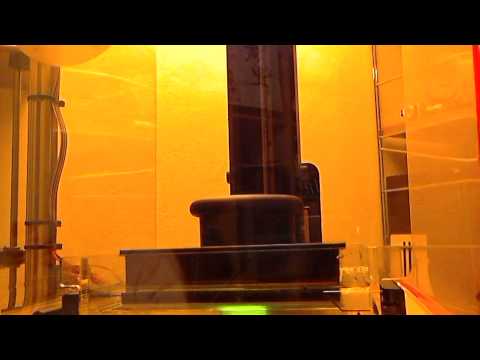
Set up the camera and get it ready for shooting single photos (not a video). Keep in mind that longer prints can take many hours to complete, so using a power adapter is a good option. Otherwise, you may run out of batteries before the print finishes.
Turning photos into a timelapse
There’s a number of ways how to turn hundreds or even thousands of pictures into smooth videos. Most of them require a professional video editing software (such as Adobe Premiere Pro or DaVinci Resolve) and you can find plenty of tutorials for these programs online.
However, there’s a nice little app available for Windows directly on Microsoft Store. It’s called Time Lapse Creator, it has a simple interface and it’s completely free.
Time Lapse Creator is free and has an easy-to-use interface
Basically, all you need to do is to click the Select Photos Folder button and point the app to the folder where the timelapse photos are stored. The length of the video is controlled by the number in the TimeSpan (ms) field – the number tells the app how long a single image should be displayed. Lower numbers will lead to faster speeds. Once you’re happy with the result, press the Save Video button to save the video as an MP4 file.
Other solutions
Using a DSLR camera and a custom-made cable turned out to be our favorite way of capturing timelapse prints. However, we understand that some users don’t have a digital camera, or don’t know how to solder. In our next article, we will show you some other solutions on how to create a print timelapse – with a regular smartphone and no soldering whatsoever. Stay tuned and don’t forget to share your timelapses on social media. Also, check out our Weekly Prints page where we publish new timelapse videos every week!
How to Create the Best 3D Printing Time-Lapse Videos With Octolapse
By Ravi Singh
Using time-lapse videos to show off your 3D printing process is second to none. Here, we'll teach you how to do it with Octolapse.
Octolapse is an OctoPrint Server plugin that you can install to create those awesome stabilized 3D printing time-lapse videos where the printer nozzle stays in one place and the 3D printed object seems like it's growing by itself.
It's really fun with loads of customization options and presets that can further enhance the time-lapse videos of your 3D prints. Below, we'll detail everything you need to do to get started.
Things You Will Need
You will need the following to get started.
- An OctoPrint Server installed on Raspberry Pi. You may also use an old Android device as an OctoPrint server.
- A camera module for Raspberry Pi. You may also use an HD or 4K USB webcam for recording high-definition time-lapse. Android users can use the built-in front or rear cam to record the time-lapse.
Install the Octolapse Plugin
After setting up your OctoPrint server, check the printer connectivity and follow the steps below to install the Octolapse plugin.
- Open and login to the OctoPrint server, and then click the Settings (wrench icon).
- Click Plugin Manager > Get More and then search for the Octolapse Plugin.
- Click on Install to proceed.
- After the Octolapse plugin is installed, close the Plugin Manager and restart the OctoPrint server using the Restart Now button at the top right. Click Confirm when the prompt appears, and then wait for the reboot.
- Click Reload Now after 1-2 minutes. This will load the OctoPrint server web interface.
At this point, we have successfully installed the Octolapse plugin.
Set Up Octolapse for Your 3D Printer
Once the camera is detected and selected under Octolapse, continue following the below steps to configure the Octolapse plugin for your particular 3D printer. We will set up Octolapse for the Ender 3 V2 for this guide.
Here are the instructions:
- Click the + icon in the Printer section and then enter your printer details, such as name and description.
- From the Make option, choose the brand and model if listed. You will see a prompt at the top right to overwrite the settings; click OK. This will load the pre-configured 3D printer's settings and click Save. However, if the model you use isn't listed, keep it as Not Selected.
- In the Slicer Type, choose the slicer you use.
- Launch your slicer program and then manually copy the values to the Octolapse Extruder settings. Then click Save.
- Keep all settings as default, and then make sure you have selected the right camera.
Connect the Camera
After installing the Octolapse plugin on our OctoPrint server, we need to connect a webcam or Raspberry Pi camera to the Raspberry Pi. Once the camera is connected via USB or camera port, click the Octolapse option and select the webcam or connected camera from the drop-down.
Using Octolapse on Android With Octolapse
If the video quality is low resolution, you can edit the camera properties to increase the resolution. Alternatively, you can install Octo4A or OctoPrint for Android app on your old or retired Android smartphone to run the OctoPrint server and record the Octolapse (time-lapse) videos using the high-quality smartphone camera.
After installing the OctoPrint on your smartphone, follow these steps:
- Start the OctoPrint server and then visit the IP address at port 5000.
- Make sure the printer is connected to the OctoPrint server running on your Android via USB OTG. Then, follow the steps discussed earlier to install the Octolapse plugin. The steps remain the same.
- Once installed, go to the Settings on your OctoPrint for Android app and turn on Enable camera server.

- Tap on the Camera source and select the camera you want to use for recording the 3D printing time-lapse (Octolapse) videos. You can also choose the resolution.
- You may also lower the FPS to save the battery on your Android device. Otherwise, use a USB with Power Delivery when using OctoPrint for Android.
- Finally, disable the autofocus settings and open the web interface on your PC.
Make sure to test the camera and add it to Octolapse. Go to Settings > Octolapse and click on Camera to access the settings.
You may edit the default webcam settings or add a new camera. Click on Test Webcam to ensure the camera server is up and running.
Add Script to Your Slicer
If you use Cura, Creality3D, or any other slicer, make sure to add the script to your printer settings in the slicer program. The steps to add the script in Cura and Creality3D slicer are as follows:
- Open the Cura or Creality 3D slicer and go to Settings.
- Choose Printers > Manage Printers and select your local 3D printer.
- Click Machine Settings. In the Start G-code section, paste the following code at the top.
; Script based on an original created by tjjfvi (https://github.com/tjjfvi) ; An up-to-date version of the tjjfvi's original script can be found ; here: https://csi.t6.fyi/ ; Note - This script will only work in Cura V4.2 and above! ; --- Global Settings ; layer_height = {layer_height} ; smooth_spiralized_contours = {smooth_spiralized_contours} ; magic_mesh_surface_mode = {magic_mesh_surface_mode} ; machine_extruder_count = {machine_extruder_count} ; --- Single Extruder Settings ; speed_z_hop = {speed_z_hop} ; retraction_amount = {retraction_amount} ; retraction_hop = {retraction_hop} ; retraction_hop_enabled = {retraction_hop_enabled} ; retraction_enable = {retraction_enable} ; retraction_speed = {retraction_speed} ; retraction_retract_speed = {retraction_retract_speed} ; retraction_prime_speed = {retraction_prime_speed} ; speed_travel = {speed_travel} Once added, click Close > Close.
Now, you can start slicing the 3D object you want to print and upload the G-code to the OctoPrint server for printing.
Record Time-Lapse With Octolapse Automatically
Now, whenever you start printing via the OctoPrint Server, the OctoPrint displays or previews the snapshot plan. It tells you where the print head will be when the Octolapse takes the snapshots.
Click Accept and Continue.
This will start the 3D printing process and OctoPrint will begin taking the snapshots. It will combine these snapshots to create a seamless time-lapse video of your 3D-printed object.
When the printing is complete, click the Videos and Images… button to download the time-lapse video created by Octolapse.
Upgrade to a DSLR for 4K Time-Lapse Videos
No matter which webcam you use on your Raspberry Pi OctoPrint server, the quality cannot come close to the OctoPrint for Android (unless you have an ancient Android device with a low-res camera).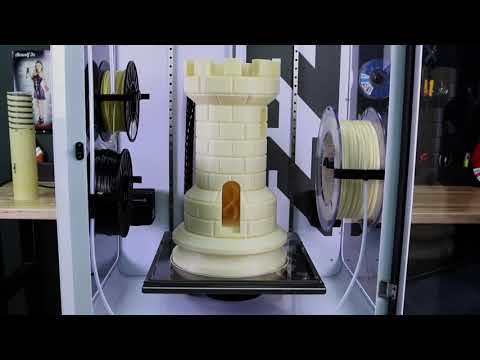
However, you can connect DSLR or mirrorless cameras to your Octolapse via a USB connection and use it with Octolapse to take snapshots and create professional-looking time-lapse videos that are perfect for YouTube, TikTok, or Instagram.
Instructions for creating time-lapse prints on a 3D printer
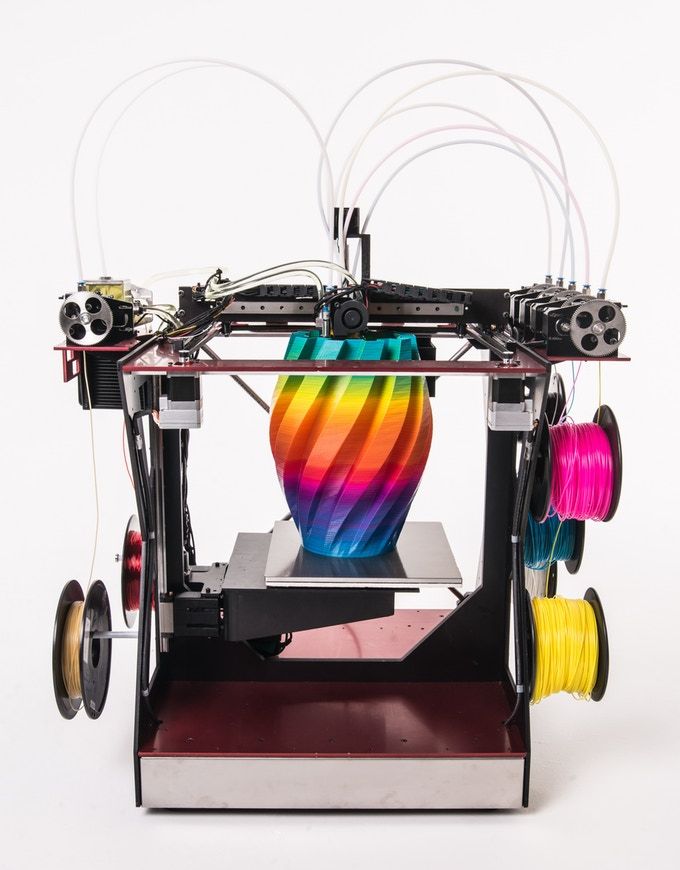
Many professional 3D printing studios and even amateurs post beautiful videos where an object magically appears out of nowhere. Those who understand even a little about 3D printing understand that this is really just a time-lapse filming of the printing process. But almost no one thinks about how such videos are made. In fact, creating a time lapse is very simple, it does not require special skills of the operator and editor, and all you need from the equipment is a 3D printer and a smartphone. Next, we will walk you through all the details of creating timelapses and look at mistakes that can be easily prevented even before creating a timelapse. nine0003
What is time lapse?
Before you start creating a timelapse, you need to understand what it is.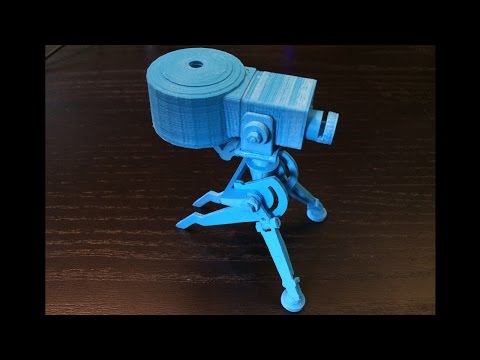 Many people are under the misconception that this is just a speeded up video. In fact, this is a special shooting technology in which photographs are taken at regular intervals, and then they are combined into one video on a computer, where each photo will be a separate frame. Unlike video acceleration, this method allows you to reduce the file size, while increasing the quality of the resulting time-lapse, because we do not shoot a long video, and then throw out unnecessary frames. Everything happens the other way around: we immediately shoot only those frames that will make up the video. And the increase in quality is achieved by creating individual photos, not video, for which high-quality shooting requires expensive equipment. Almost all modern smartphones have a high-resolution camera that allows you to take high-quality photos, but at the same time does not allow you to shoot high-resolution video due to memory speed limitations or low processor power. nine0003
How to create a timelapse
Important clarification: As we understood from the previous paragraph, a time-lapse consists of separate frames, which are then combined into one video.
But no one forbids shooting “the old fashioned way” using the video acceleration method. For simplicity, hereinafter, fast-paced shooting will also be called time-lapse.
The process of “making” a time-lapse is divided into two stages: shooting the material and processing it. Later in this article, we will look at various options for the implementation of these two stages. As an example, we will use the video and photos of printing a small puck on the Raise3D E2 printer. nine0003
Survey methods
Different shooting scenarios may use different equipment. Often, a regular smartphone is enough, on which you may need to install a special application. But to achieve maximum quality, it is better to use a professional camera. Also, do not forget about the battery charge in any of the devices used, especially when shooting models that take more than 1-2 hours to print. To create a high-quality time-lapse, you need to set the camera in such a way that the highest point of the model falls into the frame. This can be easily done by placing an object of similar height on the printer table. Do not forget about the light: if there is no special artistic intent, then it is best to place the light source behind the camera, at the height of the table, so that there are no unnecessary shadows and the model is evenly lit. As a result, the frame should look like the photo below. nine0003
Many photos
This method is what is meant by the word "timelapse". To do this, you need to create photos at regular intervals. Many cameras (including action cameras) and smartphones have this feature. After installing the camera and starting printing, you can start shooting. To calculate the appropriate interval between photos, you can use a simple formula:
interval = print time / (video time * frames per second) nine0003
Here video time is the length of the video received, and frames per second is the number of frames per second of the video received (usually 24, 30 or 60 fps). Note that all times in this formula are in seconds. For example, to get a video of 30 seconds in length when shooting a print of 1 hour (3600 seconds) at a frequency of received video of 30 frames per second, you need to set the interval equal to 3600/(30 * 30) = 4 seconds between photos. It should be borne in mind that when shooting with this method, the printer carriage will be visible in the frame, which means that as a result it will constantly flicker in the time-lapse. This can degrade the quality of the final result, especially on small models. To avoid this problem, you can use the following method. nine0003
Video
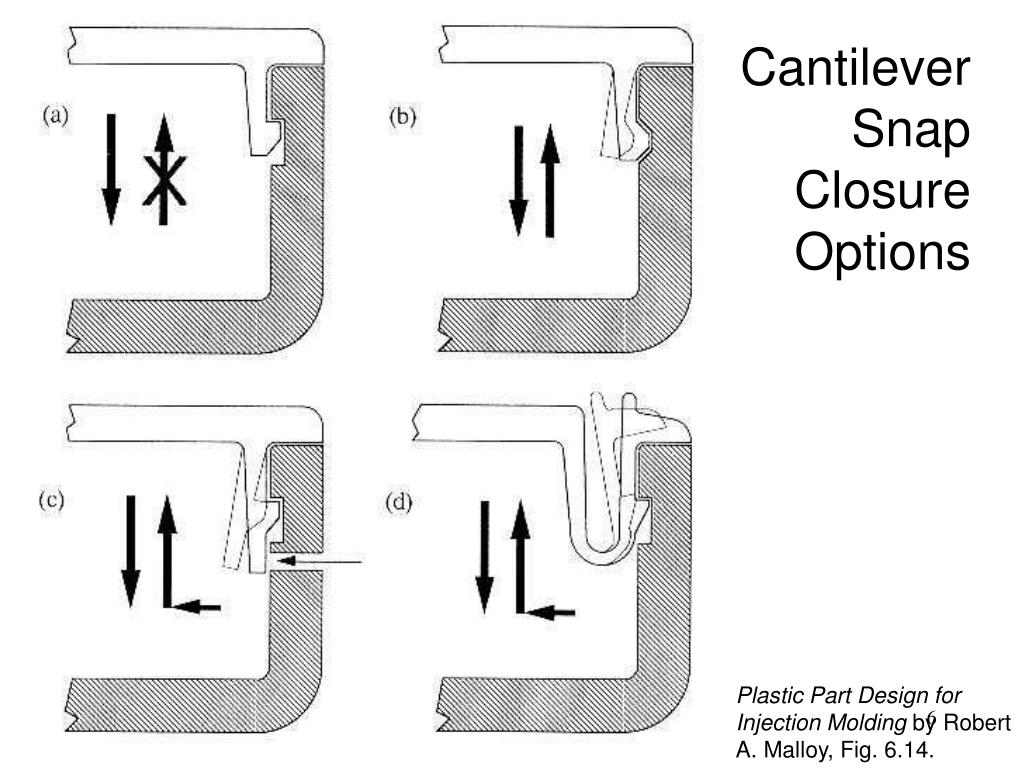
This option is the easiest to perform: start shooting video at the moment you start printing. Consider the need for a large amount of free space on the drive where the file will be saved. The advantage of this method is the ability to select certain frames where the caret will not block the model. To do this, before printing, you need to edit the Gcode so that with each change of layer, the carriage moves away from the part. You can read more about editing Gcode files in the article on our website. But extracting individual frames from a video in this way is an extremely time-consuming process. nine0003
Fun fact: blogger GreatScott did an automatic photo of the model without the carriage hanging in random places by modifying the printer firmware and the Gcode print file. The essence of the method is that with each layer change, the carriage drove off to a special point, thereby pressing the limit switch, which in turn activated the camera and it took a photo.
Automatic
This method includes both the shooting of the print and the processing of the resulting photographs immediately after its completion. It is only available for smartphones and some action cameras. In fact, it is a fully automated method of taking many photos, because you only need to turn on the shooting, and the camera or smartphone will combine everything into a time-lapse video. Therefore, there is no need to process the received material. Processing methods After receiving the "raw" material, it is necessary to edit it on a computer. In the case of using video, everything is relatively simple, but to process a large array of photos, you need to use special tools and programs. Video Editor When shooting a large video, you only need to speed it up. For example, in the Sony Vegas video editor, you need to insert the video into the timeline and, holding down the ctrl key, move the right edge of the video to the left. When the edge starts to move, you will notice a zigzag. This means that you are doing everything right. nine0003
Processing methods
After receiving the "raw" material, you need to edit it on a computer. In the case of using video, everything is relatively simple, but to process a large array of photos, you need to use special tools and programs.
Video editor
When shooting a large video, you only need to speed it up. For example, in the Sony Vegas video editor, you need to insert the video into the timeline and, holding down the ctrl key, move the right edge of the video to the left. When the edge starts to move, you will notice a zigzag. This means that you are doing everything right. nine0003
An example of accelerated video on the timeline in Sony Vegas
If you used the method of taking many photos, then you need to select the file item in the top menu, then import, then multimedia. A file selection window will open. Select all photos and under the file browser window you need to check the box “Open sequence”. You will have another window where you can change the frame rate if necessary. nine0065
Creating a time-lapse from a photo using Sony Vegas
Special program
These programs exist for both smartphones and PCs. They are intended only for creating time-lapses, so you will not be able to trim the resulting video or change the frame in them.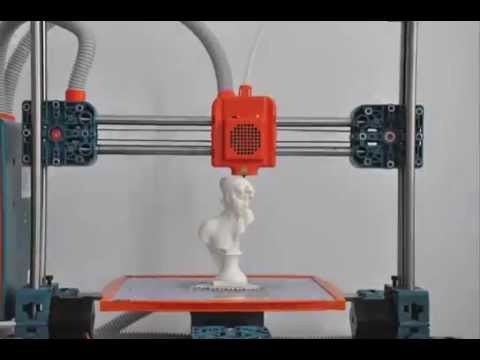 For example, you can use the Time-Lapse Tool on a computer. But on smartphones, it makes more sense to use automatic time-lapse apps like Time Lapse Camera. They have an intuitive interface that even a child can understand. nine0003
Major errors and solutions
Often errors relate to the wrong frame and lighting. If the model is closed by the carriage most of the time, then the only way out is to install the camera at table level. This can severely limit the height of the model being filmed.
Wrong shooting angle
Correct shooting angle nine0003
If strong shadows are visible on the model, which you need to get rid of, then you can use a table lamp aimed directly at the model.
If strong vibrations are visible after combining the photo into a time-lapse, then the camera moved during the shooting. In some cases, this is caused by vibrations that the printer creates. To solve this problem, you need to securely mount the camera to the printer.
Example of camera shake
Summing up
As you can see from this tutorial, making a time lapse is very simple. The only difficulty will be the choice of equipment for shooting. Do not forget that the main stage is shooting the model, and the stage of processing the received frames is secondary, because if you shoot well right away, then you won’t need to process the video much. Also pay attention to the first frames that the camera or smartphone will take, because they can immediately determine the success of the selected frame and lighting. If you are going to time-lapse a large model, it is best to first make a simpler time-lapse of a small model so that if any errors occur, they can be immediately prevented. Although you can shoot a time lapse using any printer, open frame printers, that is, those that do not have any panels, are best suited, as this gives a large variation in free frames. You can read reviews of such printers and many useful articles in our blog. nine0003
A simple 3D print timelapse. Webcam, computer and printer only. (Not a manual, more like a sketch)
Why do I need to buy a RASPBERRY to shoot 3D prints?
We have a computer, a printer and a webcam - isn't that enough?
Enough, and now I'll tell you how to organize shooting for printers with MARLIN firmware with only a computer and a webcam.
Strictly speaking, time-lapse can also be shot on a mobile phone, such a mode has long existed in many modern smartphones, but for the needs of 3D printing, this is not a very successful idea, since the picture will turn out to be too jerky, especially when shooting with prush. nine0003
So a regular camera will not suit us, unless it can work in webcam mode when connected to a computer, like many modern cameras. A modern camera capable of working in webcam mode is the best webcam.
Raspbery and OCTOPRINT - although they are of higher quality, they are complicated, expensive and redundant for a simple time-lapse, so I'm not even going to consider them. I note that a two-megapixel camera, and in modern models with a higher resolution, is a good plus for Raspbery's karma. nine0003
Everything should be easier.
We need:
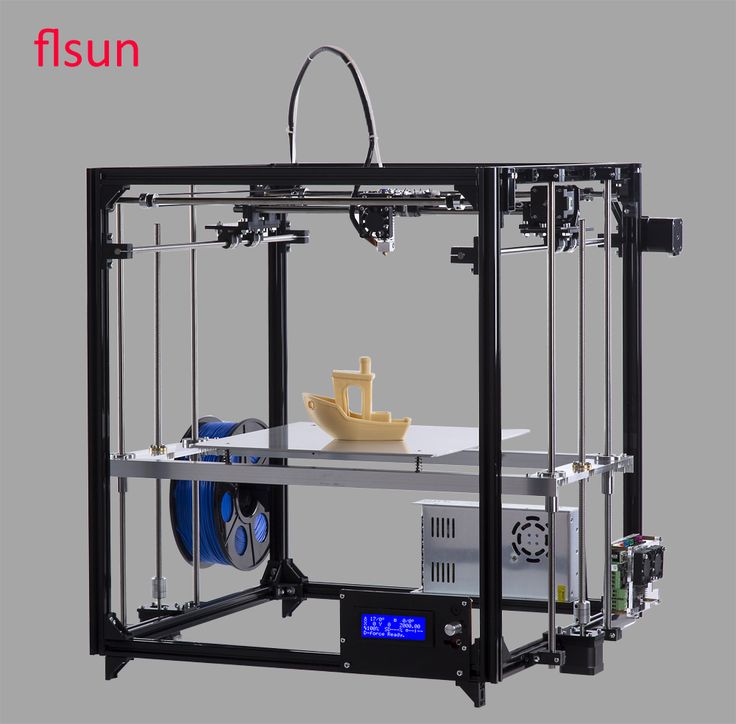
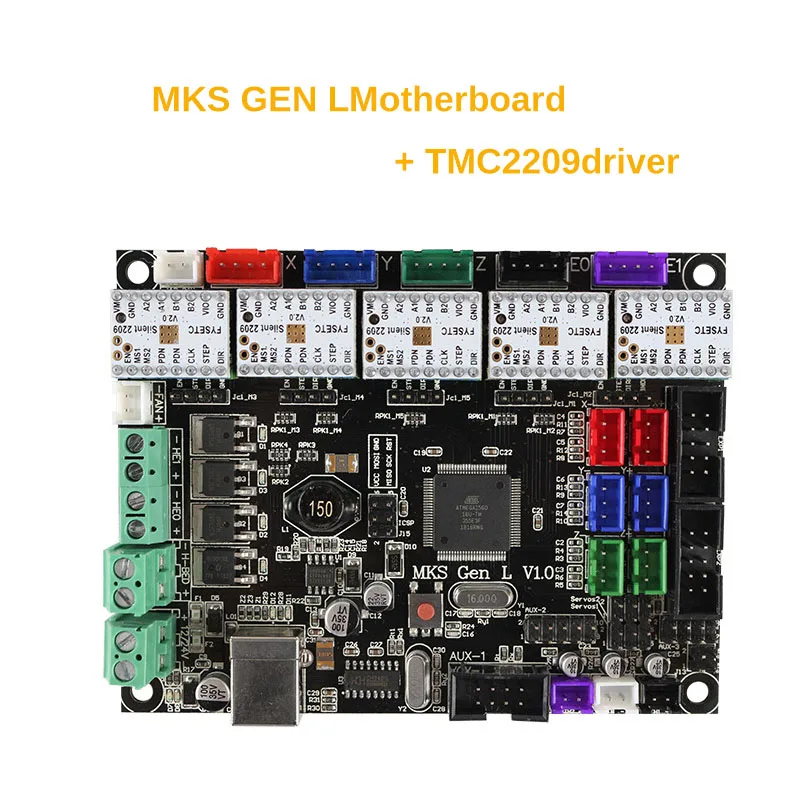
- Printer with MARLIN installed
- Any available computer with WINDOWS
- USB webcam
- USB cable to connect the computer to the printer manual editing of the g-code
- A program that receives commands from the printer and generates a picture. (download link)
On the last point, I didn’t find such a program on the Internet, I had to sketch it myself, brazenly stealing from free access the first code I came across to work with the DIRECTSHOW library.
The original webcam program was written in C#, using WPF, which I'm not good at, so I apologize for the somewhat clumsy interface.
However, if you have the desire and ability, then the original project is in the same place, by reference, you can rewrite it for yourself.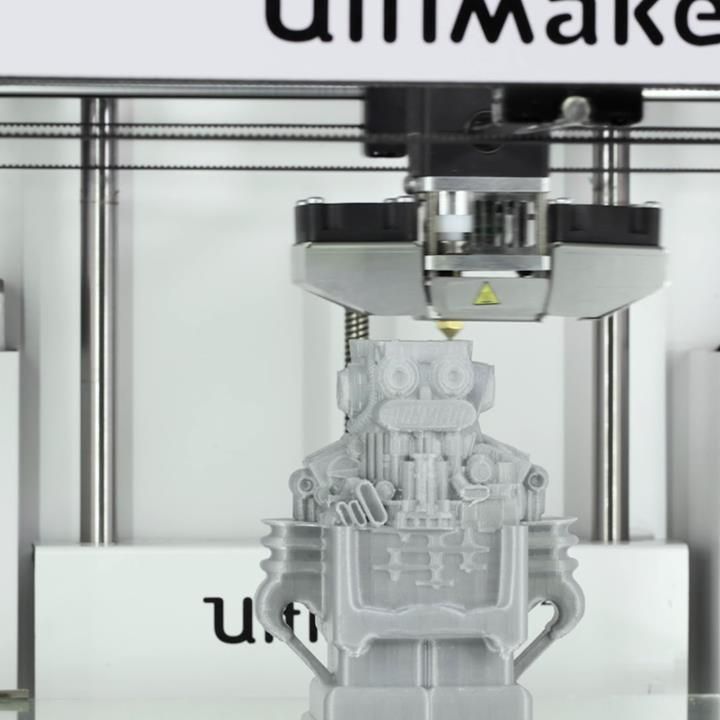 And if I have time and desire, I will probably finish my WPF education and rewrite it in a more convenient version. nine0062
All
Next, we need to cut the printed model in the slicer, adding the command M118 SMILE to the code before each layer change - this command sends the specified message via the serial port to the computer, and the program reads it and takes a picture from the camera.
In order not to edit the code manually, you can use the capabilities of the slicer, for example, for Simplify3D, you need to add the line M118 SMILE to the script Layer changed . nine0003
Copy the cut code to the card, connect the printer and webcam to the computer. Download the program and unpack the archive.
Program settings:
Go to the folder Resources and in the file SerialPortSettings.txt write down your printer connection parameters, com port number, transfer speed, Databits value, according to the instructions for your printer.
Save the file and run the program WebCam.exe . nine0003
Here the antivirus may swear at you, because I am an unknown publisher, and the program requires access to the webcam, but I can assure you that there is nothing malicious in the program, it just reads data from the COM port, webcam and writes images to folder Photo inside the program directory.
An exception can be set for Anti-Virus.
The source code is at the link, you can check, rewrite, modify, in general, you can do anything with the code. =)
If you wrote down the port settings correctly, the program will start without warning about the unavailability of the printer.
Otherwise, if the printer is not connected or the port settings are incorrect, the program will be able to record timelapse only by timer. We set the switch to record at the command of the printer, press the "start recording" button, and start printing from the flash drive.