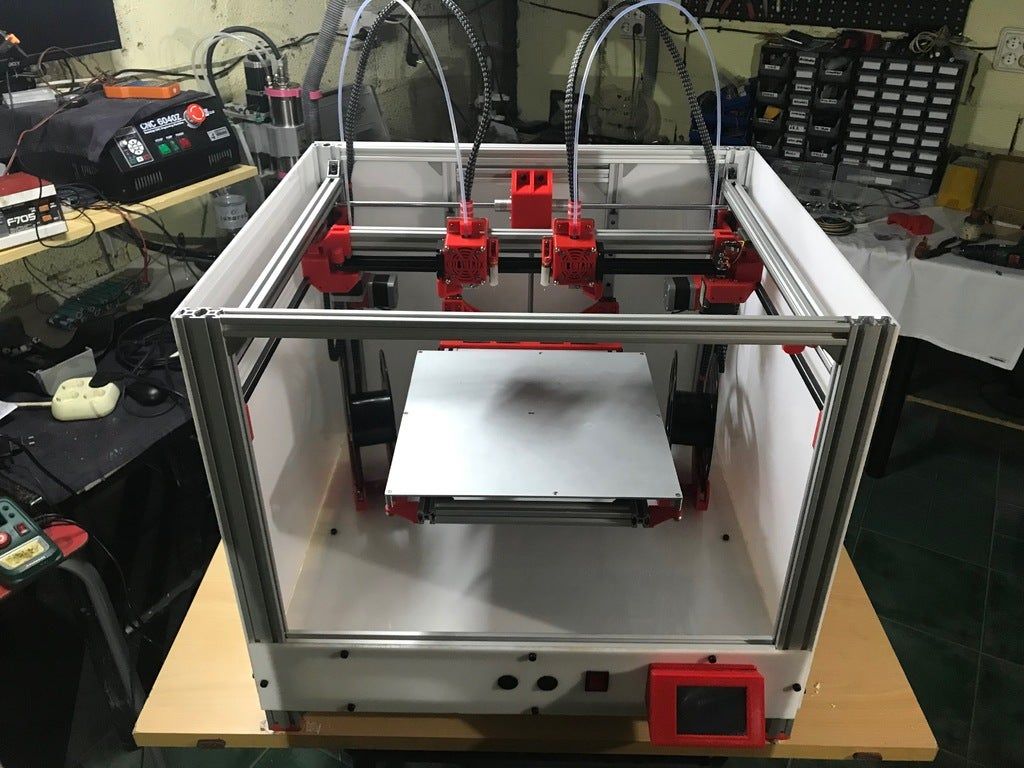
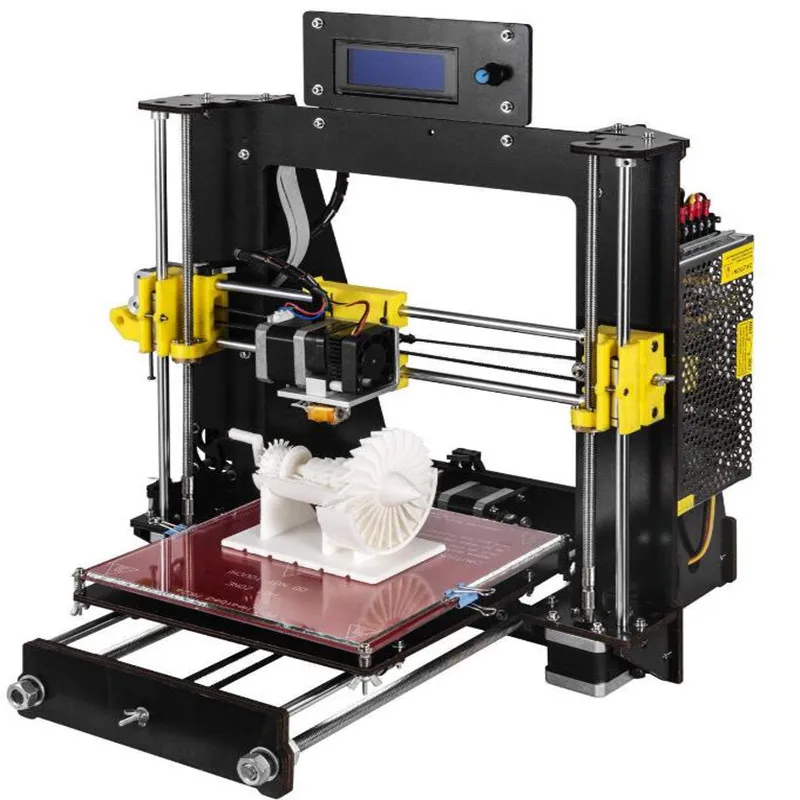
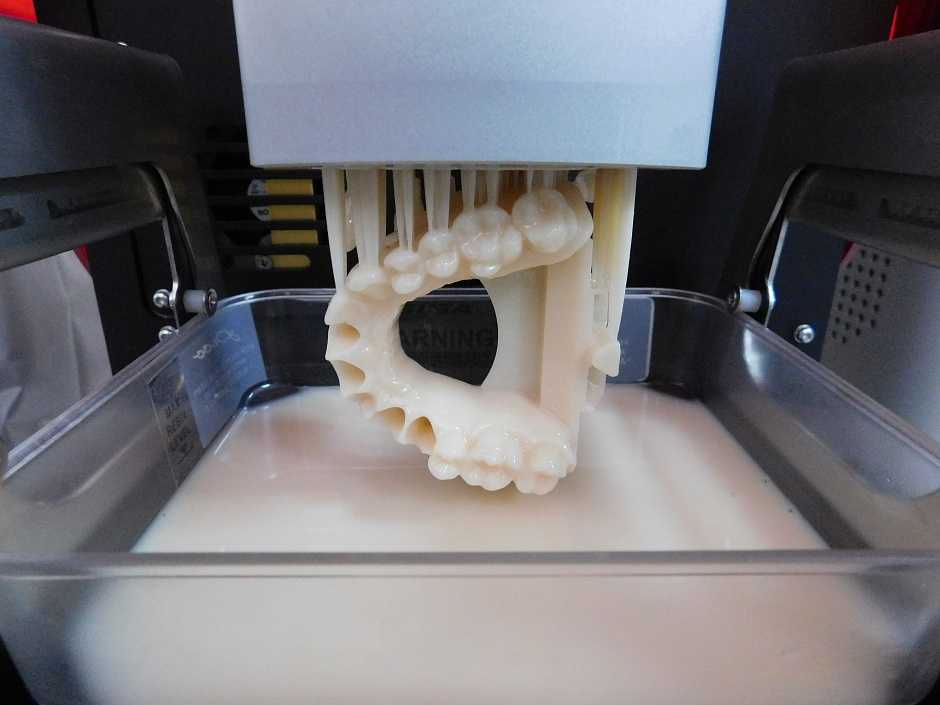
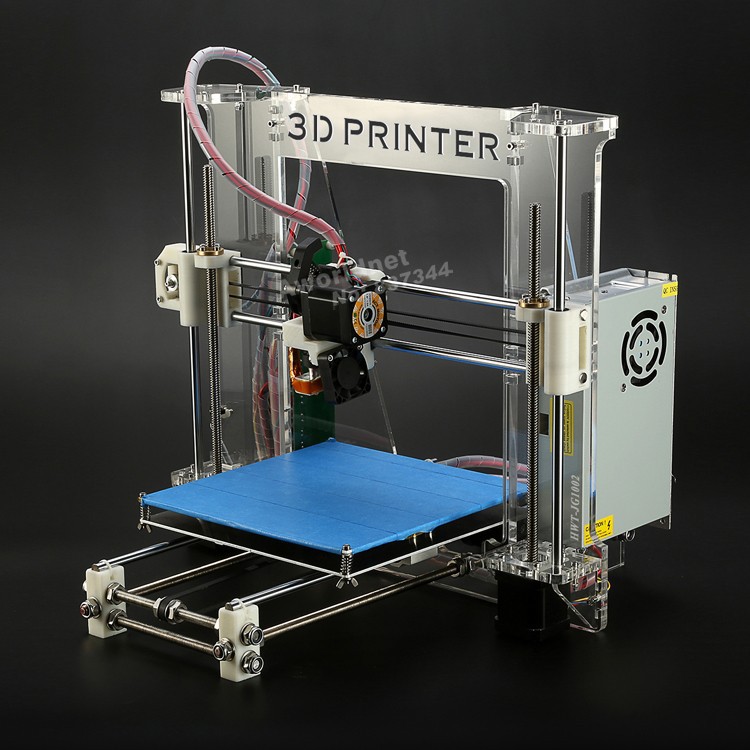
3D printer cutter engraver
Best 3D Printer, Laser Engraver, CNC Carver for Sale
3D printing can create virtually anything from just about any material at a fraction of the cost and time traditionally associated with such processes, from mission-critical parts for airplanes to building blocks for custom homes and everyday items — ranging far beyond what we can imagine today.But what exactly is 3D printing? How does it work? And why should you use it?Well, we're glad you asked! Here's everything to know about using a 3D printer.
We have probably heard of 3D printing and maybe even done some experimenting with it. Still, most people don't know what 3D printing is.3D printing is one of the hottest new technologies in the world right now—and it's not going away any time soon. It's a process that allows us to create physical objects by putting together thin layers of material, layer by layer, until we get to the final product. We can do this on almost any material: metal, plastic, ceramic, glass—even food!So, what does this mean for our everyday life? It means that if we have an idea for something we want to make but don't have the time or resources to make it ourselves (or if we are just too busy), then 3D printing can help.
3D printing works like this: First, you download a model online or design one yourself. Then, you import the model into the slicing software for processing. Finally, you print the model by using a 3D printer. The printer does this by laying down successive layers of material, one after another until the object is completed. The printer needs to know the size of each layer and where it should be placed for the object to come together correctly.
Additionally, the printer needs a supply of raw materials (typically plastic) that can be melted down and formed into shapes. Once these raw materials have been melted down into their final shape, they are extruded through tiny holes in what's called a "printhead." This printhead feeds the material through small holes into whatever space it needs filling with plastic filament.
The printer doesn't actually create anything out of nothing; it creates an object from a previously existing model or blueprint. Since every part of this process is done by computerized machinery, there are no limitations on how complex or detailed our creation can be—the only limit is our imagination!
The possibilities for what can be created with this technology are endless. 3D technology allows us to design and create our own products without having to worry about how they will fit together or whether they will function properly.Some benefits 3D technology offers include: It Offers Many Design Possibilities. We can choose from hundreds of different materials, colors, and designs. The flexibility offered by this technology means no two items will be the same.
1.It's Inexpensive To Use
It doesn't cost a lot to get started with a 3D printer. All you need is a computer and internet access. We can choose from many different types of printers with varying price ranges. The cheaper models will still print quality models, but they may not be able to handle large projects like furniture or large items that need to be printed out in multiple pieces.
2.Sustainable and reduces waste
3D printers have a huge environmental impact because they are extremely energy efficient. Instead of creating parts from waste plastic or scrap metals, we can create them from recycled materials like aluminum and plastic, reducing the amount of waste material in landfills by up to 90%.
3.Make Custom Products at a Minimal Cost
3D printing can be used to make clothes, costume jewelry, toys, figurines, and more. We also use 3D printers to make items for ourselves or sell them as gifts. Additionally, we can customize our own shoes, use 3D printers for rapid prototyping (which means we can quickly create working prototypes), manufacture, and even in greenhouses where tropical plants are grown.
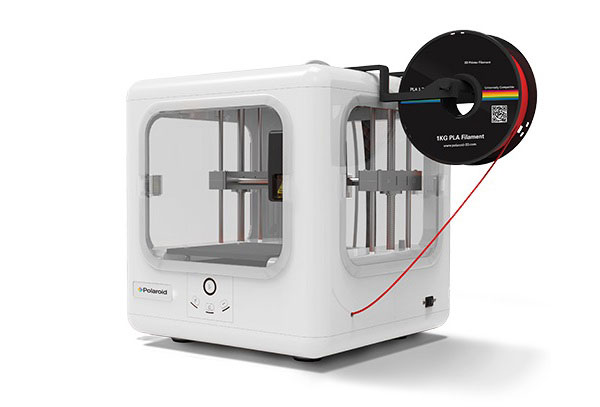
3D technology has come a long way since the first 3D printer was built in 1984, and today there are many different types of printers on the market. 3D printers come in all shapes and sizes, and their capabilities vary greatly depending on our chosen brand and model. For instance, beginners who want a feel of 3D technology before splashing money on a superior model can buy entry-level printers for as low as $1000. When choosing a suitable printer, some key features to keep in mind include:
· Good resolution (or print quality): A high-resolution 3D printer will produce better results than one with a lower resolution. Remember, we need to see the details clearly when designing our project.
· Print size: The print size is the size of the finished object. It's usually measured in millimeters or inches, but some models have larger (and smaller) print sizes than others. When looking to make full-size products, we must know what size is right for our needs before investing in a machine!
· Speed: The printer's speed determines how quickly it can do its job—if it's slow, it can't support large projects like furniture or art pieces.
from 2944 reviews
Ryan Daw
Laser Engraving and Cutting Platform for Snapmaker 2.0
Amazing!
Was able to make highly detailed images on tile with absolutely no problems Very impressive results on tile
07/18/2022
Nicolas Belin
Snapmaker 2.0 Modular 3D Printer F350/F250
Great Snapterrarium ehh Snapmaker.
Great Snapterrarium ehh Snapmaker.
Works great. Had a faulty touchscreen but SM send me a new one and now all works like a charm.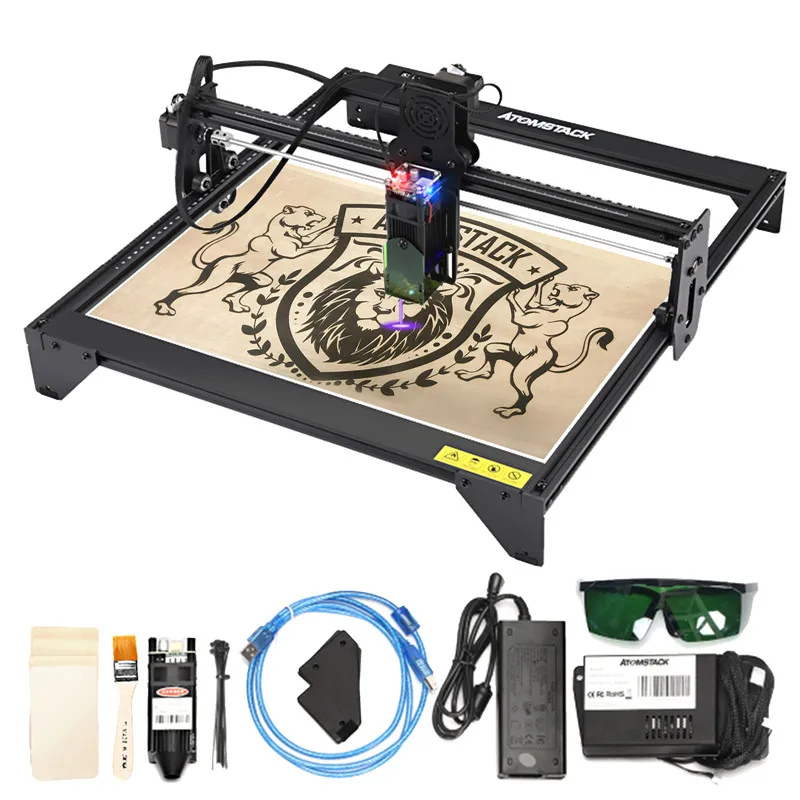
06/30/2022
Jaime Ramirez
Snapmaker 10W High Power Laser Module
Very good laser
My first job was a vernier on my 1600mw module it took 55 min to cut, now with the 10W module only 9 min.
05/09/2022
Eric Worrall
Snapmaker 2.0 Modular 3-in-1 3D Printers
Does exactly what it says
I’ve loved my Snapmaker since I unboxed it.
It’s not perfect, it’s complex, you need to dedicate time to learning 3D technology. The software sometimes needs to be restarted to work, and sometimes has annoying bugs.
But the engineering precision is breathtaking, I’ve created beautiful 3D PLA prints which don’t need finishing, high quality mechanical parts, like a bicycle pump holder, and ornate wooden gift boxes with laser engraved messages for loved ones.
If you have the commitment and time to learn a new skill, Snapmaker will help you realise your creative vision.
04/14/2022
Robert Allard
Enclosure for Snapmaker 2. 0
0
A good addition to my a350
Very satisfied with my purchase, and service for helping me with problems I had assembly.
03/24/2022
Mike L
Snapmaker Original 3-in-1 3D Printer
Printing in an hour!
Was really impressed with how easy it went together, I was up and printing in about an hour, easy calibration and no fussing. Awesome choice for a first-timer! Simple software, takes up little space and the smaller bed is still big enough for most jobs any first-timer would want. Laser engraving works well too! No regrets choosing Snapmaker as my first printer, great value for $$. Highly recommend it! Pictured: Enigma Rotor replica
03/12/2022
Maker Leigh
Snapmaker 2.0 Modular 3D Printer F350/F250
It's my second one :-)
This was my second SM2 350 purchase, Chrismas sale provided a cheap way to upgrade my set up. Super fast delivery over new year in the UK. Well done Snapmaker.
02/10/2022
wentsung Peng
Straight Groove V-bits (3 Bits)
Small problems with using Straight Groove V-bit
I used the Straight Groove V-bit to complete the Rotary Module CNC Carving a few days ago, and everything was almost perfect. My material is wood with a diameter of 50cm. When the Straight Groove V-bit goes deep into the center of the wood, because the radius of the wood exceeds the length of the flute, the wood touches the shaft and generates a lot of friction and noise, causing the 3-jaw Chuck to loosen. The diameter of 3-jaw Chuck Inward-clamping of Rotary Module can reach 60CM. The above problem may be more obvious. Is there a solution?
09/22/2021
Yousif Alsabbagh
Snapmaker 2.0 Modular 3-in-1 3D Printers
A350
The only negative point is that the machine makes loud noise, other than that it’s fantastic!
09/20/2021
Snapmaker J1 3D Printer - Best Dual Extruder IDEX 3D Printer
High Speed IDEX 3D Printer
Breakaway & Dissolvable Supports
Print in Parallel
Advanced Materials
Printing
Intelligent Calibration
Ultra-fast Printing
One-piece Die Casting
Fast and Forward.
Max. Speed
Speed
350 mm/s
Max. Acceleration
10,000 mm/s2
Speed Boosted by Advanced Control Algorithm.
Vibration Compensation
J1 brings you a top-of-class printing speed of 350 mm/s while ensuring a high resolution of prints. It is made possible by the optimization of the vibration compensation technology. This technology reduces the vibrations caused by high-speed movements, minimizing ringing to enhance print quality. With the maximum acceleration of 10,000 mm/s², you can realize small models packed with details with efficiency.
Seamless Extruders Switching
During dual extrusion printing, the non-working extruder preheats while on standby, and starts printing right after the working extruder leaves, significantly reducing your waiting time.
Cornering Optimization
By analyzing the extruders' moving directions ahead of time, J1 is able to prevent problems like corner bulge, delivering better print quality at corners.
Speed Ensured by Elaborate
Hardware Design.
One-piece Die Casting
J1's body comprises an upper frame and a base made by one-piece die casting, and four aluminum alloy bars. Making the body with just a few highly integrated parts—an approach long adopted by the automotive industry—facilitates precision assembly.
J1 is so rigid and reliable with minimal wobble and deformation possible that you can print large projects one after another for a long time and get all prints of uncompromising quality.
High-precision
Linear Rails
The industrial-grade linear rails are made by CNC grinding at the micron level, ensuring smooth and steady movements. A significant rise in precision, rigidity, and durability for you to savor a fast, accurate, and steady making experience.
Repeatability[1]
±0.03 mm (X/Y)
±0.02 mm (Z)
Expected Lifespan[2]
Over 10 Years
Aluminum Alloy
Frame
J1 inherits Snapmaker's iconic all-metal design which users highly value for its rigidity and durability. It provides better heat dissipation with the main board and power supply spread out on the base and aluminum alloy as its main material. All electronic components well oiled, at your command.
Infinite Possibilities with IDEX.
IDEXcel in Dual-material Printing.
Compared with a multi-material unit, IDEX dual-material printing requires less time in filament changing and creates less waste. Plus, IDEX offers the cleanest two-extruder solution that prevents cross-contamination. It creates a clean interface between two materials, embracing hassle-free removal and avoiding stains and weird blending along the seam.
Snap Removal, Smooth Finishes.
Building and removing support can look like rocket science sometimes, but we've done the math for you–steady support, clean interface, effortless removal, and minimal post-processing needed to maintain high dimensional accuracy.
See your model as it is, no less, no more.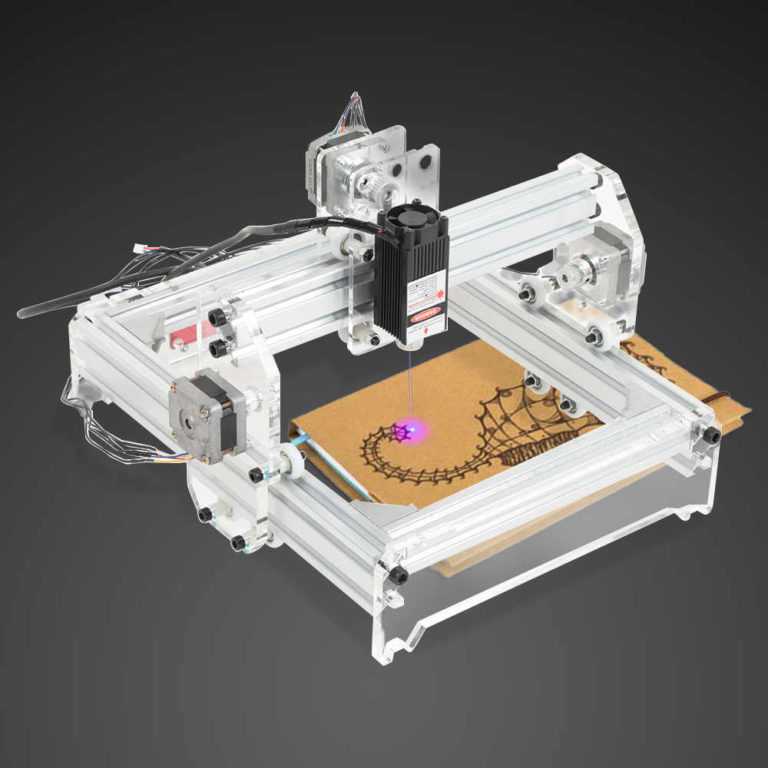
Breakaway Support
Breakaway filament offers the same support as normal materials but is much easier to remove without the need for further post-processing.
Dissolvable Support
J1 supports PVA and other dissolvable materials. Soak the print, and the supports dissolve, leading to a smooth surface and excellent dimensional accuracy. When you are looking for complex geometry, hollow structures, and exquisite details, this is for you.
1 + 1 > 2
Choose different settings for two extruders to maximize the performance of individual filaments.
Dual-material Prints. In one print, you make the most of two sets of properties. Combine the strength of nylon with the flexibility of TPU for functional parts that can stand daily wear and tear impressively. Print also multi-part objects as a whole. With no assembly, the object attains stronger interconnections, making it less prone to impairment.
Bicolor Prints. Add a splash of personality to your concept models, miniatures, party essentials, gift items, and home decor.
Use different materials on the walls and the infill. By printing infill with economical materials plus a large-diameter nozzle, you can now spend most of your time and money budget on working the exterior to perfection.
Print in Parallel.
Halve your wait time, double your productivity. IDEX is the only extrusion system with two separate extruders moving independently on the X-axis, enabling you to run two prints simultaneously.
Copy Mode
Print two identical objects in one go. It is especially suitable for batch printing, empowering studios and enthusiasts. If one of the prints runs into an issue, you can stop that print without affecting the other. This mode is a lifesaver for a promised delivery on a tight schedule.
Mirror Mode
J1 directly mirrors your model and prints the original and the mirrored one in one go. For a symmetrical model, you can import half of it and print it in Mirror Mode to cut your wait time by 50%, perfect for quick drafts and concept models. Like in the Copy Mode, you can stop one print without affecting the other.
Always a Plan B for Ace Performance.
Backup Mode
Under Backup Mode, you print with one extruder while the other stands by. If the working extruder bumps into a hiccup, the stand-by one would take over the job seamlessly and still deliver a fabulous print to you.
Advance for the Advanced.
Extruders are redesigned to deliver a superb performance consistently with demanding, advanced materials. Print high-quality projects that meet the structural and functional demands of various engineering applications with little fuss.
Advanced Projects Created with J1.
Flexible and liable to under-extrusion, and therefore requires accurate control of extrusion and heat dissipation.
Nylon/PA[3]
Including nylon, PA-CF (Polyamide-Carbon Fiber) and PA-GF (Polyamide-Glass Fiber). Tough and wear-resistant, but require strict conditions of printing temperature and nozzle hardness.
Displays high heat resistance and excellent durability. Prone to warping and shrinkage, thus requires stable ambient conditions, best provided by an enclosed space.
300°C Hot Ends
300°C maximum nozzle temperature comes in handy when you print with high-temperature filaments, like nylon, reinforced nylon, and PC. With silicone hot end socks preventing heat loss, filaments melting and heating up are much faster. Anti-clogging designs make the flow as smooth as possible.
Dual Direct Drive
Excellent extrusion accuracy that aids in the extrusion of flexible filaments, along with the high responsiveness of dual direct drives to make deposition faster, smoother, and more accurately controlled. It is built in with a filament sensor to inform you and pause the print job in the case of filament runout, nozzle clogging, and other abnormalities that fail filament loading.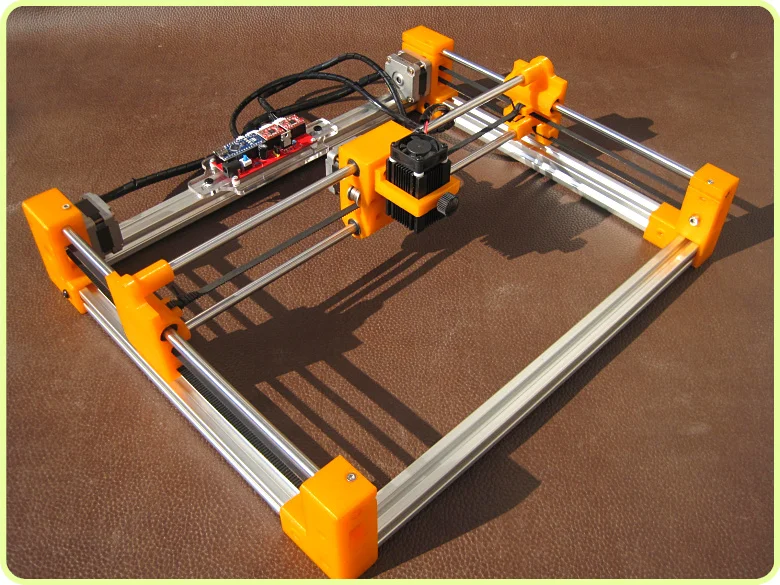
Compact Extrusion Path
The compact extrusion path of a unique design allows you to print seamlessly with TPU and many other flexible materials.
Enclosed Space
It provides stable ambient conditions to facilitate the consistently reliable performance of high-temperature materials. For instance, it keeps ABS and many other materials from warping.
Work. Flow.
Tailored IDEX 3D Slicer in Luban.
Streamlined to the core. Everything you need placed where you find most handy. Seamless interactions with you and with J1. In-depth customization, 300 parameter settings, for even the savviest makers. And it evolves as you do. Cura plugin is also provided for your convenience.
• Dual-extruder configuration
5-inch Intuitive Touchscreen.
Your personal docent through set up and adept assistant in making with easy-to-follow instructions, file previews, and lots of details, addressing all your questions and needs[4].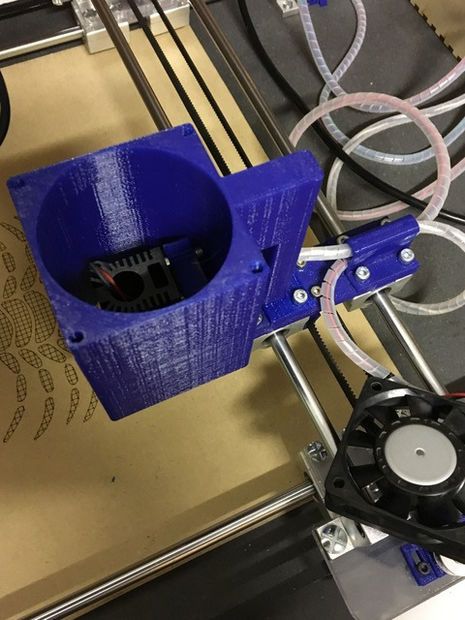
• 4 Printing Modes available
• Dual-extruder configuration
• Live display of working status
3, 2, 1, Calibration Done.
We utilize electrical conduction to locate the two hot ends and the heated bed and measure the distances between the three entities—a creative solution to complex IDEX calibration. This time saver enables you to complete the calibration in 10 minutes under the Assist Mode.Taking away the calibration card and the judgement call, it reduces errors and arrives at better accuracy.
Hands-free XY Offset Calibration.
When the two hot ends touch the square opening on the heated bed, it sends out electronic signals to suggest their exact locations, and J1 calculates the offsets between them. J1 then auto-compensates the offsets during printing to ensure perfect XY alignment that avoids layer shifting and improves the success rate of dual-material prints.
It takes away the long learning curve and saves you from scrutinizing through an awful lot of lines. Tap start, and lay back for elevated precision.
Tool-free Bed Leveling.
A level print bed lays the foundation for successful 3D prints, but the bed leveling of IDEX printers can be very time-consuming.
Using a PEI glass plate of high flatness, J1 can downsize from a 3 × 3 (9 points) or 4 × 4 (16 points) leveling to a 3-point one with no compromise on levelness and downtime dropped by 70–80%[5].
Turn the leveling wheel as guided on the touchscreen, and the bed is leveled for tip-top first-layer adhesion.
Easily-managed Z Offset Calibration.
Using electrical conduction, J1 can calculate the distances between the hot ends and the heated bed. Thus, we were able to cut the step of moving the calibration card back and forth while adjusting the Z offset. Simply turn the thumb wheel as guided on the touchscreen and you are now the Z offset calibration guru!
Make Anything,
with Everything You Need.
Custom PEI Glass Plate.
J1's build plate is made of glass with sheer flatness, making your first layer smooth and adhesive. Glossy glass on one side and PEI coating on the other side, aiding in adhesion for various filaments. The plate can be easily removed so that it is extra handy for maintenance and print removal.
Easy-swap Hot Ends.
Loosen the two screws on the hot end, fix or replace the hot end, and go back to printing at once. For the adventurers going for more variations and advanced applications, we offer multi-diameter hot ends from 0.2 mm for detail accuracy to 0.8 mm for faster printing, and hardened hot ends for engineering materials.
Built-in Nozzle Wipers.
Scrape excessive materials off nozzles and halt the oozing from the just-active extruder to free multi-material prints from blobs and stringing. The extruder can start its print job in line without waiting for the just-active one to cool down.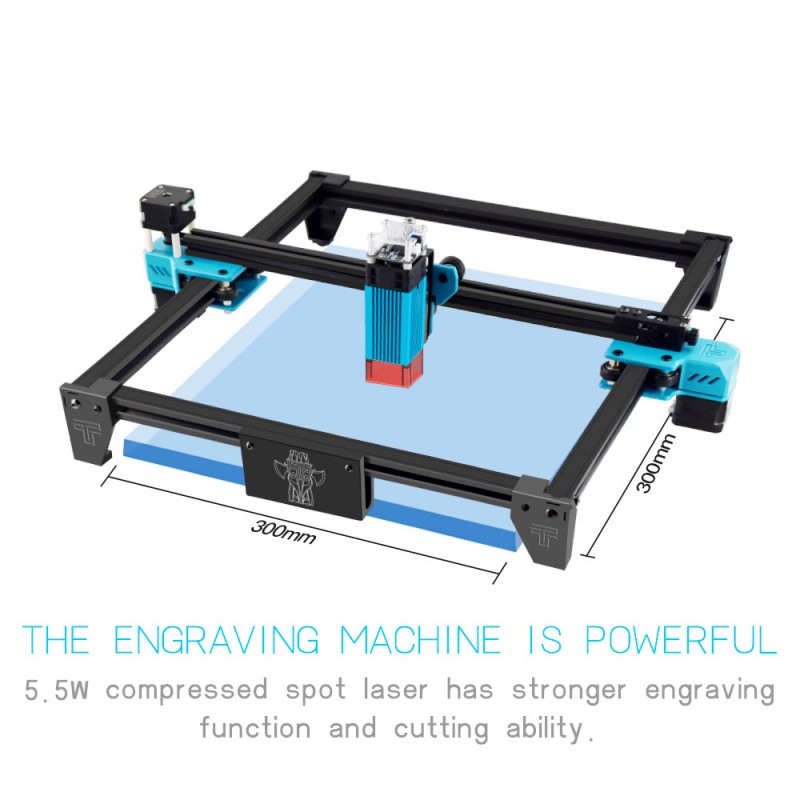 Switching between extruders takes much less time, once again minimizing downtime.
Pre-assembled & Tuned. Ready When You Are.
Tuned and tested to its best condition. When J1 arrives at your doorstep, just unbox, mount the filament holders, doors and panels, and start right off.
Notes:
[1] The data may vary depending on the testing conditions and product iteration, and is for reference only.
[2] The data is estimated based on the usage of printing at 100 mm/s for 24 hours per day. It may vary depending on the testing conditions and product iteration, and is for reference only.
[3] Hardened steel nozzle should be used when printing with nylon and reinforced nylon filaments.
[4] The UI is subject to change due to iterations.
[5] The data may vary depending on the testing conditions and product iteration, and is for reference only.
Specifications
Printing Properties
Technology
Fused Filament Fabrication (FFF)
Extruder System
Independent Dual Extruders (IDEX)
Printing Modes
1. Default Mode
2. Backup Mode
3. Copy Mode
4. Mirror Mode
Build Volume
(W × D × H)
Default Mode & Backup Mode: 300 mm × 200 mm × 200 mm
Copy Mode: 160 mm × 200 mm × 200 mm
Mirror Mode: 150 mm × 200 mm × 200 mm
Layer Height
(with 0.4 mm nozzle)
0.05 mm–0.3 mm
Build Plate
PEI glass plate
Max. Heated Bed Temperature
Nozzle Diameter
0.4 mm (included)
0.2 mm, 0.6 mm, 0.8 mm, Hardened (sold separately)
Max. Nozzle Temperature
Filament Diameter
1.75 mm
Supported Materials[6]
PLA, ABS, HIPS, PC, TPU, TPE, PETG, ASA, PP, PVA, PA, PA-GF, PA-CF
Data Transmission Methods
Wi-Fi, USB cable, USB flash drive
Operating Noise
< 50 dBA
Machine Properties
Dimensions (W × D × H)
539 mm × 401 mm × 464 mm
Net Weight
Touchscreen
Size: 5 in.
OS: Android
Resolution: 1280 × 720 pixels
Memory
1 GB RAM, 8 GB eMMC
Repeatability of Linear Rails[7]
± 0.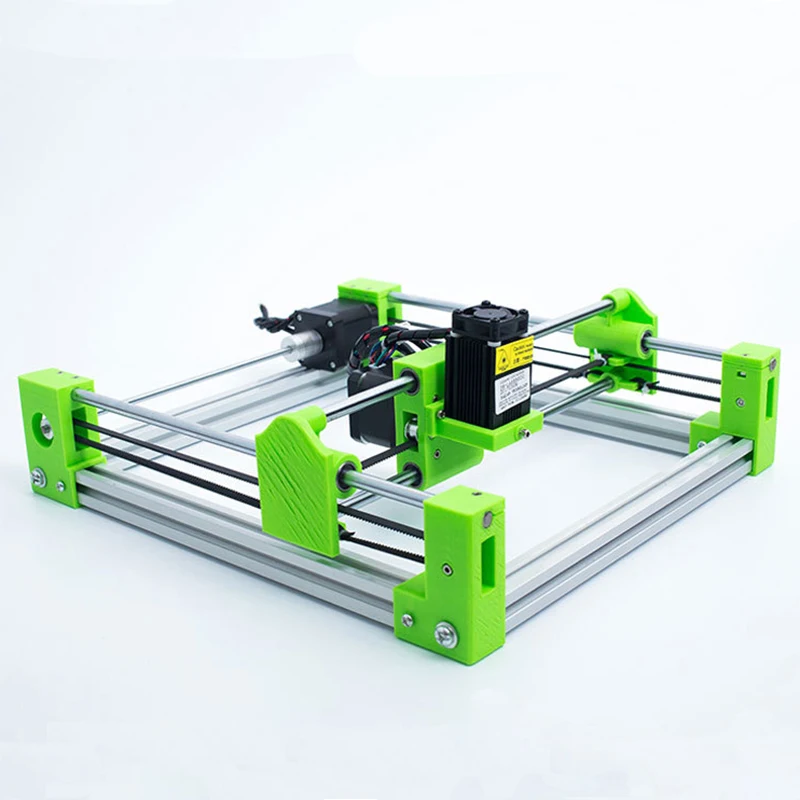 03 mm (X/Y)
± 0.02 mm (Z)
Expected Lifespan of Linear Rails[8]
Over 10 Years
Operating Conditions
Operating Environment
Temperature: 10ºC–35ºC
Relative Humidity: 10%–90% (non-condensing)
Storage Environment
Temperature: -20ºC–55ºC
Relative Humidity: 10%–90% (non-condensing)
Rated Voltage: AC 100 V–240 V, 50 Hz/60 Hz
Rated Current: 4.4 A Max.
Output
DC 24 V, 400 W Max.
Software
Supplied Software
Luban (third-party software supported)
Supported OS of Luban
Windows, macOS
Supported File Formats
STL, OBJ, 3MF
Output File Formats
In the Box
Snapmaker J1 3D Printer × 1
Quick Start Guide × 1
Safety Guidelines × 1
Calibration Card × 1
Wiping Cloth × 1
Orange PLA Filament × 1
White PLA Filament × 1
Left Door × 1
Right Door × 1
Side Panel × 2
PEI Glass Plate × 1
USB Flash Drive × 1
Tweezers × 1
Power Cable × 1
Palette Knife × 1
Wire Brush × 1
Diagonal Pliers × 1
Filament Holder × 1
USB-B Cable × 1
M3 × 6 Screw × 16
M4 × 8 Screw × 4
Hot End Sock × 2
5. 5 mm Wrench × 1
h4.0 Hex Key × 1
h3.5 Hex Key × 1
h3.0 Hex Key × 1
h2.5 Hex Key × 1
Notes:
[6] Hardened steel nozzle should be used when printing with PA, PA-GF, and PA-CF.
[7] The data may vary depending on the testing conditions and product iteration and is for reference only.
[8] The data is estimated based on the usage of printing at 100 mm/s for 24 hours per day. It may vary depending on the testing conditions and product iteration, and is for reference only.
Join J1 Facebook Goup
High Speed IDEX
3D Printer
Breakaway & Dissolvable Supports
Print in Parallel
Advanced Materials
Printing
Intelligent Calibration
Ultra-fast Printing
One-piece Die Casting
Fast and Forward.
Max. Speed
350 mm/s
Max. Acceleration
10,000 mm/s2
Speed Boosted by Advanced Control Algorithm.
Vibration Compensation
J1 brings you a top-of-class printing speed of 350 mm/s while ensuring a high resolution of prints. It is made possible by the optimization of the vibration compensation technology. This technology reduces the vibrations caused by high-speed movements, minimizing ringing to enhance print quality. With the maximum acceleration of 10,000 mm/s², you can realize small models packed with details with efficiency.
Seamless Extruders Switching
During dual extrusion printing, the non-working extruder preheats while on standby, and starts printing right after the working extruder leaves, significantly reducing your waiting time.
Cornering Optimization
By analyzing the extruders' moving directions ahead of time, J1 is able to prevent problems like corner bulge, delivering better print quality at corners.
Speed Ensured by Elaborate
Hardware Design.
One-piece Die Casting
J1's body comprises an upper frame and a base made by one-piece die casting, and four aluminum alloy bars. Making the body with just a few highly integrated parts—an approach long adopted by the automotive industry—facilitates precision assembly.
J1 is so rigid and reliable with minimal wobble and deformation possible that you can print large projects one after another for a long time and get all prints of uncompromising quality.
High-precision
Linear Rails
The industrial-grade linear rails are made by CNC grinding at the micron level, ensuring smooth and steady movements. A significant rise in precision, rigidity, and durability for you to savor a fast, accurate, and steady making experience.
Repeatability[1]
±0.03 mm (X/Y)
±0.02 mm (Z)
Expected Lifespan[2]
Over 10 Years
Aluminum Alloy
Frame
J1 inherits Snapmaker's iconic all-metal design which users highly value for its rigidity and durability. It provides better heat dissipation with the main board and power supply spread out on the base and aluminum alloy as its main material.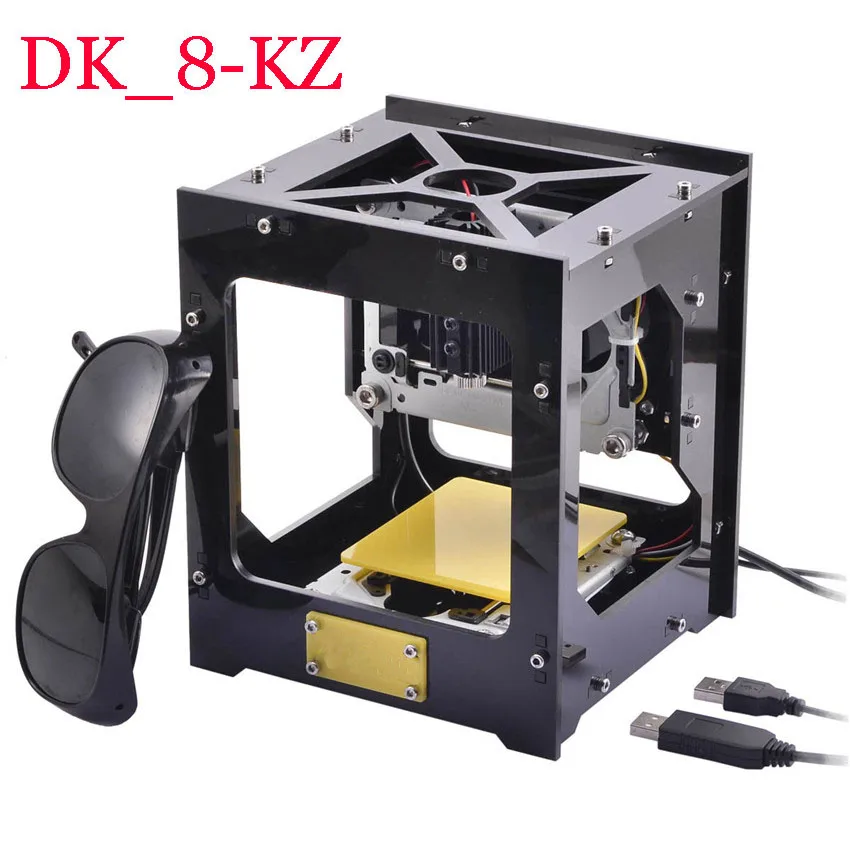 All electronic components well oiled, at your command.
Infinite Possibilities with IDEX.
IDEXcel in Dual-material Printing.
Compared with a multi-material unit, IDEX dual-material printing requires less time in filament changing and creates less waste. Plus, IDEX offers the cleanest two-extruder solution that prevents cross-contamination. It creates a clean interface between two materials, embracing hassle-free removal and avoiding stains and weird blending along the seam.
Snap Removal, Smooth Finishes.
Building and removing support can look like rocket science sometimes, but we've done the math for you–steady support, clean interface, effortless removal, and minimal post-processing needed to maintain high dimensional accuracy.
See your model as it is, no less, no more.
Breakaway Support
Breakaway filament offers the same support as normal materials but is much easier to remove without the need for further post-processing.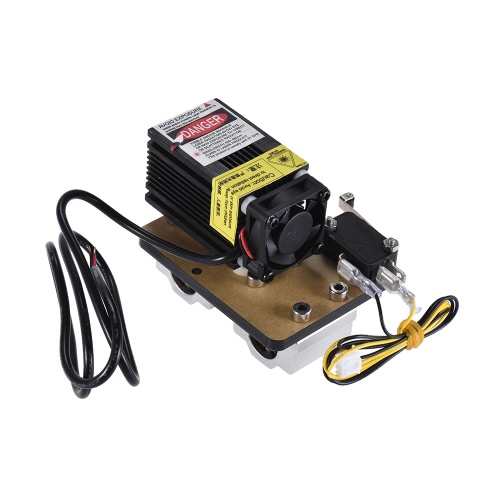
Dissolvable Support
J1 supports PVA and other dissolvable materials. Soak the print, and the supports dissolve, leading to a smooth surface and excellent dimensional accuracy. When you are looking for complex geometry, hollow structures, and exquisite details, this is for you.
1 + 1 > 2
Choose different settings for two extruders to maximize the performance of individual filaments.
Dual-material Prints. In one print, you make the most of two sets of properties. Combine the strength of nylon with the flexibility of TPU for functional parts that can stand daily wear and tear impressively. Print also multi-part objects as a whole. With no assembly, the object attains stronger interconnections, making it less prone to impairment.
Bicolor Prints. Add a splash of personality to your concept models, miniatures, party essentials, gift items, and home decor.
Use different materials on the walls and the infill. By printing infill with economical materials plus a large-diameter nozzle, you can now spend most of your time and money budget on working the exterior to perfection.
Print in Parallel.
Halve your wait time, double your productivity. IDEX is the only extrusion system with two separate extruders moving independently on the X-axis, enabling you to run two prints simultaneously.
Copy Mode
Print two identical objects in one go. It is especially suitable for batch printing, empowering studios and enthusiasts. If one of the prints runs into an issue, you can stop that print without affecting the other. This mode is a lifesaver for a promised delivery on a tight schedule.
Mirror Mode
J1 directly mirrors your model and prints the original and the mirrored one in one go. For a symmetrical model, you can import half of it and print it in Mirror Mode to cut your wait time by 50%, perfect for quick drafts and concept models. Like in the Copy Mode, you can stop one print without affecting the other.
Always a Plan B for Ace Performance.
Backup Mode
Under Backup Mode, you print with one extruder while the other stands by.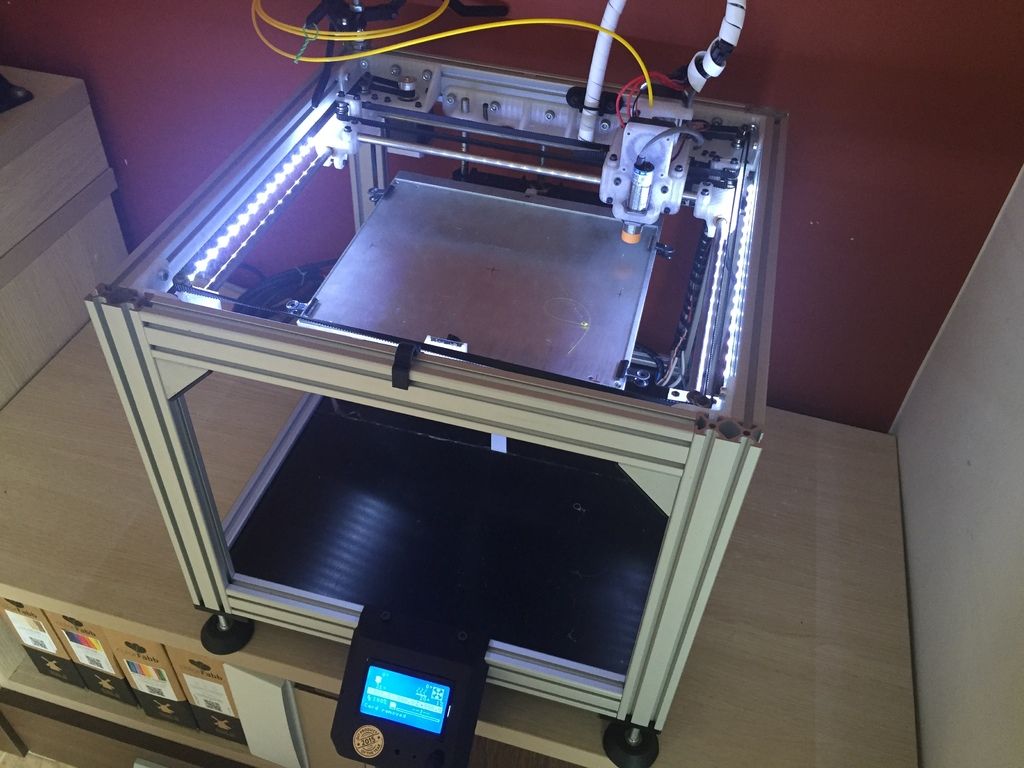 If the working extruder bumps into a hiccup, the stand-by one would take over the job seamlessly and still deliver a fabulous print to you.
Advance for the Advanced.
Extruders are redesigned to deliver a superb performance consistently with demanding, advanced materials. Print high-quality projects that meet the structural and functional demands of various engineering applications with little fuss.
Advanced Projects Created with J1.
Flexible and liable to under-extrusion, and therefore requires accurate control of extrusion and heat dissipation.
Nylon/PA[3]
Including nylon, PA-CF (Polyamide-Carbon Fiber) and PA-GF (Polyamide-Glass Fiber). Tough and wear-resistant, but require strict conditions of printing temperature and nozzle hardness.
Displays high heat resistance and excellent durability. Prone to warping and shrinkage, thus requires stable ambient conditions, best provided by an enclosed space.
300°C Hot Ends
300°C maximum nozzle temperature comes in handy when you print with high-temperature filaments, like nylon, reinforced nylon, and PC. With silicone hot end socks preventing heat loss, filaments melting and heating up are much faster. Anti-clogging designs make the flow as smooth as possible.
Dual Direct Drive
Excellent extrusion accuracy that aids in the extrusion of flexible filaments, along with the high responsiveness of dual direct drives to make deposition faster, smoother, and more accurately controlled. It is built in with a filament sensor to inform you and pause the print job in the case of filament runout, nozzle clogging, and other abnormalities that fail filament loading.
Compact Extrusion Path
The compact extrusion path of a unique design allows you to print seamlessly with TPU and many other flexible materials.
Enclosed Space
It provides stable ambient conditions to facilitate the consistently reliable performance of high-temperature materials. For instance, it keeps ABS and many other materials from warping.
Work. Flow.
Tailored IDEX 3D Slicer in Luban.
Streamlined to the core. Everything you need placed where you find most handy. Seamless interactions with you and with J1. In-depth customization, 300 parameter settings, for even the savviest makers. And it evolves as you do. Cura plugin is also provided for your convenience.
• Dual-extruder configuration
5-inch Intuitive Touchscreen.
Your personal docent through set up and adept assistant in making with easy-to-follow instructions, file previews, and lots of details, addressing all your questions and needs[4].
• 4 Printing Modes available
• Dual-extruder configuration
• Live display of working status
3, 2, 1, Calibration Done.
We utilize electrical conduction to locate the two hot ends and the heated bed and measure the distances between the three entities—a creative solution to complex IDEX calibration. This time saver enables you to complete the calibration in 10 minutes under the Assist Mode.Taking away the calibration card and the judgement call, it reduces errors and arrives at better accuracy.
Hands-free XY Offset Calibration.
When the two hot ends touch the square opening on the heated bed, it sends out electronic signals to suggest their exact locations, and J1 calculates the offsets between them. J1 then auto-compensates the offsets during printing to ensure perfect XY alignment that avoids layer shifting and improves the success rate of dual-material prints.
It takes away the long learning curve and saves you from scrutinizing through an awful lot of lines. Tap start, and lay back for elevated precision.
Tool-free Bed Leveling.
A level print bed lays the foundation for successful 3D prints, but the bed leveling of IDEX printers can be very time-consuming.
Using a PEI glass plate of high flatness, J1 can downsize from a 3 × 3 (9 points) or 4 × 4 (16 points) leveling to a 3-point one with no compromise on levelness and downtime dropped by 70–80%[5].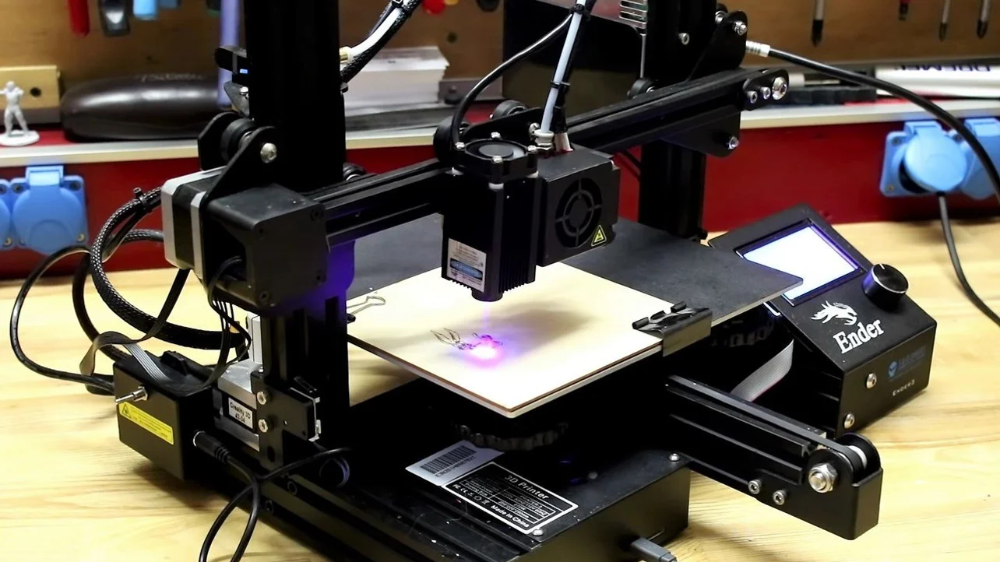
Turn the leveling wheel as guided on the touchscreen, and the bed is leveled for tip-top first-layer adhesion.
Easily-managed Z Offset Calibration.
Using electrical conduction, J1 can calculate the distances between the hot ends and the heated bed. Thus, we were able to cut the step of moving the calibration card back and forth while adjusting the Z offset. Simply turn the thumb wheel as guided on the touchscreen and you are now the Z offset calibration guru!
Make Anything,
with Everything You Need.
Custom PEI Glass Plate.
J1's build plate is made of glass with sheer flatness, making your first layer smooth and adhesive. Glossy glass on one side and PEI coating on the other side, aiding in adhesion for various filaments. The plate can be easily removed so that it is extra handy for maintenance and print removal.
Easy-swap Hot Ends.
Loosen the two screws on the hot end, fix or replace the hot end, and go back to printing at once.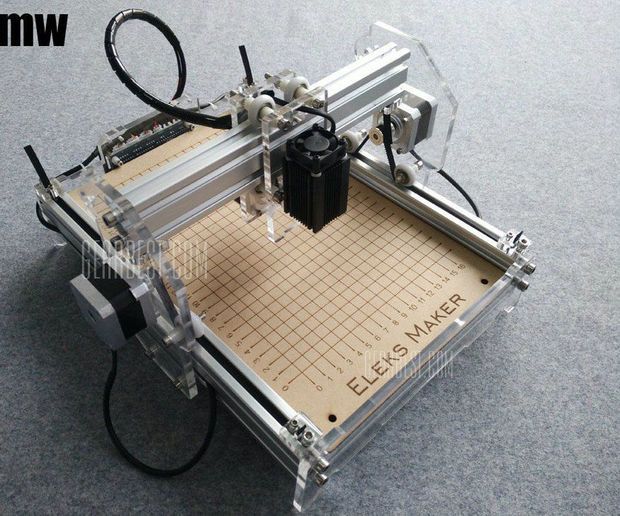 For the adventurers going for more variations and advanced applications, we offer multi-diameter hot ends from 0.2 mm for detail accuracy to 0.8 mm for faster printing, and hardened hot ends for engineering materials.
Built-in Nozzle Wipers.
Scrape excessive materials off nozzles and halt the oozing from the just-active extruder to free multi-material prints from blobs and stringing. The extruder can start its print job in line without waiting for the just-active one to cool down. Switching between extruders takes much less time, once again minimizing downtime.
Pre-assembled & Tuned. Ready When You Are.
Tuned and tested to its best condition. When J1 arrives at your doorstep, just unbox, mount the filament holders, doors and panels, and start right off.
Notes:
[1] The data may vary depending on the testing conditions and product iteration, and is for reference only.
[2] The data is estimated based on the usage of printing at 100 mm/s for 24 hours per day.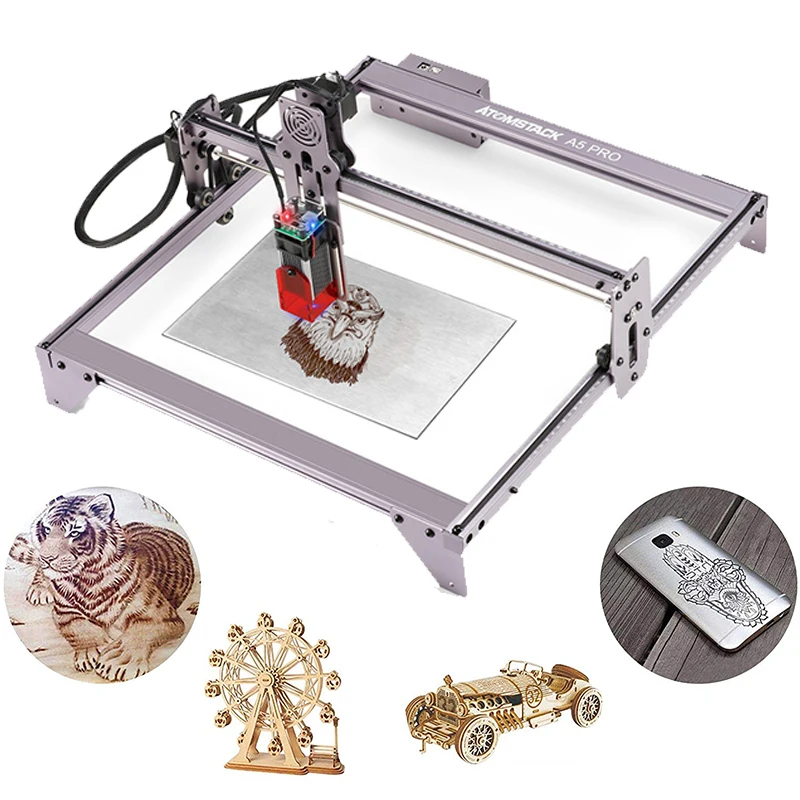 It may vary depending on the testing conditions and product iteration, and is for reference only.
[3] Hardened steel nozzle should be used when printing with nylon and reinforced nylon filaments.
[4] The UI is subject to change due to iterations.
[5] The data may vary depending on the testing conditions and product iteration, and is for reference only.
Specifications
Printing Properties
Technology
Fused Filament Fabrication (FFF)
Extruder System
Independent Dual Extruders (IDEX)
Printing Modes
1. Default Mode
2. Backup Mode
3. Copy Mode
4. Mirror Mode
Build Volume
(W × D × H)
Default Mode & Backup Mode: 300 mm × 200 mm × 200 mm
Copy Mode: 160 mm × 200 mm × 200 mm
Mirror Mode: 150 mm × 200 mm × 200 mm
Layer Height
(with 0.4 mm nozzle)
0.05 mm–0.3 mm
Build Plate
PEI glass plate
Max. Heated Bed Temperature
Nozzle Diameter
0. 4 mm (included)
0.2 mm, 0.6 mm, 0.8 mm, Hardened (sold separately)
Max. Nozzle Temperature
Filament Diameter
1.75 mm
Supported Materials[6]
PLA, ABS, HIPS, PC, TPU, TPE, PETG, ASA, PP, PVA, PA, PA-GF, PA-CF
Data Transmission Methods
Wi-Fi, USB cable, USB flash drive
Operating Noise
< 50 dBA
Machine Properties
Dimensions (W × D × H)
539 mm × 401 mm × 464 mm
Net Weight
Touchscreen
Size: 5 in.
OS: Android
Resolution: 1280 × 720 pixels
Memory
1 GB RAM, 8 GB eMMC
Repeatability of Linear Rails[7]
± 0.03 mm (X/Y)
± 0.02 mm (Z)
Expected Lifespan of Linear Rails[8]
Over 10 Years
Operating Conditions
Operating Environment
Temperature: 10ºC–35ºC
Relative Humidity: 10%–90% (non-condensing)
Storage Environment
Temperature: -20ºC–55ºC
Relative Humidity: 10%–90% (non-condensing)
Rated Voltage: AC 100 V–240 V, 50 Hz/60 Hz
Rated Current: 4.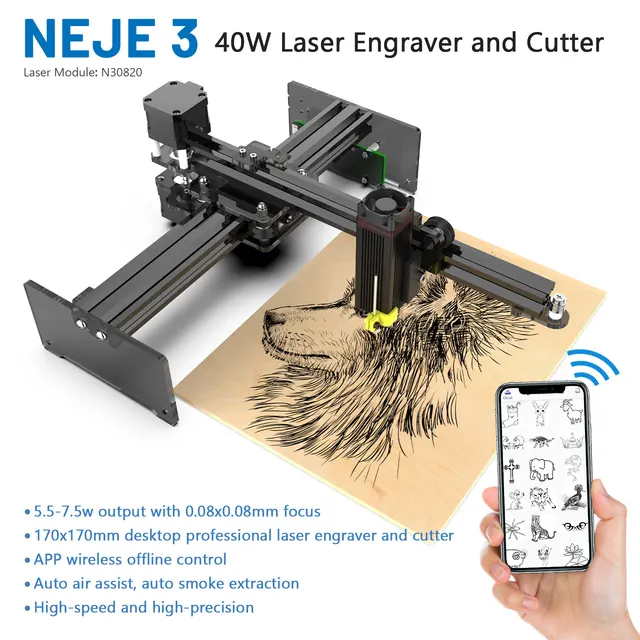 4 A Max.
Output
DC 24 V, 400 W Max.
Software
Supplied Software
Luban (third-party software supported)
Supported OS of Luban
Windows, macOS
Supported File Formats
STL, OBJ, 3MF
Output File Formats
In the Box
Snapmaker J1 3D Printer × 1
Quick Start Guide × 1
Safety Guidelines × 1
Calibration Card × 1
Wiping Cloth × 1
Orange PLA Filament × 1
White PLA Filament × 1
Left Door × 1
Right Door × 1
Side Panel × 2
PEI Glass Plate × 1
USB Flash Drive × 1
Tweezers × 1
Power Cable × 1
Palette Knife × 1
Wire Brush × 1
Diagonal Pliers × 1
Filament Holder × 1
USB-B Cable × 1
M3 × 6 Screw × 16
M4 × 8 Screw × 4
Hot End Sock × 2
5.5 mm Wrench × 1
h4.0 Hex Key × 1
h3.5 Hex Key × 1
h3.0 Hex Key × 1
h2.5 Hex Key × 1
Notes:
[6] Hardened steel nozzle should be used when printing with PA, PA-GF, and PA-CF.
[7] The data may vary depending on the testing conditions and product iteration and is for reference only.
[8] The data is estimated based on the usage of printing at 100 mm/s for 24 hours per day. It may vary depending on the testing conditions and product iteration, and is for reference only.
Printing Properties
Technology
Fused Filament Fabrication (FFF)
Extruder System
Independent Dual Extruders (IDEX)
Printing Modes
1. Default Mode
2. Backup Mode
3. Copy Mode
4. Mirror Mode
Build Volume
(W × D × H)
Default Mode & Backup Mode: 300 mm × 200 mm × 200 mm
Copy Mode: 160 mm × 200 mm × 200 mm
Mirror Mode: 150 mm × 200 mm × 200 mm
Layer Height
(with 0.4 mm nozzle)
0.05 mm–0.3 mm
Build Plate
PEI glass plate
Max. Heated Bed Temperature
Nozzle Diameter
0.4 mm (included)
0.2 mm, 0.6 mm, 0.8 mm, Hardened (sold separately)
Max. Nozzle Temperature
Filament Diameter
1. 75 mm
75 mm
Supported Materials[6]
PLA, ABS, HIPS, PC, TPU, TPE, PETG, ASA, PP, PVA, PA, PA-GF, PA-CF
Data Transmission Methods
Wi-Fi, USB cable, USB flash drive
Operating Noise
< 50 dBA
Machine Properties
Dimensions (W × D × H)
539 mm × 401 mm × 464 mm
Weight
Touchscreen
Size: 5 in.
OS: Android
Resolution: 1280 × 720 pixels
Memory
1 GB RAM, 8 GB eMMC
Repeatability of Linear Rails[7]
± 0.03 mm (X/Y)
± 0.02 mm (Z)
Expected Lifespan of Linear Rails[8]
Over 10 Years
Operating Conditions
Operating Environment
Temperature: 10ºC–35ºC
Relative Humidity: 10%–90% (non-condensing)
Storage Environment
Temperature: -20ºC–55ºC
Relative Humidity: 10%–90% (non-condensing)
Rated Voltage: AC 100 V–240 V, 50 Hz/60 Hz
Rated Current: 4.4 A Max.
Output
DC 24 V, 400 W Max.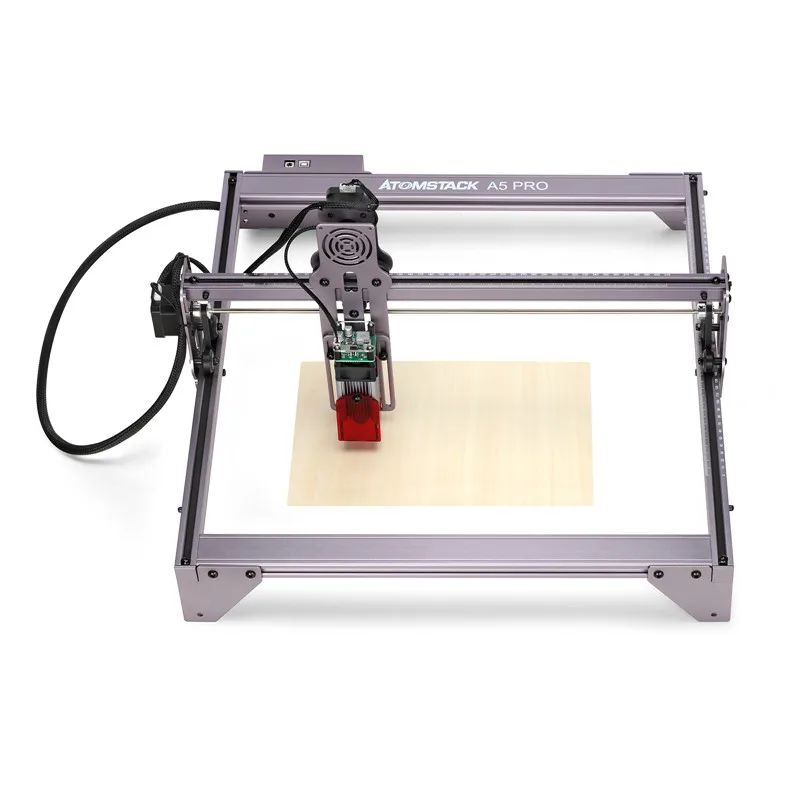
Software
Supplied Software
Luban (third-party software supported)
Supported OS of Luban
Windows, macOS
Supported File Formats
STL, OBJ, 3MF
Output File Formats
G code
Join J1 Facebook Goup
How to turn your 3D printer into a laser engraver/cutter
3DPrintStory Reviews How to turn your 3D printer into a laser engraver/cutter
If you want to create something more than just 3D printed parts, or simply expand the range of materials you work with, laser cutting and engraving is a great choice. It allows you to work with other materials and does not require special experience. nine0005
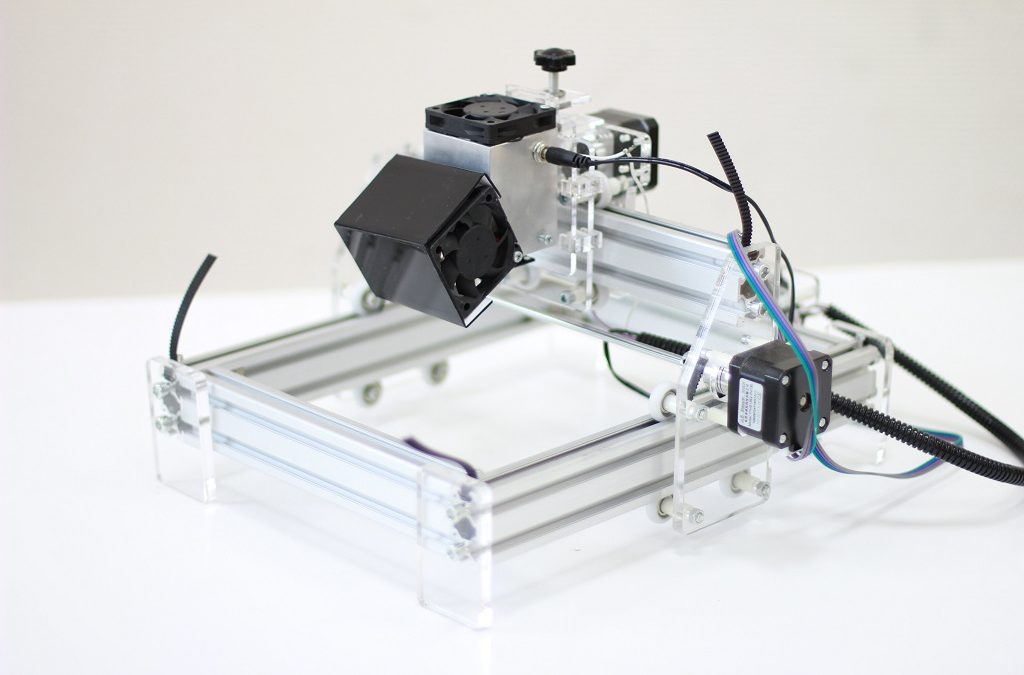
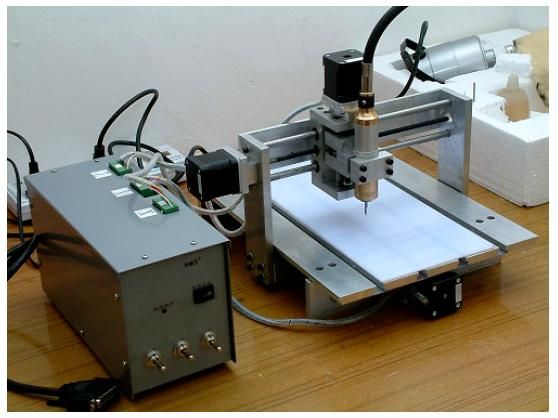
But perhaps the best part is that this technology can be easily used by upgrading your 3D printer.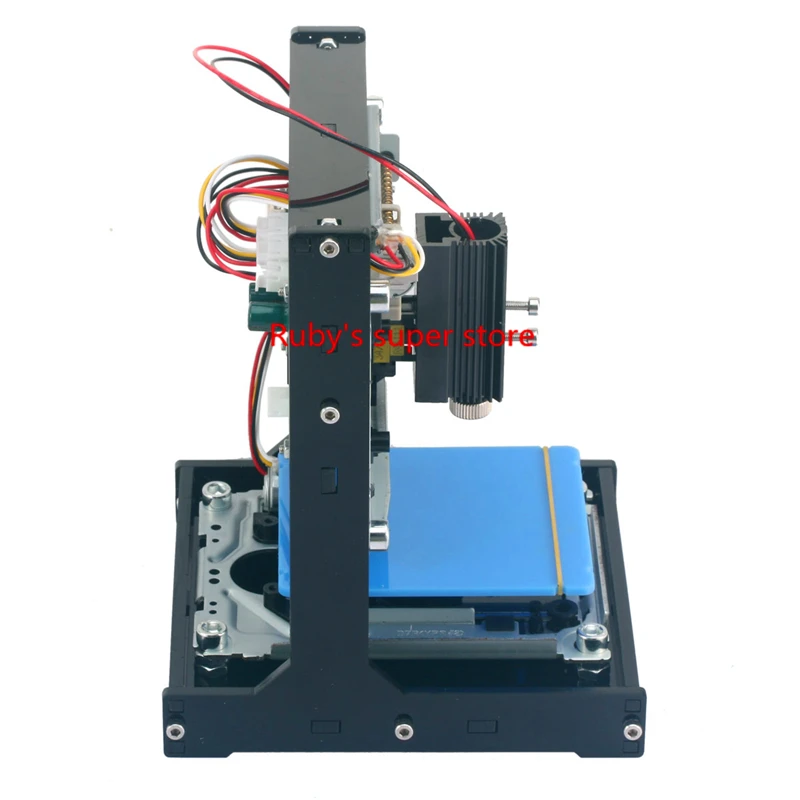 The motion system of 3D printers far exceeds the requirements for laser cutting, and laser diode modules can be as small as hot end nodes.
Converting a 3D printer into a laser cutter and engraver is a pretty big deal. In this article, we'll talk about laser technology in general, and then we'll discuss the main steps involved in converting your 3D printer. nine0005
What is laser cutting and engraving?
Laser cutting is a process in which a laser beam selectively removes material along a specific path by vaporizing it. Engraving is basically the same, but instead of removing material, it marks the surface, changing its appearance through oxidation.
Two laser technologies are mainly used for the manufacture of tabletop machines: CO2 and diode. CO2 lasers are powerful enough to cut most materials, including some metals, and are widely used in industry. nine0005
However, CO2 laser machines are bulky and require rather expensive and fragile equipment such as CO2 tubes, mirrors and lenses.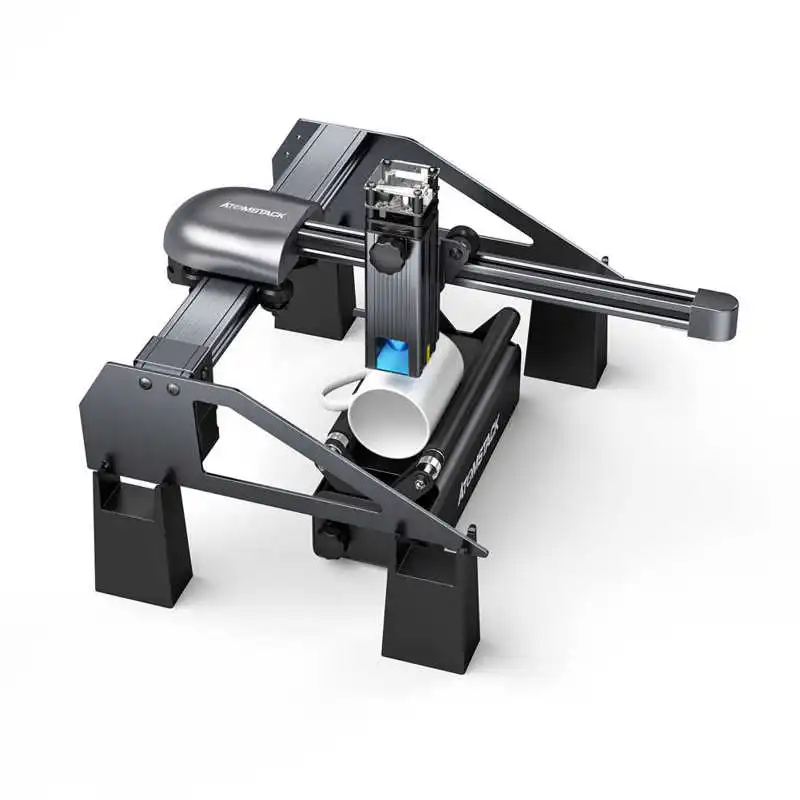 On the other hand, diode lasers are lightweight and relatively cheap, since they consist mainly of one small module.
Diode lasers are much less powerful than CO2 and are best suited for engraving and cutting thin sheets of balsa and plywood. In comparison, a CO2 laser can deliver up to 400W, while diode lasers can only deliver 10W maximum. nine0005
Do you need to convert your 3D printer to a laser engraver?
Converting a 3D printer to a CO2 laser machine can be quite a challenge given the size of the tubes and the complex system of mirrors. For this reason, it is much better to use diode lasers.
However, please note that these lasers can only cut certain materials such as paper, cardboard, balsa and plywood with a thickness of 3 to 5 mm. Due to the wavelength of the laser, it cannot cut or engrave transparent materials such as acrylic. nine0005
Also be aware of the safety requirements when using lasers. Class 4 lasers are dangerous to the eyes, so the use of safety goggles is mandatory.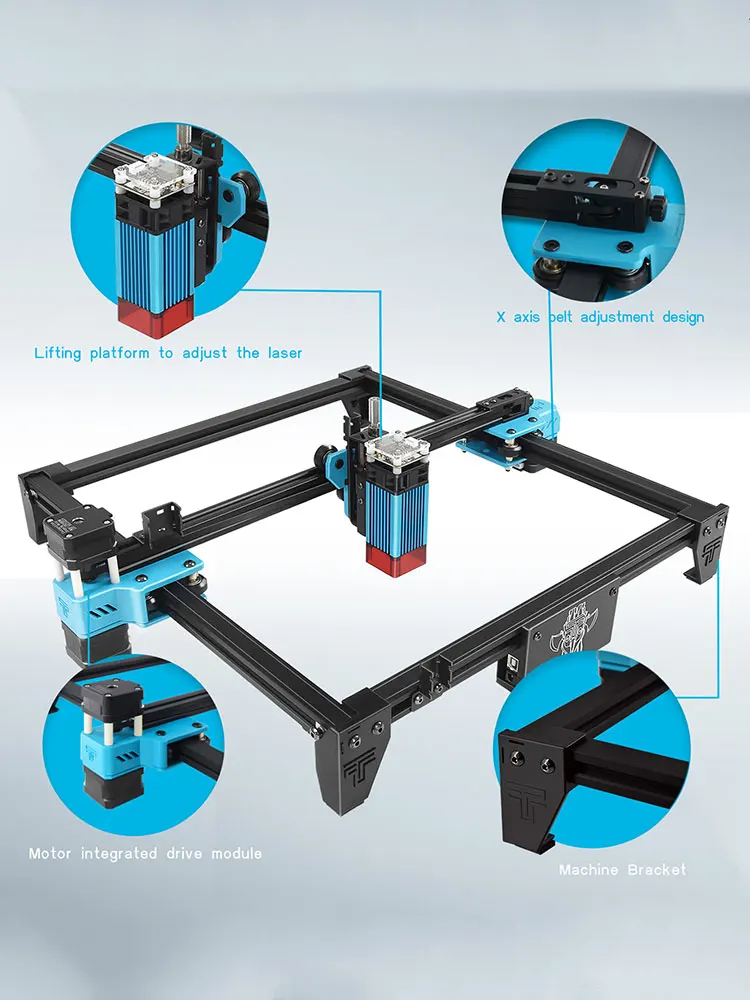 In addition, the products of combustion emitted during the operation of the laser can be harmful to our health, so enclosure and proper ventilation are required.
Take all of this into account before deciding to convert your 3D printer to a laser machine. Given the risks involved, it is especially important to take precautions. nine0005
How to turn a 3D printer into a laser cutter/engraver?
The process of converting a 3D printer to a laser machine varies but usually involves the same steps.
First of all, we need to choose the laser module that best suits our requirements (eg functionality and price). Next, we need to figure out how to adapt it to the electronics and physical interface of the 3D printer.
Laser module
Powerful solid state lasers are a relatively recent development, but the market has quickly caught up with demand for diode laser modules. nine0005
The laser power is always between 1 and 10 W. Some white label lasers you see online are listed as 30W or even 40W, but that is definitely not optical power output.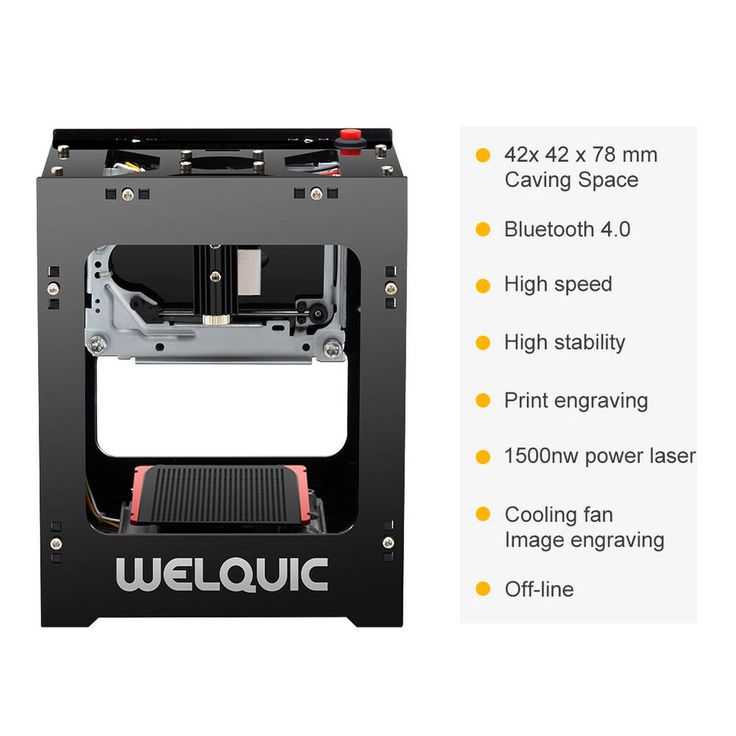
Power will determine which materials can be engraved and whether materials such as wood (and how thick) can be cut. Laser manufacturers usually provide a list of materials that can be engraved and cut, so be sure to check it out.
Variable focal length, which you sometimes see as an advertised feature, is not really important here, as the 3D printer's Z-axis can raise or lower the module to fit a fixed distance. nine0005
The air blower is an interesting feature as it blows air directly onto the surface to disperse particles that interfere with the laser, resulting in cleaner cuts. Some lasers have this feature built in.
Compatibility and connection
Most laser modules can be connected directly to the 3D printer control board. The partial cooling fan on a 3D printer requires an adjustable power output to control its speed, and it is this port that can power and drive the laser. nine0005
Some lasers require a special 12V power input. This is usually via a separate driver board, which can be powered by either the printer's power supply or an external power supply.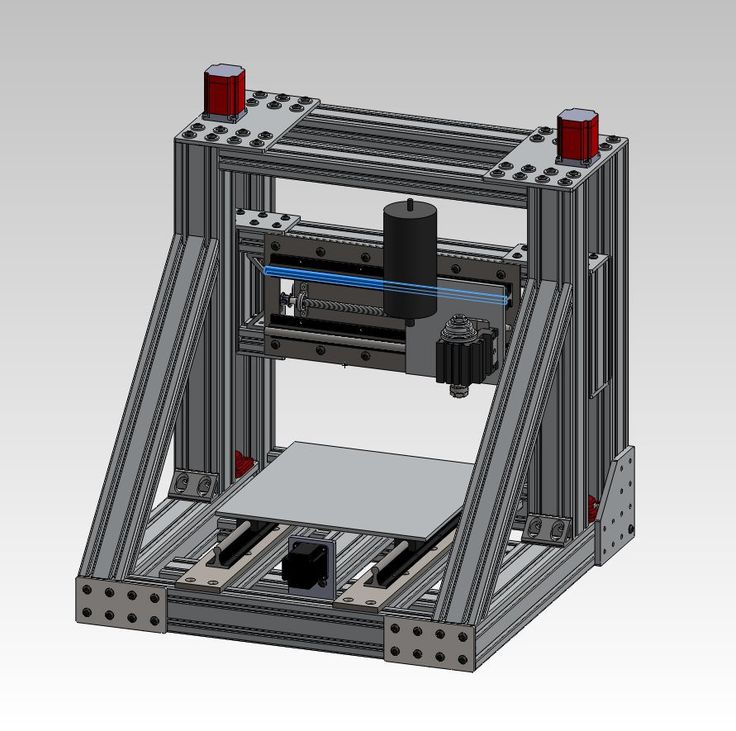 This setup also requires a connection to the printer through the fan port.
Refer to the laser manufacturer's documentation for correct connection instructions.
Installation
Installation and mounting of the laser module is perhaps the only major equipment change in the entire conversion process. Although some lasers come with non-standard brackets, some adaptation will always be required. nine0005
Fortunately, you already have a 3D printer, so anything is possible. You may be able to find suitable designs on sites like Thingiverse. Otherwise, it might be time to try some 3D modeling software like Tinkercad or similar. The model doesn't have to be fancy, just a joint between holes and screws that will be used to hold the hot end.
Once you've attached the laser module to your 3D printer, you're done! However, in order to start engraving or cutting, you may need a new firmware. nine0005
Next steps
The laser cutter and engraver is one of the coolest machines we can have at home because it allows us to make things from a wider range of materials than extruded plastic filament.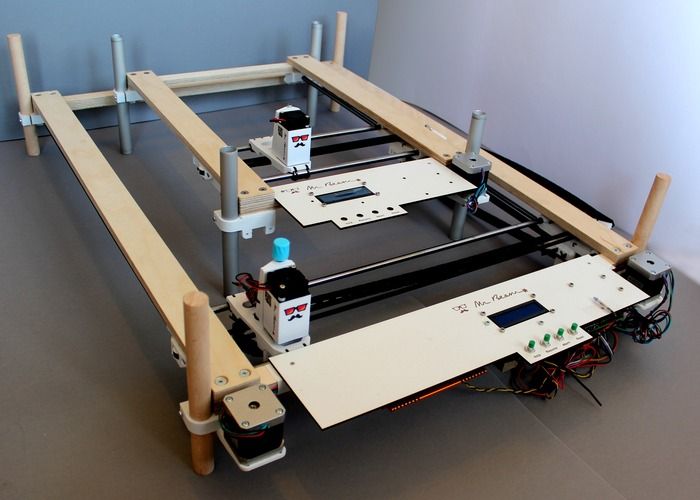 Converting a 3D printer to a laser printer is an inexpensive option, and you can always go back to 3D printing in the end.
By the way, for Ender and CR-10 users, Creality offers special laser kits to add (not replace) laser modules to these printers. nine0005
Be sure to check out some step-by-step guides online. For example, Instructables user Goss Adema has documented converting the Anet A8 to a laser cutter and engraver, and the TeachingTech YouTube channel has great step-by-step instructions on how to do it on any 3D printer.
3D printer as a laser engraver. Adding functionality. Refinement and first test.
Application
Follow author
Follow
Don't want
17
Hello!
I hasten to share literally fried news...
For a long time I wanted to check in practice the use of a 3D printer not only for printing. And finally it was done!
I settled on equipping the printer with a laser head, as this is one of the most dusty ways to refine the printer.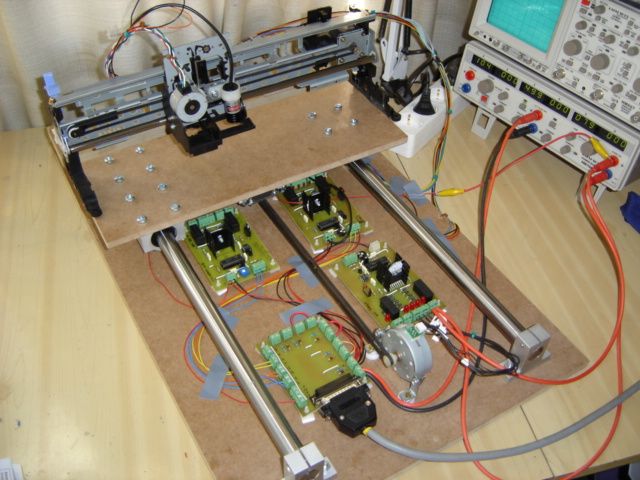
To make my Nephila more functional I needed the following things:
- head mounting bracket
- laser head itself
- head power supply, since it is rated for 5 volts
- mounting kit
- some soldering
small laser head itself
WITH28=[IMG2802 =211]
So, first I modeled the bracket, tried it on the printer's head, everything fit well...
0005
Next, I printed the bracket itself, ABS plastic, layer 0.2, nozzle 0.5, the Nephila experimental printer itself.
Then assembling the laser head with bracket and power supply
[IMG ID=208544 WIDTH=287 HEIGHT=280][IMG ID=208537 WIDTH=385 HEIGHT=216]
Screwing all this stuff to the Nephila head. Such a harmonious symbiosis turned out.
Power switch. Power was taken from the blower turbofan. Just turned off the blower, connected the laser
[IMG ID=208541 WIDTH=279 HEIGHT=259]
Then I checked the laser on using the printer menu All this looks very futuristic inside the printer
[IMG ID=208539 WIDTH=353 HEIGHT=385]
After that, naturally I wanted to make a test print test drawing.