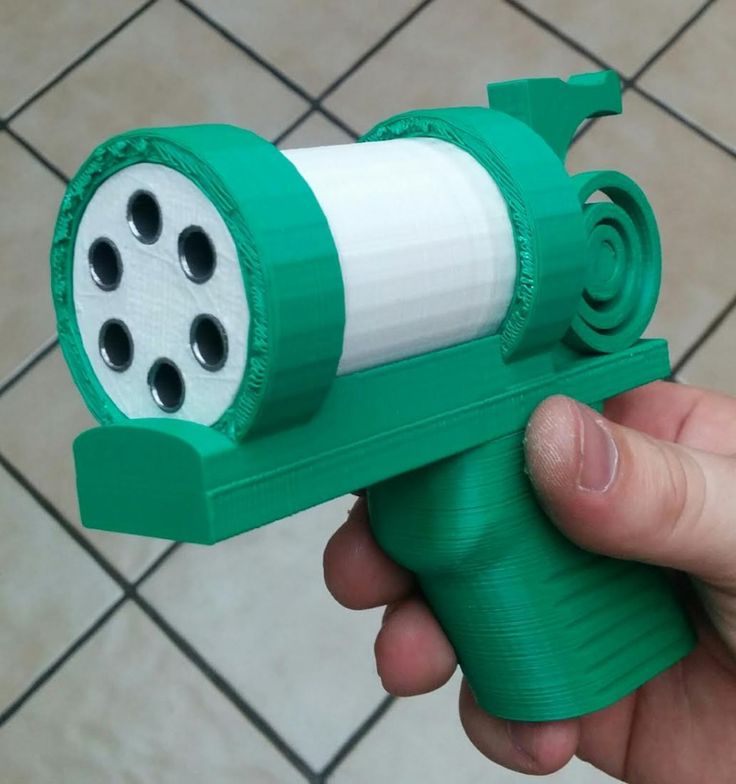
3D print wheels
How to Create 3D Printed Wheels
Last Christmas, my family was kind enough to gift me an Anet A8 3D printer.
The Anet A8 comes flat packed in a large box and has to be assembled at home by yourself. It comes with all the tools and instruction CD, but you need lots of patience as the build can be tricky. (The hardest part though is understanding the instructions).
Once I had got it all assembled and working, I started the challenging task of learning how to use it correctly. Once I mastered that, I started looking for things to print, that I could use in my models. This presented a problem because I just could not find already designed items that would suit the aircraft that I was building. So I then had to sit down and learn how to design my own items for printing out with the printer.
Over the last 4 months, I have managed to design and print out lots of simple little things like dashboards, control horns, sprung tail skids, and servo trays. I then decided to tackle the dummy engine for the ¼ scale Biplane that I am building at the moment. The engine was a great success and feeling pleased with my progress, I decided to tackle the large spoked wheels needed to finish off the undercarriage.
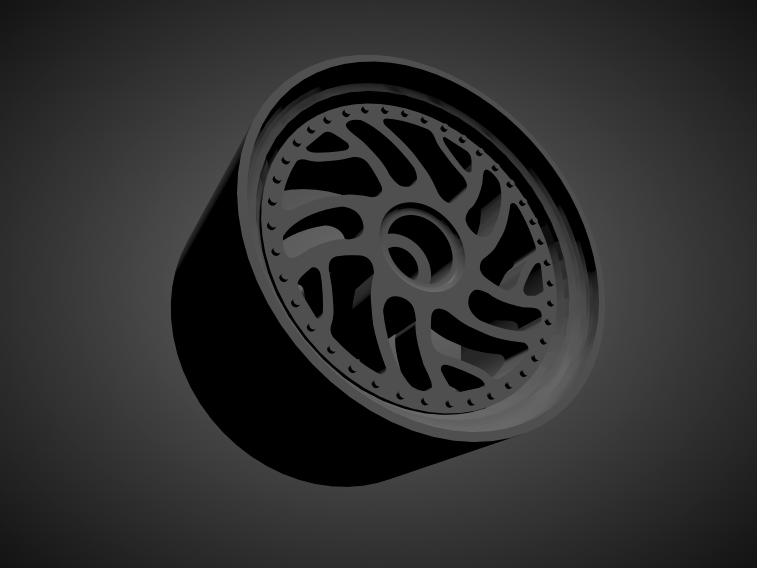
I first tried to print wheels with built-in spokes but found that it was almost impossible to do at my current level of designing skills. So then I tried solid wheels, but they just did not look or feel right. Then settled on making the rims and hubs separately for lacing together later in a jig.
My first problem was in how to design a rim with spoke holes that I could print off on my little basic printer without encountering too many problems. Being new to 3D design I have probably gone about it in totally the wrong way, but I have to say that it has worked out OK. I first draw up a 2D design of the rim and hub in CAD at the size I needed and then I transferred the 2D design into the 3D design program ( I am using Blender for my 3D design work). You actually upload a picture of the CAD drawing and use that as a background to work over.
For the rim, I used a circle with 36 edges (this made it easier to mark out the spoke holes), and then using the extrude function I traced over the 2D drawing to create a complete rim from one basic circle. Extrude enables you to move the edges to any position you need and in any direction, so you can follow the 2D drawing to make a 3D wheel.
Each spoke hole has to be individually added to the center section of the rim, by using flats it was easy to find the center of each section to enable the spoke hole to be positioned centrally. Having to do this 36 times was a pain and I am sure there I an easier way of doing it but it only has to be done once as I can now produce a rim any size I want now from the same design.
The hub was drawn up, in the same way, using a 36 flat circle and the extrude function (it is easier to do than to write how to do it). Again I had to add the spoke holes one at a time, 18 in each hub flange to make the 36 total needed.
Then it was just a case of transferring the 3D drawing into the slicing program (I use Cura as it is free and seems to work fine) and then saving the cutting file to the memory card for the printer to run off.
Of course to assemble the wheel and to keep it true, I would need a building jig. So one was designed and printed off as well. I then had to make sure that the wheel parts were a good fit in the jig so that they would not move and create an out of true wheel once laced up. Once I was happy that all the parts were correct and would fit the jig OK, I could set about adding the spokes and building the wheels.
To do this I clipped the rim into the jig and then I slid the hub over the center pin making sure it was pushed down firmly to set the offset correctly.
The spokes for each wheel are made from 2 lengths of 1mm black thong bought from Hobby craft for 49p a meter, I needed 2m per wheel in the end.
If you soak one end of the thong in CA glue and trim the end at an angle when it has set, you will have a handy “needle” to aid with the lacing. Now tie a knot in the other end of the thong and start lacing. Pick a hole in the top face of the hub and feed the thong in from underneath, pull uptight, and then feed it through the 4th rim hole back from the hole you used in the hub.
Now you need to feed the thong back through the rim 4 holes along from where it was fed in and then take it back to the hub. Feed the thong down through the hub at the 2nd hole along from where you started. (there should be an empty hole between the thongs in the hub. Now you need to feed the “spoke” up through the next but one hole along in the hub so it comes out of the top. This then matches the other spokes for the pattern. Keep doing this until you have gone around the whole top side of the wheel. When you have got back to where you started we need to pull the hub slightly against the spokes to make sure they are all tight.
Now dribble some thin CA glue into the laced hub holes to lock the thing in place. We can now lace the inner spokes on the same side. Using the same length of thong feed the end through the rim 6 holes along from where you just finished. Then feed it up through the hub from the underside roughly 2 spokes along from the last spoke.
Feed the thong down through the hub at the next free hole and back through the rim 4 holes along from the last spoke. ( this sounds complicated but it isn't) when you pull the spoke tight it will tighten the rest of the spokes and start to give the wheel some rigidity. Continue lacing the wheel until you have filled all the holes in the top face of the hub and then tie off the last spoke, add more CA glue to seal all the hub spokes, and leave to dry for a few mins.
Now, it's time to relax and go have a coffee, because by this point you have certainly earned it by now.
Once you are happy that the CA glue has set we can take the half laced wheel out of the jig and turn it over.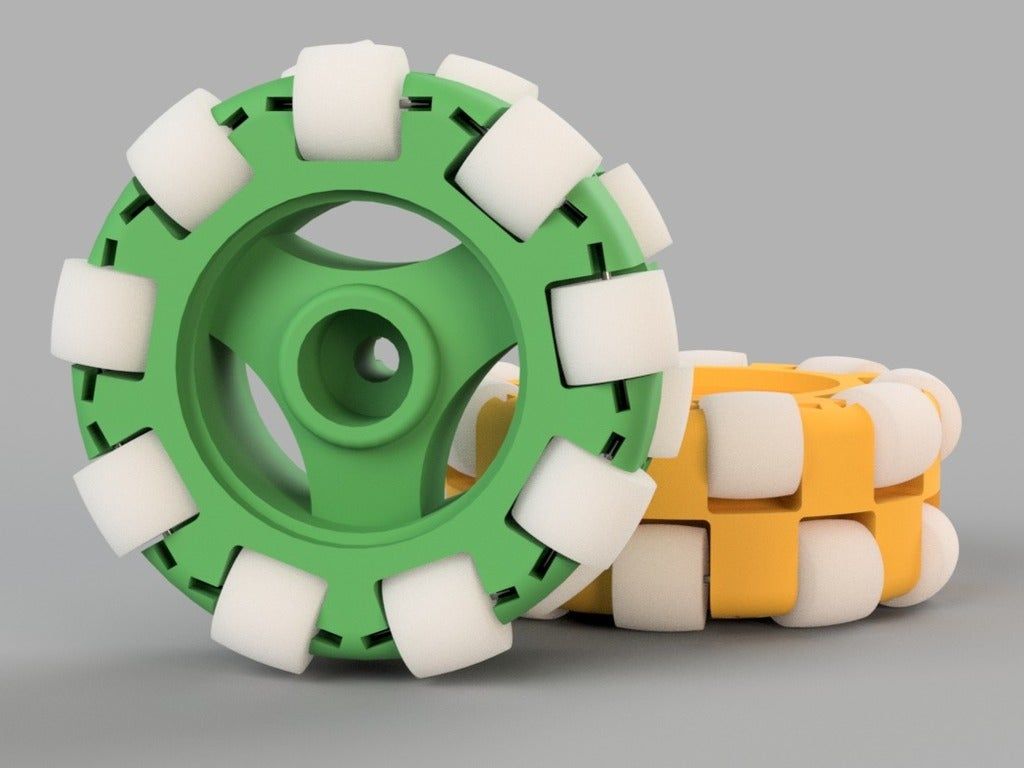 Push the rim and the hub down firmly into the jig making sure that the spokes are tight and we are ready to lace the other side.
We have to start again at the hub, by feeding the thong up through one of the spoke holes, this time you have to pick the hole opposite an inside spoke and take the thong back in the opposite direction 6 holes. Then lace the outer spokes in exactly the same way as you did the first side.
Then again do the inside spokes in the same way as before. Tie the thong off once you have finished the last spoke and run more CA glue over the thong at the hub end and leave to dry.
You can now pull the wheel out of the jig and run some more CA glue around the inside of the rim and the inner sides of the hub. Voila, one spoked wheel.
If you have kept everything tight while you were building the wheel. It will be nice and true with no wobble. I then sprayed my spokes and rim with some silver paint and made up a tire. You can use a rubber tube, plastic tube, or Depron for the tire.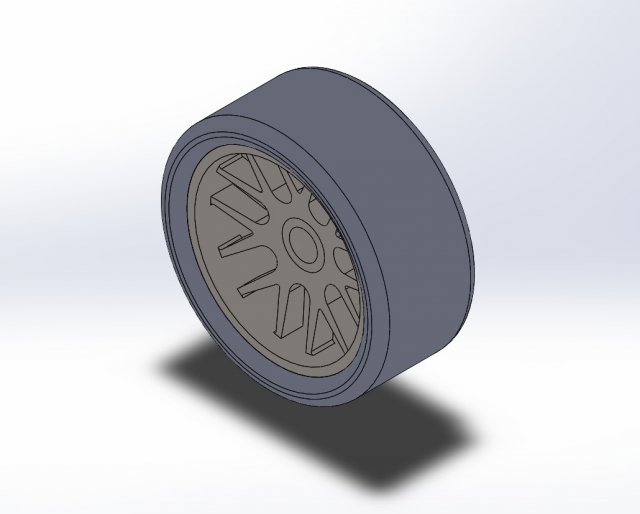 I used Depron as it was what I had to hand, I just cut some strips of 6mm grey Depron and gently curved them around the hub and then sanded them to shape. Now repeat it all for the second wheel. There you are two WW1 spoked wheels for a biplane, now just sit back and admire your work with a nice cup of coffee and a biscuit.
If you need any more information or help please comment in the comment box below.
Written by Tony Bennett
Posted on: Oct 24, 2018 | Posted in: 3D Printing, Featured Articles
3D Printed Wheel System Makes Life Easier for Shelly the Turtle
3D printing news News 3D Printed Wheel System Makes Life Easier for Shelly the Turtle
Published on May 25, 2022 by Clemens M.
Students of the third to sixth grade at Prairie Queen Elementary School in Papillion, USA, conducted a community science project that used additive manufacturing to help a physically challenged turtle.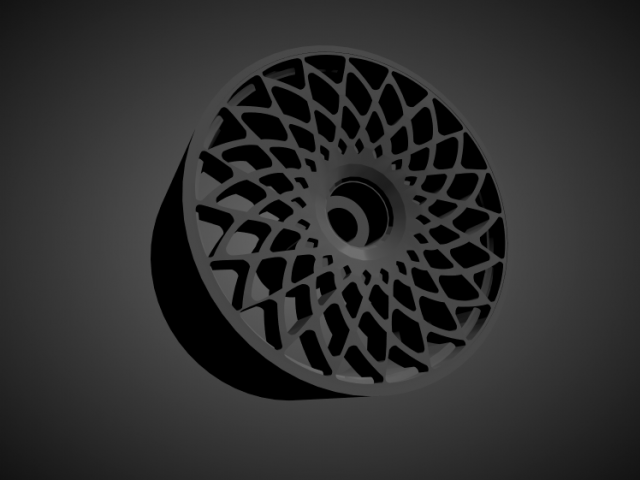 The students, who are all members of the school’s 3D printing club, set out to create a 3D-printed wheel system to make life easier for Shelly the turtle.
The project was sparked by a Facebook appeal from the non-profit educational organization Wildlife Encounters, asking for help in making a 3D-printed wheel system for the turtle. The reptile named Shelly was rescued by the organization about five years ago, and she had been struggling with her physical limitations for about a year, according to KMTV 3 News. At the time Shelly had received swimming and physical therapy to increase her strength.. With the help of the 3D-printed wheel system, she would be able to move more freely on land while continuing to exercise her legs.
A 3D Printed Wheel System for Shelly the Turtle
The elementary school’s 3D printing club accepted the challenge. It was immediately clear to the students that they would agree to be helping the turtle. Third-grader Parker McCauley, for example, told WRTV News that they wanted to help Shelly “so she can be like any other turtle.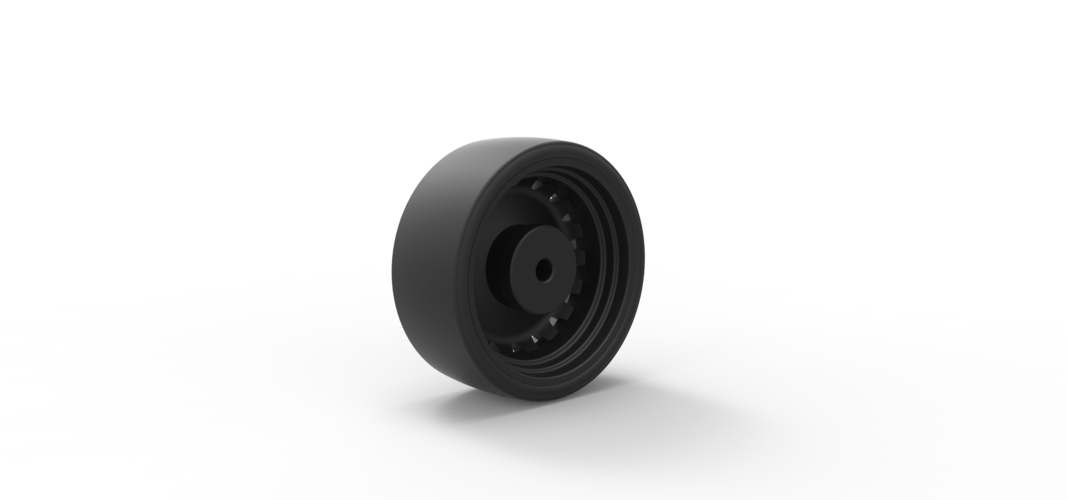 ”
”
Back in February, according to reports in a local newspaper, the first meeting between Wildlife Encounters and Shelly the turtle was conducted. During that meeting, students learned more about the red-footed tortoise. They then measured it so they could create cardboard prototypes of their designs before printing. Regarding the designs of the 3D-printed wheel system, the organization told the students that the designs for this should not be higher than one inch so that Shelly could move her front and back legs freely. The material of the walker should also be suitable for dirt and other substrates in the turtle’s natural habitat, they said.
example of how to measure a turtle (photo credits: Praktikawelten.de)
For the students, who were, according to teacher Laura Smith, already familiar with 3D printing, the project presented a welcome challenge. They had already made things like door stops, remote control holders, and other useful items, and by doing this new project, they could now be able to help an animal survive.
After a few test runs, they quickly realized that the project would involve a lot of trial and error. But the students would not let any setback discourage them and slowly approached the project to figure out what would work best. “We printed things we knew wouldn’t work, but we wanted them to see that and make changes when they had things in hand,” said Laura Smith, who also mentioned that the kids were highly tech-savvy.
Since Shelly couldn’t come to every meeting, the students had to be very patient and use a cardboard cutout of the turtle for the designs. On Thursday morning, the final test run of the 3D-printed wheel system took place and significant progress was made. The turtle has already been allowed to test its new 3D-printed walker and seemed quite happy with it. Jillian Lenz of Wildlife Encounters in Nebraska told KMTV:
“We’re so excited with what has been created today and just to see the kids process throughout it, and the way their brain kind of works to solve this problem — how we get a tortoise to walk again.
It’s just been a really, really cool experience”
You can learn more about this exciting project in the following YouTube video:
What do you think of the project? Let us know in a comment below or on our Linkedin, Facebook, and Twitter pages! Don’t forget to sign up for our free weekly Newsletter here, the latest 3D printing news straight to your inbox! You can also find all our videos on our YouTube channel.
*Cover Photo Credits: KMTV News
3D printing of Richmond rollers and wheels on Raise3D 3D printer
Richmond Wheels & Castor Co is a leader in the development of technical solutions for the elements of transportation. This includes: reinforced rollers, wheels, device components and other engineering work. Richmond manufactures products suitable for home use, offices and heavy industry.
Since 1961, the company has been manufacturing unloading and loading devices and today has 61 years of experience in the manufacturing industry in Australia, being the most popular manufacturer in the Australian market and the most sought after in the production of rims and pipeline rollers for the industry. Richmond is renowned for its quality, customized solutions and meets the needs of today's market.
That is why this company has resorted to 3D printing, as it always strives for modern equipment and high production speed. Previously, production was established on milling and turning machines.
As a true expert in the development of polyurethane products and a recognized market leader in pipe roller bearings, 3D printing has been a natural progression for Richmond, who have always strived to be the first to innovate in their industry. Traditionally, the processing of products was carried out on CNC milling and turning machines. This includes polyurethane injection molds and final machining.
Why did you choose Raise3D?
“Before introducing 3D printing, we attended seminars and trainings and were completely confused in the choice. After a huge amount of Internet research, we decided on the budget and the size of the print we needed. As a result, we got a high volume of printing at the best price and with excellent quality in Raise3D Pro2 Plus »
David Powell, QA Manager
Before purchasing 3D equipment, the company turned to experts from another company Bilby 3D with questions about the study of technology and the mechanical qualities of printing.
They investigated the temperature and pressure conditions faced by Richmond products, and based on the data obtained, they 3D printed a mold for Richmond Wheels, which was identical to the mold made by CNC milling, and then annealed the mold a mold with a diameter of about 30 cm for 11 hours at a temperature of 70 ° C.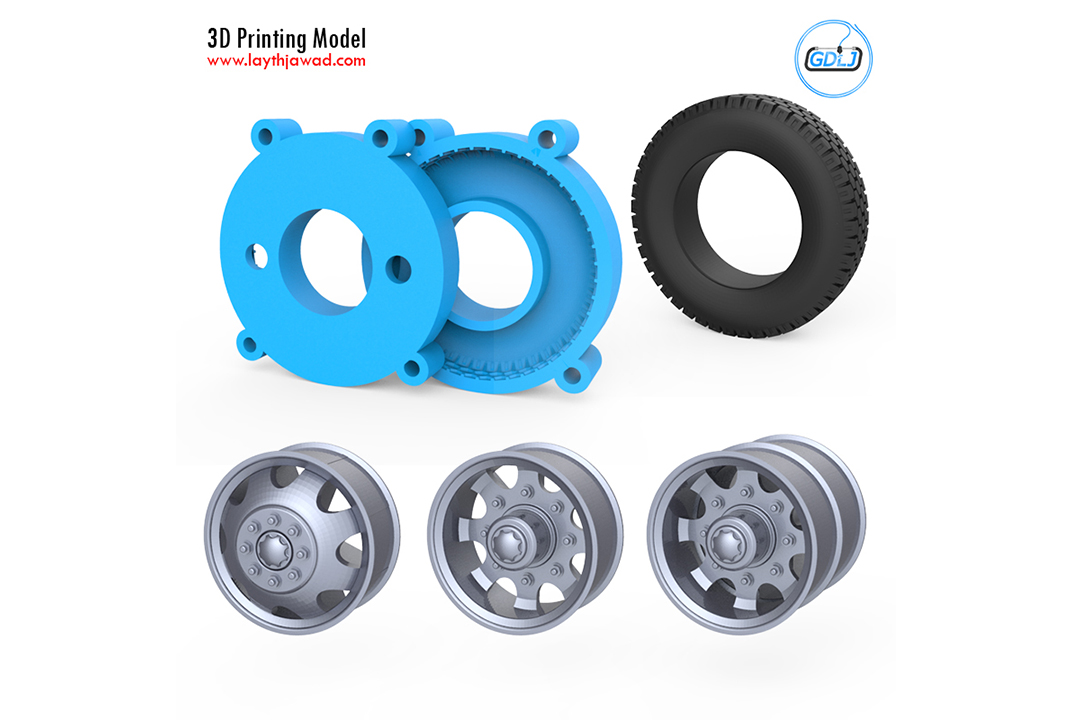 Then Richmond used a mold to cast a polyurethane wheel, which turned out to be a perfect shape.
3D printing and custom fabrication on machines
Printing forms and CNC production take the same amount of time, but 3D printing allows you to reduce material consumption, production cost and the number of people involved in the workflow. Currently, Richmond is 3D printing a huge number of parts, such as:
- Rapid prototyping that promotes product promotion and final sale to customers. Creating a preliminary layout allows you to confirm the compliance of the forms with the requirements of the customer, then, based on the sample, a finished product with identical forms is produced. This is a very useful and important stage for productive work.
- Manufacture of auxiliary tools, parts (small-scale production).
- Manufacture of polymer molds.
- Manufacture of CNC brackets, supports and screens, which are mainly supplied from abroad, thus reducing machine downtime.
 Also, their costs are significantly reduced.
“We have a lot of knowledge and 30 years of experience in the production and processing of products on traditional equipment. We realized that adapting to a new kind of manufacturing requires a new way of thinking, which brings great promise.”
David Powell, QA Manager
A very big plus for Richmond is that the range of materials suitable for printing on the Raise3D Pro2 Plus is huge, and a large selection helps to improve the production process.
Next on the agenda is research into carbon composites, which could open up new possibilities for printing.
Jewelry work: the world's first titanium wheels from a 3D printer
- Home
- News
- Jewelry work: the world's first titanium wheels from a 3D printer
Author: Andrey Ezhov
The American company HRE Wheels from California, specializing in the production of exclusive rims, has presented openwork titanium wheels printed on a 3D printer. Their unique structure cannot be made in any other way.
3D printing has been used in the automotive industry for several years, including dotted on mass models, but so far this technology remains quite expensive and slow, so it is mainly used by manufacturers of exclusive sports cars and components for them. Attempts to make a car entirely on a 3D printer have been made more than once: for example, in 2015, Audi even printed a working sample of the Auto Union Type C racing car from 1936 on a 3D printer (though only on a 1: 2 scale), but at the moment everything this is exotic, not a product that can be bought at any car dealership.
Fantastic-looking HRE3D+ wheels from HRE Wheels are also exotic and have no analogues in the world. Titanium disks are made with the support of the American industrial giant General Electric, or rather its GE Additive division, which is engaged in innovative additive technologies, or, more simply, 3D printing. Each disc consists of five interpenetrating parts mounted on a carbon fiber rim, and for their manufacture two Swedish printers were needed at once - Arcam EBM Q10 and Q20. Titanium powder is used as raw material: it is melted by a laser beam in a vacuum chamber and creates a semi-finished product, which then needs to be polished by hand. It turns out, of course, long and expensive, but, according to the developers, it is impossible to make such beautiful openwork disks in any other way, besides, 3D printing is very economical in relation to expensive raw materials - only 5% of the powder goes to waste, and 95% is used, while in the manufacture of traditional aluminum alloy wheels, 80% of the workpiece is waste. 3D-printed discs do not require further heat treatment, while being as strong as forged discs.
HRE Wheels has chosen a very suitable vehicle to showcase the printed titanium wheels, the collectible McLaren P1 hybrid hypercar, discontinued in 2015. It is not yet possible to buy HRE3D + wheels, this is a prototype for demonstration at exhibitions, but later they will probably be printed out for everyone - there would be money. For designers, titanium and 3D printing offer truly limitless perspectives - you can create real multi-layered works of art.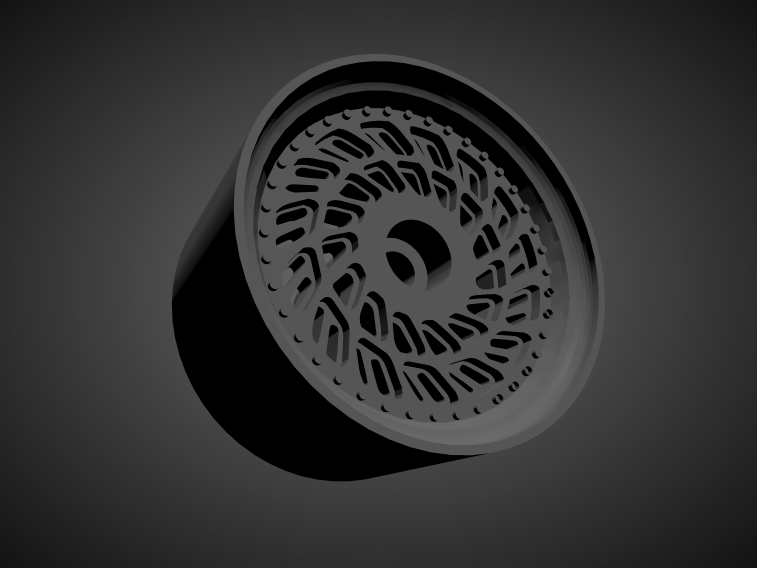 Of course, it will be very disappointing to damage such a disc while driving, but the collapsible design allows you to re-print the necessary fragments and screw them to the rim.
petrol auto and technology
New articles
Articles / Practice Stop on demand: what breaks in the brake master cylinder Everyone used to know what a master brake cylinder (or just a GTZ) is. Now they remember him much less often: the GTZ has noticeably increased reliability, and on new machines it practically does not fail .... 382 0 one 10/14/2022
Articles / Travel Air sellers: how cunning businessmen make money in lines at the borders The past two weeks have been marked by huge queues of cars at the borders of Russia and neighboring countries.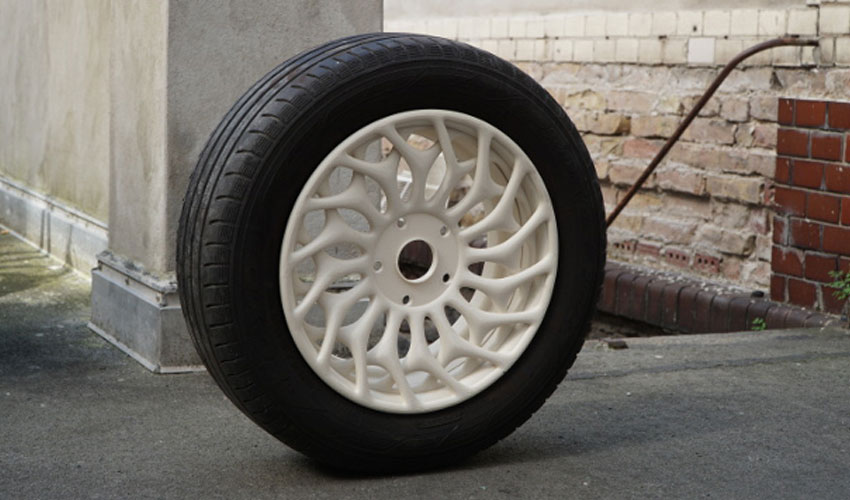 And where there are queues, difficulties and excitement, there are always those who want to catch... 576 0 5 10/14/2022
Articles / Used cars Range Rover Evoque I with mileage: durable suspension, the right oil and no Ford engines We have already praised the Range Rover Evoque for its stainless body, scolded the unimportant multimedia and blamed the models for capricious electrics. It's time to figure out which motors to avoid... 1915 0 2 10/13/2022
Popular test drives
Test drives / Test drive Haval Dargo vs Mitsubishi Outlander: the dog is barking, the stranger is coming In the Haval dealership in the south of Moscow, life is in full swing: buyers look at cars, communicate with managers and sign some papers.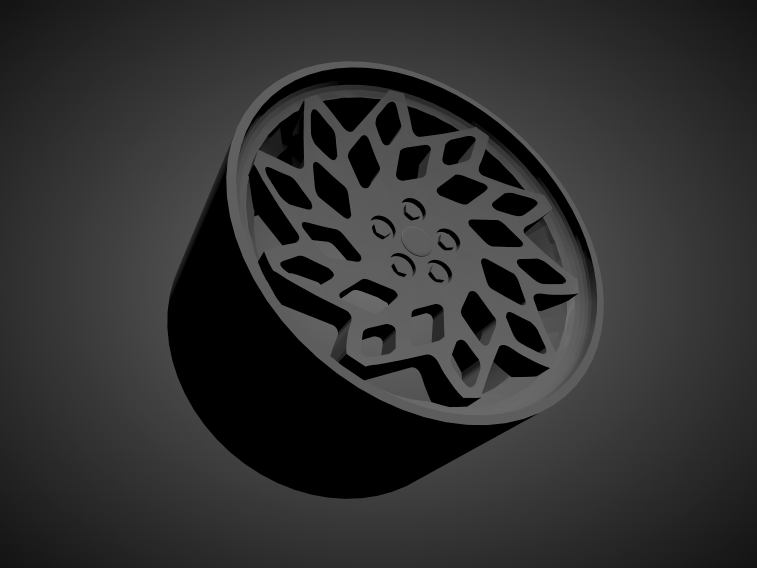 While I was waiting for the test Dargo, the same cross... 13473 7 175 13.09.2022
Test drives / Test drive Motor from Mercedes, emblem from Renault, assembly from Dacia: test drive of the European Logan 1.0 It would seem that what's new can be told about the second generation Renault Logan, known to every Russian taxi driver, as they say, up and down? However, this car has... 11693 ten 41 08/13/2022
Test drives / Test drive Geely Coolray vs Haval Jolion: Free Cheese? If! Do you want to buy a car today with a full warranty, on credit at an adequate rate, without wild dealer markups? Now this is still a task, because a full-fledged chain of "representation - s.