3D print shelf bracket
▷ decorative shelf bracket 3d models 【 STLFinder 】
Decorative Shelf Bracket
thingiverse
Decorative Shelf Bracket. This shelf bracket is designed to be attached to the wall (gypsum wall board) using small nails, like the kind that come with the OOK brand museum picture hangers they sell the Big Blue and Orange Box Stores. The included...
Decorative Shelf Bracket (Left and Right set)
thingiverse
This is a general purpose decorative shelf bracket that can be used to mount wall shelving of various sizes. Provided are 16cm by 16cm Left and Right brackets, however the size can be modified by scaling the STL directly in your slicer.
Material,...
Decorative Shelf Bracket (Left and Right set)
thingiverse
This is a general purpose decorative shelf bracket that can be used to mount wall shelving of various sizes. Provided are 16cm by 16cm Left and Right brackets, however the size can be modified by scaling the STL directly in your slicer. Material,...
Decorative Shelf Bracket (Left and Right set)
thingiverse
This is a general purpose decorative shelf bracket that can be used to mount wall shelving of various sizes. Provided are 16cm by 16cm Left and Right brackets, however the size can be modified by scaling the STL directly in your slicer.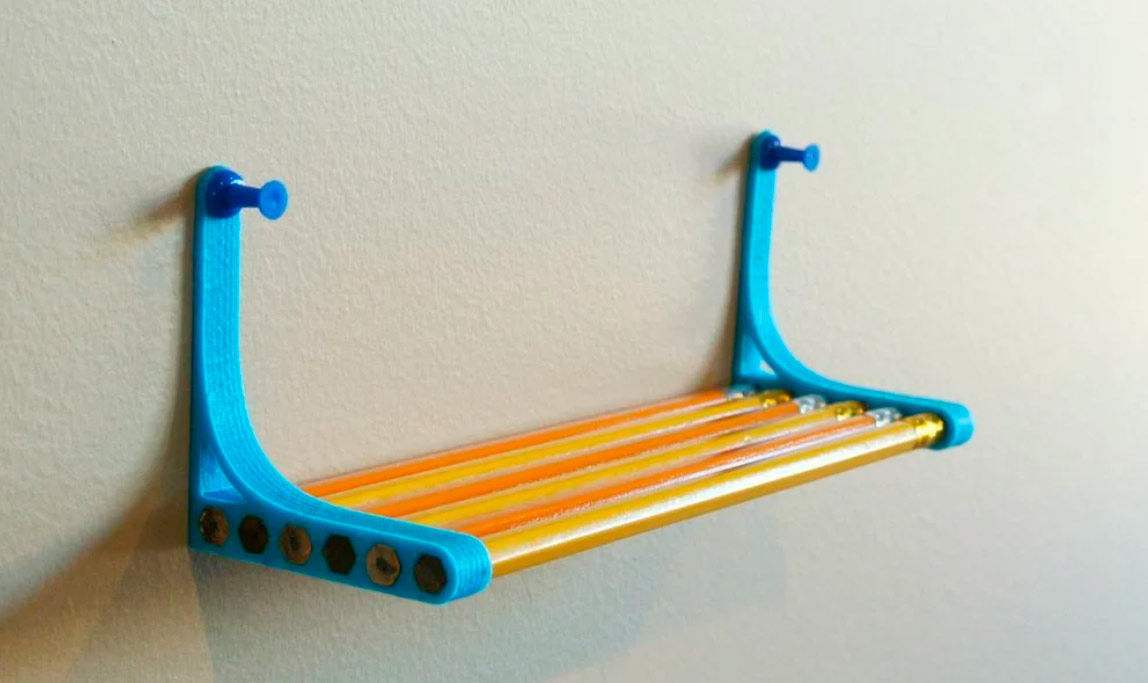 Material,...
Decorative Shelf Bracket (Left and Right set)
thingiverse
This is a general purpose decorative shelf bracket that can be used to mount wall shelving of various sizes. Provided are 16cm by 16cm Left and Right brackets, however the size can be modified by scaling the STL directly in your slicer.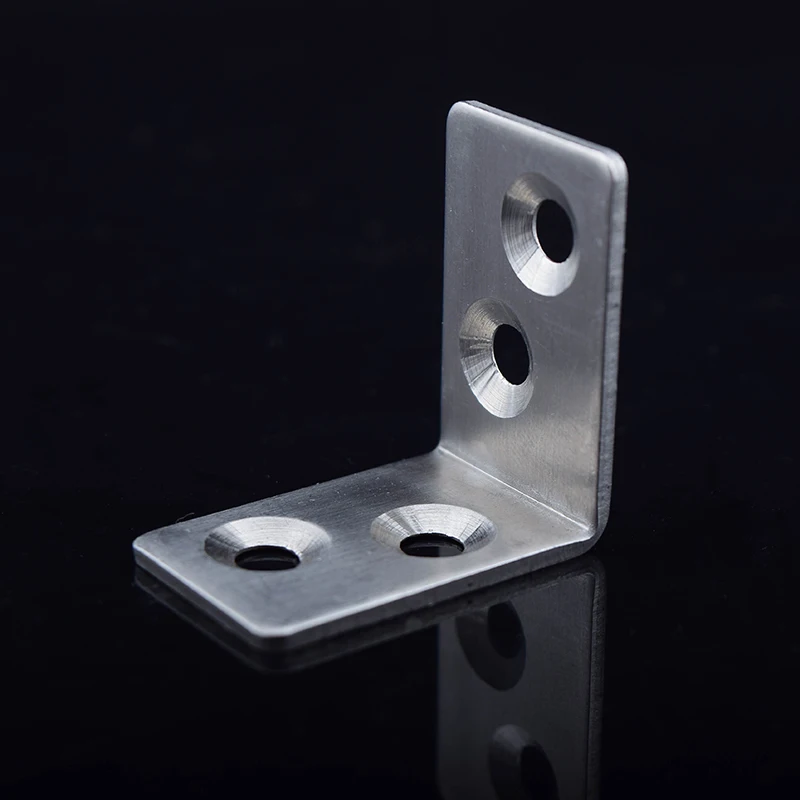 Material,...
Shelf Bracket
grabcad
Shelf Bracket
Shelf Bracket
thingiverse
Shelf Bracket
Shelf bracket
thingiverse
Shelf bracket
Shelf Bracket
cults3d
Shelf Bracket
shelf bracket
thingiverse
shelf bracket
shelf bracket
grabcad
Shelf bracket for stores
shelf bracket
thingiverse
wall mount shelf bracket
Shelf Bracket
grabcad
Bracket for a shelf
Shelf Bracket
thingiverse
Simple shelf bracket
Shelf bracket
thingiverse
shelf bracket Instructions sketchup
Shelf Bracket
thingiverse
Custom (shorter) Shelf Bracket / Shelf Support.
Shelf Bracket
thingiverse
Shelf Bracket for classroom pinboard
Shelf Bracket
prusaprinters
Simple Shelf Bracket. ...Shelf width - 196mm.
Shelf bracket
thingiverse
Small SHELF BRACKET or for something else.
Shelf Bracket
thingiverse
Shelf Bracket with holes for skrews
Shelf Bracket
thingiverse
Shelf Bracket with holes for skrews
Shelf Bracket
thingiverse
Simple Shelf Bracket.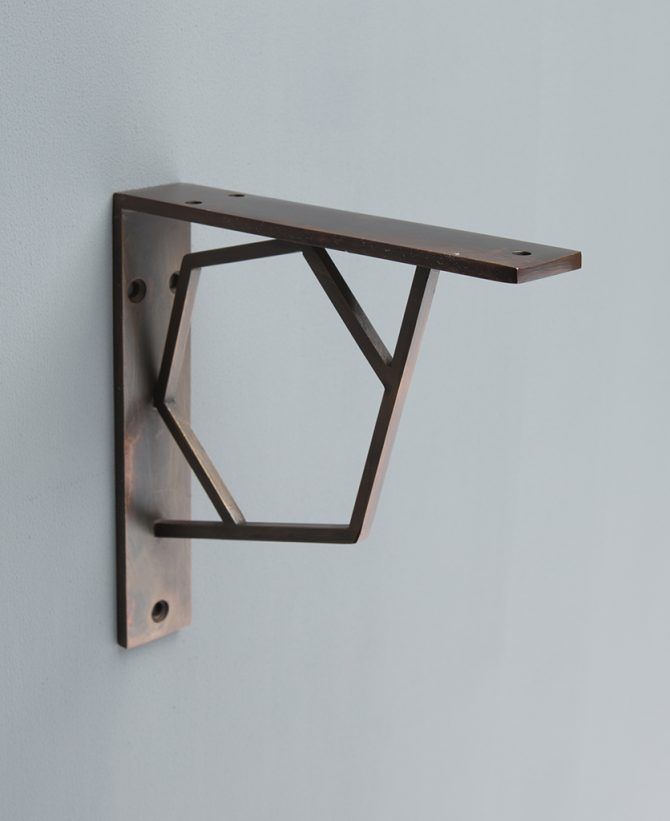 Print with 50% Infill for better stability.
...
Print with 50% Infill for better stability.
...
Shelf bracket
thingiverse
Shelf bracket, fits a build plate under 6"x6".
shelf bracket
thingiverse
shelf bracket I have not test printed this yet
shelf bracket
thingiverse
Small shelf bracket 2 holes diam 5mm, thickness : 20mm
Shelf Bracket
thingiverse
Print this Bracket and build your own shelf.
Shelf Bracket
thingiverse
Random Shelf Bracket. ... Two holes for the Wall and one for the shelf.
Shelf bracket
thingiverse
Simplified shelf bracket for wall to wall shelf. ...M4 wood screws.
Practical 3D prints: Increasing workshop storage with bolt-in brackets
Welcome back to our series on practical prints for your 3D printer. While many love 3D printing because it lets them make really cool props and miniatures, 3D printing has many practical applications. I use 3D printing to solve problems and to fix things. Although I admire the artistic creations folks make with 3D printers, I don't even own model paints.
Also: Practical 3D prints: A first TinkerCAD project for your 3D printer
The problem we're solving
A good place to start is a problem statement. What exactly do you need your 3D print to accomplish? In the case of the project shown in the attached video, I wanted to increase my workshop storage. Here's some background.
Also: ZDNet's DIY-IT 3D Printing and Desktop Fabrication Discovery series
I have four metal shelving units here in the workshop, and I've had them for something like 20 years. Recently, I had a welder add wheels to them so that they can move around, and that's proven to be incredibly useful. Unfortunately, individual shelves are pretty far apart, which leaves a lot of space unused. There's a lot of dead space where I could very much use some more storage.
I decided I was going to 3D print supporting brackets for four plywood shelves to make it happen.
Also: Everything you need to know about 3D printing and its impact on your business
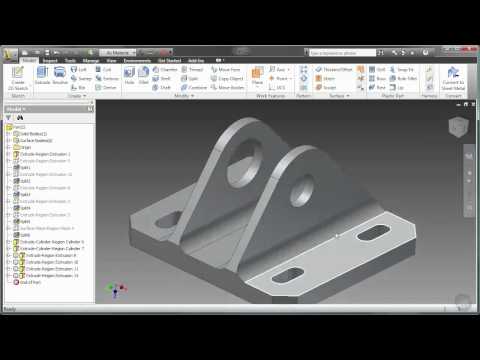
Designing in TinkerCAD
In the attached video, I show how I built these little support units in TinkerCAD and 3D printed them, and how they will support three-quarter-inch plywood shelves and give me more shelf space.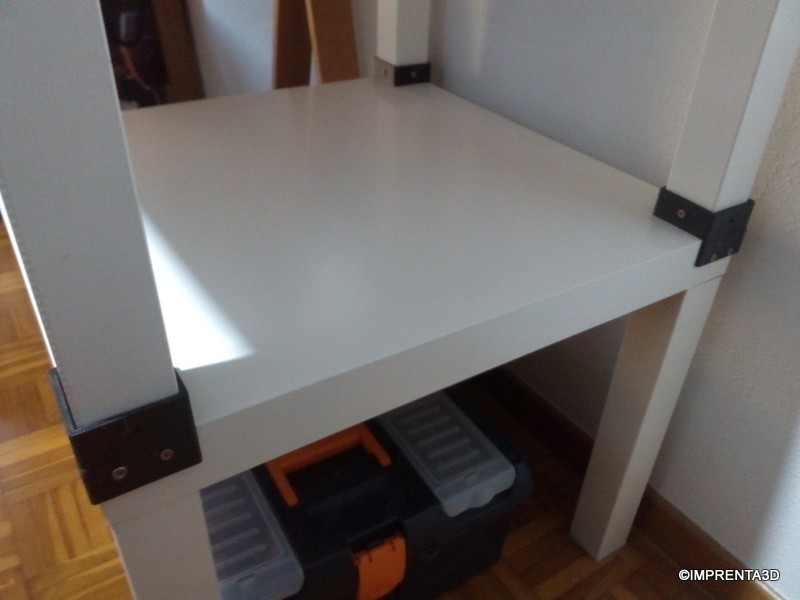
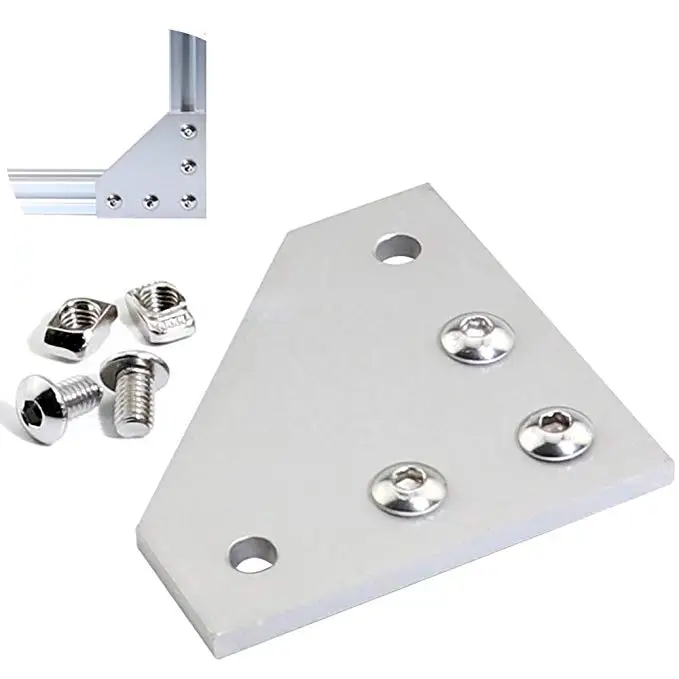
The unique design feature for this build is the captive nut built into the support bracket. Each bracket bolts onto the metal riser supports. Inside the bracket is a channel where a nut slides in. That nut is called a "captive" nut because once it slides in, it can't spin. That makes it easy to tighten the bolt on the outside of the shelf support.
I used TinkerCAD to design this up. TinkerCAD has its limits, but it's very easy to use and for simple designs, very fast to work with. The key feature I used to create the captive nut channel and the tunnel for the bolt is called a "hole" in TinkerCAD parlance.
Any TinkerCAD object (either a basic object or a group) can be turned into a hole. In fact, a click of a button switches an object from a solid to a hole and back again. The hole is, essentially, negative space. If you intersect a solid with a hole and then group them, the area of the hole is subtracted from the solid space.
I first created a negative spatial representation of the nut by sizing a polygon to a size a bit larger than my real-world nut.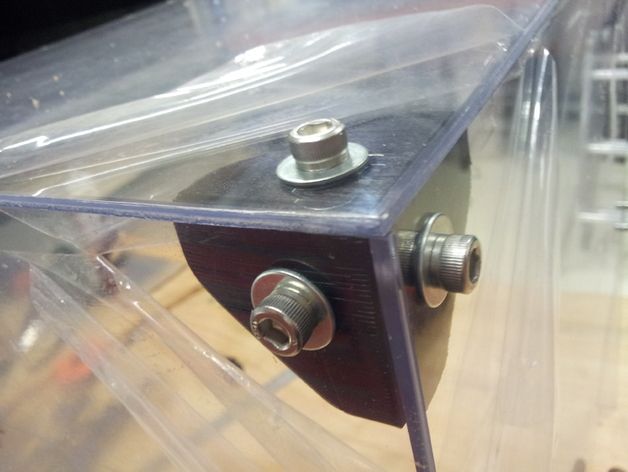 I made it a bit larger to allow the nut to slide in the channel easily. As the attached video shows, by duplicating the negative space nut (the "nut hole," if you will), I was able to create a channel that allowed the physical nut to slide into the middle of the bracket.
I used a cylinder turned into a hole to cut out the tunnel where the bolt slides into the bracket.
I also needed to create a rounded corner to my bracket, so it would fit in the rolled steel elbow of the shelf uprights. While most 3D modeling tools have a fillet tool, which takes an edge and rounds it over, TinkerCAD does not. While this annoys me to no end, sometimes you have to work around the problem.
As the attached video shows, I made my own rounded corner by creating a cylinder and grouping it with some rectangles, making up a new solid object that has a hard-won fillet on one side.
As it turns out, I wound up creating both left and right brackets, to accommodate attaching them to left and right uprights.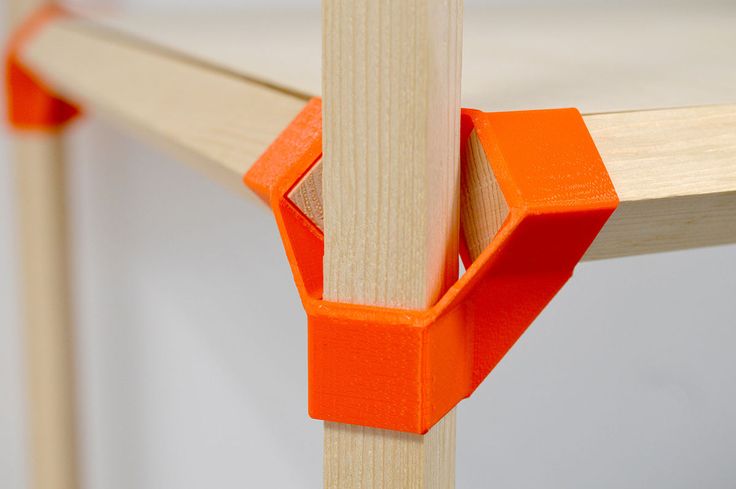 I also made some brackets slightly taller, so they would push the shelf up high enough to provide space for some bins I have.
Printing the brackets and building the shelves
To hold four new shelves I made a total of 16 of these brackets. Eight of them were left side brackets and eight of them were right side brackets.
I bought a 4 foot by 4-foot sheet of 3/4 inch plywood. There's a short but exciting montage of me using power tools to cut the plywood into shelves. While you've seen me use the miter saw and the sander before, this is the first time you've seen me use my new table saw.
I had to wait three months to get it this summer because it seems table saws are hard to get in the pandemic. I guess a lot of people are working at home and fixing things up, and also contractors are being invited inside a lot less, so many more of us are doing our own home fixes without outside help.
And, with that, I've just added another 18 square feet of storage into the workshop. That'll make a big difference.
This project demonstrates how you can combine 3D printing and some basic woodworking to optimize your storage in new and helpful ways. Stay tuned for more practical prints.
And what about you? Have you made useful things with your 3D printer? If so, let us know in the comments below.
You can follow my day-to-day project updates on social media. Be sure to follow me on Twitter at @DavidGewirtz, on Facebook at Facebook.com/DavidGewirtz, on Instagram at Instagram.com/DavidGewirtz, and on YouTube at YouTube.com/DavidGewirtzTV.
3D Printing
STL file Bone Shelf Brackets・3D Printer Design Download・Cults
Trotify bicycle trotting horse sound effect
4.51 €
10 Stamps for Clay or Play-Doh etc..
0,90 €
Dinosaur Foot Prints Clay or Play-Doh Stamps with Bonus Sasquatch Silhouette
0,90 €
10 Stamps for Clay or Play-Doh etc.
 .
. 0,90 €
12 Stamps for Clay or Play-Doh etc..
0,90 €
Strap-On Toolbox Emblem
1,80 €
Bigfoot Sasquatch Stamps for Clay or Play-Doh or Cookie imprints
0,90 €
10 Celtic Style Stamps for Clay, Play-Doh etc..
€0.90
The best files for 3D printers in the Tools category
Garden Rake
Free
ANYCUBIC VYPER REEL HOLDER
Free
Gap tool
Free
Test for text size - multicolor
Free
Facial protection mask against covid-19
Free
Nespresso Capsule Holder
3. 85 €
85 €
Mini Sword envelope opener
Free
Lola Animatronic Dryod
Free
Bestsellers in the Tools category
Ender 3, 3 V2, 3 pro, 3 max, dual 40mm axial fan hot end duct / fang. CR-10, Micro Swiss direct drive and bowden compatible. No support required for printing
1.62 €
PRECISE DIAL INDICATOR 3D PRINT DIY
1,90 €
INDICATOR FOR BETTER BED LEVELING FOR ENDER 3 PRO
2.88 €
Grinder | Grinder
€1.50
Filament shielding
2.79 €
ENDER 3 S1/PRO SPRITE, V3 AIR DUCT 5015 OR 4020
€2. -fifteen% 2.11 €  49
49
Case for Chill Buddy lighter
0,95 €
telephone ring holder
0,90 €
Paint stand with scissors
5.31 €
ENDER 3 S1/PRO SPRITE, 4020 FAN CR TOUCH NO Y OFFSET
€1.96 -fifteen% 1.66€
Spoon Holder Chunky Flavor More Nutrition
1,25 €
GEAR AND DRIVE
€9.62 -fifty% 4.81 €
Fire hydrant storage container
1. 92 €
92 €
SUPERBOX
1,50 €
UNIVERSAL BED LEVELING INDICATOR FOR VERY ALL PRINTERS
2,88 €
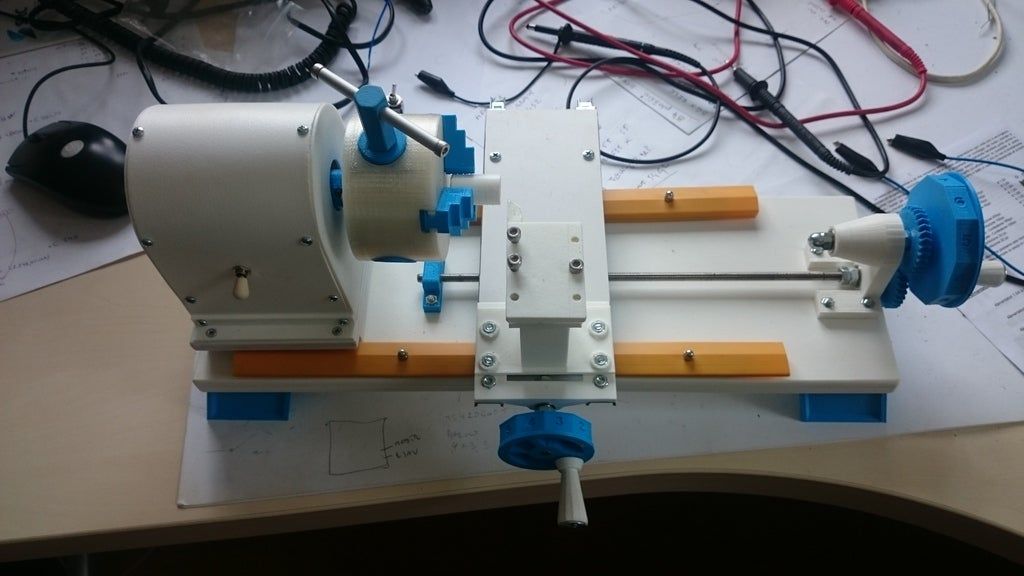
3D printed wave transmission (harmonic drive)
4.99 €
Do you want to support Cults?
Do you like Cults and want to help us continue our journey on our own ? Please note that we are a small team of 3 people, so it is very easy to support us in maintaining activities and creating future developments of . Here are 4 solutions available to everyone:
-
ADVERTISING: Disable the AdBlock banner blocker and click on our banner ads.
-
AFFILIATION: Shop online with our affiliate links here Amazon.
-
DONATIONS: If you want, you can donate via PayPal here.
-
* INVITE FRIENDS: * Invite your friends, discover the platform and great 3D files shared by the community!
Aircraft 3D printing: An engineer's story Boeing
Each Boeing 787 passenger aircraft has about 30 3D printed parts. Combined, Boeing Commercial Airplanes (jet airliners and business jets) contain 25,000 printed parts. And military aircraft F-15 and F / A-18 - about 40,000. Most of the components are components of air ducts, but there are engine parts and parts of the interior of the cabins.
Boeing spokesman Bernardo Malfitano spoke at the EAA AirVenture Oshkosh Aviation Enthusiast Forum and talked about how 3D printing is being used in the aircraft industry today.
Mechanic, test engineer, aircraft builder and pilot
Bernardo Malfitano has been with Boeing since 2007. In his career, he was engaged in the repair and maintenance of the air fleet, analyzed the wear and tear of aircraft. Now he is involved in the development of new aircraft.
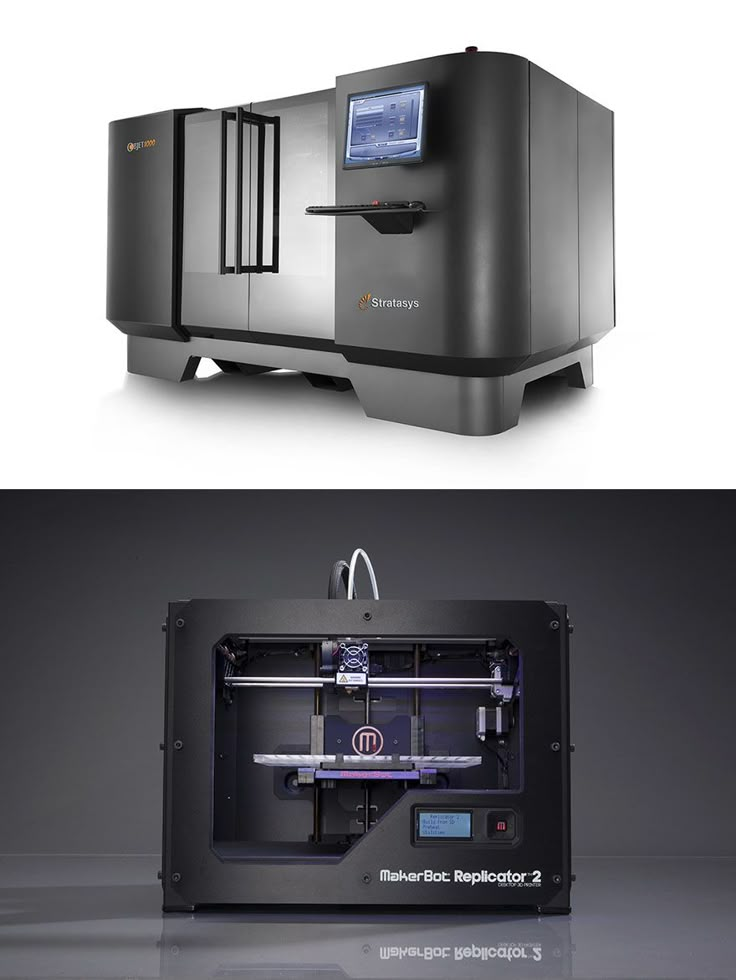
According to the expert, all popular 3D printing methods are now used in the aerospace industry: laser stereolithography (SLA), deposition method (FDM), selective laser sintering (SLS) and direct metal deposition (DMD). Unlike traditional techniques, in which the cost of a part depends on the circulation (the higher it is, the lower the price for each spare part), 3D printed products cost the same: it doesn’t matter if you ordered 10 or 1000 pieces. Therefore, it is advantageous to use this technology for small circulations.
Where are printed parts on airplanes?
Air ducts are the part of the aircraft where 3D printed parts are most widely used today. In modern aircraft, circulating air maintains a comfortable temperature for a person and a safe pressure. 3D printed air duct connections are used in the Boeing 787, F/A-18 and F-35 fighter jets, and Bell 429 helicopters.
There are also 3D printed parts in the systems that propel the aircraft. As a rule, these are metal products made by laser sintering or metal deposition. So, in the Boeing 777, the compressor is connected to the temperature sensor using a 3D-printed adapter. And in the F-15K Slam Eagle military aircraft, casings for turbines were made using volumetric printing. This reduced the cost of the part from $34,000 to $2,550 and halved its production time.
Interior details . Shelves, brackets and various fixtures in passenger aircraft cabins are often printed in plastic. For example, the popular Boeing A350 has over 500 of these parts on board.
Small parts. End caps, parts of seats and instrument cases - all this can also be made using the 3D printing method. In the Boeing A300 passenger ship, brackets and seat belt buckles for crew seats are produced in this way.
Advantages of 3D printing for aircraft construction
Additive technologies attract aircraft designers not only because they are economical.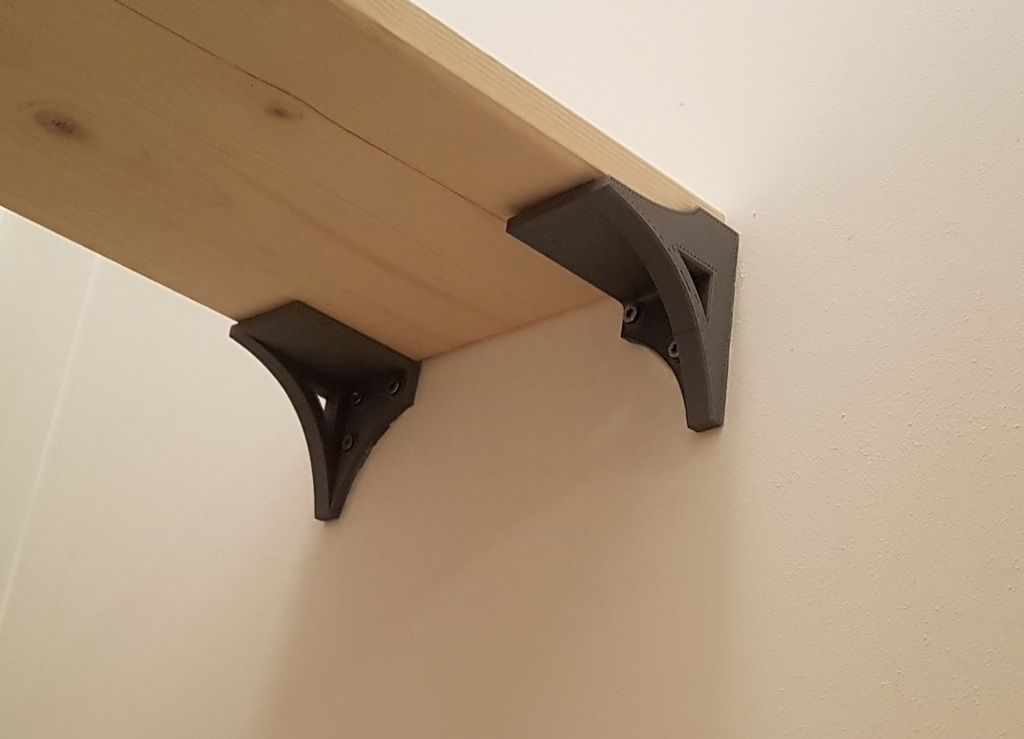 They make it possible to optimize the shape at the model stage and significantly reduce the weight of the product. So, by replacing the cast metal bracket with a plastic one printed on a 3D printer, the designers managed to reduce its weight from 918 grams to 326. Of course, there is more than one bracket on the plane, so the total gain in weight is several kilograms. For passenger aircraft, lightening the design means reducing fuel consumption, which reduces not only the costs of the airline, but also environmental damage.
Parts with mesh and honeycomb structure are lighter than monolithic ones, but at the same time they do not lose strength. Each new sample introduced in the aircraft industry undergoes multi-stage tests, especially if it is a functional part.
Is it possible to print the entire aircraft?
If additive technologies are so good for 3D printing, is it possible to print an entire airplane? Bernardo Malfitano is sure that now it is impossible.
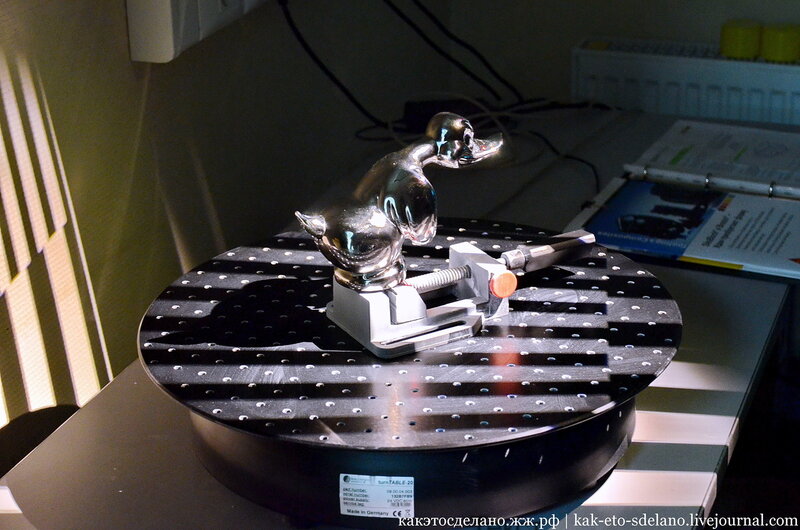
Today, 3D printing is successfully used to make drone bodies and working models of aircraft. At the Berlin Air Show in 2016, visitors saw the Airbus Thor, a remote-controlled aircraft about 2 meters long. All of its parts were 3D printed.
But to create the hulls of large aircraft - passenger liners, cargo planes, fighter jets - modern 3D printing technologies are not reliable enough.
Malfitano explained that the US has statutory manufacturing standards. The aircraft industry is governed by 14 CFR Part 25 (“Airworthiness Standards: Transport Category Aircraft”). It says that the structure of the materials must be strong, and the details must be reliable, which must be confirmed by certain tests. Meanwhile, testing parts created by 3D printing often reveals defects and inhomogeneities.
The second factor is the price. Aircraft manufacturing is mass production, so it is now more profitable to use traditional techniques at most nodes.
Bernardo Malfitano's entire presentation can be viewed on here.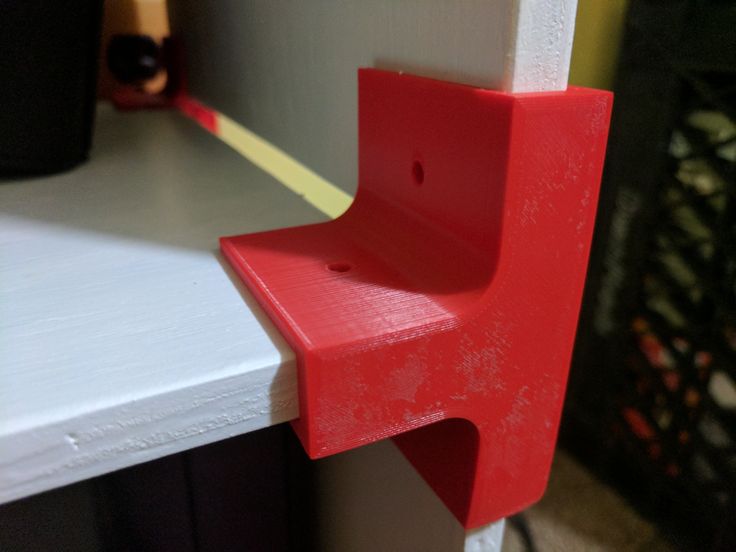
Learn more