3D print self
3D Printing Yourself – How to Print a Mini You!
Self-portraiture has been an art form for as long as art has existed. Sketching, painting, and photography have all been used to capture the self from their inception.
This practice eventually came to the modern age with selfies, and the step beyond that is finally here: 3D printing yourself!
Making a 3D model of yourself for printing is a fun and exciting prospect, from making mini tableaus of your friends and family to even making workable 3D action figures of yourself. I guarantee even your best selfie won’t be as cool as having a mini model of you!
There are a few ways to get a little 3D you up and printing, and here we’re going to look over a few of the best ways to make a 3D model of you and your friends.
We’re also going to look at some of the coolest uses and ideas for 3D printing yourself to maximize the fun of being mini!
Why Make a 3D Model of Yourself?
Let’s be honest, all of us are at least a little vain, I know I am. This is why self-portraits have been a staple of just about any art form since time immemorial.
When it comes to 3D printing yourself, there are a few fun and creative uses for having a tiny plastic you.
Making a small scene of you and your family to decorate the mantlepiece is a simple yet novel way to keep treasured memories close. Think of it as a 3D family photo.
Wedding Cake Toppers
An even sweeter way to use a 3D model of yourself is on a wedding day or similar occasion.
Having the figures on top of the cake that are the actual likeness of the newlyweds is a really nice way to make the day a little bit more special.
Action Figures and Toys
For more fun reasons, you can even make 3D printed action figures of yourself. With a little extra work, you can print a 3D model of yourself with posable limbs like a real action figure.
With fun and games in mind, tabletop and board games that use figurines like Monopoly and Arkham Horror will be made all the more fun by using 3D printed models of you and your friends as the game pieces.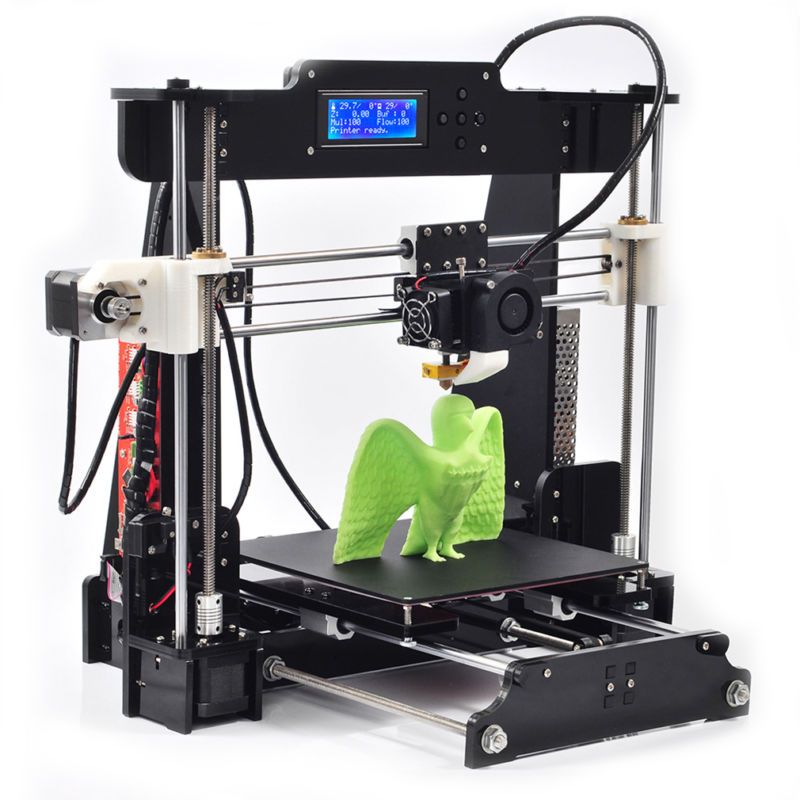
Before You Start Printing
There are a couple of ways to make a 3D model of yourself, and which method you choose will depend on both what equipment you have access to as well as just how artistically experienced you are.
The most common, easiest, and most accurate way to get a model of yourself to 3D print is through 3D scanning.
3D Scanning Yourself
We’ve already discussed 3D scanning and its uses, from dental practices to full-body 3D scanners and their uses. In the latter, we’ve even briefly discussed 3D selfies.
3D scanning is the process of using structured light or lasers to scan a 3D object ready for upload to rendering and modeling software. Think of it like scanning a document or photo onto a computer, but in full 3D.
Handheld scanners work great for this, but you will need another person to help you so you can get a good scan of your whole body.
How to Get a Scan of Yourself
The scanning process itself will require preparation.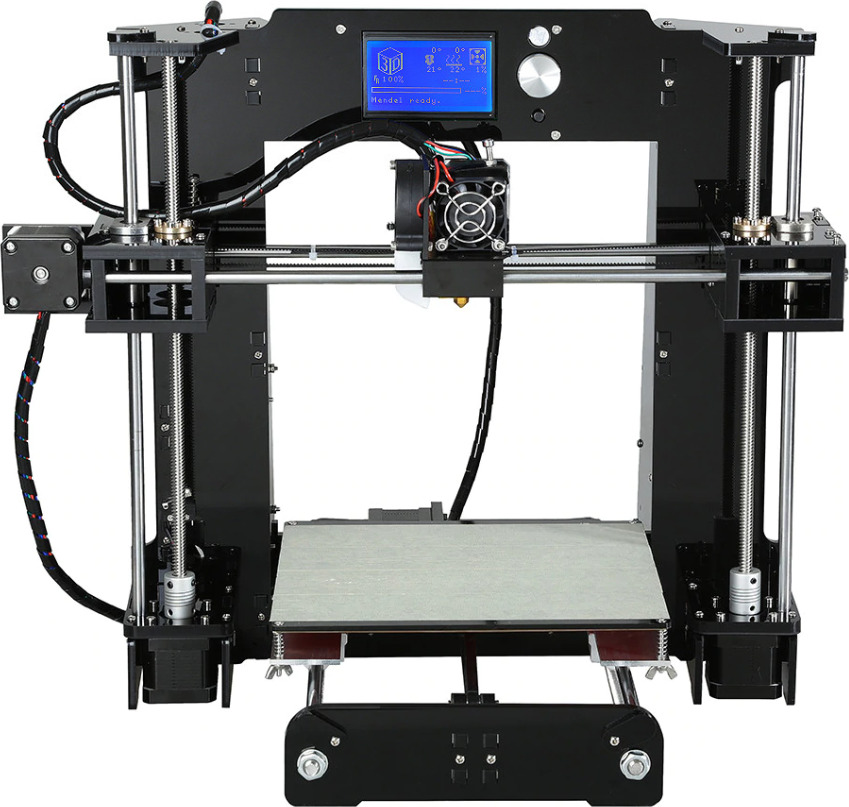
Like taking a good photo, there are things to keep in mind to ensure top-quality results. Correct lighting, reduced background clutter, and stillness to avoid blurring are all crucial to getting an accurate model of yourself ready for 3D printing.
There are a few routes to take to get yourself 3D scanned.
Some scanners can be printed and made at home. Some are fairly cheap, while professional-grade scanners will set you back a little more.
To really get a sense of which scanner is right for you, you can check out our article on 3D printed scanners in all price ranges. And that’s not even mentioning the different kinds of 3D scanner software out there.
The Revopoint POP 2 is a good low-cost choice for home scanning. You can check out our review of it here.
Ensuring Scan Quality
For a really high-quality 3D model of yourself, your scan will need to be as clear as possible.
While the home-based scanning options mentioned above are handy, there are also professional scanning services that use high-end equipment in studios for the best results.
Which of these services are available to you will naturally depend on your area.
A quick search should get you in touch with professional 3D scanners so you can be confident you’ll end up with a 3D model of you that’s a perfect likeness.
All-in-all, it will take some time, research, and money to know exactly what hardware you’ll want and which software to use, but it will be worth it when you’re holding a tiny you in your hands.
Alternatively, you can always go hard mode and make an entire model of yourself from nothing.
Alternative Option: Model Yourself From Scratch
Of course, the most basic method is to simply make a 3D model of yourself from scratch.
Much like how painters will often have a photo of their subject matter by their easel, you can use differently-angled selfies to make a model of yourself using your preferred 3D modeling software.
Naturally, this requires a deft artistic hand and good experience in 3D modeling. But if you’ve got the skill, you might find it to be a worthwhile project that’s a lot of fun as well as rewarding.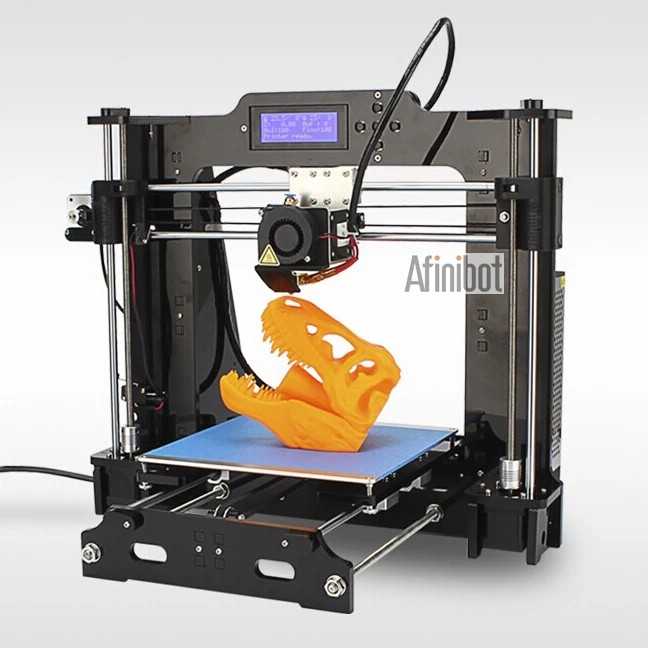
3D Printing Yourself
Now that you’ve got your model, it’s time to 3D print yourself!
There’s not much point in making models of real people if they’re not as accurate and detailed as possible, so you’re going to need to have the right machine for the job.
No matter how good the scan or clear the model is, a lesser 3D printer will make your resulting model look generic.
With your model loaded into your preferred slicer, you’re ready to double-check the accuracy and resolution before sending it to be printed.
You can 3D print yourself in just about any material, but for the best results, we recommend resin.
Resin printers are known for more high-quality prints than their FDM counterparts, so it’s better to use one if you’re really going for accuracy in your models.
Particularly high-end or reliable resin printers are excellent for getting models that really look like a little you!
If you don’t have access to a resin printer, or any printer that you trust to get the results you want, it’s worth noting that many professional scanning services will also offer printing as an extra.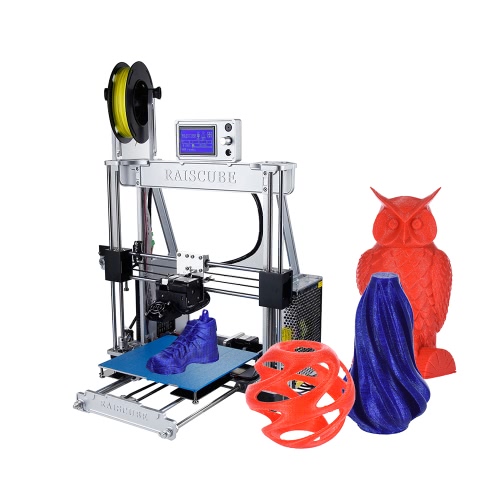 These services may even be able to print in ceramic or metal.
After printing, it’s time to post-process.
How you’ll do this will depend on what materials you’ve used and how you want your model to look in the end.
If FDM printing with ABS filament, adding a sheen with acetone or carefully painting the model are both good ways to get your desired results.
Just be sure to have your materials ready. If painting, you’ll need the right colors to get your models exactly right, for example.
If you’re new to 3D printing or just want to make extra sure that your models turn out right, you can check out our guides on improving your finish and post-processing your 3D prints.
Make Yourself as an Action Figure
Making static 3D models of yourself may be cool enough as it is, but you don’t have to stop there if you don’t want to.
With a little extra engineering and time, you can even make yourself into a 3D printed action figure!
Once you’ve got a 3D model of yourself, you can use your preferred slicer or editing software to split the model into individual parts depending on where you want your points of articulation.
By modifying these parts with holes to fit together with hinges or screws, you can print them all separately and then combine them to make an articulated action figure that looks just like you.
Of course, this only needs to be as complicated as you want it to be.
If you only want the head to turn, it’s as easy as printing it separately with enough of a connection to hold steady but with enough space to turn.
Joints on the shoulders and elbows will make it so you can put yourself in different poses like a real action figure, same with joints at the hip and knees.
For the best results, make sure you get a scan of yourself standing straight. Different poses and leaning positions may make for cool 3D selfies, but they will limit how your action figure self can be manipulated.
The most important thing is to make sure the points of connection match.
Having CAD software that can run simulations of moving parts is useful for this, but making careful notes when measuring the holes will do.
If you’re feeling extra zany, you can size up the top of the model and attach it to a small spring to turn yourself into a fun bobblehead!
Hints and Tips
We’ve already gone over some of the more important things to keep in mind when 3D printing yourself as a model or action figure, but here are a few extra hints to make sure you’re satisfied with your tiny you.
Always Scan in an Ideal Environment
There are a lot of ways to make sure your 3D scan comes out as clear as possible. Professional scanning services will know what to do, but if you’re scanning yourself at home you’ll need to be mindful of a few things.
Correct lighting and good background colors will stop your scan from being too ‘noisy’. You should also be mindful of your clothing, posture, and chosen pose. All-in-all, just do what you would when taking a good photo and you should be fine.
Taking photos of yourself in the clothes and poses you have in mind makes for a good test run before scanning so you’ll know what looks and works best.
Get More Than One Scan
Again, this is a similar rule to photography. Getting scans of yourself in different poses or in different clothes will give you many more options when it comes to printing.
Even if you’ve got a good one, there’s no harm in getting the same again for safety, it could even end up being a better scan than the first.
Don’t Be Afraid to Experiment
Printing yourself out in different poses or testing out some scans as action figure material can take some trial and error. Considering the time and effort 3D printing yourself can take, you probably won’t want to settle for second-rate.
Experimenting with sizes, infills, materials, and post-processing methods is part of the fun of making a model of yourself.
It will not only help you get a better idea of what to do next time but also make for a good learning experience for getting great 3D printing results in the future.
3D Printing Yourself FAQs
Can I print a 3D model of myself?
Yes. With 3D scanning, you can upload a 3D image of yourself to your preferred slicer and 3D print a model of yourself with ease.
How much does it cost to make a 3D printed figure?
3D printing a figure is fairly cheap if you do it all yourself.
Renting a scanner can cost anywhere between $250 – $500 on average, while professional scanning services generally cost up to $1000, with an added cost for printing that varies depending on size, detail, and materials.
If you like, you can also buy and keep a good low-cost scanner like the Revopoint for around $500 – $700.
How do you 3D print a statue of yourself?
With either an accurate 3D scan of yourself or a model you’ve made from scratch, you can use any high-resolution printer to make a statue of yourself that looks as much like you as possible.
Other articles you may be interested in:
- The 34 coolest & most useful things to 3D print
- 30+ Easy and fun things to 3D print at home
- The 10 best free 3D printer models on Thingiverse
- 8 Big ideas for small 3D prints
- Paper 3D printing
- Top 7 3D printing tips for beginners
- 3D printed items that sell
- 7 Exciting 3D printed food projects
FAQ | Shapify
General
1. Why Artec Shapify Booth?
Artec Shapify Booth features a fully automated process for creating 3D files. Use it to set up an innovative, lucrative and scalable business.
2. What is special about your software?
It’s the only software on the market that can process full body 3D scans automatically and quickly. Just compare the Shapify’s 15 minutes of automated cloud computing to create a 3D printable file with at least 2 hours of highly skilled work spent by a 3D modeller on every file made using photogrammetry or any other scanning solution.
3. I’ve heard of photogrammetry scanning solutions, but how does Shapify Booth work?
Unlike photogrammetry the Shapify Booth uses real 3D scanners. This is what has allowed us to create software which automatically creates printable 3D files.
4. What do I need to do to operate the Booth?
I. Front office
1. Meet the customer, check he or she is wearing appropriate clothes for scanning, recommend removing shiny clothes, jewelry, black shoes and glasses. Explain the process and ask the customer to hold still for 12 seconds while being scanned. Type the customer's name (or e-mail) into the system.
2. The customer stands in the booth. You click on the "Start" button and make sure the customer doesn't move during scanning.
3. After scanning, wait with the customer until the preview picture is ready. (About 5 minutes). Meanwhile discuss delivery options with the customer.
4. Make sure the preview is good and that the customer likes it.
5. Store the customer's name (e-mail), chosen delivery address, size of figurine and number. (This can also be done during step 3)
6. Charge the customer.
7. The printable 3D file will be available to order or download on your Shapify.me online account within 15 minutes.
II. Back office, via the booth operator’s online account at www.shapify.me
1. Log in to your personal account at Shapify. me. If you want to print the figurine yourself, just select the model and press the “download” button.
2. If you want to order printing with Artec, please make sure your printing account has enough credit.
2. Go to Gallery, select the required model(s), enter the delivery address, number and size of figurine(s).
3. Click on the "order" button.
Please see the video for a visual explanation
5. If I install a Shapify Booth, will it carry your brand or mine?
The branding on the booth itself cannot be modified apart from in exceptional circumstances. However, if you decide to use an exterior pod or structure for the booth, you can create your own design or use the Shapify design. In both cases, the design should be harmonized with us for technical and marketing purposes.
6. Is the Shapify Booth portable?
Yes. Shapify Booth it is the most portable and easy to deploy automated 3D scanning solution on the market. However, the booth should be assembled and calibrated by an authorized maintenance partner; this is about 4-5 hours’ work for a two man job.
7. So there are 3000 3D model files included in the Optimal business model. But what if I just need to re-scan a customer?
We don’t count scans, we count the processed 3D files you choose to print or download. You can scan your customer as many times as necessary, this will be free of charge.
8. What’s in the box? What is included in the price of the booth?
– Hardware, delivered to your address
The whole scanning system - the scanning with 4 hi-res rotating scanners, lighting, and the computer to manage the process.
The first installation by our certified Maintenance Partner
- Software
There are 3 levels of software:
1. The software installed on the Booth PC for managing scanning and modelling a quick (1 min) preview so your customer can decide whether to accept the quality of the scan
2. Cloud software to process your hi-res model (3-5 min) and upload it to your personal account on the Shapify.Me web site.
3. The Shapify website software and interface to help you to store and manage your scans, download your files, order prints, check your scanning and printing accounts and schedules (within certain business-models)
- Warranty
1 year full warranty
With the “Optimal” business model you will also get 3000 automatically processed 3D files.
9. If I use the “optimal” model, how will I know how many files I have “spent” and what will happen afterwards?
You will have a special counter on your personal account at Shapify.me. You will always know how many files you still have left. When you have used them all, you will be able to top up your account on the website by paying $20 per extra scan.
10. Does the booth have to be connected to the internet? Can’t the file be created locally, on the booth computer?
Yes, the booth has to be connected to the internet since all the calculations are done in the cloud.
11. My client’s data will be transferred to the cloud. Is that safe?
A lot of information, from the photos on your iphone to your credit card details, is sent to and processed in the cloud. All data on the Shapify website and in the Shapify cloud is encrypted and safe.
12. Can Shapify Booth scan a couple or 3 persons together?
Yes, it can. Just remember that the more people are scanned together, the more difficult a job it is for the software, since everyone makes some slight movements even if they trying to keep totally still, and if there are several people in the booth, the volume of movements will be higher. So achieving a perfect scan of multiple people will be a little more difficult - although we have plenty of success stories!
13. What is the approximate processing time for one full body scan?
You (and your customer) will see the finished preview in about 5 minutes. Based on that, the customer can decide whether they like the scan and wish to purchase the printed 3D shapie. The hi-res fully processed file should be available in about 15 minutes on your personal account on the Shapify.me website
14. What scanners are used inside the booth?
This is the Artec L2, an enhanced version of Artec Eva, but with a wider view field and longer working distance.
15. Will we get trained to use the software and the hardware
Of course!
16. What are the installation requirements?
You’ll need a space of at least 3.3m x 3.3m, ceiling height at least 2.8 m. For electricity you should have 220V and 2500W. We recommend a fast Internet connection of 8-10M. Don’t forget you should also have a Windows laptop or a desktop to run the Shapify software. It doesn’t need to be powerful, though, all the heavy work is done in the cloud and on the Booth PC.
17. Where I can see the Booth in action?
Take a look at our map here and also keep an eye on our news.
18. Are the prices on your website in USD?
Printing
1. The Shapify Booth creates a ready-to-print 3D file. How do I turn it into a 3D printed figurine?
There are 2 options:
1. You can find your own local printing partner.
2. You own a 3D printer yourself and print the figurines on your own premises.
2. Can I order 3D prints directly from Artec 3D?
Artec 3D doesn’t offer 3D printing services.
3. What 3D file format do you support?
Our files are in .obj format (plus texture in .png) which can be easily transformed into any 3D format you need (like .ply or .stl) with free software (e.g. Meshlab).
4. What material can the figurines be printed in?
Once you have downloaded the file, you can print it out using any material you like – gypsum-based polymer, metal, plastic or even chocolate.
What is 3D printing in 2021
3D printing technology has changed the manufacturing process of everything that surrounds us. From children's toys and clothes to prostheses, implants, etc.
The 3D printing process is also known as additive manufacturing. In simple terms, a computer program tells the printer where to lay thin layers of material that gradually turn into a solid object.
Types and processes of 3D printing technologies
The first mention of 3D printing technology appeared in the late 1980s. They were called rapid prototyping technologies. The name refers to a process that was conceived as a faster and more cost-effective method of prototyping in product development. The very first patent application for this technology was filed by Dr. Hideo Kodama in May 1980. But, unfortunately for the inventor, the full patent specification was not submitted until one year after the application was filed. Kodama used ultraviolet light to cure plastic and create an AM object.
Years later, the American Scott Crumb developed the most common type of 3D printing today - FDM (Fused deposition modeling). This technology stands for deposition modeling.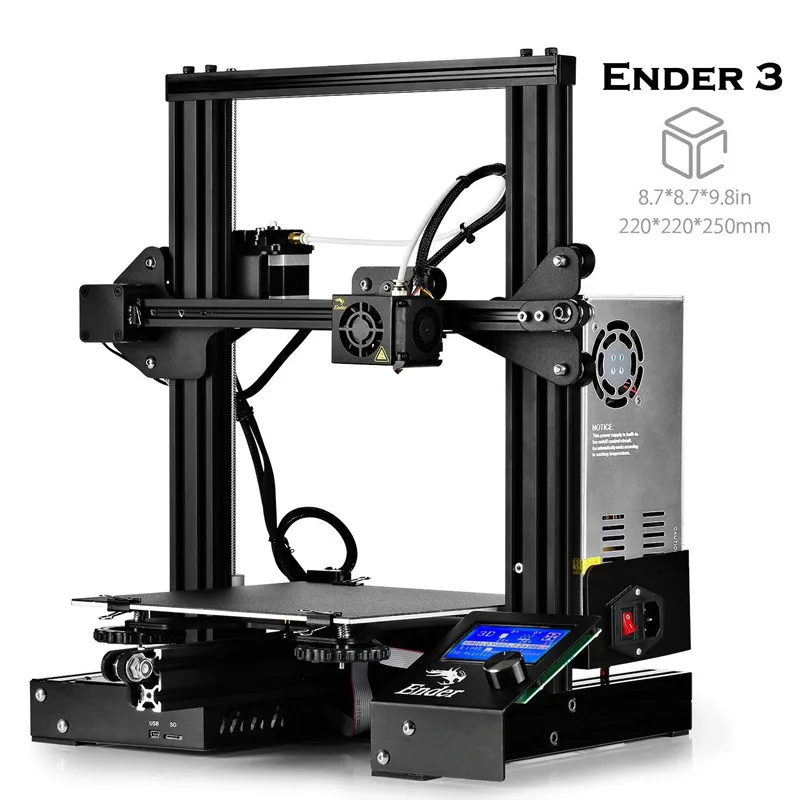 This type is characterized by the fact that the thermoplastic material is heated to a liquid state and extruded through the nozzle layer by layer.
Charles Hull, co-founder of 3D Systems, was one of the inventors of the 3D printing technology known as stereolithography. The technology is based on photochemical processes.
But Kodama, Crump, and Hull weren't the only ones to develop 3D printing techniques.
WINBO 3D printer at Art-Up Design Studio
Here are some other types of 3D printing in use today:
- FDM (Fused Deposition Modeling) is by far the most common method for producing thermoplastic parts and prototypes today. Based on the melting of the filament in the nozzle with its subsequent laying in layers. It is also the most economical way of 3D printing due to the availability of a wide range of thermoplastic materials with different technical characteristics, which allow generating both functional parts of mechanism prototypes and volumetric cases, as well as any free spatial decorative forms.
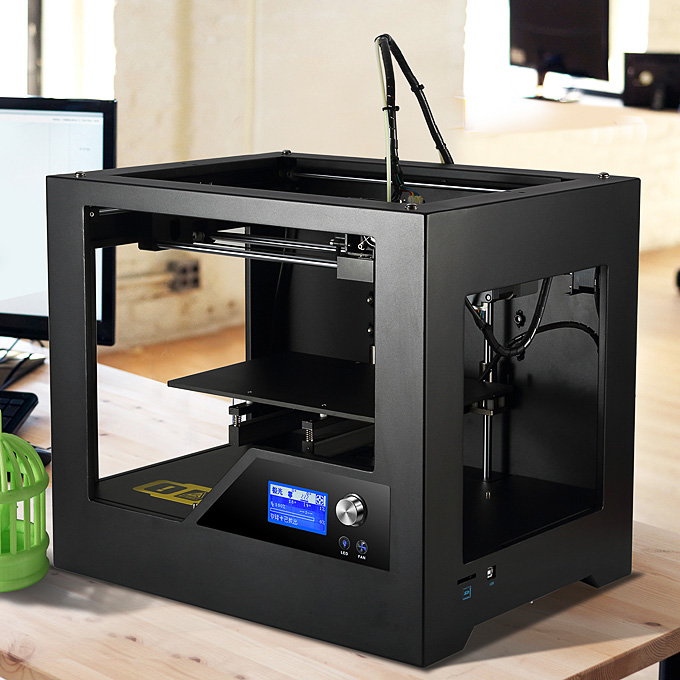
- SLA (Stereo Lithography Apparatus) is based on the layer-by-layer curing of a liquid photopolymer material under the influence of UV study. Can print objects in multiple colors and materials with different physical properties, including rubber-like parts. The high printing accuracy of this method makes it more expensive and not optimal for simple plastic structures.
- DLP (Digital Light Processing) cures polymers using a light projector rather than an ultraviolet laser. This allows you to create a whole layer in one exposure, thus increasing the speed of production.
Metals too have their own 3D printing techniques. The type of technology is selected depending on the features of the object.
- SLS (Selective Laser Sintering) is based on layer-by-layer sintering of polymer powder particles using laser radiation. The nylon powder melts into a strong, hard plastic. Due to the peculiarity of the technology, the surface of the part is not ideal, but very functional for use in prototypes with hinges and latches.

- SLM (Selective Laser Melting) is based on layer-by-layer sintering of metal powder under the action of a laser beam. Used in the manufacture of decorative items. Therefore, it is useful for applications in medicine and lightweight structures. Often this method is used in conjunction with traditional metal casting technology to create prototypes or final products.
- EBM (Electron Beam Melting) is based on layer-by-layer melting using an electron beam. The printing uses electromagnetic coils to superheat the metal powder in a vacuum.
How 3D printing works
3D printing is the process of layering one on top of another. Every 3D printed object starts life as a 3D model in a computer program.
You can create your own design in programs such as Maya, Blender, ZBrush, CATIA, Solidworks. In addition, ready-made 3D models of parts can be downloaded from sites such as Thingiverse or CGTrader.
When you have a 3D model obtained in one way or another, you “run” it through the “slicer” program (from the English word “to slice”), which converts the original 3D model in STL format into print layers. The information received is eventually converted into a special data format called G-code for further printing on a 3D printer.
Such programs usually come with the 3D printer, or they can be freely downloaded, such as the Cura program. What these softwares have in common is that they create thousands of lines of code for layers. This code tells the printer how to print.
Next, you need to set up your 3D printer, select the print quality and the correct material settings. To start printing, you load your "sliced" part into the printer via a USB stick, SD card, or send directly from your computer. And the printer starts a slow additive layering process.
Photograph of Christian Rail from Pixabay
Materials used in 3D printing
The materials available for 3D printing have come a long way. Currently, there is a wide range of materials that differ both in properties, types, and in the states supplied (powder, threads, granules, resins, etc.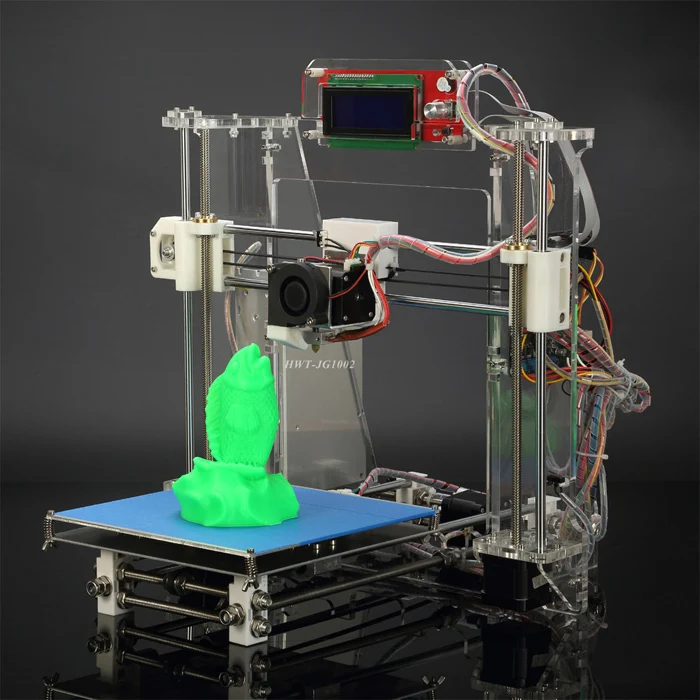 ).
).
Some materials are developed for specific applications to perform special tasks. For example, the medical sector, where special photopolymer resins (SLA 3D printing technology) are used, the properties of which make it possible to print implants, casts, and so on.
Some of the most commonly used materials:
- Plastics. Sintering (SLS) typically uses polyamides or nylon supplied in powder form. It is a strong, flexible and durable material. It is white in color, so it needs to be tinted before or after printing. The most common 3D printing technology today is FDM, which uses ABS or PLA plastic filaments. These plastics are available in a wide range of colors. Compared to PLA, ABS plastic has higher strength characteristics. But PLA is biodegradable, so it's as widespread as ABS.
- Metals. More and more metals and metal composites are finding their way into industrial 3D printing. The most common of them are derivatives of aluminum and cobalt.
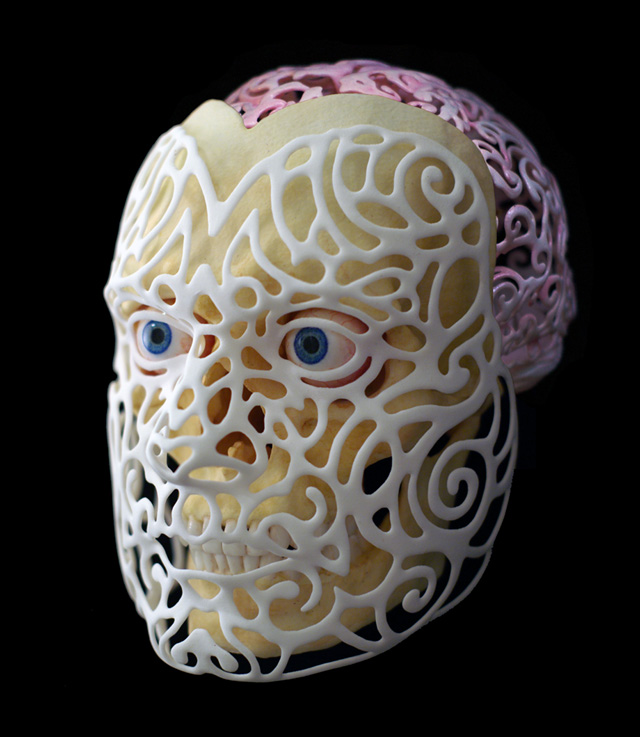 Due to its strength characteristics, stainless steel is often used in powder form in 3D printing technologies such as sintering, melting, EBM. In the last couple of years, silver and gold have been added to the list of metals suitable for printing. This made it possible to significantly expand the possibilities of jewelry production.
 - Ceramics. A relatively new group of materials used in 3D printing. The peculiarity of printing with these materials is that the printed ceramic parts must go through the same processes as ceramic products made by traditional methods - firing and glazing.
- Biomaterials. Currently, a large number of studies are being conducted aimed at exploring the possibility of 3D printing from biomaterials for the needs of medicine. This includes the printing of human organs for transplantation, external tissues for replacement of body parts. To do this, leading institutions research living tissues.
- Food. Over the past few years, there has been an increase in experimentation with food 3D printing extruders.
 Chocolate printing is the most widely used. There are 3D printers that use sugar, pasta, meat, dough.
Photo of mebner1 from Pixabay
What 3D printing is used for
If you can think of an item, then most likely you can print it. Children's toys, jewelry, phone cases and much more are already being printed by enthusiasts on 3D printers. Some use 3D printing for fun. Fun projects already exist: a printed guitar, a loom, and an intricate sculpture created from a combination of laser-fused glass and nylon. 3D printing has already moved beyond its origins in plastic printing and has moved into the use of metal, rubber, wood, synthetic fabrics, and ceramic resins. Functional 3D-printed human organs have not yet been created, but scientists say that this is a matter of the near future.
Because additive manufacturing of complex objects is faster and cheaper than traditional molding and casting methods, it has found its way into industry and the arts. The possibilities of this technology are almost limitless, but 3D printers are not perfect machines. In addition to all the advantages, there are also reasons for concern.
Ethical issues in 3D printers
3D printers consume a lot of energy and emit ultra-light plastic particles into the air, which are then inhaled by humans. These harmful emissions can be compared to a cigarette lit indoors.
While humanity is trying to reduce the use and consumption of plastic, 3D printers are another technology heavily dependent on it. This presents a problem for all ecosystems, in particular for the already suffering oceans with their floating islands of plastic.
A few years ago, the news of the first 3D printed firearm caused a media frenzy. The creation of untraceable weapons by a private individual remains a modern security problem.
From a legal point of view, there is no clear answer to the question of who is liable in the event of harm to health caused by a printed object.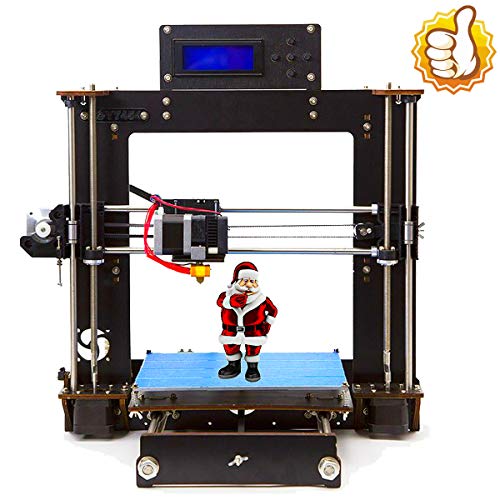 Indeed, in most cases, the developer of a 3D model, the manufacturer of a 3D printer, and the one who printed it are different people or organizations. Determining liability for potential injury and death is a new challenge.
At the same time, the use of 3D printing technology in the medical field to print tissue raises a number of ethical and moral issues. These issues are similar to the talk of stem cell research and gene editing that has been going on for decades.
On the other hand, we have a powerful tool in our hands that is changing the way we create and produce things. We still don't fully understand what this means for our future.
Potential effect on the global economy
If 3D printing continues to develop at the same pace as it is now, then its use could potentially affect the global economy. The transition of production and distribution from the current model to localized custom manufacturing can reduce the imbalance between exporting and importing countries.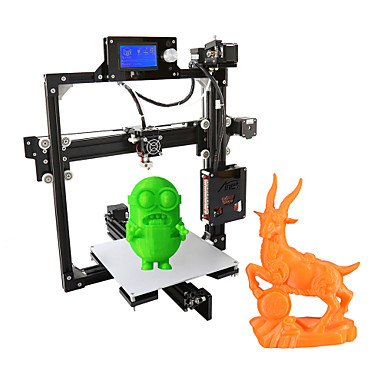
3D printing is creating new industries and new professions. Professions related to the production of 3D printers or, for example, a vacancy for a rapid prototyping technician at the Cartier jewelry house. New professional services are emerging, such as supply of materials, printer operator, legal services in dispute resolution and intellectual property issues. With the development of 3D printing technology, the issue of "piracy" becomes an urgent problem.
The impact of 3D printing on developing countries is a double-edged sword. The positive effect for such countries is the reduction in the cost of production through the use of recycled and other local materials. But the loss of manufacturing jobs could hit these economies hard, and it will take time to find a balance.
Where can I use a 3D printer
Owning a 3D printer with the necessary software and materials can still be expensive for individual needs, so public 3D printers are becoming more common.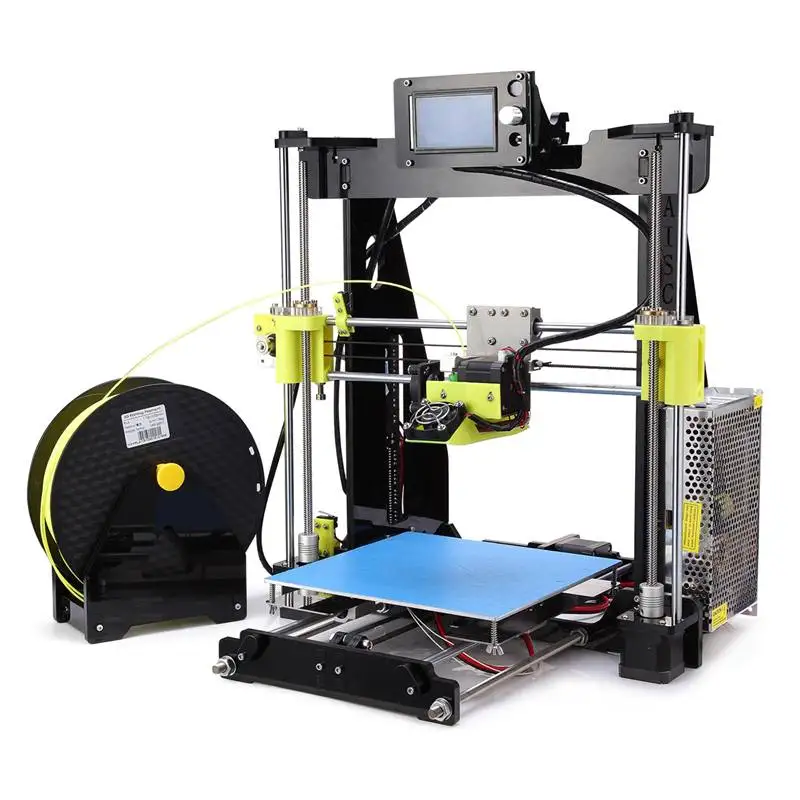
There are places like labs and 3D printing shops. You can send your design and pick up the finished part in a couple of days. Some companies, such as ART AP Design Studio, also do 3D printing.
If you are a student or student, 3D printing services may be available at your school.
Printed products in Art-Up Design Studio
Where can I learn how to use a 3D printer
For those who already have the specialty of an engineer, there are advanced training programs (Additional education) from the Russian Academy of Crafts, designed for 36 or 72 academic hours.
The training course in an accessible lecture form reveals the theoretical and practical foundations of design, three-dimensional modeling, design of plastic products. It provides for the performance of work and tests within the framework of the design tasks of the course and the final exam.
As a result of mastering the program, the trainee receives a certificate "Specialist in Additive Technologies". Profession Code 15.02.09
If you are just starting out, you can find vocational training programs with 144 academic hours.
It is important to understand that the basic knowledge is obtained in practical exercises on real equipment. For example, you can get up-to-date skills using modern equipment at the SKOLKOVO Technopark at the production base of the CUC OOO Design Studio ART AP, which is the anchor partner of this educational program.
As a result of training, the student of the course "Specialist in additive technologies" independently solves the following professional tasks:
- modeling and design of plastic parts,
- fundamentals of aesthetics in the design of industrial products,
- features and types of 3D printing equipment,
- preparation of the model for 3D printing,
- setting up and launching a 3D printer,
- features of printing from various materials,
- post-processing of 3D printing results,
- Product assembly.
Investing in yourself is the most profitable and rewarding investment.
Nikita Pelevin, Alexey Kutyaev for the Russian Academy of Crafts
On the cover of the article ZMorph4D photo from Pixabay
Discover 3D printing - Omni3D
Are you new to 3D printing?
We have prepared a mini-guide for you,
, which will introduce you to the world of 3D printing.
3D printing is an extremely broad definition of a range of technologies that differ from each other both in their manufacturing processes and in the materials used in them.
Omni3D is the first Polish manufacturer of industrial 3D printers with FFF technology - currently this technology is the most widely used among all incremental methods in the world.
Differences between desktop and industrial printers
| Materials | wide range of filaments | limited filaments |
CHECK OUR OFFER
Where can I use 3D printing?
3D printing technology is used in many areas.
Terms Dictionary
- ABS
- ADHEZYJNY śRODEK
- ASA
- Bridge
- CAD
- CAE
- CAM 9026 9026 9026 9026 9026 9026 9026 9026 9026 9026 90AM 9026 9026 9026 9026 9026 90AR0026
- CJP
- DLP
- DMLS
- Druk 3D
- Dysza
- Ekstruder
- Ekstruzja
- FFF
- Filament
- Firmware
- Fotogrametria
- G-Code
- Głowica
- Grzana komora
- HIPS
- IGES
- Inżynieria odwrotna
- Kalibracja stołu roboczego
- Model CAD
- MJM
- Offset X/Y
- Overhang 0026
- Platforma robocza
- Podpory
- Raft
- Rapid Prototyping
- Retrakcja
- SHS
- Simplify 3D
- Skanowanie 3D
- Skurcz materiału
- SLS
- STEP
- STL
- Tooling
- Wytwarzanie addytywne
ABS
Kopolimer akrylonitrylo-butadienowo-styrenowy; jedno z najbardziej popularnych tworzyw sztucznych stosowanych do druku 3D w technologii FFF ABS nie jest odporny na działanie promieni UV.