3D print mechanical keyboard
Make your own 3-D printed mechanical keyboard
Mechanical keyboards are all the rage and it’s easy to see why—there’s the pleasure of being able to really hit the keys, the clicky sounds, and the fact that they can be highly customizable.
If you want to upgrade your typing experience with one of these gadgets, there are two ways to go about it: You can always buy one or, if you’re up for the challenge, put one together yourself. Choosing one approach or the other may not make a huge difference in the price tag of your new peripheral. But there’s only one way that gives you the satisfaction of having made a keyboard that’s specifically made for you and by you.
If you’re ready for an adventure, here’s how you can build your own 65-percent mechanical keyboard. A high-end peripheral can easily cost in excess of $100, so we designed this project to be generally affordable, and if you want to cut costs further, you can even 3D-print your case. Ordering your components will generally be more expensive, resulting in a final price tag of around $150. Making your own parts, on the other hand, can reduce that cost to less than $50.
And don’t get deterred if you don’t have a 3D printer at home—you can always sign up for a membership at your local maker space where there will likely be machines you can use and even classes you can attend. If you really want to take the plunge and get your own 3D printer, we’ve put together a guide with everything you need to know before you buy one.
- Assembly time (not including 3D printed case): 6 hours
- Material cost: $50 to $166.10
- Difficulty: Moderate
Materials
- 1 roll of stranded rainbow wire
- 1 roll of single-core wire
- 1 set of Costar-style keyboard stabilizers
- 4 rubber feet
- 68 1N4148 diodes
- 1 mini USB cable
- 2 sets of your choice of switches
- 6 32 by ½-inch Phillips machine screws
- 1 Teensy 2.0 microcontroller replica (Mega32u4)
- Solder
- Electrical tape
- 3D printer filament
- 1 set of standard keycaps
If you’re not 3D-printing your components
- Keyboard case (case and plate)
- Tada68 keycaps
Tools
- Soldering iron
- Phillips screwdriver
- Wirecutter
Instructions
1. Buy or print your case. The case is the body of your mechanical keyboard, and it holds the switches and other electronic components. As we mentioned before, you can buy one or you can 3D print your own.
If you choose to hit the market in search of a case, online retailers such as KBDFans and Aliexpress are good options since they have a wide range of cases. The Chinese online retailer has the benefit of getting you more bang for your buck, but with the drawback that orders take longer to get to you. If you’re impatient, Amazon also carries affordable keyboard components, but you’ll end up paying a premium for having them at your doorstep within a couple of days.
You can choose to buy an aluminum case or a plastic one. Aluminum tends to be more expensive, but it’s more solid and hefty, which makes it a good choice if you don’t tend to move your keyboard around. On the other hand, some people prefer the look of plastic cases, which are also usually cheaper. Some cases come with a fitting plate, which is the piece that holds the keyboard switches in place, but you can also just look for a case that has an integrated plate.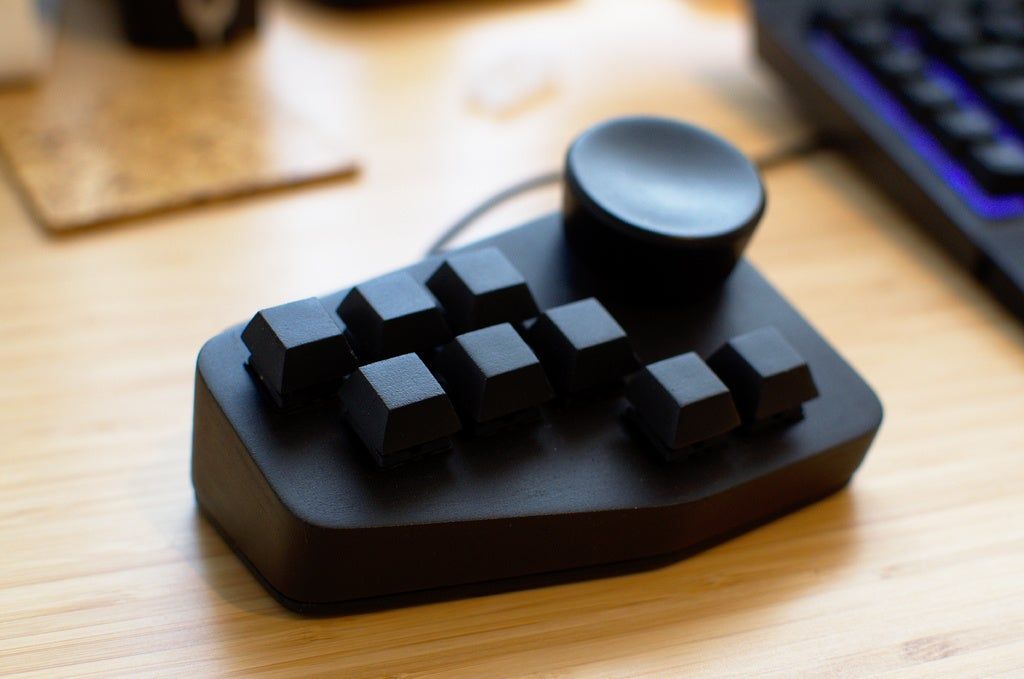 Pick the model, color, and material you like the most—just make sure the case has a mini-USB slot for the control board.
For those who choose to 3D print their own case, I recommend using FedorSosnin’s SiCK-68 tada68 ‘thing’ from Thingiverse. It is well-designed and the printing instructions are easy to follow. If you’re more advanced when it comes to 3D printing, you can alter the Thingiverse design or make one from scratch using the swillkb Plate & Case Builder resource. I personally went with the SiCK-68 build nice and compact, and you can print it in whatever colors you like, but I used silver PET-G filament for the bottom part of the case and white filament for the top. I chose PET-G filament because it’s sturdy and durable, but you can also use PLA, which won’t require you to change the default settings on Ultimater Cura.
When using the SiCK-68 template you’ll need to print some parts separately—the lower and upper case pieces (both left and right), the dowels (to join the pieces together), and the keycaps for the Alt, function, right shift, and CTRL or Command keys, if you buy a standard keycap set.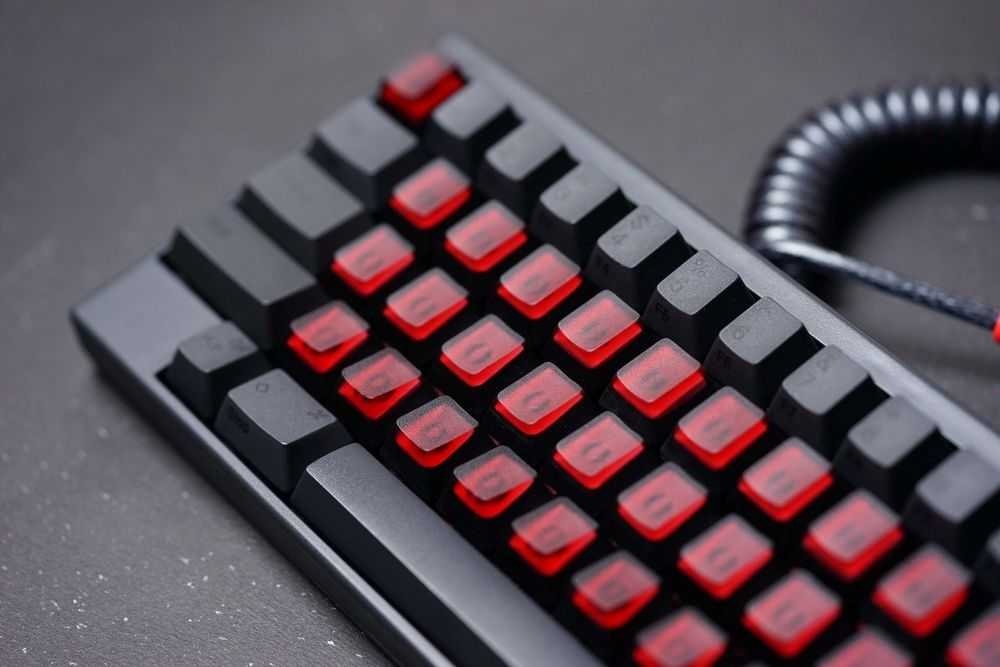 These keycaps are slightly smaller than the Tada68 layout, so you’ll need to make your own to fit the case.
The printing process should be fairly similar for all 3D printers but I used a Creality Ender-3 so I will describe the 3D printing process based on that. If you are using a printer that doesn’t have automatic bed leveling, start by leveling your bed before printing to ensure that you get the best results. I used Ultimater Cura to do my slicing, but you can use another slicer such as Prusa Slicer. You can find the relevant settings I used below—you can use them as a baseline and adjust them to fit your specific machine and filament. If these settings result in a messy-looking print, slowing down the speed should fix any issues.
Printer: Creality Ender-3
Filament type: PET-G
Print nozzle temperature: 235°C
Build plate temperature: 85°C
Print speed: 60mm/s
Initial layer speed: 10mm/s
Enable Retraction
Retraction distance: 9.
5mm
Retraction speed: 40.0mm/s
Maximum retraction count: 10
Combing mode: Within infill
Enable print cooling
Fan speed 100.0%
Initial fan speed: 0.0
Build plate adhesion type: Brim
In total, the print took around 30 hours, and if you optimize the settings of your printer, you can just leave your machine to do its thing without much intervention.
If you print with a brim, you’ll note that you will have to trim off the extra material with a craft knife. You’ll also notice some leftover “strings”—these are normal when using PET-G filament, and you can easily remove them by blasting your prints at arm’s length with a heat gun at around 390 degrees F. You can also pluck them off.
2. Install the switches. Install your switches into the assembled top half of your keyboard case or plate. We went for the Akko CS Ocean Blue, as they are clicky and very affordable, but you can use whatever switches you like as long as they have three pins and are the same size.
To install them, make sure all the switches are facing in the same direction and press them into place until you hear a click—that’s how you know they are secured.
When you finish installing the switches, it’ll look something like this.3. Solder the switches to the diodes. Now you need to start setting up your keyboard’s control system, which allows the signal of a pressed key to travel from the right switch to the control board. The first step is to solder diodes to the pins of your switches.
Diodes usually come in sets of 100, but you’ll only need 68—one for each key. This will leave you with a lot of room for error if you need it. These delicate components ensure that current only flows in one direction so that there are no loops that will end up frying your keyboard or causing your machine to register the wrong key.
Start off by identifying which end is the cathode of the diode—you’ll recognize it by the black band painted on the body. Use your wirecutter to trim the cathode down to 1/2-inch and solder it to the left pin of a switch.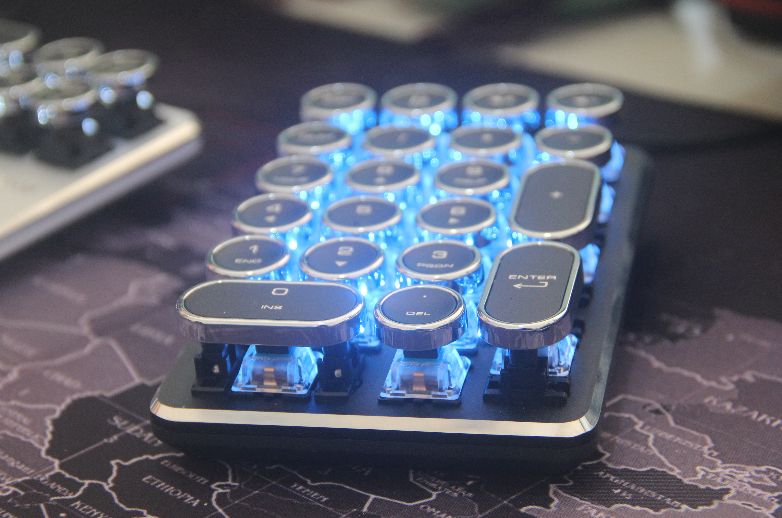 Repeat the process with all remaining switches and finish up by trimming the remaining ends of the diodes to 1/2-inch.
4. Connect each row of switches with a wire. You’ll notice that there are five rows and 15 columns of switches connected to diodes. Measure up, cut, and strip five pieces of solid core wire long enough to run for the entire length of each row of switches.
Solder the remaining ends of the diodes in the first row to one of the pieces of the solid core wire, and repeat the process for all the remaining rows. Finish the row up by trimming the ends of the diodes that are still poking up, and placing electrical tape over each piece of the solid core wire. This will prevent shortages from happening between the rows and columns.
5. Connect each column of switches with a wire. Measure up, cut, and strip 15 shorter pieces of stripped solid core wire long enough to span the length of the columns of your keyboard. Solder one piece of wire to the right pin of each switch in the first column and repeat for all columns.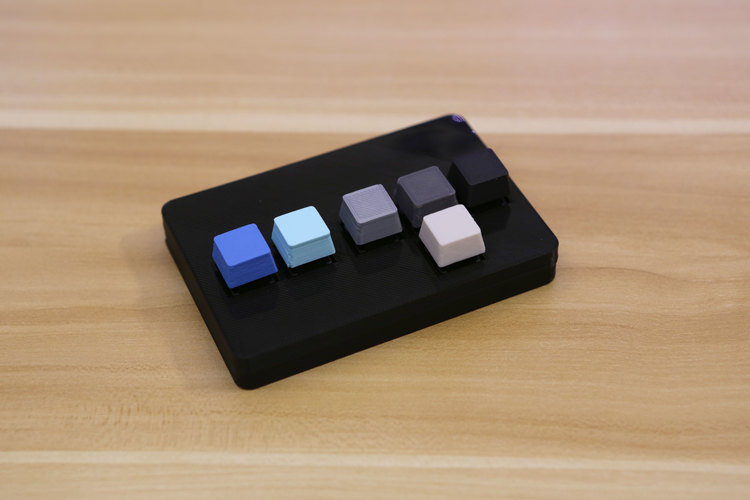
6. Connect your rainbow wires to the row and column wires. Strip the ends of five wires from your rainbow wire spool, and solder them onto the ends of each row of wire. You can choose the right or left end of the row wires, but whatever you do, make sure your Teensy is able to slot into its spot in the bottom half of the case without issue. If you don’t router your wires properly, they could bunch up and not leave enough space for the Teensy and the case might not even be able to close up properly.
Continue by stripping the ends of a set of 15 wires from your rainbow wire spool and solder them onto the ends of each column wire.
At this point, the back of your keyboard should look something like this.
It looks messy, but we swear it’s not as complicated as it seems.7. Solder the rainbow wire to the Teensy. Use this diagram. The different colors of the rainbow wire will help you tell the difference between each row and column, making the job a little easier.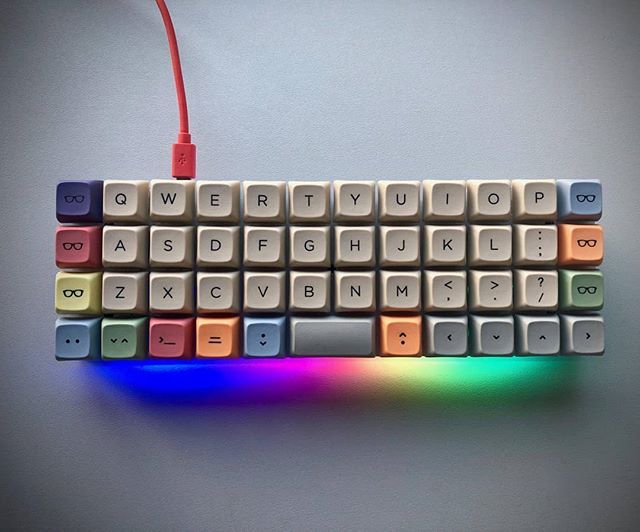 Make sure to double-check your wires before you solder them.
Pro tip: You can use an original Teensy if you want to, but it will likely be more expensive.
If you want a more theoretical understanding of how exactly this setup works, you can check out Matt3o.com where the author takes a deeper dive into the inner workings of this type of keyboard. But to sum up, each key corresponds to a unique combination of row and column numbers. This is how the Teensy knows which key you’re pressing.
8. Program the Teensy. It’s just a matter of following these steps:
- Connect your Teensy to your computer with the mini-USB cable.
- Download the SiCK-68_EasyAVR.zip file.
- Extract the file to a convenient location and open the folder.
- In the EasyAVR-master folder, find and run the easykeymap.exe file. This is the setup wizard for the keyboard mapping process.
- Go to the File menu on the main navigation bar at the top of your screen, and select New.

- Select TAD68 and then click OK.
- Close the software for now.
- In a new File Explorer (or Finder window, if you’re on a Mac) go to C:\SPB_Data\.EasyAVR\boards
- Copy the SiCK-68.py file to this folder. This file is in the main folder from when you extracted the SiCK-68_EasyAVR.zip file.
- Back at the EasyAVR-master folder, open easykeymap.exe again.
- From File, choose New, select SiCK-68, and then click OK.
- To create a function key layer (meaning, giving keys a function different from the original when you press the Fn key), select Layer 1, then the 1 key (next to Esc) in the window. Continue by selecting the Scancode option and then F1—this will give the number key the F1 function when you press it along with the Fn key.
 You can repeat the process with the rest of the number keys (and the minus and plus keys to the right of the row) to assign them up to the F12 function.
 - Select Build.
- Save the resulting file.
- From the main SiCK-68_EasyAVR folder, open the Fake Teensy Loader.exe file.
- Press the button on your Teensy once to manually enter Program Mode.
- Next, go to File and then Open HEX File, and select the document that you created in step 13.
- Finally, select Program.
- To finish, select Reboot from the Teensy Loader menu. Your keyboard should now have the firmware on it.
9. Slot in the stabilizers and the keycaps. Stabilizers will help, well, stabilize bigger keys, like the left shift key, the backspace, the spacebar, and the Enter keys. Once the stabilizers are in place, you can attach the keycaps to the switches—just line up the cross-shaped slot in the keycap and push it into place.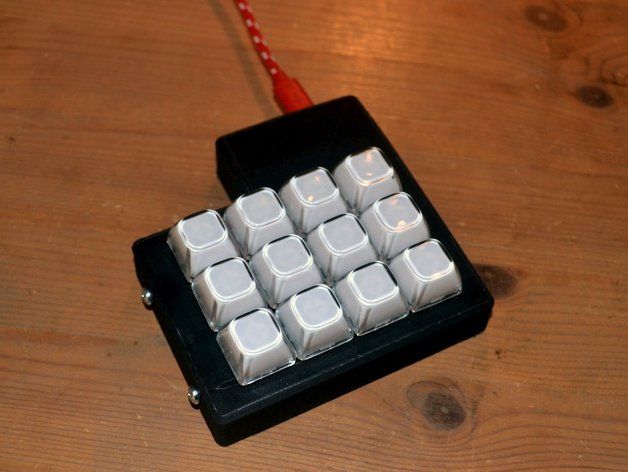 In case you don’t remember where each keycap goes, you can use this layout as a reference.
10. Test the Teensy. Make sure everything works as it should, by going to the Keyboard Tester website and trying out your gadget. You should see the platform registering each stroke as you hit the keys.
Any issues you run into may be due to shorts—maybe you didn’t apply the electrical tape properly, or it may have been damaged in some places. This is an easy fix: visually inspect the tape to see if there are any issues. If problems persist, then it might mean something is not soldered correctly. Disconnect the keyboard, remove the tape, and rejoin anything that might have separated.
11. Tuck in your components and close the case. Once you’ve verified everything’s running smoothly, it’s time to package everything up. There’s a slot in the bottom half of the case for the Teensy. Go ahead and tuck it in there, making sure that it’s as far forward as possible and that you can easily plug in your mini-USB cable.
Put the top half of the case onto the bottom half, making sure there are no wires protruding. Screw everything together with your machine screws.
12. Apply the rubber feet. Do this near or at the four corners of the bottom of the keyboard.
I’ve been using this keyboard ever since I finished programming the Teensy and it has been a real pleasure. There is something about the roughness of it—where I cut off the extra material, the custom keycaps, and the joints—that makes me love this keyboard more than any one I could have bought. It’s my keyboard and I built it.
You might not like the roughness as much as I do (you can easily polish that early on in the process), but the action of the switches and keycaps is quick and polished, so the texture doesn’t compromise the gadget’s performance. The Akko CS Ocean Blue switches are very tactile and clicky, which I personally love, but if you want something quieter, then there are other options out there.
I am a new convert to mechanical keyboards and thanks to this build there’s no way I’m going back to a membrane keyboard. This is a basic build but you don’t have to stop here. You can build one to use at home and one for the office. You can add more customizations like different colored keycaps and you can even add LEDs. The sky’s the limit.
These open-source, levitating keyboard switches can be 3D printed at home
0Shares
Insiders and analysts predict the 3D printing trends to watch in our latest series of articles focused on the future of 3D printing.
Riskable, a hobbyist toymaker, and 3D printing enthusiast has developed an innovative new key switch mechanism for use in PC keyboards.
Named ‘Void Switch’, the design is completely open-source and can be fabricated at home with any run-of-the-mill FFF 3D printer. The novelty of the mechanism lies in its use of magnets, which makes it levitation-based and entirely contactless.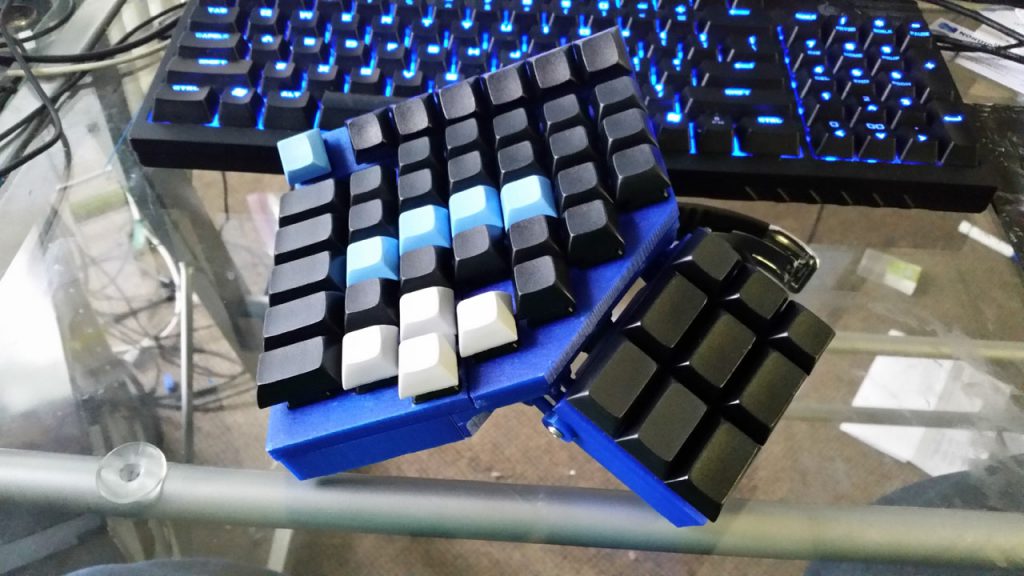 In contrast, standard mechanical keyboard switches rely on springs and metallic contact plates to determine whether or not a key has been pressed.
Interestingly, the Void Switch mechanism is also fully customizable in its feel, allowing users to adjust both the tactility and return force of the keys based on personal preferences.
An assembled Void Switch. GIF via Riskable.The world of mechanical keyboards
While the average person probably doesn’t give their computing peripherals much thought, those in the PC gaming and programming communities tend to have a special affinity for kitted-out mechanical keyboards.
Unlike the compact keys found on a laptop, mechanical keys feature more depth and provide a much more satisfying feel when pressed down. You can usually tell the difference between the two from the sounds they make: mechanical keyboards often deliver a louder ‘clack’ sound.
Beyond just the RGB lighting, mechanical keyboards can be modified and customized in almost every aspect from the casing and stabilizers to the keycaps and key switches. The key switches, in particular, are what determine the tactile response of the keyboard, whether it’s a click, bump, or smooth descent all the way down.
The 3D printed Void Switch
Riskable’s 3D printed Void Switch uses a Hall effect sensor to determine the pressing of the key, a type of sensor that detects the presence of a magnetic field. Each switch mechanism features three individual 4 x 2mm magnets, one central static magnet for the levitator, and two moving magnets embedded in the switch’s slider.
The two moving magnets are placed above and below the static one, and serve to maintain an equilibrium between attraction and repulsion. Specifically, the lower magnet is what provides tactility, while the upper one is what provides the repulsive force acting in the opposite direction. In a conventional key switch, a spring would be used to deliver this counter-force.
Furthermore, the OpenSCAD files for the mechanism are customizable, whereby the user can modify the separation of the magnets. This is what allows for full control of the tactility and the counter-force of the keys.
Riskable recommends 3D printing the Void Switches using PETG filament due to the material’s deep sound profile and comparatively low coefficient of friction, which makes key presses smoother. However, a material like PLA will also work just fine. For those that want a quieter experience, the switches can also be paired with 3D printed TPU keycaps (92A or harder). TPU is flexible enough to absorb much of the sound energy but won’t buckle or bend under the force of a finger.
The Void Switch relies on a series of magnets that push against each other to provide resistance. Image via Riskable.All of the open-source 3D files needed for the project can be downloaded on Riskable’s GitHub.
The open-source community can undeniably be a fountain of ingenuity, offering novel 3D printing applications at low costs. Earlier this month, YouTuber Akaki Kuumeri created a 3D printed adapter for the PS5 DualSense controller that enables users to play games one-handed. The add-on can be applied non-destructively to game controllers in order to allow for non-standard hand positions and make playing video games more accessible to those with physical disabilities.
Elsewhere, content creator Lucas VRTech has previously designed and 3D printed a pair of low-cost finger tracking gloves for use in virtual reality. Named LucidVR, the open-source gloves grant users the ability to precisely track their fingers without the use of dedicated VR controllers. Tallying up all of the component and filament costs, the LucidVR project cost Lucas just $22 ($11 per hand).
Subscribe to the 3D Printing Industry newsletter for the latest news in additive manufacturing. You can also stay connected by following us on Twitter, liking us on Facebook, and tuning into the 3D Printing Industry YouTube Channel.
Looking for a career in additive manufacturing? Visit 3D Printing Jobs for a selection of roles in the industry.
Featured image shows an assembled Void Switch. GIF via Riskable.
Tags Riskable Void Switch
Kubi Sertoglu
Kubi Sertoglu holds a degree in Mechanical Engineering, combining an affinity for writing with a technical background to deliver the latest news and reviews in additive manufacturing.
STL File Colossal Titan - Mechanical Keyboard 3D Keyboard - Attack on Titan
Rayquaza - 3D keyboard for mechanical keyboard - Pokemon
€2.53 -fifteen% 2.15 €
Majin Buu - 3D keycap for mechanical keyboard - Dragon ball Z
€1.83 -fifteen% 1.55 €
Pokemon Eevee - Keycap 3D Mechanical Keyboard - Eeveelutions
€1. -fifteen% 1.55 €  83
83
Pokemon Flareon - Keycap 3D Mechanical Keyboard - Eeveelutions
€1.83 -fifteen% 1.55 €
Baby Yoda "GROGU" The Child - The Mandalorian - 3D Print - 3D FanArt
5,26 €
Squirtle Squad - Pokemon Toys - Fan Art
6.17 €
6 keycaps for mechanical keyboard - POKEMON Edition
€4.89 -fifteen% 4.16€
Batman 2022 - Batsuit - Robert Pattinson
28.80 €
Godzilla vs Kong Diorama Monsterverse
10.29 €
THE YODALORIAN - FAN ART
5 €
Pokemon Eevee - Keycap 3D Mechanical Keyboard - Eeveelutions
€1. -fifteen% 1.55€ 83
83
Mob Psycho 100 - 3D FanArt
3.09 €
Best 3D Printer Files in the Miscellaneous Category
Mate Chewbacca (Star Wars)
Free
Mars rocket
1 €
Halloween Anglerfish (pre-supported)
3.50 €
Parametric Pirate Hook
Free
Improved Wahoo Elemnt steerer tube headset mount
Free
Gift cryptex
2,50 €
Eren titan, Attack on Titan, Shingeki no Kyojin
1,25 €
Jug
Free
Bestsellers in Miscellaneous category
Articulated Dragon Claws 2.
 0 UPDATE.
 7.19 €
4th planet Fighting pre-Olympic god
12 €
Articulated Raykuase Flexible Dragon Pokémon
1 €
Ciberpunk 2077 Rebecca Guts Pistol
4 €
Polestar 2 cup holder
5.80 €
hinged shanron
3 €
Lord of Chaos
€5.50
Articulated Gyarados
1.99 €
Folding pipe bender
4.62 €
Articulated pretty spider
2.49 €
T-800 Terminator Moving Skull
15 € -25% €11.25
Articulated axolotl
3.50 €
Predator-inspired movable mask
7 € -35% 4. 55 €
55 €
RS-X-Bow "Government - 1911" style
5,75 €
Ghost Boom x10
€1.99 -ten% 1.79€
Haunted House lamp with lithophane 3d and 2d Moon printed without the need for trimming or painting (inspired by The Addams Family and Bates Motel)
4.59 €
Do you want to support Cults?
Do you like Cults and want to help us continue our journey on our own ? Please note that we are a small team of 3 people , so support us in keeping the activity going and making future designs of is very easy. Here are 4 solutions available to everyone:
-
AD: Disable your AdBlock banner blocker and click on our banner ads.
-
AFFILIATION: Shop online with our affiliate links here Amazon.
-
DONATIONS: If you want, you can donate via PayPal here.
-
* INVITE FRIENDS: * Invite your friends, discover the platform and great 3D files shared by the community!
STL file Mechanical keyboard Ender 3 3D printer keyboard!!!・3D printing design for download・Cults
Playstaion 5 mechanical keyboard
0.50 €
Keyboard for mechanical keyboard TreasureChest
1 €
Mechanical keyboard Linux distributive keyboard Ubuntu OS
0,50 €
Keyboard with mechanical keyboard Racing chair
0,50 €
Tesla cypertruck mechanical keyboard keyboard
0,50 €
Mechanical keyboard Linux distribution keyboard Arch OS
0,50 €
Mechanical keyboard with the image of the bus Volkswagen
0. 50 €
50 €
Mechanical keyboard Linux Debian OS keyboard
0,50 €
Best 3D Printer Files in the Gadget Category
Iron Man Mark 5 Helmet
Free
Pen holder
Free
Thriller bookmark
Free
SMARS zero
Free
Dock case for Nintendo Switch
Free
Folding sword - NO SUPPORT Version 3
1,25 €
Venom Snake Automaton
10.29 €
Bestsellers in the Gadget category
Keychain "Fussy Cauldron" - Halloween
1.89 €
WALL KEY HOLDER - EYE (FULL COLLECTION)
1,88 €
Duck with pumpkin
1. 25 €
Double text illusion app
3.73 €
ENGINE BLOCK - WALL KEY HANGER
1,82 €
Working Steam Engine, Printed in Place, Fully Assembled, No Supports
€3.39
Owl - wall key holder
1.83 €
Tactical onion (TRB)
10 €
Perritos fantasma / Creepy dogs
3.33 €
Karambit keychain spinner tiktok keyrambit NO BEARING
€1.73 -fifteen% 1.47€
Case for iPhone 14 PRO MAX (2 pcs)
0,75 €
Gato fantasma / creepy cat
3.33 €
Dice box with mechanical rotating top
4.06 €
Fantastic business card application
3.


