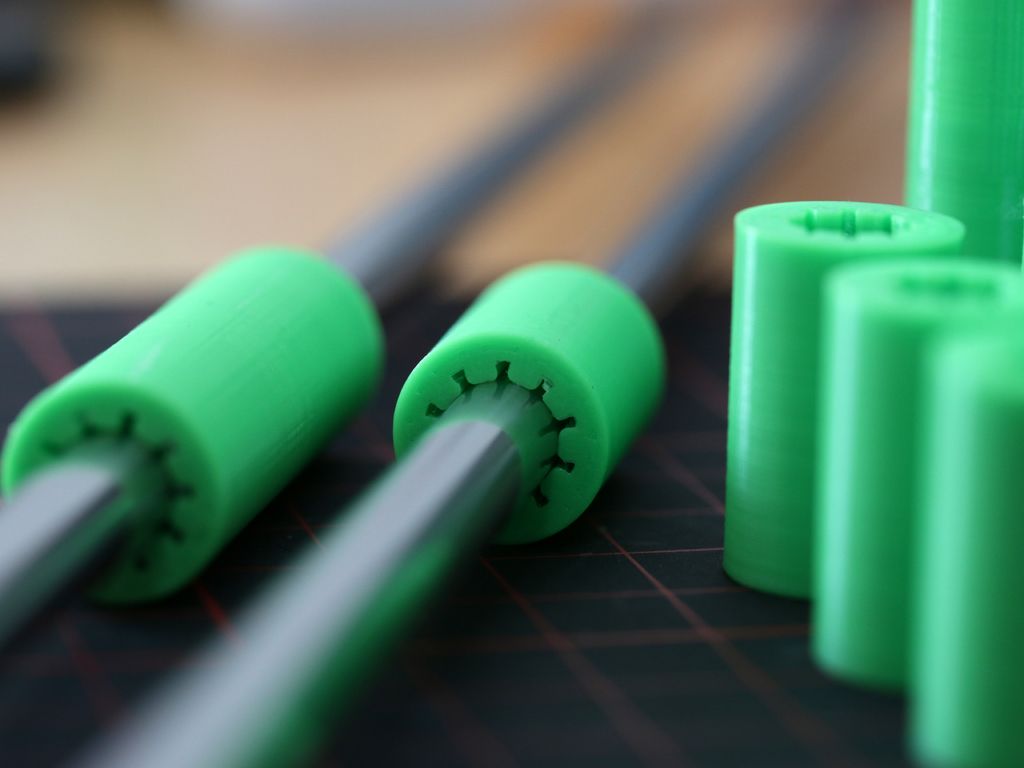
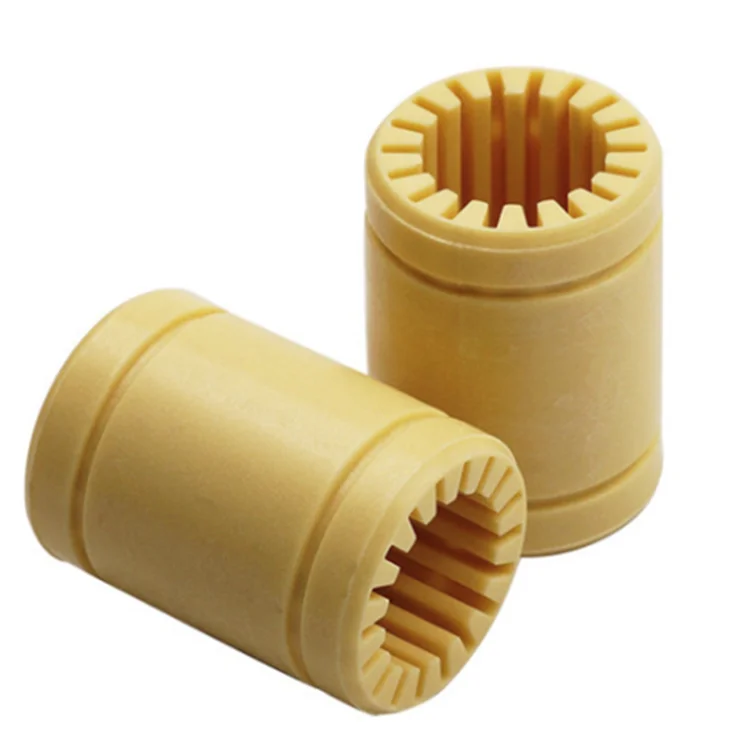
3D print bushing
Bushing best STL files for 3D printer・Cults
Bushing Opel for gearbox F23
€6.25
Gearbox bushing Opel Astra H F17
€6.25
Ninebot ES1/ES2 Pneumatic wheel axle bushings
Free
Ninebot ES2 rear axle bushing
Free
55 MM Filament Spool Roller
Free
BMW ball joint repair bushing
€6
Mercedes Benz Vito balancer repair kit 638
€15
Repair kit Nissan P11 Wiper Trapeze Bushing
€8
Nissan P11 Wiper Trapeze Bushing
€19
drylin® bearing for 8 mm shafts; OD 16 mm
Free
drylin® bearing for 10 mm shafts; OD 19 mm
Free
drylin® bearing for 8 mm shafts; OD 15 mm
Free
igus bearing generator – fully customizable
Free
50mm to 30mm workout weight bushings
Free
BMW gearbox bushing (original)
€8
Chamfered Bushing, parametric
Free
Elliptical bushing replacement compatible with model P270045
€4
Ford focus MTX75 Shifter Bushing
Free
Bench Block
Free
COMPLETE SET OF SKODA, VOLKSWAGEN GEARBOX BUSHINGS (without gearbox joint)
€10
Bushing for the element of the BMW gearbox
€1
APR CENTER CAP - GUNMETAL - FLOW FORMED WHEELS
€4. 80
mitsubishi tray bushing
Free
Hypercube Hotend Mount for Chimera and BLTouch
Free
TPU Sway bar bushing Toyota Camry front / rear
€2.13
H7 to LED Socket Adapter
Free
TRANSFER LEVER BUSHING MITSUBISHI L200 (WHOLE)
€6.25
bushing hand drill bushing / hand drill bushing
€1.45
drum stopper
€1.25
Spare gear shift lever bushing saveiro gol trend
€40.70
3D PRINTER HUB - 3d printer hub support
€4
bushing Ford Type 9 transmission N9 Sierra Scorpio Granaga ect.
€2
1911 Barrel Bushing Tool Keychain
Free
Bushing Cap for Water and Air projects 1/8"
Free
Bushing for engine cover Peugeot 408-307-308
€1.16
TD5 engine cover bushing
€0.50
Cut LM10LUU to LM8LUU Bearing Adapter
Free
Reinforced meat grinder auger bushing
€1.59
Gear selector bushing W639 Viano and Vito
€5
REPAIR KIT FOR GEARSHIFT LEVER AUDI 80/100 Original
€8
Gearbox Bushing Peugeot 307
€8
Complete Audi 80/100 shift lever repair kit with improved bushing
€15
Repair kit Mercedes Vito W639 2003-2014 (32 mm)
€8
Intake Manifold Rubber bushing 1.
 9 TDI VW
€5.08
TRAILING ARM - LOWER REAR BUSHING - REAR
€5
TRAILING ARM - LOWER FRONT BUSHING - REAR
€6
CONTROL ARM - UPPER INNER BUSHING - REAR
€5
CONTROL ARM - UPPER BUSHING - FRONT REFER WEB SITE
€5
Bushings or Bearings: Which are Best for 3D Printers?
Are bearings or bushings best for 3D printers? And how can they be improved so that 3D printers can more quickly and reliably turn out parts of higher quality? Although increasing the quality and speed of 3D printers involves all the components used in them, a good place to start are the bearings and bushings that make up the linear-motion subsystems critical to 3D printers.
Bushings and Bearings and Linear Motion
In most 3D printers, the build platform (including the extruder) slides over smooth rods as it moves back and forth. The polished rods support the components and guide the extruder along a precise linear path. Bearings or bushings are used on the straight steel rods to reduce friction and smooth out the motion so that it is jerk-free.
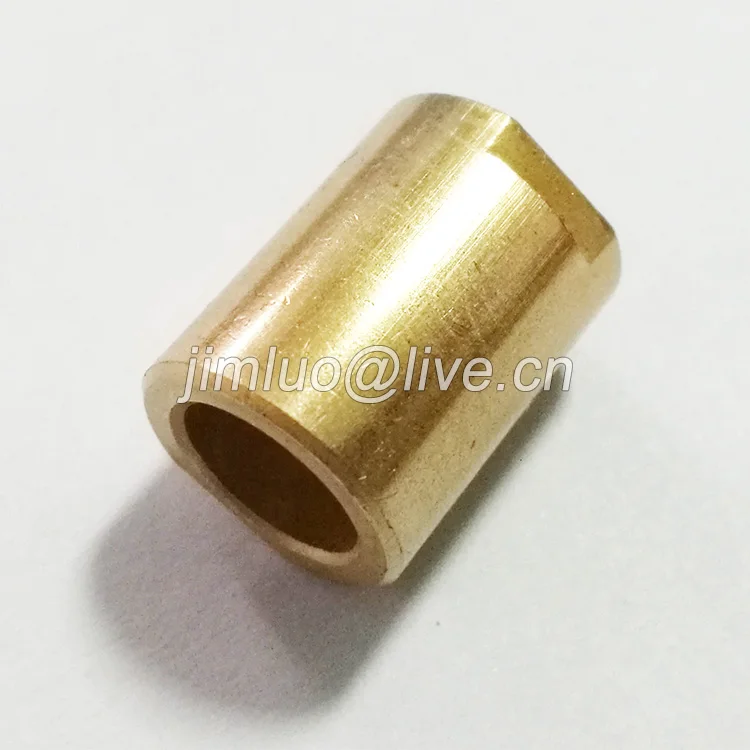
Bushings, also known as sleeve or plain bearings, are cylinders generally made of bronze, steel, or polymers. These materials reduce friction and the power needed to create linear or rotational motion, as well as to lower noise and wear. Bronze bushings are sometimes impregnated with oil so they are lube-free, or require external lubrication.
Bronze bushings tend to be less expensive than linear bearings. In addition, they can run on hardened or less expensive non-hardened shafts, so ancillary equipment can also be less expensive.
The downside of bronze bushings is that they can wear away at the shaft and sometimes need significant amounts of lubrication at regular intervals; this lubrication can form a gritty mixture that wears away at the shaft.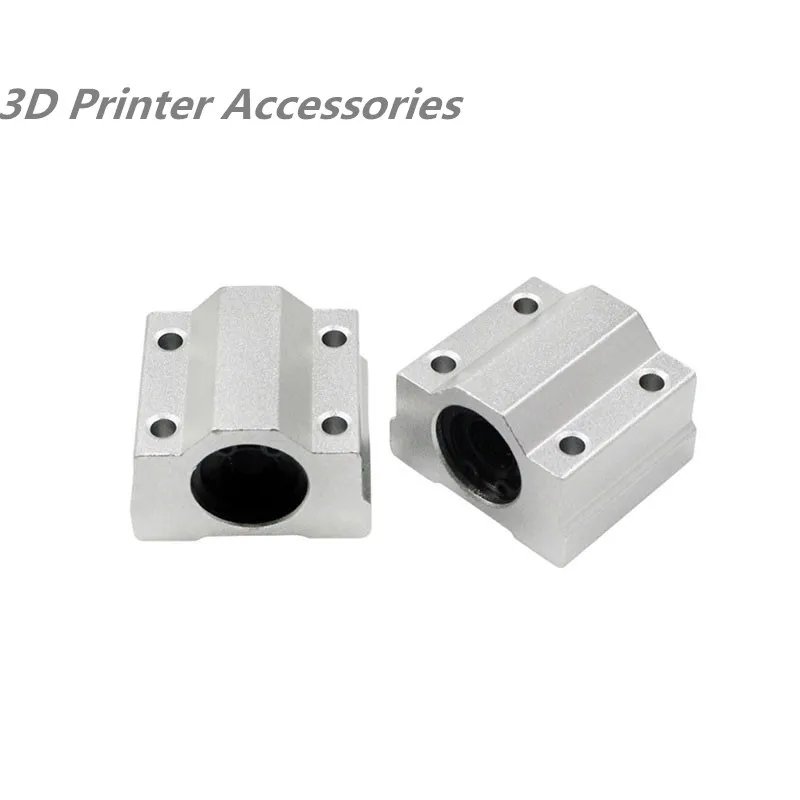 In addition, bronze bushings can have a stick-slip problem, which results in jerky motion when printing—because, as the name implies, the bushings are prone to stick on the shaft (static friction), then slip over the shaft. They can also have large tolerances because many are not made to specification, and this makes them a poor fit for 3D printers.
Vesconite Hilube bearings or bushings come in a variety of types and sizes and are well suited to providing smooth motion for 3D printer components.
Polymer bushings, another option for sleeve bearings, can be made from a range of materials. But they also suffer from slip-stick and overly large tolerances, especially if they are made from less expensive polymers or mass-produced. In addition, mass-produced polymer bearings are sometimes available in limited sizes and may not meet the needs of the 3D printer manufacturer.
High-end self-lubricating polymers will reduce the risks of slip-stick, especially when the coefficient of friction is low and the dynamic and the static coefficients of friction have similar values.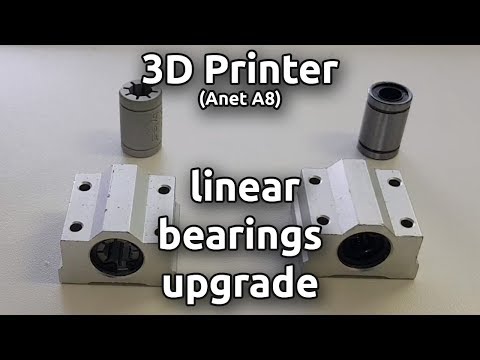 However, with more expensive polymer bushings, it may be possible to get exact tolerances and precise sizes.
Linear ball bearings are the alternatives to bronze and polymer bushings. They can be tube-like, flanged, or pillow boxes, and all have ball bearings along their inside diameter where they run on a shaft. This results in rolling motion rather than sliding.
The cost of ball bearings varies significantly, depending on quality. Durable, name-brand ball bearings can be expensive compared to bushings. In addition, they should be used with hardened shafts so that the balls do not eat into the shaft. This makes the rods the bushings runs on expensive.
In addition, some believe linear ball bearings require more maintenance and regular lubrication to retain performance. Moreover, because dirt and dust can be attracted and mixed into the lubricant (usually grease), the balls eventually run louder and even jam if the grit-becomes significant.
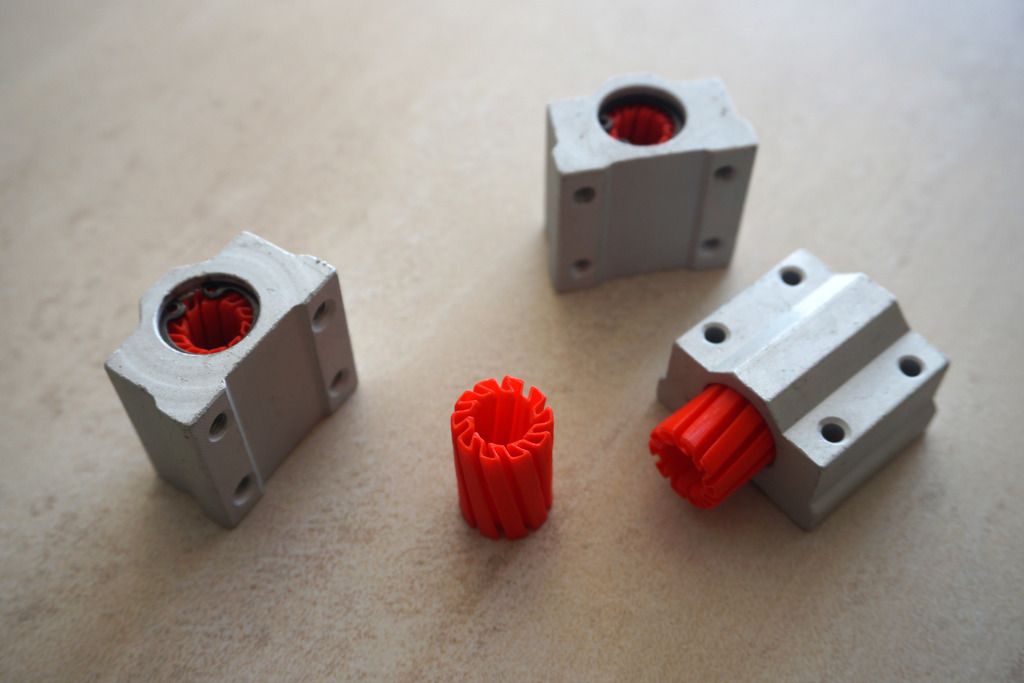
Hilube bushings (white) mounted in a 3D printer on a smooth guide rod.
3D Printers
The question of whether to use bearings or bushings seems to be more pronounced among those with RipRap printers. Those users (aka Makers), prize a high degree of innovation and many prefer to replace components or make the components themselves.
For those converting their machines or those committed to modifications, the debate as to whether to use bearings or bushings is particularly pertinent. There is always the option of including specified parts described in production catalogues. But for those who want to replace parts with similar non-OEM ones, it is wise to investigate alternative brands. If they are also swopping bearings for bushings or vice versa, the alternative of making bushings or bearings can be important.
Here’s a close-up of the Vesconite Hilube bearings used on a 3D printer.
Vesconite Hilube Bushings
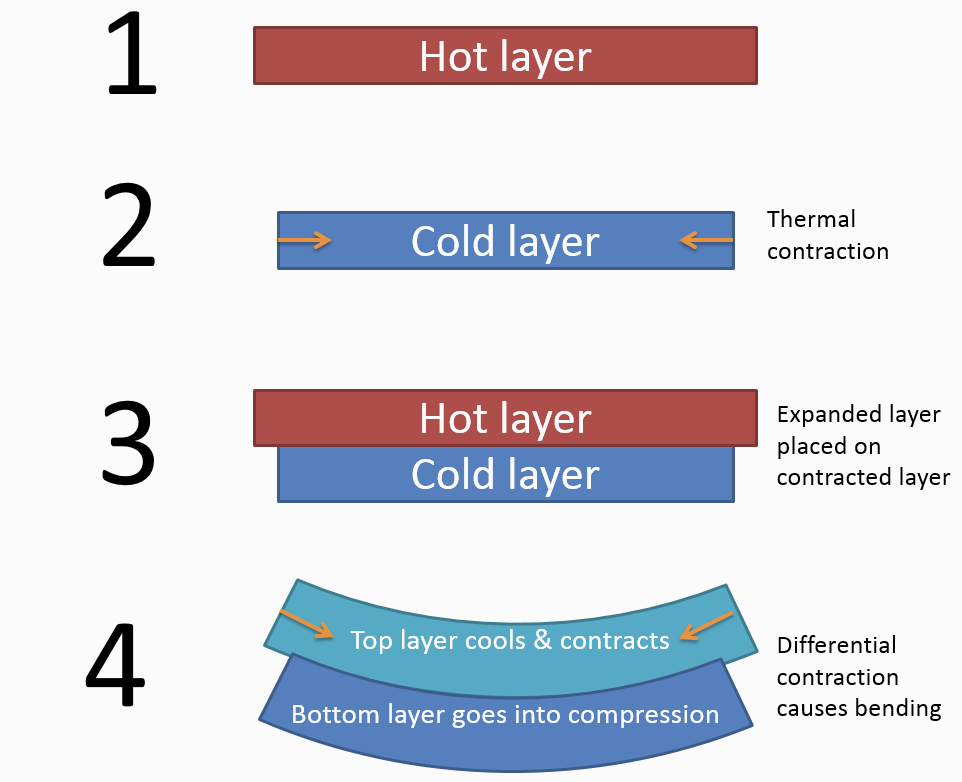
3D printer that use bushings or bearings sometimes exhibit a phenomenon called dimpling and pimpling on finished parts.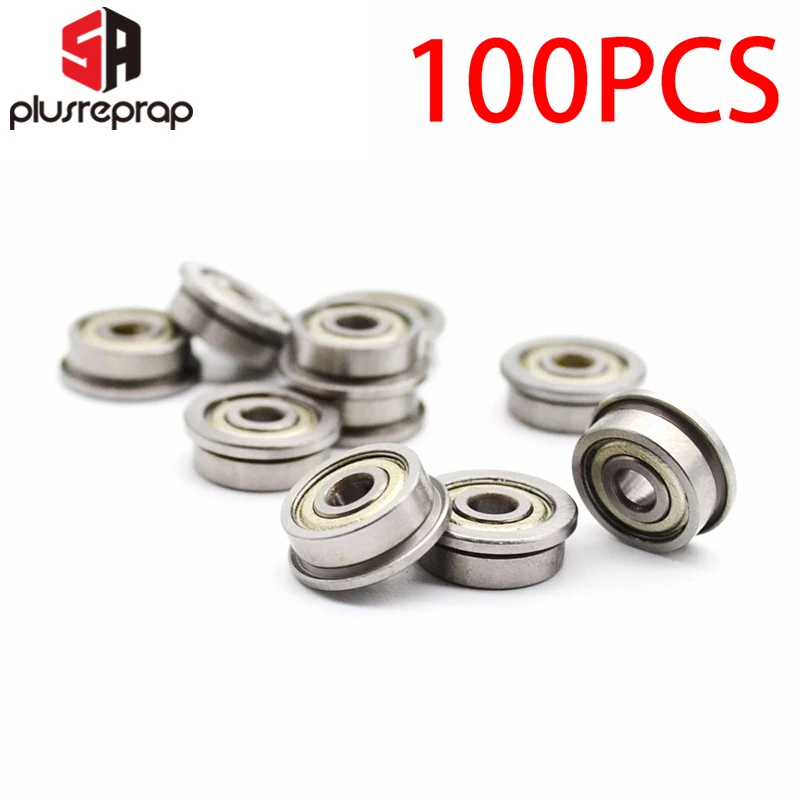 It occurs when the guide rod becomes nonuniform and is caused by the rod slightly lifting on one side and slightly tilting on the other as the extruder head moves from one side to the other. This is typically a result of wear on the rod. This phenomenon is eliminated when Vesconite Hilube bushings are used.
Vesconite Hilube is an advanced thermopolymer in the Vesconite range that is particularly well suited to operating in wet conditions, including pump and marine applications. It combines low friction and low wear, letting it perform well under difficult operating conditions.
The material is self-lubricating and requires no greasing, so bushings require little maintenance. Because there is no gritty grease that can get embedded in the rod’s mating surface, wear caused by constant movement of this contaminated mixture is eliminated. Wear caused by metal-on-metal contact also becomes a thing of the past because the hard-wearing polymer glides smoothly over the rods.
Hilube has an unlubricated coefficient of friction on steel of 0.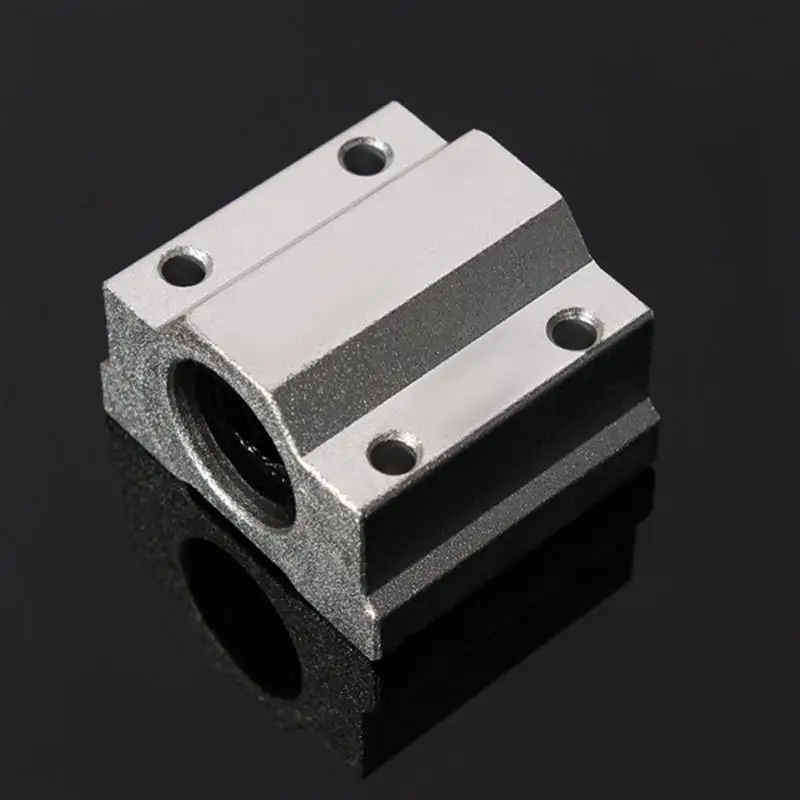 1, and can go as low as 0.08 on polished steel. This makes bushing movement along the rod particularly smooth and eliminates the problem of the jerky motion (stick slip) when the extruder on the 3D printer moves to a new location. Hilube bushings can be made to specifications with appropriate tolerances and delivered globally via distributors or by courier, which simplifies logistics. And using bushings made to specifications and tolerances has also improved the quality of 3D printed parts as bushing play can be minimized.
The Hilube bushing for 3D printers is self-lubricating, wear resistant, and has a low coefficient of friction.
Here are some case studies of successful use of Hilube bushings in 3D printers:
Norway: Norwegian innovator Kent Thoresen is using Hilube sleeve bushings in his project to build a more reliable and less-noisy 3D printer. About eight years ago, he started 3D printing various parts for other projects and became aware of some clear weaknesses in open-source 3D printer designs. So, he started redesigning and refining his own 3D printer. Friends began to request his designs, as well as friends of friends; he continued to refine his designs, eventually building more than 200 printers for his network of acquaintances.
His current printer assembly is stiff and dependable, an improvement over many of the low-cost, flimsy designs that are available. It is tough and technically solid, and does not require calibration if the plates are moved, unlike many of the less-sturdy, commercially-available designs.
“The current design has been tested for almost 4,000 hours,” says Thoresen. “I will test it for 5,000 hours and, if I am comfortable with its performance, the design will be released to the open-source community.
“After 2,500 hours, we also tested the bushings and there was no indication of wear,” he continues. The bushings, along with the other printer components, are currently undergoing their final leg of testing and, if they prove themselves, will be part of the final design.
“We want to create a printer that is cheap, dependable, and will eliminate worries about wear,” Thoresen notes. “Print jobs can take two to four days and I want to ensure that users can print continuously without having to worry about equipment failing or cost of the print time and the material used should there be a failure.”
South Africa: A company that sells South African computer components and accessories chose Vesconite Hilube bushings when the brass bushings on one of the owner’s 3D printers needed to be replaced. The owner, Deon Eksteen, has three 3D printers he uses to make components for local businesses and factories, as well as toys he sells.
When one of his printers’ bronze bushings wore out from a combination of use and the abrasive paste of lubricant and particles which formed between it and the shaft, he searched for a polymer bushing replacement for his XYZ Da Vinci 1.0A printer.
This was difficult in South Africa, where 3D printing is still establishing itself and where 3D printing stores and filament importers do not supply replacement components for that printer due to a lack of demand and support from 3D printer distributors.
Other parts, components, such as wear parts and bearing, can be made of Vesconite Hilube.
Eksteen sought in vain through an online shopping app known for supplying the latest electronics, fashion, phone accessories, computer electronics and toys, but did not find replacement brass bushings of the correct size. Approaching various brass bushings suppliers was also unsuccessful as he was asked to place orders for more than 1,000 units.
Armed with the dimensions supplied by a globally-recognized blog specializing in 3D printer conversions, Eksteen approached Vesconite Bearings and ordered 8mm-long bushings with the correct specification.
Within five days of finalizing the order and verifying that Vesconite Hilube was appropriate for his needs, a courier dropped off the bushings, which were exactly made to specification. Eksteen’s 3D printer was fitted with the bushings and, so far, has printed for 7,253 hours with no signs of wear on the bushings and the rods are still “super-smooth. ” His previous bronze bushings had a life of 2,000 hours.
He also appreciates that the new bushings run quietly, unlike printers with linear bearings that, with linear movements at 120 mm/., are extremely noisy due to friction between the ball bearings and linear rods. The wear-resistant bushings are also not as prone to the uneven wear of bronze bushings, so there is no “dimpling and pimpling” and finished parts have a quality finish.
If you have any questions Vesconite Hilube bushings, please feel free to call the company.
How I cast bushings in 3D printed form to replace Anycubic I3 Mega S table springs
Technician
With you ERMAK and... pouring silicone into a 3D printed mold.
As usual, for those who like to watch more than read, I leave a link to the video.
I recently had a desire to reinstall my printer table from springs to silicone bushings.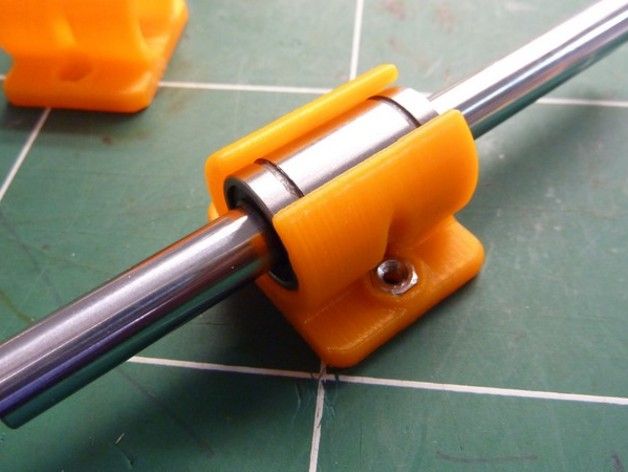
Climbed on AliExpress. Looked at these. It seems that the price is not high, around one dollar, with delivery there will be two. But the current delivery time with this coronavirus is just killing. Waiting 2-3 months to get nothing later is too much.
I decided to start by trying to cast the bushings myself. Why, in half an hour with two tea parties, I modeled such a simple form. Holes for the washer and nut will immediately spill into the sleeve.
After printing, we have such a set of parts. Two mold halves, a lid, two sets of M3 screws with washers and nuts, and a polished rod 3 mm in diameter.
In order for the silicone to not firmly stick to the mold, it must be processed. The simplest thing is to prepare an ordinary soap solution. For what I plan and fill in with water the usual laundry soap. I stir it well. And I bathe all the details in this solution. Then, without wiping, I let them dry.
Assembling the two halves of the mold with screws and nuts.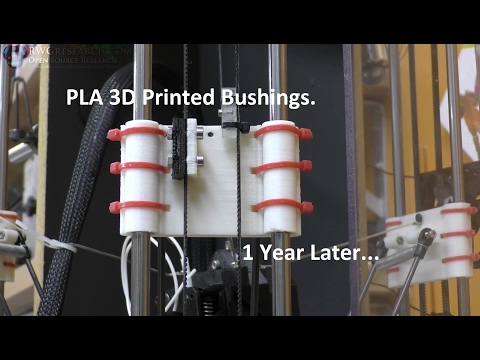 I install the polished rod into the hole from below, but do not push it all the way.
I fill the mold with red high-temperature silicone. After that, I close it with a lid and push the bar through until it comes out from the side of the lid. Thus, a hole is formed for the future fixing screw of the table and at the same time the silicone is compacted in the mold. I just squeeze the top cover with clothespins.
After a day, I remove the clothespins, and remove the rod from the mold. This gives air access to the silicone, otherwise it will take too long to dry in an airtight form.
After another day, I finally remove the resulting sleeve from the mold.
In total, it took me 8 days to make four bushings, taking into account the presence of only one mold. As for the costs, I don't even know how to calculate them.
A couple of tens of grams of plastic, an hour of printing and a tube of silicone for $ 2 of which a maximum fiftieth was used.
And now the moment of truth, I install bushings instead of springs.
Personally, I was satisfied with both the result and the experience gained, and you write in the comments whether it is worth it and what other application you see for this method of silicone molding.
Thank you all for watching, bye everyone!!!
casting silicone sleeve the form matrix ERmak
Follow author
Follow
Don't want
29
More interesting articles
eight
Subscribe to the author
Subscribe
Don't want
Hi all!
My first post, so please save your slippers)
Zaden.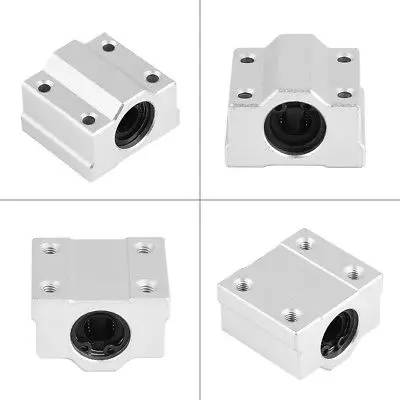 ..
..
Read more
one
Follow author
Subscribe
Don't want
It's no secret that the factory engine brackets are made of 3 mm thick aluminum sheet,...
Read more
AKDZG
Loading
14.02.2015
846103
363
Subscribe author
Subscribe
Don't want
Many 3D printers run the popular Marlin firmware. Firmware initially config...
Read more
3D Printer Threads and Thread Inserts for Plastic
At Formlabs we design various functional parts to be printed on our stereolithography (SLA) 3D printers such as the Form 3. Among these parts are the prototypes used for our in-house research and development, clamps and fixtures to be used on our production lines, models for design verification prior to casting the final product in the appropriate material such as nylon.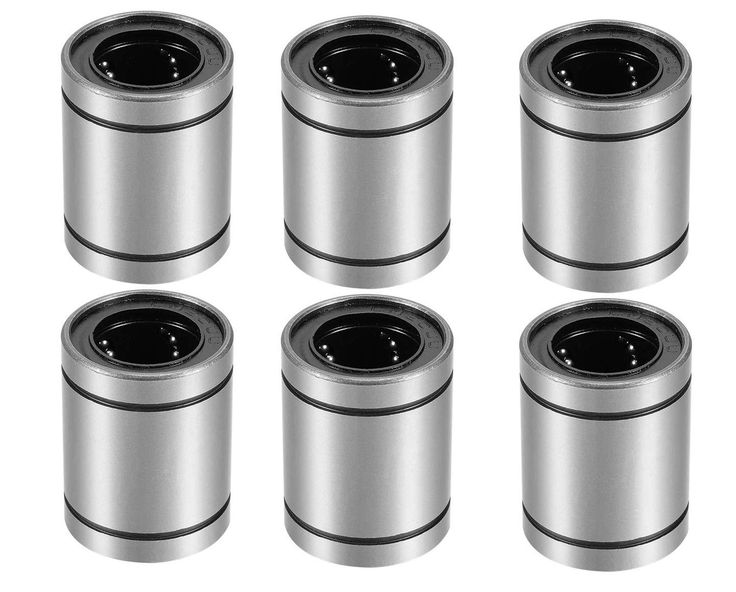
Regardless of the application, we often need to connect 3D printed components with screws and threaded fasteners. As the catalog of versatile and reliable engineering polymers grows, the differences between "imitation" prototypes and functional prototypes diminish.
This article is a guide to threading and threading 3D parts with a 3D printer. There are many ways to connect multiple 3D printed parts together, but if you need the ability to repeatedly connect and disconnect components and secure mechanical fastening, there is no real substitute for metal screws.
Do you like to see everything with your own eyes? Watch a video about 3D printing threaded connections and threaded inserts for 3D plastic parts.
White Paper
Download our white paper on stereolithography to find out how SLA printing works, why thousands of professionals use it today, and how this 3D printing technology can be useful in your work.
Download white paper
Let's take a look at some of the threading options for 3D parts we've put together based on years of Formlabs experience and your suggestions. We've ranked these options, starting with the one we think is the best, with the pros and cons of each option for different use cases.
Experience Formlabs print quality firsthand. We will send a free 3D printing sample directly to your office.
Request a free sample
Benefits: Strongly connects 3D printed parts without the use of glue. The metal threads are durable and reusable.
Disadvantages: Inserts may loosen with increasing temperature.
3D print a sleeve blank with a depth and diameter that matches the insert specifications. Rinse with isopropyl alcohol (IPA) and allow to dry without final polymerization. Insert the insert into the sleeve with a screwdriver and use the screw to secure it completely into the plastic. Then finish curing the part to reduce the creep effect and fix the insert in the plastic even better. Performing this step last reduces the chance that the insert will break the sleeve when screwed in.
Benefits: Connects 3D printed parts very securely. The metal threads are durable and reusable.
Cons: Requires glue (don't try to use a soldering iron!).
Threaded inserts with heat setting are designed for installation in thermoplastics using a soldering iron with a soldering tip. They can be used in acrylic models and Fused Deposition Models (FDM), but cannot be installed in SLA photopolymer parts, which bend but do not melt when heated.
Check out our detailed guide comparing FDM vs. SLA 3D printers to see how they differ in terms of print quality, materials, application, workflow, speed, cost, and more.
However, the notches and ridges on the heat set inserts make them a very effective thread fastener if you bond them with a two part epoxy or cyanoacrylate adhesive. Determine the bushing size by the largest diameter of the insert and apply some adhesive before installation.
For best results, the part must be completely dry and cured.
Benefits: Nuts are easy to match to any required screw size.
Drawbacks: Side nut slots can eliminate the need for glue, but can make it harder to support the model during printing.
The addition of a hexagon socket on the nut press-fit end creates a reusable strong metal-to-metal connection. To increase the twisting force, you can choose a square nut. This nut can also be plastic or have blocking elements. If necessary, a drop of cyanoacrylate glue will help hold the nut in place, but if the design includes a side socket, there is no need for glue. Use a 0.1 mm offset around the press-in nut and clearance around the screw itself.
Benefits: Prototyping uses the same metal products as mass-produced injection molded parts. Sleeve blanks made from Tough (and Durable) polymer are unlikely to crack if you follow the screw manufacturer's sleeve design guidelines.
Disadvantages: The screws will hold tight, but the threads will not be as resistant to repeated use as metal threads. Standard resins can be used, but the bushing is more likely to crack.
Follow manufacturer's recommendations for core sizes and print with high impact engineering resins (such as our Tough Resin and Durable Resin). Before using the screws, complete the final curing. If you are prototyping an injection molded part that will use tapping or tapping screws in its final assembly, this is a good option for testing.
Benefits: No need to buy special plastic screws.
Disadvantages: The screws will hold tight, but the threads will not be as resistant to repeated use as metal threads.
We have tested screws in our Tough Resin product and found that their use is identical to that of threading screws designed for plastics. The size of the hole diameter of the threaded bushing must be in the range between the main (threaded) diameter of the screw and the inner diameter. The screw shown is a #8 screw in a 0.16" diameter hole.
Benefits: Can be used for prototyping large and custom threaded designs.
Disadvantages: Not a durable or reusable fastening solution, especially for smaller thread sizes.
3D printed threads from standard resins are better than Tough Resins because they are much harder. 3D printed threads remain relatively brittle, depending on the size of the thread, and are not recommended if the fastening system is to be used continuously and repeatedly.
Thread sizes ¼-20 or larger are generally functional without the need for post-processing. For smaller screws, the threads must be modified to provide better fastening. For example, printing a round thread profile (on a screw and a nut) and using a 0.1mm offset results in a better thread fit and improved wear characteristics. For all screw sizes, it is best to orient the parts so that the supporting structures do not touch the threads.