Windex 3d printing
How to Clean a Glass 3D Printer Bed – Ender 3 & More – 3D Printerly
Cleaning a 3D printer surface seems like such a simple task but it can be a little tougher than it seems. I’ve had trouble cleaning glass surfaces myself and searched high and low for the best solutions to do it properly, which I’ll be sharing in this post.
How do you clean a glass 3D printer bed? The best way to clean a glass bed is to slightly heat it then apply a cleaning solution, whether it be warm soapy water, window cleaner or acetone to your printer bed, leave it to work for a minute then cleaning with a paper towel or scraping it with a tool. A second wipe down is a good measure to take.
A common occurrence with 3D printer beds is having filament residue left over after removing a print. The worst part about it is how thin and strongly stuck down this residue is, making it very difficult to remove.
You should remove it because it can affect the quality of future prints. Residue can mix up with new filament preventing adhesion in places, thus potentially ruining your next print.
So keep reading for some great solutions to cleaning your 3D printer bed whether it’s adhesive residue or material left over from a previous print.
If you are interested in seeing some of the best tools and accessories for your 3D printers, you can find them easily by clicking here (Amazon).
How to Clean Your Ender 3 Bed
The simplest method of cleaning your Ender 3 bed is to use a scraper of some sort to remove the residue from a previous print or from an adhesive that you have used.
This usually works by itself with enough force, but definitely be careful where you put your hands because you don’t want to accidentally push the scraper into your fingers!
A good practice is to use one hand on the scraper handle and the other hand pushing down in the middle of the scraper to apply more force downwards.
With enough force and technique most beds can be cleaned to a good standard. Most 3D printers come with a scraper so this is a convenient fix.
One of the better scrapers out there is the Reptor Print Removal Kit which comes with a premium knife and spatula set. These tools slide comfortably underneath prints so your bed surface is protected and works well with all sizes.
It has a smooth ergonomic grip and it made of hardened stainless steel to do the job every time.
You want to remember to avoid using massive amounts of pressure and force on your printer’s bed because over time it can lead to unnecessary damage and scratches on the surface.
If this manual scraper method isn’t enough, you want to figure out the best cleaning solution for what material or residue is left over.
Some cleaning solutions work pretty well against most materials such as Isopropyl Alcohol (Amazon) which is 75% alcohol or Sterile Alcohol Prep Pads with 70% alcohol.
A lot of 3D printer users have gone for the sponge and warm water with soap method and this works pretty well for them.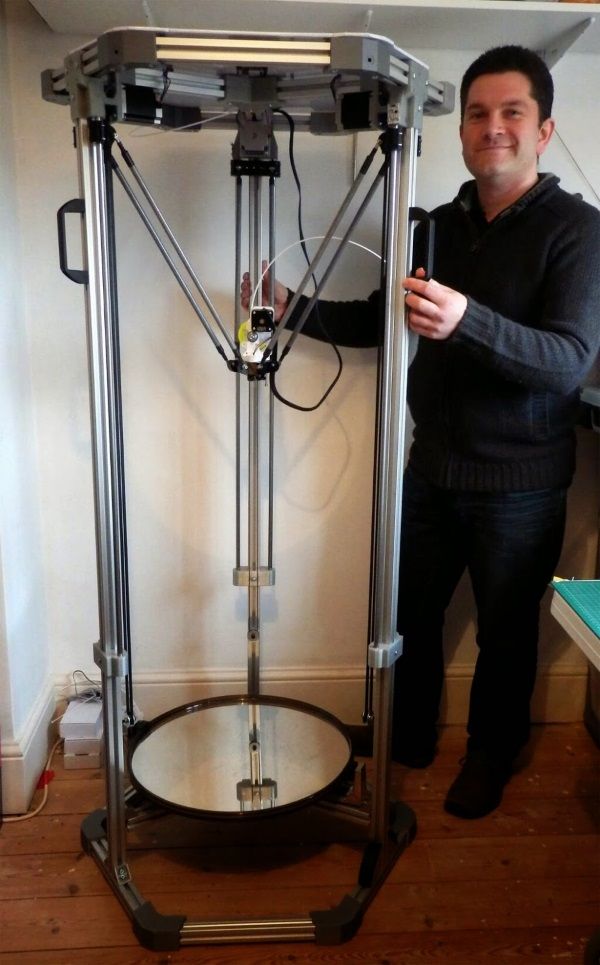 I’ve tried it a few times and I can say it’s a good solution.
You don’t want your sponge to be dripping because there are many electrical parts which can be damaged like the heating unit or the power supply.
Get some of the soapy water mix and gently rub it on the residue with your sponge or a paper towel until it softens and is removed. It can take some effort to get it to work.
This problem usually arises when residue is left overtime and builds up, some printers can be worse than others. A good practice when removing residue is to heat your bed up so the material is in it’s softened form.
It will allow you to clean off the residue a lot easier than it being hardened and cold which is why warm water works so well.
So to summarize:
- Use a Scraper and some force to remove residue
- Apply a cleaning solution of warm soapy water, isopropyl alcohol, window cleaner or other
- Let it sit and work to breakdown the material
- Use the scraper again and it should work just fine
Getting Rid of Glue on a Glass Bed/Build Plate
Many 3D printer users use 3D Printer Original Adhesive and apply a thin layer of this to their print bed to help objects stick to the bed and reduce warping.
People simply apply some glue to the general area where their print will be layered down. After the print is finished, you’ll find that there is glue residue on the glass or printing surface which has to be cleaned before starting another print.
It’s a good idea to remove the glass plate for thorough cleaning and use a reputable glass cleaning solution or window cleaner to get through the residue.
Rather than just using water, these cleaning solutions actually break down and tackle the residue, allowing for easy and simple cleaning.
- The first step is making sure your hands are washed, clean and dry before getting started.

- Now you want to simply use a dry cloth or normal paper towels to wipe down the glass.
- Take one paper towel sheet and fold it twice into a thicker, smaller square.
- Apply your cleaning solution directly on the glass bed, a few sprays should be enough (2-3 sprays).
- Let the solution sit on the glass bed for a minute to let it work and slowly break down the residue.
- Now take your folded paper towel and wipe the surface of the glass thoroughly, with medium pressure so all the residue is removed from the surface.
- After the first wipe down, you can add a few more sprays and a second wipe down to properly clean the surface.
- Remember to wipe down all around the surface including the edges.
Once you’ve properly cleaned your surface, there should be a clean, shiny surface with no residue left over.
Use your hands to feel over the glass bed to make sure it’s clear.
Now you just want to make sure your 3D printer bed surface is clean and level before placing the glass bed back onto your printer.
Cleaning PLA off a Glass Bed
PLA has got to be the most popular material used in 3D printing, which I can definitely agree with myself. The methods I’ve described above should do a great job cleaning PLA off a glass bed. This won’t be much different to the information above.
If the piece stuck down on your glass bed is the same color as your next print, some people will just print over it and remove it with the next object in one go.
This can work if your first layer adhesion isn’t too negatively affected so the print can form a solid foundation and actually finish.
My usual solution for cleaning the glass bed on my printer is a glass scraper (basically just a razor blade with a handle on it):
Cleaning ABS off a Glass Bed
ABS can be cleaned quite well by using acetone because it does a good job breaking down and dissolving it. Once you’ve applied acetone to your bed, leave it for a minute then wipe the residue off with a paper towel or clean cloth. You shouldn’t need to heat up your bed or use much force here.
If you aren’t already using a glass printer bed check out the links below and the reviews as to why they are so good. They do the job you need it to do with ease, at a competitive price and gives a lovely finish on the bottom of your prints.
Borosilicate glass for the following printers (Amazon links):
- Creality CR-10, CR-10S, CRX, Ultimaker S3, Tevo Tornado – 310 x 310 x 3mm (thickness)
- Creality Ender 3/X,Ender 3 Pro, Ender 5, CR- 20, CR-20 Pro, Geeetech A10 – 235 x 235 x 4mm
- Monoprice Select Mini V1, V2 – 130 x 160 x 3mm
- Prusa i3 MK2, MK3, Anet A8 – 220 x 220 x 4mm
- Monoprice Mini Delta – 120mm round x 3mm
If you love great quality 3D prints, you’ll love the AMX3d Pro Grade 3D Printer Tool Kit from Amazon. It is a staple set of 3D printing tools that gives you everything you need to remove, clean & finish your 3D prints.
It gives you the ability to:
- Easily clean your 3D prints – 25-piece kit with 13 knife blades and 3 handles, long tweezers, needle nose pliers, and glue stick.

- Simply remove 3D prints – stop damaging your 3D prints by using one of the 3 specialized removal tools
- Perfectly finish your 3D prints – the 3-piece, 6-tool precision scraper/pick/knife blade combo can get into small crevices to get a great finish
- Become a 3D printing pro!
How to clean 3D printer beds: Glass, PEI, adhesive
In the world of FDM 3D printing, the first layer of printing is often the most important. Poor first-layer adhesion, which can be caused by incorrect calibration, too-fast print speeds, or a badly prepared build surface, is the cause of many failed prints.
One of the best ways to prevent bed adhesion problems is to maintain a clean build surface. By taking good care of the surface, the extruded thermoplastic has a better chance of sticking to it, and the odds of print failure are significantly reduced.
However, it’s not always clear how to clean a 3D printer bed or its build surface. Different print surfaces are made from different materials, which react in different ways to certain cleaning solutions. This article goes over the basics of cleaning your 3D print bed, looking at the supplies you’ll need and the different methods you can use.
An FDM 3D printer is made of many parts, but the (literal) foundation of a good print is the print bed.
Usually made of glass or aluminum, the print bed is a solid, flat surface upon which the printed part gets made. In Cartesian-style printers, these beds are square or rectangular, while on Delta-style printers they are circular. Sometimes called a build plate, the print bed can be heated or unheated: a heated bed helps improve first-layer adhesion and makes it easier to remove the finished print.[1]
A clean bed results in better first-layer adhesion
Somewhat confusingly, not all FDM users use their built-in print bed as their build surface. The build surface is whatever substrate the nozzle deposits the first layer of plastic onto; it can be the print bed itself, or it can be something else like a removable glass plate, a rigid plastic sheet, or strips of masking tape. Furthermore, printer users often treat their build surface with additives like glue stick or hairspray to improve adhesion.
When we talk about 3D printer bed cleaning, we may be talking about cleaning the print bed or cleaning the build surface — or both! Cleaning the build surface is important because a dirty surface with filament buildup can negatively affect adhesion and lead to failed prints. But it is also important to clean the print bed even if it is not used as the build surface, as it will ensure a longer lifespan and better adhesion to removable surfaces like tape and BuildTak.
Isopropyl alcohol
Isopropyl alcohol (IPA) is a colorless chemical compound that is often found in antiseptics, detergents, and disinfectants. It is sometimes called “rubbing alcohol” due to its former use as a topical preparation for massages.
FDM users can use IPA (containing 70–90% alcohol) as a cleaning product on print surfaces like glass and PEI. The chemical substance is strong enough to remove grease and residue but is unlikely to damage these surfaces.
Acetone
Another compound used to clean 3D printer beds and build surfaces is acetone, which is found in products like nail varnish remover and paint thinner. The solvent is also used as a smoothing agent for ABS prints, as it is able to dissolve the plastic (though it won’t cut through PLA).
Acetone can be used to clean glass beds, working well against dirt, grease, and some types of plastic filament residue. It may also be used to clean PEI and other surfaces, though it can damage a plastic surface if used too frequently.
Window cleaner
Window cleaner can be used to clean a glass build surface
Spray-bottle window cleaners typically contain a form of alcohol such as ethanol or isopropanol, in addition to other grease-dissolving agents. They may also contain additives such as perfumes, though products with fewer additives are better for print bed cleaning.
Window cleaning sprays are formulated for the cleaning of glass and can therefore work well for cleaning glass print beds and surfaces.
Soap
Ordinary dishwashing soap mixed with warm water is a cheap and effective solution for cleaning print surfaces of various kinds. Unscented products with minimal additives work best.
Equipment
In addition to chemical substances, a few pieces of equipment are needed to clean a printing surface. It is useful to have the following on hand:
Scraper: A flat-blade scraper is used to remove residue without damaging the print bed or build surface
Sandpaper: More abrasive than a scraper or cloth, sandpaper can help maintain an even surface
Cloth: A soft microfiber cloth can be used to apply various substances to the print bed or build surface
Paper towels: Paper towels are suitable for applying mild cleaning agents like soapy water and window cleaner
Glass
Glass is one of the most popular and effective build surfaces, since it distributes heat evenly and is relatively easy to clean. Some printers have glass print beds, while some users affix a removable glass sheet (usually borosilicate glass) to a metal print bed.
While glass provides a flat printing surface, its smoothness can actually prevent good first-layer adhesion. Because of this, users often apply glue or another adhesive to the glass surface before printing. This naturally creates a buildup of residue, which should be cleaned between prints.
How to clean glass 3D printing beds:
If possible, remove the glass plate from the print bed to avoid getting cleaning solution in the printer’s mechanical parts.
Scrape away any large pieces of glue or filament residue with a dry scraper, applying firm and even pressure.
Use a cleaning cloth soaked with warm soapy water to clean grease and other residue from the glass about once a month or when required (but only if the surface can be removed from the printer).
 Alternatively, use window cleaner.
While wearing protective gloves, soak a cloth with a small amount of IPA and wipe the surface before each print.
Avoid getting fingerprints on the glass where possible.
PEI
Polyetherimide (PEI) is a chemically stable thermoplastic that is used as a printing surface due to its good material characteristics such as heat resistance. Low-cost PEI sheets can be attached to a build plate and last many print cycles.
An advantage of using a PEI sheet over glass is its superior adhesion, particularly with materials like ABS. Typically, no extra adhesive like glue is used on the surface, which reduces buildup of residue. However, regular cleaning is required to maintain good adhesion.
How to clean PEI 3D printing beds:
If possible, remove the PEI surface from the print bed to avoid getting cleaning solution in the printer’s mechanical parts.
Soak a dry cloth in IPA and wipe the PEI bed surface to remove gunk and residue. Repeat this procedure between prints. Alternatively, use dish soap and warm water.
Apply acetone with a cloth around once a month to smooth down and further clean the plastic surface.
If the surface is scratched, use a fine-grit sandpaper to smooth it down. If the imperfections are too severe to be fixed, replace the PEI sheet.
Avoid getting fingerprints on the PEI where possible.
Adhesive tape
Blue painter’s tape — a kind of masking tape — and NASA-developed Kapton tape are common build surfaces for FDM 3D printers that do not have heated beds.[2] (A heated bed could melt the glue on the adhesive side of the tape.) Despite the improvised look of a taped print bed, the material works well and can easily be replaced.
The obvious disadvantage of using adhesive tape is that there will be small seams between each strip, which can leave a visible line on the base of a print. However, this problem can be mitigated to some extent by using thicker tape. Furthermore, the cleaning process for tape is trickier than with solid surfaces like glass, as tape cannot be treated with solvents or other wet cleaning solutions.
Blue painter's tape should be scraped clean and replaced when worn
How to clean adhesive tape 3D printing beds:
Use a dry scraper to remove residue and leftover filament.
Replace damaged sections of tape. If possible, try to keep the surface level and even to avoid issues with future prints.
Avoid getting fingerprints on the tape where possible.
Replace the entire tape bed when it is visibly worn, torn, or uneven. Clean the bed underneath with IPA or acetone to remove glue residue before applying the new layer.
BuildTak
One of the most popular branded printing surfaces is BuildTak, a low-cost, heat-resistant adhesive sheet that is easy to clean and replace. Although its material is not disclosed, users suggest it may be a mixture of PEI and glass.
How to clean BuildTak 3D printing beds:
Soak a dry cloth in IPA and wipe the BuildTak surface to remove gunk and residue. Repeat this procedure between prints.
Try using warm water if the IPA is unsuccessful.[3]
Avoid getting fingerprints on the BuildTak surface where possible.
Replace the BuildTak surface when it is worn and parts no longer adhere to the bed.
There are many print bed surfaces to choose from, and different surfaces suit different print jobs. ABS filament works best on surfaces like PEI sheet or BuildTak, but struggles when printed onto a very smooth surface like glass. PLA offers more options, working well on a heated bed with a glass surface.
Whatever surface you choose for your 3D print bed, cleaning and maintenance is vitally important — both for the longevity of the surface and for ensuring good first-layer adhesion that will prevent failed prints.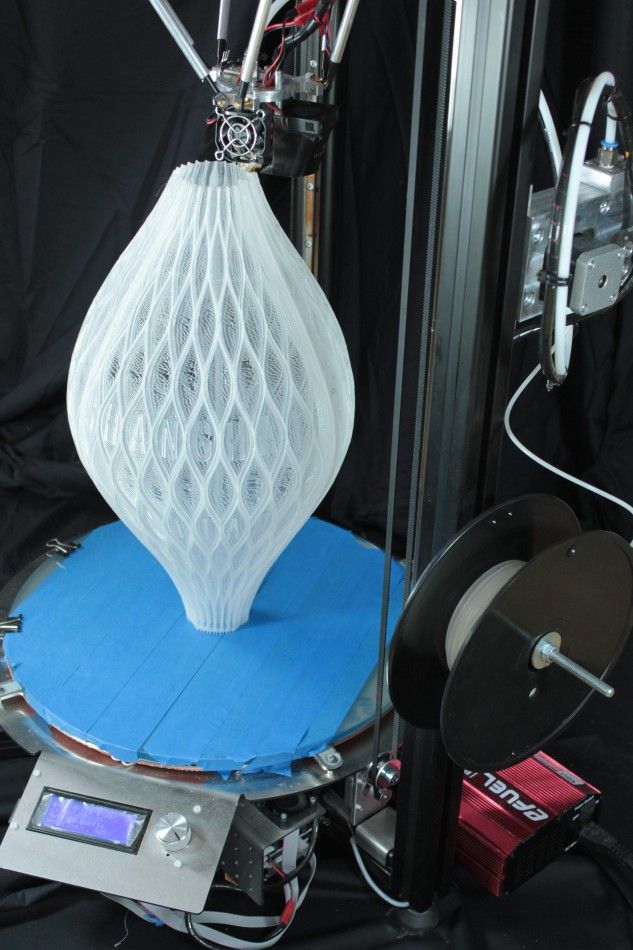
To get the most out of your FDM printer, always have a selection of cleaning supplies on hand, always wipe down hard print surfaces between prints, and carry out a thorough deep clean every few weeks or months.
[1] Nazan MA, Ramli FR, Alkahari MR, Abdullah MA, Sudin MN. An exploration of polymer adhesion on 3D printer bed. InIOP Conference Series: Materials Science and Engineering 2017 Jun 1 (Vol. 210, No. 1, p. 012062). IOP Publishing.
[2] Teliskova M, Torek J, Cmorej T, Kocisko M, Petrus J. Adjustments of RepRap type printer workbench. In2017 4th International Conference on Industrial Engineering and Applications (ICIEA) 2017 Apr 21 (pp. 15-19). IEEE.
[3] How to Clean a 3D Printer BuildTak Surface on the E2 [Internet]. Raise3D Academy. 2021 [cited 2022Mar8]. Available from: https://www.raise3d.com/academy/how-to-clean-a-3d-printer-buildtak-surface-on-the-e2/
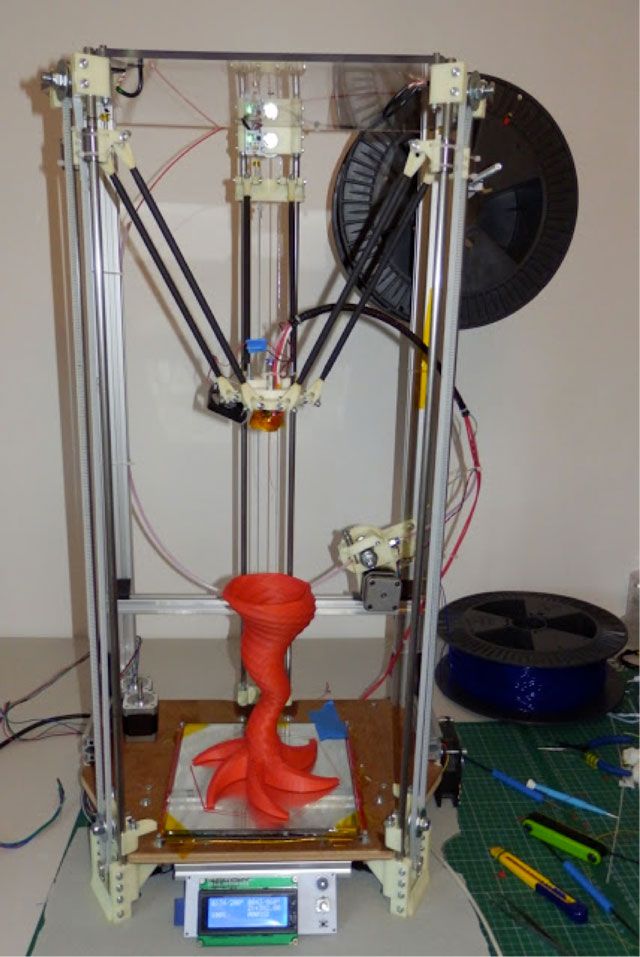
High Temperature 3D Printing to the Masses / Sudo Null IT News
There is an impressive variety of thermoplastics that can be printed on consumer grade desktop 3D printers. But, despite this, most often users turn to polylactide (PLA) threads. This is not only the cheapest of materials, but also the easiest to work with. Its extrusion can already be carried out at a temperature of 180 °C, and good results can be obtained even without preheating the table. The disadvantage of PLA-printed objects is that they are relatively brittle and do not tolerate high temperatures well. For prototyping or printing low-stress components, PLA is great. However, many users quickly go beyond its capabilities.
Polyethylene terephthalate (PETG) is usually the next step. It is not much harder to work with compared to PLA, while it is more reliable and can withstand higher temperatures. In general, it is better suited for creating mechanically loaded parts. But if you need to make even stronger and more heat resistant parts, you can switch to acrylonitrile butadiene styrene (ABS), polycarbonate (PC) or nylon. And this is where the problems begin. These materials are extruded at temperatures over 250°C and closed chambers are recommended for best results. These printers are at the top of the budget range that hobbyists are willing to work with.
Industrial 3D printers like this one, the Apium P220, start at around $30,000. (PAEK, PEEK, PEKK). Components made from these plastics are suitable for aerospace applications as they can replace metal while remaining much lighter.
Such plastics need to be extruded at temperatures of around 400°C, and a sealed chamber is required for operation, the temperature in which constantly exceeds 100°C. The cheapest printers of this kind cost tens of thousands of dollars, and some models even cost six figures.
Naturally, not so long ago, the same could be said about all 3D printers. Once used only by well-equipped research labs, these machines now sit on the workbenches of hackers and hobbyists the world over. It is difficult to predict whether the same price-cutting race will start for high-temperature 3D printers, but the first steps to democratize the technology have already been made.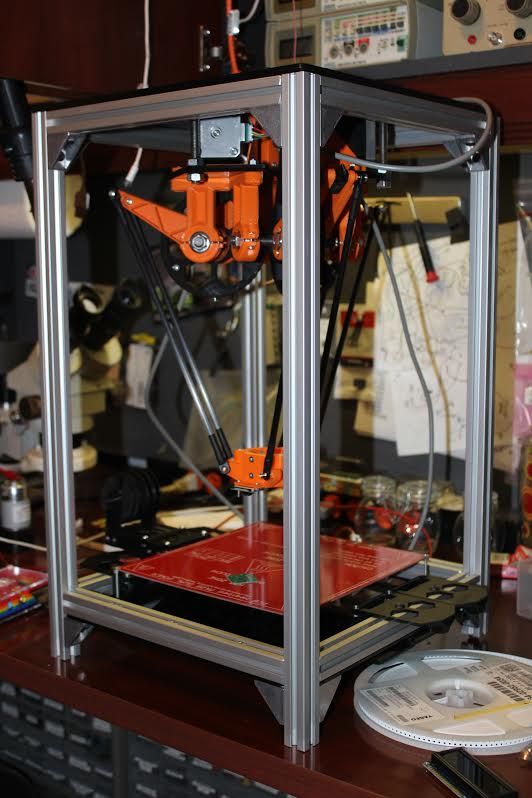
Engineering difficulties
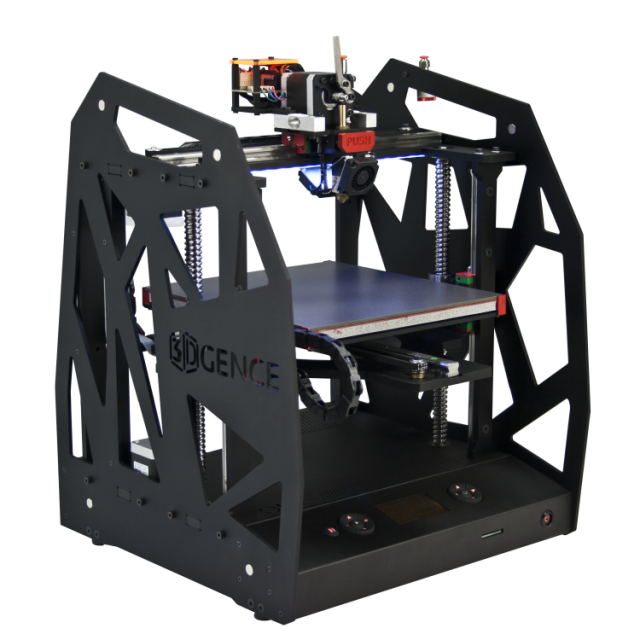
Simply put, a machine that supports these so-called. "engineering plastics", you need to be a hybrid of a 3D printer and a stove. This, of course, is the main problem. The printer itself - of the type and quality we are accustomed to seeing on our desks - will not survive in such conditions. In order for a consumer printer to produce PEI and PEEK plastic parts, it needs to be seriously redesigned. This is exactly what NASA did with the LulzBot TAZ 4 in 2016.
LulzBot TAZ 4 redesigned to support high temperature printing
The first step was to design an insulated housing to fit the TAZ 4 and install a set of 35W infrared lamps for heating. Under such conditions, the printer's electronics would naturally overheat - so it had to be taken outside.
Stepper motors would also overheat. But instead of taking them out, the team at the Langley Research Center decided to build cooling shrouds on each of the motors through which the compressed air must circulate.
Like many desktop 3D printers, the TAZ 4 uses several printed components. Since they are ABS, they would quickly break down in a chamber designed to support PEEK. They were printed from PC, but even this material was not resistant enough for permanent use. In classic RepRap tradition, the team printed the last, third set of components on their most modified printer, in PEI plastic, commercially named Ultem.
Surprisingly, the team had no trouble changing the printer's nozzle to one that could extrude plastic at 400°C. The popular E3D-v6 extruder costs less than $100 and has been shown to be able to maintain this temperature. True, the team had to replace the thermistor with a better one, as well as edit the Marlin firmware so that it allowed it to reach high temperatures. For conventional printers, too high a temperature should cause an emergency shutdown.
Printing results from Ultem 1010 plastic on a redesigned LulzBot TAZ 4.
In the end, the NASA report indicated that the redesign of the LulzBot TAZ 4 was a complete success.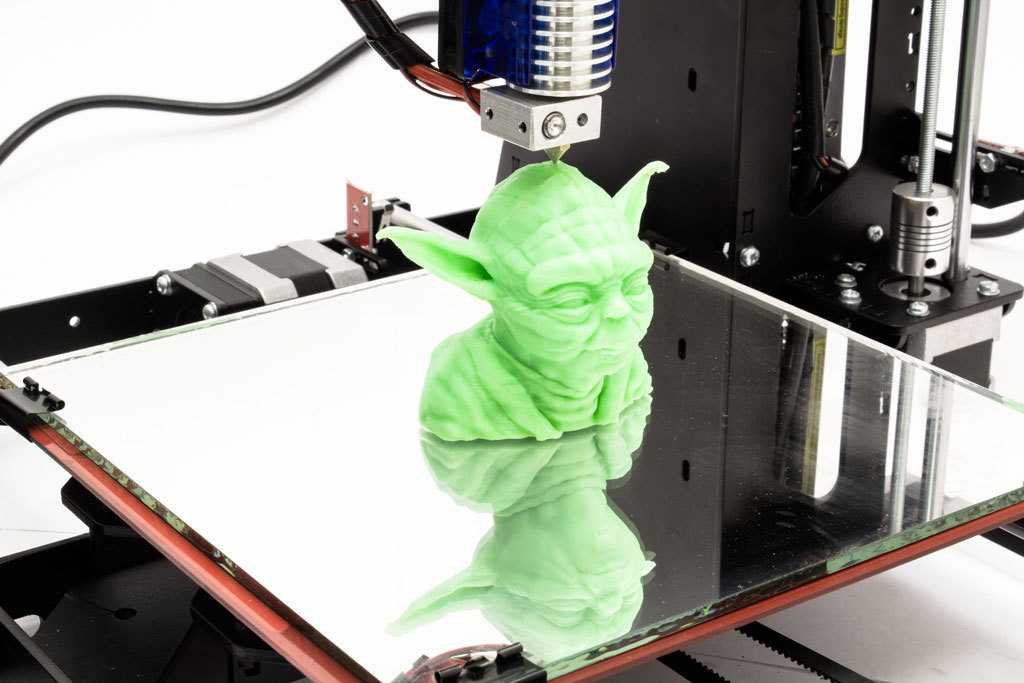 They noted that an attempt to print PEI with infrared lamps turned off ended in failure - delamination and distortion of the model, which was to be expected. They did not specify the cost of the conversion, but given that at that time the TAZ 4 cost $2200, the entire project could cost 10 times cheaper than similar commercial proposals.
Starting from zero
A NASA experiment has shown that an existing desktop 3D printer can be converted to print with high-temperature engineering plastics, and quite inexpensively. But hardly anyone believes that this approach is the ideal solution. There are too many repetitive operations involved here, and NASA engineers had to abandon some of the decisions made by the LulzBot developers. Still, the experiment provided a valuable baseline for other projects built from scratch.
In September 2020, a team from Michigan Technological University demonstrated the Cerberus, an open-source, high-temperature 3D printer capable of creating items from PEI and PEKK, that costs as little as $1,000 to build.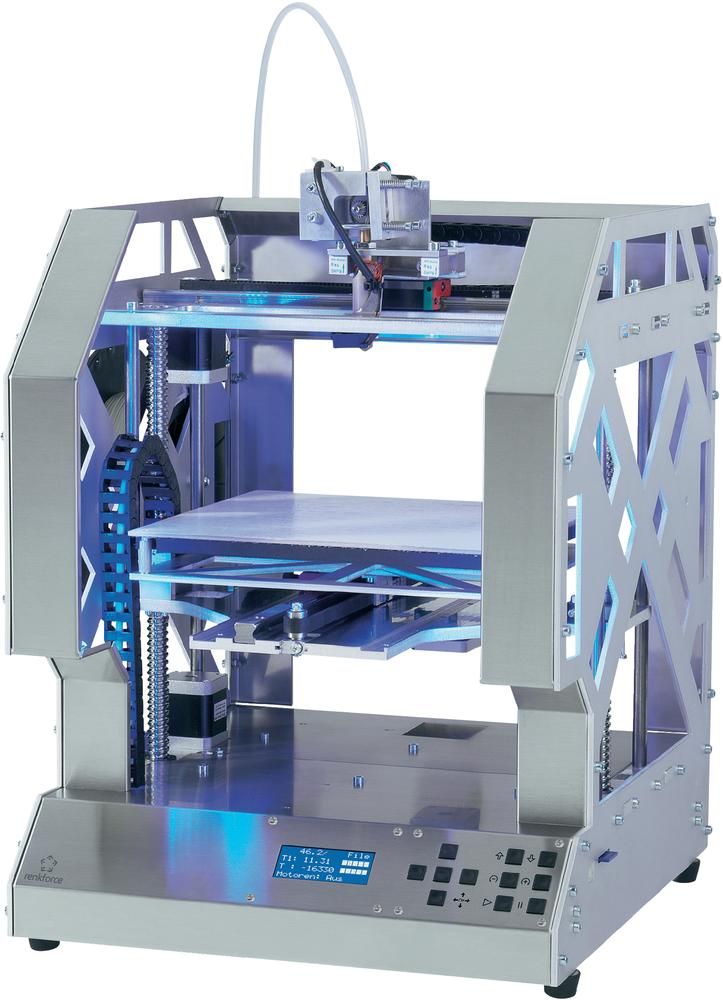 Without trying to adapt existing designs, the team started development from scratch, aiming for high temperature printing. All electronics are housed separately from the sealed chamber, which uses a kilowatt heating element to quickly raise the temperature in the chamber to operating temperature.
All stepper motors are also outside the chamber. Because of this, the kinematics become more complex than in desktop 3D printers, but Cerberus no longer requires a special motor cooling system.
Building a Cerberus is quite affordable for the aspiring hobbyist. It has a simplified circuit, ready-made control electronics based on the Arduino Mega 2560 and RAMPS 1.4, and the same E3D-v6 extruder as the TAZ 4. In addition, the team posted clear and detailed instructions for assembling the printer - this is not in the NASA report. meet.
Expanding possibilities
Whether it's NASA's redesign of the TAZ 4, or the new Cerberus-type circuits, it's clear that the technical capabilities of PEI and PEEK printing in the home workshop are already available for those who really need them.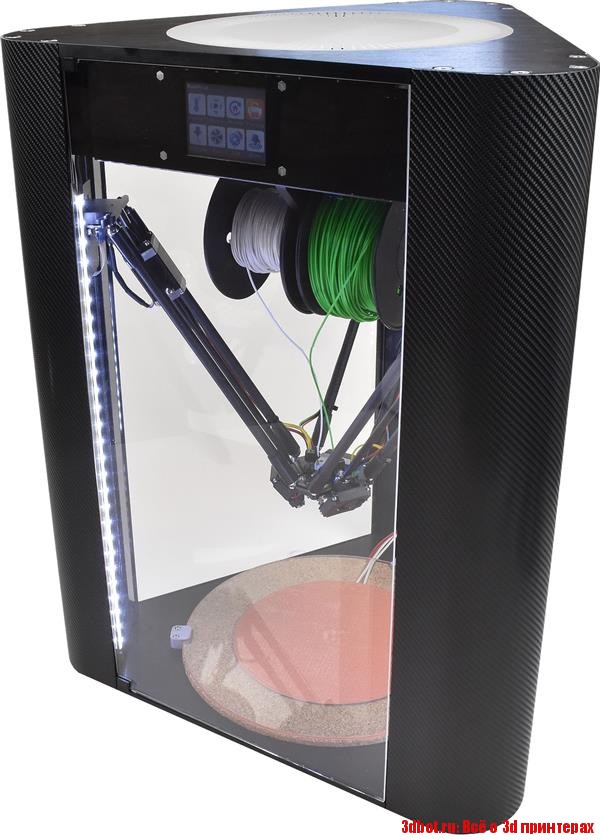 So far, it's not as easy as buying a $200 3D printer on Amazon, but if there is demand, cheaper machines based on the same principles will appear on the market. The situation is not much different from the current wave of affordable laser cutters hitting the markets in the past few years.
Fans all over the world print PPE
Is there a demand for such machines? A year ago, the answer might have been different from today. But in the fight against the coronavirus pandemic, there is a new demand for the rapid production of personal protective equipment (PPE) that no one could have foreseen.
print PPE that can be sterilized at high temperatures. The team believes that masks printed from PEKK can be reused rather than thrown away.
Components that can be printed and re-sterilized will obviously have other potential medical applications. A portable, low-cost machine capable of producing such components has the potential to save lives in places on the planet where supplies and equipment cannot be quickly accessed.
Critics of 3D printing have often said that the main disadvantage of these machines is that the reliability of the items they make rarely allows them to be used for anything other than rough prototyping. But when a $1,000 printer starts making aerospace-grade components, we seem to be moving toward a manufacturing revolution at an unprecedented rate.
download the best 3D printer models・Cults
Skip to contentKeep track of the latest work uploaded to Cults.
Wildhammer Plain
Free
FORD COUNTRY SQUIRE 1986 PRINTED CAR IN SINGLE PARTS
11.08 €
OVOMORPH ALIEN EGG 1979 WITH ROOTS
8,19 €
RENAULT PREMIUM 2011 TRUCK BODY WITH PRINTING CABIN
9,85 €
creepy door
5 €
RENAULT PREMIUM 2011 PRINTED CABIN TRUCK IN SEPARATE PARTS
14. 78 €
78 €
Thunder Hammer
Free
chevrolet pickup 1950 PRINTABLE CAR BODY
6,15 €
chevrolet pickup 1950 PRINTABLE CAR IN SINGLE PARTS
11.08 €
Burnzomatic torch base (tank 400 g)
1.02 €
Chevrolet Camaro 1975 PRINTABLE CAR BODY
5.54 €
Chevrolet Camaro 1975 PRINTED CAR IN SINGLE PARTS
11.08 €
POKÉMON - CRYSTAL LAPRAS
1,35 €
Sports car 2 (with functional wheels)
1 €
ZF-1 Pistole
6,50 €
Saint Nunbot exosuit leader
4,09 €
Skull lighting
3.57 €
3D print model slipper
8,63 €
Walle
€10. 50
50
ALFA ROMEO 75 1985 VEHICLE BODY WITH PRINT
5.54 €
Giratina - Pokemon
15.35 €
Universal Auto-Rewind - SpringRound Modular
Free
Yennefer Medallion
Free
Cyberpunk 2077 - NUE - Tsunami Defense Systems Gun
Free
X-Axis Belt Clip for Flsun Cube
Free
Z-Axis Auto-Slope Mount (for 18mm) for Flsun 9 Cube0081
Free
Y-Axis Belt Tensioner for Flsun Cube
Free
Y-Axis Belt Clip for Flsun Cube
Free
vaze
0,50 €
Bowden clamp 1.75
Free
Termomet
Free
Stand model
Free
Legs Turris MOX
Free
Denn-bok
Free
Adjustable heat tower with bridges
Free
Prusa i3 Mk2 Mount for Pi Zero W with Tiny Camera
Free
Case for Raspberry Pi 2/B+ Babylon 5
Free
Gorenje Refrigerator SlipSlide fix
Free
Case for pocket mirror
Free
Luminous Stargate Chevron Earrings
Free
Replacement bracket SU for Prusa i3 MK2s_MK2.