Wall thickness 3d printing
Recommended Wall Thickness for 3D Printing
Time to read: 4 min
One of the most important considerations when designing parts for 3D printing in 2022 is the 3D printing wall thickness, sometimes referred to as the wall thickness. While 3D printing makes prototyping easier than ever—not only in terms of cost and speed, but also in regards to DFM (design for manufacturing), you can’t disregard DFM completely.
A design might be (barely) producible by 3D printing, but what happens when you move to the next iteration or the next stage in manufacturing? Ensuring that you have at least the minimum wall thickness for 3D printing is a good first step and a key 3D printing design rule. Finding the best thickness for 3d printing is an excellent skill to have for cost reduction purposes and structural integrity of your 3d printed parts.
Fictiv, your ultimate 3D printing manufacturing ecosystem partner, is here to help all our customers be successful in their 3D printing endeavors. To that end, here are our best 3D printing wall thickness design guidelines to ensure your print is printable and structurally sound, so you can design prototypes that can be produced in quantities of 1 and then ultimately 100, or 10,000+.
GET INSTANT QUOTE
3D Printing Wall Thickness Recommendations
There’s a limit to the minimum 3D print thickness a part feature can be designed for 3D printing.
Below is a table of our recommended minimum 3D print thickness for each material, as well as the absolute minimum thickness, for those of you who like to live dangerously.
NOTE: At Fictiv, we have had success printing parts as thin as our absolute minimum, but we can only guarantee a successful print at or above our recommended minimum. Under our recommended minimum, the thinner the part, the higher the chance something goes wrong in printing. Anything below our absolute minimum is unprintable in practice.
Why There are Limitations
There are a variety of limiting factors to consider, both during and after printing.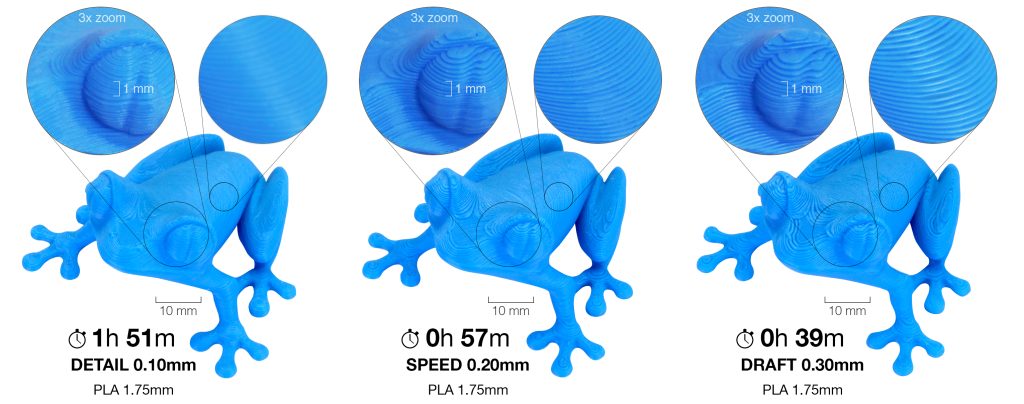
Limitations During 3D Printing
3D printers build parts in a single layer at a time. As a result, if a feature is too thin, there’s a risk of the resin deforming or detaching as it is extruded or cools, which means there isn’t sufficient material contact to connect it with the remaining body.
Additionally, you need a strong base to build a stable structure. If a part is being printed and the wall is too thin, that feature would likely bend before the resin can dry or cure. As a result, the thin wall would buckle, causing warping in the part.
Limitations Post Printing
Even if a thin-walled part prints successfully, the fragile part still has to survive cleaning and removal of support material. In addition, a thin-walled part may be damaged during removal
Cleaning methods include water jet, sanding, chemical support material removal, and picking away the residue. These cleaning techniques may cause thin walls to inadvertently break.
Additionally, in order to print such a thin wall, you often need extra support material or support walls. With the support material gone after cleaning, the component is even more fragile.
Minimum Wall Thickness vs Resolution
We often see some confusion around the difference between minimum wall thickness and resolution. Sometimes we’re asked, “If the resolution of a material is so high, why can’t the wall be that thin?”
Resolution comes into play in how detailed and precise a design can be, so long as there is enough thickness to provide structural support. Think of resolution as a factor of how well the details or surface finish of the part turns out to be.
Think of resolution as how accurate the part can be designed for printing, very similar to dimensional tolerance. Take a hollow sphere, for example. Minimum wall thickness determines how thin the shell can be so it’s printable and doesn’t collapse under its own weight.
Resolution determines how smooth the curvature is: low resolution will show visible “stepping” and roughness, while high resolution will hide these aspects.
Exceptions
Of course, there are always exceptions to the rule! Some parts can be printed with features below our recommended minimum wall thickness. Ribbing, cross supports, flat and supported components (as opposed to curved features) sometimes allow parts to be thinner.
While we aim to provide guidelines and recommendations around what we are 100% certain is printable, there are so many variables and design factors that make one thin part printable and the next one not. Because of this, we can only fully guarantee successful prints of designs above our recommended minimum wall thickness.
Main Takeaways
Though you might want to push the limits of your design, we don’t recommend going thinner than our suggested thicknesses. Even if your print is successful, that design choice will likely run you into complications around manufacturability down the road.
How will your thin walled 3D printed part be produced during the next phase, perhaps via RTV or Fictiv’s world class Injection Molding? Those thin walls will likely make your part impossible to manufacture at scale with 3D printing alone.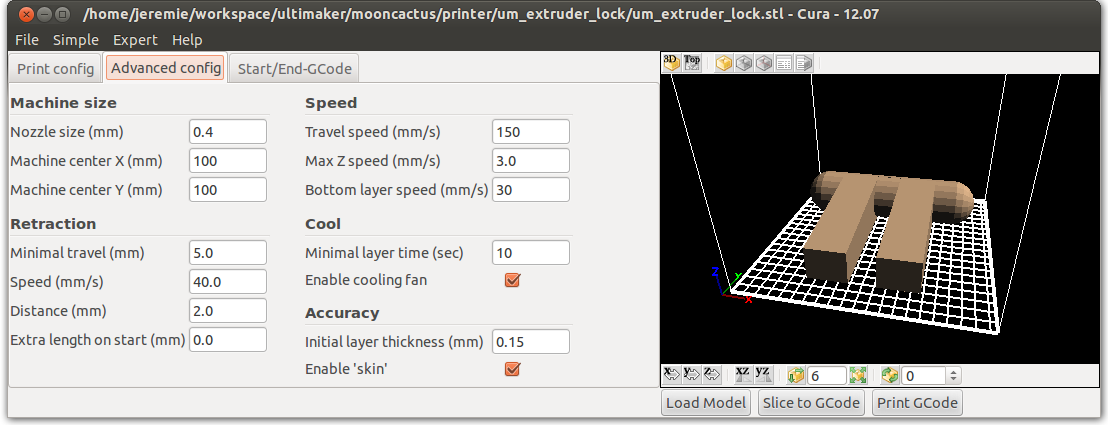
So, pay attention to the wall thickness of your parts, and if you choose to design a part thinner than our recommendations, be sure to carefully consider whether or not it will be manufacturable later on.
- For a start on determining a good wall thickness for 3D printing, visit our table “MATERIAL 3D PRINTING THICKNESS RECOMMENDATIONS” above.
- A good minimum wall thickness for 3D printing PLA is 1.5 mm.
- At Fictiv, the absolute minimum wall thickness a 3D printer can print is 0.6 mm. We cannot guarantee quality at this thickness though and it is not recommended.
Understanding the Best 3D Printing Wall Thickness
Wall thickness is the distance from the external part to the internal part of a 3D print model surface. Also known as a shell, it plays an important role in supporting 3D print models. However, when it is not optimized, several defects such as warping and straining can occur. Consequently, getting the best wall thickness for 3D printing is an important decision you should make.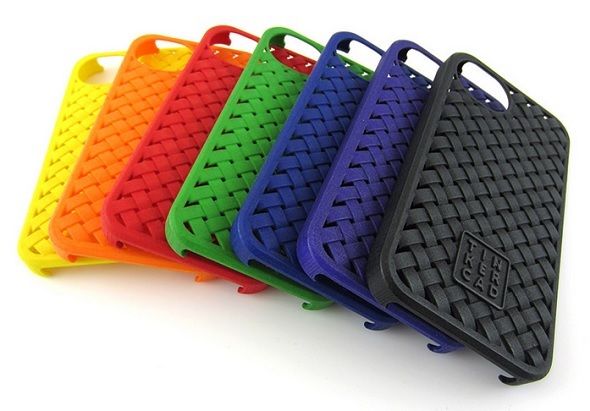
In this article, we will introduce the basic information about 3D printing’s wall thickness. Therefore, you can gain some insights into getting the best one for your 3D project.
Basic Information About Wall Thickness for 3D PrintingTo get the best wall thickness for 3D printing or, overall, the best 3D prints, you should consider two important things: the minimum, maximum and recommended wall thickness of 3D printing.
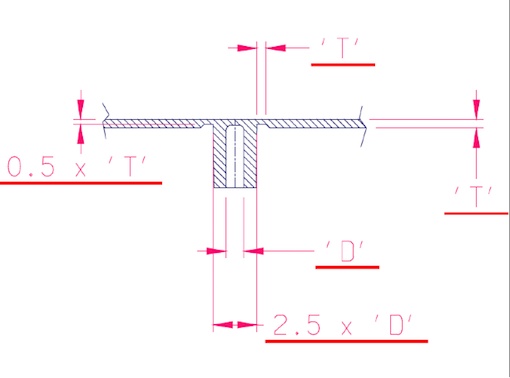
Minimum Wall Thickness of 3D PrintingThe minimum wall thickness is the smallest thickness a 3D print can have without losing functionality. When choosing the right one, you should consider the 3D printing process, gravity and other forces, the area of use of the 3D print, and aesthetic goals. More importantly, every filament has its manufacturer’s enabled minimum wall thickness.
Common Materials and their Minimum Wall Thickness
- ABS – 1.5mm
- Brass – 0.
 6mm for a natural finish
 - Gold – 0.8mm
- Aluminum – 1mm
- Standard Resin – 1mm
- Polycarbonate – 1mm
- Polyester – 0.8mm
- Titanium – 0.5mm
- TPU – 1.5mm
- Fiber-reinforced plastics – 2mm
- Nylon – 0.8mm
- Polyethylene 0.8mm
If the 3D print requires a thicker wall due to supports, there is also a limit on the wall thickness you can allow for such a design. This is very important, especially when considering metal materials.
When you don’t consider the maximum wall thickness, it can lead to internal stress, cracking, or breaking. A very good example is when you want to make a phone case. Choosing a needlessly high wall thickness for this type of product will reduce their flexibility.
Recommended Wall Thickness of 3D PrintingThe wall thickness majorly depends on the type of materials. For materials such as TPU, known for flexibility and rubber-likeness, a minimum wall thickness of 2.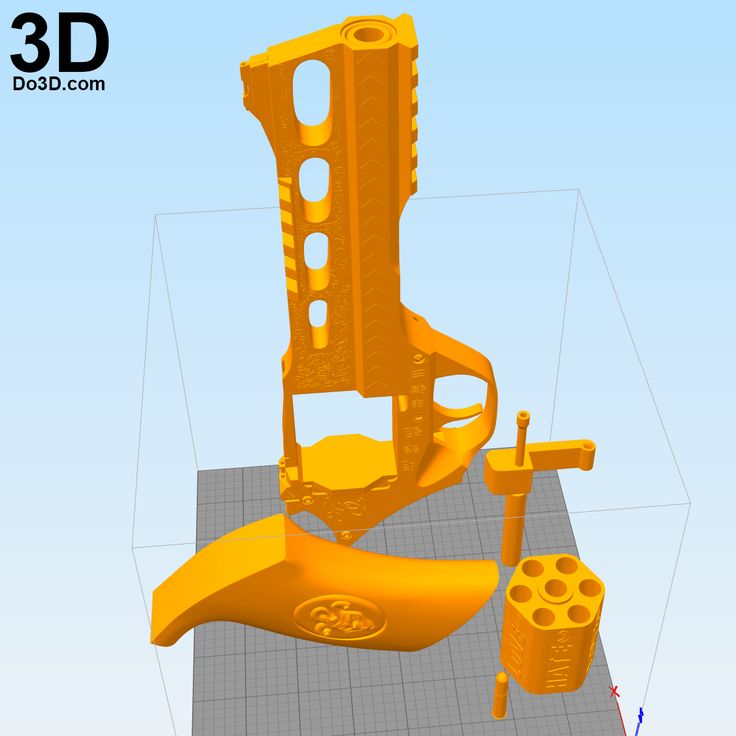 0mm is enough. For more rigid materials such as PLA, ABS, and Nylon, a minimum of 1.5 mm is enough. However, some people still go as low as 0.8 mm.
| Material | PLA | ABS | Nylon | ABS-Like | Rubber-Like |
| Recommended Wall Thickness (mm) | 1.5 | 1.5 | 1.5 | 1.0 | 2.0 |
| Minimum Wall Thickness (mm) | 0.8 | 0.8 | 0.8 | 0.6 | 0.8 |
Choosing the best wall thickness for 3D printing is essential in the function, durability, and aesthetic of the 3D print. While some printers have slider software that optimizes wall thickness, you might have to optimize manually. Below shows the importance of optimizing it.
· Reduces Internal StressThe chance of creating internal stress will be reduced. Since there is a reduction in internal stress, there is a low chance of warping or other defects occurring.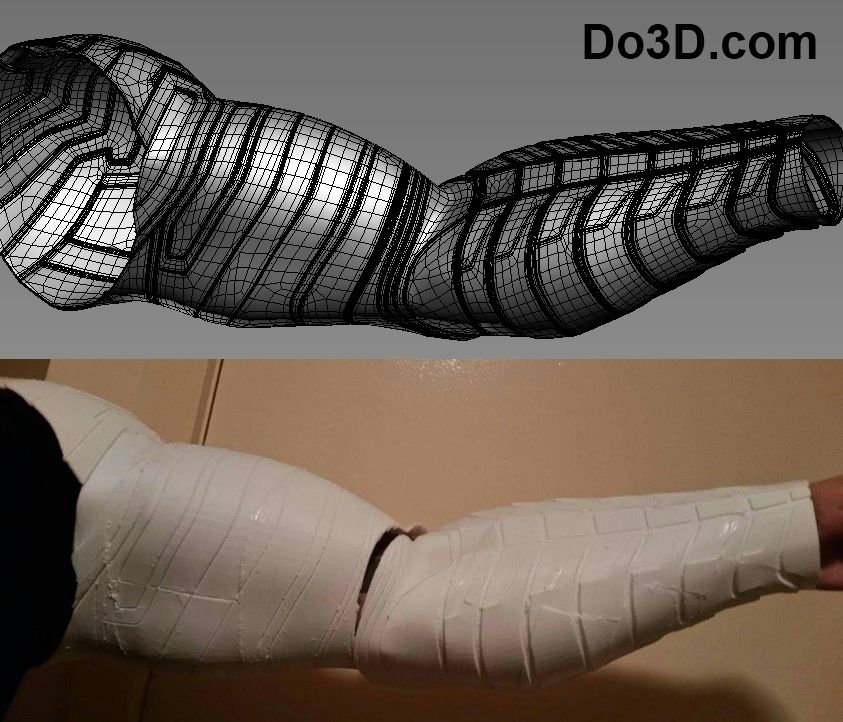
The optimization ensures the efficient use of materials which will reduce the cost of printing. The reason is the reduction of filament you are working with using the right wall.
· Improves ProductivityOptimization of the wall thickness will also ensure high productivity, reducing the cost and time taken to make 3D prints. Consequently, the best 3D printing enthusiast considers the wall thickness important, especially in the commercial setting.
· Reduces Damage of the 3D PrintOptimizing the wall thickness will reduce the chance of 3D prints getting damaged after production. For example, if a 3d printing has too small wall, it may be damaged when you remove the support structures or polish the model. Therefore, choosing the perfect wall thickness is quite important.
How to Pick the Best Wall ThicknessTo choose the best wall thickness for your 3D printing project, these are the factors you need to consider:
· Consider the Purpose of Printed PartsAfter knowing the purpose, it is possible to use other tips explained below to better wall thickness.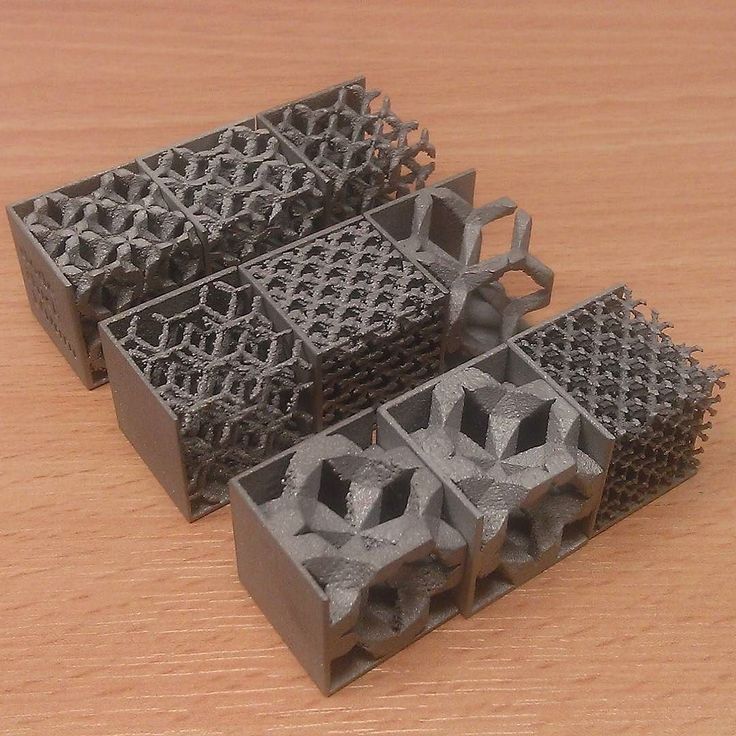 For example, if the printed parts will be used for high-end purposes, it is better to use a strong wall thickness. However, a thin wall thickness can be ideal for flexibility and not-needed structural purpose.
·
Consider Filament MaterialsThe filament materials you are working with are also a big factor. There is a thing you should note here: the flexibility of the materials.
For flexible and rubber-like materials, ensure you use a higher wall thickness. As discussed before, materials like TPU would have a minimum wall thickness is 2.0mm. You might need to tone down the wall thickness a little for more rigid materials. If you are working with PLA, ABS, and Nylon materials, you can have a minimum wall thickness of 1.5mm. Some manufacturers will say a wall thickness as low as 0.8 mm is enough. We wouldn’t recommend this as it won’t work on all designs.
· Set Suitable Scale of the ModelAnother thing you should take note of is the scale and of the model.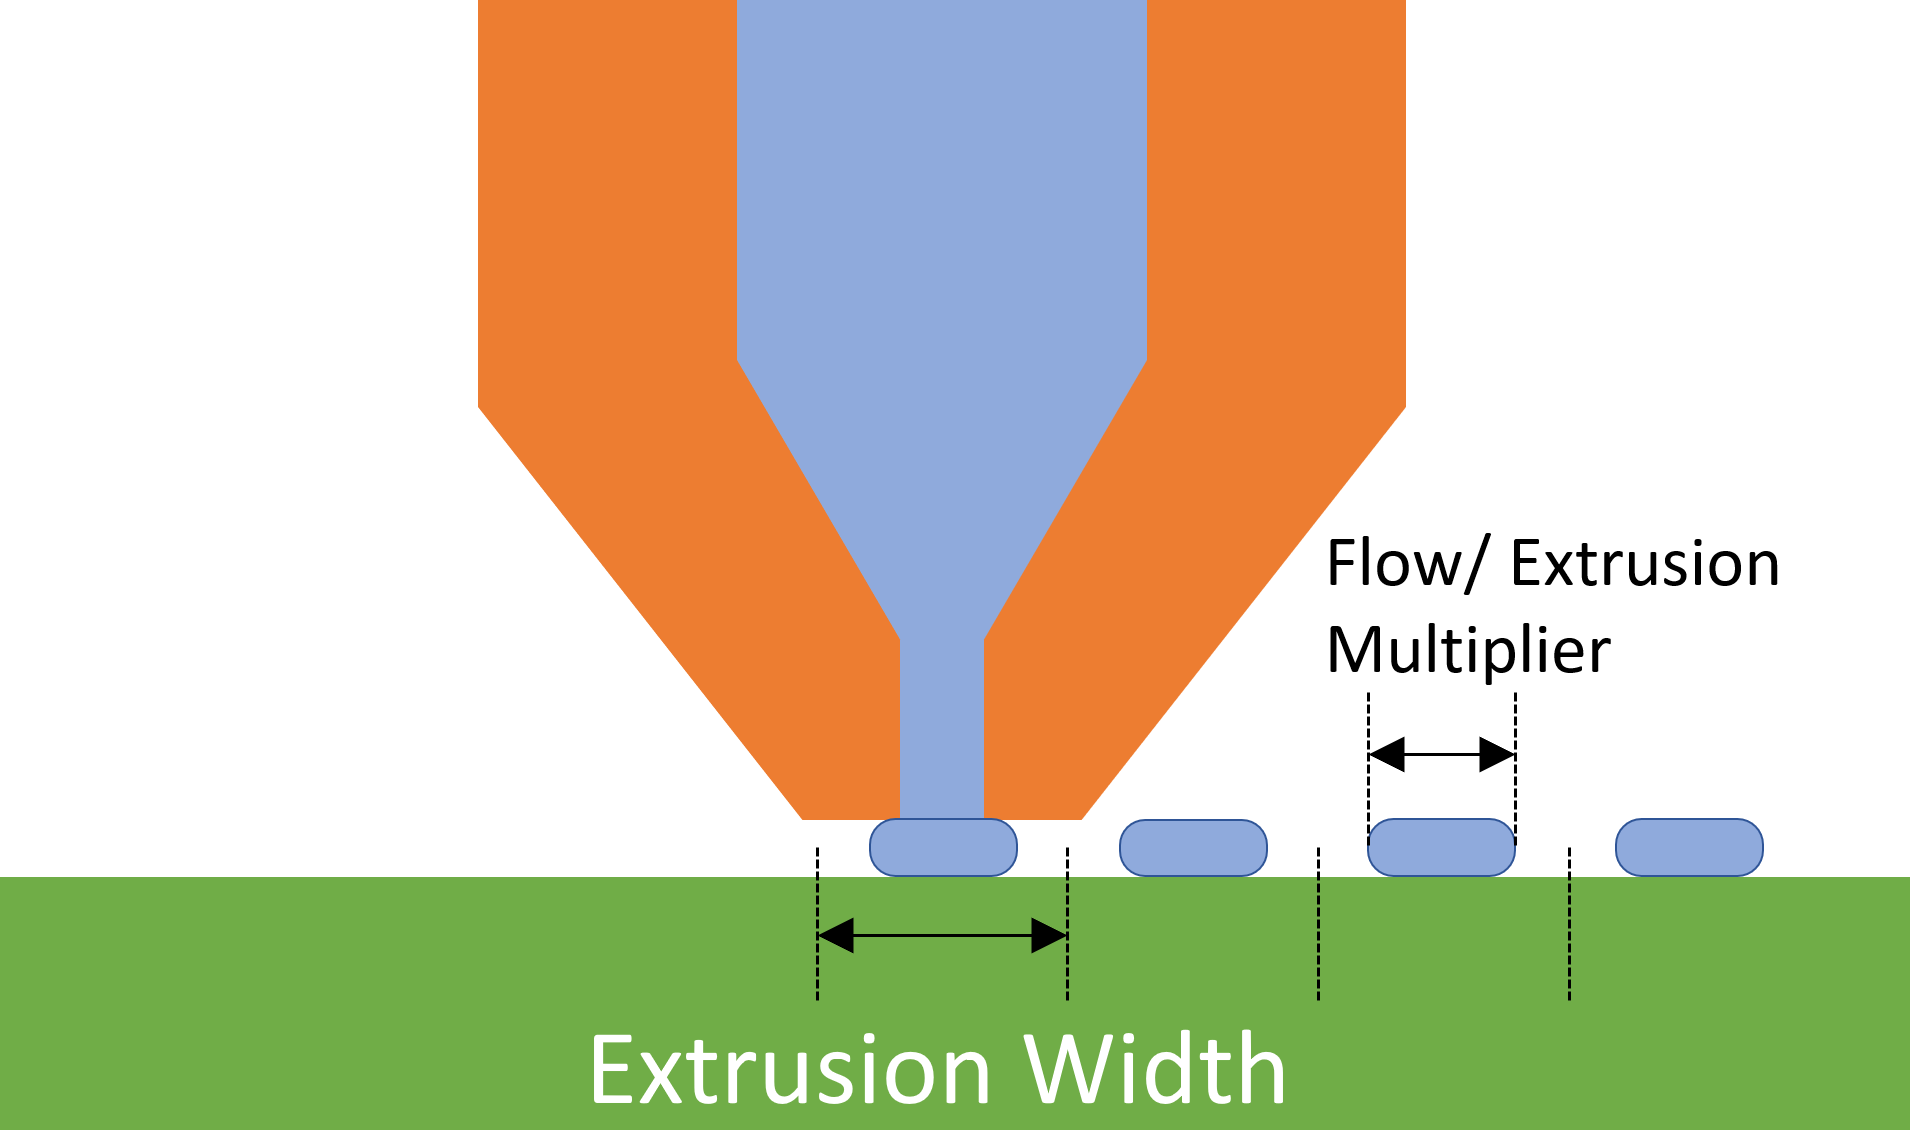 Ensure you set up a suitable scale as it is possible for the materials to be unprintable if you set a very small scale.
Overhangs features are unique when you think of 3D printing. They must be strong enough to function without collapsing during the printing process. They must also not be too thick as this will defeat their purpose.
Many people use supports structures to improve overhang features, making printing their minimum wall thickness possible. However, this will lead to the consumption of more filament materials.
· Consider Thickness of Adjacent WallsAfter the filament extrusion from the nozzle, it cools down and expands. Since the 3D print has corners that prevent them from warping, it can also lead to thermal stress due to the expansion. The generation of thermal stress becomes high when dealing with thick walls, and it can lead to failure at any weak point of the print. Consequently, it is important to keep the wall thickness consistent. The wall thickness of a segment should be wall 60% of the wall adjacent to it.
Thermal stress accumulates at the corners and edges, letting the corner warp. Therefore, the better way of distributing such stress is to use rounded edges. If the 3D print must have a sharp edge, you might also reduce the accumulation of stress by curving the edge on the inside. This will also improve the aesthetic of the product.
· Gravity is Very ImportantOne of the obvious things most people mean that can affect the wall thickness is gravity. Most enthusiasts only work towards detecting possible defects related to floating parts, unstable positions, etc. However, with gravity in mind, you can control such. You need to analyze the geometry of the print design and check where the possible stress will be.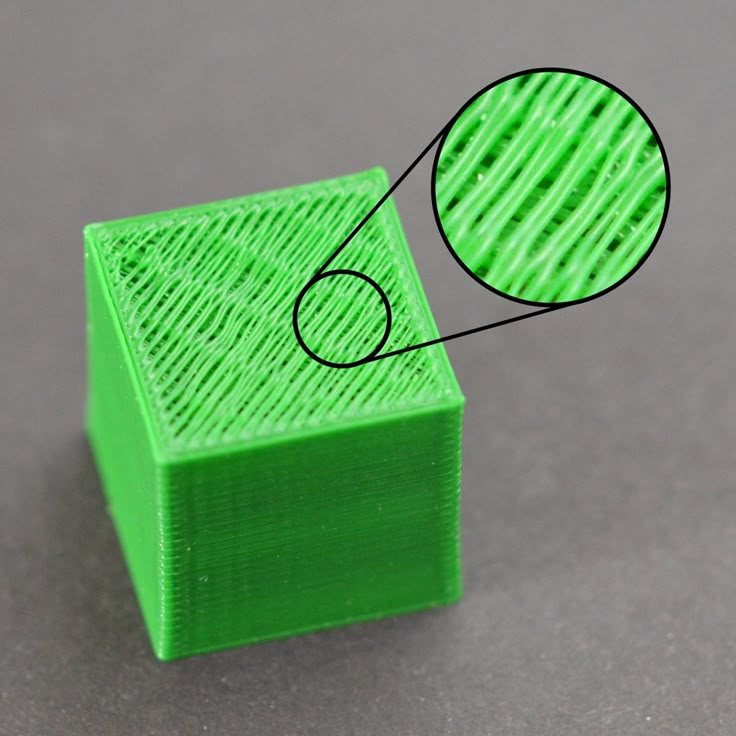 You can then correct it by thickening such parts.
There are several issues that you might encounter if not choosing the right wall thickness:
· Loss of Details When ScalingIf there is a disconnection between modeling and printing, the issue would occur. Although the design might be structurally sound, it might not be feasible in the real world. Therefore, you can experience scenarios where the wall thickness is too thin due to scaling down. Consequently, small-scale models should have low wall thickness values, while large-scale models use a thicker wall value. This will help you avoid losing small details of the 3D model.
· WarpingDuring 3D printing process, successive layers must have enough contact with each other. When this does not occur, there can be defects with the part. One of the major defects you can experience is warping. Warping is a 3d printing defect that occurs when the part shrinks and the corners lift and detach from the build plate. It occurs during or after printing due to exceeding the 3d printing minimum thickness for the part. It is also a common wall thickness defect in injection molding.
Curling can occur when using FDM, SLS, or other 3D printing processes that melt or sinter raw materials. Curling is a defect in which the corner of the 3D print curls up after printing. This is due to the cooling process dependence on the design’s shape, contour, and wall thickness, which can be irregular when there is a drastic temperature change.
ConclusionOne of the few crucial things you need to know about 3D printing is how to choose the best 3D wall thickness. The reason is not farfetched as any error related to 3D printing can result in defects such as warping, curling, etc.
While it might take a few runs for you to get the best wall thickness for 3D printing right, understanding the concept can help you get the best.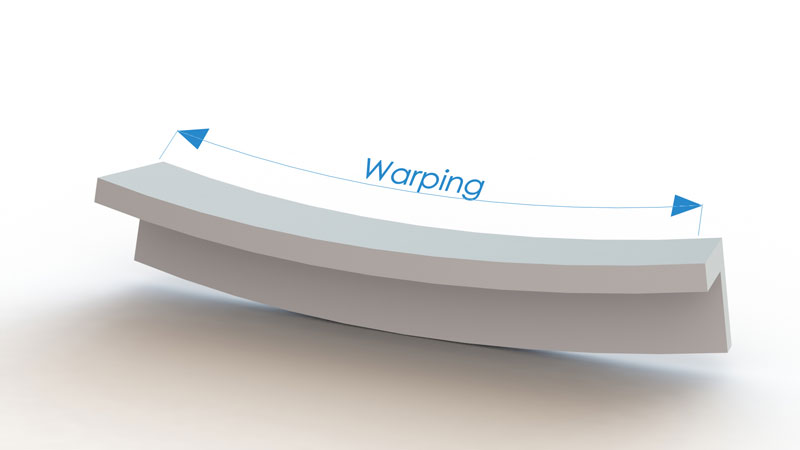 You can stick to basic principles such as remembering the minimum wall thickness, using supports, and consistency.
At Rapiddirect, we have experts well versed in 3D printing that can advise you on wall thickness.
In addition, we also provide 3D printing services to customers with an eye for quality standards. Our platform can offer you instant quoting and automated DfM analysis within 12 hours after you upload your design file. More importantly, the quotation for your project is quite competitive as we promise up to 30% price reduction. Plus, we have manufactured a number of 3D printed parts that satisfy our valued customers. So, start your 3D project now.
Start your 3d printing project
FAQsWhat is wall thickness in Cura?
Cura shell thickness is about is 1.2mm. This is equal to 3 lines on a standard 0. 4mm nozzle. This follows the general acceptance by many 3D printing enthusiasts as it factors part strength with functionality.
How strong is 50% infill?
The strength of a 3D print depends highly on the infill percentage. However, measuring the strength of a 50% infill will be relative to a higher or lesser percentage of the same materials and designs. For example, if a project has a 50% infill, it is stronger than a 25% infill (25 percent stronger). Note that the increase in strength due to increasing infill percentage is not linear.
Recommended wall thickness for 3D printing
3DPrintStory 3D printing process Recommended wall thickness for 3D printing
One of the most important factors in designing models for 3D printing is wall thickness. While 3D printing makes prototyping easier than ever - not only in terms of cost and speed, but also in terms of DFM (Design for Manufacturing) - DFM cannot be completely ignored.
A model can be 3D printed, but what happens when you move on to the next iteration or next production step?
And this is where, basically, the wall thickness of your 3D model comes into play! In this article, we will consider recommendations for obtaining really high-quality 3D models that can be used in the future as full-fledged product prototypes.
3D model wall thickness recommendations
There is a limit to how thin a part can be for 3D printing.
Below is a table with the recommended minimum thickness for each material, as well as the absolute minimum thickness for those who like to walk on the edge of acceptable possibilities :) Successful 3D printing can only be guaranteed using the recommended thickness - the first line of the table.
Actually, the thinner the walls of the part, the higher the likelihood that something will go wrong when 3D printed. Anything below this absolute minimum is not practical for 3D printing.
Why are there restrictions on the wall thickness of the model during 3D printing?
There are many limiting factors to consider both during and after 3D printing.
During 3D printing
3D printers print parts one layer at a time. As a result, if the element is too thin, there is a risk of deformation or delamination of the polymer, which means insufficient contact of the material to connect it to the rest of the body.
Also, just as you need a strong base to create a stable structure, if a part is being printed and the wall is too thin, the part is likely to bend before the material has a chance to dry or cure. As a result, the thin wall will buckle, causing warping of the part.
After 3D printing is completed
Even if a thin-walled part prints successfully, a fragile part must still survive cleaning and removal of the base material.
Cleaning may include high pressure water jetting to remove residue, so many delicate components break at this stage. In addition, thin wall 3D printing often requires additional support material. Since the calipers are removed after cleaning, the part becomes even more fragile.
Minimum 3D model wall thickness depending on 3D print resolution
Many 3D printer users get confused between the minimum 3D model wall thickness and resolution. Often you will come across questions like: "If the resolution is so high, why can't the wall be so thin?"
Resolution refers to how detailed and accurate the finished 3D model will be if the wall is thick enough to provide structural support. Think of resolution as how accurate the manufactured part will be. This is a characteristic similar to dimensional tolerance. And the wall thickness of a 3D model is somewhat different. Take, for example, a hollow sphere. The minimum wall thickness determines how thin the shell can be so that it can be printed on and the model does not collapse under its own weight.
The resolution of a 3D print determines how smooth the curvature will be: low resolution will show visible "steps" and roughness, while high resolution will hide these aspects.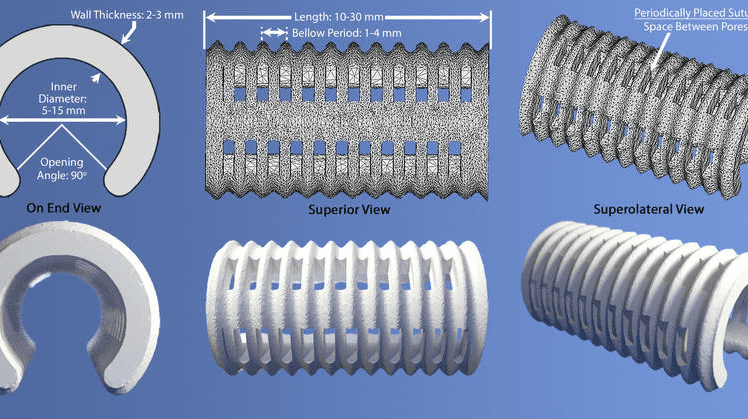
Exceptions
Of course, there are always exceptions to the rules! Some parts may be printed below our recommended minimum wall thickness. Ribs, cross supports, planar and supported components (as opposed to curved elements) can sometimes be printed with thinner wall thicknesses.
The recommendations above are indeed suitable for most cases, but it should be understood that there are many other additional factors that can affect the required wall thickness of the 3D model. For this reason, exceptionally successful 3D printing with a given minimum wall thickness cannot be guaranteed.
Main conclusions
We do not recommend using a thickness less than suggested. Even if your 3D model is successfully printed, too thin walls of the finished product will almost certainly cause problems in further post-processing. It is worth immediately thinking about how your part, which you managed to print on a 3D printer, will be processed at the next stage.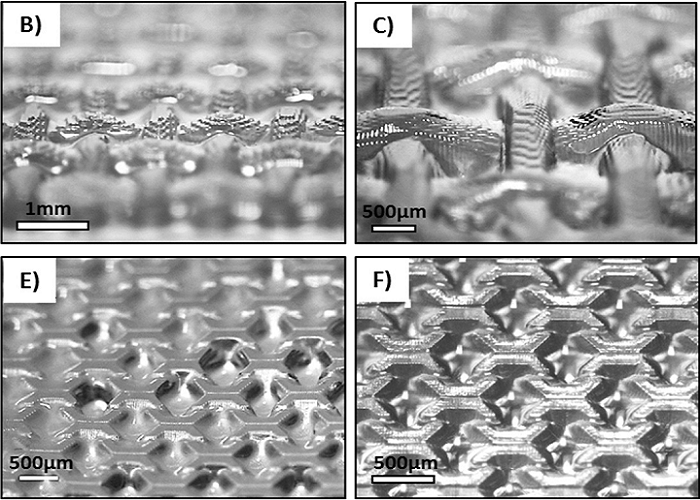 Perhaps with RTV or injection molding? And in this case, thin walls will definitely lead to marriage.
Therefore, pay attention to the wall thickness of your parts, and if you do decide to design a model with thinner walls than recommended, be sure to take into account the post-processing process.
We hope that this material was useful to you and good luck in the world of 3D printing!
10 rules for preparing a model for 3D printing / Habr
Download the model, print it, use it - what could be easier!? But, if we talk about FDM 3D printers, then not every model can be printed, and almost every model (not prepared for 3D printing) has to be prepared, and for this it is necessary to imagine how this 3D printing goes.
First, a couple of definitions:
Slicer is a program for converting a 3D model into a control code for a 3D printer. (There are plenty to choose from: Kisslacer, Slic3r, Skineforge, etc.). It is necessary, because the printer will not be able to immediately eat the 3D model (at least not the printer in question).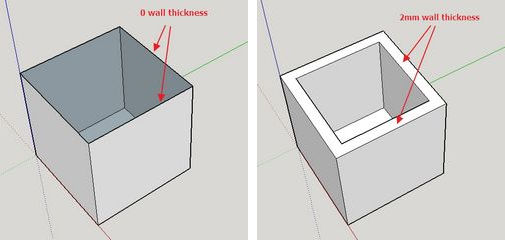
Slicing (slicing) is the process of translating a 3D model into a control code.
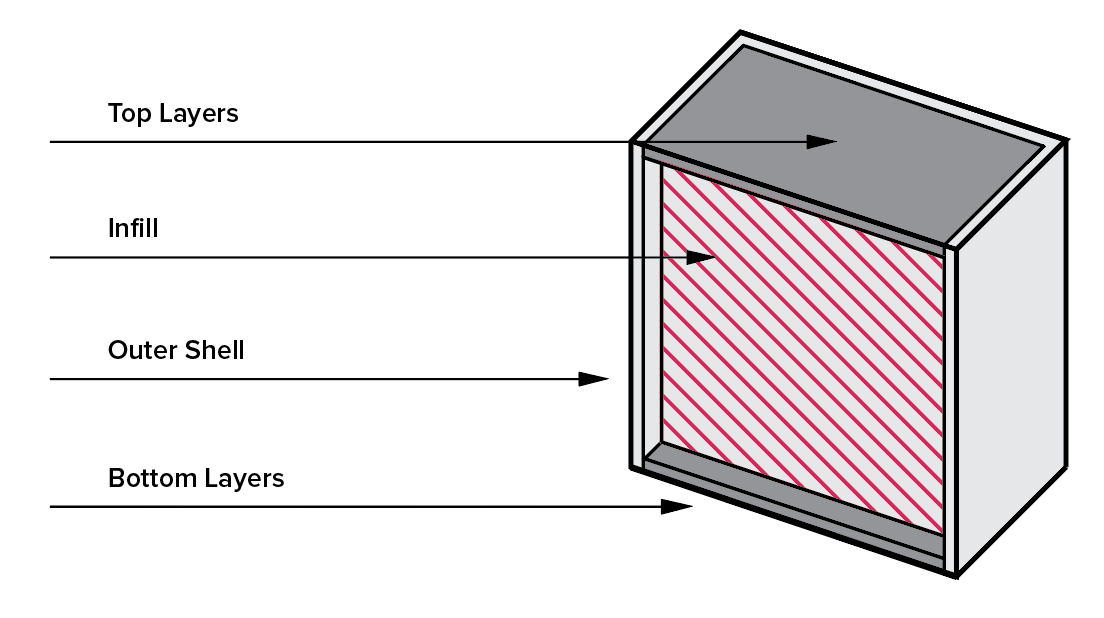
The model is cut (sliced) in layers. Each layer consists of a perimeter and/or fill. The model may have a different percentage of filling with a fill, and there may not be a fill (hollow model).
On each layer, movements occur along the XY axes with the application of a plastic melt. After printing one layer, it moves along the Z axis to the layer above, the next layer is printed, and so on.
1. Mesh
Intersecting faces and edges can lead to funny slicing artifacts. Therefore, if the model consists of several objects, then they must be reduced to one.
But it must be said that not all slicers are sensitive to the grid (for example, Slic3er).
And even if the grid is crooked, and it’s too lazy to fix it manually, then there is an excellent free cloud service cloud.nettfab.com that will help in most cases.
2. Flat base
Desirable, but not mandatory. A flat base will help the model stay on the printer table better. If the model becomes unstuck (this process is called delamination), then the geometry of the base of the model will be violated, and this can lead to a shift in the XY coordinates, which is even worse.
If the model does not have a flat base or the base area is small, then it is printed on a raft - a printed substrate. The raft damages the surface of the model it comes into contact with. Therefore, if possible, it is better to do without it.
3. Wall thickness
The walls must be equal to or thicker than the nozzle diameter. Otherwise, the printer simply will not be able to print them. The wall thickness depends on how many perimeters will be printed. So with 3 perimeters and a nozzle of 0.5mm, the wall thickness should be from 0.5, 1, 1.5, 2, 2.5, 3mm, and above it can be any. That is, the wall thickness should be a multiple of the nozzle diameter if it is less than N * d, where N is the number of perimeters, d is the nozzle diameter.
4. Minimum overhang
Each overhanging element requires a supporting structure - support. The fewer overhanging elements, the less supports you need, the less material and printing time you need to spend on them, and the cheaper the print will be.
In addition, the support spoils the surface in contact with it.
It is allowed to print without wall supports, which have an inclination angle of not more than 70 degrees.
5. Precision
Accuracy along the XY axes depends on backlash, structural rigidity, belts, in general, on the mechanics of the printer. And it is about 0.3 mm for hobby printers.
The Z-axis accuracy is determined by the layer height ( 0.1-0.4 mm). Hence, the height of the model will be a multiple of the height of the layer.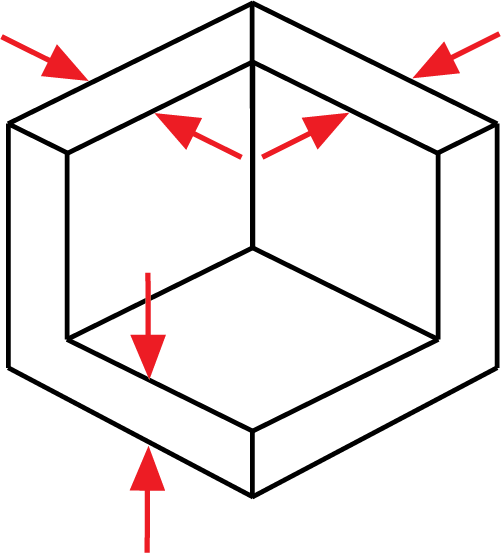
It should also be taken into account that after cooling, the material shrinks, and at the same time the geometry of the object changes.
There is also a software side of the problem - not every slicer correctly processes internal dimensions, so it is better to increase the diameter of the holes by 0.1-0.2 mm.
6. Small parts
Small details are quite difficult to reproduce on an FDM printer. They cannot be reproduced at all if they are smaller than the nozzle diameter. In addition, when processing the surface, small details will become less noticeable or disappear altogether.
7. Bottlenecks
Bottlenecks are very difficult to handle. If possible, it is necessary to avoid such places that require processing, which cannot be approached with a sandpaper or a microdrill. Of course, you can treat the surface in a solvent bath, but then small elements will melt.
8.
 Large models
 When modeling, it is necessary to take into account the maximum possible dimensions of the print. If the model is larger than these dimensions, then it must be cut in order to print in parts. And since these parts will stick together, it would be nice to immediately provide connections, for example, a dovetail.
9. Desktop location
How to place the model on the desktop depends on its strength.
The load should be distributed across the print layers, not lengthwise. Otherwise, the layers may disperse, because. adhesion between layers is not 100%.
To make it clear, let's look at two L-shaped models. The lines show the print layers.
The strength of the printed part depends on how the force is applied relative to the layers. In this case, a small force will be enough for the right "G" to break it.
10. File format
Slicers work with the STL file format.


