Tinkercad for 3d printing
ERROR - 404 - NOT FOUND
- Home
- GET TO THA CHOPPAH
Our server gnomes couldn't find the page you are looking for.
It looks like you mistyped the URL in your address bar or have followed an old bookmark.
Perhaps some of these may interest you?
SparkFun MicroMod ESP32 Processor
In stock WRL-16781
$16.95
1
Favorited Favorite 6
Wish List
Loomia 4-Wire Bus
Only 5 left! COM-17863
$31. 50
Favorited Favorite 0
Wish List
Kitronik Discovery Kit for Raspberry Pi Pico (Pico Not Included)
In stock KIT-18775
$15.95
Favorited Favorite 5
Wish List
Shapeoko HD 80mm Spindle Mount
In stock PRT-19759
$80.00
Favorited Favorite 0
Wish List
SixPotatoe: The Inverse Pendulum Robot
June 10, 2020
Learn how to make your own robot that stands above the rest!
Favorited Favorite 0
Hello Raspberry Pi Pico and RP2040!
January 21, 2021
Raspberry Pi has introduced the world to their brand new microcontroller, and we are happy to incorporate it into some new boards of our own, as well.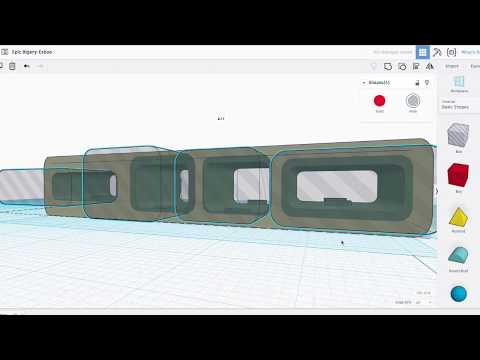
Favorited Favorite 0
SparkFun gator:environment Hookup Guide
June 13, 2019
The gator:environment combines two I2C sensors for temperature, humidity, pressure, eCO2, and eTVOC values. This tutorial will get you started using the gator:environment with the micro:bit platform.
Favorited Favorite 2
- SparkFun Electronics ®
- 6333 Dry Creek Parkway, Niwot, Colorado 80503
- Desktop Site
- Your Account
- Log In
- Register
Is Tinkercad good for 3D Printing? – 3D Solved
With so many different CAD software out there, some free and some extremely pricy, it’s hard to really choose which one to go for, especially if you’re just starting out.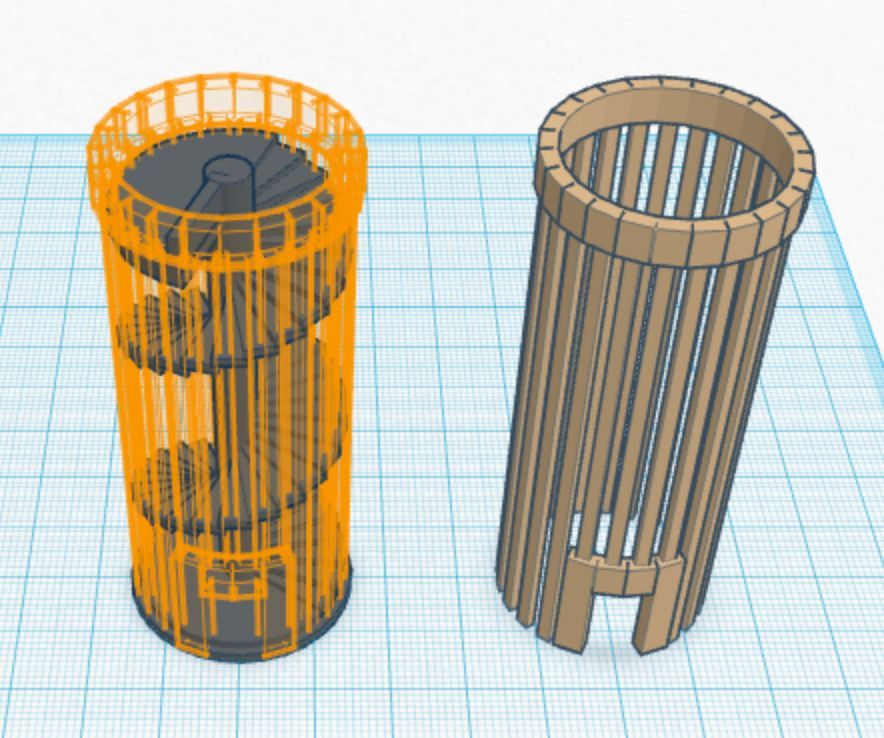
I got started on Tinkercad and managed to create some pretty cool 3D designs with it which I then printed on my 3D printer, and then moved on to other more fully-featured CAD software.
So, in this article, I will give you an overview of Tinkercad, if it’s easy to learn, and I will also compare it to some other reputable CAD software out there.
In short; Tinkercad can be used to design 3D objects which can then be saved as an .STL file to be printed with any 3D printer, and while it may not be as fully-featured and capable as other design software out there, it’s free, easy to use, and the ideal CAD for beginner 3D printing enthusiasts.
Now, without any further ado, let’s get started!
Table Of Contents
- Is Tinkercad easy to learn?
- Can you design anything using Tinkercad?
- Online resources for learning Tinkercad
- Popular Tinkercad alternatives
- How to export a file from Tinkercad
- Which CAD software is used the most in 3D printing?
- FAQs
- Conclusion
- Check out our recommended products section
Is Tinkercad easy to learn?
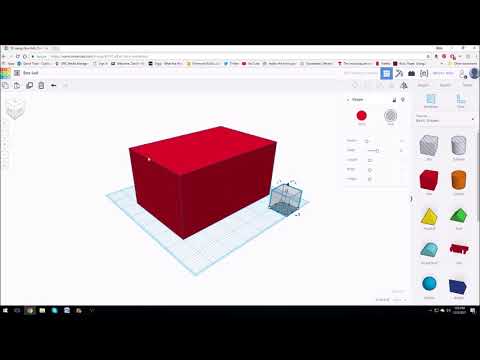
Tinkercad is a free computer-aided design program (CAD) where users can design, modify, and create 3D objects.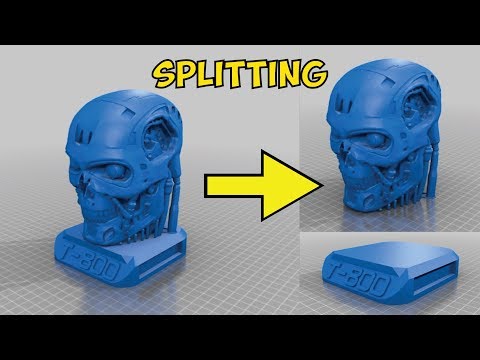 Its step-by-step design process is simple and beginner-friendly as it uses constructive solid geometry (CGS), allowing users to create a complex designs by starting with one simple geometric shape and slowly adding other ones, which means that no prior 3D design knowledge is needed.
Tinkercad is available for free and is used by school students, teachers, 3D hobbyists and designers alike. The beauty of the software is that it is user-friendly and is an excellent alternative to other 3D modeling software like SketchUp and Fusion360.
The whole point of Tinkercad is to be as simple and easy to use as possible while still allowing you to create very complex objects by offering a very generous learning curve, which means that you will be creating incredibly difficult designs in no time.
A big bonus with Tinkercad is its growing community of designers which is always very welcoming to new and aspiring tinkerers, and the number of resources available to help you on your way is astounding.
The best part is that there is no cost in learning through being part of the Tinkercad community and there is always someone, or perhaps even a group of designers, that will offer their guidance and support.
Tinkercad is the easiest way for beginners to get started with 3D modelling since it’s designed from the ground up to be as simple and intuitive to use as possible without limiting you too much, since once you get the hand of it you should be able to design fairly complex models.
Can you design anything using Tinkercad?
While you can certainly design almost any kind of 3D model on Tinkercad, there are a few limitations when it comes to complex and extremely precise moving parts, such as the ones designed by industrial designers and engineers , and this is where other CAD software might be better. However, for most people who need to design more conventional models, Tinkercad is more than enough.
However, the more you use and experience the software with all its different tools, the more you realize just how versatile and user-friendly Tinkercad actually is.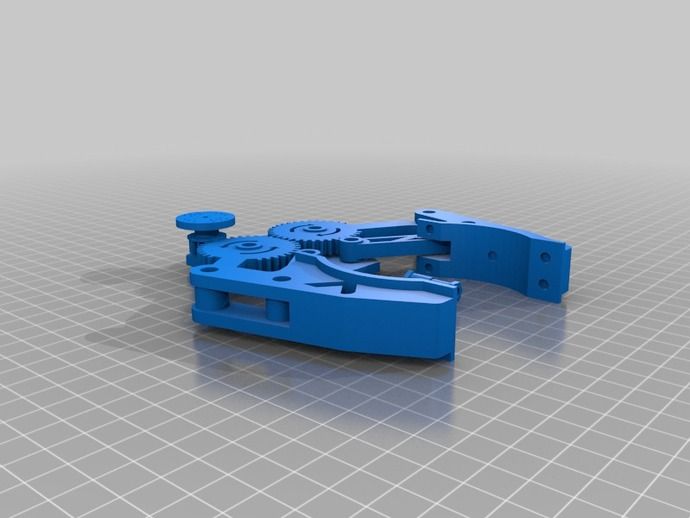
As far as general everyday designs go, the sky is the limit, so Tinkercad will be more than adequate to meet the average design requirements for most users. To give you an idea of what Tinkercad is capable of, below are some designs created by a few advanced users.
- DeLorean
- Ray Gun
- Futuristic City
- Mustang
- Mad Max Guitarist Truck
Online resources for learning Tinkercad
Tinkercad’s official tutorial.There are plenty of tutorials available online, be it on YouTube, Websites, Forums, you name it, and performing a quick Google search for “Tinkercad Tutorial” will yield dozens of useful results.
Here are some of the most useful tutorials/guides available:
- Learn Tinkercad (official Tinkercad Tutorial)
- Learn Tinkercad in 5 Steps (all3dp tutorial)
- Tinkercad Tutorial by Promoambitions
- Instructables Tutorial
For those of you who prefer watching video tutorials as opposed to reading, YouTube has got you covered. Here are a few links.
- All3DP Tinkercad Tutorial
- Bai Tinkercad Tutorial
- Chaos Core Tech Tinkercad Tutorial
- Makerspace tutorial
- Tinkercad tutorial by PromoAmbitions (best video tutorial available)
Tinkercad uses rather simple geometric shapes that can be either “solid” or “hole”, and when combining the two you can create new shapes. In addition to this, you can create custom shape generators using a built-in JavaScript editor which can then be imported in three different formats: STL and OBJ for 3D, and 2-dimensional SVG shapes for extruding into 3D shapes.
Tinkercad even includes a feature to export 3D models to Minecraft Java Edition, and also offers the ability to design structures using Lego bricks.
Popular Tinkercad alternatives
As mentioned, there are alternatives to Tinkercad, and each has its own set of pros and cons. The two main alternatives are SketchUp and Fusion360, so let’s see how Tinkercad compares to them.
Tinkercad vs SketchUp
Both Tinkercad and SketchUp are suited to beginners with little to no background knowledge on 3D design programs. This gives users a leg up on the basic understanding of design without first going through a rigorous learning process.
SketchUp was created by Google and had a huge following with 30 million activations in the last year alone, and the idea behind it, and Tinkercad alike, was to create a 3D modelling software that’s accessible to the general public without the need of a prior education in the field.
Is SketchUp free?
SketchUp Free is the free version of the software that has some tantalizing benefits attached to it, including 10 gig cloud storage, a SketchUp viewer app for mobile devices, and the ability to import a number of different file types. However, there are limitations to what you can get for free and the pricing ranges from $119 per year for a simple personal license up to $639 per year for the “Studio” version.
Tinkercad, on the other hand, is 100% free.
Tinkercad vs Fusion360
Tinkercad caters to younger users without any design experience or knowledge, whereas Fusion360 is designed with more seasoned users in mind who have a more advanced knowledge and who need to be able to create prototypes and more intricate parts.
Tinkercad, however, is easy to learn and moving parts can be made relatively quickly. It is interactive and engages young minds in a fun and educational way that provides the opportunity to design and build basic everyday items. However, it is limited to a point with the shapes available. Another downside is that editing is difficult because there is no history tree to refer to.
Fusion360, on the other hand, gives the user complete control over shapes and boasts some powerful modelling tools that are ideal for making complex mechanical parts. Also, having a history tree makes editing a lot easier but with this comes a lot more learning, and because of the range of tools available in Fusion 360, knowing which one to use at any given time will come with experience, or in other words, time investment.
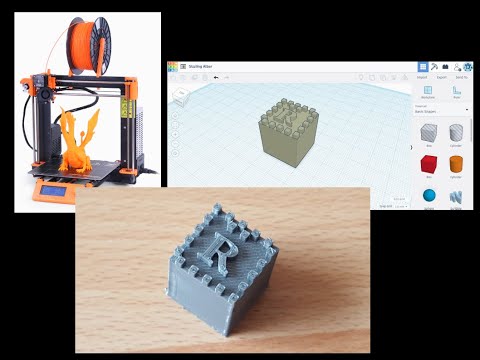
How to export a file from Tinkercad
To export a file from Tinkercad you need to select the object you want to print (if it’s multiple ones then you’ll need to select them all) and then click on “Export” in the upper right corner making sure to select the .stl format, which will immediately download the file.
If you’re going to be printing the model on a 3D printer, you will need to load the .stl file on a Slicer software, slice it, and then load it on the printer (usually via an SD card).
Which CAD software is used the most in 3D printing?
As there are no CAD app statistics available from the 3D printing community, it is best to distinguish between hobbyists and professional designers. Tinkercad and SketchUp are popular among hobbyists, while most full-time professional designers prefer Fusion360.
CAD software is wide-ranging and is preferred for the more technical type of designs. However, here is a list of software programs suited for both beginners and experts alike:
- Blender: For beginners and is free.
- Tinkercad: for beginners and is free.
- Freecad: For beginners and is free.
- Blockscad: For beginners and is free.
- Creo: For Intermediate and costs $2310 per license.
- Autodesk Fusion360: For intermediate and costs $60 per month or free to students and educators.
- SolidWorks: For Professionals and costs $3995 for each license.
- Autocad: For professionals, and costs $185 per month or $1470 per year. Students and faculties can download a functional version at no cost.
- Catia: For professionals and costs $10 000 and up.
- Openscad: For Professionals and is free.
- Rhino3D: For professionals and included different bundles that include Rhino 6.0 for windows that start at 995 Euros and Rhino 5.0 for Mac that starts at 695 Euros.
FAQs
Is Tinkercad free to use?
Tinkercad is 100% free to use and doesn’t feature any additional upgrade plans like most other “free” CAD software out there that you would need to pay for. This, however, comes at the cost of being slightly more limited than other similar software.
Can you download Tinkercad (and use it offline)?
Tinkercad is only accessible online and at this time, you cannot download it for offline use. This means that you must always have an active Internet connection and all the projects you create will be saved on the cloud. Periodic requests have been made to Autodesk for an offline version, but so far, there has been no solid commitment besides the fact that they are looking into it.
Can you render objects in Tinkercad?
Rendering an object in Tinkercad is possible but in a very basic form. Here is a five-step process that will guide you through it. Alternatively, it will be best to import into Fusion360 if you want a more realistic scene. Here is a video that shows you how to do it properly.
Conclusion
Tinkercad is a great tool for creating 3D designs that you can then print, and it’s especially good for beginners since it’s got a very gentle learning curve.
Additionally, it’s not as limited as you might think, just check out the designs I linked earlier and you’ll see what I mean.
Most people who are trying to create models for 3D printing will find that Tinkercad is more than enough for their needs.
I hope this information was useful!
We created a recommended products section that will allow you to remove the guesswork and reduce the time spent researching what printer, filament, or upgrades to get, since we know that this can be a very daunting task and which generally leads to a lot of confusion.
We have selected just a handful of 3D printers that we consider to be good for beginners as well as intermediates, and even experts, making the decision easier, and the filaments, as well as the upgrades listed, were all tested by us and carefully selected, so you know that whichever one you choose will work as intended.
#tinkercad » Profitable 3D printing studio
Aug fourteen
Hello everyone! I have already posted a lot of articles about Tinkercad.![]() But already, probably, there has been a pause for almost a year, due to the fact that Tinkercad was updated and began to be called Tinkercad Beta. The Russian language appeared in it, and I decided that my mission was completed. But in vain I relaxed. There are constant questions about Tinkercad. And it turns out that not everything is so clear ...
But already, probably, there has been a pause for almost a year, due to the fact that Tinkercad was updated and began to be called Tinkercad Beta. The Russian language appeared in it, and I decided that my mission was completed. But in vain I relaxed. There are constant questions about Tinkercad. And it turns out that not everything is so clear ...
Read more »
Labels: #tinkercad, #tinkercad4bunnies, 3d printing, 3d printing from scratch, 3d printer, bd081c, ffffff
May 05
I remember, two years ago, I posted an article on the application of 3D printing on YouTube. Here is this article - We continue to help people. And here is the detail in question: This is the gear for the wipers on the Honda Mobilio. Japanese "krivoruk" machine for the domestic market. They are not very good with spare parts.
Read more »
Labels: #tinkercad, 3d print, 3d print from scratch, 3d printer, hephestos, Zenit, Business, custom print, 3d print studio from scratch
Mar thirty
It's been a while since I wrote anything about Tinkercad.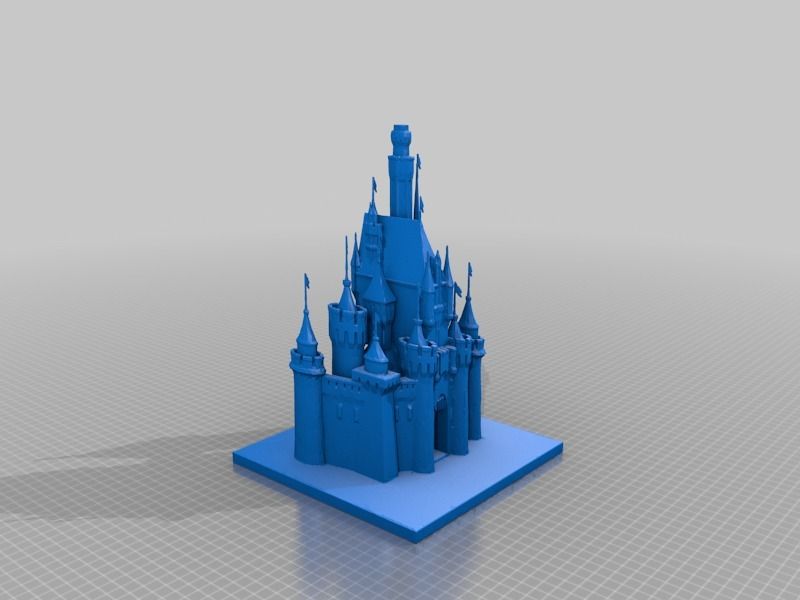 During this time it has been updated. A partially Russian interface appeared. Work became faster and more convenient. Today I’ll tell you about one technology, copying parts, when you can do without a scanner. They brought me here, the other day, a hatch from the headlight washer, with a request to make a mirror copy. Where were you a week ago? - …
Read more »
Labels: #tinkercad, #tinkercad4bunnies, 3d print, 3d print from scratch, print to order, 3d print studio from scratch
Mar 22
After a long break, I recorded a small training video on the updated Tinkercad Beta interface. If you are interested, I will analyze the possibilities and use of various primitives.
Labels: #tinkercad, #tinkercad4bunnies
Jul twenty
In previous articles (first, second), I promised that I would do speed tests and similar theoretical tests.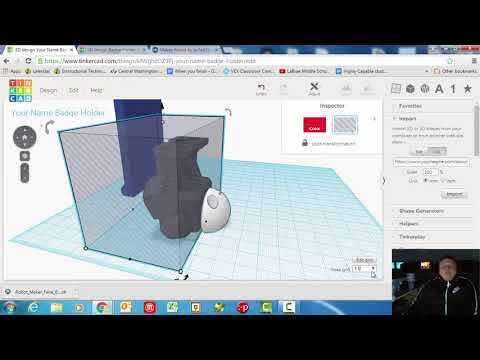 I even started making them. But I decided to simply describe one technical process from start to finish that can be performed on this printer. The plot of the plot - I periodically receive orders for the manufacture of a headlight washer nozzle for a 2007 Toyota Avensis. Stuck …
Read more »
Labels: #tinkercad, 3d printing, 3d printer, mz3d, PLA, print to order, 3d printing studio from scratch
May 24
Categories:
3D printing, 3D Printers, Announcements, Uncategorized, Useful, Miscellaneous
author: Dmitry Gorkov
How quickly time flies. It's been a year and a half since I've been teaching 3D printing. And at the end of the week I will exchange another ten years. Over the past year and a half, 5 books have been written, a huge number of online courses have been conducted. Several courses have been recorded, which are used by many tens and hundreds of people. People I have helped take their first steps in …
Read more »
Labels: #tinkercad, #tinkercad4bunnies, 100 orders per week, 3d print, 3d print from scratch, 3d printer, 3d pen, ABS, cura, hephestos, hephestos 2, picaso 3d designer pro250, PLA, witbox, Hephaestos, book, 3D printing master, 3D printing pros, efficiency, self-improvement, Own business, start, 3d printing studio from scratch, Souvenirs, Ultimaker
Mar fifteen
I received another small order the other day. It was necessary to make a not very complicated cap on the OZ cast wheel. While I was making the model in my favorite Tinkercad, I realized that the technique I used might be of interest to the community, as it solves a frequently occurring problem. On the photo of the cap you see 5 places for attaching bolts and 6 + 2 limiters along ...
Read more »
Labels: #tinkercad, #tinkercad4bunnies, 100 orders per week, 3d print, 3d print from scratch, 3d printer, hephestos, hephestos 2, hephestos, 3d print wizard, print to order, 3D printing pro, 3d printing studio from scratch
Feb 02
Everyone dreams of something in childhood… As a child, I loved to invent and make different devices and equipment. Contrary to popular belief, most boys are not into it. Someone is interested in football, someone else is doing something. But the percentage of guys who are ready to invent and do something is not so great. It probably comes from the family. They helped me a lot in this direction and ...
Read more »
Labels: #tinkercad, #tinkercad4bunnies, 3d printing, 3d printing from scratch, 3d printer, ABS, bq, cura, hephestos, picaso 3d designer, picaso 3d designer pro250, PLA, ultimaker 2 , witbox, hephaestos, book, 3d print master, picaso, pro250, 3d print pro
Jan 27
Who's talking about what, and I'm talking about the use of 3D printing again. Often orders come from where they did not expect. Like last week for me. I raise this topic in my classes, but I decided to remind everyone of one simple thing. I recommend remembering and interviewing people you know about their work and hobbies. What do they have…
Read more »
Labels: #tinkercad, 100 orders per week, 3d printing, 3d printing from scratch, 3d printer, bq, hephestos, gefesha, book, print to order, Own business, 3d printing studio from scratch
Jan 13
We live in a cool country.:no_upscale()/cdn.vox-cdn.com/uploads/chorus_image/image/17842197/tinkercad.0.jpg) Everything is our own. Even New Years. The whole world celebrates it once, and you have two! OldNewYear…. It's just a brain explosion for a foreigner. Old New Year. But with us, anyone from a half-word will understand what we are talking about. For some, this is an extra reason. Someone just doesn't pay attention...
Everything is our own. Even New Years. The whole world celebrates it once, and you have two! OldNewYear…. It's just a brain explosion for a foreigner. Old New Year. But with us, anyone from a half-word will understand what we are talking about. For some, this is an extra reason. Someone just doesn't pay attention...
Read more »
Labels: #tinkercad, #tinkercad4bunnies, 3d print, 3d print from scratch, 3d printer, 3d print wizard, 3d print pro
Previous posts «
3d modeling for kids , or What is TinkerCAD?
The direction of three-dimensional graphics in our Center is young and very popular. Every Sunday, the guys aged 8-12 gather in room 225 on the second floor and design 3D models, and then, together with their supervisor, print them on a 3D printer.
How the work is built, why be able to model at all and why 3D printing is not an end in itself - this was told to us by the head of the project Ivan Andreevich Kirpa .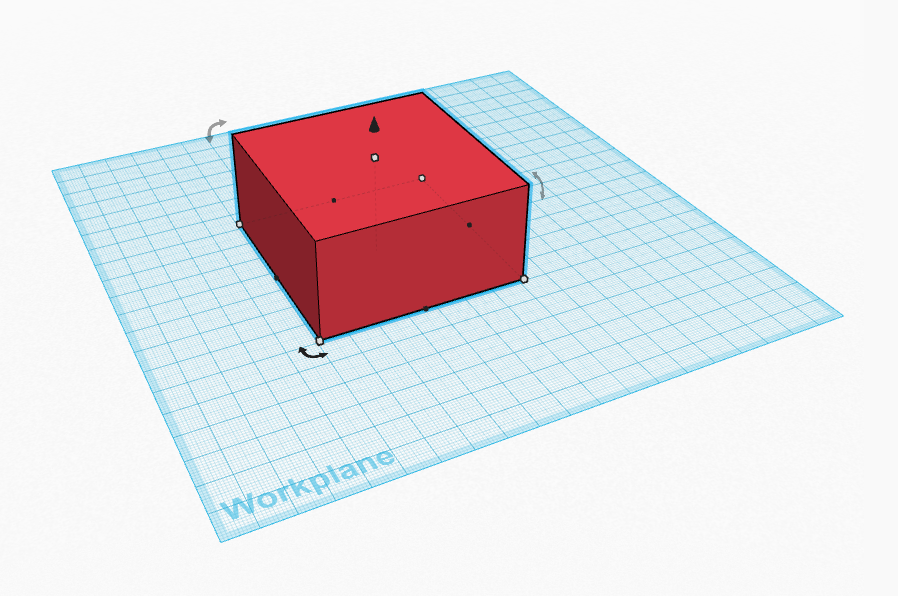
– What are the stages of the lesson?
- We take into development a specific object from the surrounding world: a building, a vehicle, a character from a cartoon or a computer game, some simple tool or device - and step by step we construct this object in a software environment on a computer. It usually takes about 1.5-2 hours to implement an idea in the form of a simple 3D model. The first stage of work is "decomposition", that is, the breakdown of the selected object into its component parts. The guys and I are analyzing what possible parts of what geometric shape this model consists of. After that, we create the main three-dimensional forms of the object and begin to "dress" it with various elements, working on small details. This is followed by printing on a 3D printer - the entire model at once or in parts, if it has, for example, moving parts. So in practice the skill of creating large and complex objects from simple geometric shapes is formed.
– Can you tell me more about printing?
- We have a 3D printer that is able to reproduce a virtual model in real material - it can be hard plastic or flexible, like rubber, in different colors. The first half of the lesson is usually devoted to modeling on a computer, in the second half we start printing finished objects. Previously, I process the model myself in a pre-printing program - a slicer, prepare a 3D printer for work, launch and control the printing process. For safety reasons, children are not directly involved in the operations of the 3D printer, but they observe how it works, along the way asking questions of interest to them. If the model is complex, printing continues after class.
At the time of printing, the guys see what improvements the model needs, and then, if necessary, make changes to their projects. Printing as many items as possible on a 3D printer is not an end in itself - each printed model is necessary for a better understanding of its structure and functionality.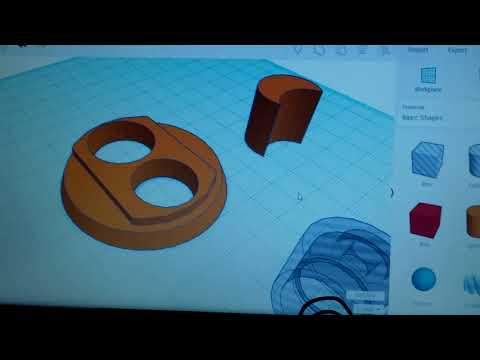 Well, brag about it to friends or to please parents, of course, is also nice. This is already a motivation.
- What program is used to design a 3D model?
- The program is called TinkerCAD - a product of Autodesk, well-known for its computer-aided design and drafting program AutoCAD. TinkerCAD was created for children and anyone interested in 3D modeling as a free online platform for learning basic 3D modeling with the ability to print a model on a 3D printer. To optimize the educational process, the platform website provides classes in which teachers can view, comment on and, if necessary, correct the work of their students.
– What is the main goal of learning 3D modeling?
- The main thing is the development of spatial thinking, so that children can easily operate three-dimensional figures, see what complex objects consist of, what parts. For example, when we dismantled the model of a football player, for a better idea, we ourselves stood in a circle and tried to portray this pose: this is how the legs are, this is how the hands are located.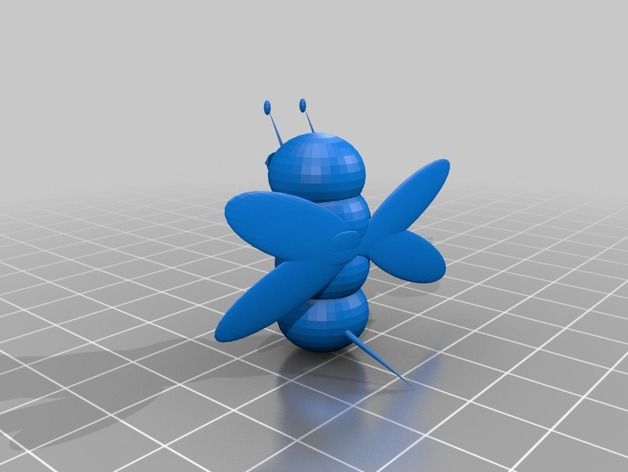 The study of 3D graphics is an acquaintance with the world around us, the formation of the skill to recreate what the eye sees in the form of a digital copy, as accurately as possible, as accurately as possible.
- Can this be attributed to the development of a child's artistic perception?
- Yes, and with a bias towards volume. Our format is different than drawing or graphic design because we always work in 3D. I don’t know if the skill of three-dimensional thinking is developing for other types of creativity, that is, if a child, having attended my course, will be able, for example, to mold a figure out of clay, looking at a photograph ... but some abilities will still be developed in this direction: he will be able to decompose the image and recreate by elements what he sees in the photograph.
In addition, 3D modeling develops engineering skills. To design, for example, a car and a garage for it, we analyze various detachable connections, get acquainted with the basic concepts of "dimensions", "size tolerance", etc.