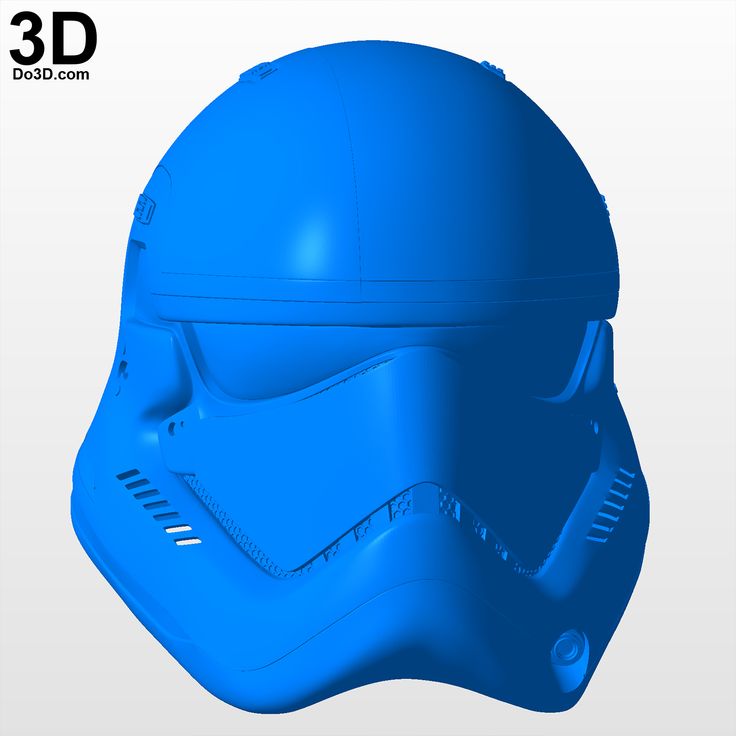
Stormtrooper helmet 3d print
Free STL file Full Scale Stormtrooper Helmet (wearable)・3D printable model to download・Cults
Darth Vader - 3D Printable Reveal Helmet
€19.18
C3P0 Wearable Mask (Hi Res)
€12.29
Spiderman Bust - Easy print, no supports.
€12.28
DeathTrooper 3D Printable Costume
€61.70
Darth Talon LightSaber
€18.94
Judge Dredd Helmet
€11.34
Imperial Gunner 3D Printable Helmet
€11.34
Crystal Key (Ready Player One)
€9.48
Best 3D printer files of the Fashion category
unicorn
€0. 50
batman LOGO - ACCESSORY FOR SHOE LACE - POPLACE
Free
Zortrax Voronoi Heels
Free
Cute climbing suit
€2.84
superhero+nurse+head+bands_Remix
Free
Deactivated
Christmas ball
Free
Best sellers of the category Fashion
Nike Air Jordan Colorized MMU Multi Material
€1.89
Adidas Superstar Finger sneaker
€2.18
Messi what are you looking at you fool
€2.09
12 in 1 Storage cube for Nintendo Switch game cartridges and MicroSD cards
€1. 99
99
Skull Keychain
€1.23
Keychain Camera
€1.20
Cat Skull Mask ARTICULATED
€6 -34% €3.96
Elven Ears for Halloween or Cosplay - 3 sizes
€2.26
Dragon claws
€3.80
Cuban chain print in place cuban link chain
€1.39
Cigarette Holder Ring Joint Holder device free hands sh-02 3d print ana cnc
€0.85
Backplate for masks
€4.59
NIKE Sneaker Pack 1
€12
BATCAT HELMET
€3.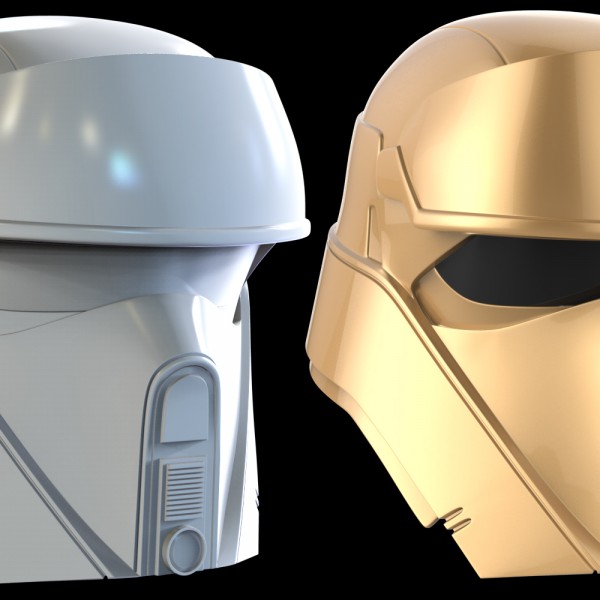 60
60
Print-in-Place Cuban Link Chain
€3.50
NIKE SHOES
€3.50
Would you like to support Cults?
You like Cults and you want to help us continue the adventure independently? Please note that we are a small team of 3 people, therefore it is very simple to support us to maintain the activity and create future developments. Here are 4 solutions accessible to all:
ADVERTISING: Disable your AdBlock banner blocker and click on our banner ads.
AFFILIATION: Make your purchases online by clicking on our affiliate links here Amazon.
DONATE: If you want, you can make a donation via PayPal.
WORD OF MOUTH: Invite your friends to come, discover the platform and the magnificent 3D files shared by the community!
How to create a child-sized Stormtrooper helmet
Making a kids-sized storm trooper helmet is a ton of fun and something you can do with your kids.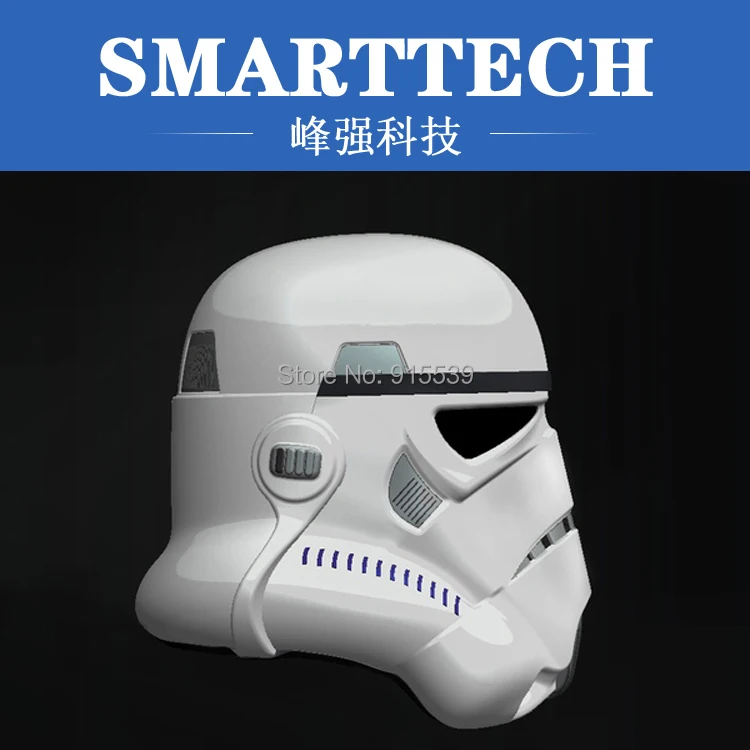
My daughter wanted to be a Stormtrooper for Halloween and we got here the standard fabric kids outfit. It came with a very cheap vacu-formed partial face mask, not an actual helmet. When she tried mine on, it was so big she couldn’t walk around, and they eye holes were in the wrong places.
All of the kid’s costumes come with very cheap, vacu-formed face masks, not helmets. We had a ton of fun making a real helmet together which was the right size for a child.So… I set out to print her make her a real one. Below are the steps for replicating it. The biggest challenges were patience (sanding, sanding, painting, sanding, …) and <10 year old motor control for final painting, but overall, she did an amazing job.
- Design
- 3D printing and assembly
- Sanding and Painting
- Details
- Weathering
- Lenses
First, you need to find the right 3D model of a helmet. I used Geoffro’s from Thingiverse. I printed the full helmet, not the individual pieces, but did 2 slices, so it ended up as 3 horizontal rings.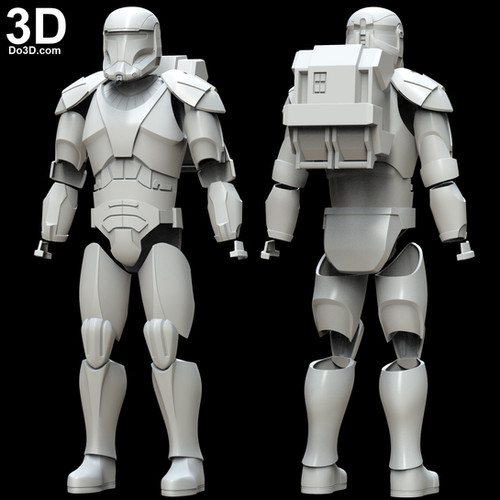
Scaling the print to a child’s head
To design the helmet, the key calculation is the size to make it. When you think of a child, you mentally calculate that their head must be significantly smaller than an adult head, but that isn’t actually true.
Additionally, you need to actually scale the size of the helmet based on the difference in volume, not calculate it as a difference in height. For example, if you calculate that the child’s head is 70% as the size and scale the print down by 30%, you are actually scaling it down in 3 dimensions by 30%, resulting in the volume of the helmet being 70%*70%*7% = 34% of an adult helmet, which is about the size of a dolls head.
In the end, I scaled it to 89% of the adult print size, giving 79% of the volume and it fit my daughter well.
Printing cleanly
When printing the helmet, if you try to print it in one go, the entire interior of the helmet has to be filled in with support material.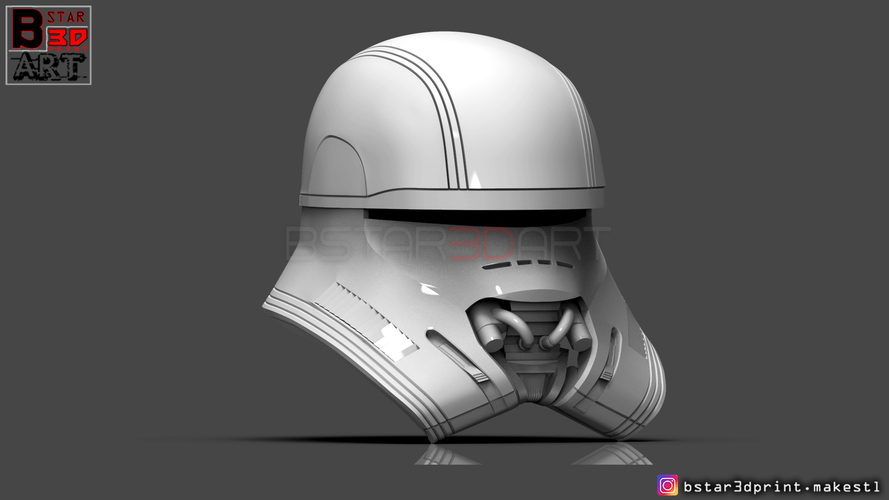 This can take more than a week to print and, because of its length, could run in to issues which make you restart.
The print does have multiple smaller pieces, but I found in a test print that it is difficult to get a smooth surface or glue all those pieces together cleanly as there is no internal skeleton.
Therefore, I printed the helmet using the single model in 3 horizontal slices. By aligning the top third with the indentation line around the back of the helmet it becomes almost invisible. The top slice was 213mm from the base and the bottom one was at around 105mm (Using 89% sizing).
When I finished the print, the “behind the ear” part of the helmet had roughed up layers and a small gap on the right side. I am not exactly sure why it printed it this way, but I would guess it had to do with scaling it down by 11% then optimizing the print, where it decided it was too thin.
Assembly
All 3D prints have slight imperfections in the flatness of the layers.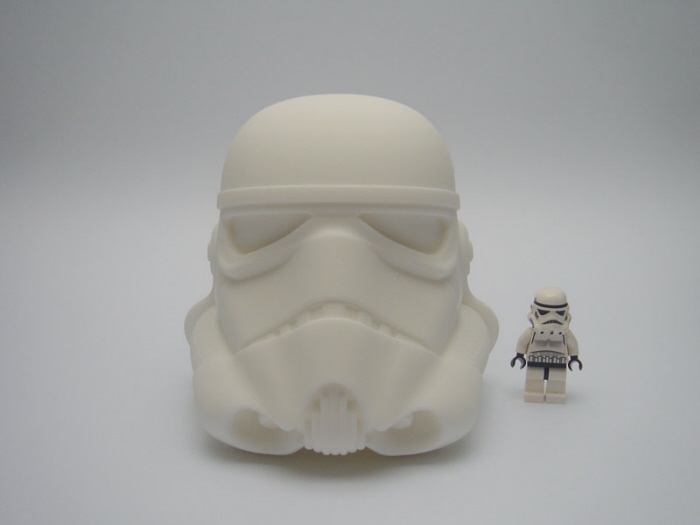 I had to slightly sand the edges of each slice to get the 3 to fit together without gaps and then glued them on top of each other and waited it until it fully dried. On the first try, I just glued between the layers, but did not put any vertical supports. The result turned out to be very brittle and when someone dropped it, one of the sections came apart. I ended up adding vertical plastic strips between each section to increase the strength and then re glued it.
After that, I used bondo to fill the holes behind the ear and smooth out the seams at each layer. It wasn’t the smoothest job, which required sanding in a future step. I would suggest spending more time working to smooth and finish the bondo while it is still damp and not doing too much at the same time.
When it printed out, the chin area had an extra chunk of plastic which had to be Dremeled away before a head could fit in it.
White Base Sanding and Painting
As with any 3D print, the surface is never perfectly flat. This is exceedingly important for this project as the Stormtrooper helmet is meant to have a gloss white finish which will show any imperfections.
I started by using a finish sander to do a cut at sanding high ridges on the top and larger flat parts of the helmet and then moved to a quarter of a sheet of sand paper to scrape out any needs of plastic or sand off blemishes in layers. I did not try to flatten the outside, but instead was just preparing for the first coat of paint.
As there is no detailing yet, there was nothing to mask off for different colors, so I used a prime and paint flat white spray paint as the first coat. I dried it with a heat gun to speed up the process, allowing me to put multiple coats on in the same session. I then let it cure and harden for a few days so that I could sand it cleanly.
Using multiple white gloss primer coats removes the imperfections from the print.When I sanded it, I worked to actually grind through the paint down to the plastic. This meant that I was left with a (mostly) flat surface where the ripples from each layer were significantly diminished. For this, I used a rougher 180 grit sand paper.
After that, I cleaned it with a wet cloth, let it dry and then used gloss white with multiple coats to create a smooth surface. I used a heat gun in-between light coats to allow me to create volume without worrying about drips.
I then repeated the sanding process, but with higher grit sandpaper and only by hand, to remove a set of small elements which became proud of the surface, washed and dried it again and then gave a few final light coats of gloss white again to finish the job.
Because the initial helmets in the movies were made with a vacu-form machine which could not make sharp corners, the removal of detail by adding many coats of paint looks fine, so don’t worry too much about putting on too much if you need to get it smooth. Just remember to do it in very light layers.
Detail Painting
For the rest of the details, I used a combination of hand brushing and masking tape cut into very narrow strips.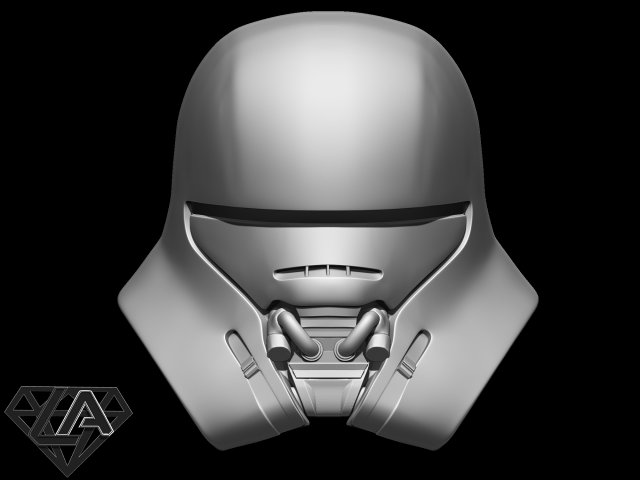 The helmet uses combination of grey and black paint.
As my Daughter wanted to paint it herself, some of the detailing isn’t perfect and we decided not to add the blue stripes on each side due to their small size.
Online, there are printable stencils which I could have used, however I found that the 3d model didn’t quite match up with some of them, scaling was a challenge and my daughter wanted to actually paint it herself.
Sealing the whole design
Before you weather the design, you will want to spray the whole helmet in a coat of clear gloss spray paint and let it fully dry so that you are not affecting any of the surface painting on top of the base coat as it can scratch easily and also has a different gloss/Matt feel which you don’t want.
Remember to mask off the top black bar and the front black area first as they are meant to be a matt finish.
The helmets have two black microphone tips on the chin and details on the ears. You can 3D print these, paint them and glue them on… or you can get them on etsy, where they have a lot more detail.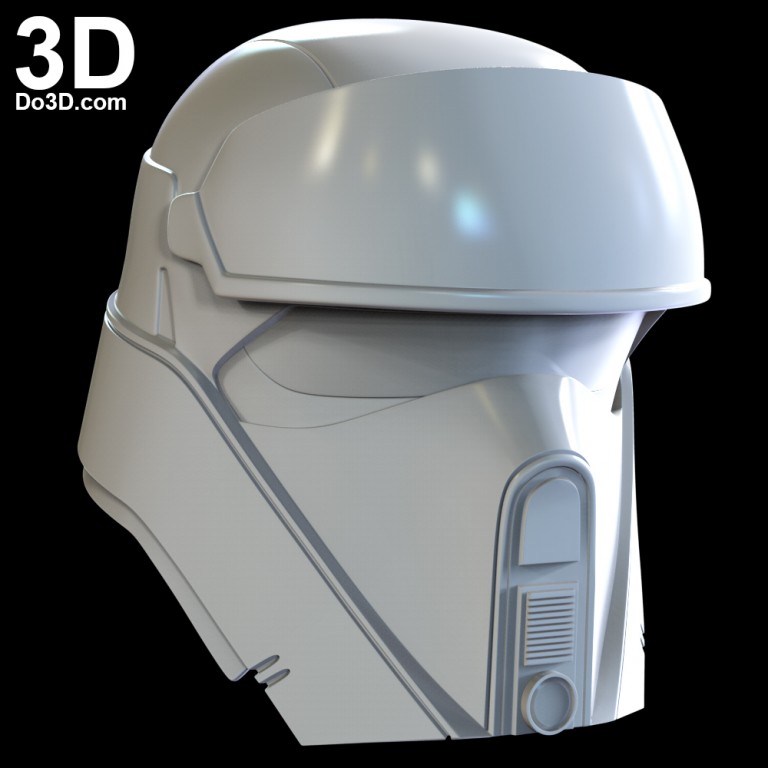
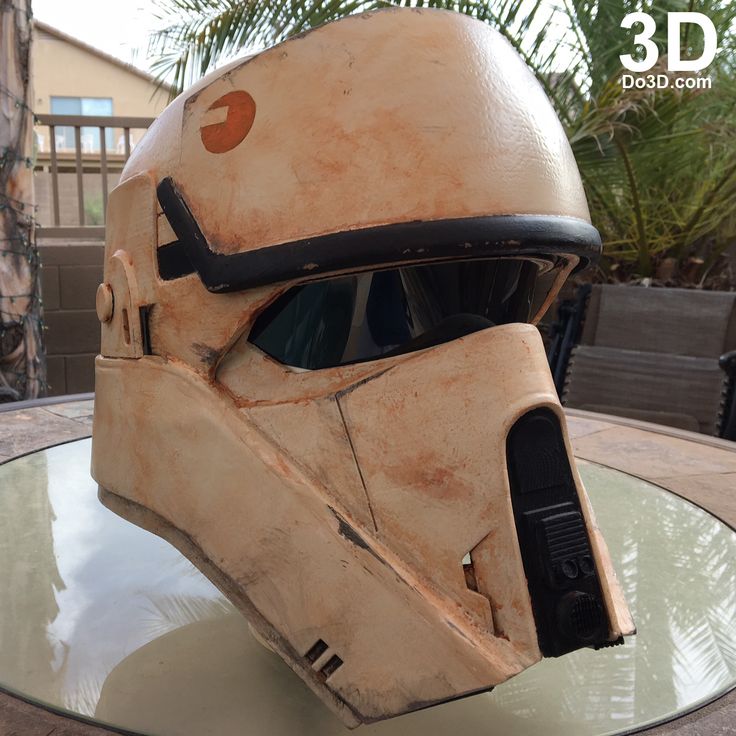
Some people like a perfectly new helmet, but I always enjoy making them feel like they came off of a few years of normal and hard use. My daughter, hilariously, decided that her helmet must stay clean, so we ended up not weathering it like mine.
Good weathering feels like it is part of the prop. (Note: This is my helmet after weathering as my daughter decided her’s must stay “clean”.)Dirt, grime and years of wear
For this, you need a metallic silver, black and burnt umber, which you can dry brush into the cracks of the helmet, let dry for 30 seconds and then wipe away. I recommend using the black as the first coat and then adding a brown coat on top because that feels like dirt on top of grease.
Once you have weathered it, think where the white might be rubbed away by year’s of use and use a metallic silver to create wear points.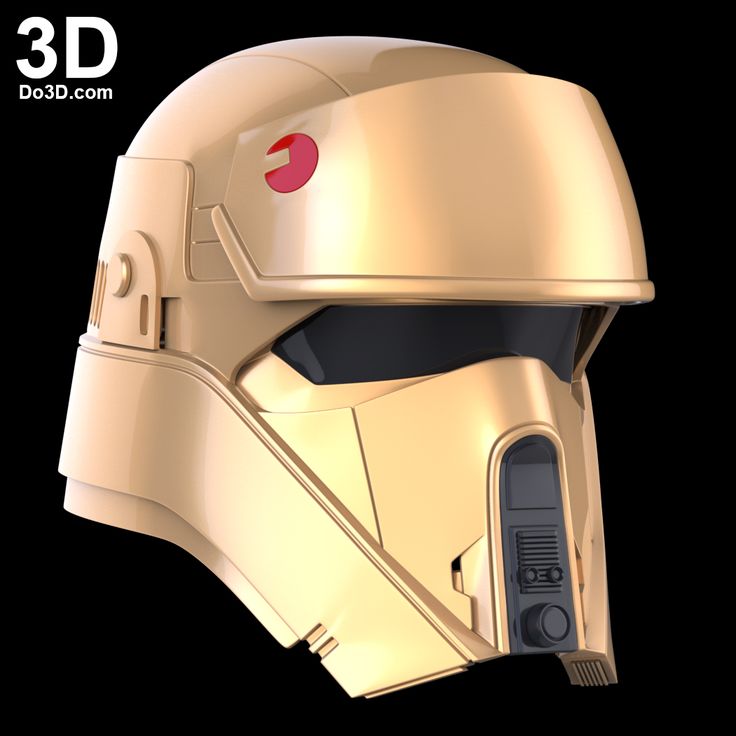 Try blending in your umber as a rust color in very small amounts.
Finally, you need to get lenses for the helmet. If you want realistic ones, they were actually dark green in the movies, but any color will work. You are looking for transparent vinyl. Etsy has many sellers.
Using grey acrylic for the lense, we ended up with slightly rough edges under the nose area, so installed a suede lower protector to make sure that people’s noses weren’t damaged.The last piece is to fit the helmet to your child’s head. To do this, you will want to get bicycle/helmet padding from Amazon. I found that the pads had a hard time sticking to the interior of the helmet. I believe this is because I had not finished the inside with primer, so it had difficulty attaching to the plastic. To fix this, you can apply glue to the backside of your Velcro adhesive strips and physically glue them in to the helmet in addition to sticking them.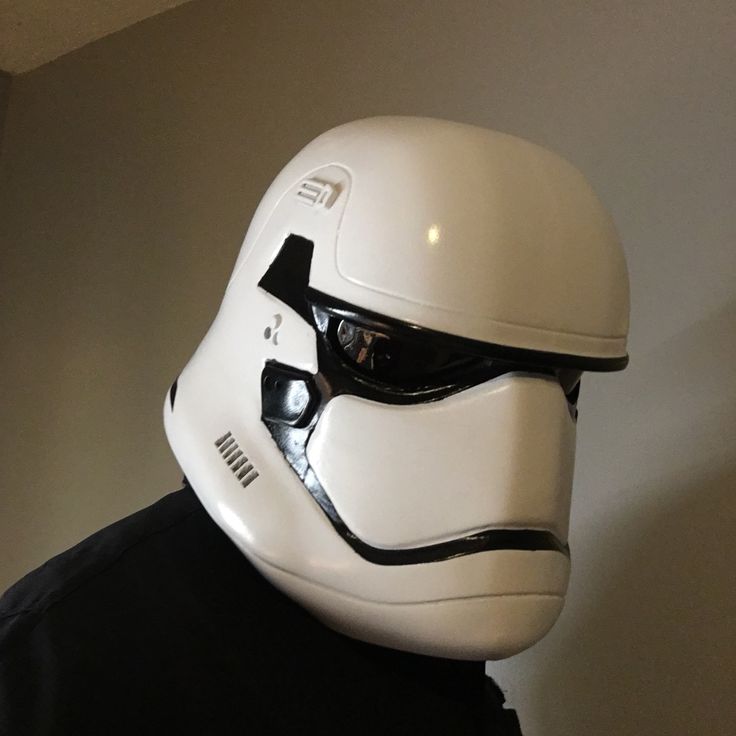
I had a ton of fun building this and got to do so with my daughter. Remember to let them make mistakes and learn so they actually create something themselves.
First Order Stormtrooper Helmet 3D File・3D Printed Model Download・Cults
Karambit "Valiant Champion"
2 €
Boba Fett Helmet
3 €
Valorous Ruin Dagger
2 €
Sword of the Valiant Sovereign
2 €
Menpo wolf mask
3 €
Valorant Reaver Knife
2 €
Trilla Suduri Helmet "Second Sister"
3 €
Valorant BlastX Knive
2 €
Best 3D Printer Files in the Miscellaneous Category
Airsoft Micro Claymore
Free
LIBRERIA DENTAL ADAPTADA PARA MESHMIXER
20 €
Ticket dispenser / SNCF Ticket Gate
Free
Door Opener Cancels forearm
Free
Topwater Fishing Lure
Free
Rick & Morty's Blaster | Rick's Ray Gun | Laser Gun | Energy Gun
7. 12 €
12 €
3D dinosaur
Free
Crater Lake Topo
Free
Bestsellers in Miscellaneous category
MMPR Dragon Dagger
4.75 €
Addams Thing
1.99 €
RS-X-Bow "Government - 1911" style
6.25 €
hinged shenron
3 €
Chainsaw Man - Denji
€18.03 -fifty% 9.02 €
THING Addams
8.54 €
Item
8 €
Speeder-Pad support on FLSUN V400 and FLSUN SuperRacer
3 €
Dwarf Yes (No support)
2. 49 €
49 €
Articulated Raykuaza Flexible Dragon Pokémon
1 €
Stand FLSUN V400
3 €
Wednesday item
€3.84 -twenty% 3.07 €
CHRISTMAS TREE v2
1,50 €
ItsLitho "Swirl" lithophane personalized Christmas ball
1,90 €
Predator-inspired movable mask
6.20 €
Mickey Christmas night light Litophane
3,50 €
Do you want to support Cults?
Do you like Cults and want to help us continue our journey on our own ? Please note that we are a small team of 3 people , so support us in keeping the activities of and creating future developments is very simple. Here are 4 solutions available to everyone:
-
AD: Disable your AdBlock banner blocker and click on our banner ads.
-
AFFILIATION: Shop online with our affiliate links here Amazon.
-
DONATIONS: If you want, you can donate via PayPal here.
-
* INVITE FRIENDS: * Invite your friends, discover the platform and the amazing 3D files shared by the community!
Stormtrooper helmet again. My version. (many photos)
We print
Subscribe to the author
Subscribe
Don't want
12
I know that similar works have been published on the portal more than once, but nevertheless I decided to share the attack aircraft helmet in my performance.
I have a friend. He's a fan of Star Wars stormtrooper ammo. To understand how much he is a fan about seven years ago, he glued a full-sized helmet made of paper, of course, he did not live long, but he brought a huge amount of enthusiasm.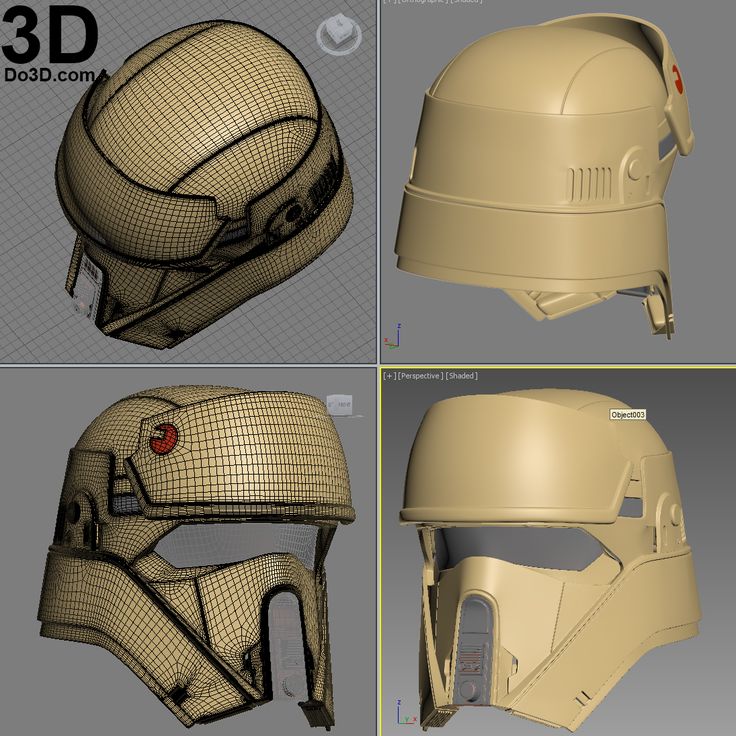 Personally, I would never have that kind of patience.
When I got a printer, the first question he asked me was whether it was possible to print such a helmet on it. Naturally, I said yes and promised that sooner or later I would pile him such a present. The word is not a sparrow. Yes, and his birthday is coming soon. In general, thinking after the New Year holidays, I took up this project.
I found the model of the helmet on tingverse (I won't give a link, it's so elementary here and there). And started printing. Initially, I started printing from ABS from greg on a plush printer. The print didn't work. Permanent bundles in high models. In general, I had to change my profile to PLA.
I ordered snow white from FDplast and it started.
It took about a week of a day's printing on one printer with a 0.4 nozzle to print all the elements.
Plastic snow white, contrary to expectations and reviews, turned out to be quite problem-free for such a project and did not cause any trouble.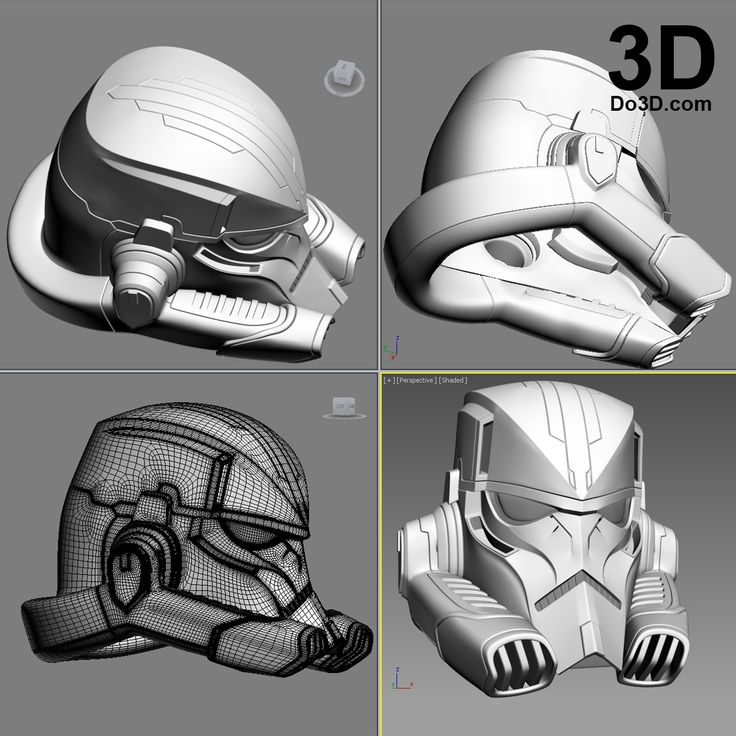
Start pre-assembly with masking tape:
Glue with a mixture of supports and dichloroethane. At first I tried to apply the mixture with a brush. Well, I’ll tell you what to do .. Then, peeping here, I began to use a medical syringe for a couple of cubes for this. things got a lot more fun. The main thing after work is to empty the syringe and leave it open. Then it can be reused. Do not try to store glue in a syringe. Throw away both the glue and the syringe.
When gluing, there were small discrepancies in the form of voids between the last seams. The largest gap was about three millimeters. It appeared as a result of incorrect calibration of the printer table, the first layers were practically eaten. When assembling the gap, I filled it with a mixture of dichloroethane with supports dissolved in it, and put pieces of filament into a large gap and filled them in the same way. In general, for such purposes, a 3d pen is needed, which I expect in the near future.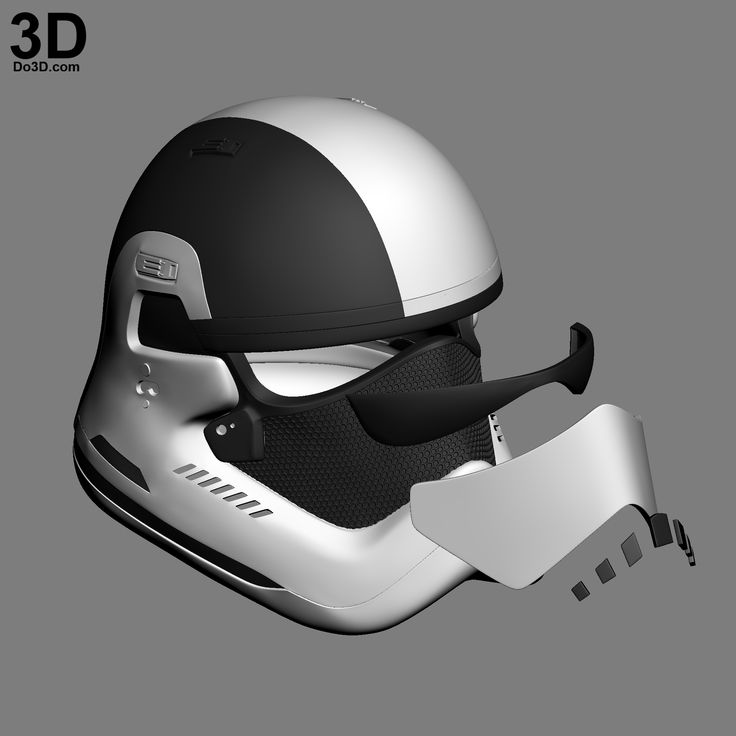
After gluing, I covered the model with primer from a spray can in order to see all the jambs of the model:
I chose white primer. Then the dreary days of puttying and sanding began. I did not achieve the results that my imagination drew in my head for a number of reasons:
1) hands from women.
2) winter, at home the spouse did not allow me to do it because of the smell;
3) once terrible.
In general, after painting, this is what happened:
I painted with enamel from a spray can on the street (at minus 15), having applied a layer, I brought the model into the room and let it warm up again. It turned out to put five layers while hiding all the flaws. Black was applied first from a spray can, after pasting over the model, and then corrected with simple acrylic paint for models. The producer is a star it seems. He also corrected his clumsiness from black paint with their white paint.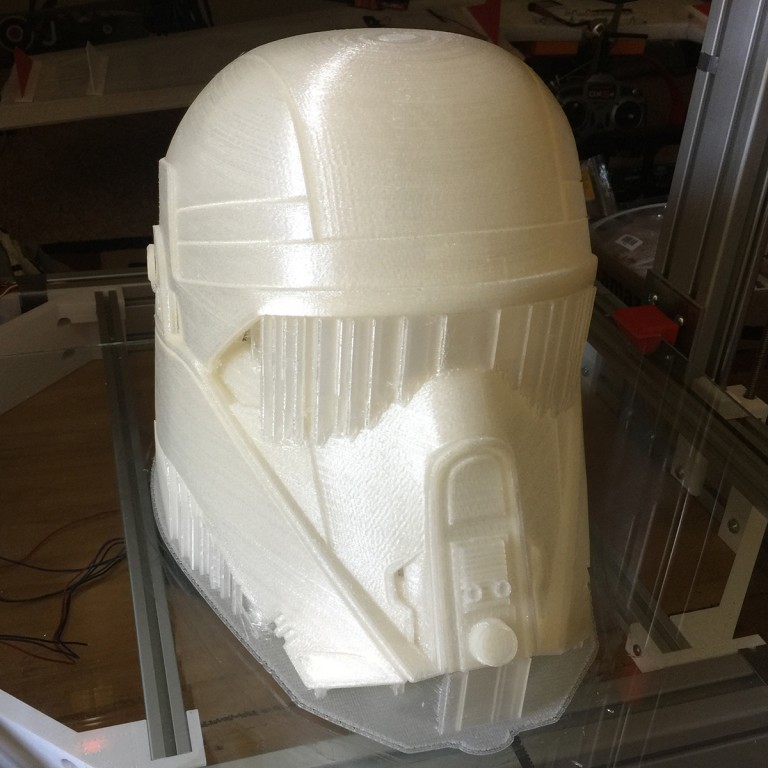
What was used in the model for the design of the eye sockets, I did not use. Instead, I used a clear document cover and glued it on the inside with a hot glue gun. From the inside, I toned the film of the eye sockets with a piece of car tinting.
The helmet is very uncomfortable on the head. So I found an old helmet and removed the head harness from it. In order to secure it, I modeled four
mounts that I glued onto a mixture of dichloroethane and plastic inside the helmet. Here's what happened:
Now the helmet sits very tightly on the head, does not cause discomfort, allows you to freely turn your head. The only thing is that you don't look like it for a long time. The helmet is quite deep and needs additional ventilation holes. there was an idea to make through holes in the recesses of the mask and close them from the inside with a black cloth. But this is just a thought for now.
Of course the helmet is far from ideal.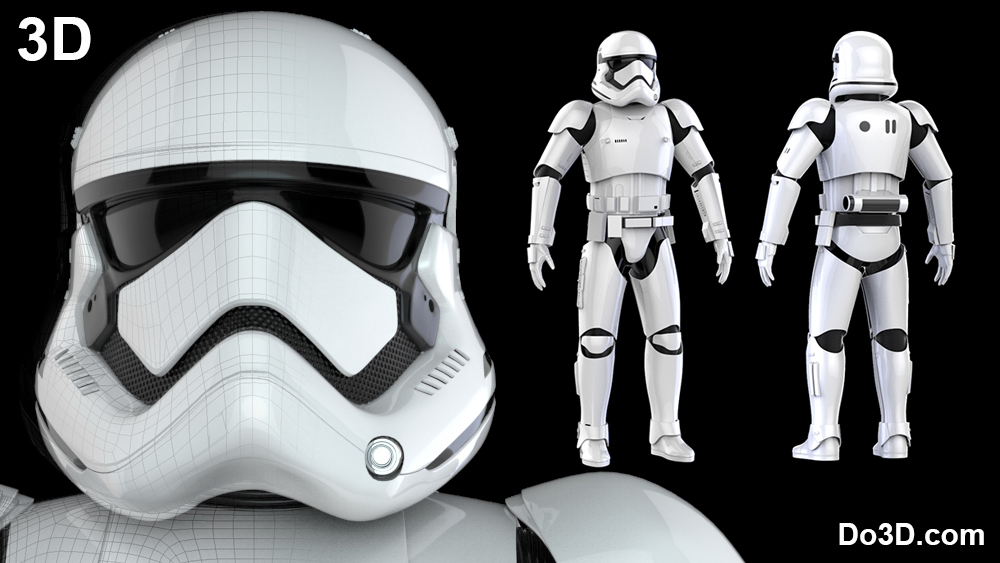 Perhaps in the summer, together with a friend, we will sand it again and paint it under normal conditions.
And so far.
Beaver everyone!!!
Follow the author
Subscribe
Don't want
12
Best prints
volock
Loading
11/15/2022
3089
25
Subscribe to the author
Subscribe
Don't want
Hello everyone. For the laboratory, a pumping station was made from peristaltic pumps. M...
Read more
amforma
Loading
11/21/2022
895
13
Subscribe to the author
Subscribe
Don't want
Scale 1:24.