3D print sanding
Ultimate Guide to Sanding 3D Prints
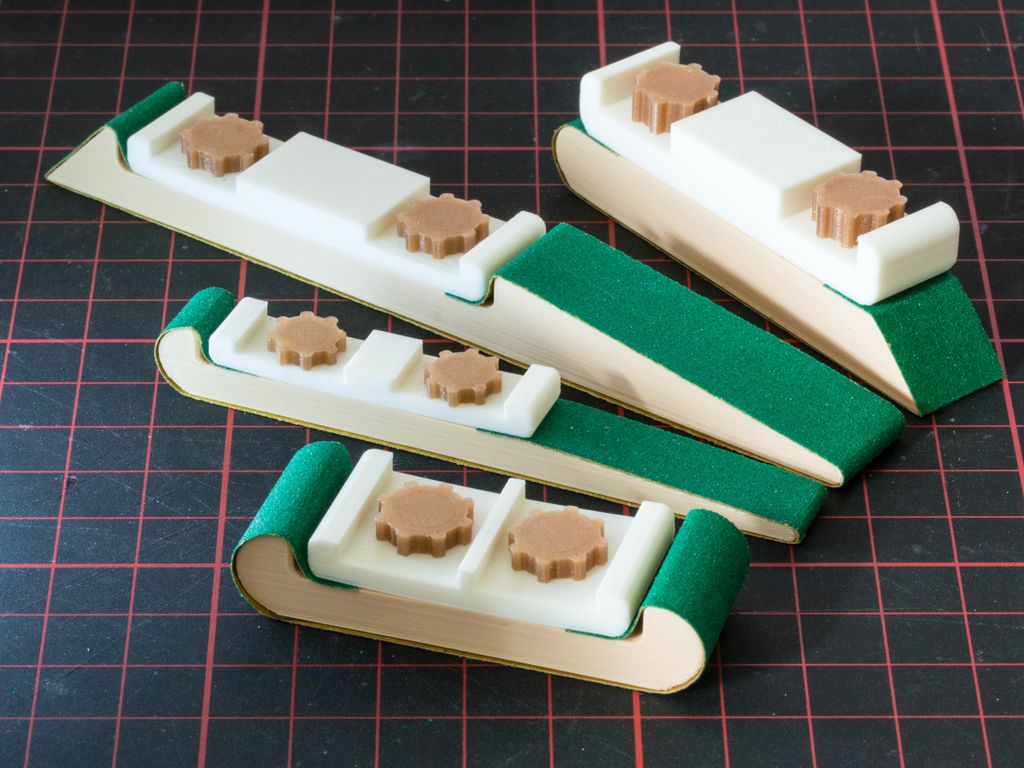
Sanding 3D printed models can be a great way to eliminate layer lines in preparation for painting, silicone molding, or vacuum forming.
In this “how to”, we will show you the best practices associated with sanding your 3D prints.
Working time will vary depending on your model. The process shown took us about 3 hours from start to finish.
SUPPLIES
Sandpaper (80, 120, 240, 220, 1000, 1500 grit)
Handheld electric sander
X-acto Knife
Needlenose pliers
Flush cutters
Chisels
Bin to hold water
Respiratory Mask
Eye protection
Gloves
Need some of these products? We've curated an Amazon wish list for you.
STEP 1: PREPARE & PRINT MODEL
Consider: Print settings, print orientation, number of build plates. Surfaces printed in the Z axis will have the smoothest surface finish.
Surfaces printed in the Z axis will have the smoothest surface finish.
Supplies used: Needle-nose pliers or flush cutters and chisels
A. Remove the print from the build plate
B. Remove rafts and support material from the model
When removing supports using pliers or clippers, be sure to wear eye protection.
C. Remove large pieces of support first, and then approach smaller pieces and fine details
D. Clean the edges and seams of your model to ensure better alignment of pieces
If you plan to glue your model, take care not to remove too much material around seams or joining surfaces, or you will need to use filler later on.
The 2021 Guide to 3D Printing Materials
Learn about polymers, composites, and metals all available for 3D Printing!
Supplies used: Electric sander and 80 grit sandpaper
A. Begin sanding with coarse (80 grit) sandpaper
Be sure to wear eye protection and a respiratory mask as sanding will release particulates.
B. When sanding with 80 grit sandpaper, the goal is to remove any leftover blemishes from raft or support material, and create an even surface that you will later refine. This process will remove the most amount of material and take the most time.
C. In early stages of sanding you will notice that your model surface that was once fairly shiny will become dull and rough and change in color. The shine will return as you move to higher sanding grits.
Be sure not to sand in one place for too long as heat generated from friction could melt the PLA.
D. To save some time you can use an electric sander or multitool. If using a multi tool, be sure to choose a low setting to avoid overheating/melting the PLA.
E. After each sanding stage, clean the model of any dust and inspect for a uniform surface finish
Move on to sanding with higher grits when all large to medium sized imperfections or blemishes have been removed.
STEP 4: SAND WITH MEDIUM GRIT SANDPAPER (DRY)
Supplies used: Electric sander and 120 & 240 grit sandpaper
A: Sand with 120 grit sandpaper (dry)
B: Sand with 240 grit sandpaper (dry)
C: If you notice large imperfections that you have missed, return to a lower sanding grit to refine those areas
As you move up through various finer grits, sanding should require less time. You will also notice that the model’s texture becomes more refined and much smoother.
Supplies used: 1000 grit sandpaper, plastic bin and water
When your model’s surface is even and refined it is time to wet sand the model using fine grit sandpaper. This process will not remove much material, but will do the most to polish its surface.
A: Submerge the model in a tub filled half way with water
Take care around fine features, round surfaces, and other small or difficult to reach places.
B. Using 1000 grit sandpaper, sand the model until it is completely smooth to the touch
C. Dry the model and inspect for a uniform surface finish
If you have properly sanded your model, its surface should now be even, blemish free, and glass-like to the touch.
Here you can see the difference between the unfinished surface and final sanded part.
Visit one of our other applications pages for tips on how to take your print even further.
We recommend that you visit our pages on:
Gluing
Painting
Silicone Molding
Last but not least, remember to share your work with us on Thingiverse and social media @MakerBot.
We can’t wait to see what you make!
Hair Dryer Shell
Ferro
10/2/2015
https://grabcad.com/library/hair-dryer-shell-1
Powered by MakerBot Learning.
Ultimate Guide to Finishing 3D Printed Parts
Time to read: 13 min
The purpose of this article is to detail the different finishing methods for FDM and PolyJet 3D printed parts and the techniques/tips that can elevate the look and feel of your prototypes.
A simple Apple Watch stand design will be utilized as a case study. This stand is a model with pockets and internal and external features that needs to be surface finished to a standard that complements the shiny exterior of an Apple Watch put on it.
Here’s a quick overview of the main points this article covers:
- PLA: If you’re working with a tight budget then PLA is going to be your best material choice; the results aren’t as polished but the price is cheapest.

- ABS: If your budget is moderate then go with ABS. It’s not as cheap as PLA but still at a low price point and the material is more reliable than PLA.
- VeroBlack or VeroWhite: For the highest quality parts go with VeroBlack/VeroWhite. This will give you the best dimensional accuracy and best overall polished look.
The 3d printing post-processing needed for the watch stand parts involves a combination of repairing and preparing the print for post-processing, sanding, and painting.
The finished sample 3D printed parts with all three materials should be smooth, matte black surfaces. Inherent to the 3D printing process, with every print are unique challenges and considerations to arrive at the best finish possible. Although there are ways to mitigate the challenges, experience in 3D printing goes a long way.
The print settings process for each material is detailed separately and a summation of the results may be found in the conclusion of this article.
ABS (Printed on a Dimension Elite)
The Dimension Elite prints are smooth, clean, and ready to sand out of the NaOH bath.
There are, however, clear stepping lines between the printed layers. If we don’t remove these stepping lines, they’ll show up in the final paint coat which will ruin our smooth finish. Thankfully, removing these will be easy thanks to ABS’s high melting point and easy sandability.
Materials Needed
The materials we’ll be using:
- Sandpaper (grits 100 to 600)
- Medium, fine, and extra-fine sanding sponges
- XTC-3D brush-on coating (As an alternative, Bondo putty is a common solution to fill holes in parts. We chose XTC-3D for its viscosity, sandability, and ability to penetrate small perforations, which makes it desirable over Bondo putty)
- Razor blade
- Foam brush, mixing cups and popsicle sticks
- Sandable Krylon Primer
- Montana Acrylic Primer in Shock Black
- Matte Acrylic Varnish
Sanding
Sanding the ABS print is simple and straightforward. First start with 100 – 200 grit sandpaper to remove stepping lines and then gradually increase up to 600 grit to achieve a smooth finish without sanding lines.
Pro Tip: Sand in small circular movements evenly across the surface of the part. Avoid sanding in one direction only, especially in the direction of the stepping lines to prevent striations or “trenches” in the print.
Beware that ABS is very easy to sand, so be careful not to overdo it. Removing as little as .010” can be enough to completely remove any stepping layers and oversanding can compromise critical dimensions.
After sanding the parts, some holes are revealed on our part left by an incomplete layer around the letters DIM. These holes can perforate through the finished paint coat to create ugly sinkholes, so we need to find a solution.
As you can see in the Catalyst tray to the right, there are large holes between the DIM and the edge of the part. Moving the DIM up in our Solidworks model would solve this, but for now we’ll have to find a way to fill these holes with a sandable filler.
We’re going to use a thin, sandable epoxy called XTC-3D to fill the tiny holes and crevices in our print. XTC-3D is cheap (a 24 oz bottle costs about $25), quick, thin, and effective. Note that a small amount goes a long way (within the 10 minute pot life).
Pro Tip: Be sure to maintain a weight ratio of 100 Part A to 42 Part B. Mix thoroughly for one minute and coat your part within the 10 minute pot life. For more details, check Smooth-On’s technical bulletin here, and a great instructional example here.
Before applying the XTC-3D, wash the part with soap and dry with compressed air to ensure your part is thoroughly clean and free of any oils or sanding dust. Also make sure to wear gloves so as not to get any hand oils or sweat on your part.
Fill in holes or gaps in your print with a very thin (1/64”) coat; a thin layer of XTC-3D will level itself out. We used a razor blade to scrape excess XTC-3D into the unwanted holes and gaps, making sure to avoid any areas we didn’t want filled (like the letters DIM).
Allow the XTC-3D sufficient time to become tack-free dry (approximately 2 hours). Now we’re ready to continue sanding away at the excess XTC-3D layer with 300 to 600 grit to reveal the repaired surface.
Then, after another thorough wash, we’re ready to begin preparing our repaired surfaces for painting.
Priming and Painting
Painting 3D printed parts is a vast world of acrylics, enamels, sprays, and airbrushes.
In this example, we’ll be using Montana spray can paints to follow a relatively straight forward process: prime, dry, paint, dry, varnish, dry.
Standard spray painting principles apply:
- First make sure your surface is oil-free, dust-free and hole-free
- Shake your cans for at least two minutes prior to painting
- Ensure your cap is clean to prevent drips
- Be aware of how the paint is accumulating on the part and look for any pooling or dripping
- Paint in many light coats rather than fewer heavy coats; this is especially important for 3D printed parts with internal and obscured geometries
- Paint in controlled, well-ventilated and well-lit areas
The Dimension prints started with very obvious stepping between layers. If you’ve sanded properly up until now to create as smooth a surface as possible, these layers shouldn’t show up in your final paint finish.
The finished ABS part is matte black and smooth to the touch with very little evidence of layering in most surfaces. A few important results to note here:
- Sharp internal pockets are tough to sand. After about 30 minutes of sanding, we still had a hard time removing all the layering and the stepping shows up even after priming, painting, and varnishing the print.
- Because we had to remove more surfaces from the sanding, there is some sacrifice in regards to the final geometry of the part.
- Filling the incomplete layer with a thin coat of XTC-3D worked very well; those holes are invisible in the final paint layer.
VeroBlack (Printed on an Objet30)
Thanks to .0011” resolution, the Objet30 prints have some stepping between layers, but nowhere near as obvious as in our FDM prints.
The Objet30 prints come out of the printer with a thick layer of support structure material so before we can begin finishing our VeroBlack part, we’ll need to remove this support structure and the residue it leaves behind.
VeroBlack 3D Printed Part Materials NeededThe materials needed for post-3D printing finishing:
- Sandpaper (grits 100 to 600)
- Medium, fine, and Extra fine Sanding Sponges
- Sandable Krylon Primer
- Montana Acrylic Primer in Shock Black
- Matte Acrylic Varnish
Start with 100 grit sandpaper to wet sand the residue and gradually move to wet sand with 300 grit sandpaper; the residue will fall off in small soft white chunks. This is the hardest part of the VeroBlack finishing process and it took us about 30 to 40 minutes to remove all the residual layer.
After removing the residual layer by wet sanding utilizing 300 grit sandpaper, the surface of the part will begin to feel smooth. If you rub the part with your fingernail, you’ll feel it’s harder and more plastic-like beneath the gummy residual coat. Continue wet sanding through to 600 fine grit sandpaper until the part is fully smooth.
Pro Tip: Water breaks up the residue, so wet sanding is a highly effective method to get a smooth, residue-free, paintable, and homogenous surface.
Thoroughly clean your part with soap and water before you move on to the next step to remove any additional residue. Again, we recommend using compressed air to dry the part and clear any accumulated dust.
Beware that VeroBlack is like ABS: very easy to sand, so be careful not to overdo it. Once you break through the residual layer, the actual VeroBlack will sand very easily. Removing as little as .005” can be enough to completely remove any stepping layers. Be careful as oversanding can compromise critical dimensions.
VeroBlack 3D Printed Part Priming and PaintingNext, we’re going to paint the VeroBlack part just as we did the ABS part: using Montana spray can paint with the following process: prime, dry, paint, dry, varnish, dry.
Standard spray-painting principles apply:
- First make sure you have a good surface quality which is oil-free, dust-free and hole-free
- Shake each paint can for at least two minutes prior to painting
- Ensure your cap is clean to prevent drips
- Be aware of how the paint is accumulating on the part and look for any pooling or dripping
- Paint in many light coats rather than fewer heavy coats; this is especially important for 3D printed parts with internal and obscured geometries
- Only paint in controlled, well-ventilated, and well-lit areas
The finished VeroBlack part is matte black and smooth to the touch. A couple points to note here:
- Some of the internal corners were not sanded enough to remove the residue, so you can see how the paint powdered up in these areas.
 This will likely result in peeling paint over time.
 - Although very little stepping is visible on the part, you can see slight evidence of it here. This part could have probably used 30 more minutes of thorough sanding.
Now for the dreaded PLA, a notoriously difficult material to finish. But with some tricks and patience, it too can join ABS and VeroBlack in the ranks of matte black glory!
This Replicator print came off the plate with severe striations: see the parallel grooves in the layers of the part above. This could be a result of machine quality, but for now we’ll just have to find a way to maneuver these striations to a smooth part.
Sanding PLA is difficult, in part because of how soft and gummy it becomes if you try to sand too aggressively or quickly, so we’ll explore options on how to smooth 3d prints with minimal effort and abrasion.
PLA 3D Printed Part SandingIf you choose to sand the PLA directly, the process is straightforward. Note: PLA acetone smoothing is not advisable. PLA smoothing is not as forgiving as ABS when it comes to sanding and abrasion, so you will likely spend more time removing the stepping between layers, especially with the severe striations in a print like ours.
Begin with a low (100 – 200) grit sandpaper, sanding away at the bumpy striations and any raft or support material (aluminum foil) left behind. Particularly in the case of MakerBot support, it’s easiest to remove them with a flush cutter or pair of pliers and brush them with a rotary multi-tool first before sanding away at them.
Depending on the size and geometry of your part, you’ll likely be stuck in the 100 – 300 grit sandpaper range for a while to smooth out striations and pesky support structure remnants.
Once layering and striations are less prevalent, move through finer grits (400 – 600) sandpaper to achieve a shiny surface ready for priming and painting.
Pro Tip: Patience is key when sanding PLA. Turn on a movie or your favorite show, but don’t zone out! Sand in small circles evenly across the surface of the part. If you’re using a sanding multi tool on PLA, be careful not to overheat/melt your 3D printed part.
An alternative method to sanding PLA prints directly is smoothing the PLA print with the XTC-3D first and then sand on top of the coating.
PLA 3D Printed Part FinishingWe’re going to use XTC-3D to create a smooth, sandable, paintable layer of epoxy clear coat glossy finish around our PLA print.
Before applying XTC-3D, ensure that your part is thoroughly clean, free of any oils and sanding dust (sensing a pattern yet?). Wash the part with soap and dry with compressed air to clear any dust. Again make sure to wear gloves to protect both your part and your hands.
Brush on the XTC-3D in a thin (1/64”) coat; as long as the coat is thin enough, it will level itself out. Between coats, leave 1.5 hours for the XTC-3D to dry.
It may be difficult to coat an entire part at once, so don’t be afraid to do it in sections, making sure to keep overlapping to a minimum between sections. Wait 90 minutes between first and second coats and after you’ve finished wait 2 hours to allow the shiny surface to become tack-free.
With striations as severe as ours, it will take multiple coats to get a smooth uniform surface, so patience is key. Remember that multiple thin glossy finish coats will level better than thick coats.
Pro Tip: Internal pockets are susceptible to pooling so be careful to suck up or remove any pooling that occurs before the XTC-3D begins to dry (that’s what we’re doing in the left picture above).
Beware that XTC-3D may compromise critical dimensions, but applying thin glossy finish coats will allow you to minimize the additional material.
After the XTC-3D layer has hardened (two hours after application of the last coat) it should be ready for sanding. Follow basic sanding guidelines, starting with 300 grit sandpaper (thanks to the smoothness of the XTC-3D) and sanding in small circular movements to even the surface. Any wavy patterns may require a coarser grit sandpaper to remove.
The sandpaper will scratch up the XTC-3D coat; focus on getting a level surface, moving through to 600 grit sandpaper.
After you’ve finished sanding 3D prints, make sure to thoroughly clean your part with soap and water and then dry using compressed air before moving on to the next step.
PLA 3D Printed Part Priming and PaintingPainting PLA parts follows the same process as the ABS and VeroBlack parts: prime, dry, paint, dry, varnish, dry.
Standard spray painting principles apply:
- Make sure your surface is oil-free, dust-free and hole-free
- Shake your cans for at least two minutes prior to painting
- Ensure your cap is clean to prevent drips
- Be aware of how the paint is accumulating on the part and look for any pooling or dripping
- Paint in many light coats rather than fewer heavy coats; this is especially important for 3D printed parts with internal and obscured geometries
- Paint in controlled, well-ventilated and well-lit areas
The XTC-3D coated PLA part is matte, black, and has a smooth surface to the touch with a few problems:
- Although the XTC-3D has worked well to smooth the part and make sanding quicker and easier, it has left pooling in the internal pocket that has shown through the paint finish.
- Striations are still visible on the part. 30 more minutes of sanding 3D prints could have prevented these from showing through the final paint finish.
After finishing all three parts to a smooth, matte black finish, let’s take a look at the differences in process, time, materials and finish.
Differences in ProcessABS (Dimension Elite)- Sand from 100 to 600 grit
- Repair holes with XTC-3D (may not apply to your part)
- Sand away XTC-3D with 300 to 600 grit
- Prime, Paint, Varnish
- Sand from 100 to 600 grit
- Prime, Paint, Varnish
- Coat in 1 to 3 layers of XTC-3D (depending on how bad the striations on your print are)
- Sand away XTC-3D with 100 to 600 grit
- Prime, Paint, Varnish
The part that took the longest to finish was PLA due to the XTC-3D coating time. Even without XTC-3D, however, PLA typically takes longer to sand than ABS or VeroBlack.
In our example, the VeroBlack was ultimately faster to finish since we repaired our ABS print with XTC-3D and stepping between layers was not as significant in the VeroBlack print.
All things considered, VeroBlack was the quickest to get to a smooth, matte black finish.
Pro Tip: If you’re in a rush to get from printer to photoshoot, pick the Dimension Elite or Objet30. Especially in models with overhangs and significant amounts of support material, the Dimension Elite and Objet30 both have support material that is quickly removable via dissolution, whereas the PLA support on a Replicator can significantly increase the time required to get to a smooth surface part.
Differences in Cost and MaterialsIt’s important to consider the amount of time it will take to finish your model as well as the overall look and dimension when considering the price.
PLA is the cheapest out of the three, at $20 per part, followed by ABS at $55, and VeroBlack at $110. In our opinion, VeroBlack is the best bang for your buck since it’s the shortest to surface finish and will give you the most accurate model.
At first glance, all three models may look very similar, but there are a few key differences in the final finish.
Both the ABS and the PLA finished prints have evidence of stepping between layers that is visible in the final paint coat. The VeroBlack print requires much less effort to remove these steps, which ultimately are not as obvious in the final paint coat.
Although the ABS and the VeroBlack finished prints have very similar surface finishes, more material (approximately .020”) was lost in the sanding process for the ABS to remove stepping between layers. In contrast, the VeroBlack print required less sanding, so the final object dimensions are closer to the original design intent.
Individual Summary of Each PartVeroBlack: High layer resolution (. 0011”) means little sanding is required to get a smooth, paintable part. Critical dimensions don’t need to be compromised to get a smooth surface quality part and no repairs are needed for fine detailed features.
ABS: Parts are easy to sand, but small fine detailed features may require repairing and careful sanding to remove stepping between layers. Once this stepping is removed, painting is straightforward.
PLA: The cheapest option, but also has the potential to be the most difficult to finish, depending on support structures and quality of the print. May require significant sanding and repairing via XTC-3D or Bondo filler.
Browse our website to learn more about our capabilities, such as 3D Printing and CNC Machining.
Quick Facts:
- Finishing a 3D printed part often involves a combination of the following processes: smoother application, sanding, polishing, cleaning and painting. The process is unique to the material type.
- A smooth finish with 3D printing is achievable but, post-processing will greatly improve the smoothness of parts.
- Epoxy resins are an excellent choice for sealing PLA printed parts.
- Acetone smoothing is not recommended for PLA prints.
- In general, IPA or rubbing alcohol will not dissolve PLA but there are some varieties that may be IPA soluble. Consult your filament material datasheet or technical datasheet for more information.
- PLA may be smoothed without sanding by dipping it or spraying it with a coating.
- ABS is tougher and lighter than PLA which is stronger and stiffer. Both have their ideal applications, but PLA is typically considered a hobby material whereas ABS is ideal for prototyping.
Beginner's Guide to Smoothing 3D Models
3DPrintStory 3D printing process Anti-Aliasing PLA: A Beginner's Guide to Anti-Aliasing 3D Models
Sooner or later, all owners of 3D printers think about smoothing the surface of printed 3D models. In this article, we will look at how to achieve a smooth surface of the printed model if you are using PLA plastic for 3D printing.
Sanding the printed model
Almost any model will require sanding to smooth it out. It is best to use sandpaper with different levels of grit. You can start with a grit of 200, and continue to increase the grit up to 4000. It is best to sand in a circular motion against the fibers of the layer lines.
Resist the urge to use a power tool because the strong vibrations generated by power tools will easily melt plastic, deforming the surface. Even when sanding by hand, remember that friction generates heat that can damage the 3D model by melting the plastic.
The best sandpaper is waterproof or wet/dry because you can wet it to cool the plastic. You should also constantly rinse the 3D model to remove any particles that form during the sanding process. An added benefit is that the water prevents small plastic particles from getting into the air and being inhaled.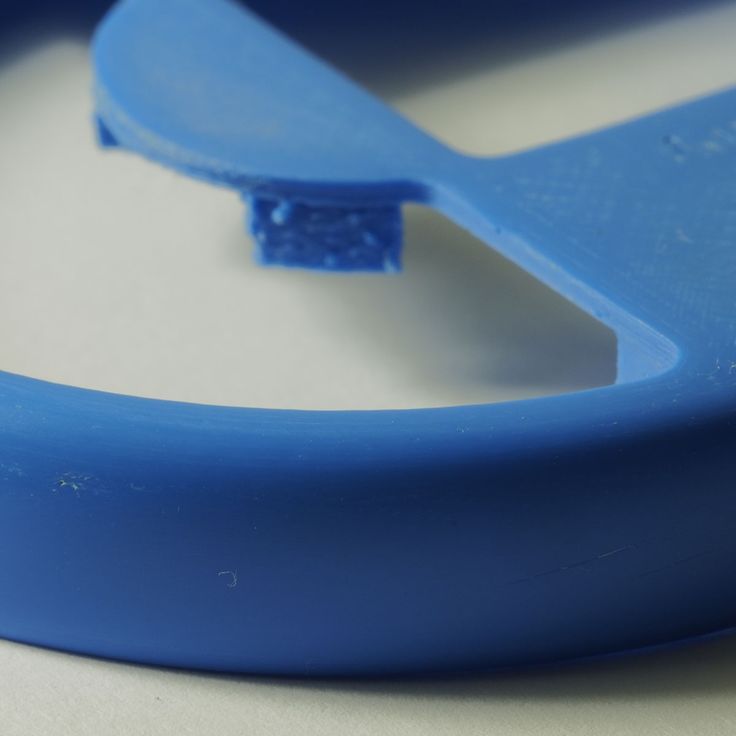 Wet/dry sandpaper can be distinguished by color. Its grains are black, not brown or beige.
Polishing options with pastes and special coatings
With PLA smoothing, sanding will never completely eliminate layer lines. One effective method is to apply polishing paste to the remaining lines of the layer. Polishing pastes have varying degrees of quality, following the example of sandpaper. These compounds are usually designed for use with metals, but work quite well with plastics. Simply apply the compound to a sanding wheel or similar rotary tool attachment, then apply it to the plastic for a smooth and shiny finish. As with sanding, remember that polishing creates friction and therefore heat. When smoothing PLA with a grinding wheel, it is better to use a lower speed.
Another method for smoothing PLA is to use a sandable primer with a high filler content. Thin, even coats dry quickly, after which the primer can be sanded down to plastic so that it remains only in the recesses of the layer lines.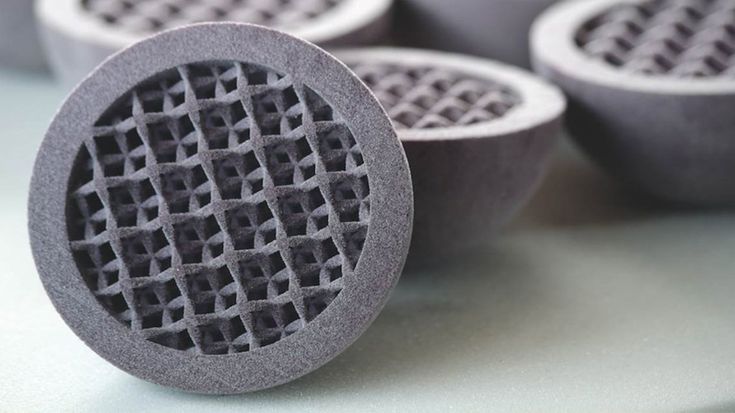 Repeat the process until all 3D printing flaws are gone.
For both procedures, always use primer and paint from the same manufacturer and never mix acrylic and enamel. This can crack the paint and put an end to all the hard work you've done before.
Another product worth mentioning is Smooth-On's XTC3D Finish Coat. It uses two liquids, one of which catalyzes the other, to create a resin-like material that can be brushed onto a 3D model. The coating is evenly leveled, leaving no brush strokes. Although Smooth-On claims that XTC3D does not melt plastic, the resin definitely gets hot as the mixture begins to set. The end result is a smooth and hard appearance that can be painted over or used as a final coat.
Heat gun
A less popular option for smoothing PLA plastic is to use a heat gun. This method requires some practice because the tool obviously generates a lot of heat which can destroy your 3D model. Pre-sanding the model helps to expose the plastic, making the final effect much more effective.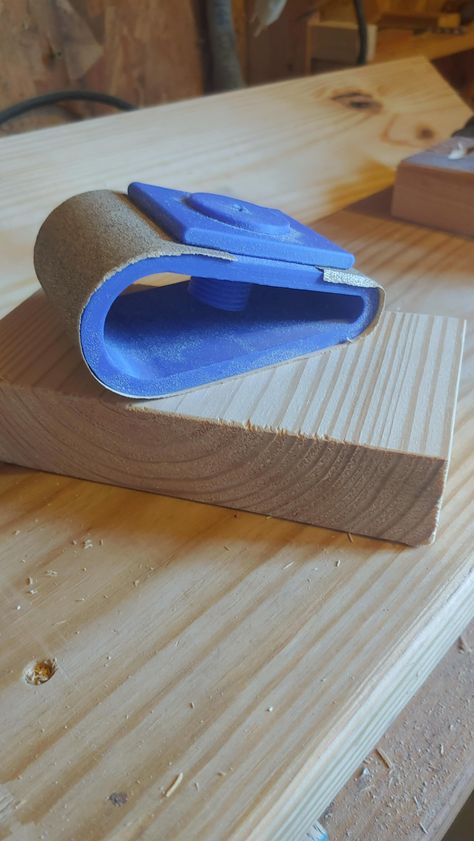 The key is to keep the gun moving across the surface of the model, never letting the gun linger on one area that could easily melt the plastic.
While PLA does not generally emit odors when extruded, heat will certainly produce fumes as the plastic softens. Regardless of which PLA flattening method you choose, always try to work in a well-ventilated area because heated plastic, resins, and spray paint release potentially harmful fumes.
Using Polymaker's Polisher
A well-known method to get smooth 3D models out of ABS is to place the model in a sealed container filled with acetone mist. The acetone interacts with the ABS and slowly melts the plastic, creating a super smooth model. Note : be sure to read the necessary precautions if you decide to try this method.
Unfortunately, you cannot do the same procedure with PLA because it does not react in the same way with acetone. Some other chemicals will do the same but are difficult to obtain and very dangerous and toxic to use.
Polymaker, best known for its 3D printing materials, has introduced its own anti-aliasing agent called Polysher. Using a proprietary PLA-like filament formula, the 3D model is lowered into a sealed chamber where isopropyl alcohol is sprayed, creating a mist around the object to be smoothed out. The 3D model rotates in an alcohol mist that reacts with the plastic and melts it. The longer the process, the smoother the model will be. When you take the 3D model out of Polysher, its surface will be sticky, so it's best to leave it for about half an hour. It also improves the final look, which may not be as smooth as you would expect.
As with the other procedures described here, a little sanding helps the process but is not necessary. Tip : Expose the 3D model to shorter Polysher sessions and flip the model between sessions. Surprisingly, this method also produces near-transparent models when used with Polymaker's transparent PolySmooth material.
Conclusions
Creating smooth surfaces on 3D models will require some work.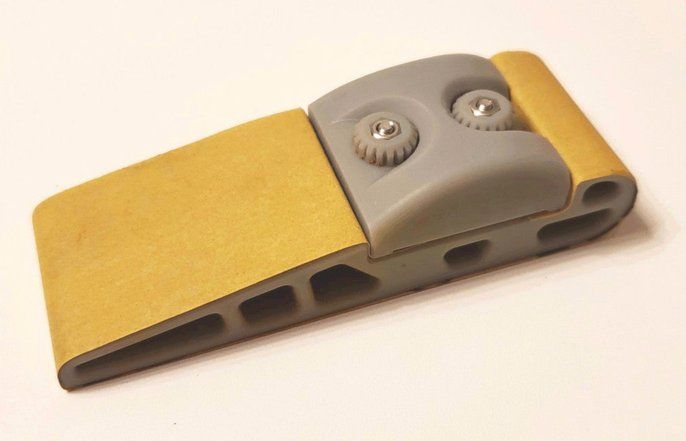 Sanding will either prepare your model for other processes, or it will create a nearly flawless surface on its own. No matter which procedure you choose, there are always some caveats to any PLA smoothing process.
All processes remove material from your model. Sharp edges will be smoothed out, and it will be very difficult to get around fine details. So if you break your model into separate nodes, each of them can be smoothed using the most appropriate process. And as a result, it will be possible to assemble the final, smooth and professional looking model.
Plastic 3D printing: how to make surfaces smooth
It is believed that plastic 3D printing cannot produce products with smooth surfaces. The layering caused by the peculiarities of FDM construction does not allow them to be used as final products in cases where the aesthetics of the object is important. However, modern methods of post-processing plastic products make it possible to give finished products made on a 3D printer the desired qualities.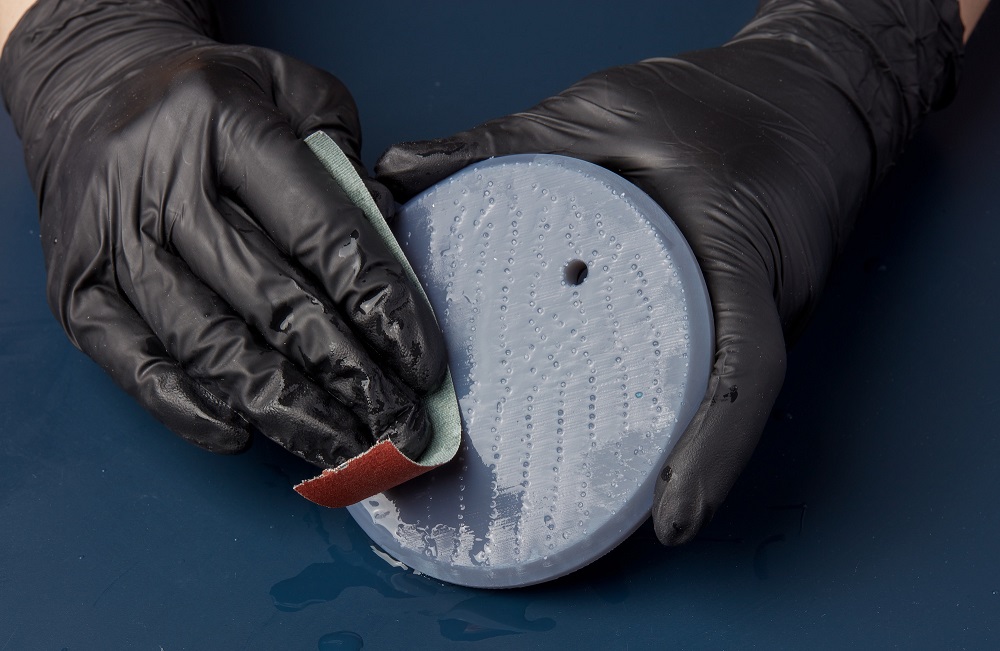
Grinding
The surface grinding process is one of the most affordable and common post-processing options for plastic products. Various grinding methods are used to prepare prototypes for presentation, check the assembly of structures, and process finished products.
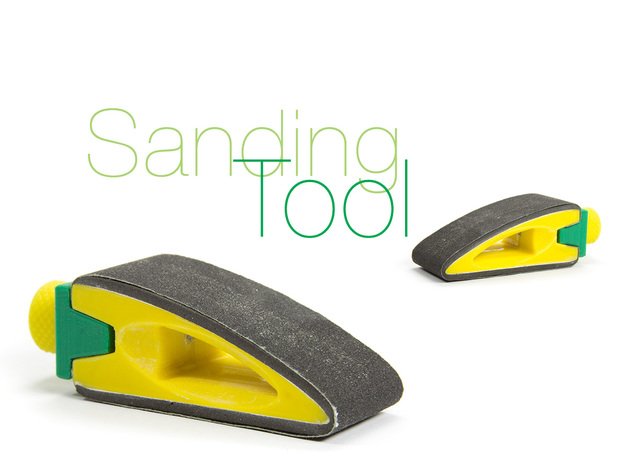
Sanding can be done both manually and with the use of belt sanders (similar, for example, to wooden parts). It's a simple, cheap and effective way to give your plastic parts the right surface quality properties.
Generally all surfaces can be sanded well, except for very small parts. When it comes to very precise products, it is important to understand how much material you will remove in the process. Removing too much layer will change the structural features of the object. Therefore, before starting grinding, we recommend that you make control measurements and decide on the tool and intensity used for maximum accuracy.
Shot blasting
The process of blasting a surface with a stream of plastic (or metal) shot under the influence of compressed air. The operator directs the device nozzle to different parts of the product to eliminate layering and give the surfaces a uniform matte shade.
Sandblasting suitable for most FDM materials. The use of small plastic shot gives excellent results and does not harm products. Usually, it takes no more than 5-10 minutes to process one part. One of the disadvantages of this post-processing method is the limitation on the size of the product. Since the process takes place in a closed chamber, the maximum size of the product usually should not exceed 30-40 cm.
Sandblasting
Sandblasting differs from shotblasting only in the material used to affect the object. Sand grains allow processing faster. However, due to the geometry of the particles, they do not guarantee such a "delicate" approach to the impact on the surface, as is the case with plastic shot.
Acetone vapor treatment
The product is lowered into a closed tank, at the bottom of which there is a small amount of liquid acetone. The tank is then heated, causing the acetone to evaporate. Vapors interact with the surface of the object, dissolving about 2 microns. This allows you to make the surface of the plastic part smooth and shiny in just a few seconds.
This post-processing method provides a fast and uniform surface smoothing (without disturbing the geometry of the product). It is widely used in the production of consumer goods, medical instruments, and various prototypes. However, like shot blasting, pair smoothing has a size limitation.
Bulk mechanized post-processing of plastic parts
There are also automated methods for mass in-line surface treatment of plastic products. For example, various industrial grinding equipment is used for this.
Interested in learning more about the post-processing options for 3D printed plastics? Call +7 495 646-15-33 and Globatek.