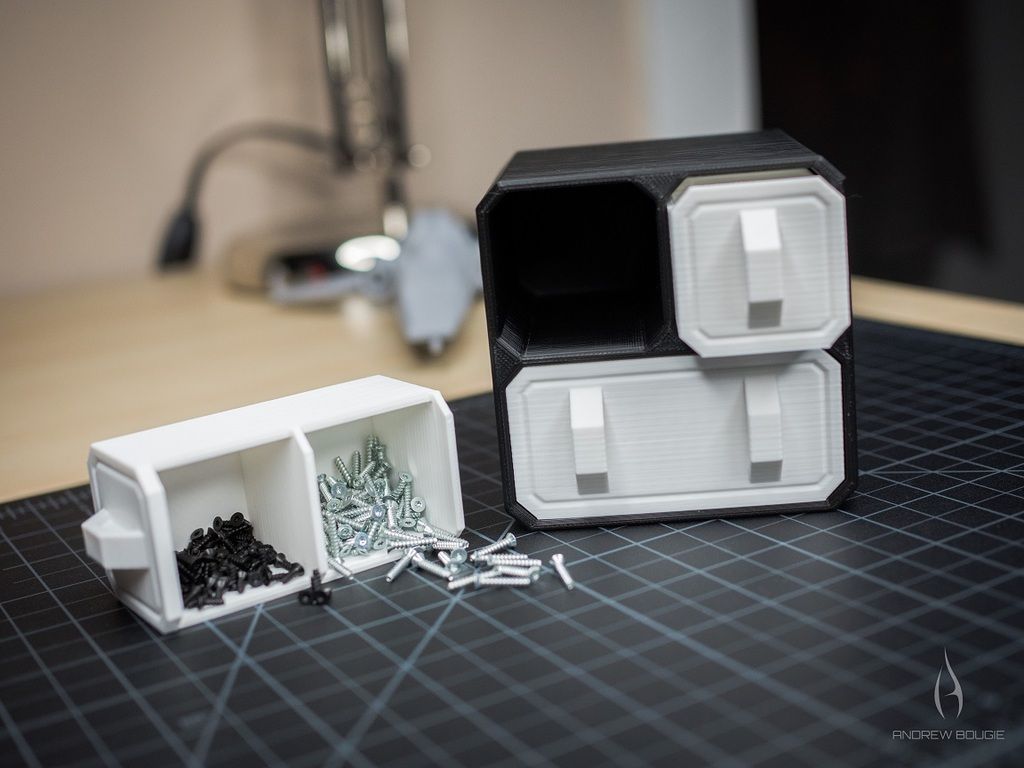
Sanding 3d prints pla
Ultimate Guide to Sanding 3D Prints
Sanding 3D printed models can be a great way to eliminate layer lines in preparation for painting, silicone molding, or vacuum forming.
In this “how to”, we will show you the best practices associated with sanding your 3D prints.
Working time will vary depending on your model. The process shown took us about 3 hours from start to finish.
SUPPLIES
Sandpaper (80, 120, 240, 220, 1000, 1500 grit)
Handheld electric sander
X-acto Knife
Needlenose pliers
Flush cutters
Chisels
Bin to hold water
Respiratory Mask
Eye protection
Gloves
Need some of these products? We've curated an Amazon wish list for you.
STEP 1: PREPARE & PRINT MODEL
Consider: Print settings, print orientation, number of build plates. Surfaces printed in the Z axis will have the smoothest surface finish.
Surfaces printed in the Z axis will have the smoothest surface finish.
Supplies used: Needle-nose pliers or flush cutters and chisels
A. Remove the print from the build plate
B. Remove rafts and support material from the model
When removing supports using pliers or clippers, be sure to wear eye protection.
C. Remove large pieces of support first, and then approach smaller pieces and fine details
D. Clean the edges and seams of your model to ensure better alignment of pieces
If you plan to glue your model, take care not to remove too much material around seams or joining surfaces, or you will need to use filler later on.
The 2021 Guide to 3D Printing Materials
Learn about polymers, composites, and metals all available for 3D Printing!
Supplies used: Electric sander and 80 grit sandpaper
A. Begin sanding with coarse (80 grit) sandpaper
Be sure to wear eye protection and a respiratory mask as sanding will release particulates.
B. When sanding with 80 grit sandpaper, the goal is to remove any leftover blemishes from raft or support material, and create an even surface that you will later refine. This process will remove the most amount of material and take the most time.
C. In early stages of sanding you will notice that your model surface that was once fairly shiny will become dull and rough and change in color. The shine will return as you move to higher sanding grits.
Be sure not to sand in one place for too long as heat generated from friction could melt the PLA.
D. To save some time you can use an electric sander or multitool. If using a multi tool, be sure to choose a low setting to avoid overheating/melting the PLA.
E. After each sanding stage, clean the model of any dust and inspect for a uniform surface finish
Move on to sanding with higher grits when all large to medium sized imperfections or blemishes have been removed.
STEP 4: SAND WITH MEDIUM GRIT SANDPAPER (DRY)
Supplies used: Electric sander and 120 & 240 grit sandpaper
A: Sand with 120 grit sandpaper (dry)
B: Sand with 240 grit sandpaper (dry)
C: If you notice large imperfections that you have missed, return to a lower sanding grit to refine those areas
As you move up through various finer grits, sanding should require less time. You will also notice that the model’s texture becomes more refined and much smoother.
Supplies used: 1000 grit sandpaper, plastic bin and water
When your model’s surface is even and refined it is time to wet sand the model using fine grit sandpaper. This process will not remove much material, but will do the most to polish its surface.
A: Submerge the model in a tub filled half way with water
Take care around fine features, round surfaces, and other small or difficult to reach places.
B. Using 1000 grit sandpaper, sand the model until it is completely smooth to the touch
C. Dry the model and inspect for a uniform surface finish
If you have properly sanded your model, its surface should now be even, blemish free, and glass-like to the touch.
Here you can see the difference between the unfinished surface and final sanded part.
Visit one of our other applications pages for tips on how to take your print even further.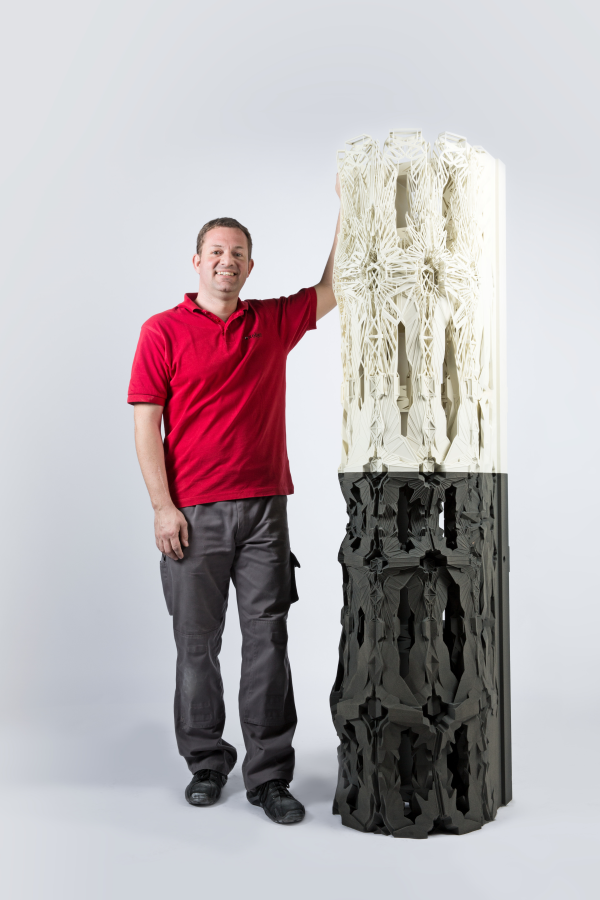
We recommend that you visit our pages on:
Gluing
Painting
Silicone Molding
Last but not least, remember to share your work with us on Thingiverse and social media @MakerBot.
We can’t wait to see what you make!
Hair Dryer Shell
Ferro
10/2/2015
https://grabcad.com/library/hair-dryer-shell-1
Powered by MakerBot Learning.
How To: Smooth and Finish Your PLA Prints - Part 1
Making your 3D prints look fresh off the assembly line isn't as hard as you think. Follow these simple techniques to finish your 3D prints and make them shine.
Alec Richter
September 29, 2016
PLA (Polylactic Acid) filament is one of the two most commonly used desktop 3D printing materials (with the other being ABS filament). It is the ‘default’ recommended material for many desktop 3D printers, and with good reason - PLA is useful in a broad range of printing applications and can be produced in a variety of colors. It has the virtue of being both an odorless and low-warp material, and does not require a heated bed.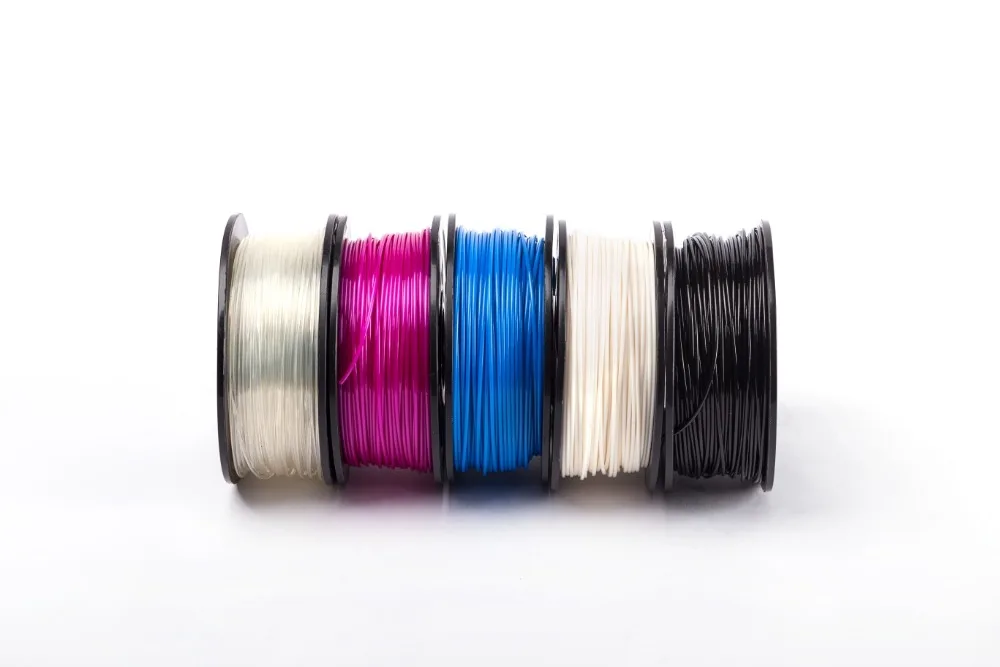 PLA plastic is also one of the more eco-friendly 3D printer materials available; it is made from renewable resources (corn-starch) and requires less energy to process compared to traditional (petroleum-based) plastics. Cool, but what do you do to finish a PLA print to make it truly good?
Yes, this Halo helmet is 3D printed!
There are several techniques to remove or diminish the striations or layer lines of a 3D print. Some of the different processes that can be applied to PLA can be applied to ABS, but not vice versa. Generally, for PLA filament, the methods you can use involve the continual adding and subtracting of different materials back and forth until it is as smooth as you want it.
What do I mean by finishing?
Think of your 3D prints as the Great Pyramids of Giza. They used to be totally smooth down the side, but age has revealed the layered and rough base built underneath. To make the pyramids smooth, Ancient Egyptians added limestone over the top, since it was a much softer material than the base stone. If they had the technology, they also could have cut away the jagged levels to make smooth, flat faces. This is what finishing consists of; a fine balance between adding and subtracting material to achieve the desired surface finish. The key is to remove enough material to hide some striations (layer lines) and adding just as much to fill in the gaps.
To help showcase the benefits and problems that can arise with each technique, I’ve designed a “Finishing Torture Test.” This simple model has sharp corners on the outside of the cube and the inside of the hole, along chamfers, and the edges of the pyramid. It also has round faces, fillets, and a cylinder. I chose to include all these in the model as they are different examples of some common features you might find in the various models you can print, and to show how some of the features can be lost or diminished.
If you'd like to put your finishing skills to the test, you can download this model from our Thingiverse or from the Design Store
Finishing Torture Test
I started by printing out the model in MatterHackers Silver PRO Series PLA.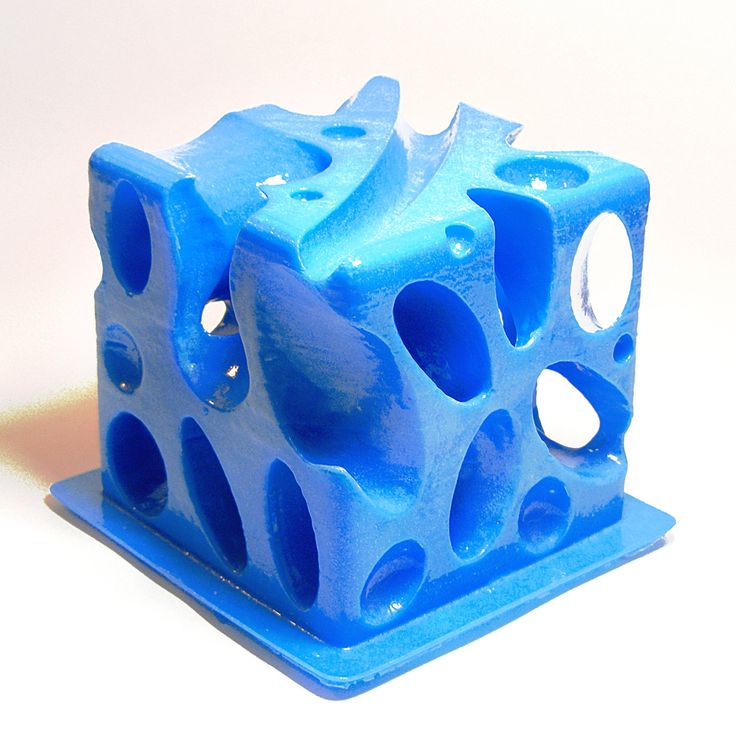 This will serve as the control print. I then repeated the print eight more times. The eight prints will be used to demonstrate four different techniques, each with two different finishes.
The control print.
As this in an introduction to finishing PLA, this list is non-exhaustive of the techniques you can learn to clean up your 3D prints. More tools can be used, small tips can be learned, and starting with a good model are all techniques you can use to produce finished prints, but the ones I will be going over are:
- Painting alone
- Sanding and painting
- Sanding, filler primer, and painting
- Sanding, filler primer, spot putty, and painting
Note:
If I were doing this with the intent to mold these or use these as a finished product, I would have gone through each step half a dozen times over, moving from low to high grits, priming, more sanding, priming, sanding, spot putty, sanding again, etc. Since the purpose of this article is to show the difference each material introduces to the finish of your part, only one pass of sanding and finishing is done to each part.
Painting
Painting is the least involved of any of the techniques; all you need is a rattle can and some open air and you can paint your 3D print.
Materials:
- Spray Paint
Some recommendations to follow when spray painting:
- Don't spray right up against your print: if you spray too close to your print, you risk getting noticeable drips in the paint job.
- Spray in a back and forth motion, overlapping each pass.
- Multiple coats will fill in the striations better than one coat alone, but keep each coat light.
Total Time: 1 minute (not including drying times)
Here you can see that there are still a lot of striations visible even after the paint, but it's less than if it was unpainted.
Left: Control, Right: Spray Paint
Sanding and Painting
Sanding is going to be the most common finishing technique, with any 3D printing filament. It’s easy, and it’s cheap, but that doesn’t make it any less tedious. The lower the grit, the coarser the sandpaper is, and the quicker it’ll remove material. I use 3M Pro Grade Precision because its backing is a little sturdier so it doesn't rip as easily and it lasts a while longer because the grit doesn't gum up as quickly as normal sandpaper.
Materials:
- Sandpaper
- 120 grit
- 200 grit
- 400 grit
- Water
- Paper towels
- Spray Paint
Start with the 120 grit and focus on the sides of the print. 120 grit will tear away material pretty quickly, so avoid sanding corners, edges, and any fine details.
Sanded using 120 grit
Continue to progress through the grits as you need to remove less and less of your print. Once you’ve finished with 200, start using water as you sand. 400 grit and above is going to remove very little material, any major blemishes or layer lines in the model will be mostly unaffected at this point, and will more or less be polishing what you have.
Dip your piece of 400 grit sandpaper into some water and continue sanding your print. The water helps keep the paper from clogging and gets a much finer finish than dry sanding with the same grit. As you sand, run your fingers over the print to get a feel for how smooth it is. When you think it’s pretty smooth, you're ready for paint.
Here is what the 3D print looks like after two matte gray coats of paint or two gloss gray coats. Keep in mind these are cheap Rustoleum rattle cans, but these prints do look better after having been sanded and painted.
8 minutes using 120 grit
6 minutes using 220 grit
5 minutes using 400 grit
1 minute spray painting
Total time: 20 minutes (not including drying time).
Left: sanded, matte paint; Right: sanded, gloss paint
Filler Primer
Once you’ve given it a quick sanding, spray on some filler primer to coat the entire 3D print. Keep alternating through sanding with 120 and spraying filler primer until things like the dome on top are filled in enough to make one smooth surface, rather than the clear layer lines on top. Once it’s filled in enough, repeat the steps listed in Sanding and Painting.
Materials:
- Filler Primer
- 120 grit
- 200 grit
- 400 grit
- Water
- Paper towels
- Spray Paint
Start by sanding with 120 grit sandpaper to bring down some of the surface texture. Before adding more material on top, it’s always better to remove some material first.
8 minutes using 120 grit
1 minute spraying the filler primer
7 minutes using 120 grit
10 minutes using 220 and 440 grit
Total time: 26 minutes (not including drying time).
Left: sanded, filler primer, sanded, matte paint; Right: sanded, filler primer, sanded, gloss paint.
Spot Putty
Spot putty is a great material and like any great material, slightly toxic. Gloves are a must as spot putty is basically dye, resin, and talcum powder, and a mask is based on personal preference but always encouraged. The label does list the vapor as harmful, but it's in such small quantities I usually ignore it, although it has given me headaches on several occasions.
Materials:
- Filler Primer
- Bondo Glazing and Spot Putty
- 120 grit
- 200 grit
- 400 grit
- Water
- Paper towels
- Spray Paint
- Gloves
- PPE
This is basically the same as the last process, except you will be using the spot putty to fill in any low spots to fill in some of the major layer lines, or rebuild minor blemishes like the top of round surface.
First, you're going to want to follow the steps I've given for filler primer, up to the point of switching to 220 grit. Instead of changing grits, you're going to do the following steps instead.
To apply spot putty, either use your gloved finger, a small paddle, scrapers, the side of a plastic scrap, a popsicle stick, it doesn't really matter. My personal preference is to use my finger for most and a small spreader for the tight spaces. Using a pea sized amount of putty, I smear it across the surfaces of the print and try to spread it thick enough to fill gaps but thin enough to not lose the details I'm trying to preserve. Either way, it's really easy to sand off so don't worry about overdoing it.
Once you've covered the entire 3D print with spot putty, wait 15 minutes or so until it has cured. After it has cured and is no longer gummy, start sanding again at 120 very briefly. Like I said, it's mostly talcum powder so it's going to be really easy to sand, you're basically wiping it off. When your 3D print looks like you initially did only a light coating, with pink spots of putty all over, you're ready to bump it up to 220 grit. At that point, follow the previously listed directions for sanding.
8 minutes with 120 grit
1 minute spraying filler primer
5 minutes applying spot putty
3 minutes with 120 grit
10 minutes with 220 and 400 grit
1 minute spray painting
Total time: 29 minutes (not including drying time).
Left: sanded, filler primer, sanded, spot putty, sanded, matte paint; Right: sanded, filler primer, sanded, spot putty, sanded, gloss paint.
Comparisons and Final Thoughts
From left to right: Control, Painted Matte, Painted Gloss, Sanded with Matte, Sanded with Gloss, Filler with Matte, Filler with Gloss, Spot Putty with Matte, Spot Putty with Gloss
Each technique took more time than the last, but you also get much better results - after all, it is a craft. Keep in mind that only one coat of filler primer and spot putty was used during the process (for the sake of time), but you can use as many coats as you'd like to eliminate layering. As you can see in the picture above, the results are still pretty stellar for only half an hour of work. For reference, the picture below is the 3D printed Torture Test before they were spray painted.
From left to right: control, sanded, sanded with filler primer, sanded with spot putty.
For part two in this series, read the sequel article, How To: Smooth and Finish Your PLA Prints - Part 2
Beginner's Guide to Smoothing 3D Models
3DPrintStory 3D printing process Anti-Aliasing PLA: A Beginner's Guide to Anti-Aliasing 3D Models
Sooner or later, all owners of 3D printers think about smoothing the surface of printed 3D models.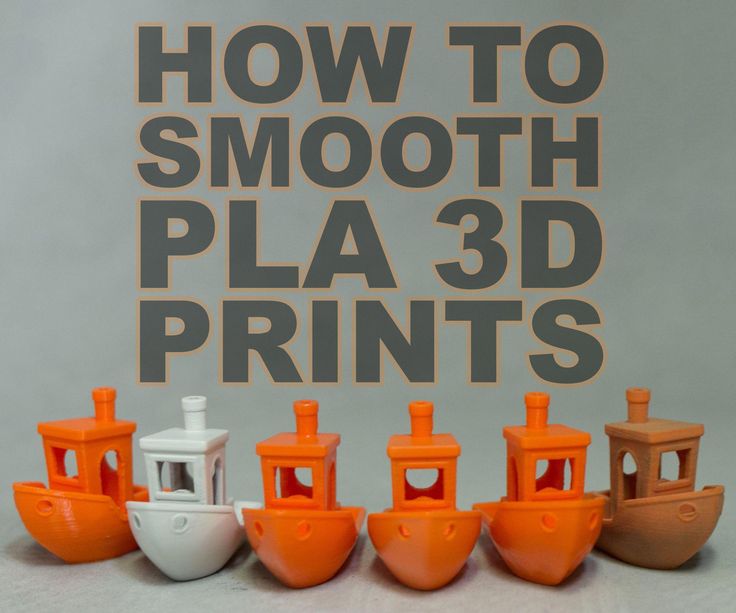 In this article, we will look at how to achieve a smooth surface of the printed model if you are using PLA plastic for 3D printing.
Sanding the printed model
Almost any model will require sanding to smooth it out. It is best to use sandpaper with different levels of grit. You can start with a grit of 200, and continue to increase the grit up to 4000. It is best to sand in a circular motion against the fibers of the layer lines.
Resist the urge to use a power tool because the strong vibrations generated by power tools will easily melt plastic, deforming the surface. Even when sanding by hand, remember that friction generates heat that can damage the 3D model by melting the plastic.
The best sandpaper is waterproof or wet/dry because you can wet it to cool the plastic. You should also constantly rinse the 3D model to remove any particles that form during the sanding process. An added benefit is that the water prevents small plastic particles from getting into the air and being inhaled. Wet/dry sandpaper can be distinguished by color. Its grains are black, not brown or beige.
Polishing options with pastes and special coatings
With PLA smoothing, sanding will never completely eliminate layer lines. One effective method is to apply polishing paste to the remaining lines of the layer. Polishing pastes have varying degrees of quality, following the example of sandpaper. These compounds are usually designed for use with metals, but work quite well with plastics. Simply apply the compound to a sanding wheel or similar rotary tool attachment, then apply it to the plastic for a smooth and shiny finish. As with sanding, remember that polishing creates friction and therefore heat. When smoothing PLA with a grinding wheel, it is better to use a lower speed.
Another method for smoothing PLA is to use a sandable primer with a high filler content. Thin, even coats dry quickly, after which the primer can be sanded down to plastic so that it remains only in the recesses of the layer lines. Repeat the process until all 3D printing flaws are gone.
For both procedures, always use primer and paint from the same manufacturer and never mix acrylic and enamel. This can crack the paint and put an end to all the hard work you've done before.
Another product worth mentioning is Smooth-On's XTC3D Finish Coat. It uses two liquids, one of which catalyzes the other, to create a resin-like material that can be brushed onto a 3D model. The coating is evenly leveled, leaving no brush strokes. Although Smooth-On claims that XTC3D does not melt plastic, the resin definitely gets hot as the mixture begins to set. The end result is a smooth and hard appearance that can be painted over or used as a final coat.
Heat gun
A less popular option for smoothing PLA plastic is to use a heat gun. This method requires some practice because the tool obviously generates a lot of heat which can destroy your 3D model. Pre-sanding the model helps to expose the plastic, making the final effect much more effective. The key is to keep the gun moving across the surface of the model, never letting the gun linger on one area that could easily melt the plastic.
While PLA does not generally emit odors when extruded, heat will certainly produce fumes as the plastic softens. Regardless of which PLA flattening method you choose, always try to work in a well-ventilated area because heated plastic, resins, and spray paint release potentially harmful fumes.
Using Polymaker's Polisher
A well-known method to get smooth 3D models out of ABS is to place the model in a sealed container filled with acetone mist. The acetone interacts with the ABS and slowly melts the plastic, creating a super smooth model. Note : be sure to read the necessary precautions if you decide to try this method.
Unfortunately, you cannot do the same procedure with PLA because it does not react in the same way with acetone. Some other chemicals will do the same but are difficult to obtain and very dangerous and toxic to use.
Polymaker, best known for its 3D printing materials, has introduced its own anti-aliasing agent called Polysher. Using a proprietary PLA-like filament formula, the 3D model is lowered into a sealed chamber where isopropyl alcohol is sprayed, creating a mist around the object to be smoothed out. The 3D model rotates in an alcohol mist that reacts with the plastic and melts it. The longer the process, the smoother the model will be. When you take the 3D model out of Polysher, its surface will be sticky, so it's best to leave it for about half an hour. It also improves the final look, which may not be as smooth as you would expect.
As with the other procedures described here, a little sanding helps the process but is not necessary. Tip : Expose the 3D model to shorter Polysher sessions and flip the model between sessions. Surprisingly, this method also produces near-transparent models when used with Polymaker's transparent PolySmooth material.
Conclusions
Creating smooth surfaces on 3D models will require some work. Sanding will either prepare your model for other processes, or it will create a nearly flawless surface on its own. No matter which procedure you choose, there are always some caveats to any PLA smoothing process.
All processes remove material from your model. Sharp edges will be smoothed out, and it will be very difficult to get around fine details. So if you break your model into separate nodes, each of them can be smoothed using the most appropriate process. And as a result, it will be possible to assemble the final, smooth and professional looking model.
3D printed plastic post-processing, mechanical and chemical
The most popular finishing methods for 3D printed objects are sanding, sandblasting and solvent vapor treatment.
It is a misconception that 3D printing cannot produce objects that are as smooth and polished as traditional industrial technologies. Such claims can be countered with simple sandpaper, and this finishing technique is very common.
Which finishing technique is used depends largely on the geometry and material of the part. These factors determine both the level of aesthetics that can be achieved and its functionality, because different methods allow you to achieve different textures and appearances. Some methods are better suited for prototypes and exhibition models, while others are better for machine parts.
Sanding
Although fusing systems are designed to produce high-quality parts directly from the printer, the layer connection lines remain visible and the end user does not need this at all, especially when it comes to a solution in which the aesthetic appearance is priority. Sanding eliminates these shortcomings and can be used for models, sales samples or concepts, fully functional prototypes and end-level assemblies and mechanisms.
Many high-quality 3D-printed objects can be smoothed with sandpaper to get rid of lines where layers overlap.
Everyone knows the process of sanding. Plastic parts are processed by hand or on a grinding machine, as is done with wooden or metal elements. Sanding is inexpensive and effective, and it is a proven method by which a quality finish can be achieved. In fact, this is the most common way to refine 3D printed objects.
All but the smallest details can be sanded with sandpaper. And they can be large as much as you like, although it can be difficult to manually get to small defects and irregularities. In typical situations, the process is relatively fast. In layer-by-layer welding, we are usually talking about the fight against stepped surfaces. Steps on a part the size of a remote control take about 15 minutes to clean, while painting the same part takes 2 hours due to additional steps such as preparation and drying.
When a part must be precise and durable in the first place, it is very important to consider how much material will be removed by sanding. If a lot of it is removed, it is necessary to make changes to the design before printing, to make the walls thicker. The requirements for the part also determine which sanding technique will be used, manual or mechanical, and which tool will be used.
Sandblasting
The second most common finishing method is sandblasting. In this case, the operator controls the nozzle, from which a finely dispersed material is sprayed under pressure onto the part in order to hide traces of layers on it. The process is fast, takes 5-10 minutes, the result looks whole.
When sandblasting is placed in a closed chamber, a stream of small plastic particles is sent to the part, as a result of which the surface becomes smooth after 5-10 minutes.
This technology is easily modified and can be used with most materials. It is also used during the development and manufacture of a part, at any stage - from prototyping to production. This kind of flexibility is due to the fact that processing is usually done with fine particles of finely processed thermoplastic. It is this "sand", the abrasive characteristics of which, when sprayed, are in the range from medium to high. Baking soda works very well as it is not too harsh. However, it is somewhat more difficult to work with than with plastic.
One of the limitations of sandblasting is the size of the object. Since the process is carried out in a closed chamber of limited volume, it is usually up to about 60 x 80 x 80 cm.
Steaming
The third most popular finishing method is called steaming or steaming. In this case, the part is in an atmosphere of evaporation of a substance brought to the boiling point. The particles of the evaporating substance are fused into the treated surface to a depth of approximately 2 microns, making it smooth and shiny in just a few seconds. Those who prefer a matte finish can sandblast the part after steam blasting, when the part has already been smoothed and mechanical contact stress has been removed.
Acetone vapor treatment of ABS plastic makes the surface smooth and glossy, the only disadvantage of this technology is that corners and small parts are folded
Since the surface is very smooth, vapor treatment is widely used for consumer goods, prototypes and medical applications.