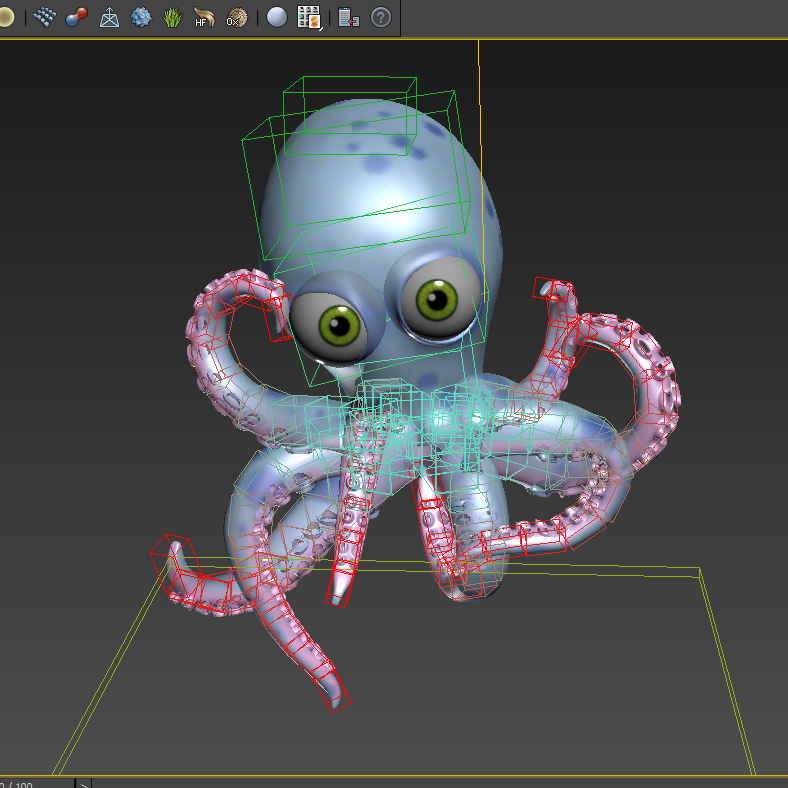
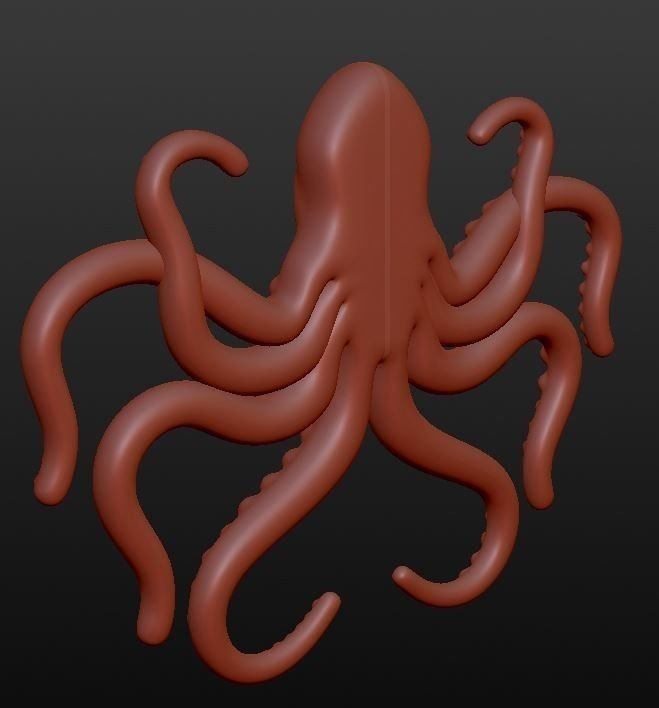
Octopi for 3d printer
OctoPrint.org - Download & Setup OctoPrint
Guy Sheffer maintains “OctoPi”, a Raspbian (and thus Debian) based SD card image for the Raspberry Pi that already includes OctoPrint plus everything you need to run it:
- OctoPrint plus its dependencies
- MJPG-Streamer for live viewing of prints and timelapse video creation, compatible with various USB webcams and the Raspberry Pi camera
Recommended hardware: Raspberry Pi 3B, 3B+, 4B or Zero 2. Expect print artifacts and long loading times with other options, especially when adding a webcam or installing third party plugins. Setups not using recommended hardware are not officially supported.
Please note that the Raspberry Pi Zero and Zero W are not recommended explicitly since severe performance issues were observed, caused by the WiFi interface when bandwidth is utilized (e. g. the webcam is streamed), negatively impacting printing quality. See also here. The Zero 2 however is recommended.
Installing OctoPi
OctoPi is available through the Raspberry Pi Imager, which you can use to download and setup OctoPi. You can install it yourself, or alternatively simply buy one of the available
Installing OctoPi using the Raspberry Pi Imager
🤚 Before you begin
Read and follow these instructions precisely. Most importantly, leave the system username as “pi”, do not change it to anything else or OctoPrint won’t work!
-
If you haven’t already, download and install Raspberry Pi Imager on your computer
-
Find the OctoPi image under “Choose OS”, by selecting “Other Specific Purpose OS” > “3D printing” > “OctoPi” and then the “stable” version.
-
Open advanced options by clicking on the button with the gear, or by using the keyboard shortcut
ctrl+shift+xand then:-
Configure your wifi options: Set your SSID, password and WiFi country:
-
Change the system password in “Set username and password” by entering a new password to use for the system user “pi”.
 This is not the password you’ll use for logging into OctoPrint but one that you’ll have to use to log into your Pi via SSH should you ever need to. Leave the username as “pi”, do not change it to anything else!
 -
Optionally: Change the configured timezone in “Set locale settings”
-
Optionally: Change the hostname in “Set hostname”
-
-
Install the image to your SD card, then plug everything in to your Raspberry Pi and boot it up. Do not format the SD card after installing, even if prompted to do so. This will break the installation and you will have to start over!
-
Access OctoPrint from your browser via
http://octopi.localor the hostname you chose (if your computer supports bonjour) orhttp://<your pi's ip address>.httpsis available too, with a self-signed certificate (which means your browser will warn you about it being invalid - it isn’t, it’s just not recognized by your browser).
Please also refer to OctoPi’s README, especially the “How to use it” section.
Alternative Initial Setup
If you decide against using the Raspberry Pi Imager, here are some alternative steps to get started:
-
Flash the image to your SD card through whatever alternative means you’ve chosen.
-
With the SD card still attached to your computer, set up the Wifi connection using the
octopi-wpa-supplicant.txtfile on the root of the installed card when using it like a thumb drive. Important: Do not use WordPad (Windows) or TextEdit (MacOS X) for this, those editors are known to mangle the file, making configuration fail. Use something like Notepad++, Atom or VSCode instead or at the very least heed the warnings in the file. If your computer doesn’t see the card right away after flashing, try ejecting and inserting it again. Do not format the SD card after installing, even if prompted to do so.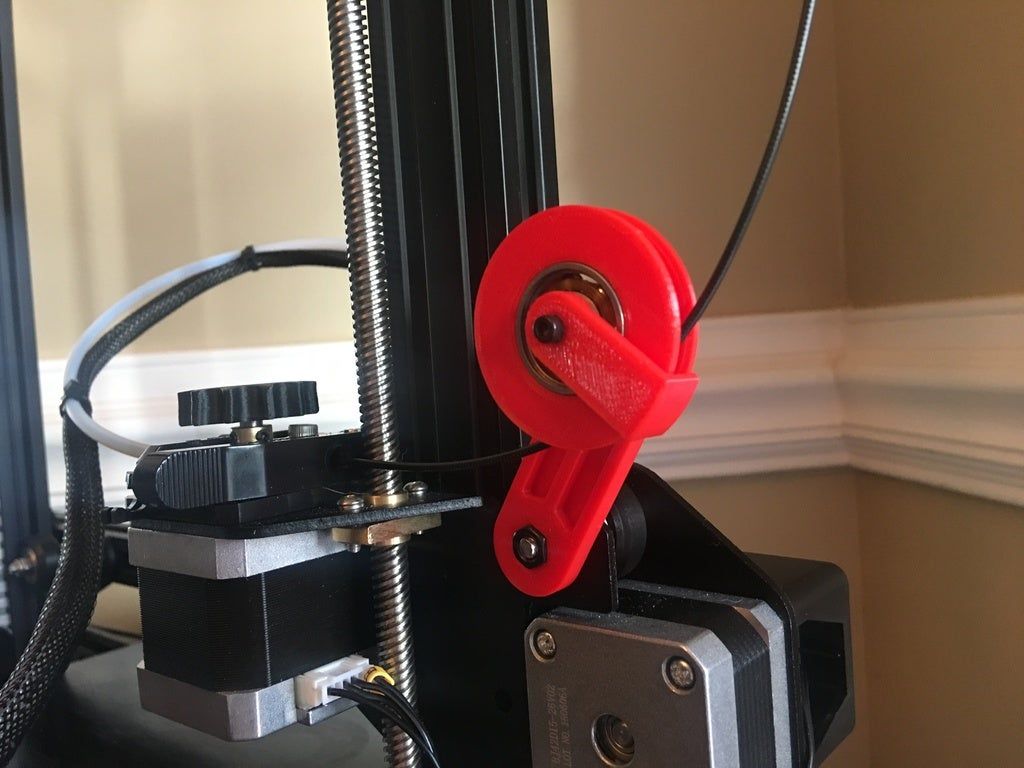 This will break the installation and you will have to start over!
Please also refer take a look at the full WiFi setup guide in the FAQ that also includes troubleshooting tips.
-
Plug everything into your Raspberry Pi and boot it up
-
Log into your Pi via SSH (it is located at
octopi.localif your computer supports bonjour or the IP address assigned by your router), default username ispi, default password israspberry. Runsudo raspi-config. Once that is open:- Change the password via “Change User Password”
- Optionally: Change the configured timezone via “Localization Options” > “Timezone”.
- Optionally: Change the hostname via “Network Options” > “Hostname”. Your OctoPi instance will then no longer be reachable under
octopi.localbut rather the hostname you chose postfixed with., so keep that in mind. local
local
You can navigate in the menus using the arrow keys and Enter. To switch to selecting the buttons at the bottom use Tab.
You do not need to expand the filesystem, current versions of OctoPi do this automatically.
You also do not need to manually enable the RaspiCam if you have one, that is already taken care of on the image as well.
-
Access OctoPrint through
http://octopi.local(if your computer supports bonjour) orhttp://<your pi's ip address>.httpsis available too, with a self-signed certificate (which means your browser will warn you about it being invalid - it isn’t, it’s just not recognized by your browser).
Please also refer to OctoPi’s README, especially the “How to use it” section.
Image Downloads
Raspberry Pi Imager will download the latest version of OctoPi for you, but if you want to download the images yourself you can do so here.
Stable OctoPi
OctoPi 0.18.0 & OctoPrint 1.8.6 SHA256: 851573629147ec5385b9168a78377b8ed51af0a1d76c2174fe0e4ccb4f637a9d
Raspberry Pi 3B, 3B+, 4B or Zero 2 strongly recommended, Raspberry Pi Zero/Zero W not officially supported!
Image compatible with Raspberry Pi A, B, A+, B+, 2B, 3A+, 3B, 3B+, 4B 1/2/4/8GB, 400, Zero, Zero W and Zero 2.
OctoPi Release Candidate
The current OctoPi Release Candidate 1.0.0rc2 can be found here:
OctoPi 1.0.0rc2 & OctoPrint 1.8.1 Raspberry Pi 3B, 3B+, 4B or Zero 2 strongly recommended, Raspberry Pi Zero/Zero W not officially supported!
Image compatible with Raspberry Pi A, B, A+, B+, 2B, 3A+, 3B, 3B+, 4B 1/2/4/8GB, 400, Zero, Zero W and Zero 2.
OctoPi Nightlies
You can also get the 32bit nightlies here or the highly experimental 64bit nightlies here.
Further resources
- For customizing OctoPi, take a look at CustoPiZer.
- Scripts to build the image yourself can be found in OctoPi’s Github repository.
Filip Grzywok maintains “Octo4a”, an Android app that allows you to use an Android based smart phone as an OctoPrint host. Root is not required!
Check out the Octo4a README for information on how to obtain the app, install and run it.
Video
There’s also a video guide on how to get Octo4a up and running by Thomas Sanladerer.
There’s also an official OctoPrint Docker image, octoprint/octoprint. It is maintained by Brian Vanderbush and team on GitHub.
Please refer to its entry on dockerhub for more details on usage and configuration.
octoprint_deploy is a guided script for creating multiple OctoPrint instances. This enables control of multiple printers on a single piece of hardware. It is compatible with OctoPi and also functions as a general Linux installer for OctoPrint, video streamers, haproxy, etc.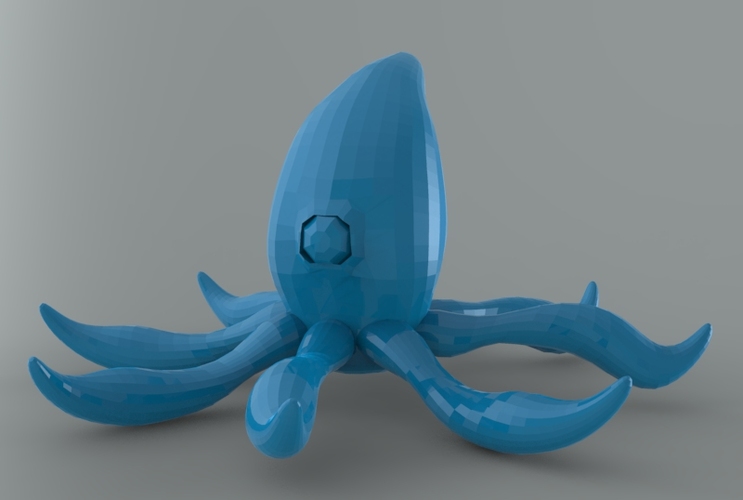
The related octoprint_install serves as a single instance Linux installer.
Both are maintained by Paul Paukstelis.
The generic setup instructions boil down to
- Installing Python 3, including pip.
- Creating a virtual environment somewhere:
python -m venv OctoPrint - Installing OctoPrint into that virtual environment:
OctoPrint/bin/pip install OctoPrint - OctoPrint may then be started through
./OctoPrint/bin/octoprint serveor with an absolute path/path/to/OctoPrint/bin/octoprint serve
More specific setup instructions for the most common runtime environments can be found below.
Linux
For installing OctoPrint on Linux, please take a look at the setup instructions for Raspbian on the forum. They should be pretty much identical on other Linux distributions.
Windows
For installing the OctoPrint server on a Windows system, please take a look at the setup instructions for Windows on the forum.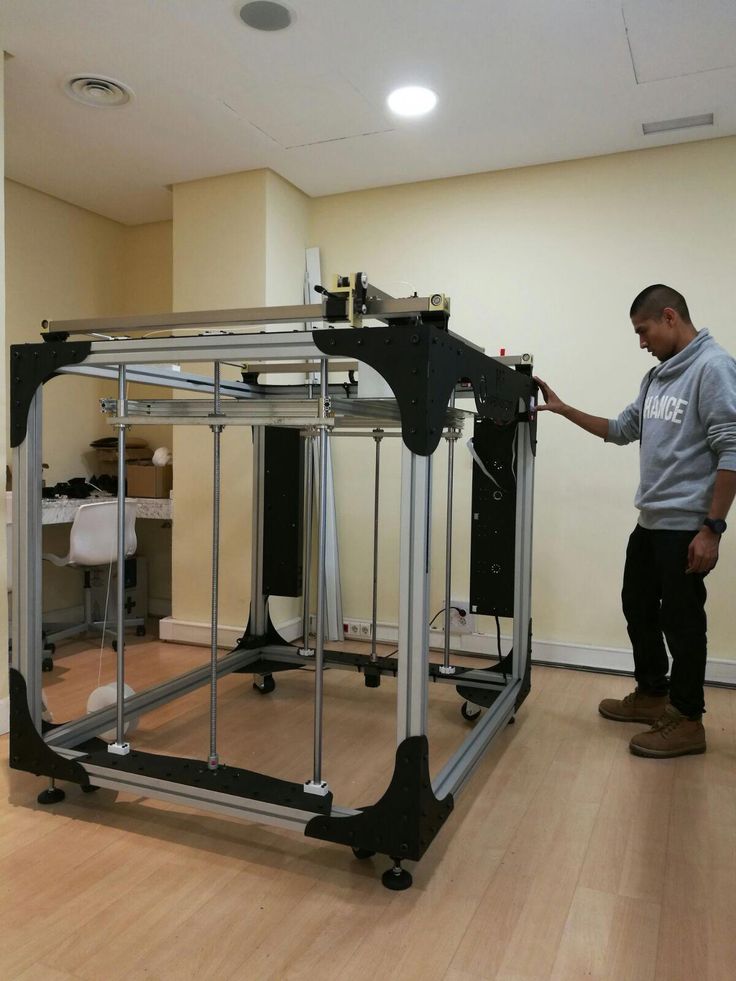
Mac
For installing the OctoPrint server on a Mac, please take a look at the setup instructions for MacOS on the forum.
How to Set Up OctoPrint on Your 3D Printer – Ender 3 & More – 3D Printerly
Setting up OctoPrint on your 3D printer is a very useful thing that opens up a bunch of new features. A lot of people don’t know how to set it up so I decided to write an article detailing how to do it.
You can install easily OctoPi on your Mac, Linux, or Windows PC. However, the simple and most cost-effective way to run OctoPrint for your Ender 3 3D printer is through Raspberry Pi.
Keep on reading through to learn how to install OctoPrint on your Ender 3 or any other 3D printer.
What is OctoPrint in 3D Printing?
OctoPrint is a free, open-source 3D printing software that adds several features and functions to your 3D printing setup. It lets you initiate, monitor, stop and even record your 3D prints via a connected wireless device like a smartphone or PC.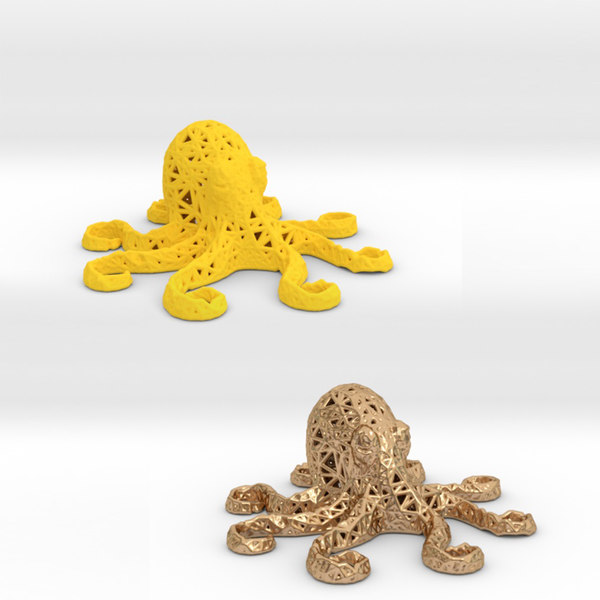
Basically, OctoPrint is a web server that runs on dedicated hardware like a Raspberry Pi or PC. All you need to do is connect your printer to the hardware, and you will get a web interface for controlling your printer.
Here are a few things you can do with OctoPrint:
- Stop and stop prints via a web browser
- Slice STL code
- Move the various printer axes
- Monitor the temperature of your hotend and print bed
- Visualize your G-Code and your print’s progress
- Watch your prints remotely via a webcam feed
- Upload G-Code to your printer remotely
- Upgrade your printer’s firmware remotely
- Set access control policies for your printers
OctoPrint also has a very vibrant community of developers building plugins for the software. It comes with several plugins that you can use for additional features like time-lapses, print live-streaming, etc.
So, you can find plugins for just about anything you want to do with your printer.
How to Set Up OctoPrint for the Ender 3
Setting up OctoPrint for your Ender 3 is quite easy nowadays, especially with the new OctoPrint releases. You can easily have your OctoPrint up and running in about half an hour.
However, before you do, you’re going to need to have some hardware ready apart from your printer. Let’s go through them.
What You’ll Need to Install OctoPrint
- Raspberry Pi
- Memory Card
- USB Power Supply
- Web Camera or Pi Camera [Optional]
Raspberry Pi
Technically, you can use your Mac, Linux, or Windows PC as your OctoPrint server. However, this isn’t recommended since most people can’t devote an entire PC to function as a 3D printer’s server.
As a result, Raspberry Pi is the best option for running OctoPrint. The tiny little computer offers enough RAM and processing power for running OctoPrint cost-effectively.
You can get a Raspberry Pi for OctoPrint on Amazon. The official OctoPrint site recommends using either the Raspberry Pi 3B, 3B+, 4B, or Zero 2.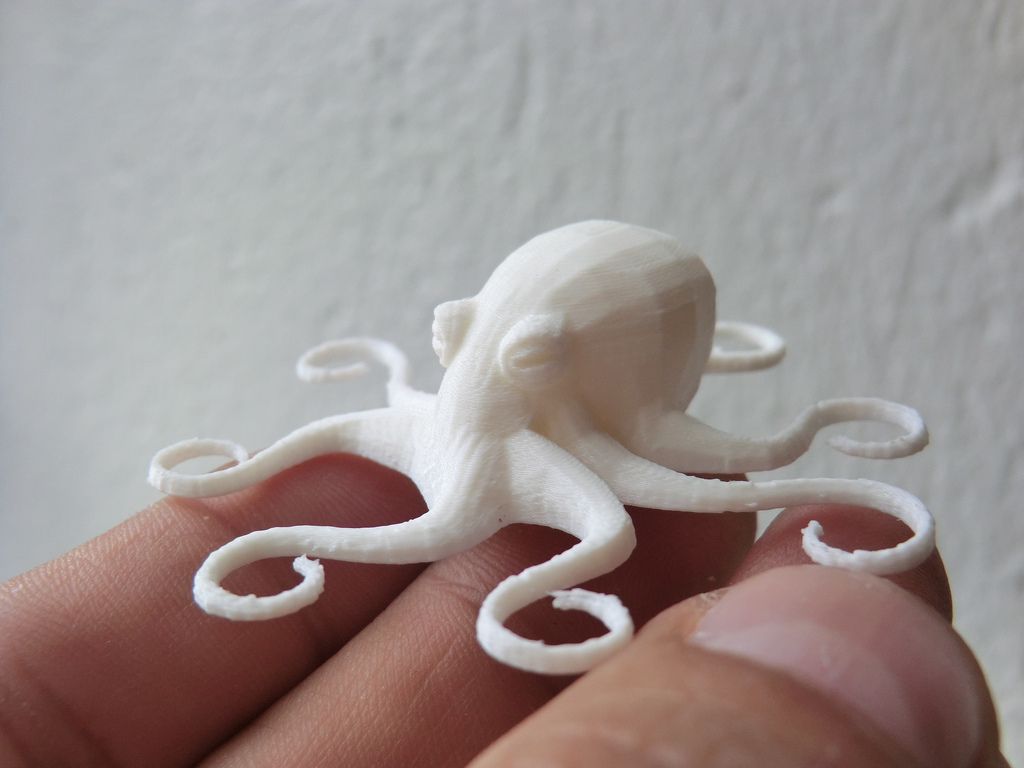
You can use other models, but they often suffer from performance issues when you add plugins and accessories like cameras.
USB Power Supply
You’re going to need a good power supply for your Pi board to run without any issues. If the power supply is bad, you’re going to be getting performance issues and error messages from the board.
So, it’s best to get a decent power supply for the board. You can use any good 5V/3A USB charger you have for the board.
A great option is the Raspberry Pi 4 Power Supply on Amazon. It’s an official charger from Raspberry that can deliver 3A/5.1V to your Pi board reliably.
A lot of customers have reviewed it positively, saying it doesn’t under power their Pi boards like other chargers. However, it is a USB-C charger, so earlier models, like the Pi 3, might have to use a USB-C to Micro USB Adaptor to get it to work.
USB A to B Cable
The USB A to USB B cable is very necessary. It’s how you’re going to connect your Raspberry Pi to your 3D printer.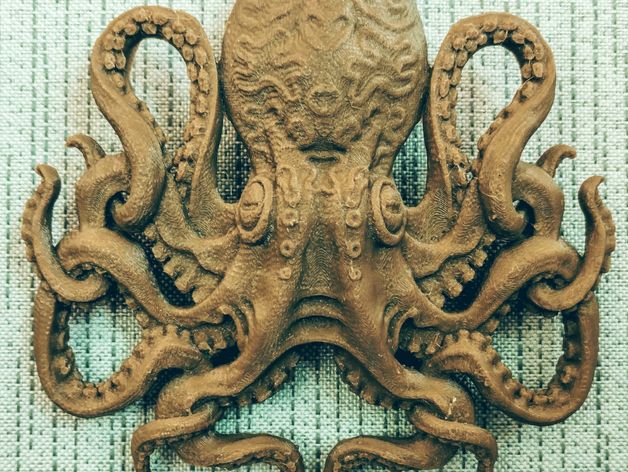
This cable usually comes in the box with your printer, so you might not have to buy a new one. If you don’t have one, you can get this cheap Amazon Basics USB A Cable for your Ender 3.
It has corrosion-resistant, gold-plated connectors and shielding to resist electromagnetic interference. It is also rated for fast 480Mbps data transfer between your printer and the OctoPrint.
Note: If you’re using an Ender 3 Pro or V2, you’re going to need a Micro USB cable rated for data transfer. Top-quality cables like the Anker USB Cable or the Amazon Basics Micro-USB cable are well-suited for the job.
Both these cables support high-speed data transmission which is necessary for OctoPrint.
SD Card
An SD card serves as the storage media for the OctoPrint OS and its files on your Raspberry Pi. You can use any SD card you have, but A-rated cards like the SanDisk Micro SD card are the best for OctoPrint applications.
They load plugins and files faster and they also offer lightning-fast transfer speeds. Also, you stand a lesser chance of your OctoPrint data getting corrupted.
If you’re going to be creating a lot of time-lapse videos, you’re going to need a lot of space. So, you should consider buying at least a 32GB memory card.
Web Camera or Pi Camera
A camera isn’t quite necessary when setting up your OctoPrint for its first run. However, if you want to monitor your prints live via a video feed, you’re going to need one.
The standard option available for users is the Arducam Raspberry Pi 8MP Camera from Raspberry Pi itself. It is cheap, easy to install and it produces decent image quality.
However, most users say Pi cameras are hard to configure and focus for proper image quality. Also, for the best result, you’re going to have to print out an Ender 3 Raspberry Pi Mount (Thingiverse) for the camera.
For higher image quality you can also use webcams or other camera types. You can read more on how to set that up in this article I wrote on The Best Time Lapse Cameras for 3D Printing.
Once you have all this hardware in place, it’s time to set up OctoPrint.
How To Set Up OctoPrint on an Ender 3
You can set up OctoPrint on your Raspberry Pi using the Pi imager.
Here’s how to setup OctoPrint on an Ender 3:
- Download the Raspberry Pi Imager
- Insert your MicroSD card into your PC.
- Flash OctoPrint on Your SD card.
- Select the Proper Storage
- Configure Network Settings
- Flash the OctoPrint to your Pi.
- Power Up Your Raspberry Pi
- Setup OctoPrint
Step 1: Download the Raspberry Pi Imager
- The Raspberry Pi imager is the easiest way to install OctoPrint in your Pi. It lets you do all the configuration quickly in one software.
- You can download it from the Raspberry Pi website. After downloading, install it on your PC.
Step 2: Insert your MicroSD card into your PC.

- Place your SD card into your card reader and insert it into your PC.
Step 3: Flash OctoPrint on Your SD card.
- Fire up the Raspberry Pi Imager
- Click on Choose OS > Other specific-purpose OS > 3D Printing > OctoPi. Under OctoPi, choose the latest OctoPi (stable) distribution.
Step 4: Select the Proper Storage
- Click on the Choose Storage button and select your SD card from the list.
Step 5: Configure Network Settings
- Click on the gear icon on the lower right
- Tick the Enable SSH Next, leave the username as “Pi” and set a password for your Pi.
- Tick the Configure Wireless box next and input your connection details in the boxes provided.
- Don’t forget to change the wireless country to your country.
- If it has been provided automatically, just crosscheck the details to make sure they are correct.
Step 6: Flash the OctoPrint to your Pi
- Once everything is set and you’ve crosschecked your settings, click on the Write
- The imager will download the OctoPrint OS and flash it on your SD card.
Step 7: Power Up Your Raspberry Pi
- Remove the SD card from your printer and insert it into your Raspberry Pi.
- Connect the Raspberry Pi to your power source and let it light up.
- Wait until the act light (green) stops blinking. After this, you can connect your printer to the Pi via the USB cord.
- Make sure your printer is on before you connect the Pi to it.
Step 8: Setup OctoPrint
- On a device connected to the same Wi-Fi network as the Pi, open a browser and go to http://octopi.local.
- The OctoPrint homepage will load up. Follow the prompts and set up your printer profile.
- Now you can print with OctoPrint.
Check out the video below to see the steps visually and in more detail.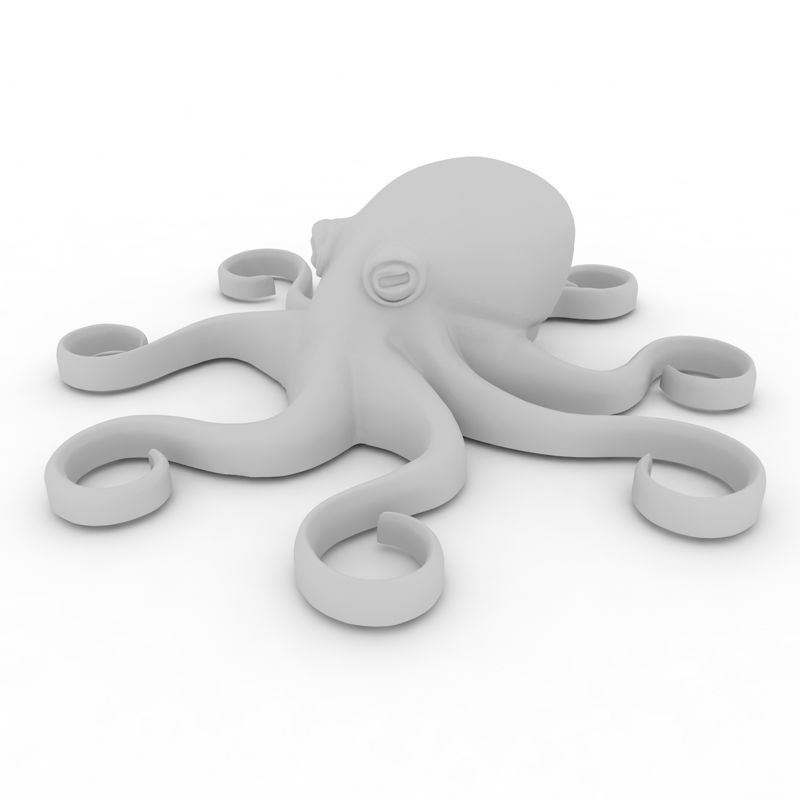
OctoPrint is a very powerful 3D printing tool. When paired with the right plugins, it can improve your 3D printing experience immensely.
Good Luck and Happy Printing!
Free 3D File Cute Mini Octopus・3D Printing Template to Download・Cults
Articulated dragon
3.83 €
Snake and rattlesnake
3.83 €
Lazy Cat
3.83 €
Lazy Dogs
4.79 €
Octopus 2.0
3.83 €
Articulated tarantula
3. 83 €
83 €
Lazy Horses
3.83 €
Articulated Bunny
2,87 €
Best 3D printer files in Game category
NERF MEGA TALON Trigger
Free
FUN DUCK FISHING
1 €
Christinesque Cadillac
Free
Secret design
Fortnite Valkyrie
4.80 €
Blood Elf Chicken Rider
€5.90
VW T3 BUS (slammed, balanced wheels)
Free
Meeple Set Carcassonne
Free
Bestsellers in the Game category
Jarl
6. 72 €
72 €
Catafrac Heavily Armored Warriors - Limbs Set
1.85 €
Heavy Imperial Fire Support Weapon [Preliminary Support]
5 €
Exolotreftes Truescal
5 €
Articulated dragon
3.83 €
Iron warrior heads and shoulder pads MK 3
4.28 €
Good Flexi Dragon
1.77 €
Destroy damaged spaceship for assassination team or boarding action games
€14.41 -fifty% 7.20 €
Voidwalker Exosuits Truescale
14. 83 €
83 €
Lev Fu
5.50 €
Snake and rattlesnake
3.83 €
Bicycle
1.40 €
USS EnterSurprise - printable game container for tiny F14 jet fighters
3.83 €
Lazy Cat
3.83 €
Imperial Heavy Weapons & Regimental Flags [OFFERED]
3 €
CRAMER Truggy RC 4x4 Full 3D Printed
7,50 €
Do you want to support Cults?
Do you like Cults and want to help us continue our journey on our own ? Please note that we are a small team of 3 people , so support us in maintaining activities and making future designs of is very easy.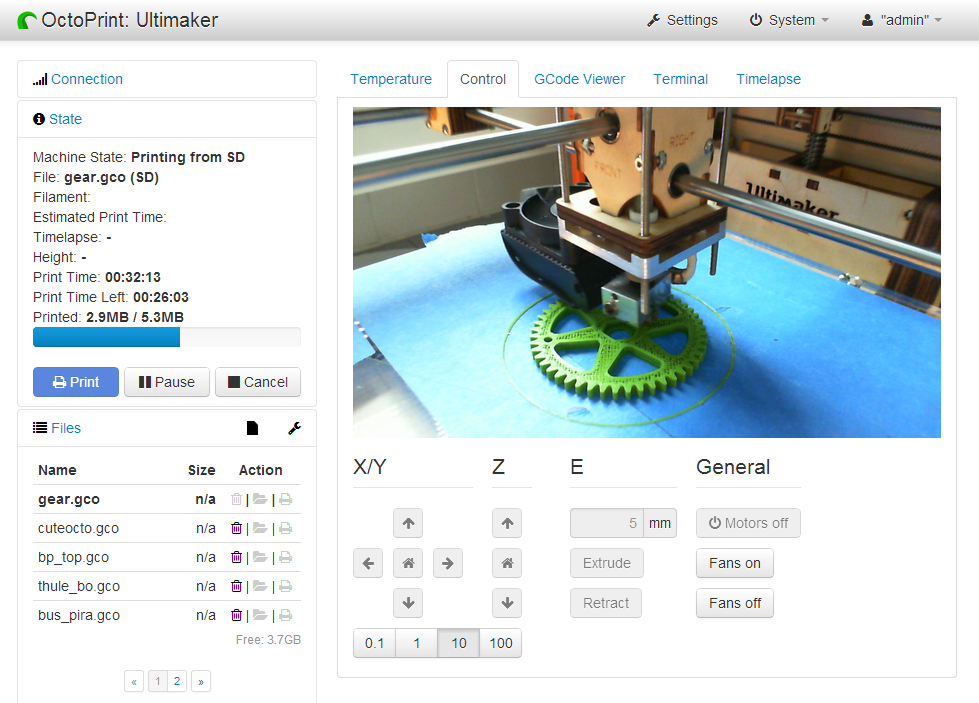 Here are 4 solutions available to everyone:
-
ADVERTISING: Disable the AdBlock banner blocker and click on our banner ads.
-
AFFILIATION: Shop online with our affiliate links here Amazon.
-
DONATIONS: If you want, you can donate via PayPal here.
-
* INVITE FRIENDS: * Invite your friends, discover the platform and great 3D files shared by the community!
3D printed robots - octopus with soft surface and flexible body!
Robot 3D Printing: Robot Octopus
Surely, at the mention of robots, everyone imagines some complex metal mechanism that performs certain actions. In general, the way it is, but for a long time, researchers from all over the world have been working on the creation of completely different devices that can destroy such stereotypes. How do you like the idea of a flexible robot with a soft surface that can adapt to the environment? Definitely sounds impressive.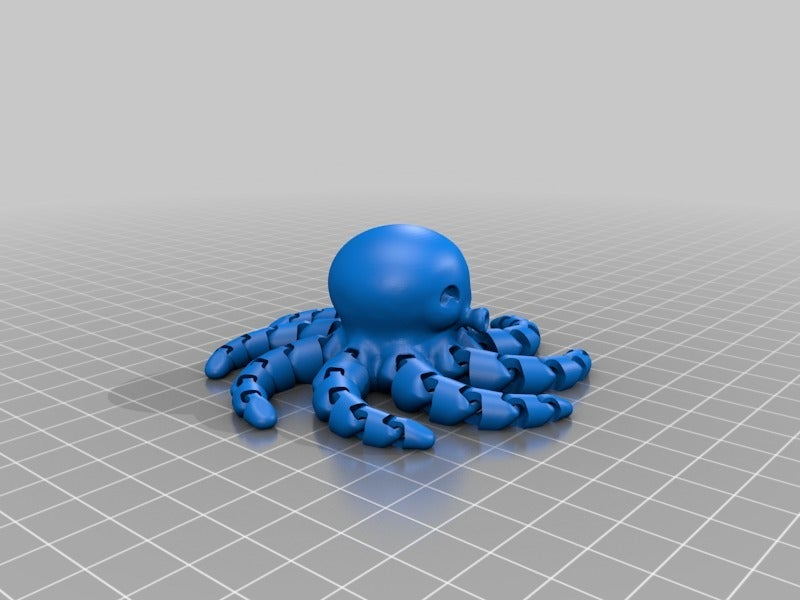 But it was precisely this concept that scientists from Harvard brought to life, presenting to the world an amazing robot called Octobot, printed on a 3D printer. Such 3D printing of robots is interesting for its flexibility and autonomy, which we will discuss in more detail below.
True, engineers from other organizations are the leaders in creating “soft” robots, but the mechanism made by Harvard researchers is unique for several reasons. Previously, all attempts to make flexible autonomous devices in a soft case were limited by the need to use some rigid elements, mainly electronics. With regard to this invention, the developers managed to get around this problem - the robot functions due to microfluidic chemical reactions through a system that is also flexible.
Why 3D printing robots is interesting
Octobot got its nickname from its striking resemblance to octopuses, and is already preparing to completely turn the world of soft autonomous mechanisms.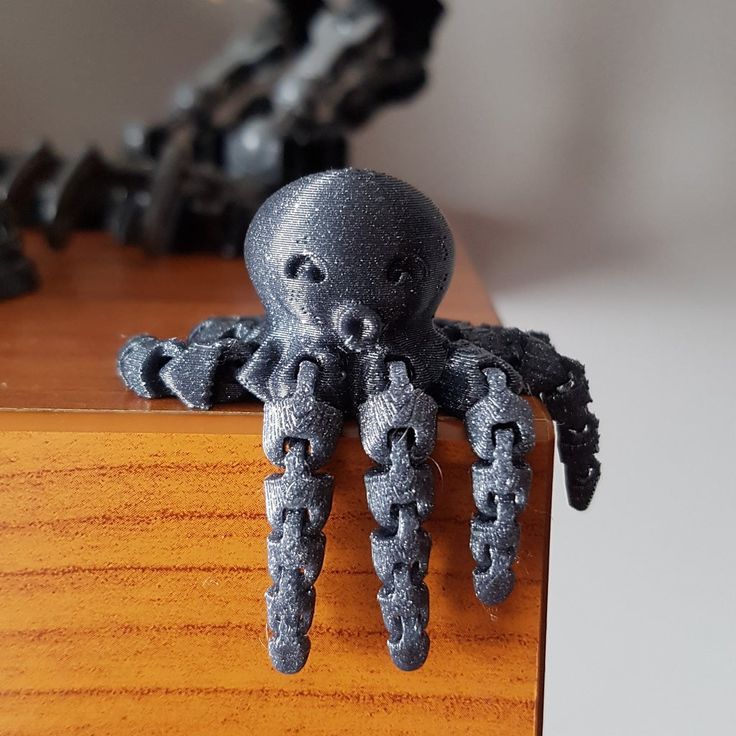 The device was created by a team of researchers led by Robert Wood. According to him, the developers sought to step over the fact that modern soft robots are never 100% soft. The main obstacle in this case was the replacement of the rigid components of the system with flexible counterparts, since finding the latter was quite problematic. 3D printing of robots has proven to be quite challenging, but obstacles are always fun to overcome.
The solution was found and was very non-standard. To create key propulsion components, the researchers used the pneumatic principle - movement due to compressed air. Inside the soft body of the robot is a small amount of liquid fuel, for which scientists have chosen hydrogen peroxide. During chemical processes, gas is released from it, which sets the limbs of the pneumatic octopus in motion. However, the real implementation of this concept would not have been possible without 3D printing technology. This is not the first time a 3D printed robot has been created, but this particular concept is interesting in its own way.
Almost everything was printed on a 3D printer - the case, electrical circuits and motors. Thanks to the special approach of the developers to this task, each functional component was produced quickly and accurately. The researchers themselves believe that 3D printing of Octobot robots is “an easy option for demonstrating integrated design and using additive manufacturing to develop strategies for implementing autonomous functionality.” Of course, the existing version of the pneumatic device is far from perfect. But in the future, scientists intend to significantly expand the range of its capabilities, due to which the 3D printed robot is also optimized.
3D printing of robots in perspective
The researchers plan to equip the robot with various functions. Now the amount of fuel in the body of the Octobot is enough to move for eight minutes.