3D print headset
3D Print Your Own Headphones
Skip to content3D Print Your Own Headphonesshannon2022-11-02T15:48:55+11:00
Want to 3D print yourself something useful and awesome? Here is all the info you need to build yourself a pair of great sounding headphones for around $35.
For the Bluetooth version, go to this page.
Parts Needed:
- Drivers: we’ve used Dayton Audio CE38MB-32 drivers with great results. They are available from Parts Express
- Ear Cushions: Bose QuietComfort QC15 QC2 replacements https://amzn.to/3zlGpkw
- Cable: Sol Republic Master Tracks HD V8 V10 V12 X3 replacements work well. You can get them with an inline mic and volume controls. https://amzn.to/3PHmDpE
- Audio Jacks: 2 x 2.5mm audio jacks, https://amzn.to/3OPIzOY
- Wire: 4 piecies of approx 10cm (2″) long hookup wire with ends stripped.
https://amzn.to/2Peblu6
- Glue: you need a gel consistency glue suitable for plastic, such as Loctite Gel Super Glue or https://amzn.to/3Q8bQFD
- Plasticine, Bluetac or similar, eg https://amzn.to/3oIkxeg
- Solder for example https://amzn.to/3BwZaEb
Tools needed:
- 3D printer (if you don’t have one, you can get the files printed at Shapeways or 3D Hubs)
- Soldering iron
- Misc hand tools, eg pliers, knife, scraper etc
Files to be printed:
Here are the files and quantities you need to print (click to download):
- 1 x Headband
- 2 x Baffles
- 2 x Covers
I recommend printing them in ABS. Use 5% infill for the headband to give it flexibility, and about 10-20% for the others. The baffles and covers require support, the headband does not.
Print the parts in the following orientation then clean off all the raft/support:
Assembly instructions:
1.
 Solder the hookup wire to the 2.5mm jacks
Cut the hookup wire into four approx 2″ or 5cm lengths and strip the insulation from about 1/8″ or 3mm from the ends.
Remove the jacks from their plastic cover.
If you are using the jacks we recommend, solder the negative (black) wire onto the large tab and the positive onto the small round one:
If you are using a different jack, figuring out which are the correct tabs is pretty easy. Solder strands of hookup wire to the positive and negative terminals of the driver. Connect the jack to your phone via the Sol Republic replacement cable. The negative terminal will be the large one, so hold the negative wire on to it, then tap the positive hookup wire on the remaining tabs until you hear sound.
2. Attach the jacks and drivers to the baffles
Screw the jacks into the hole in the baffles.
Insert the drivers into the baffles. Be extremely careful to not damage the fragile mylar film in the drivers.
Important – the terminals on the driver should be 90° from the jack, oriented towards the hook-up wire retainers (yellow circle in the picture).
Glue the drivers into the baffles with four 1/4″ (6mm) length spots of glue, placed evenly around the perimeter of the driver (blue arrows). DO NOT glue around the full perimeter of the driver, as this will adversely affect the sound.
Wait until the glue is dry…
2. Solder the hookup wire to drivers
Solder the hookup wires onto the driver terminals as shown below. The red terminal and one next to it are positive and the other two negative.
You won’t need any solder for this – melt the solder tab on the driver with your soldering iron, then insert the wire into the puddle and remove the iron while still holding the wire until the solder solidifies. Be careful not to apply too much heat, as this may damage the driver.
Route the hookup wires behind the retainers so that they don’t get snagged by the headband.
3. Tune the sound!
Now for the secret sauce! In this enclosure, the Dayton Audio CE38MB-32 drivers are way too bass-heavy and lack high end detail, so we need to reduce the mids/bass to make it more equal to the treble. You may think more-is-more when it comes to bass, but there will still be plenty after completing this step. If you don’t believe me, do a back-to-back comparison.
If you’re not using the Dayton CE38MB-32 drivers, you’ll have to tune them to your taste – some will have a denser fabric on the back and will not require this step.
Using plasticine or similar, roll a small amount into a sausage then block all but one of the holes under the black fabric on the back of the driver. The black arrow below shows the non-blocked hole.
6. Put it all together
Attach the fabric that comes with the cushions to the baffles using the adhesive that comes on them:
Fit the baffles to the covers, making sure the headband end of the baffle corresponds to the headband end of the cover (ie the two square holes line up).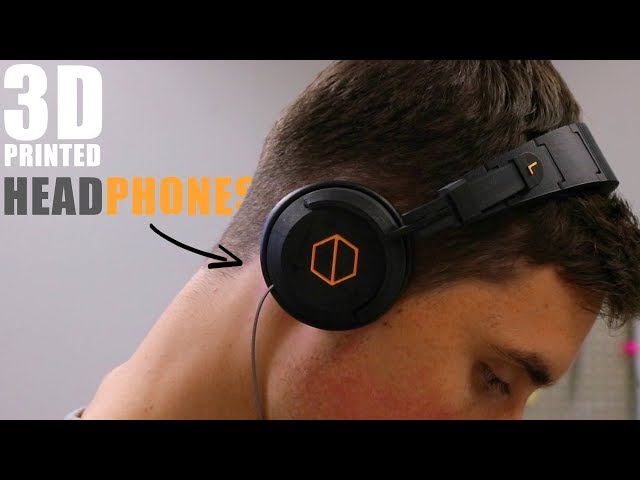 They may take a bit of force to get together – they are deliberately a tight fit so that they don’t require glue and can be disassembled.
Fit the cushions to the baffle. These are quite a tight fit, but go on easiest if you fit the long sides last (blue arrow).
Insert and adjust the headband, plug the cables in and you’re done! Put on some awesome tunes and enjoy your new headphones!
Note – there is a left and right side, so if they don’t feel right, swap the sides.
Don’t forget to share your builds on Instagram with #makeheadphones
If you’re feeling adventurous, you can design your own cover to completely customize the look, while still using our headband and baffle. The recommended interface dimensions will be available soon.
Did you receive more than a coffee worth of value from this website? If so, I’d be super grateful if you helped make this website break even! Thanks!
Page load link Go to TopHeadset best STL files for 3D printer・Cults
WARZONE Headset Support
€1. 44
44
Headset holder
€0.50
Headphone/headset wall universal stand - Soporte universal de pared para audífonos
Free
Valve Index Wall Holder Mount
Free
Headset emblem: Deku - My Hero Academia
€1
Overwatch 2 Version D.Va Headset Printable Model
€8
Boat headphones
€4
Portable stand and headphones
€3
Warzone 2 Ghost Bobbleheads
€1.50
Crown hat for Headset
€1.91
Pro 3D headphones
€0.62
Headset emblem: World of Tanks
€1
Headset emblem: Shaman - World of Warcraft
€1
Headset emblem: Feral Druid - World of Warcraft
€1
Headset emblem: The Empire - Total War Hammer
€1
Headset and phone stand with optional emblem
Free
Empire Headset stand - Total War: War Hammer
€2. 50
50
Headset stand
€1
Headphone stand CSGO
€5.57
Plantronics Voyager Focus headset charging stand
Free
Mic Spoon
Free
Human Hand Bones Hanger
Free
Bose Proflite 2 hanger
Free
Headphone Stand
€1.25
ESCAPE FROM TARKOV HEADSET HOLDERS
€0.63
VR-headset & -controller holder made for aluminium profile rigs
€2
No Music No Life Wall Decor
€2.40
PS Headset Holder
€0.95
Spare parts for skull candy earphones
€2. 35
35
C700P Headphone Holder
Free
(Xbox) Headset & Controller stand
€4.50
31mm Shelf Headphone Stand
Free
Headset-Haken für den Monitor / Monitor Headset Hook
Free
HTC Vive HMD Wall Mount with Logo
Free
Headset support hook for DELL U4919DW Monitor
Free
15.5mm desk - Headphone Hook for Plantronics Headset
Free
Designer Headset Holder
€0.99
Phone Headset Holder
Free
vr wall mount (simple, easy to print)
Free
Gaming Headset Stand Led | HyperX | Razor | Gamingroom | Gamer | PC | Gadget | Logitech | Music | Design | Xbox | Playstation |
€1. 45
45
Headset Holder Stand
€2
HyperX Tribute Headset Stand
€0.58
VALVE Index Knuckles and HTC VIVE Tracker 3.0 Charging Docks
Free
phone and headphone holder
€1.25
Overwatch 2 D va HeadSet for Cosplay 3D print model
€9.90
Overwatch 2 D va Armor for Cosplay 3D print model
€17.90
Hearing Amplifier
Free
headset holder
€0.99
Headphones on a 3D printer
It's a shame when expensive headphones become unusable due to mechanical failure. And it seems that the electronics are intact, but it is no longer possible to use them. It's good when blue duct tape comes to the rescue, but even better when there is a 3D printer.
Before starting to design a new headphone case, I tried to google already ready-made solutions. Didn't find anything interesting. There were some square-rectangular options, but they seemed uninteresting to me. Maybe I just searched badly. Write in the comments if you find worthwhile options. It will be interesting to see them.
And here is my version of 3D printed headphones.
An observant reader, of course, will notice in my design the familiar features of a well-known headphone brand (write in the comments if you know). I will not resist, I confess honestly - I did not invent the headphones, they did it back in 1910, I just unprincipledly stole the idea.
My merit is the adaptation of the headphone design for 3D printing. IMHO, it turned out well. All parts can be printed without supports, which means a minimum of post-processing. There are no flimsy elements in the design that require sophisticated typing skills.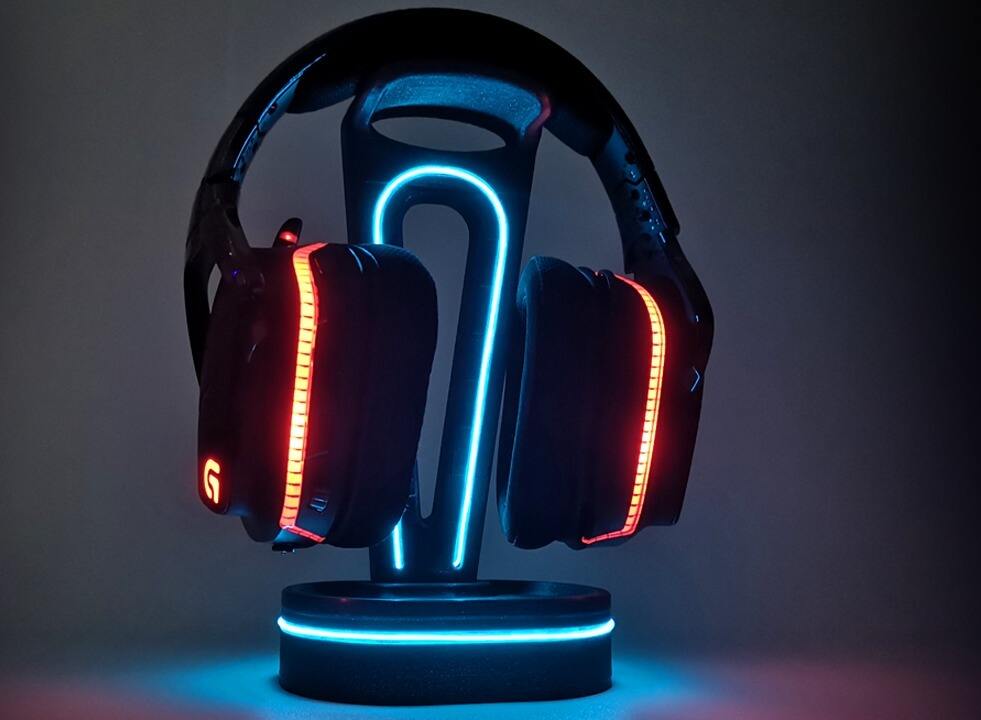 Everything can be printed with a 0.6 nozzle and a 0.3 mm layer.
You will need the following items to assemble the headphones:
- PETG plastic.
- A little FLEX plastic. But you can do without it.
- Speakers for headphones with a diameter of 40mm.
- Headphone cable.
- Ear pads for D84-88 mm.
- Screw DIN 7981_2.2X6.5 – 8 pcs.
- Screw DIN 7981_2,2X13 – 4 pcs.
- Screw DIN 7981_2,2X16 – 8 pcs.
- Nut DIN934 M3 – 4 pcs.
- Screw DIN965 M3 x 16 – 4 pcs.
- Stud M3x32 – 2 pcs.
- Screw DIN7985 M4 x 14 – 4 pcs.
Headphone assembly
STEP 1
Start by installing the speakers. To fix them, you can use a sealant or shoe glue.
If you decide to repeat my project, I advise you not to print the entire set at once. To start, print out just the two pieces that the speakers are mounted into. For example, when disassembling old headphones, I found that one speaker was damaged.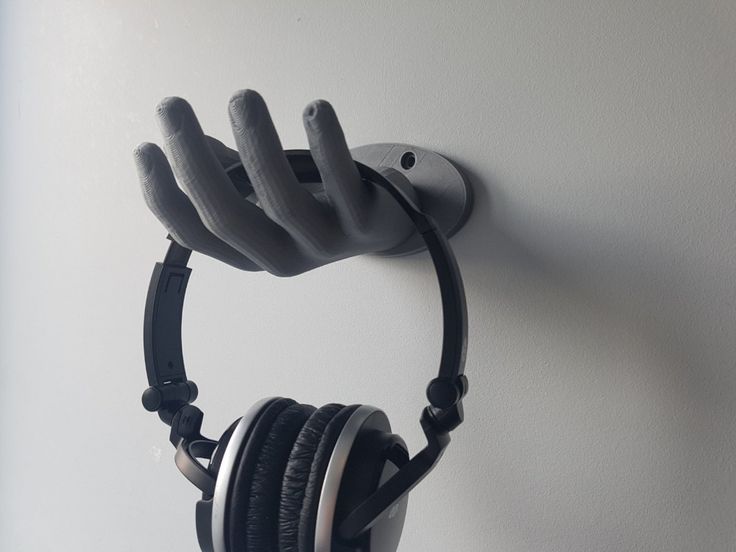 And this already puts the whole economy in doubt. Although, to be honest, all the practical benefits of 3D printed headphones are highly doubtful.
STEP 2
Assemble the outer part of the "ears".
Assembly sequence: body, bar, exclamation point, latch. The last three elements play a decorative role.
You can remove the exclamation mark, and insert some picture between the body and the bar. My idea is that this should give the headphones an original look and blah, blah, blah…
STEP 3
Next, insert the part with the speaker into the case and fix it with two M4x14 screws.
The result is a swivel joint. The panel with the speaker should rotate freely, without jumps and jams.
I cut the thread with the screw itself, but if the connection is tight, you can use a tap.
I agree that using M4 screws in headphones is a game! But, I'm a designer, I see it that way.
STEP 4
Next, you need to install the axle in the adjusting bar.
An M3 screw can be used instead of the axle. I screwed it in to the desired depth and cut off the hat. Technically, this is of course not true. It was necessary to find an axle of the right size, or at least cut the nail.
STEP 5
We stretch the wire to the speaker.
Here, most likely, you will need tweezers, a little nerve and patience. The holes are small and not easy to drill. But if you use a thinner wire, then everything should go without problems.
Initially, I wanted to bring the cable to only one speaker, to the second it would go through the shackle. But unfortunately I did not find a suitable wire for sale.
STEP 6
Ear shell assembly.
Probably, the shell is not quite the right definition for this node. But this is the first thing that came to my mind, so I will not correct it.
The adjusting bar should rotate without jumps and jams, but this is so, I think, is understandable.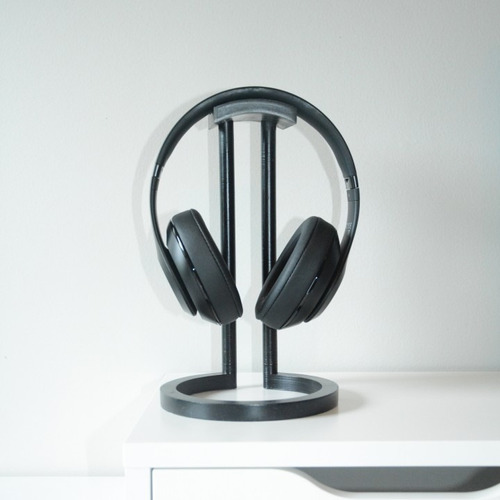
STEP 7
Headband assembly.
Screws DIN 7981_2,2X13 are used for fastening.
STEP 8
We connect all the previously assembled nodes together.
STEP 9
We insert the "ears" into the headband.
If the headphone size changes with considerable force, you can slightly cut or file off the latches on the temple.
Do not try to use too much force. You can get a wedge.
STEP 10
Turn on the headphones and find out which ear is right and which is left. Only then we paste the icons.
Done!!!
Well, a few more photos of the headphones.
And this is how they sit on the head.
You can download the files on the project page - https://www.infoconnector.ru/naushniki-na-3d-printere
Conclusion
This is my first 3D printed headphone.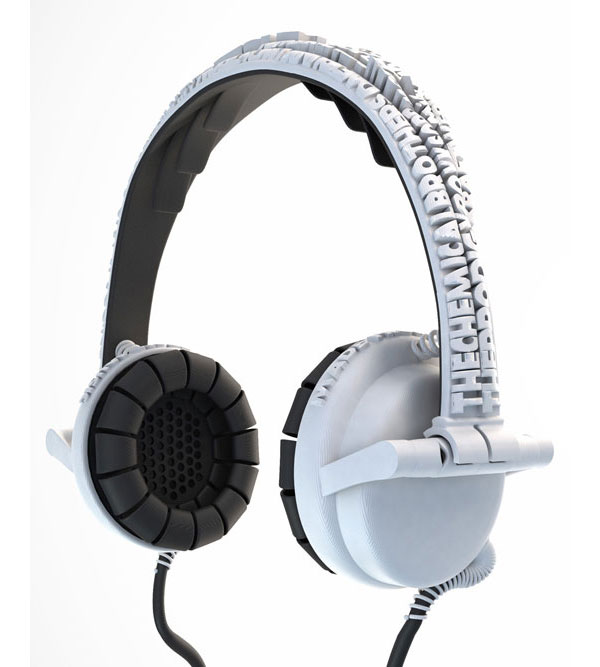 Of course, there are many disadvantages. First, it is the weight of the headphones. I can’t say exactly this figure, but it feels like they are quite weighty. Secondly, the headphones turned out to be not all-sized. They were designed for my large head size 60-62 and most likely will not fit a smaller size. Thirdly, I didn’t like the way they look on my head a little, although if you don’t look in the mirror they sit quite comfortably.
Despite some shortcomings, I am satisfied with the result. I got a lot of pleasure from both the design and the assembly process. What else do we need in our hobby?
Happy printing everyone!
3D printed custom ear tips | iGo3D.ru
Formlabs Audio believes that the future of personal audio devices depends on custom-made headphones that perfectly follow the anatomical shape of the wearer. Thanks to the rapid development of gadgets and 3D printing, it has become possible for the first time to bring the category of personalized headsets to the mass market, combining smartphone-assisted scanning, automated manufacturing and affordable 3D printing in their creation.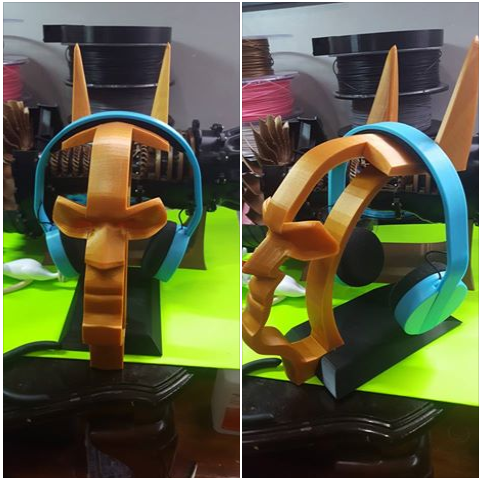
In this article, we'll show you how easy it is to create custom earbuds using Bose in-ear headphones using Formlabs Form 3.
File preparation use.
The secure fit prevents the earbuds from falling out of the ear for added comfort.
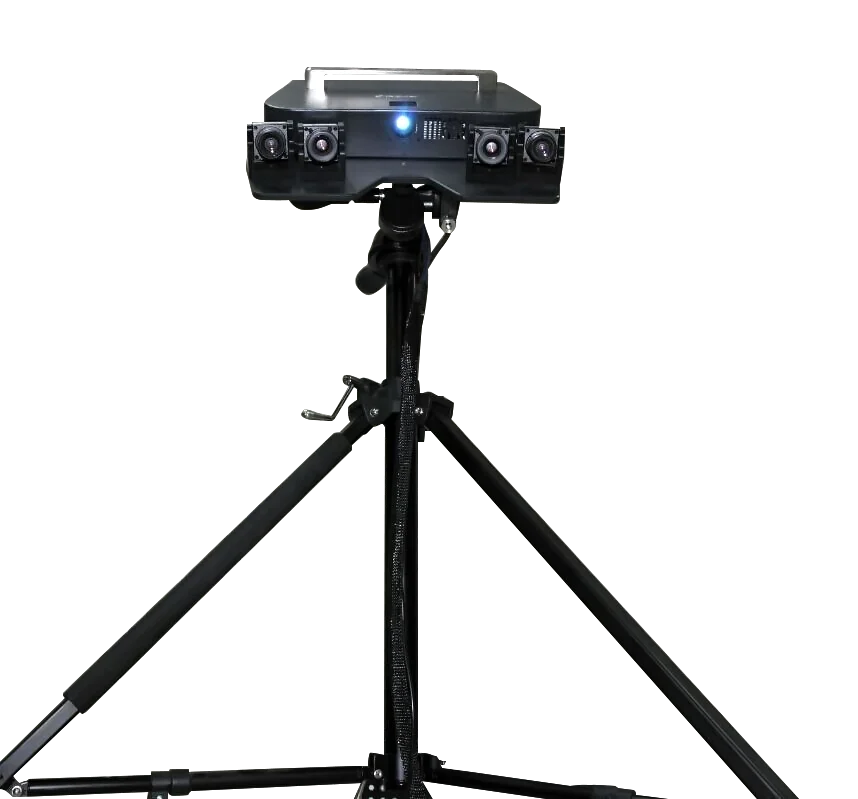
The traditional pinna impression has been replaced by a mobile ear scan that users can perform with their own smartphones. An Australian company, Startup Hearables 3D, is developing a Hearables3D smartphone app that scans in less than one minute. Artificial intelligence technology refines the information received, improving the quality of the scanned data and recreating parts of the auricle that were not captured by the smartphone.
The finished file is then sent to the cloud, where a machine learning system, using statistical modeling techniques, turns the scanned shape of the auricle into a concrete model in a few seconds, ready for 3D printing on the Formlabs printer.
From Computer Aided Design (CAD) to 3D Printing
The CAD software market has expanded dramatically over the past few decades, providing users with a wide range of software choices, each with its own advantages and disadvantages, modeling approaches and applications . We propose to consider in more detail the software available on the market. Information about the available alternatives will allow you to decide on a workspace that will become a reliable assistant in solving your tasks.
The file can also be directly imported from a smartphone into an CAD software. At this stage, you can make sure that the finished model of the earbud matches the shape of the auricle.
In a classic hearing prosthesis process, this step would be performed by a qualified sculptor. However, the rapid development of ear scanning technologies and computer-aided design programs has allowed individual users and small companies to develop such products themselves. What's more, many CAD programs already offer fully automated process steps.
After validation, the file enters Formlabs PreForm, where it is prepared for printing on a Form 3B 3D printer.
Form 3B The is an advanced desktop 3D printer designed specifically for medical and healthcare applications.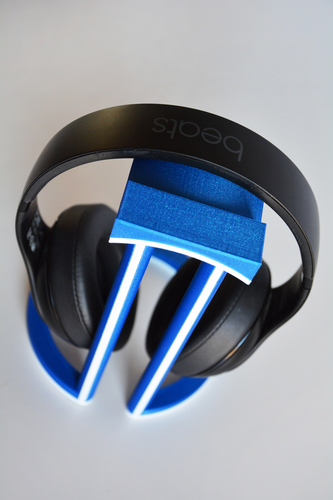 An accurate and reliable ecosystem leaves no room for blind work, making the production process fast and easy. Thanks to the benefits of the Form 3B printer, which uses low tear-off force stereolithography technology, the surface of the finished product is incredibly smooth immediately after printing. With a print platform that is more than three times the size of comparable 3D printers (14.5 x 14.5 x 18.5 cm) and significantly lower cost than comparable 3D printers, Formlabs devices claim a triple benefit: quality, performance and value .
Formlabs' affordable self-printing technologies make it easier than ever to create custom audio devices for patients and customers. Formlabs is building a next-generation digital audio workflow for the audio industry that can be applied from healthcare facilities that need same-day treatment to labs that scale their business to print up to 100 models per printer per day.
Varnishing
Post-Processing
Post-printing requires additional processing of finished elements in Form Wash and Form Cure.