Make 3d printed objects smooth
Smoothing PLA 3D prints with sandpaper, solvents, and more
Using PLA with an FDM 3D printer can lead to excellent results. The process is fast and affordable, and PLA filament can produce functional printed parts with a good level of strength and stiffness.
But FDM has its drawbacks too. For instance, it produces visible layer lines, which can compromise the appearance and function of printed parts. Furthermore, PLA can be more difficult to work with than other 3D printing materials, as it can’t be smoothed with acetone.
Fortunately, there are several ways to smooth PLA 3D prints, ranging from beginner-friendly techniques like sanding to advanced methods like solvent application. This article looks at the best ways to smooth PLA prints, showing you which technique will work best in a given situation.
Untreated FDM parts have visible layer lines
Although FDM parts can’t easily attain the smoothness of, for instance, SLA parts, there are a number of post-processing techniques that can transform bumpy prints into smooth, rounded, and glossy parts. Some of these options involve adding material to the print (primer spray, epoxy resin), while others involve removing material (sanding, chemical smoothing).
Of course, adding a smooth surface to PLA printed parts will add time and cost to a project, but the results are often worth it. Not only does smoothing improve the appearance of the prints, it allows for less strict printing parameters — greater layer height, for instance — which in turn leads to faster printing.
Below are some of the most common methods for smoothing PLA prints. They should be carried out after preliminary post-processing steps, i.e. the manual removal of supports and large sections of excess material.
Sanding
The most common method for smoothing PLA prints is sanding. This method is highly practical, as it is inexpensive and poses no health risks. However, it is also one of the most time-consuming ways to smooth a print and is not especially suitable for fine features or reaching into deep crevices.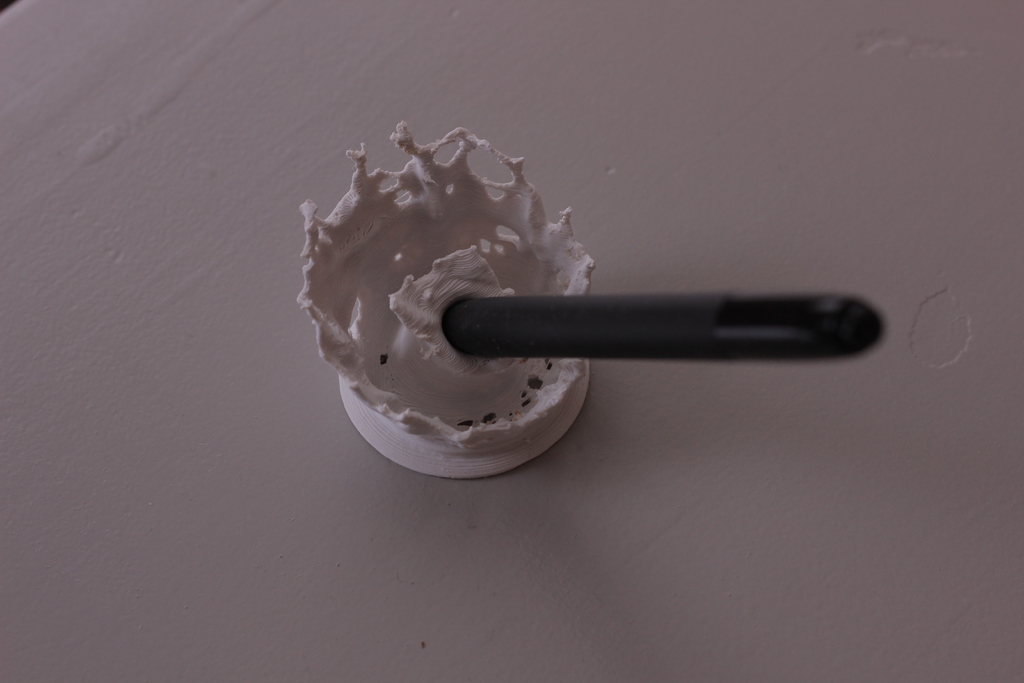
Sanding can be approached in different ways depending on the purpose of the parts and the desired level of smoothness. Large parts may require a sanding block (a piece of wood with sandpaper wrapped around it), while small parts and fine features may be suited to nail files. Though highly efficient, electric sanders are not recommended for PLA parts, as the heat they generate can melt the PLA and warp the part.
Sanding PLA parts requires sandpaper in different grit sizes
For most prints, sanding begins with coarse 200 or 400 grit sandpaper — either loose or wrapped around a sanding block — worked in circular motions over the surface of the part to remove the most extreme protrusions. After the whole part has been sanded, a slightly finer sandpaper is used, working up in increments to 3,000 grit.
Although it may seem like a big undertaking, it is worth obtaining sandpaper in the following grit sizes and sanding for a few minutes with each size:
200
400
600
800
1,000
1,500
2,000
2,500
3,000
With the finest grit sandpaper, a small amount of water can be applied to produce an even smoother finish.
Polishing
For high-shine PLA parts, the sanding stage (which gives a smooth but matte finish) can be followed by a polishing stage, using a cotton cloth and liquid plastic polish.
The technique for polishing 3D printed parts is similar to sanding: with polish applied, the wet cloth should be moved in even circular motions over the surface of the part until it is smooth and shiny.
Priming
Sanding alone can reduce the appearance of layer lines by shaving off the raised “steps,” but another approach is to fill in the crevices with primer spray then sand down the excess primer afterwards. This method works well because primer is easier to sand than PLA itself.
Priming is the most time-consuming way to smooth PLA parts, because primer must be applied in between each round of sanding then left to dry. However, it produces better results than sanding alone.
When priming a PLA print, the part is placed in a well-ventilated area and sprayed evenly with a very thin coat of the primer.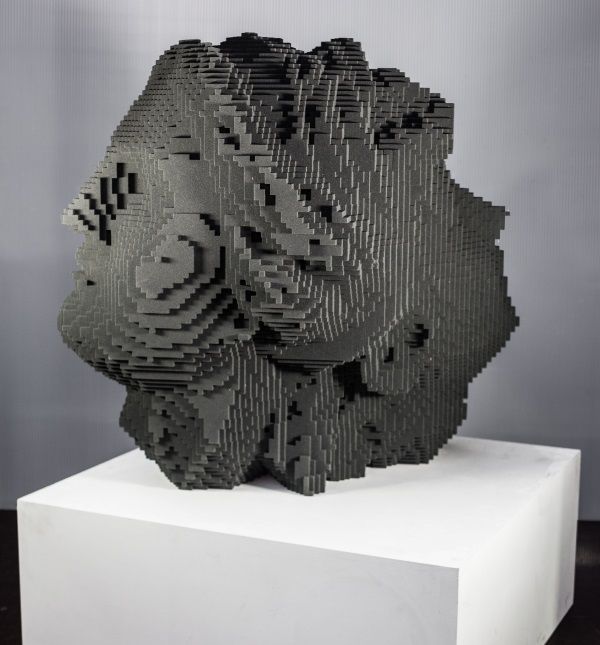 One or two more coatings can be added before the first round of sanding. Alternate priming and sanding is then carried out, finishing with 3,000 grit sandpaper.
Priming and sanding is usually followed by spray painting, as uncoated primer will be susceptible to impact and environmental damage. Also note that very deep cavities should be filled with plastic filler rather than primer.
Epoxy resin
A different type of coating for smoothing PLA parts is epoxy resin, which comes in two parts (resin and hardener) that must be mixed together before use. Unlike primer, which comes in a spray can, epoxy resin can be applied to parts using a paintbrush and is suitable for filling even the deepest holes.
To ensure good adhesion of the epoxy, it is recommended to first carry out wet sanding on the PLA parts with fine-grit sandpaper. Once the part is dry, the epoxy can be applied in generous amounts and spread evenly across the part surface. Further layers of epoxy can be added until the desired level of smoothness is reached.
Note that the epoxy resin coating may be weaker than the PLA underneath, and bits of the coating may flake or chip off over time.
Generic epoxy resins can be used, but there are also mixtures designed specifically for smoothing 3D prints, such as Smooth-On XTC-3D.
Solvents
One of the big disadvantages of PLA is its resistance to acetone smoothing, a relatively safe-to-use chemical smoothing process suitable for materials like ABS.[1]
PLA prints can only be chemically smoothed using stronger chemicals that require laboratory equipment like nitrile gloves, protective eyewear, fume hoods, and a well-ventilated environment. These chemicals dissolve the top layer of material, resulting in a smooth finish — but they can dissolve other things too, such as plastic containers, work surfaces, and human skin.
Experienced users may smooth PLA parts with chemicals like tetrahydrofuran, dichloromethane, or chloroform. [2] However, these substances are difficult to obtain and can be dangerous to use.
A safer option is ethyl acetate, a solvent found in ordinary nail polish remover. Nail polish remover can be applied to PLA parts using a cloth or cotton swab, though it is limited in its effectiveness. In general, PLA is not highly suited to chemical smoothing.
Vapor smoothing
A safe and effective method of chemical smoothing PLA parts is to use an automated vapor smoothing machine such as the Polymaker Polysher, which creates a mist of alcohol to gently remove the top layer of a printed part.[3]
Unfortunately, the Polysher is only compatible with Polymaker’s modified PLA products, PolySmooth and PolyCast, which dissolve in alcohol.
Heat gun smoothing
Though not the most precise method of smoothing printed objects, using a heat gun to melt the outer surface of a part is a fast and easy way to remove layer lines. A heat gun is a device that resembles a hairdryer but is capable of reaching much higher temperatures.
When using a heat gun to smooth PLA parts, it is important to move the gun evenly to ensure consistent heating across the part surface (or place the part on a revolving platter and keep the heat gun steady).
This technique only works on medium-size or large parts that do not have fine features or hollow sections.
As we have seen, there are several ways to smooth PLA prints and reduce the appearance of layer lines. Choosing the right smoothing method (or methods) depends on the nature of the 3D printing project and your priorities. In general, we would recommend:
Priming and sanding for most PLA parts - effective, safe, cheap
Epoxy resin or polishing for cosmetic parts - high-shine finish
Vapor or heat gun smoothing for rapid parts - fast, least labor-intensive
Alternatively, resin 3D printing technologies like SLA and DLP, though more expensive than FDM, are much better at producing smooth parts without layer lines.
[1] Tuazon BJ, Espino MT, Dizon JR. Investigation on the effects of acetone vapor-polishing to fracture behavior of ABS printed materials at different operating temperature. In Materials Science Forum 2020 (Vol. 1005, pp. 141-149). Trans Tech Publications Ltd.
[2] Zhang B. Does Acetone Dissolve PLA? [Internet]. EcoReprap. 2021 [cited 2022Mar1]. Available from: https://ecoreprap.com/dissolve-pla/
[3] Kočí J. Improve your 3D prints with chemical smoothing [Internet]. PrusaPrinters Blog. 2020 [cited 2022Mar1]. Available from: https://blog.prusaprinters.org/improve-your-3d-prints-with-chemical-smoothing_36268/
How to Get Perfectly Smooth PLA 3D Prints – Clever Creations
Are you interested in smooth PLA 3D prints but aren’t sure where to start? You’re not alone! PLA smoothing is one of the most common concerns among 3D printing enthusiasts who want glossy prints without the hassle of working with ABS.
While you won’t find a direct equivalent of ABS acetone smoothing for PLA, there are several other methods you can use to achieve a smooth outer surface on your prints. Whether you just don’t like the 3D printed look, want to sell your 3D prints, or need a smooth piece for certain applications, PLA smoothing is fast and easy.
In this article, you’ll find the most common products and techniques used in PLA smoothing, how to use them, the benefits and disadvantages of each method, and when one method should be used over another.
What is PLA Smoothing?
PLA smoothing is the process of removing the visible layer lines that are generated on 3D printed parts during the printing process. A smoothed 3D print becomes just that: smooth. The outside of the print loses the 3D printed look and appears more like injection-molded plastic.
PLA is one of the most common 3D printing materials available because it is easy to use, cheap, and readily available. PLA prints at a low temperature and does not have a strong tendency to warp (unlike ABS filament), making it a good choice for beginners.
Recommended:
PLA vs ABS: Which Filament is Better?
There are many methods to achieve a smooth look on PLA prints, and they usually require either by removing the excess plastic that causes the visible layers or filling in the tiny gaps between the layers with some sort of brush-on coating. Each method has its pros and cons and some are better for certain projects than others.
Why Smooth PLA 3D Prints?
There are several reasons for smoothing PLA 3D prints, but the most common one is aesthetic. Many enthusiasts don’t like the lined look of 3D prints and would prefer to remove them. This is especially true if they are making money with their 3D printer by selling 3D prints, since their customers may not appreciate the rough texture.
You also may need to fill in or remove your layer lines for certain applications. For example, if you are using the print as a master for making a silicone mold, you may want to smooth it so the texture isn’t transferred and so that casting materials like resin end up being glossy instead of matte.
Some of the methods used for smoothing PLA prints, like epoxy coatings, also make your prints more resilient. The coatings seal the layers and protect them from moisture and dirt. This is especially helpful if you plan to use your prints outside. Even sanding and spray painting your prints gives them more water and heat resistance.
An additional benefit of epoxy coatings is that they can help make your PLA food safe.
Methods to Smooth PLA Filament Prints
XTC-3D
XTC-3D is a high-performance two-part epoxy resin coating formulated to smooth 3D prints. Epoxy resin generates heat as it cures, so typical epoxies can warp 3D prints made from low-temperature materials like PLA. XTC-3D is formulated to cure at a lower temperature, so it won’t damage your prints.
Like most resins, XTC works by mixing the dormant resin with a proportionate amount of hardener. Once the hardening agent is added, the resin will go from liquid to solid within a certain amount of time. While it’s still in its liquid phase, you can paint a thin layer of it on your print and let it cure.
Resin coats like XTC are a great option for smoothing 3D prints because they are relatively simple to use and produce great results. The resin coating fills in the layers and adds a glossy shine. You can even sand and paint the resin coating as needed to easily achieve the look you want.
Epoxy resins should be handled with care and proper personal protection equipment. Always use XTC-3D in an area with good ventilation (while ideally wearing a respirator) and wear protection like latex or nitrile gloves and goggles to protect your skin and eyes. Be sure to check the product’s MSDS for more information on safe handling.
XTC-3D - High Performance 3D Print Coating - 6.4 Ounce Unit
1,337 Reviews
Check PricePros:
- Paints on easily
- Clear glossy finish
- Protects your prints
Cons:
- Expensive
- Fumes while uncured
3D Gloop
One of the most versatile 3D printing products you can buy, 3D Gloop is an adhesive meant for coating the print bed and gluing 3D printed parts together. However, it also works well as a brush-on coating to smooth PLA, ABS, or PETG 3D prints.
Unlike resin formulas like XTC-3D, you don’t need to mix or otherwise prepare 3D Gloop—you can brush it on in thin layers directly from the bottle and let it dry. They have formulas specifically made for different types of filament, so make sure you are using the PLA product for smoothing PLA parts.
3D Gloop does produce a lot of fumes while in use, so always use it in a well-ventilated area or with a respirator. You should also wear gloves and goggles and try to avoid direct contact with your skin (and be sure to wash it off quickly if skin contact does happen). If you also resin 3D printing, you might already have this equipment at hand.
Recommended:
Resin vs Filament 3D Printers: What’s the Difference?
Pros:
- Easy to use
- Versatile
- Made for 3D prints
Cons:
- Hazardous fumes
Sanding and Painting
Image: AxeCatAwesome via Reddit
Sanding PLA can give great resultsThe easiest and most common way to smooth PLA 3D prints is to sand and paint them. This process is the most time-consuming, but it yields excellent results when done thoroughly. With sanding, you are physically removing the layer lines, whereas with other methods, you are filling them in.
Sanding and painting will give you the most control over your finished piece. If you want to 3D print a helmet or create 3D printed cosplay armor, this is the method to go for.
To sand a PLA print, start with a rough quality sandpaper like 100 grit and sand down all the layer lines and areas you want smooth. Use the next size like 200 grit to sand it again, and keep repeating the process while you work your way up to finer sandpaper sheets.
Image: 3D Printed Props via Youtube
Make sure you don’t skip grits when sanding PLAYou can keep sanding until you reach 2000 grit paper for a very smooth 3D print surface, but this may be more than you need for your print. If you plan to prime and paint your piece, you likely won’t have to go that high. Assess your print after each grit and stop when you reach the texture you want.
You can use a wood filler or other filler primer before sanding to fill in some of the layers. This will cut down on a lot of the sanding needed and give your print a nice surface texture for holding paint.
From there you can paint your print as needed using whatever type of paint you prefer. Spray paint works well for large prints, while gloss paint adds shine to your new smooth surface.
Keep in mind that wet sanding (using wet sandpaper or keeping your print submerged in water while sanding) is best for PLA prints since it keeps the friction from melting the plastic and keeps you from inhaling the dust particles from the PLA. It can take a while to finish using this method, but it holds paint very well and looks great.
3M 88619NA 99419 Sand Paper, 9" x 11"
174 Reviews
Check PricePros:
- Gives you the most control
- Most affordable option
Cons:
- Time-consuming
- Takes a lot of effort
Heat Gun
Image: Tinkerine via Youtube
Be careful not to overheat your PLA prints when smoothing with a heat gunIf you want a non-chemical method that doesn’t require quite as much elbow grease as sanding, you can try using a heat gun. This method can be very effective at smoothing 3D prints when used correctly. However, it is rather difficult to do without accidentally melting your prints (especially ones made from PLA), so be sure to practice on failed or broken prints first.
Smoothing a PLA 3D print with a heat gun melts the outside layers of plastic just enough to remove the layer lines and give the print a shiny gloss. You carefully move the heat gun around the print, never staying on one area too long in order to heat the whole print evenly. When the surface of the print looks wet, you can turn off the heat gun and let the print cool.
Recommended:
How to Melt and Dissolve PLA Filament
This is a helpful technique to quickly get a smooth, shiny look with a tool you might already have on hand. Since it’s so difficult to get consistent results, this method is probably best kept as a last resort or when the results don’t matter as much.
Wagner Spraytech 0503008 HT1000 Heat Gun, 2 Temp Settings 750ᵒF &. ..
..
Pros:
- Quick
- Uses a common tool
- Gives a shiny surface
Cons:
- Hard to do well
- Results are inconsistent
PolyMaker PolySmooth PVB Filament
Image: Polymaker
Printing under similar settings and conditions as PLA, PolySmooth is a special low-temperature filament that can be smoothed with isopropyl alcohol. For fans of the ABS acetone smoothing, this is one of the closest equivalents you can get to that process with PLA or PLA+ filaments.
PolySmooth is easy to use. It prints at a low temp like PLA and doesn’t require a heated bed or 3D printer enclosure. You can spray alcohol onto your finished model and have a smooth print within minutes. The alcohol breaks down the outermost layer of plastic, leaving behind a shiny and smooth surface similar to that of a vapor-smoothed ABS.
Image: Polymaker
You can also use the PolyMaker Polysher to smooth 3D prints. Similar to a wash station for resin prints, the Polysher machine evenly coats the prints with vaporized alcohol. You can set the start and end times for the Polysher, ensuring smooth 3D prints every time.
While you don’t need to purchase the Polysher to use PolySmooth, it is a good way to automate the smoothing process if you have a lot of prints to do. It gives more consistent results across many prints.
Polymaker PolySmooth PVB Filament 1.75mm 3D Printer Filament Green...
283 Reviews
Check PricePolymaker Polysher - Post Processing Device to Smooth Print Surface...
283 Reviews
Check PricePros:
- Prints like PLA
- Safer than vapor smoothing
- Uses isopropyl alcohol
Cons:
- Costly
Chemical Smoothing
If you are wondering if there are chemicals available that smooth PLA similar to how acetone smooths ABS, the short answer is yes. There are some chemicals like ethyl acetate that can vapor smooth PLA, but they are not ideal for many reasons.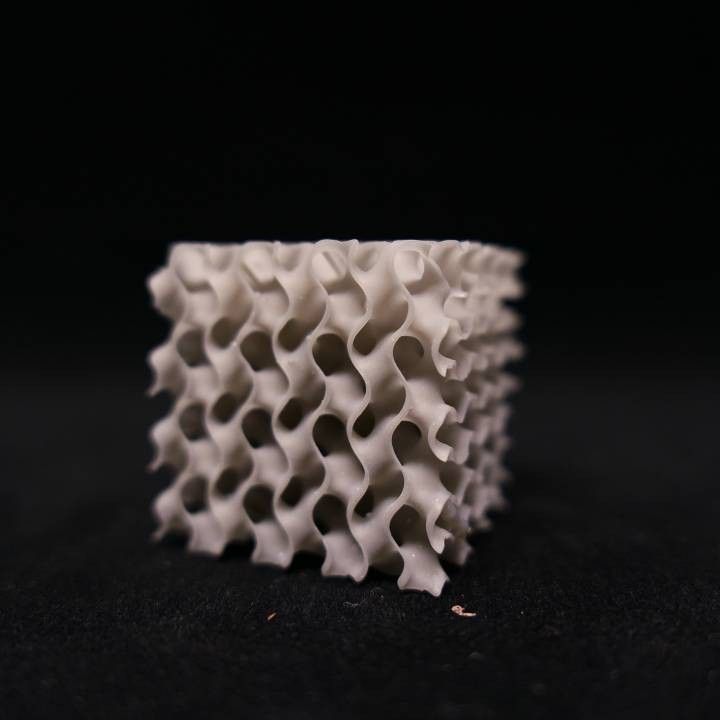
We also don’t recommend using them since they are highly toxic (especially when vaporized), expensive, and difficult to source. Ethyl acetate in particular poses a significant health hazard if inhaled and is highly flammable.
With products like PolySmooth on the market, you can already smooth 3D print layer lines without needing to use hazardous chemicals.
Abrasive Smoothing Methods
Abrasive smoothing methods like tumbling and sandblasting are another possibility to smooth 3D prints. These methods are fairly versatile because different tumbling media and blasting mixtures will give you different results.
However, the processes tend to work best with metal-filled PLAs. Regular PLA prints have mixed results. Sticking to the best PLA filament brands does help get better results.
Recommended:
The 10 Best PLA Filaments for 3D Printing
Tumbling 3D prints has been met with limited success. Vibratory bowls tend to work better than rotary tumblers.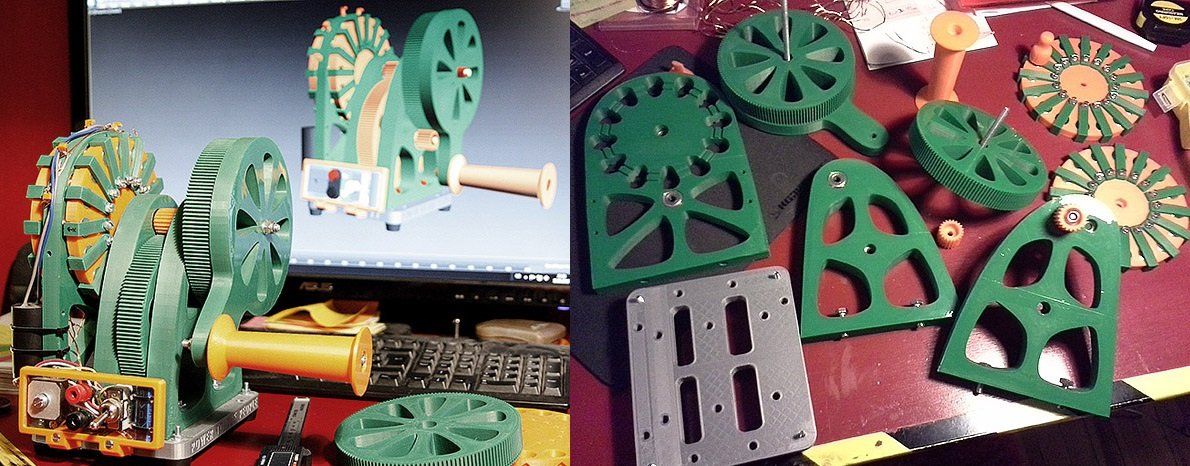 Using an actual tumbling media instead of the cheaper options like steel nails/shot or walnut shells also gives more consistent results.
Tumbling regular PLA prints usually softens the layer lines but doesn’t completely remove them. Metal and wood-filled PLA filaments, on the other hand, tend to have better results in a tumbler and look nicely polished and smoothed from the process.
Sandblasting is another option for smoothing PLA prints that offers varied success. Like tumbling, how efficient sandblasting is depends on the media used. Using fresh sand produces the best results. Like with tumbling you usually won’t completely remove your lines, but it will make them less noticeable.
Frequently Asked Questions
What is the best way to smooth PLA prints?
The “best way” really depends on what you’re trying to accomplish with your finished print. If you just want it to look nice and smooth with minimal effort, XTC-3D resin coating is probably your best option.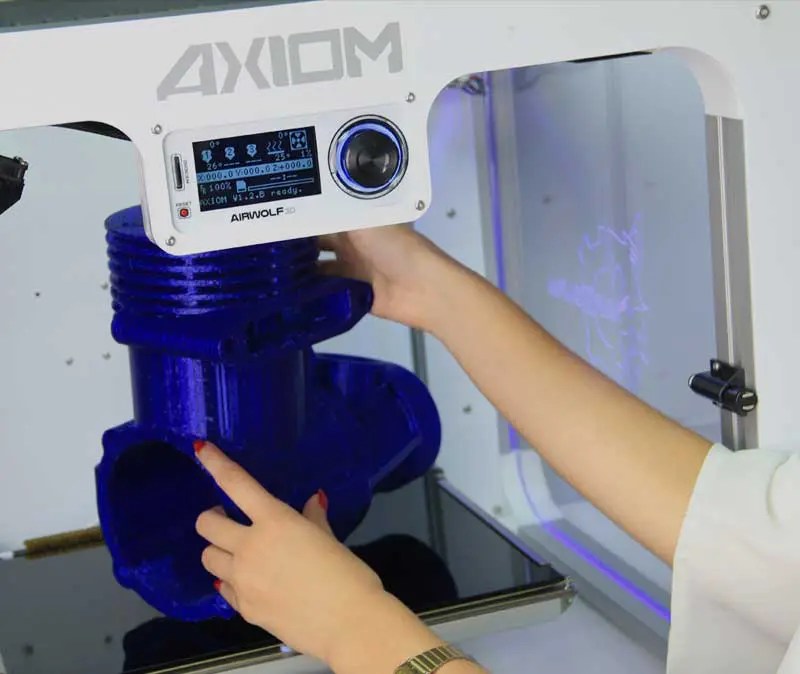 However, this adds another layer of materials on top of your print, so if you plan to paint it afterward, you will lose your small details.
If you want more control over the detailing of your smoothed prints, sanding is the best method to use. Since you are doing the process by hand, you have the most control over where the sandpaper goes. This method is best when used on prints that are going to be painted after.
Finally, for a quick smoothing effect that still leaves most details and doesn’t require much time, using PolySmooth filament instead of your usual PLA is a fast and easy way to get smooth results, so this will be the best option for everyday prints or when you need to smooth many prints quickly.
How do you smooth PLA without sanding?
To smooth 3D prints without sanding, you can use a liquid coating or filler primer to fill in and seal the layers. XTC-3D and 3D Gloop are the best choices for this, but there are other products available as well.
You can use the heat gun method detailed in this article, but that one takes quite a bit of practice to use well and doesn’t always produce consistent results.
Can you acetone smooth PLA?
No, acetone does not react with PLA plastic in the same way it does ABS, so it will have little to no effect on your 3D print. ABS is acetone soluble, meaning it will break down in acetone. PLA has few chemical reactions (and even less so that work like acetone and ABS), so finding a chemical smoother is not feasible.
If you want the experience of printing with PLA and the easy smoothing of acetone, you’ll need to buy PolySmooth or some other filament made for easy post-processing.
Can you smooth PLA with heat?
Yes, you can use heat to smooth your PLA parts, but your results will vary since it is very easy to damage your prints this way. The best way to heat smooth 3D prints is to only heat the outermost layers of plastic. Being too aggressive will also melt or warp the inside layers, causing the print to deform.
Heating the print in an oven or similar appliance often results in uneven heating. Your prints can overheat or burn in some areas while other areas haven’t even started to smooth.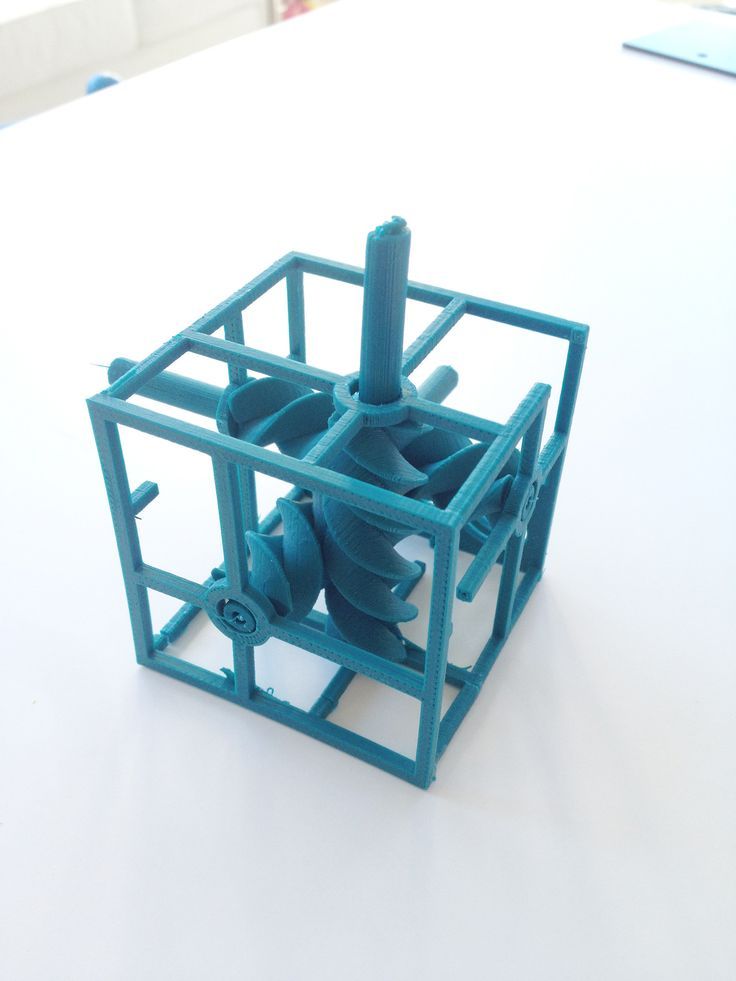 This is because the heat is coming from a static source, so it doesn’t distribute evenly within the oven.
Image: Tinkerine via Youtube
Your results with smoothing PLA in an oven will varyUsing a heat gun gives you more control to evenly heat the print and overall better results than a static heat source, but even that produces inconsistent results. More aggressive heat sources like an open flame almost always damage the prints, even when they can be moved around.
Does isopropyl smooth PLA?
No, isopropyl alcohol (IPA) will not smooth PLA. However, you can get the desired results with Polymaker’s Polysmooth. This is a special PLA filament that has been treated to be more responsive to IPA.
Can you vapor smooth PLA?
Yes, technically you can smooth PLA 3D prints using a vapor deposition process, but the chemicals required are not safe for human exposure.
How do you smooth a 3D printed figure?
There are a few ways to smooth out a 3D printed figure. One is to use sandpaper to lightly sand down the rough edges. Another is to use a heat gun to slightly melt the edges and give them a smoother appearance.
You can also use chemicals like acetone or XTC-3D to smooth out the surface of the print. Whichever method you choose, make sure to take your time and be careful not to damage the figure.
Finally, the best way to create a smooth 3D printed figurine is by using resin 3D printing instead of FDM printing. There are plenty of 3D printers for miniatures that work well for this purpose.
How do I get a smooth finish with PLA?
There are a few things you can do to get a smoother finish with PLA. First, make sure your printer is calibrated correctly, for example by using a temperature tower to set the right temperatures. This will help ensure that the layers are printed evenly.
Second, use a higher-quality PLA filament. Some brands of PLA filament are known for having a smoother finish than others.
Recommended:
The 10 Best PLA Filaments for 3D Printing
Finally, try using a different nozzle size. A smaller nozzle size (and thus smaller layer heights) will result in a smoother finish.
Final Thoughts
Whether you enjoy the cleaner look of finished prints or need a smooth surface on your prints for functionality, you have several options for making your PLA prints look amazing.
Smoothing layer lines from PLA isn’t as easy as some other 3D printing materials, but there are several methods and products available to help you do it as painlessly as possible. From brush-on epoxy resin products that fill in layers to special filaments to basic sandpaper, there is a smoothing method that works for most projects.
Do you still have questions about smoothing PLA prints? Let us know in the comments!
Beginner's Guide to Smoothing 3D Models
3DPrintStory 3D printing process Anti-Aliasing PLA: A Beginner's Guide to Anti-Aliasing 3D Models
Sooner or later, all owners of 3D printers think about smoothing the surface of printed 3D models. In this article, we will look at how to achieve a smooth surface of the printed model if you are using PLA plastic for 3D printing.
Sanding the printed model
Almost any model will require sanding to smooth it out. It is best to use sandpaper with different levels of grit. You can start with a grit of 200, and continue to increase the grit up to 4000. It is best to sand in a circular motion against the fibers of the layer lines.
Resist the urge to use a power tool because the strong vibrations generated by power tools will easily melt plastic, deforming the surface. Even when sanding by hand, remember that friction generates heat that can damage the 3D model by melting the plastic.
The best sandpaper is waterproof or wet/dry because you can wet it to cool the plastic. You should also constantly rinse the 3D model to remove any particles that form during the sanding process. An added benefit is that the water prevents small plastic particles from getting into the air and being inhaled. Wet/dry sandpaper can be distinguished by color. Its grains are black, not brown or beige.
Polishing options with pastes and special coatings
With PLA smoothing, sanding will never completely eliminate layer lines. One effective method is to apply polishing paste to the remaining lines of the layer. Polishing pastes have varying degrees of quality, following the example of sandpaper. These compounds are usually designed for use with metals, but work quite well with plastics. Simply apply the compound to a sanding wheel or similar rotary tool attachment, then apply it to the plastic for a smooth and shiny finish. As with sanding, remember that polishing creates friction and therefore heat. When smoothing PLA with a grinding wheel, it is better to use a lower speed.
Another method for smoothing PLA is to use a sandable primer with a high filler content. Thin, even coats dry quickly, after which the primer can be sanded down to plastic so that it remains only in the recesses of the layer lines.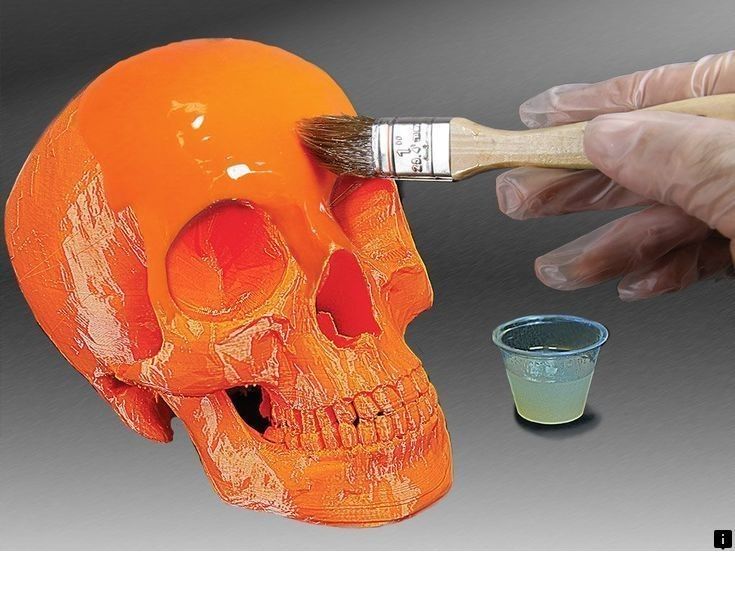 Repeat the process until all 3D printing flaws are gone.
For both procedures, always use primer and paint from the same manufacturer and never mix acrylic and enamel. This can crack the paint and put an end to all the hard work you've done before.
Another product worth mentioning is Smooth-On's XTC3D Finish Coat. It uses two liquids, one of which catalyzes the other, to create a resin-like material that can be brushed onto a 3D model. The coating is evenly leveled, leaving no brush strokes. Although Smooth-On claims that XTC3D does not melt plastic, the resin definitely gets hot as the mixture begins to set. The end result is a smooth and hard appearance that can be painted over or used as a final coat.
Heat gun
A less popular option for smoothing PLA plastic is to use a heat gun. This method requires some practice because the tool obviously generates a lot of heat which can destroy your 3D model. Pre-sanding the model helps to expose the plastic, making the final effect much more effective. The key is to keep the gun moving across the surface of the model, never letting the gun linger on one area that could easily melt the plastic.
While PLA does not generally emit odors when extruded, heat will certainly produce fumes as the plastic softens. Regardless of which PLA flattening method you choose, always try to work in a well-ventilated area because heated plastic, resins, and spray paint release potentially harmful fumes.
Using Polymaker's Polisher
A well-known method to get smooth 3D models out of ABS is to place the model in a sealed container filled with acetone mist. The acetone interacts with the ABS and slowly melts the plastic, creating a super smooth model. Note : be sure to read the necessary precautions if you decide to try this method.
Unfortunately, you cannot do the same procedure with PLA because it does not react in the same way with acetone. Some other chemicals will do the same but are difficult to obtain and very dangerous and toxic to use.
Polymaker, best known for its 3D printing materials, has introduced its own anti-aliasing agent called Polysher. Using a proprietary PLA-like filament formula, the 3D model is lowered into a sealed chamber where isopropyl alcohol is sprayed, creating a mist around the object to be smoothed out. The 3D model rotates in an alcohol mist that reacts with the plastic and melts it. The longer the process, the smoother the model will be. When you take the 3D model out of Polysher, its surface will be sticky, so it's best to leave it for about half an hour. It also improves the final look, which may not be as smooth as you would expect.
As with the other procedures described here, a little sanding helps the process but is not necessary. Tip : Expose the 3D model to shorter Polysher sessions and flip the model between sessions. Surprisingly, this method also produces near-transparent models when used with Polymaker's transparent PolySmooth material.
Conclusions
Creating smooth surfaces on 3D models will require some work. Sanding will either prepare your model for other processes, or it will create a nearly flawless surface on its own. No matter which procedure you choose, there are always some caveats to any PLA smoothing process.
All processes remove material from your model. Sharp edges will be smoothed out, and it will be very difficult to get around fine details. So if you break your model into separate nodes, each of them can be smoothed using the most appropriate process. And as a result, it will be possible to assemble the final, smooth and professional looking model.
Important for beginners. Inside of a 3D printed part
The information that we will cover in the article is intended primarily for users who are just getting acquainted with 3D printing. Beginners have to learn a lot of nuances and questions in order to become experts. We hope this article will help answer some of your questions.
Structure of a 3D printed part
So that you like the result of printing and the part performs its functions (technical or aesthetic - no difference), think about its structure in advance.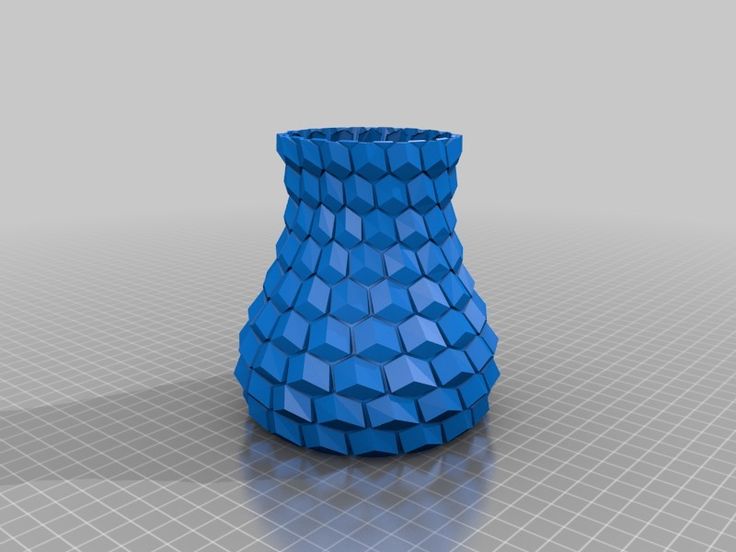
As, for example, the construction of a house is made of bricks or logs, so any part printed on a 3D printer consists of layers that are superimposed on each other from the bottom up. Layers can be of different heights and printed with different nozzles - the smaller the nozzle diameter, the lower the layer height needs to be set and vice versa. For example, the vase in the figure below is printed with a nozzle with a diameter of 1 mm, a layer height of 800 microns.
When printing the vase, the characteristics are set so that the layers are clearly visible and tangible
How does the height of the layer affect the finished model? The layered part will have more roughness and at times lower print accuracy (the thicker the nozzle, the larger the corner print radius).
The layer also includes the perimeter and internal filling:
Perimeters create the shape of an object
Filling can be patterned
The interior filling can be patterned or solid. Forms of its execution: honeycombs, rectangles, lines, Gilbert curve, etc. The fill pattern affects the rigidity of the part, as well as the duration of printing and material consumption.
The number of outer and inner perimeters affects the strength of the part. If we set more perimeters, then the part will be stronger.
Almost always the optimal number of perimeters is 2-3.
The perimeters (internal and external) 9000 There are larger perimeters (5 pieces) and the part became stronger than 9000,0002 is also established so that it is also established so that it appeared so that it appeared so that it appeared so that it appeared so that it appeared so that it appeared so that it appeared so that it appeared so that it appears to appear the ability to make a hole in the model without damaging it, and also for threading.
There are top and bottom layers. They are easy to distinguish: the bottom layer will be smooth and glossy, as it adhered tightly to the glass during printing, and the top layer will be rough due to micro-marks of the nozzle.
The lower layer is smooth due to contact with the glass table
And the upper layer is slightly rough
To get a more smooth surface, it is necessary layer. In this case, the nozzle makes more passes (eg nozzle d=0.5 mm, extrusion width on the upper layers = 0.25 mm). Instead of one line of top fill, the extruder will make two lines and the surface texture will become denser and smoother.
Extrusion Width is a customizable parameter that sets the width of the line when printing (the thickness of the plastic at the exit) smoothes unevenness with a nozzle.An infill is a structure within a part (perimeters). The part is most often not 100% filled and is not a monolith, but this does not affect the loss of strength, since the filling can be made in the form of a pattern that holds the part together and gives it rigidity.
How to take into account 3D printing when modeling a part
Often, people who first encountered 3D printing use their previously acquired design and modeling skills, or knowledge of resistance materials to model printed parts.
In fact, in addition to knowledge of modeling, you need to take into account the features of 3D printing itself. More on these details below:
Part anisotropy - the strength of a part in only one direction.
Imagine that our task is to print a bracket that will be attached to the wall with 2 holes (see the figure below).
Spoiler: you cannot model the bracket in this way
With this simulation, it turns out that the part will carry the load along the layers. Most likely the bracket will not withstand the load and break. When using technical plastics, the risk of breakage of the part is reduced (their sintering of the layers is better), but, nevertheless, you need to design the model correctly - place it across (put it on the table).
We recommend positioning the model in this way. In addition, you can do without support e to
When printing the bracket in the supine position, the layers are perpendicular to the load vector.
Such a detail will be stronger. It can be compared with the fibers of a tree - if the load is directed across the fibers, then it will be easier to break it. When we place the model horizontally, the layers are arranged correctly, so the product should be more practical and stronger.
First layer flat
Parts are being printed on a flat table and you need to plan in advance the flat part from which to start printing
For example, let's look at this detail:
Dmitry looks at the detail and understands that it will not be possible to print the same one without supports. The grooves are located just above the plane of the part and
As a result, the part was printed in this position
There was a lot of support at the bottom and a lot of material wasted. But such a detail could not be printed otherwise.
By the way, this part was not designed for 3D printing.
If its printing was originally supposed, then the issue of protruding grooves would probably be solved by drowning them behind the plane. This could have allowed the printing of the part with the maximum area of contact with the table.
If the contact area is small, then there will be a high probability that that the part will peel off the table when printing.
Consider the example of a rocket:
Imagine that its three small nozzles are slightly shorter than the main average e
In this case, there will be only a couple of perimeters with which it is in contact with the table (central nozzle) . This makes it very unstable when printing, and the movement of the extruder can drop nozzles hanging around the perimeter. Therefore, when modeling a rocket, all elements of the base were made on the same level.
Overhanging elements
Another point related to the specifics of preparing the model for printing.

Let's start with the fact that models with overhanging elements should be avoided :)
If such an element appears in the part, then most likely it will go to print with supports (and eventually they will have to be removed), or the element will sag. How to solve a problem? If possible, avoid models with overhanging elements, you can add a chamfer (cut corner).
There will be no sag at 45°. For example, the wings of the rocket already mentioned are printed without supports
Thin walls in the model
Often in modeling it is necessary to make a wall of a certain thickness. How to model a thin wall so that there are no errors during slicing:
Heat gun wall thickness = 1 mm, with a slight 1.5 mm thickening at the edges
Dmitry indicates the wall thickness of the hair dryer
The wall must be modeled with a thickness that is a multiple of the nozzle diameter (nozzle = 0.
5 mm, which means the wall is 1 mm or 1.5 mm). But what if there is no multiple match, and we need to make a layer 0.4 mm thick?
The answer is simple: you need to increase the width of the extrusion
A good example of increasing the width of the extrusion and
How can I save printing time? A few tips.
Let's imagine that we need to print a non-functional part (cover, casing) in order to “try it on” or “attach” it somewhere. In a word, make sure it fits its destination. Such a blank can be printed without internal filling at all (only with two or three perimeters), if there are no overhanging elements. The part will be empty and light, but it will do very well for trying on.
Consider the example of printing the FIFA Cup. This goblet can be printed without infill, but we have it with a small, thin infill bar from the base to the top of the sphere (an option in the infill slicer only needed).
Due to this, it does not sag. The case is printed entirely with perimeters.
In general, you can use the modifier and start filling only at the top. Until this part, printing is done only by perimeters and the pole of the sphere does not sag. It is also possible to set a very small extrusion width for filling, in which case the “inner wool” will not allow the top to fall through.
If we need a part whose surface does not have to be very smooth, then we can take a nozzle with a larger diameter (0.8 mm, 1 mm) and set a higher layer height.
The bottom square piece (see photo below) is printed with a 0.8 mm nozzle and a fairly high layer of 0.5 mm. It took 15 minutes to print. The top part is printed with a 0.5 mm nozzle and a 0.15 mm layer. This part is very smooth, but it took 39 minutes to print.
15 and 39minutes. Agree, there is a noticeable difference?
The time savings when printing the first part is quite noticeable, and when printing a large part, you can save several hours without losing accuracy, but only a little in appearance.
Layer height is the main parameter that significantly affects the speed of printing.
You can also save time by printing through-the-layer infill and increasing the extrusion ratio per infill (there will be only one infill layer per two perimeter layers).
Dual extrusion
Let's imagine that we urgently need an externally smooth and aesthetic part. A dual extruder printer will help with this. We will print the perimeters with one nozzle diameter, and the filling with another.
The perimeter can be printed with a 0.5 mm nozzle. The wall and layer will be thin (0.2mm layer)
The infill is printed by another extruder with a 1mm nozzle and through the layer.
Important: this can only be done on a printer whose two extruders are located at different heights.
As a result, we get an externally beautiful part, which is also rigid and strong due to the filling of 1 mm.
Learn more


