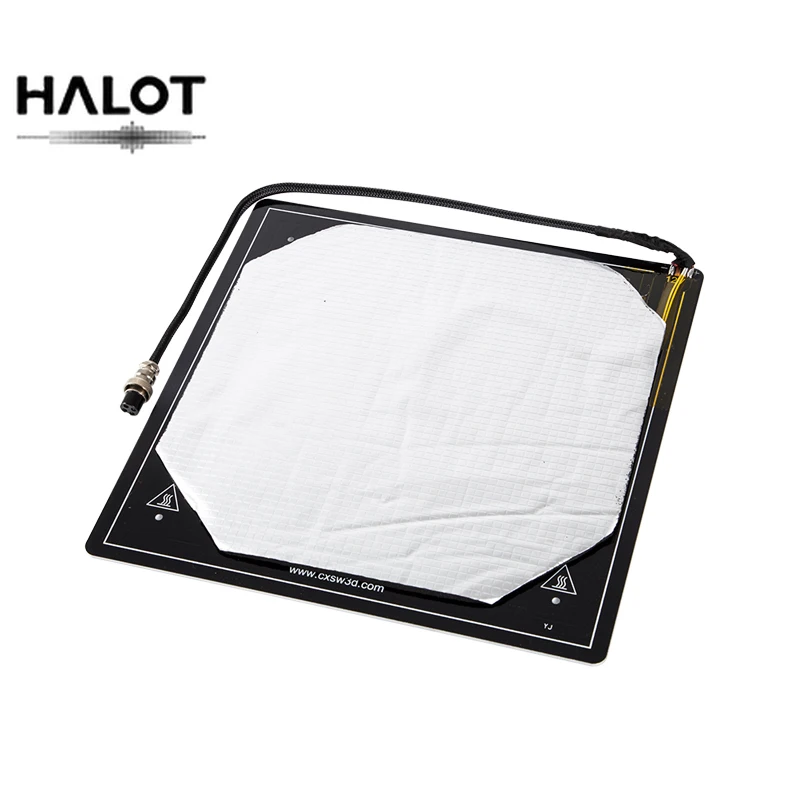
3D printer heated bed plate
Print Bed & Surface – Creality 3D
Creality3D 235x235mm Heated Bed Build Surface Ultra-Flexible Magnetic Sticker for Ender-3/Ender-3 pro/Ender-5/CR20
Creality3D 235x235mm Heated Bed Build Surface Ultra-Flexible Magnetic Sticker for Ender-3/Ender-3 pro/Ender-5/CR20
- Regular price
- $18.99
Upgrade Silicon Carbon Ender-3/Ender-3 Pro/Ender-3 V2 Build Surface Tempered Glass Plate with Special Chemical Coating 235x235x4mm for MK2 MK3 Hot bed
Upgrade Silicon Carbon Ender-3/Ender-3 Pro/Ender-3 V2 Build Surface Tempered Glass Plate with Special Chemical Coating 235x235x4mm for MK2 MK3 Hot bed
- Regular price
- $29.99
310*320mm Tempered Glass Build Plate for CR-X/CR-10/CR-10S Pro/CR-10S Pro V2/CR-10 V2/Ender-3 Max 3D Printer
310*320mm Tempered Glass Build Plate for CR-X/CR-10/CR-10S Pro/CR-10S Pro V2/CR-10 V2/Ender-3 Max 3D Printer
- Regular price
- $32.
99
PEI Magnetic Build Plate 235*235MM For ENDER-3 Series/ENDER-5/ENDER-5 PRO/CR20/CR20 PRO/CP-01 3D Printer
PEI Magnetic Build Plate 235*235MM For ENDER-3 Series/ENDER-5/ENDER-5 PRO/CR20/CR20 PRO/CP-01 3D Printer
- Regular price
- $46.99
Creality 3D 310*320mm Build Surface Sticker For CR-10/CR-10S/CR-10S PRO/CR-X/CR-10 V2/CR-10S PRO V2 3D Printer
Creality 3D 310*320mm Build Surface Sticker For CR-10/CR-10S/CR-10S PRO/CR-X/CR-10 V2/CR-10S PRO V2 3D Printer
- Regular price
- $15.99
Creality CR-6 SE Smart Build Surface Carborundum Tempered Glass Plate with Special Chemical Coating 245*255*4mm
Creality CR-6 SE Smart Build Surface Carborundum Tempered Glass Plate with Special Chemical Coating 245*255*4mm
- Regular price
- $35.
 99
99
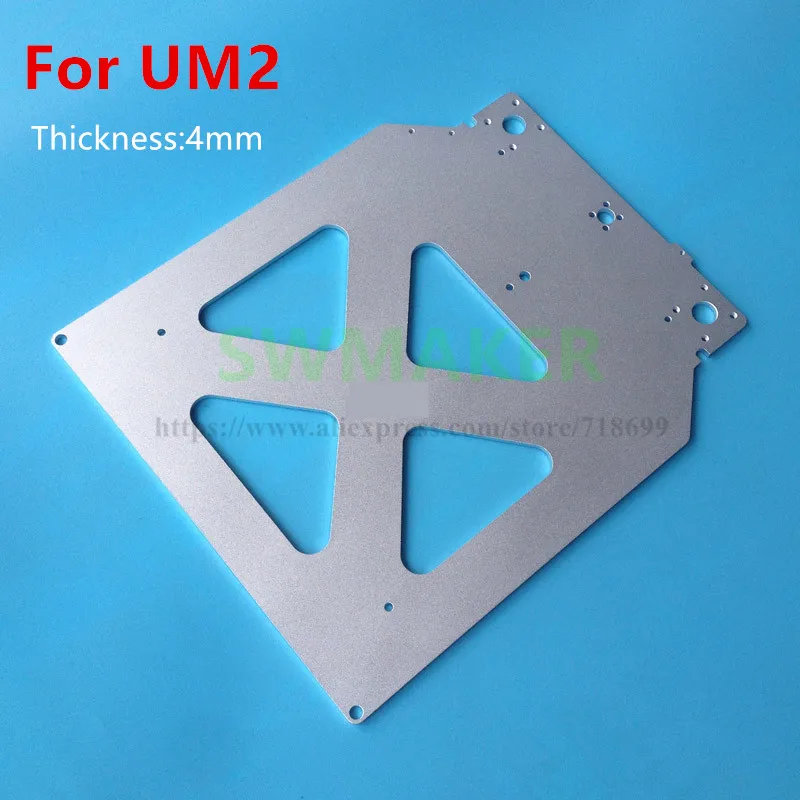
Creality3D 310*320mm Aluminum Alloy Heated Bed Platform Plate and Sticker For CR-10/CR-10S/CR-10S PRO/CR-X/CR-10 V2/CR-10S PRO V2 3D Printer
Creality3D 310*320mm Aluminum Alloy Heated Bed Platform Plate and Sticker For CR-10/CR-10S/CR-10S PRO/CR-X/CR-10 V2/CR-10S PRO V2 3D Printer
- Regular price
- $15.99
Creality3D 470*470mm Heated Bed Build Surface Magnetic Sticker for CR-10 Max
Creality3D 470*470mm Heated Bed Build Surface Magnetic Sticker for CR-10 Max
- Sold out
Creality PEI Build Plate Frosted Surface 320*310*2mm For CR-10/ CR-10S/ CR-10S PRO/ CR-10 V2/ CR-10 V3/ Ender-3 Max
Creality PEI Build Plate Frosted Surface 320*310*2mm For CR-10/ CR-10S/ CR-10S PRO/ CR-10 V2/ CR-10 V3/ Ender-3 Max
- Regular price
- $65.
 99
99
Creality 3D 310*310 Glass Fiber Board Heated Bed Platform Plate For CR-10/CR-10S/CR-10S PRO/CR-X/CR-10 V2/CR-10S PRO V2 3D Printer
Creality 3D 310*310 Glass Fiber Board Heated Bed Platform Plate For CR-10/CR-10S/CR-10S PRO/CR-X/CR-10 V2/CR-10S PRO V2 3D Printer
- Regular price
- $15.99
Black PEI Magnetic Flexible Steel Plate 235*235*0.4mm for Ender-3/Ender-3 pro/Ender-3 S/Ender-3 V2/Ender-5/Ender
Black PEI Magnetic Flexible Steel Plate 235*235*0.4mm for Ender-3/Ender-3 pro/Ender-3 S/Ender-3 V2/Ender-5/Ender
- Regular price
- $55.99
Creality CR-10 Smart Build Surface Carborundum Tempered Glass Plate with Special Chemical Coating 310x315x4mm
Creality CR-10 Smart Build Surface Carborundum Tempered Glass Plate with Special Chemical Coating 310x315x4mm
- Sold out
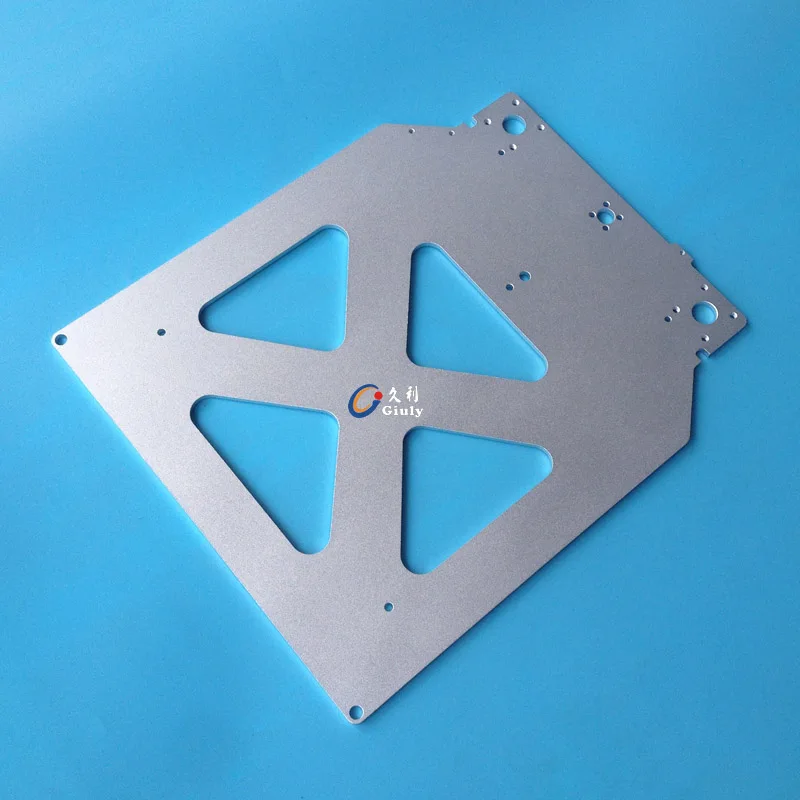
Creality 3D 310*320*3mm Aluminum Alloy Heated Bed Platform Plate For CR-10/CR-10S/CR-10S PRO/CR-X/CR-10 V2/CR-10S PRO V2 3D Printer
Creality 3D 310*320*3mm Aluminum Alloy Heated Bed Platform Plate For CR-10/CR-10S/CR-10S PRO/CR-X/CR-10 V2/CR-10S PRO V2 3D Printer
- Regular price
- $61.
 99
99
Spring Steel PC Sticker Kit for Ender-3 S1
Spring Steel PC Sticker Kit for Ender-3 S1
- Regular price
- $48.99
Frosted Cold Printing Print Bed For Ender-2 Pro, 180mm×170mm
Frosted Cold Printing Print Bed For Ender-2 Pro, 180mm×170mm
- Regular price
- $24.99
Creality CR-6 Max Build Surface Carborundum Tempered Glass Plate with Special Chemical Coating 420*430*4mm
Creality CR-6 Max Build Surface Carborundum Tempered Glass Plate with Special Chemical Coating 420*430*4mm
- Regular price
- $159.99
Bed plate will not heat up.
 - 3D Printers - Talk Manufacturing
Bassna
#1
My bed plate quit heating up. I also noticed it no longer is flashing the yellow light when pre-heating. It has no error though, just keeps drifting from 15, 16, back to 14 degree’s. Not really sure what to do, I e-mailed their support but not sure how long that will take for a response, plus I am no longer in warranty. I was trying to pull the plugs that are attached to the bed plate to inspect them, but they are pretty stuck on there and I don’t want to break more than it already is.
The plug on the left of the plate does appear to have a small brown mark, but I can’t tell much else without pulling it off I don’t think. Any information would be appreciated.
1 Like
Therazerkid
#2
Have you mad sure all the connectors are in correctly on the rear of the heated bed.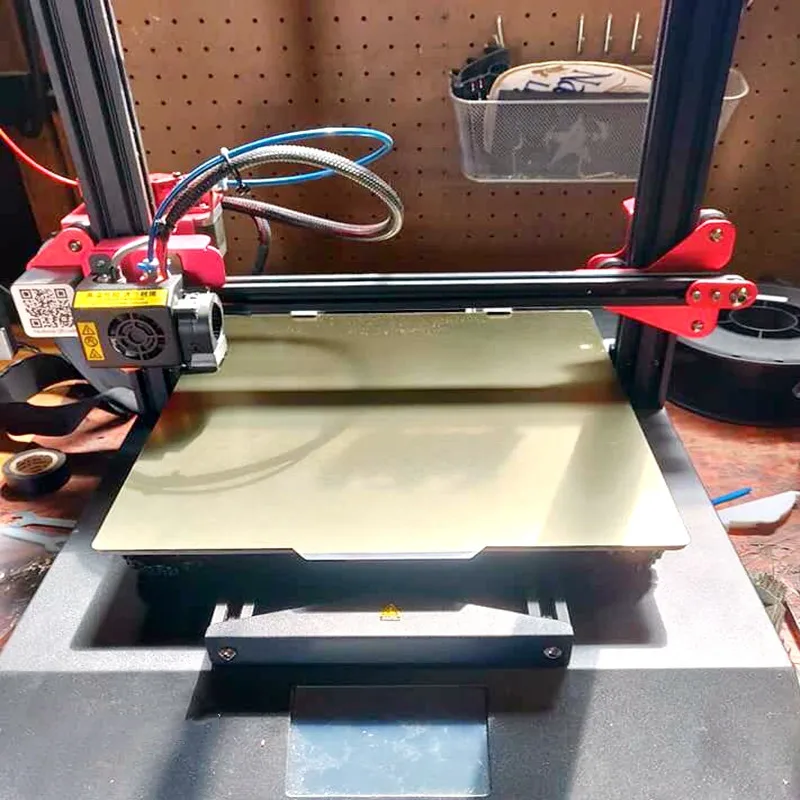 I had this issues.
amer_halwani_5
#3
I had a similar problem. I shorted the connection between the ribbon cable and the heat bed. Replacing the ribbon cable worked for me. Make sure no liquid is getting in contact where the ribbon cable and the heat bed connect.
Bassna
#4
Thanks for the quick reply’s guys. I pulled out this plug and it does appear to be kind of burnt right? (Hopefully I can get it back in, I couldn’t pull the plug part out from the case.) I see a replacement cord for the Flashforge creator pro heat bed cord on their store, for $8. Should I order this? Here is a picture.
amer_halwani_5
#5
Yeah, that looks a little burnt. When this happened to me I was able to clean it up and wiggle it around until it to make contact again, but I did order a new cable.
Bassna
#6
I received an e-mail back from Tang at Flashforge today. He said “I am afraid you need a new heating board, as the socket should be soldered together with the board” which is what popped off when I tried to unplug it, and offered to mail me one out for $60. Which seems fair because it’s about double that with the shipping from the website.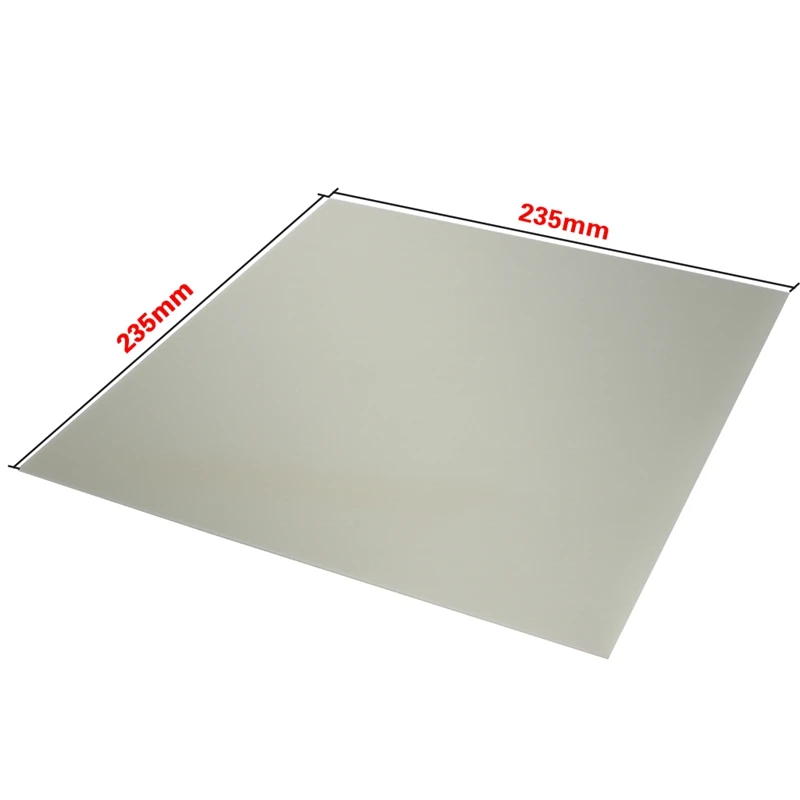 I just wanted to check if this is the option I should go with?
Aaron_Gilliam
#7
I know this is rather old, but if you have a soldering iron and you are fairly good with it, you can do it even for a noob. I was a noob when I started out and now I hand solder 1206 SMD resistors and smaller, along with SMD PWM chips and FETS. I would suggest going to ebay and buy cheap soldering kit to practice on SMD stuff. You can easily re attach the solder joints of the connector on the heated bed IF and I must emphasize IF you didn’t peel the traces off the board. This can save you money. If you still have the bed I would be interested in possibly buying it from you. I need a spare and if I can get it fixed that’s great. if not I can still use it to do a schematic of the wire traces.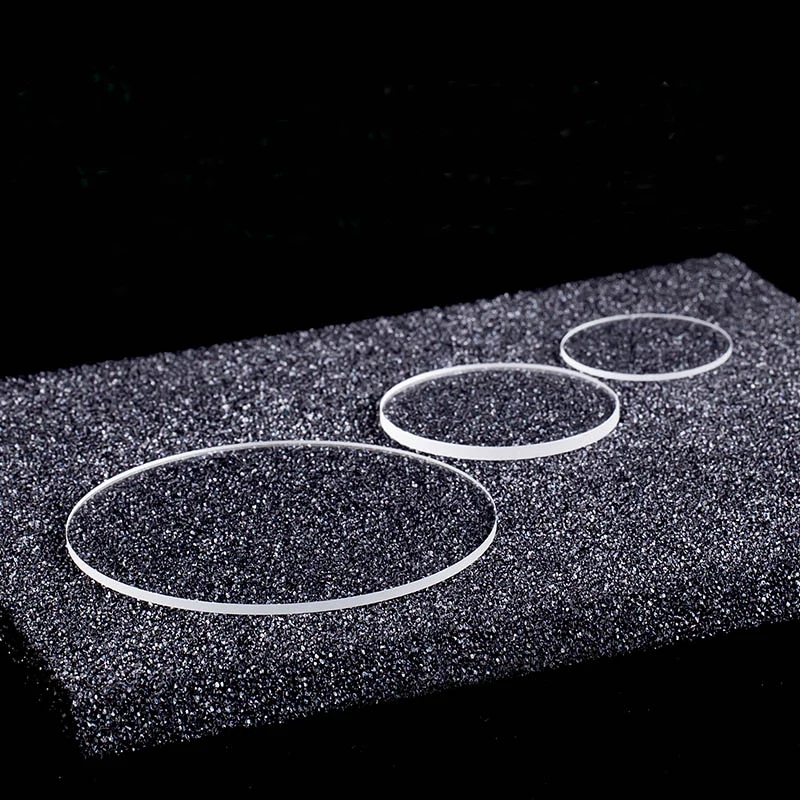 I see there are 2 heavy wires for the 24v side + and -, but then I see there are another connector with 4 wires. I see 2 on the back of the bed are negatives and 2 pins tie to ground. so that leaves a 5V reference voltage and a signal wire for the thermistor. but would love to verify. I want to make my own bed, larger, and with heavier traces. I have had my FFCP about 1 year and have rarely printed in ABS due to the fact it warps (yes I have closed build chambers and fans to keep the air inside hot), and problems adhering to buildtak, but the bed now takes a while to heat up. I have a new FFCP that I just got as a second to speed up production and it heats up to 65c in 5 mins or less. the other one takes 20. If I print ABS forget it. I have to preheat for 30 minutes I think or longer.
Anyhow I could also see about repairing your bed for you. If you could send me pics of the bottom of the PCB. Let me know I hope you still have this and check your messages.
II have many years soldering experience btw, but with the new SMD stuff not so much.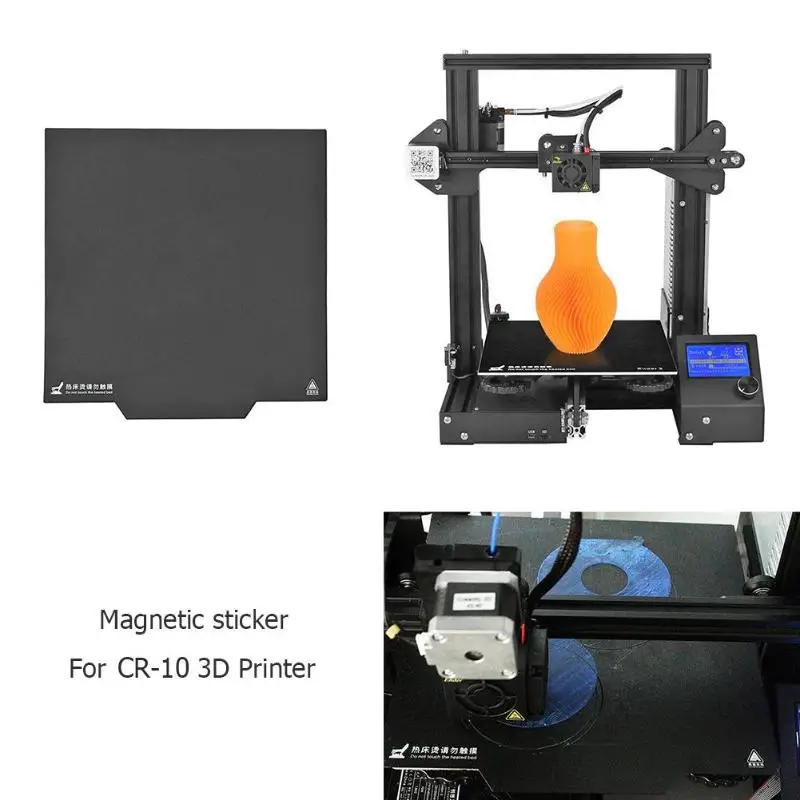 I had a mightyboard that took a crap on me and ended up being a hexfet and a transistor. VERY tiny. I use a SMD rework station I got from amazon that has a heat gun. A heat gun is your best friend for SMD stuff as long as you don’t heat the chip up too much or surrounding components. What I do is since I don’t care about the old chip I heat it up and pull it off. Then take the soldering iron and some solder wick and wick up the remaining solder up. Add some paste flux, add some small amounts of paste solder. Then sit the chip on the contacts into the paste (paste helps hold the chip in place) then hit the contacts with the soldering iron for a few seconds each while pressing down with a pair of tweezers. Has never failed me yet. Just keep an eye on your chip as your soldering it to make sure its lined up and no whiskers or bridges. I have a harborfreight lighted magnifying lap and it has a nice super magnifying lens inside of the bigger one and that works great. I think it was like 18 bucks or so.
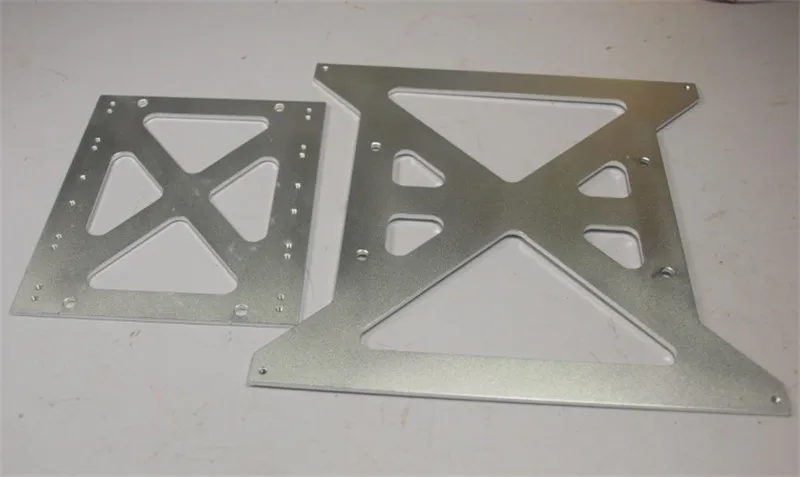 If I can be of any assistance, please let me know.
Also just FYI and my 2 cents worth. FlashForge printers are GREAT, but they are no makerbot printer. In that I mean the quality is decent but the parts used are JUNK. I’m sure you have heard or have experienced the X motor shake or even extruder not working or shaking or heaters not heating etc. The printers use a very small guage wire, which is adequate for the current used, however the insulation isn’t present. If you compare the same gauge wire from the US to their gauge wire, the insulation is much thicker. Same goes for the bed, thin insulation == stress on wires === damage to wires and components. I’m in the process of making replacement wireset for the extruders that I may start selling that are of better quality wire, better insulation to help prevent this. I haven’t had the issue YET but heart of it often.
heating connection, from which to make heating from 220 volts
Depending on what plastic will be used during printing, heating of the 3D printer desktop may be required.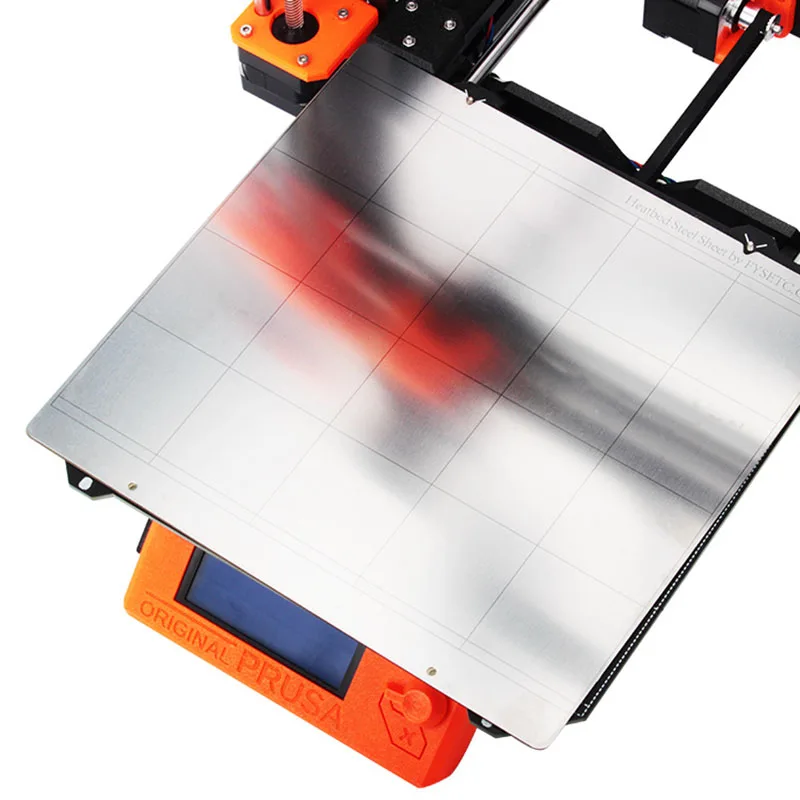 In addition, budget devices do not always have such a function. Therefore, many make a heating table with their own hands.
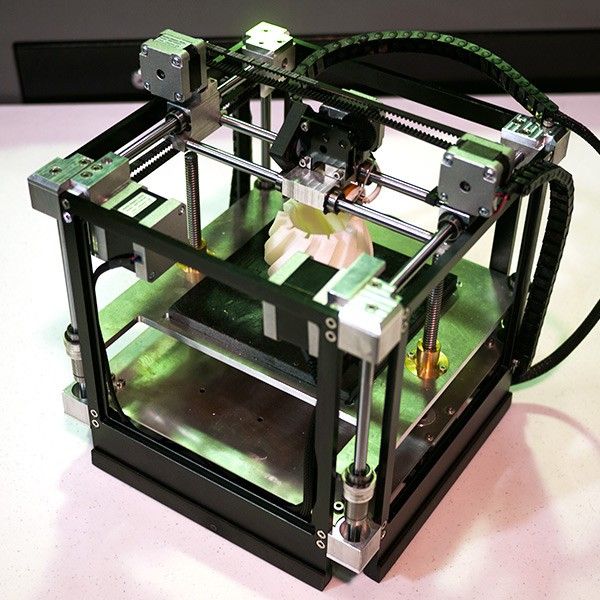
Heating table for 3D printer
The heating table is a working surface consisting of several layers, one of which has a heating element. On the heating table and prints the printer.
The heater usually has a serpentine pattern.
Why is heating necessary?
The use of a heated bed during 3D printing is a simple and reliable way to protect finished products from uneven cooling, which often causes deformation of the part. Even on the cheapest printer, you can get good quality models using a heated work surface.
How to make a table for a 3D printer with your own hands?
Types of heating tables:
- Textolite. This is the most affordable option. The textolite table consists of a textolite plate with copper tracks applied to it. Most often, they are powered by 12 or 24 V. Direct printing on a textolite sheet will not work, since it is quite flexible and deforms during heating.
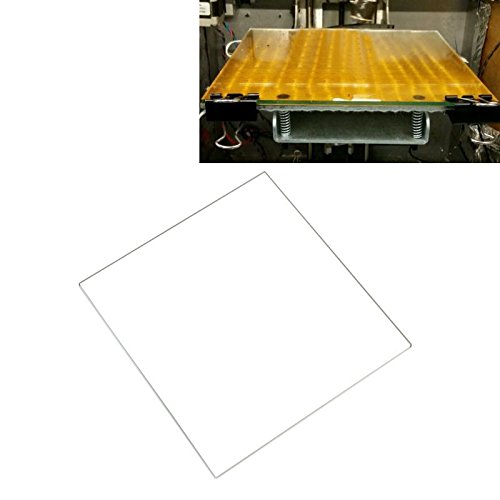
 Glass is attached to it from above to stiffen and level the surface.
 - Aluminium. Textolite is also used in aluminum tables, but instead of glass, an aluminum sheet is laid on top.
- Silicone. Can be flexible or rigid, depending on the design. It consists of a heating element, which is filled with heat-resistant silicone.
Step-by-step instructions
The easiest way to make a table is based on silicone. To do this, you will need to prepare the following materials:
- nichrome wire with a diameter of 0.2 mm;
- sheets of cardboard;
- mounting tape;
- nails with small head;
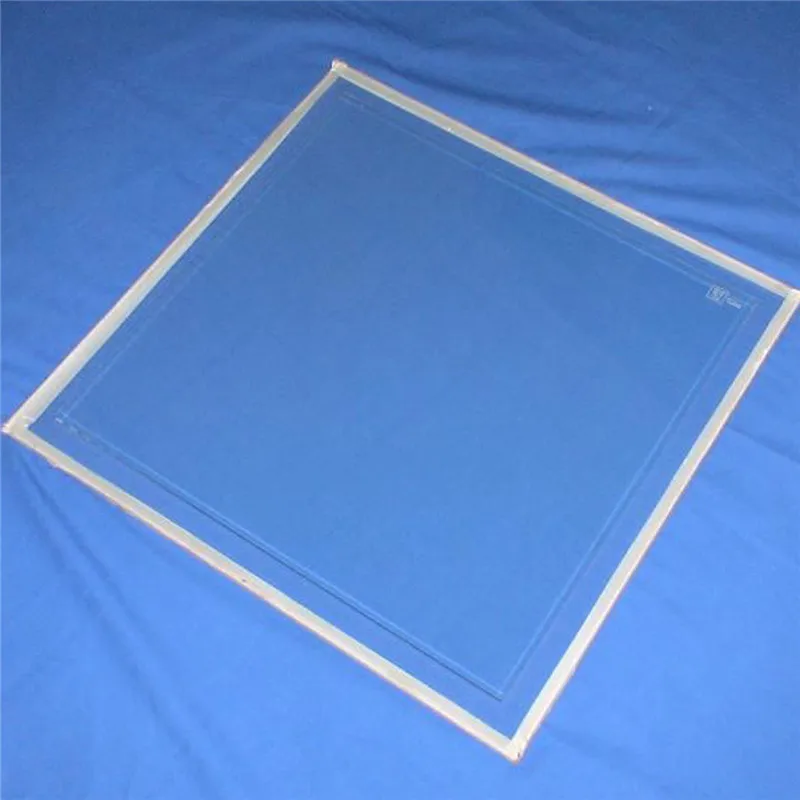
- glass;
- heat resistant silicone sealant.
Manufacturing process:
- Several sheets of cardboard are stacked on top of each other and held together with adhesive tape.
- An ordinary checkered sheet is attached with the help of studs.
- Hats are recessed and aligned.
- Tape strips are glued on the sides (next to the hats).
- The studs are carefully pulled out so that everything stays in place.
- The paper is also carefully removed.
- Glass wiped with alcohol. After that, the resulting design is glued to the glass. First you need to glue one strip, and then the second with a stretch.
- Everything is generously lubricated with heat-resistant sealant (except adhesive tape). The layer must be at least 2 mm.
- After drying, the adhesive tape is removed and the empty spaces are also smeared with silicone.
- A wire is soldered to the end of the wire to connect to the network.
Mistakes and how to avoid them
It is important to correctly calculate the length and thickness of the wire. Otherwise, there will be either overheating (which will lead to a short circuit or burnout of the wire), or too little heating. For calculations, you can use special online calculators. They include the required power and voltage of the network.
Making your own heating table for a 3D printer is quite simple. All materials are available. Home-made manufacturing is especially important for those who have budget printer models.
- March 28, 2021
- 3130
Get expert advice
Do-it-yourself hot table for 220v.
Hello people of the forum!
This article is not a 100% recipe for creating a hot desktop, but only an attempt to implement a spontaneous idea.
All owners of 3d printers are familiar with this textolite heating table, I also bought it and was disappointed. It is impossible to get a temperature above 80 with its help.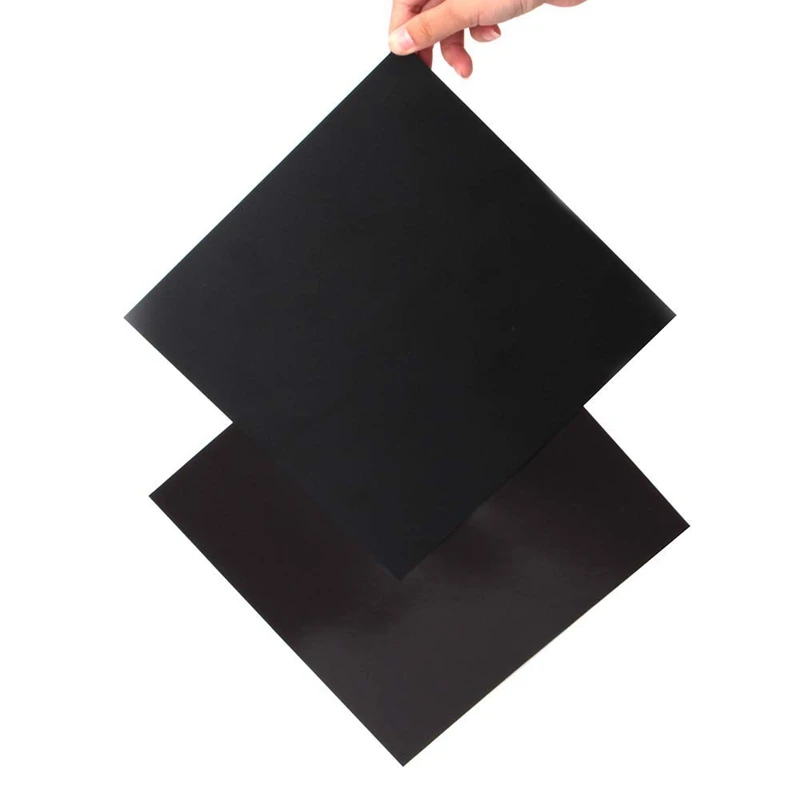 Whereas hardcore printing veterans recommend 110c when printing with ABS plastic.
Accordingly, a more powerful heating element was required. The search for a silicone heating element for 220v gave results of 1500-3800 rubles per copy. Given the fact that I spent 2000 rubles on the entire printer. this is unacceptable.
And now, in fact, we have reached the very idea. Assemble the heating element yourself from improvised means, namely from nichrome and ceramics.
Element calculation for 350W.
I decided to limit the voltage with a rectifying diode, the voltage will be 110v at the peak and 55v at the conventional average. (please do not argue this idea).
Online calculator for calculating the length of nichrome wire http://forum220.ru/calc-nichrome-wire.php
Enter data 3.93m current 6.36A.
Just what you need, in fact, I chose the thickness of the wire so as not to wind myself to death.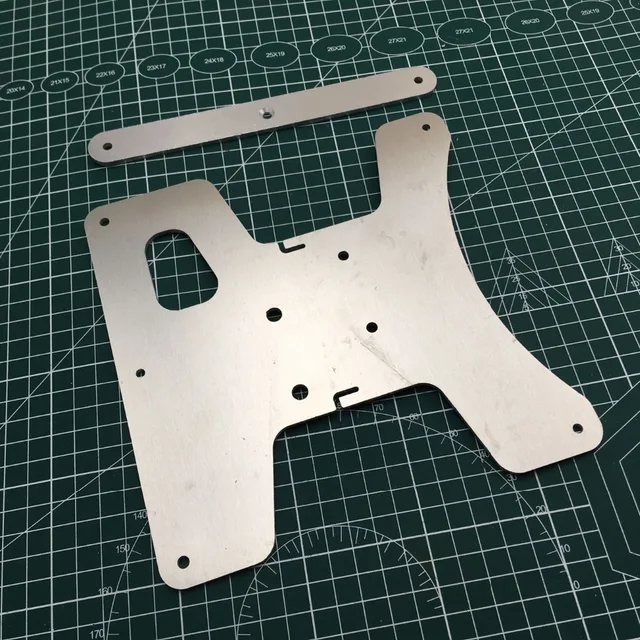 For example, if the voltage is not limited by a diode, then with a nichrome thickness of 0.8 mm, 62 m of wire will have to be distributed on the surface of 200 * 200 mm.
And so the distribution is 4 m / 0.2 and that is 20 threads, that is, we lay the wire every 1 cm. , so we go to the building store.
At first I chose glue for stoves and fireplaces, it dried badly and was very fragile, and then I found out that it is also a heat-insulating material. (Who needs a bag of glue for the fireplace, write in a personal message)
The next was gypsum, it is also a good heat insulator, and even fragile. I decided to place the wire as close to the surface as possible. I tried to wind the winding on plaster stumps, but nothing happened.
So I bought a board and stuffed studs, this allowed me to pull the wire well close to the “heating” surface.
After that, it was filled with gypsum without reaching the nails and reinforced the structure with 9 bamboo skewers.
After hardening, he transferred the structure to the mirror, crimped the copper wires, erected a “formwork” from cardboard and filled it with a large mass of gypsum. The whole week dried up, but not because I was patient, there was simply no time.
I bought a plug with a cord in the store, soldered the hot table relay, found a thicker diode in the bins, soldered it in series, cut a thermocouple 5 mm from nichrome into the gypsum body. It's time to turn it on.
I knew that plaster was never dry. But I decided, “I’ll put 50so right now, or maybe 90so and everything will dry out in a day.” Installed, turned on.
Dear children and everyone who should not touch the wires, this article deals with work with life-threatening 220v voltage. Therefore, be sure to ensure that all connections are secure and adequately isolated.
Hellish hissing and screams of damned souls (those who fried waffles will understand me) were heard from the printer, the plate arched, red threads of nichrome came out of its body, and the plate itself was covered with perspiration.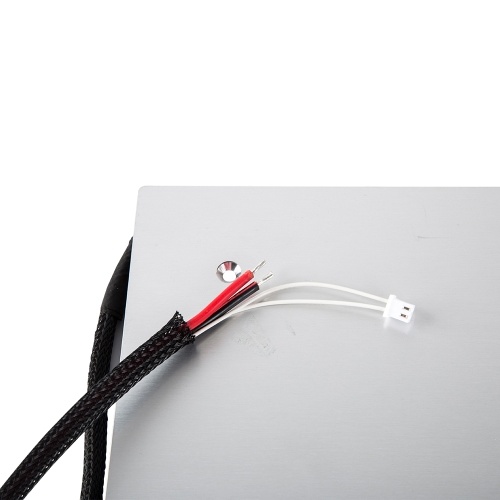 I was stupid for about five seconds before I pulled out the socket of the hot table, and the relay was still closed, the thermocouple showed its 32c, and very slowly gained temperature.
So the results are unsatisfactory, what is wrong:
The nameless diode broke down and died, as a result of which all 220v went to the table.
The thermocouple is too far from the nichrome filament and does not respond to heat. (gypsum thermal insulation)
We remake:
Thermocouple in nichrome dense to the thread and fill with thermal paste.
We put the diode on 10A 600v.
Include.
The temperature jumped over 250c, the panel went into error.
Unsatisfactory results, what is wrong:
- Table power is excessive, design errors. The average voltage is 86v, not 55v as expected.
- The temperature check in the firmware is set to 5000 milliseconds, which is a lot for our table, we set 500 milliseconds.
Checking the temperature of the table every half a second gave the results the table worked as it should, but 'kicks' by 15-18 degrees. This does not allow the firmware to adequately work out the heating of the table in the G code, that is, it waits until the temperature settles down indefinitely. I also put in a silicone mat for more even heat transfer to the glass.
This is what happened when installing 120co, I knew it could happen but not to me. As a result, you need a silicone mat for the entire surface and glass no larger than the heating element.
The problem of aligning this "brick" is still unresolved, but I think to solve it in the future.
This brick is not suitable for those whose printer drags the table along the X axis, it is very heavy.
And since the idea took place, you can even make it thinner.
In conclusion, don't be afraid to implement ideas while stumbling over contrived problems, analyze and solve problems as they arise and you will succeed.