Jelly box 3d printer
JellyBOX | IMADE3D
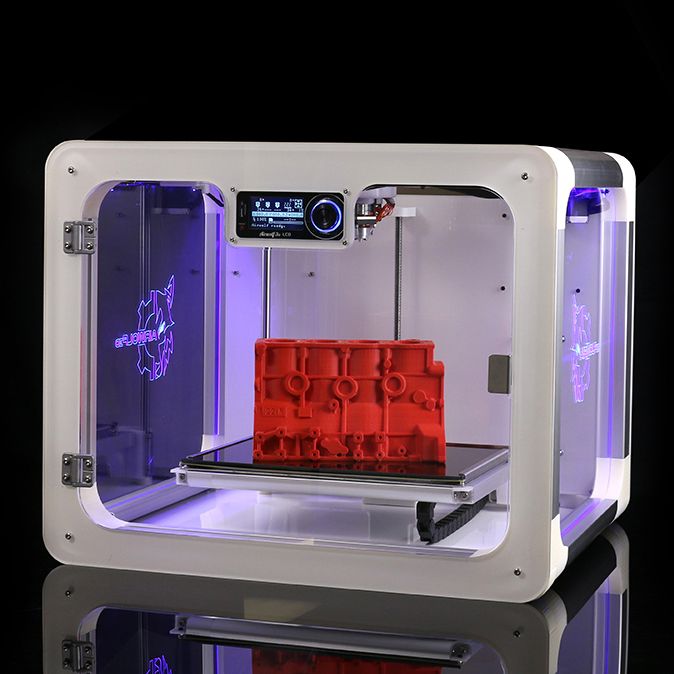
See-trough Construction
Clear acrylic construction to expose the inner workings. It’s the ultimate anti-black-box. Also, did we mention we have the best wire-management in town? Moreover, we have etched the electronics scheme into the printer itself.
Designed with Cable Ties
Colorful cable ties make the JellyBOX fast and easy to build (and ever faster to break down). Plus, any mistake is easy to undo! Just snip and pull. Now you can make all the mistakes you want – it’s good for learning.
Adjustment-free Extruder
Compact construction of the extruder requires no settings of the z-probe position. It makes JellyBOX more user friendly and easier to print.
Quick Swap Hot-End
Hot-end can be removed within a minute just by releasing two screws. Easy to swap clogged nozzle or print with the various nozzle sizes.
Automated Bed Levelling
Automated bed leveling is provided at the beginning of each print using 16 points probing with the precision of 0. 02 mm! Eliminates time-consuming and much less precise manual adjustments.
Flexible Removable Heated Bed
The removable flexible heated bed is made from spring steel with the PEI surface and is held magnetically. Can be easily to remove from the printer and release print by bending.
Lockable Front Doors
The whole JellyBOX 3 has closed transparent construction. The front doors can be locked by regular lock to prevent them from opening, to make them suitable for printing in schools or public places.
Prints Flexible Filaments
JellyBOX 3 has a direct drive extruder construction using custom-made hardened push gear and adjustable push force. It allows to print from the solid filaments, like PLA, PETG, ASA, NYLON, PC-ABS, but also from the flexible ones, like NinjaJet, TPU, etc.
Common Controller with MARLIN
JellyBOX 3 uses an easily replaceable processor Arduino Mega 2560 with the RAMPS 1. 6. This combination is the most “standard” for the open-source 3D printer operating system MARLIN, assuring stability, software compatibility, and low cost reparability.
Designed and made in USA, Virginia
We have gone through rigorous testing to select every single component on the JellyBOX. We source materials worldwide, but all the manufacturing is done at our plant in Blue Grass, Virginia, which means we have total control.
Our Design Commandments
Ultimate anti-black box
All components should be visible and explicitly functional. Nothing should feel off-limits. Nothing should feel complicated. There is no magic here. Just science.Ease of build
Most companies try to make their devices easy to use. We go a step further and make the build itself of the device as effortless and educational as possible. Plus, it must be done in mere hours.Never compromise print quality
No 3D printer kit is good without being a great 3D printer as well.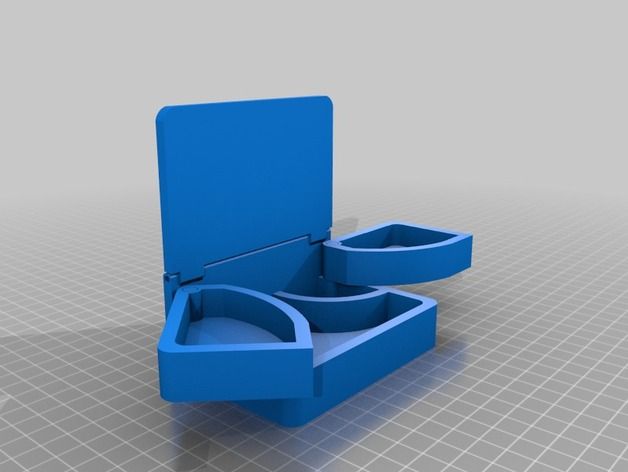 Focusing on ease of build must never be to the detriment of function or user experience post-assembly.
Home | IMADE3D
- Unique design
- Unlimited build/rebuild
- Made-in-America quality
- Reliability
- Award-winning
Find out more!
Ahoy JellyBOX 3!
With its unique design, unlimited build/rebuild capabilities, and Made-in-America quality and reliability, the award-winning JellyBOX 3D Printer has become the choice of STEM programs everywhere in schools, libraries, summer camps wherever teachers want to provide students with a truly immersive, “hands-on” learning experience.
Show me more
Yes, YOU can build a 3D printer by yourself in a single ONE day. JellyBOX is easy to assembly and run.
Take a look
Since we rolled out Printer #1 in 2016, we have had ZERO RETURNS from customers!
Read what people say
Schools, Libraries, Summer Camps, After-School Programs!
From class to class, every cycle of students can BUILD and REBUILD a JellyBOX.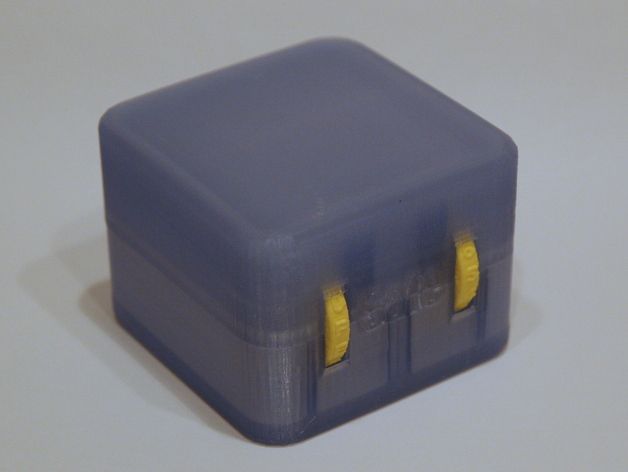
Really, check out!
Make Magazine: Best for Schools 2017
Make Magazine: Best for Schools 2019
Tech Nite: Innovation in emerging business 2017
4 x Make Awards: Editor’s choice
Our customers say …
3D technology educator, Philips 3D Labs, Virginia, USA
"While most 3D printers outlive their usefulness after just a few years, that is not true of the Jellybox printer. ..."
Since 2013 our 3D Design and Print Lab has owned more than 60 different models of FDM 3D printers from a wide variety of manufacturers including 3D Systems, Creality, Geeetech, Monoprice, M3D, Flashforge and iMade3d. We were among the first owners of Jellybox 2D printers. While most 3D printers outlive their usefulness after just a few years, that is not true of the Jellybox printer. In fact, even after years of service, each Jellybox printer continues to actively contribute to our educational mission of teaching 3D printing to at-risk young people year after year. Quality components, reliability and easy access for regular maintenance ensure it’s long term viability, making the Jellybox a great value.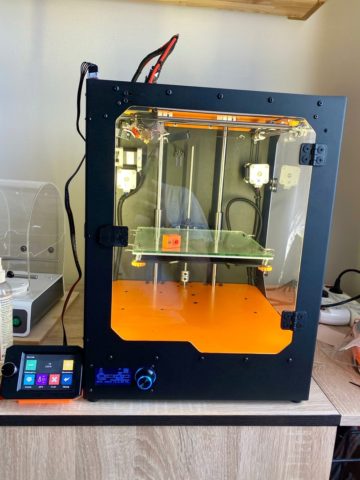
Technology teacher. The Linden School, Canada
"Despite daily use, our first printer is still going strong: small adjustments are easy to make myself..."
We bought our first Jellybox 5 years ago when we opened our new makerspace
at The Linden School in Toronto. After doing research, I chose the Jellybox
because I liked the fact that my students would be able to see inside.
(They love pointing out that parts of the printer are also 3D printed!)
Despite daily use, our first printer is still going strong: small adjustments are easy to make myself, and so I’m not waiting for service
calls. When I had the opportunity to purchase a second printer this fall,
my choice was easy! Our lab is now home to two beautiful, functional, and
hardworking Jellyboxes.
Technical Account Manager, Autodesk Inc.
"I have not seen print quality like it produces from $5000 printers and some even higher. ..."
I have had the luxury of using many 3D printers ranging in price from $1000 to $250,000. I have not seen print quality like it produces from $5000 printers and some even higher. The printer is well designed, engineered, and is mostly put together with zip ties. Yes zip ties!
Tech. Tr. Specialist, J. Dean ELEM School, Virginia, USA
"They not only replaced electronics but also upgraded our old machine to the latest - JellyBOX 3!""
I built our JellyBOX in 2016 and since then was heavily used all the time from Kindergarten through 4th grade across all content areas. We were very sad at the beginning of the school year 2021, when electronics broke.
But Imade3D – creators of the JellyBOX – came to our rescue! They not only replaced electronics but also upgraded our old machine to the latest – JellyBOX 3!
JellyBOX is the best 3D printer I have ever worked with. It is intuitive and the prints are the highest quality. I’ve conducted side-by-side comparisons with other popular 3D printers and their quality does not even come close to what JellyBOX can produce.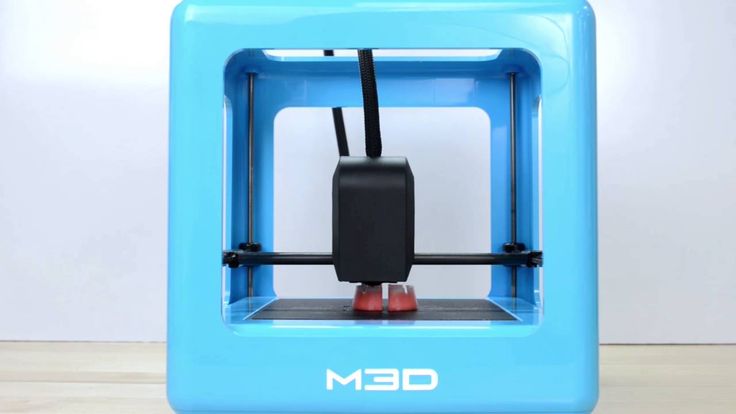
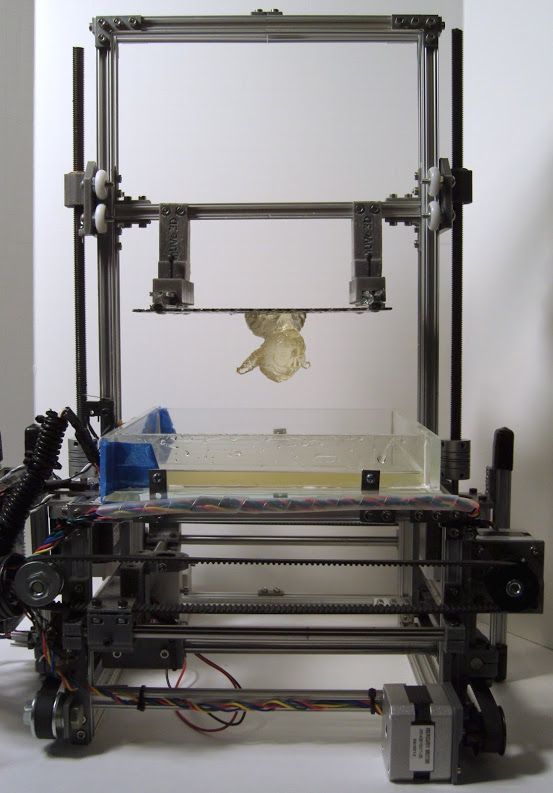
Let me introduce you to a new experiment we...
We decided to try something new and different...
TL;DR Installation Process has been overhauled...
Kitchen Solution for the 21st Century
We can marvel at the exotic dishes of the Middle Ages - baked boar knee or quail tongues - but such masterpieces are unlikely to find application in our hasty world. Today, food is required that is fast and convenient, but at the same time tasty and healthy. “Quick, simple, tasty, great” is the right motto of the food industry of the 21st century.
What is 3D food printer:
- 3D food printer prints edible and nutritious 3D food models.
- Only fresh produce is used for printing. The
- 3D printer can print just about any food, from pizza to cream puffs.
- Depending on the dish chosen, the print result can be eaten immediately after printing, while it is hot, or thermally processed. The printed pizza will have to be baked in the oven or microwave, and the ravioli will have to be boiled.
- Cooking food printers offer a product that is completely ready to serve.
At first glance, a 3D food printer is a fad for those who do not want to use the usual frozen or chilled foods. But this printed food is the right fast food that humanity needs. This is freshly prepared food. Very fast food.
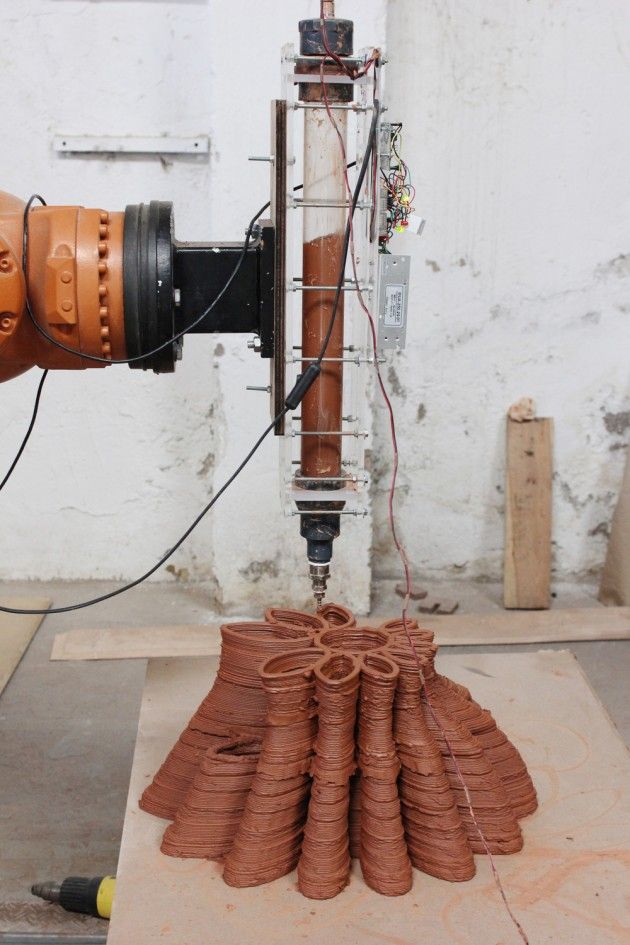
How a 3D food printer works
The principle of such printing is the layer-by-layer creation of an object in accordance with a given digital 3D model. Behind these complex words is simple control, accessible even to unskilled personnel.
The history of food printers
A printer that prints on sugar paper with edible ink has not surprised anyone for a long time - and the concept of "sugar paper" or "wafer paper" has become familiar to confectioners and sweet tooth. A confectionery printer will print any picture or a multi-colored figure - such a food printer works on the principle of an office printer and prints flat images to be placed on a plane. Sugar paper is more expensive and of better quality, which is why it is more popular than waffle paper and enjoys well-deserved popularity among culinary specialists. The image printed on sugar paper will be clearer and brighter.
A few years ago, a 3D printer appeared, with which you can print a toy, car parts, furniture, decoration from plastic or metal. The most impressive solution is a bioprinter that prints living tissues and creates living organs ready for implantation. This solves the problems of lack of necessary tissues and tissue rejection during the healing process.
After such a "live" printer, the idea came up to create a 3D printer that would print products. For the first time the idea of a food 3D printer was implemented in 2012 by the company Essential Dynamics . This printer only printed with chocolate - but it was a real breakthrough. However, culinary delights are only the beginning of the journey and the matter did not end there.
The next invention in the field of 3D food printing is the 3D Systems ChefJet printer, which offers the printing of structures and decorations from powdered sugar and sugar. Any ingredients can be filled into the cartridge; the main requirement for them is stickiness when wet. Patterned sugar threads and ribbons, graceful openwork coasters, voluminous hollow figures — masters create unique masterpieces from chocolate and sugar. The manufacturer offers two models - for monochrome and for color printing, which differ in price.
Another popular printer model F3D both prints and bakes printed. This simplifies and speeds up the cooking process - however, this printer is more often used for printing sweets than for preparing meat meals.
Choc Creator is a highly specialized chocolate printer. The printer software allows you to print any image. These are the most famous models of cookery printers - but as a continuation, a printer has appeared that can print almost everything and almost everything.
Natural Machine Foodini 3D Printer
The goal of a 3D printer is to quickly print fresh produce. The principle of preparation and the recipe have not undergone practically any changes - but this is not the essence of the invention. A 3D printer minimizes the manual labor of a cook, a kitchen worker or a hostess in his most unpleasant incarnation - in a routine. This technique takes over the monotonous work that takes a lot of time and effort. What is done on an industrial scale with the help of expensive and large-sized equipment that requires expensive maintenance will now be done by a small, concise and relatively inexpensive kitchen appliance, much more accessible to small business. It is attractive both in the household and for fast food enterprises. Kneading dough, forming dumplings, ravioli, dumplings, decorating cakes with cream or filling a basket of dough with fillings - now the printer will almost completely perform this dull job.
Foodini 3D Printer Specifications
The dimensions of the Foodini printer are only 438 x 430 x 430 mm, which allows it to be placed even in a small home kitchen.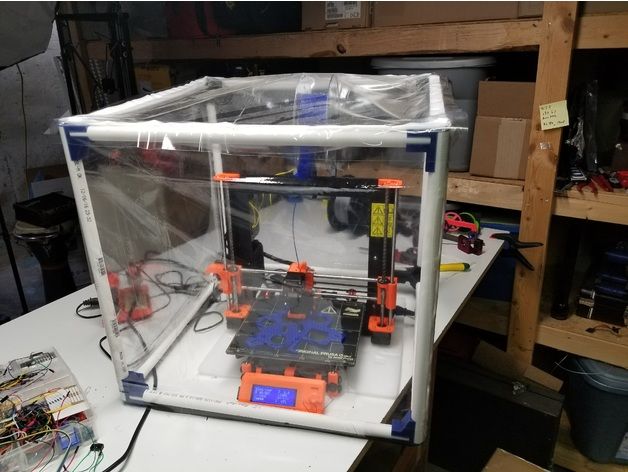 In the upper part of the cube there are 5 capsules-containers with a volume of 123 ml each, the total volume of loaded products can reach 600 ml and more. Pasty ingredients are filled into cartridges - potatoes and minced meat, sauce and cream, chocolate and more. Since the printer only accepts processed products, the user will have to pre-grind them in a blender. Mix several ingredients in one cartridge and get the original texture, color and taste.
The contents of each cartridge can be set to the desired temperature and pressure. The cartridge delivers the contents at a given pressure to a glass turntable with a diameter of 26 cm. The capsules are movable, and this allows you to lay out any shapes and patterns on the platform with any product. Only one capsule can move at a time - this is how the products are laid out in layers.
The Foodini is operated via touch panel and app. The app is supported by 9 platforms0003 iOS and Android .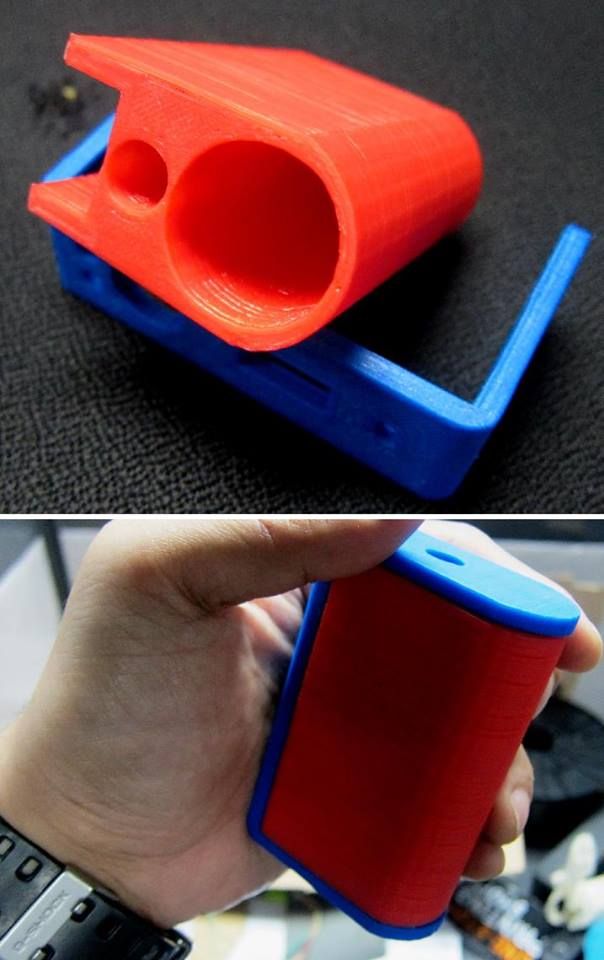 Natural Machines allows and supports the development and implementation of your own recipes for a 3D printer and provides a set of standard recipes created by venerable chefs.
The task of a person is to fill containers with fresh products crushed in a blender, select a recipe and start the process. Voila - here it is, a freshly printed pizza! It remains to heat it up in the oven or microwave.
When the Foodini printer starts baking and boiling printed products, it will replace a whole pack of kitchen appliances, but even at this stage, the printer is already saving time and effort for workers.
What's next?
Food printers reduce cooking time, but the engineering doesn't stop there. Models of printers are being developed that will select the individual composition of food for each consumer. At the same time, the ideal food will not only meet the tastes of eaters, but also provide them with all the necessary vitamins and trace elements - and even insect shells are planned to be used as ingredients. This is the food of the future, the one that was described in such detail in science fiction only 50 years ago. The technology is being developed by the company TNO (Nederlandse Organisatie voor Toegepast Natuurwetenschappelijk Onderzoek, Netherlands) . The 3D Everything printer is a masterpiece from the future.
Another concept that gets everyone's attention is the Cornucopia from Fluid Interfaces Group . Cornucopia is translated from Latin as "Cornucopia", and this name is not far from the truth. There are three main units:
unit Robotic Chef performs mechanical and, if necessary, thermal processing of the loaded products.
Virtuoso Mixer mixes the resulting ingredients and captures the actions of the cook and the ratio of products, remembering the most successful combinations of flavors.
Digital Fabricator is actually a food printer that prints and, if necessary, processes food thermally.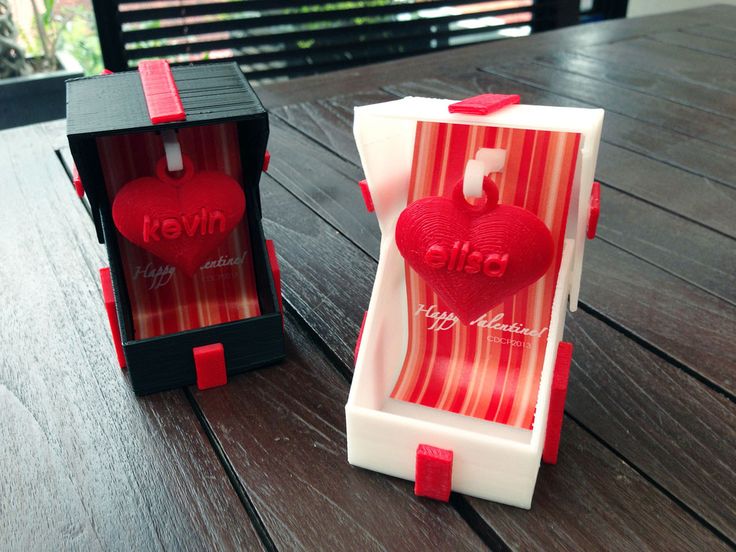
With such a cornucopia, any person with a little imagination and a desire to create will create a culinary masterpiece. With complete control over the process and ingredients, this printer will deliver the most balanced food with the most unexpected flavors and textures.
Prices for 3D food printers will decrease over time - but now some models are quite affordable even for home use.
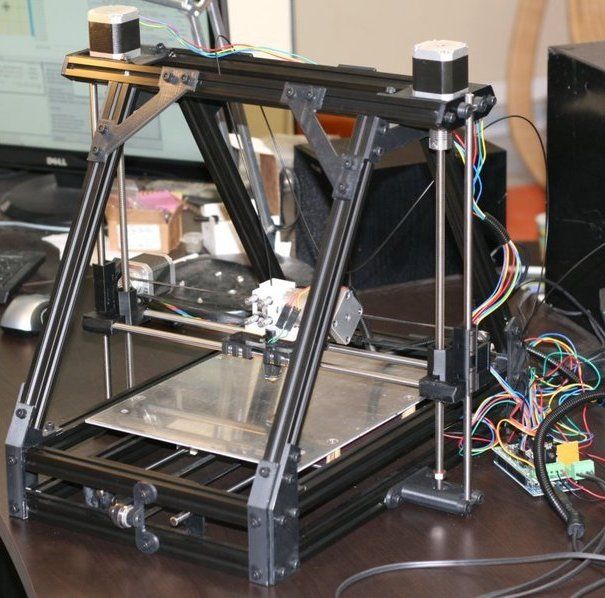
As a beginner I bought a 3D printer. Choosing, setting up, problems and solving practical problems / Sudo Null IT News
A few months ago, I was thinking about purchasing such a device because I wanted to print a broken part of my robot vacuum cleaner. About a month ago I bought a device I liked on eBay. That's what was important to me when choosing a 3D printer.
Which printer was needed?
Considering that I knew almost nothing about 3D printers (except for a few articles read here on Habré), the important points were:
- Printer performance out of the box.
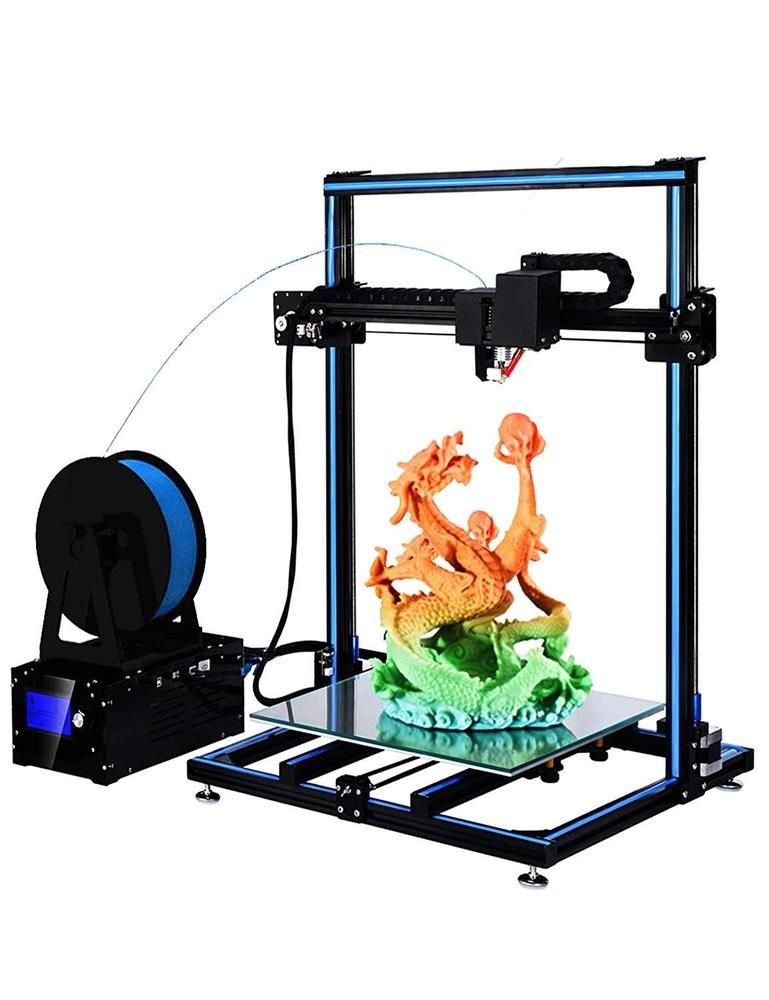
 I have seen several articles describing how long it takes to set up a "simple Chinese printer". It needs to be assembled from a large number of parts, and it is not a fact that there will not be defective ones among them. Once assembled, you can mess around with the device for a couple of days, and then it turns out that for some reason it does not work. In short, I needed a printer that didn't need to be assembled and that could work right out of the box.
 - It shouldn't be too expensive. Seriously, I'm new, I was not sure that after a couple of days I would not abandon the device. And a printer for 500-600 euros would be too expensive a toy. So I was willing to spend a couple of hundred, no more.
- It should not be too big. Before buying, I allocated a little space for installing the printer, somewhere around 50 * 50 cm. Therefore, the printer had to stand on the allocated area without any problems.
- It shouldn't be too difficult to maintain. This point is closely related to the first.
 I didn’t want to spend a lot of time on operation and maintenance work - there is sorely not enough time, so constantly eliminating emerging glitches is not an option.
 - I wanted to get a printer with WiFi, it was not critical, but important.
What did I end up buying?
Model Geeetech E180. It was shown by Google after the query “3D printer for beginners”. There were other models in the search results, but this one was liked by the design and the presence of WiFi.
The developers of this printer raised money for it with the help of Kickstarter and a couple of years ago it appeared on the free market. Its price is from 200 to 350 euros, depending on the company that sells it and the store.
Bought on eBay, starting price was 200 euros, but the seller agreed to drop 50 euros, so the total price is 150.
Printer specifications:
- Print technology: FDM
- Working space dimensions: 130 x 130 x 130 mm
- Printing accuracy: 0.
 05 mm
05 mm - Positioning accuracy: X / Y 0.11 mm, Z 0.0025 mm
- Print speed: 80-110 mm/s
- Thread diameter: 1.75 mm
- Nozzle diameter: 0.4 mm
- Supported material: PLA declared by the manufacturer, but can work with other materials
- Operating system: Windows
- Management software: EasyPrint 3D
- File format: .STL, G-code
- Maximum extruder temperature: 230 °C
- Power supply: DC 12V 6A
- Connectivity: WiFi, USB, TF card (offline printing support)
- Display: 3.2" full color touch screen
- Chassis: metal plate + injection molding (portable console 3D printer)
- Work table: aluminum alloy plate
- XYZ Rods: wear resistant, stainless steel screw and lead (Z axis)
- Stepper motors: 1.8 degree stepped angle with 1/16 micro stepping
Unpacking and setup
Before setting up, I looked at several reviews and tests of the printer. If not for them, I would not have done it myself, the explanation in the instructions is slurred. The setup is simple, but not for a beginner.
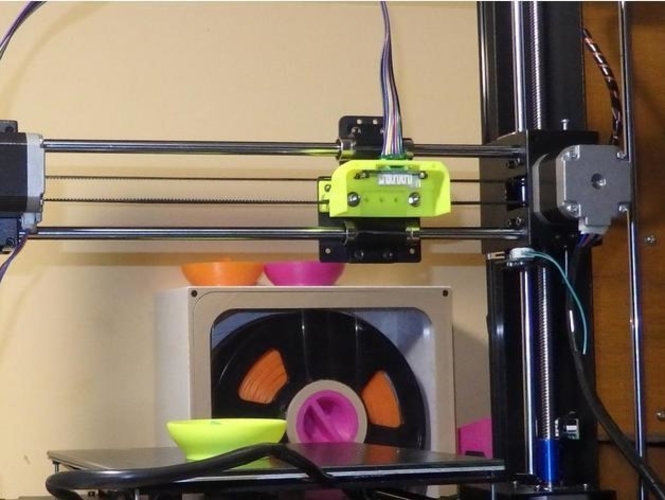
The printer "wound up" as soon as I connected it to power and a laptop. I calibrated the position of the table - it turned out to be simple - inserted a microSD card into the slot, found the contents through the menu on the printer screen, inserted the fiber into the channel and started printing. The printer made a noise and started printing. Or rather, I thought that he started typing, in fact it was not so.
Problems
The printhead moved, the temperature reached 205 degrees Celsius, but there was almost no plastic - in the first few seconds, a few plastic “hairs” came out and that was it. The printer continued to work, but the plastic was not squeezed out of the head.
I wasted several Saturday hours trying to figure out why. I tried to look for an explanation on the net, but solutions to similar problems did not suit me.
The joy of buying disappeared in the first couple of hours of fuss. I wanted a printer that “just works”, but it didn’t work out. As a result, I realized that the fiber was not being fed - the feed mechanism hidden under the plastic cover simply did not work. It did not work because the constituent elements did not rotate. There was no movement at all.
I have decided that the printer has a defective electric motor that is responsible for feeding, and I cannot repair it. The next step is to click the Return to Seller button on eBay. After clicking the button and describing the problem, I decided to pack the printer for shipping. Before sealing it in a foam box, just in case, I decided to carefully examine those “insides” that are visible through the holes in the case.
And the reason was immediately found - the assembler at the factory simply forgot to connect the power supply to the engine. Seriously, the cable just dangled inside the case. I connected it to the right connector with tweezers without disassembling the printer. Then I turned on the device again and this time everything was fine, the plastic feed worked as it should.
Then a few more minor problems arose:
- Misaligned table. This caused the table to skew and the printhead was pressed against the surface in one place. As a result, the plastic could not be squeezed out of the head, which led to solid print defects;
- Unable to directly print models downloaded from the Internet. Being a beginner, I thought that everything works like with a regular printer - I downloaded a document, sent it to print. It turns out that slicing is also needed. I will not repeat what it is and why it needs to be perfectly described in this article on Habré;
- Slicers are not compatible with the printer model. Slicer needs to set printer desktop size. Some slicers for some reason did not want to work with the dimensions of my printer (13*13*13 cm). Some even crashed (including the printer's native application), some did not "understand" the dimensions.
 As a result, I settled on ideaMaker;
 - No WiFi. As it turned out, there are two varieties of E180 - one with an integrated WiFi module, the second - without a module, you need to buy it in addition. At the seller, the inscription "need a separate module" was applied on one of the photos of the printer, small and in French (everything else was in English). Not a scam, but close to it. The module decided not to buy more, it is not really needed;
- Long print time. I thought it would take several tens of minutes to print. I was not ready for the fact that large models can be printed for 6-8 hours. This is my own fault - I did not carefully look at the reviews.
Practical use
I didn’t buy a printer for a game, I wanted to get a device that would allow me to create things I need in everyday life, and not run to the store. Before buying, I outlined what I wanted to create:
The lever for separating the water tank in the iRobot Scooba robot vacuum cleaner, the repair review of which I published on Habré. His native pen broke, he did not want to spend money on buying a new one (they are relatively rare, since Scooba is no longer produced and expensive).
Finally found a suitable model on Thingiverse and printed it. To my surprise, everything fell into place the first time, the pen still works quite normally (it's been about a month since this part was printed).
Chinese electron microscope stand. I needed it for soldering small parts. I do not want to buy a professional microscope for 400 euros, since I myself do not do repairs very often. A Chinese microscope connected to a laptop is quite an option. But his native tripod is just terrible. Therefore, I wanted to make a new, normal one with my own hands.
Soldering iron stand. You just need a comfortable stand, from which the soldering iron will not fall, like from a Chinese stand that I once bought.
Paste tube squeezer. Yes, the thing is not the most necessary, but practical.
iPhone stand. Convenient, there is a cable hole, sound amplification.
Toys for children. Why buy another small doll or dollhouse piece when some things can just be printed out?
Stylus for Nintendo DS Lite. I had a game console bought at a flea market for a long time. The stylus was lost and I (and my daughter) played using the PDA stylus. Recently I found a stylus model for the console, printed it out - it turned out perfectly. It fits into the connector like a factory one.
Extractor for printed parts stuck to the table. Virtually all parts adhere to the printer's desktop backing. You can’t do without a special device - an ordinary knife will scratch and cut a special sticker. I found a model that is compatible with the blades of a standard utility knife - works great.
The printer lived up to my expectations. It was possible to print almost everything that is indicated above. All these things fulfill their purpose, and most importantly, I am not afraid that any of them may fail. You can always print a new one.
There are a lot of ready-made models on the net. If you need some detail or thing, in 90% of cases you can find everything you need.
Troublesome little things
Printed parts are far from perfect. In some cases, deformation of some elements occurs and it is necessary to “finish” manually, using a knife and, in fact, a file. It doesn't happen that often, but I wish the printed part didn't need to be reworked (yes, I know you can get it by buying a professional 3D printer).
Sometimes details are printed, but for some reason the real and declared size do not match. So, I tried several times to print different dispensers for AA and AAA batteries, but for some reason the ready-made dispensers did not fit. The diameter of the holes into which the batteries are inserted was always somewhat smaller than the diameter of the batteries themselves. I still do not understand whether the problem is on my part, or the model is problematic. As a solution, you can simply increase the scale of the part in the slicer, by 10 percent. But it’s a pity for the spent plastic - after all, you can find out whether a quality part will turn out or not only after a solid part of it is ready.
It takes a long time to print a part. Some printouts take several hours, so creating a banal car stand for a phone can take half a day.
In order to develop something of your own, you need knowledge of CAD , at least at an elementary level. Otherwise, you will have to look for ready-made objects on sites that host models created by someone. In the end, I never found a battery cover for one of the remotes. I am not able to develop it myself - there is almost no time to master CAD.
My printer desktop is small . Not all objects that I would like to print can be implemented. In particular, I wanted to get a different microscope stand model. But it did not work out, because it is larger than the printer table.