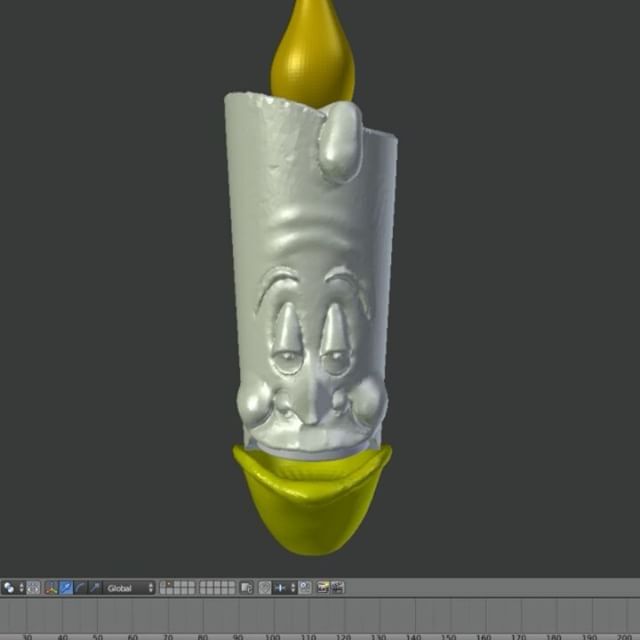
Inventone 3d printer
3D Printer (Standard) - Invention Studio @ Georgia Tech
If you want to get something printed at the Invention Studio, there is an easy 4 step process to create your parts!
Usage of our printers, including the filament, is 100% free like the rest of the Invention Studio, for personal, class, or research projects.
Along the way while creating your first part, you will naturally learn the fundamentals of 3D printing as a Prototyping Instructor guides you through generating your STL, slicing your part, sending your G-Code to the printer, and picking up your part.
There are countless proprietary file encoding systems to store information about a three dimensional object, but thankfully there is a universal standard that all 3D printing workflows use as their starting point: the STL.
STLs consist of many triangular faces which approximate the outside surface of your 3D part.
If you are getting your design from some online repository of files, like Thingiverse, the files will almost certainly be delivered in STL format.
If you are designing the part yourself in Solidworks, Fusion 360, or any other CAD software, the STL file format will be available in some export or save-as menu. Make sure to check your settings when exporting to an STL. Solidworks, for example, defaults to 10 degree angular resolution, so a circle is approximated to 36 faces, which is not much when creating a wheel! Be careful with too fine of an STL though, as the slicing times scale with the number of faces in the part.
In a broad sense, slicing is the process of turning your generic STL file into machine instructions that the 3D Printer can understand.
3D printers operate by extruding material in a 2D layer, and then shifting that layer downwards and building another layer on top of it.
These discrete layers come together to make a complete 3D shape. Slicing turns your 3D STL model into a set of 2D "slices" that the printer can actually produce.
Since all of our printers are Ultimakers, we use Ultimaker Cura, their slicing program. It is free to download on your machine, and we have it set up on our computers at the Studio.
Custom Slicing Profiles
We have created our own slicing profiles for the Ultimaker 3, our main workhorse, that allow you to easily get the most out of machines, whether that be the fastest print, or the highest quality.
To get your G-Code from your computer we use a website called 3DPrinterOS. It is set up with Georgia Tech's Sign-In system, so you don't need to create an account!
You simply upload your part to the website, and then "print it" to our queue.
You then ask a PI to move your print onto a printer, and they will help you find a printer with the right filament and nozzle combination to get your print completed successfully.
Note, because we believe that engaging with the 3D Printing process is valuable, you must be at the Flowers Invention Studio to get your print started. We do not begin prints that are just submitted online.
Once your part is finished you will get an email from 3DPrinterOS. A PI on shift will remove your print and put it in one of the white bins outside of the main entrance to the Hub corresponding to the day that your print finished.
Your print will remain there for a week, at which time any remaining prints are moved into the bottom bin. The bottom bin stores long abandoned prints for several weeks until the bin fills up and we dispose of its contents. Please pick your prints up as soon as is convenient for you!
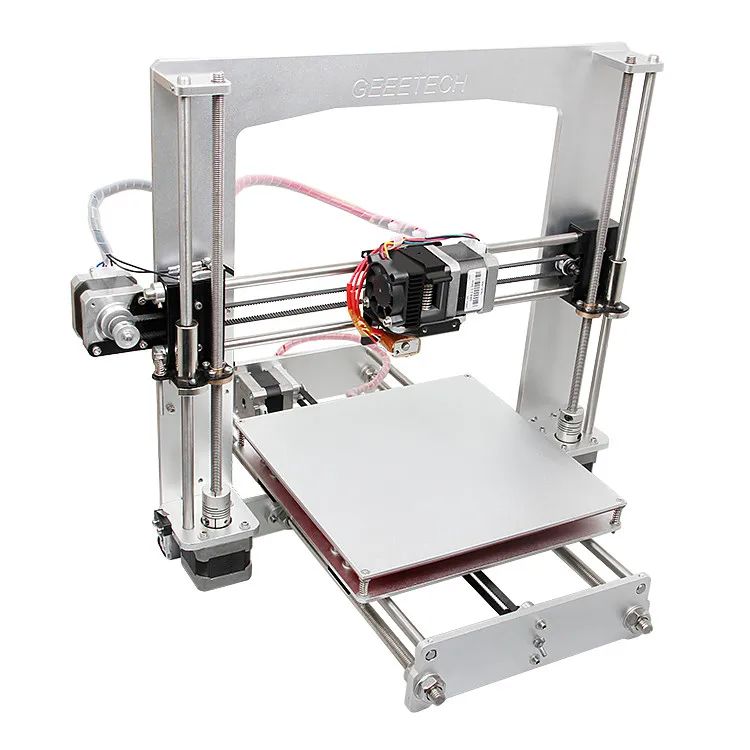
New 3D Printer, iNventOne is Making its way to Indiegogo Next Month - 3DPrint.com
There is yet another 3D Printer that will soon be launched in a crowdfunding campaign on Indiegogo. It is from an Italian company called MakerDreams, and it will include a few quite unique features. The Indiegogo campaign is expected to launch sometime in March, although a specific date has not yet been chosen.
First and foremost, the printer has a larger build size than most 3D Printers in its class; 280x210x200mm.
“The aim of our project ‘Maker Dreams’ and of our first model “iNventOne” is to offer a safe, accurate, solid, fast and cheap 3D printer with a simple but appealing design,” explained Luca Faggiotto, one of the projects founders.
“This is because we want to let every person have access to it, at home, in the office or at school.”
Luca and his brother Federico are the founders of MakerDreams. They started the company, in hopes of providing a printer that isn’t exactly the same as all the others you see out there today.
“Our 3D printer is particularly designed for children safety considering their increasing use of them,” said Luca. “For this reason, there is only one front-hinged opening and once closed, there is no access to the internal moving parts and hot ends.”
One of the reasons why MakerDreams thinks this printer will be so attractive to consumers, is well…. the physical attractiveness of the printer itself. It won’t look like your typical 3D printer. It will actually have a cool looking design (as seen below). It will also come in your choice of either white or black.
As for print quality, this PLA printer promises to print in 100 microns, using an extruder nozzle diameter of 0. 3mm. It will be able to read and print STL, OBJ and G-Code files.
Here are some more specs:
– Print technology: fused filament fabrication
– Build volume: 28 lx 21 wx 20 h cm [11.0 x 8.2 x 7.8 in] – Layer resolution: 100 microns [0.0039 in] – Precision positioning: xy: 11 microns [0.0004 in] – z: 2.5 microns [0.0001 in] – Filament diameter: 1.75 mm [0.069 in] – Nozzle diameter: 0.3 mm [in 0015] – Product dimensions without spool: 50 (w) x 40 (w) x 43 (h) cm [19.1 x 12.8 x 14.7 in] – Product weight: kg 18.5 [25.4 lbs]
The printer will utilize a CoreXY system, which Luca explained as follows
“The mechanism we have applied is the CoreXY which helps to simplify the movements and makes the printer solid and cheap: 6 idler pulleys actually assist in belt moving guaranteeing fluid motions. The rails contain recirculating ball bearing carriers designed and selected for reliable and accurate motion and they do prevent the various problems commonly raising in the other 3D printers.
”
Luca told us that they don’t like 3D printer comparisons but they feel that the iNventOne has a better design, and it is much safer and more economical than the other printers on the market today. He also informed us that the iNventOne won’t be the last 3D printer that they make. They have ideas for a second project which is a 3D printer that has features never before seen.
The price for this printer? For the first 60 orders the special price will be €725,00 ($999,00), while the rest of the orders will be priced at €800,00 ($1100,00) on Indigogo. Will you consider backing this on Indiegogo? Discuss at 3DPrintBoard.
Stay up-to-date on all the latest news from the 3D printing industry and receive information and offers from third party vendors.
Tagged with: 3d printer • crowdfunding • indiegogo • inventone • makerdreams
Please enable JavaScript to view the comments powered by Disqus.
Methods of 3D modeling in the Autodesk Inventor environment - Center for digital education of children "IT-KUB"
Is it possible to model in Autodesk Inventor from an arbitrary image? And how to do it?
Daniil Sapronov, teacher "IT-cube" This article will consider a method of 3D modeling from an arbitrary image in the Autodesk Inventor environment. As well as 3D printing of the resulting model.
Often, when making a 3D model from the original image, there may be difficulties associated with taking dimensions.
There is a simulation method for this task using tool Marking .
This task can be used during the free 3D modeling session. This allows children to develop imagination and creative thinking.
Using this modeling method, you can create, for example, key rings, badges, talismans, pendants and much more.
1. Selecting an arbitrary image
This lesson is about creating a key fob.
A JPEG image of a unicorn has been selected.
2. Transferring the original image to the Autodesk Inventor environment using the Mark command
To transfer the image to Autodesk Inventor , an extrusion is created on 3 mm rectangle 30x40 mm . The amount of extrusion 3 mm was chosen for a reason. This will be the thickness of the key fob.
A sketch is then created on the top face of the resulting extrusion.
Sketch tab, Insert menu, Image command .
Locate and insert the original JPEG image.
Resizing the image based on our task. Then press "Accept Sketch" .
To apply an image to a solid body, select the command Marking (3D Model tab, Create menu) .
Select the image and then the planar face. Press "OK" .
3. Create a sketch from the original image
Create a sketch on the top face of the solid.
Select command "Spline interpolation" . And then “draw” the outer edges of the image. The more dots, the better the image will be. Then we execute the command "Extrusion" according to the created sketch.
4. Extrusion of the resulting sketch
We perform a similar “drawing” of internal elements of the image.
Extrude elements partially “through” , partially by 2 mm .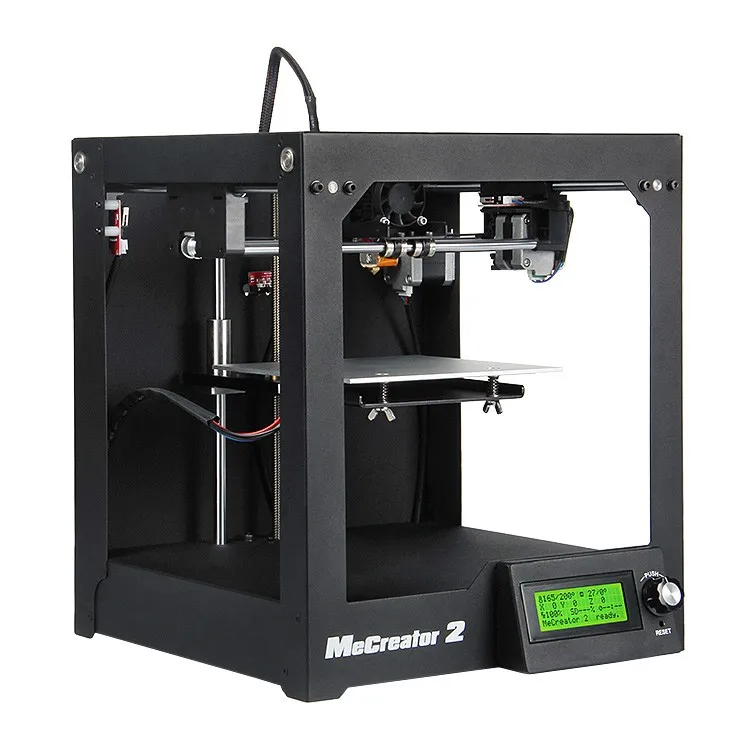 This will give the finished model a clearer outline.
5. The final stage of modeling
Creating "eyelets" for the key fob, in order to put on the key ring on the ring.
6. Slicing into layers of the finished 3D model in the ULTIMAKER CURA slicer
Execute the command "Export to CAD format" . Let's choose the STL format.
This is a 3D solid model format supported by the slicer software. Let's choose in the slicer program ULTIMAKER CURA required print settings based on our needs. Let's cut into layers and upload the file in .gcode format to an external SD-drive.
7. 3D printing on BQ Prusa i3 Hephestos
Let's print on BQ Prusa i3 Hephestos 3D printer.
The results of printing and the processed model are shown in the figures.
FlashForge Inventor II 3D Printer - HandyCraft
3D printing with FlashForge Inventor II is now easier and more affordable than ever. The FlashForge Inventor II 3D printer is ready to print right out of the box in just a few steps. All heating elements are protected from touch, and the printed material used by FlashForge Inventor II is non-toxic - PLA. The Inventor II is the perfect 3D printer for families, schools, and beginners alike.
FlashForge Inventor II is an easy to use 3D printer. It is assembled and ready to go. And now with its calibration system, you will spend a little time setting up before you start printing. FlashForge Inventor II features a 3.5-inch touch screen, plastic end-of-print sensor, USB flash drive and Wi-F-2nd generation, and much more.
FlashForge Inventor II has a closed case, all cables and mechanisms are hidden inside the printer's plastic frame. All heating components are kept away from touch. And the noise level is less than 50 dB. All this makes the 3D printer more accessible to children of all ages and home users of 3D printing.
With a simple and intuitive interface and a list of user presets, FlashPrint software makes it easy for you to enter the wonderful world of 3D printing. Differences: smart supports, translation of 2D images into 3D models, cutter, etc., all this is a functional slicer program that allows you to achieve more with 3D printing.
Package contents
- FlashForge Inventor II 3D printer 1 pc
- USB stick 1 pc
- Power adapter 1 pc
- Wrench and Allen wrench, 1 each
- Plastic spool (PLA) 1 pc
- Glue stick 1 pc
- Thread guide tube 1 pc
- Screwdriver 1 pc
- Power cable and USB cable, 1 each
- Plug removal tool 1 pc
| Trade-in | Yes |
| Weight (unpackaged) | 20 kg |
| Winding type | Coil |
| Thread diameter | 1.75 mm |
| Nozzle diameter (mm) | 0.4 |
| Display | 3.5” LCD touchscreen |
| Connection interface | Wi-Fi, USB, USB stick |
| Number of extruders (print heads) | 1 |
| Body material | High strength plastic |
| Expected stock date | 25. |