How to glue 3d printed parts
5 Ways to Bond and Glue 3D Printed Parts – Maker Hacks
Finishing is an important part of 3d printing, but how do you combine, glue, and bond your 3d printed parts to get a 3d printing result you can be proud of?
Finishing 3D prints is as important to getting a good final 3D print as dialling the printer in. One way to get a good outcome is to create your print in multi-part assemblies, but how do you combine them to get a 3d printing result you can be proud of?
Super Glue
Glue is the default go-to for joining 3D printed parts, be that Super Glue, Gorilla Glue, or two part epoxy, but while that is a common and flexible choice, it’s not the only one, and can be pricey in comparison to some other options …
Solvent
Rather than adding glue, you can bond parts through, essentially, chemically melting it (given due care and ventilation, etc).
Why is that important? Well, with solvent, what is left is just the plastic – nothing added. Also, being a watery liquid, it can drip, seep and draw into places other methods can not reach.
Most people know that ABS can be solvent welded with Acetone, which is commonly found at hardware stores in bulk, or drug stores (sold as nail polish remover – just get the pure stuff). What I was surprised to learn is some PLA can solvent weld with it too!
I tried it out on some natural no-name ebay PLA and it worked great 🙂
Make sure you use a natural brush rather than one with plastic bristles for obvious reasons!
Solvent welding PLA with acetoneHIPS can be dissolved by limonene, but you can also use Polystyrene modelling solvent, just like when you build model airplanes!
Another advantage to solvent is, in addition to brushing it on neat, you can make a slurry to fill larger gaps by dissolving some filament for a while to make a thicker consistency.
Heat
As well as solvent melting, you can also, obviously, use heat. Usually melting filament comes from the extruder or leaving your part in a hot car, but a soldering iron or even hot air gun can be employed. Heat melting is likely my least favourite technique.
Friction
If you have a Dremel-like tool then you can insert some filament into the collet where the drill bit would usually go, then get it up to speed while applying light pressure against where you want to join. Experiment with speeds to get the sweet spot, and it can work very well, with strong joints.
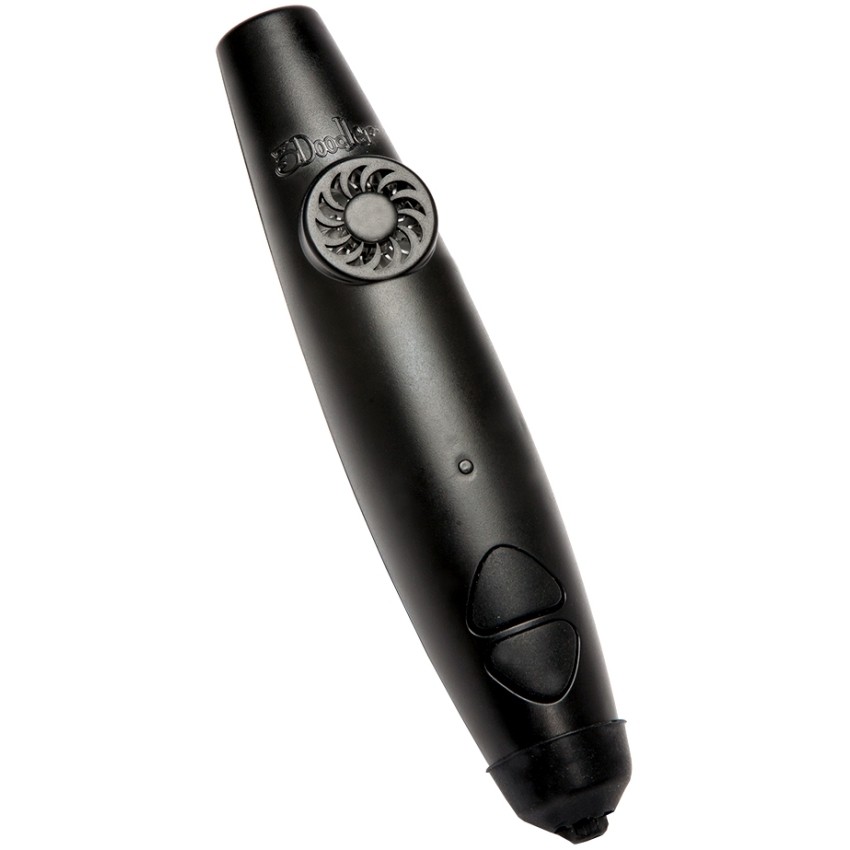
3D Pen
I have written about my bonding experiments with 3D pens before, and since then I have only gotten to like the technique more. This is probably my favourite technique because it doesn’t involve solvents, doesn’t deform the print, and allows you to colour match!
Plug in the pen to warm Will show green when up to temperature Wipe the nozzle Purge any existing filament Quickly apply hot filament Work the outside of joins Let coolYour favourite technique?
What is your favourite bonding technique? Let us know in the Facebook group!
Category: Hacks, Tips, and TutorialsTag: 3d pen, 3d printing, acetone, bonding, finishing, glue, making, modelling, repairing
Ultimate Guide to Gluing 3D Prints
Download the full Guide
as a PDF!
The simple post-processing techniques presented in this guide are an excellent way for professionals to create low-cost silicone molds, threaded inserts for enclosures, vacuum formed parts, and more.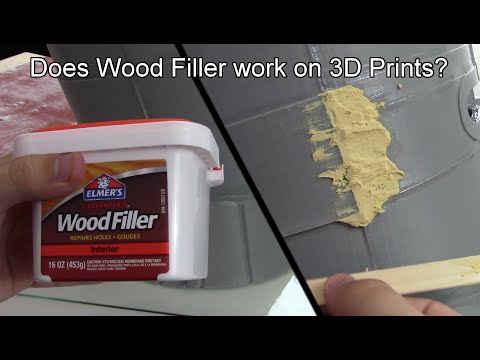
Gluing your 3D prints can be a powerful post-processing method if you’re looking to combine multiple components of an assembly, or create a model larger than the build volume of your 3D printer.
In this How To, we will show you some of the best practices associated with gluing your 3D prints.
Working time will vary depending on your model. The process shown took us about 20 minutes from start to finish.
SUPPLIES
3D Print with multiple components
Cyanoacrylate glue
2 part epoxy
Rubber bands
Paper towels
Scraping tool
400-1000 grit sandpaper
Respiratory mask
Gloves
Eye protection
Need some of these products? We've curated an Amazon wish list for you.
Great models can be found on Thingiverse or GrabCAD for free.
STEP 1: OBTAIN YOUR MODEL (DESIGN OR DOWNLOAD)
For our model, we chose a prototype hair dryer created by Ferro from GrabCAD.
If you’re designing from scratch, consider where you’d like the components to be joined.
The 2021 Guide to 3D Printing Materials
Learn about polymers, composites, and metals all available for 3D Printing!
If creating joints or keys for your model, make sure to create joining features large enough that your printer can create them cleanly. Generally, features should be larger than 4-5mm in diameter.
STEP 2: PREPARE
A. When preparing models for gluing in MakerBot Print, keep in mind how your print settings will affect the gluing process.
Consider: Print settings, print orientation, and number of build plates
B. Because of the size of our model, we chose to print on our MakerBot Replicator+ Desktop 3D Printer in MakerBot PLA.
Surfaces printed in the Z axis will have the smoothest surface finish.
Avoid placing support material around joining features unless necessary.
PLA is easy to print with and doesn’t shrink or warp during the printing process. Material such as ABS may warp or shrink, negatively affecting the fit of your model components.
Supplies used: Needle-nose pliers or flush cutters
A. Remove prints from the build plate
B. Remove rafts
C. Remove large pieces of support
D. Approach smaller pieces and fine details
Take care around edges and seams to ensure your pieces fit together properly.
STEP 4: INSPECT JOINTS
Your model is ready to glue when all surfaces and joints are smooth and fit together as intended.
If you are having trouble fitting seams together or clearing any raft or support material, sanding may help. For more information on sanding, view
STEP 5: SECURE COMPONENTS
Supplies used: Rubber bands
A: Join model components using rubber bands
Join model components using rubber bands as they will better conform to the shape of your model.
If rubber bands don’t work due to the geometry of your model, try straps, tape or clamps.
Supplies used: cyanoacrylate glue, accelerator, paper towels
A.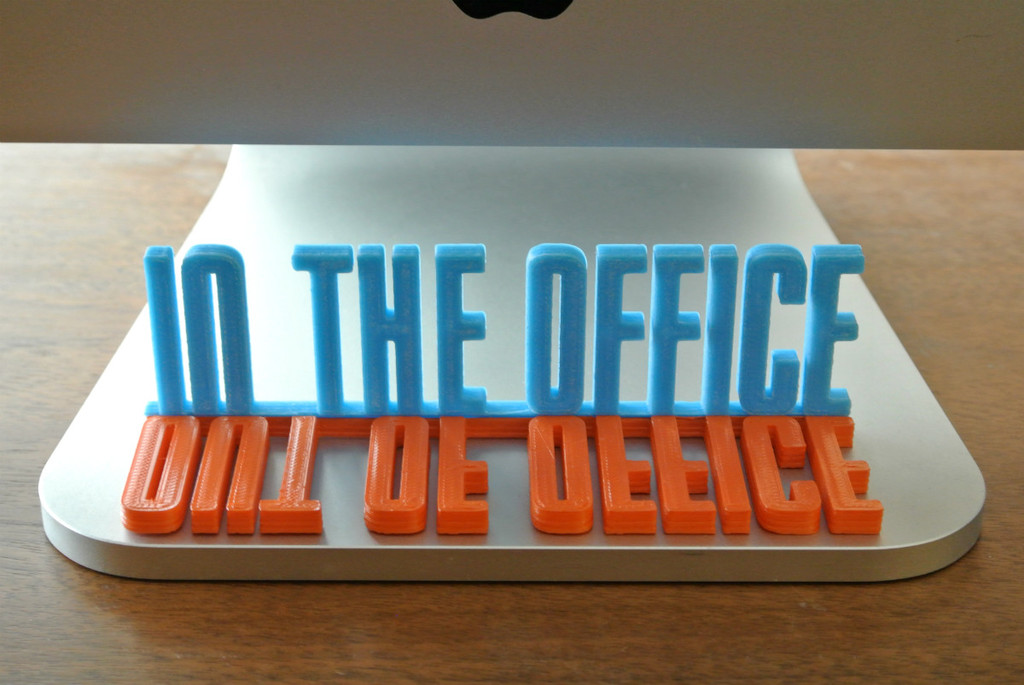 Begin gluing by, spot glue around your model
(this will ensure that your model is evenly attached in all places)
B. Apply a small amount of glue to a seam in a central location
TIP:
Work from the center of your model outwards in regular intervals to achieve even gluing.
C. Wipe away any excess with a paper towel
D. Use an accelerator and spray the area you just glued
E. Once glue has cured, remove the rubber bands
A. Apply glue evenly to the remaining unglued seams
B. Wipe away any excess
C. Spray accelerator
STEP 8: INSPECT
Take a moment to examine the fit.
Supplies used: Bondo, 400 & 1000 grit sandpaper and putty knife
If you find that your seams are rough or have gaps, you can use bondo or filler to smooth them - this works especially well if you plan to paint your model or create a silicone mold around it.
Fillers like bondo come in two parts - filler and hardener.
Take care around edges and seams to ensure your pieces fit together properly.
B. Wipe away any excess
C. Mix and spread generously across seam
B. Spread small amount of hardener next to filler
D. Allow to cure
E. Sand lightly using 400/1000 grit sandpaper
Visit one of our other applications pages for tips on how to take your print even further.
We recommend that you visit our pages on:
Sanding
Painting
Silicone Molding
Last but not least, remember to share your work with us on Thingiverse and social media @MakerBot.
We can’t wait to see what you make!
Hair Dryer Shell
Ferro
10/2/2015
https://grabcad.com/library/hair-dryer-shell-1
Powered by MakerBot Learning.
Bonding a 3D printed model
Share on Facebook Share on Twitter Share on Vkontakte
This guide will help you properly glue the separately printed parts of a 3D printed product using 3D printing and made of a white, strong and flexible material known as nylon 12 or polyamide 12. We will look at the elements that were made by 3D printer EOS based on selective laser sintering (SLS) technology . For EOS, PA 2200 is used.
Note that these recommendations only apply to nylon 12 or polyamide 12. Other materials have completely different properties that require special consideration.
Introduction
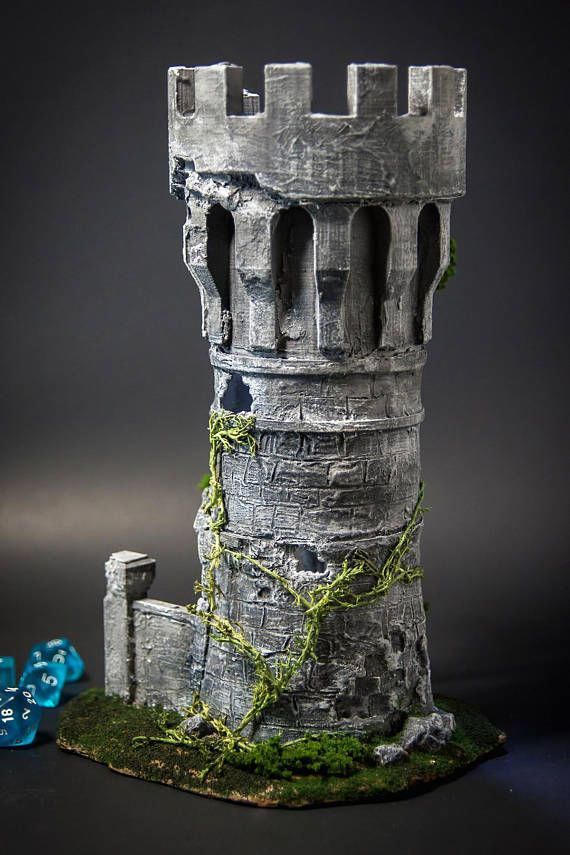
First of all, I would like to advise users to glue the model only in exceptional cases: if it breaks or you need a product that exceeds the maximum printing capabilities of selective laser sintering technology (20x25x33 cm). As a good example for our guide, we will take the model of a stress ball (you can see it in the photo above).
How often and easily elements of a model printed on 3D printer break depends on its design and the material from which it is made. For example, the thin tail of a monkey figurine can easily break if you press hard on it with your finger.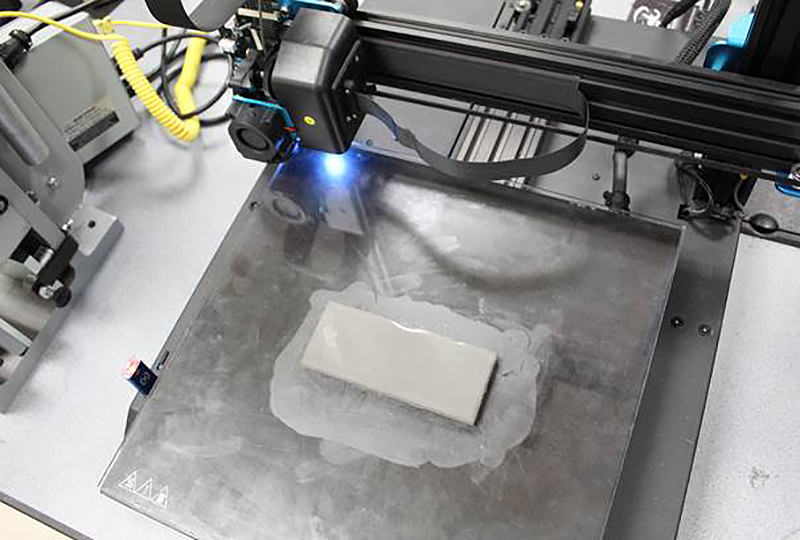 However, if the model has as few protruding parts as possible (the same limbs), then it will be possible to break it only with a hammer. Selective laser sintering makes nylon extremely durable and resistant to various influences. Therefore, when the product breaks, cracks form on it, first of all. Thanks to the diamond-shaped structure, the ball turned out to be quite impact-resistant. Yes, and the model broke only after someone stepped on it through negligence.
Let's look at how we can glue our 3D product.
Superglue
The real name of superglue is cyanoacrylate. This variety also includes substances such as ethyl-2-cyanoacrylate, n-butyl-cyanoacrylate and 2-octyl-cyanoacrylate. The most common superglue is ethyl 2-cyanoacrylate. The other two varieties are mainly used in medicine, so you are unlikely to find them in a regular store. However, all of these adhesives can be used to repair or join parts made from nylon 12.
Araldit (epoxy resin)
An alternative to superglue is ordinary epoxy resin. However, we decided to still use superglue for our small repair, because it is somewhat more convenient to use.
Very Important
Be sure to read the instructions on the packaging carefully and follow them. For example, you need to use the adhesive in a well-ventilated area and store the substance out of the reach of children. Moreover, do not let the glue get into your eyes, otherwise the consequences will be terrible.
Getting Started
The adhesive should be applied sparingly, removing residue with a paper clip. After drying, the color of the glue is slightly different from the material of the model, so its excess does not look very aesthetically pleasing. The glue connects the parts of the product so firmly that it does not even need to be sanded. If the surfaces to be glued are cleaned in advance, this will only enhance the effect. Having studied the next photo of the ball, you can make sure that the repair was successful. At the same time, the gluing line is almost imperceptible.
Glue doesn't always work
However, glue doesn't always work. Basically, problems arise due to the fact that the properties of the adhesive and the material from which is made 3D model are different. Nylon 12 (polyamide 12) is not as flexible as glue. As a result, although our ball was completely repaired, its properties were not completely restored. After half an hour of continuous bouncing, the ball disintegrated again, because. the glue could not withstand the pressure of external forces on the sphere of the model. Thus, superglue only returns the appearance of the product, but the functionality is different. Therefore, it is not recommended to restore products such as springs or hinges with glue.
Painting the glued part
If you paint a model that has been glued in some places, the join lines, like the glue itself, may become more visible.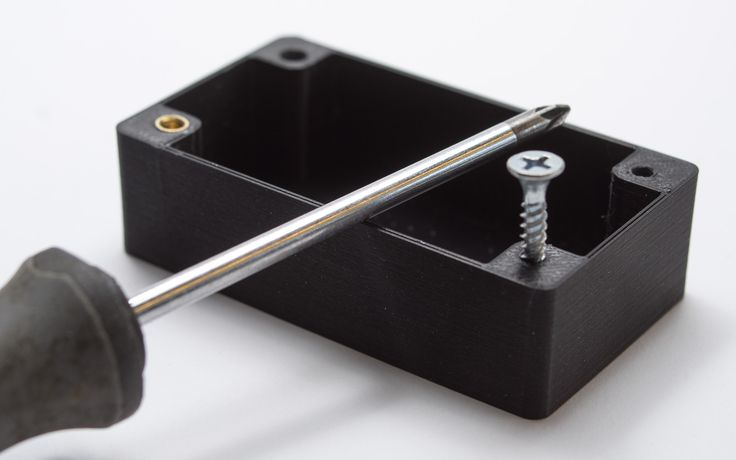 In other cases, as can be seen in the photo of our ball, painting, on the contrary, only hid the defects. We used regular paint like Tamiya Spray.
When gluing before painting, it is very important to carefully apply the adhesive, making sure that it does not spread and remove residues in time. Otherwise, the paint will stick to the glue and it will become more visible. In addition, using a regular paper clip, carefully remove the remaining paint in the holes.
Finally
We recommend using adhesive only in exceptional cases, such as when you need to restore the product to its original appearance. At the same time, apply the glue carefully - this is very important, especially if you plan to paint your model in the future. Also, be aware that bonding does not fully restore the functionality of products printed with 3D printing technologies .
SLSWhite durable plastic
How to remove a 3D print from the platform without destroying anything or injuring yourself
the printout is firmly stuck to the platform on which it is printed. The materials for covering the surface of the platform are different. Blue masking tape, Kapton (polyamide film) and borosilicate sheets (which break easily) are the most common options. Some tricksters when printing with ABS plastic lubricate the surface with a glue stick, which helps to avoid distortion of the printout (when the outer edges begin to protrude after cooling).
But it seems that no one has paid attention to the best ways in which even the most stubborn objects can be separated from the base. We drew, we bring to your attention 6 such best methods.
Do you have more? Feel free to write.
Method #1. Shoot 3D prints with reasonable effort
Be careful with fragile objects and your brute force . Grab it carefully and try to separate it from the platform. Stretching, twisting and rotating usually help.
If not, you need to put in a little more effort. If the object is not too fragile, the process turns into a kind of game.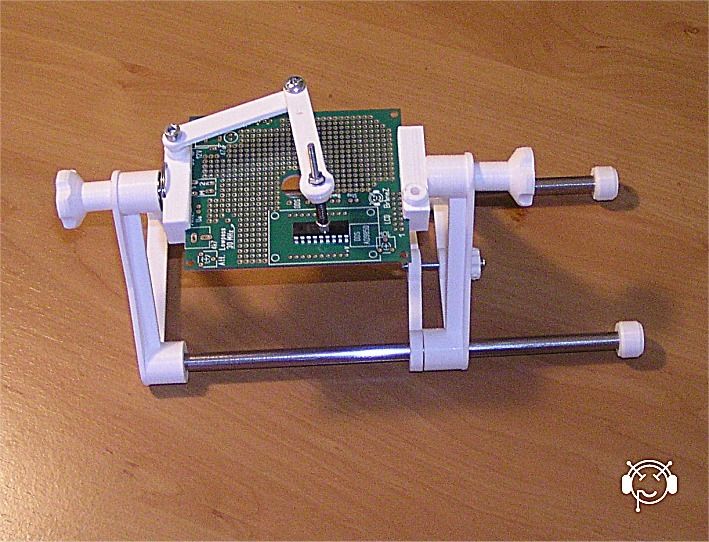 If you have a rubber mallet, you can pull out the build platform and try (carefully!) tapping the sides of the object. Aim for solid surfaces, otherwise you always run the risk of radically solving the problem by hitting a weak spot.
If there is a small gap where you can slip a screwdriver, a light tap on the handle of the screwdriver will give enough pressure and the printout may come off.
Method #2. Use a sharp, flat object
A palette knife is a painting tool that visually resembles a spatula or spatula.
A razor blade will always slip through It can be anything from a spatula to something thinner, like a palette knife, the stuff that is sold in art stores. This is a special knife.
The thinnest blade available is usually a razor blade, but you have to be very, very careful not to injure yourself. In such a case, it is useful to have a blade holder. This one, for example. It has been designed specifically for taking 3D prints from the platform.
The disadvantage of this method is that you will most likely damage the surface. You can cut off the top layer of the desktop, wrinkles may form, which will negatively affect subsequent printouts. If you leave everything as it is, i.e. scratched, next time you will definitely need to replace the film.
Method #3. Take advantage of the temperature difference
There is always room in the refrigerator for 3D printing
This method is more subtle than the previous ones. When it comes to heated tables, sometimes the printout can stick completely, it would seem, tightly.
Therefore, the first thing to do when printing is finished is to allow both the printer and the table to cool completely. If you're lucky, the printout will then pop off by itself. If you're not lucky, you can take advantage of the fact that the physical properties of the plastic and the platform (glass, aluminum or other plastic) are different. When bodies are cooled, they contract, and because they contract differently, the bonds are broken.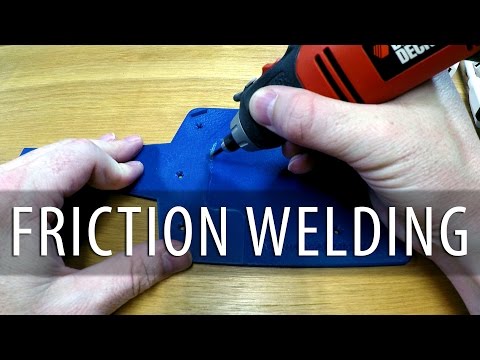
You can take advantage of this effect, even at lower temperatures than in a conventional refrigerator. You can take a special cooling bag (try to cool either the platform or the object). Containers containing CO 2 are also suitable and can be purchased from hardware stores. If such a vessel with carbon dioxide is turned upside down, liquid will begin to flow out. It will change its state of aggregation from liquid to gaseous, absorbing energy and quickly cooling the surrounding space. It will also help if you put the platform with the object in the refrigerator or freezer for half an hour or an hour.
Method #4. Thinner to the rescue
Thinners can be ordered from any decent online 3D printing shop
In the most extreme case, thinners can help, but then the next time you print, you will need a new tape to cover the desktop. You can try pouring a little isopropyl alcohol around the edges of the printout and let it soak into the tape.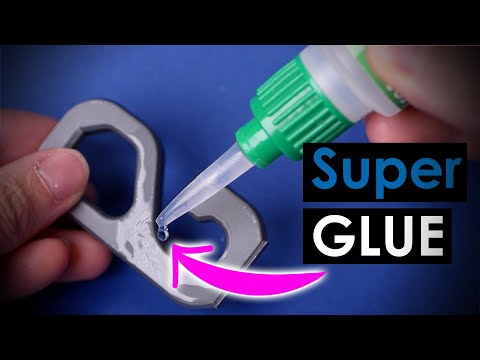 Then it will be easier to separate the object. But if in doubt, you can simply remove the entire tape.
On platforms where glue stick has been used, warm water works great as a solvent.
Method No. 5. Dental floss
It would seem, what does dental floss have to do with it? (Photo: Instructables)
You probably don't know, but flossing isn't just good for teeth, it's also good for taking printouts. It is necessary to fit the thread under the edge of the printout and begin to move it, the thread, back and forth, like a saw.
Depending on how much material is stuck, it may be necessary to “saw off” the whole bottom. The good thing is that the tape remains intact and the method works for all platforms.
Method #6. Buy a flexible printing platform
Screenshot from the video about the features of Tiko (Kickstarter)
Do you think that all the described methods are complete bullshit? Then you need to move to a flexible platform.