Homemade 3d printing pen
3D Pen | Hackaday
January 13, 2021 by Bryan Cockfield
When 3D pens first became available, many assumed them to be gimmicky or part of a general fad that would eventually die out. Like most revolutionary technologies, though, they’ve found a firm foothold, especially in the art community where the ability to 3D print in freehand is incredibly valuable. There are still some shortcomings with the technology, though, but [tterev3] recently tore into a 3doodler pen to make some necessary upgrades.
First, this pen has some design choices that are curious, to say the least. The cooling fan runs regardless of temperature, and it has pushbuttons for start and stop rather than a momentary button that controls the extrusion. To fix these issues, as well as change the filament size, improve the cooling, and provide greater control over the extrusion speed, [tterev3] completely rewrote the firmware, changed the microcontroller on the PCB, and made several hardware upgrades to accommodate these changes. He also went ahead and installed a USB-C port for charging, which should be standard practice on all low-voltage consumer electronics by now anyway.
The detail work on this project is impressive, given the small size of the pen itself and the amount of precision hardware needed to make the changes. Especially regarding the replacement of the microcontroller on the board itself, which is an impressive feat even without the incredibly small dimensions. The firmware upgrade is available on his GitHub page as well if you have your own 3doodler that needs modifications, and if you’re still struggling to find uses for these handy devices, we’ve seen them used with interesting effect to build drones.
Posted in 3d Printer hacksTagged 3D pen, 3d printing, handheld, microcontroller, penJanuary 5, 2020 by Donald Papp
Small hobby aircraft and light plastic parts go hand in hand, and a 3D printing pen makes lightweight plastic things without the overhead of CAD work and running a 3D printer.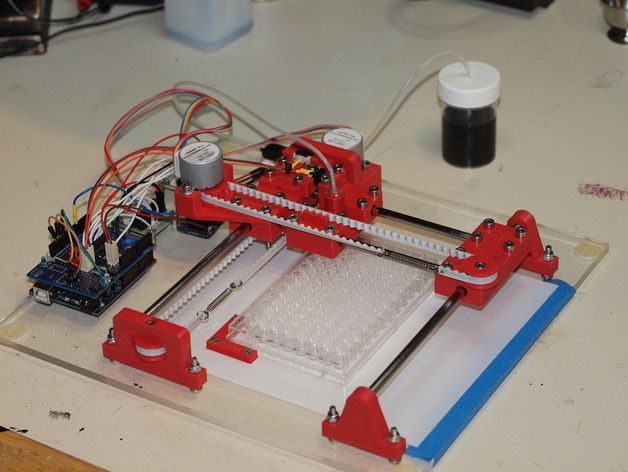 So could a 3D pen create useful plastic bits for small quadcopters? [Michael Niggel] decided to find out by building his drone parts with a 3D pen loaded with ABS plastic. He mostly discovered that the created objects could politely be said to look like they were sketched by a toddler, but that’s not all he learned.
He found that in general creating an object was harder than the marketing materials implied. As soon as the filament exits the pen’s nozzle, the thin little molten line of plastic cools rapidly and does two things: it has a tendency to curl, and loses its desire to stick to things. [Michael] found the whole affair worked much less like ‘drawing in thin air’ and rather more like piping frosting, or caulking.
An almost functional micro quad frame. The arms aren’t rigid enough to hold the motors vertical when under power.Nevertheless, [Michael] sought to discover whether a 3D pen could be used to make quick and dirty parts of any use. He created two antenna brackets and one micro quad frame.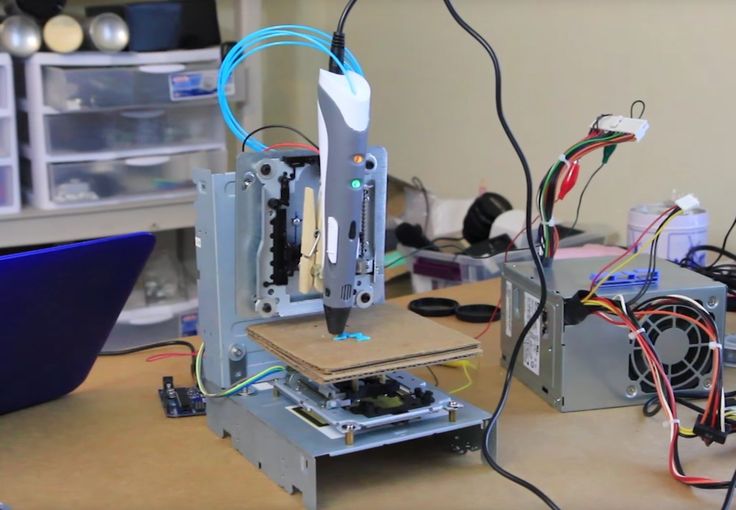 All three are chaotic messes, but one antenna bracket was perfectly serviceable. The 3D pen was indeed able to create a strangely-shaped part that would have been a nightmare to CAD up. The other antenna part worked, but didn’t do anything a zip tie wouldn’t have done better. The rapid cooling of the plastic from the 3D pen has an advantage: extrusions don’t “droop” like a glob of hot glue does before it hardens.
By now, [Michael] agreed that the best way to create a plastic part of any complexity whatsoever seemed to be to draw sections flat, build them up in layers, then use the pen to weld the pieces together and add bulk. The micro quad frame he made in this way doesn’t look any nicer than the other attempts, but it did hold the parts correctly. Sadly, it would not fly. Once the motors powered up, the arms would twist and the flight controller was unable to compensate for motors that wouldn’t stay straight. This could probably be overcome, but while the end result was dirty it certainly wasn’t quick. The 3D pen’s niche seems restricted to simple, unstressed parts that aren’t permitted to gaze up themselves in a mirror.
If you have a 3D pen, we’d like to remind you of this mini spool design whose parts are welded together with the pen itself. For bigger jobs, a high-temperature hot glue gun can be used to dispense PLA instead.
Posted in 3d Printer hacks, drone hacksTagged 3D pen, 3D printing pen, drone, micro quad, quadcopterOctober 5, 2017 by Donald Papp
3D printing pens may be toys to some, but they can be genuinely useful tools to repair 3D prints, rescue a support structure, or weld together different pieces. However, [BManx2000] found that the way the filament simply sticks out of the back of a 3D printing pen like a bizarre tailfeather was troublesome.
The solution? A Mini Spool System for 3D Printing Pens, with which you can use your 3D printing pen to weld together the parts after printing them.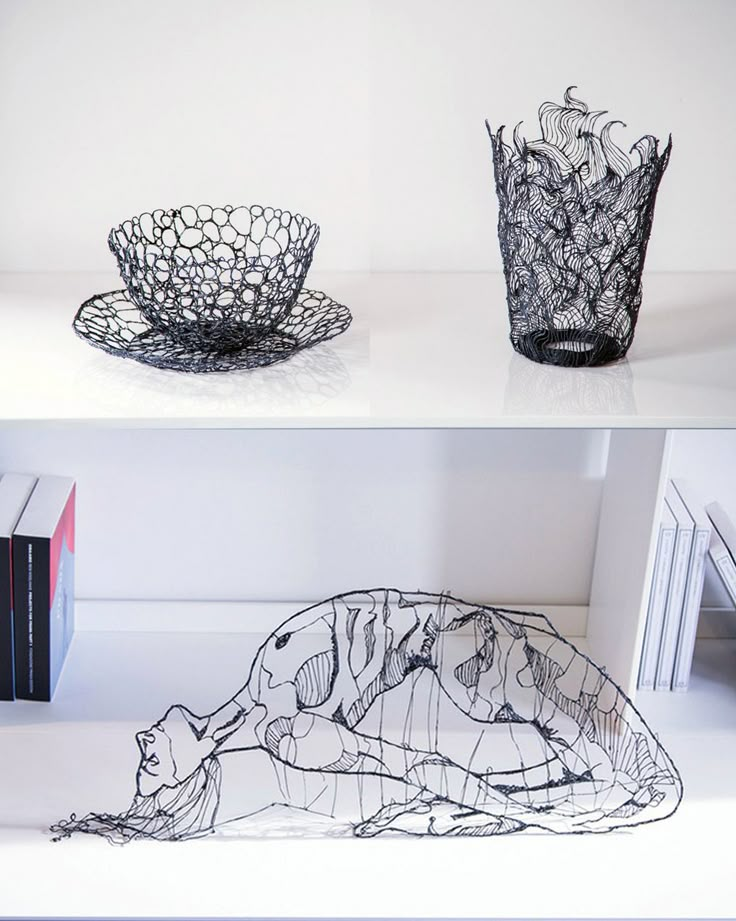 The unit holds 1.75mm filament coiled under its own tension in a tidy package that doesn’t interfere with feeding. Since different 3D pens are shaped differently, the interface to the pen is a separate piece that can be modified or changed as needed without affecting the rest of the design.
We’ve seen some interesting innovations with filament holders before, like this entirely 3D printed filament holder, but a mini spool for a 3D pen is definitely a new one.
Posted in 3d Printer hacksTagged 3D pen, 3d printed, 3D printing pen, filament, filament holder, filament spool, plastic welding, spoolNovember 11, 2015 by Bryan Cockfield
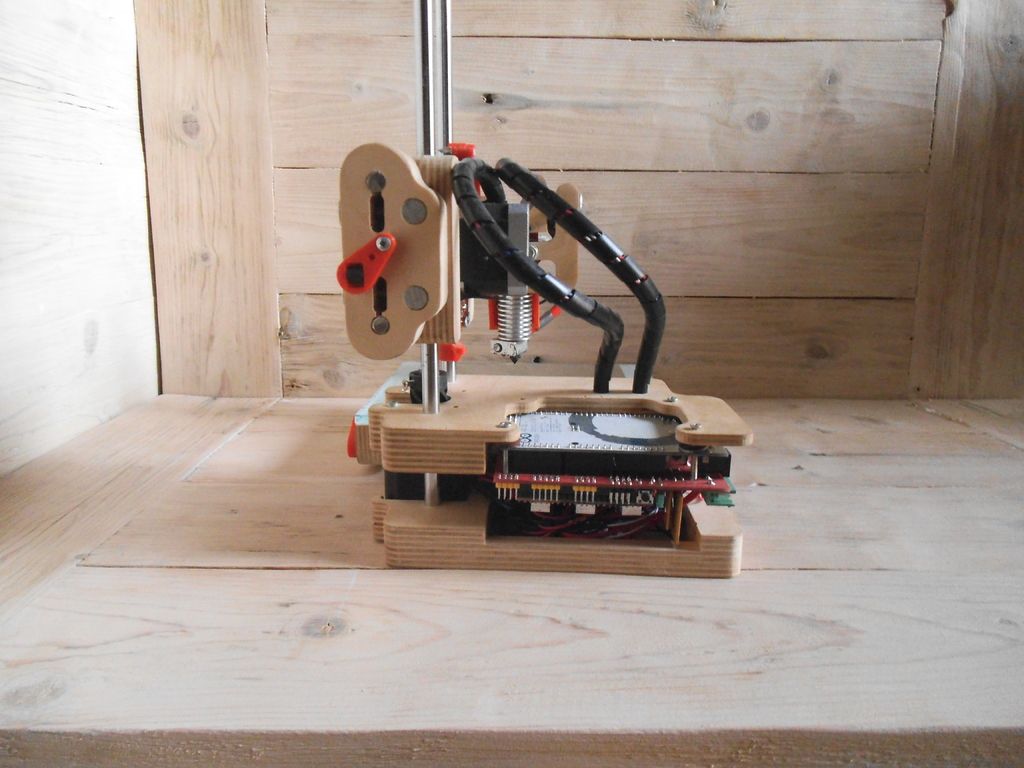
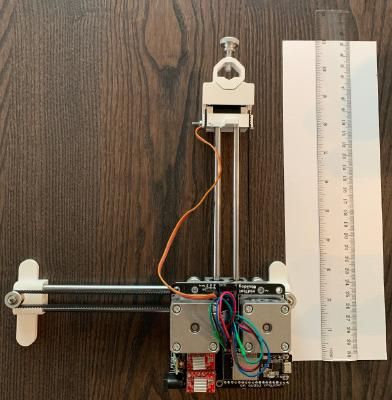
3D printers are ubiquitous now, but they’re still prohibitively expensive for some people. Some printers cost thousands, but even more inexpensive options aren’t exactly cheap. [Daniel] decided that this was unacceptable, and set out to make a basic 3D printer for under $100 by including only the bare essentials needed for creating anything out of melted plastic.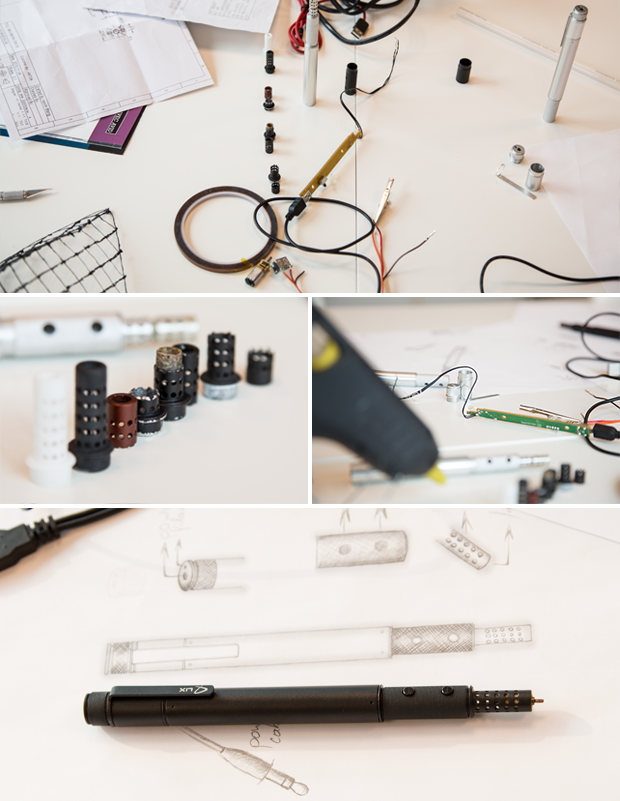
3D printers are essentially four parts: a bed, filament, and a hot end and extruder. In a previous project, [Daniel] used parts from old CD drives to create a three-axis CNC machine which he uses for the bed. To take care of the hot end and extruder, he is using a 3D printing pen which he mounts to the CNC machine and voila: a 3D printer!
It’s not quite as simple as just strapping a 3D printing pen to a CNC machine, though. The pen and the CNC machine have to communicate with each other so that the pen knows when to place filament and the CNC machine knows when to move. For that, [Daniel] went with a trusty Arduino in order to switch the pen on and off. Once it’s working, it’s time to start printing!
[Daniel] does note that this is a design that’s relatively limited in terms of print size and resolution, but for the price it can’t be beat. If you’re interested in getting started with 3D printing, a setup like this would be perfect. 3D pens are a pretty new idea too, and it’s interesting to see them used in different ways like this.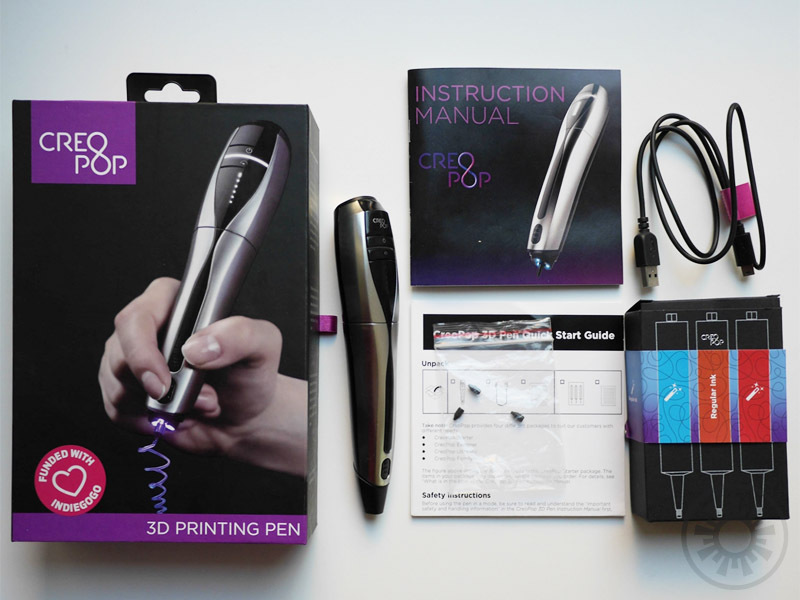
August 14, 2015 by Brian Benchoff
Kickstarter started out as a platform for group buys, low-volume manufacturing, and a place to fund projects that would otherwise go unfinished. It would be naive of anyone to think this would last forever, and since these humble beginnings, we’re well into Peak Kickstarter. Now, Kickstarter, Indiegogo, and every other crowdfunding platform is just another mouthpiece for product launches, and just another strategy for anyone who needs or wants money, but has never heard of a business loan.
Of course there will be some shady businesses trying to cash in on the Kickstarter craze, and over the last few years we’ve done our best to point out the bad ones. Finding every terrible Kickstarter is several full-time jobs, but we’ve done our best to weed out these shining examples of the worst.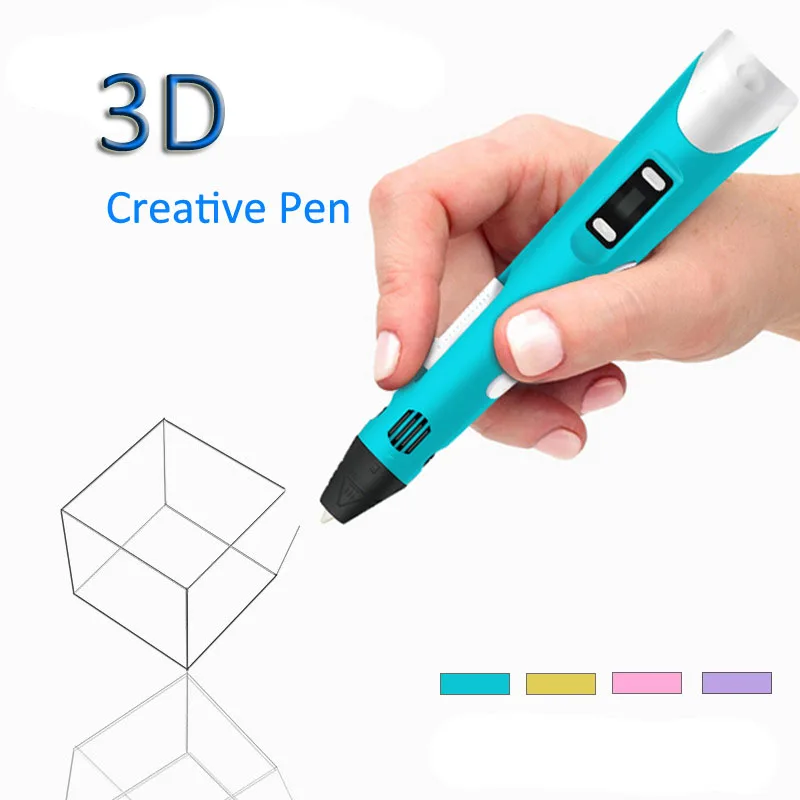 Following up on these failed projects is something we have been neglecting, but no longer.
Below are some of the most outrageous Kickstarters and crowdfunding campaigns we’ve run across, and the current status of these failed entrepreneurial endeavors.
Continue reading “Where Are They Now: Terrible Kickstarters” →
Posted in Crowd Funding, Featured, SliderTagged 3D pen, 3D printing pen, Batteriser, battery, cell phone, Lix, Nikola Labs, router, soap3d Printed Pen - Etsy.de
Etsy is no longer supporting older versions of your web browser in order to ensure that user data remains secure. Please update to the latest version.
Take full advantage of our site features by enabling JavaScript.
Find something memorable, join a community doing good.
(1,000+ relevant results)
Homemade 3d-pen for PET/PC/PVC from a hot air gun and junk.
Miscellaneous
Subscribe to the author
Subscribe
Don't want
14
Polyethylene terephthalate, vinyl chloride, polycarbonate. These polymers have a melting point much higher than a household 3d pen can.
Hello everyone involved in the recycling of recycled plastic.
I will assemble the 3d pen without any junk. Like old video cards. As a basis, I will take this burnt soldering station.
I'm interested in the thermocouple and the turbine in this heating unit. 220 volts is applied to the heated coil. Through these wires I will have 12 volts from an external power supply.
I'll try to make a case out of these old video cards.
This is how electronics no one needs can be reborn into something new and useful. I consider this also recycling! The building hair dryer blew off the smd components with ease.
Retaining rear rails from video cards, I also let things go.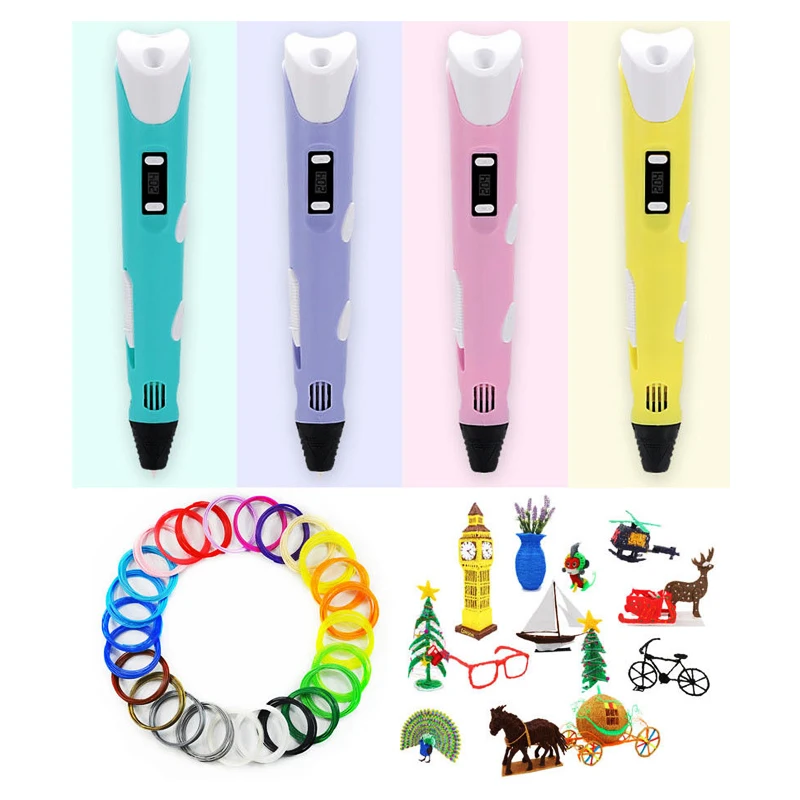 Width just right for my product.
I took the power button from dismantled microwave ovens.
I don't know how to fix the engine. You will have to print
You have to refine it on a semi-finished product. It is impossible in homemade products to calculate everything in advance.
Now you need to somehow solve the problem with the thermocouple. As you can see, there is no insulating surface between the soldering materials. Will the thermocouple short to the case?
I have never worked with glass melting. The idea was to take indicator tubes from a military device. They have mini ampoules. Try to melt the tip of this ampoule on a thermocouple by heating it on a gas burner. That's what happened...
I'll adjust the filament feed rate. I want it to be regulated from the control unit of the soldering station. The voltage there is unacceptably high for my small motor. I solder a simple voltage divider on a transistor.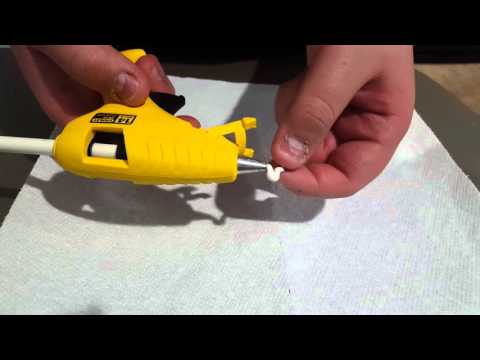
It turns out that the turbine adjustment ranges from 10 to 28 volts. The whole point is that I want to achieve proportional voltage regulation. If the voltage increases or decreases at the input, then, accordingly, the output will be the same.
The stove of this hair dryer was powered by 220 volts AC but I need to hook up a 12 volt heater.
I will bring out an impromptu 220 volt socket for an autonomous power supply that will heat the stove. I think that the essence of this whole scheme is clear to you. I put the nozzle with a diameter of 1.2 mm. I don't know what diameter the factory 3d pen has. The inner diameter of the thermotube that I will use is 3mm. The incoming filament will be standard 1.75mm. let it be free.
I decided to attach the thermocouple with heat shrink, after pressing it to the heating block.
Of course, this is an unreliable thermal contact, but so far so. I think in the future it is necessary to assemble a separate control unit, already with a more reliable thermal resistance
I also left backup wires, I hope that this device will be upgraded.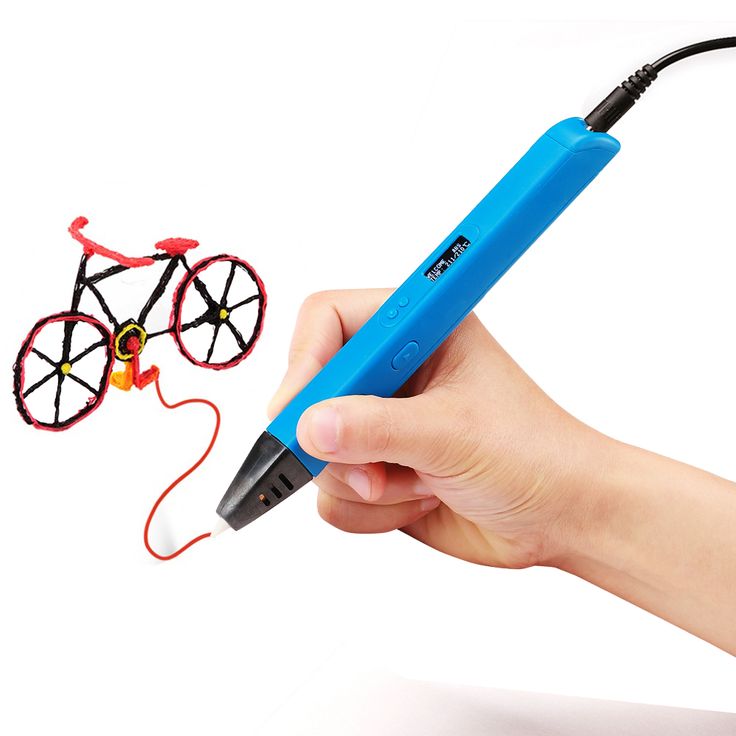 I plan to put airflow and lighting.
This is how the product turned out. It remains only to add power to the heating block.
I add signaling LEDs so that you can see when the heating is on. I repeat once again this is a temporary control structure. Still, the control unit is planned to be assembled on arduino.
It remains to adjust the temperature using the tester. There is a tuning resistor in the control module. I will approximately equalize the temperatures and already try to put something into the feed mechanism of the 3d-pen.
I'll try polycarbonate, a filament made from car dimensions. I think that the diameter is 1.2mm. that's a lot for a 3d pen.
Do you think this 3d pen can draw with PET plastic??? I can get the temperature up to 300 degrees. Next week we will release a continuation of testing this 3d pen with PET, PC, PVC and other recycled materials. If you are interested,
The main thing is not to get sick. Save you Lord! See you.
3D pen PET
Follow author
Subscribe
Don't want
14
More interesting articles
whoim
Loading
01.12.2022
255
6
Subscribe to the author
Subscribe
Don't want
This has never happened before, and here again (c) xD. They threw me personally. In order.
23 Sep...
Read more
ski
Loading
11/13/2022
677
3
Subscribe to the author
Subscribe to the author
Don't want to
Thomas' video post - a geek about the real wear resistance of the latest generation of E3D Revo ObXidi nozzles .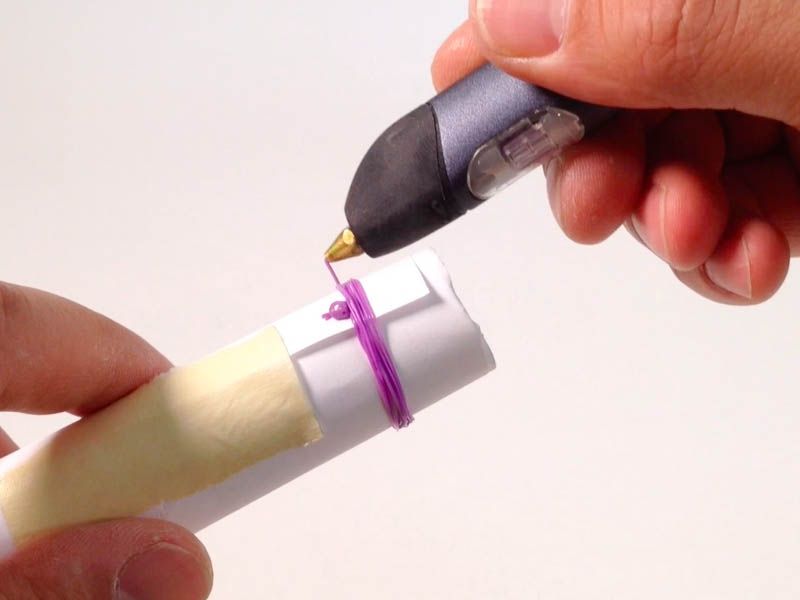 ..
..
Read more
CEPKO777
7 Loading02/08/2018
140304
274
Subscribe to the author
Subscribe
Don't want
Hello everyone. After buying a printer and realizing the principle of operation of CNC machines, I began to look at others ...
Read more
What is a 3D pen?
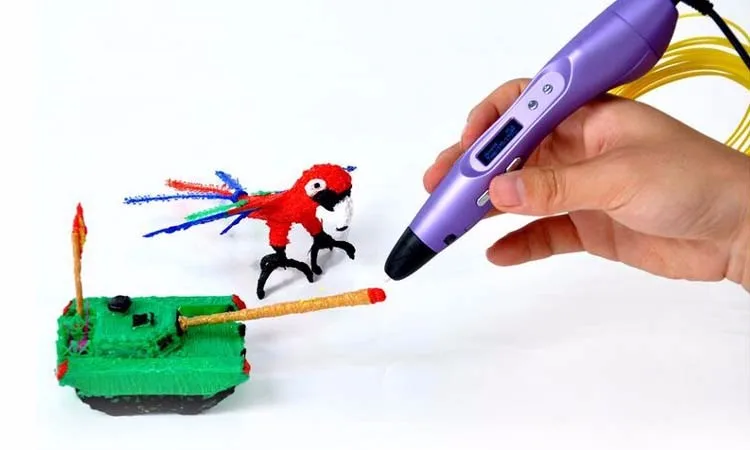
The capabilities of the 3D pen are impressive: with the help of a compact electronic device, you can draw "live" figures, create complex plastic structures and even repair toys and various plastic accessories. This is a great gift for children, as well as an indispensable tool for creative individuals - artists and interior designers. To learn how to use a device for three-dimensional printing, it is enough to spend quite a bit of time, because everything is clear on an intuitive level.
Content
- 1 Features of use
- 2 Types of handles for 3D print
- 3 Principle of operation of the device
- 4 Types of plastic for work
- 5 Comparative models of well -known manufacturers are a "magic wand" that can literally draw in the air. Although it is better to do it all the same on a laminated surface - it will be much more practical and convenient. For all fans of DIY 3D pen is a real find. Using special plastic as the initial "raw material", you can work wonders: create unique pictures that immediately become tangible, paint templates and stencils downloaded from the Internet, and make various decorative elements. Read also: How to make fan blades with a 3D pen
- cold - draw with special photopolymers, quickly harden under the influence of ultraviolet radiation;
- hot - work only with polymer alloys, they can melt at different temperatures.
- compact size and light weight;
- practicality and ease of use;
- possibility of combination of colors and materials;
- ergonomic stylish design;
- easy care after use.
If the first 3D pens were deprived of many functionalities, then modern designs allow you to experiment and not limit the flight of creative imagination. In your hands is a powerful tool for 3D modeling, which is thought out to the smallest detail.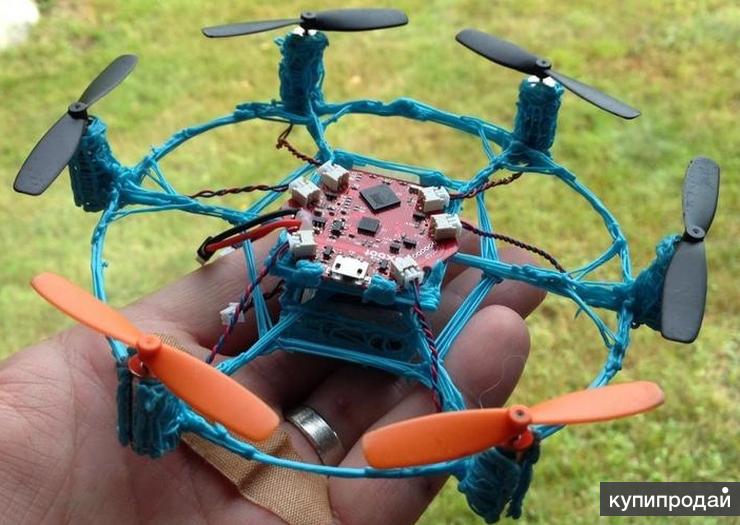 With the help of a small three-dimensional printer, it is possible not only to create original artistic masterpieces, but also to effectively solve some everyday issues. You just insert plastic into a special hole, it heats up to the required temperature, and when it comes into contact with air, it freezes almost instantly. Everything is as simple as twice two, but it is very interesting.
Types of 3D printing pens
There are 2 types of 3D printing devices on sale today, which are similar in appearance, but differ in some functionality. 3D pens are:
If cold 3D printers can be safely handed over to a child, then even an adult must be careful with hot devices so as not to get burned. Some models are additionally equipped with a built-in fan that blows the plastic at the outlet of the nozzle, as a result of which the resulting figures solidify faster.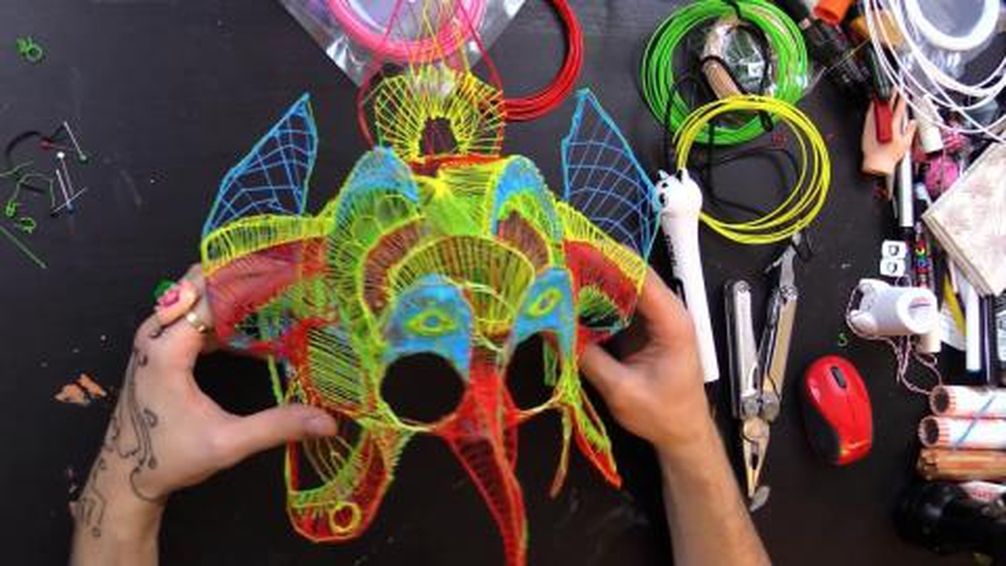 The melting temperature may vary, depending on the specific configuration of the electronic device, but usually this figure is in the range from 100 to 240 degrees.
The cost of a 3D printer depends on the technical specifications and functionality. Inexpensive products have a standard set of options and are more suitable for beginners who want to try their hand at 3D modeling. For more advanced users, practical devices of a new generation with an LCD display, which displays basic information during the drawing process, have been specially developed.
How the device works
Read also: Draw a karambit knife with a 3D pen 3D printer is very similar to a regular pen, but instead of traditional ink refills, a special plastic filament about 3 mm thick is used. A hole for a plastic thread or rod is provided in the upper part of the body. Having installed the 3D “ink” inside, you need to press the button, after which the built-in mechanism with gears will automatically tighten the plastic directly to the extruder, where the “raw material” is heated to a predetermined temperature, melted, and then squeezed out through the print head in a “liquid” form.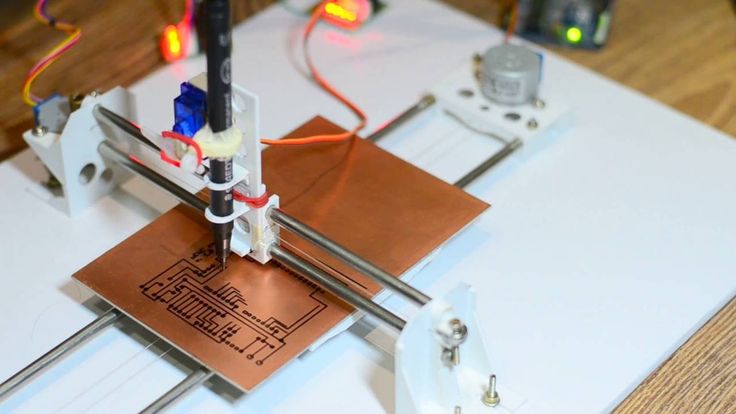
Before use, the device must be preheated - this usually takes from a few seconds to a couple of minutes, depending on the model. Readiness for drawing is determined by the light indicator. When the green color lights up, you can start creating. There are 2 indicators on the case: one is responsible for readiness for work, the other - signals the connection to the mains. In addition to the buttons for feeding and pulling plastic, there is an additional slider with which you can adjust the feed rate of the material.
To turn on the device, you need to press the "forward" button. Three-dimensional printers for home use can operate from an adapter that plugs into an electrical outlet, or directly from the built-in battery. In the latter case, the cost of the device will be slightly higher than the "stationary" models. The main advantages of 3D mechanisms are:
The standard equipment of the device includes a 3D pen, a power supply (adapter), instructions for use and a set of plastic "probes" of three colors. In some models, a small plastic screwdriver is also included in the kit - it is used to adjust the heating temperature of the source material. On the case there is a rubber plug, under which there is a special screw. By turning it left or right, you can decrease or increase the temperature as you wish.
3D pen. How it works #5Plastics to work with
Read also: How to draw a Bimo robot with a 3D pen For 3D drawing, special plastic (most often ABS) is used, which can be in the form of short rods or coils. In the first case, the drawing time is usually limited to 1-2 minutes, since the device quickly "eats" the plastic bar. The inconvenience is that you constantly need to charge the device with new portions of the material. In the case of skeins, the situation is different - you can create calmly, without being distracted by trifles.
There are devices for PLA plastic. Environmentally friendly material significantly expands the boundaries of creative imagination. It is convenient to work with it on any surfaces, including different fabric bases. PLA DIY 3D printing pen is the perfect tool for professional designers and artists. Most often, such a three-dimensional printer is used in practice to create three-dimensional patterns and designs. But for the most efficient work, it is better to immediately purchase a universal device that is equally well suited for using PLA and ABS plastic.
It is worth noting that there are some differences between the 3D pen heads. Figures made of ABS material may shrink over time, and in the process of drawing, a characteristic smell of burnt plastic is formed. This material can be used to glue broken elements of children's toys and repair other products made of ABS plastic. The PLA material is made from corn, so you can catch a slight aroma of popcorn during the melting process.