Dremel for 3d printing
How Effective Is Sanding 3D Prints With a Dremel? – Printing It 3D
Many people enjoy 3D printing as an exciting hobby, especially now that 3D printers have gotten more accessible. The idea of making something solid out of our designs resonates with many of us. But often, 3D printed plastic objects still come with bumps that still need some sanding and polishing.
Sanding using a Dremel is an effective way of ironing out imperfections in 3D prints. This tool, along with its many attachments, makes polishing more precise and time-efficient. However, you must always be careful when operating a Dremel to avoid accidents and damage to your 3D prints.
This article will explain what a Dremel is and how it works, the steps in sanding 3D prints with a Dremel, and some helpful safety tips.
How Does a Dremel Work?
A Dremel is a multifunctional tool that uses rotary motion for various applications. Depending on the bit attachment you use, it can be used for carving, sharpening, drilling, cleaning, cutting, polishing, and sanding.
It is powered by a high-speed motor capable of spinning between 5000 and 35,000 RPM. This motor is connected to a spindle, and you can attach different accessories to this spindle.
When you use your Dremel to sand your 3D print, you can attach the sanding drum bit accessory to the spindle, then cover it with a sanding sleeve of the appropriate grit or grain size.
When compared with doing things by hand and using sandpaper, the motorized action of the Dremel makes sanding more time-efficient. With practice, it can provide a precise finish to your 3D print.
How To Sand 3D Prints With a Dremel
Sanding your 3D printed object is a meticulous process that requires patience and skill. This is a multistep process that will enhance the quality of your 3D print. Below is a concise guide on how to sand 3D prints with a Dremel.
1. Prepare Your Workspace
An excellent place to start in sanding your 3D print is to prepare your workspace. This includes ensuring that you’re working correctly and that you have the needed tools and attachments close at hand.
While there are multiple Dremel models available that you can use, I recommend using the Dremel 8220-1/28 12-Volt Max Tool Kit from Amazon.com. This kit includes the Dremel tool, as well as 28 different accessories. It comes with a 2-year warranty, so you don’t have to worry if anything happens to it.
2. Prepare and Install Your Dremel Attachments
When you sand any object, you have to match its current roughness to the grit size of your sanding material.
The same is true for 3D prints. You have to remember to start with sanding sleeves of lower grit or coarser grain and move your way up to the finer ones.
This technique ensures that you progressively remove the larger bumps and other imperfections instead of just smoothing them in place.
I recommend starting with the TEMO Sand Drum Grit 120 from Amazon.com. These sanding bands aren’t just compatible with a Dremel, and they can also be used with multiple different rotary tools.
Once you’ve completely sanded your object with this band, you will then need to replace it and sand it again.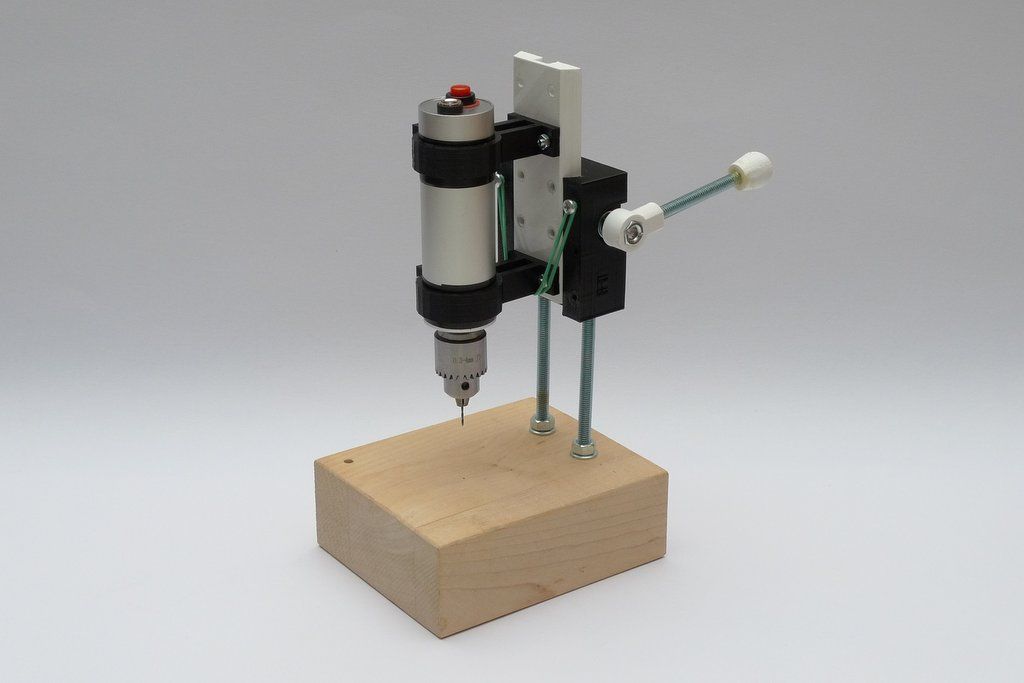 Each successive round of sanding will use a higher grit.
If you’re wondering how to sand your objects, read on to the next step.
3. Sand Your 3D Prints
After preparing your sanding sleeves and installing your sanding bit on the Dremel, you can now start to sand your 3D print.
Remember to be gentle while sanding. The sanding drum can become hot due to friction. If it becomes too hot, it may melt your 3D print.
Additionally, pressing on the plastic too hard can result in new dents that will require additional sanding or, worse, reprinting.
To avoid unwanted plastic melting, adjust your Dremel to a low RPM and allow the sanding drum to cool down first before using it again on a different area of your 3D print.
4. Clean Up
Clean your 3D print after every round of sanding to see areas in need of more smoothing. Cleaning the plastic residues also prevents particles from dispersing in the air, which can be a health hazard for you and anyone else in the room with you.
Safety Tips When Sanding Your 3D Prints With a Dremel
Just as with any activity that involves motorized tools, safety should be your number one priority. Here are some tips to keep yourself safe in sanding 3D prints with a Dremel.
Wear a Facemask
Sanding can dislodge tiny plastic particles in the air, and without facemasks, you can end up inhaling some of them. Studies have shown that ingesting these particles causes various adverse health effects. Wearing a face mask while sanding ensures you stay healthy and can continue enjoying working on your 3D printed projects for years to come.
Wear Safety Goggles
Safety goggles are a must-wear for those using rotational tools such as a Dremel.
The high speeds by which this tool operates can pose multiple hazards for your eyes.
For instance, a piece of plastic can break off during sanding. If the speed of the Dremel is high enough, it can turn this chunk of plastic into a fast projectile which can harm your eyes.
In addition, the metal attachments installed on the spindle may inadvertently dislodge during use and propel themselves towards your eyes, causing severe harm.
Remove Any Dangling Jewelry and Tie Away Long Hair
Dangling jewelry items like bracelets and necklaces can get caught on the spindle while you use the Dremel and drag you into it. This can be a health hazard if you can’t get the Dremel switched off in time.
Similarly, if you have long hair, you’ll need to wear a hairnet. If your hair is loose, it can get tangled with the Dremel when it’s switched on and drag you along with it.
Keep Food and Drinks Away
It’s essential to keep your food and drinks away from your workspace while you work on your 3D prints with your Dremel. This ensures that no plastic particles can contaminate your food. This is especially important as ingesting food and drinks contaminated with plastic has been linked to multiple diseases.
Conclusion
Using a Dremel to sand 3D prints is an effective way to enhance their quality. Since it is a motorized tool, you can expect a shorter sanding time compared to sanding by hand. The available attachments also make it versatile and allow you to achieve different levels of smoothness.
However, keep in mind that proper control is crucial to ensure your safety and avoid damaging the object you’re sanding.
To minimize risks, wear proper protective equipment such as face masks and safety goggles, tuck away long hair, remove any dangling jewelry, and keep food and drinks away from your workspace.
Dremel best STL files for 3D printing・Cults
Dremel Skadis Bracket
Free
Parametric Dremel Mount Grip
Free
Filament Spool Hanger (Parametric)
Free
Dremel Flex Shaft Handle Nut
Free
Large Dremel Mount AXA
Free
Dremel tool holder & cutters
Free
DREMEL LITE HOLDER
€1. 93
93
Adapter for Dremel 575 with larger threads
Free
tool holder for dremel
€12.46 -66% €4.24
Timbertech paint pot mixer
€0.62
Versatip stand insert for the original Dremel case
Free
Soporte CNC Mototool TITAN
Free
Base for dremel3000
€0.96
Universal Filament filter
Free
bench for dremel
€2.65
Mini Drill Press for PCB - M8 rod version
Free
My Dremel organizer
Free
Dremel 3000 Mount for CNC
Free
dremel drywall attachment
Free
Protector dremel 3000
€0.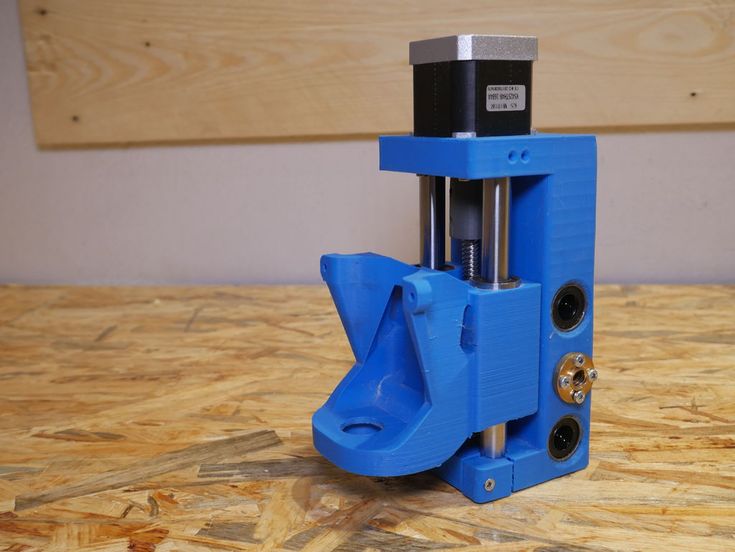 50
50
Cordless dremel pegboard mount
Free
Dremel tools modular stand
Free
Small pinboard dremel tool holder
Free
Dremel table saw with cutting angle adjustment
Free
3D Printed DIY CNC - Dremel CNC Remix
Free
Dremel Mount for Bear Upgrade / Prusa MK3
Free
Dremel Mount for Small PCB CNC
Free
Dremel Ball sanding bit
Free
Dremel cutting depth restrictor
€2
Dremel Chainsaw Guide
Free
Dremel holder
Free
'CLIP ON' Dremel CNC Dustshoe
Free
Magnetic vice grip
€1
PROXXON IBS/E Precision handle
Free
Dremel spark arrestor cut-off wheels
€4.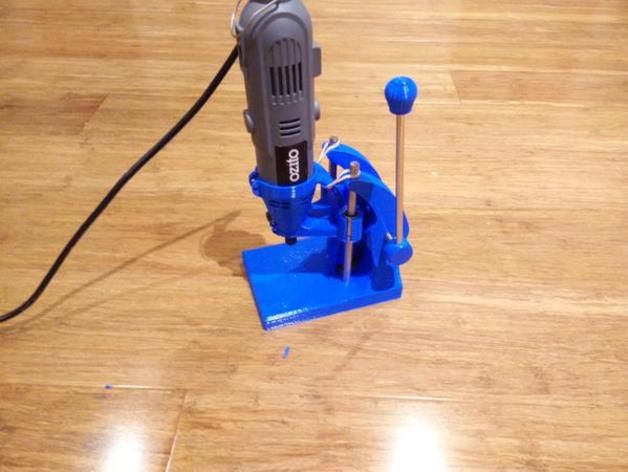 99
99
Boquilla Dremel 2.35mm
Free
Dremel Peg Board Mount
Free
Dremel Drill Press (Remix)
Free
Mini Lathe Stand - (Black And Decker, Dremel)
€1.59
Grinding dust vacuum device
Free
Paint Mixer Attachment
Free
Dremel Flex Shaft For Lathe
Free
Large and medium strawberries
€0.96
MaduixaCNC Dremmel Tool Holder
Free
dremel table
Free
Dremel Bits Stand - Holder
€1
dremel 3d20 adapter
€0.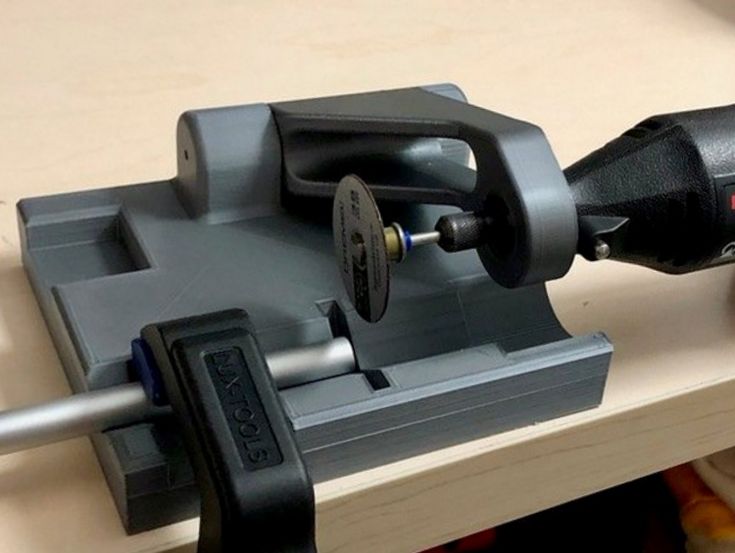 55
55
Organizer for mini grinder (grinder)
Free
Best 3D Printing STL Files Dremel・Cults
Dremel Skadis Bracket
Free
Parametric Dremel Mount Grip
Free
Hanger for spools of thread (parametric)
Free of charge
Dremel Flex Shaft Handle Nut
Free
nine0002 Large Dremel Mount AXAFree
Dremel tool holders and cutters
Free
DREMEL LITE HOLDER
1.93 €
Adapter for Dremel 575 with main thread
Free
tool holder for dremel
€12. -66% 4.24 € 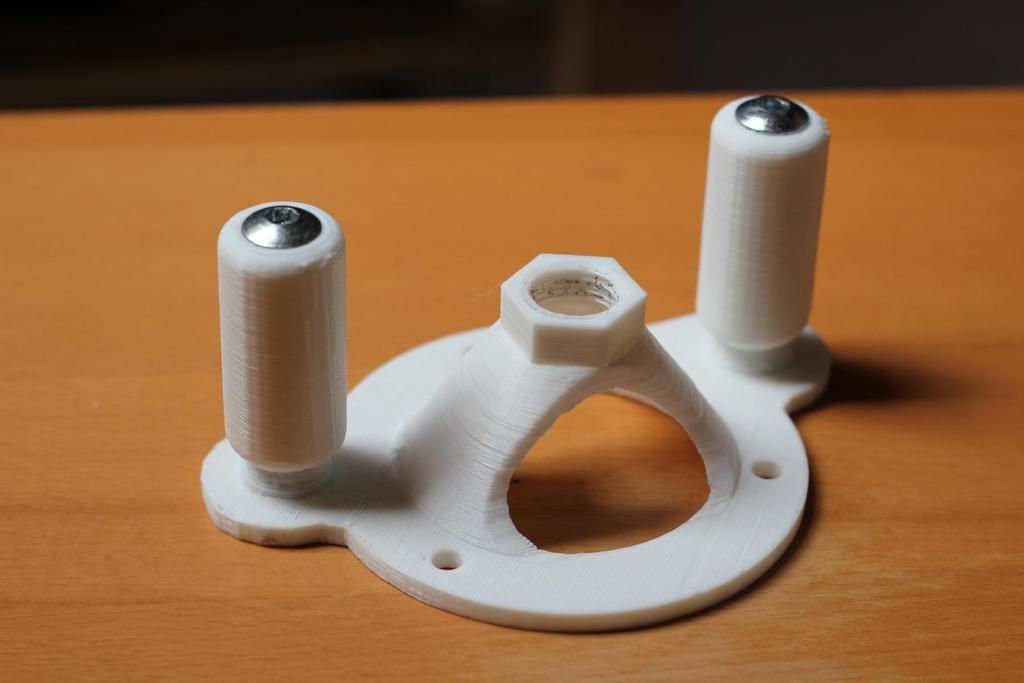 46
46
Paint mixer Timbertech
0.62 €
Versatip Stand Insert for Original Dremel Case
Free
Soporte CNC Mototool TITAN
Free
nine0002 Base for dremel30000.96 €
Universal Filament Filter
Free
dremel bench
2.65 €
Mini PCB drill press - M8 rod version
Free
My Dremel Organizer
Free
Dremel 3000 CNC Mount
Free
dremel drywall nozzle
Free
Protector dremel 3000
0,50 €
Clip-on cordless dremel mount
Free
nine0002 Dremel Modular Tool StandFree
Small dremel tool holder
Free
Dremel Angle Adjustable Table Saw
Free
3D Printing CNC DIY - Dremel CNC Remix
Free
nine0002 Dremel Mount for Bear Upgrade / Prusa MK3Free
Dremel Small CNC PCB Mount
Free
Dremel Ball Sander
Free
Dremel depth gauge
2 €
Dremel 9 Chainsaw Manual0003
Free
Dremel Holder
Free
Dust collector for CNC Dremel "CLIP ON
Free
Magnetic vice
1 €
PROXXON IBS/E Precision handle
Free
Dremel 9 cutting discs with spark arresters0003
€4.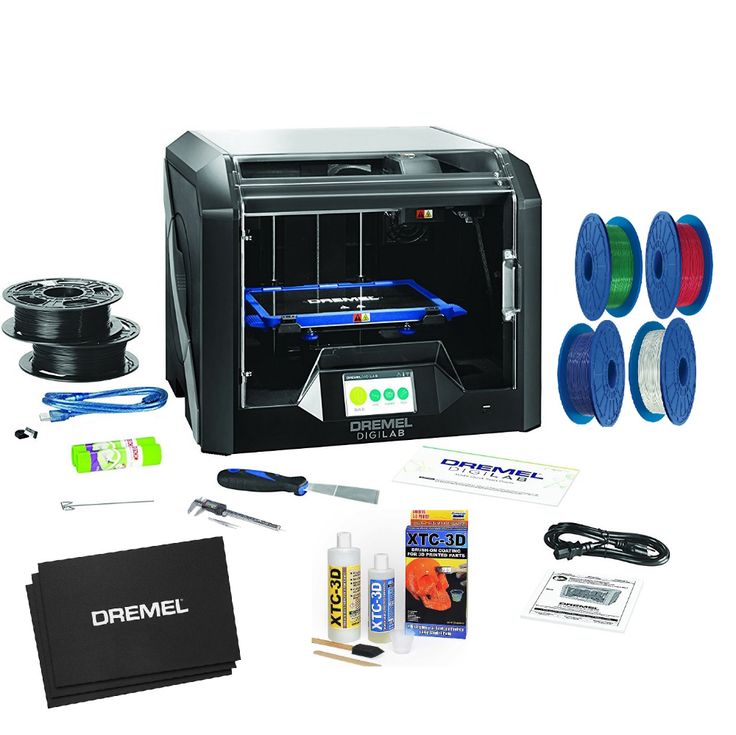 99
99
Boquilla Dremel 2.35mm
Free
Dremel Nail Board Mount
Free
Dremel Drill Press (Remix)
Free
Mini Lathe Stand - (Black And Decker, Dremel)
1,59 €
nine0002 Vacuum dust extractorFree
Paint mixer attachment
Free
Dremel Flexible Shaft for Lathe
Free
Large and medium mills
0.96 €
MaduixaCNC Dremel tool holder
Free
dremel table
Free
Dremel accessory stand - holder
1 €
adapter dremel 3d20
0,55 €
Mini coffee grinder organizer (coffee grinder)
Free
Dremel 3D Idea Builder Review
What is 3D printing? ready for consumers? Dremel, the brand that is synonymous with rotary tools, is great for this with their $999 3D Idea Builder. 3D Idea Builder is aimed at consumers and creatives with its simple 3D assembly processes, simplified setup, and easy-to-use software. It also offers Linux, Mac and Windows compatibility. But is it worth $1,000?
I have never used a 3D printer before
The Dremel printer caters to beginners just like me. But someone should have warned me about the dangers of 3D printing. It is similar to a drug in its addiction, especially if you are always preparing a DIY project. I've spent days looking for STL files (3D printable models) on sites like Yeggi and Shapeways and found amazingly useful 3D models. There are parts that are not even manufactured and that can only be printed on a 3D printer. For example, I found a DC plug that fits my personal computer. The 3D model was not designed for my computer, but by chance it fit almost perfectly. nine0005
This is not limited to repairing old computers. 3D printing offers real value. If you could print replacement parts instead of buying new products, you could recoup some of the cost of the printer within a few years (check out 9 Cool Things You Can 3D Print). And if you're just making household goods. , you can even sell them. There's also the convenience factor: if users can copy hard-to-find parts, they can avoid a trip to the store. nine0005
Specifications and design
- One reel prints about 5 large prints, 16 medium prints and 36-45 small prints.
- SD card supports up to 32 GB (meaning it's FAT32)
- 4 GB internal memory (external SD card included)
- Resistive touch screen
- Single extruder
- Two active cooling fans
- Ports: USB 2.0 port, USB B port
- System: Cortex M4 Processor
- Layer thickness: 100 µm (0.004 in)
- Dimensions: 400mm x 485mm x 335mm
- Build resolution (minimum layer thickness): 100 µm
- Collecting tray dimensions: 230mm x 150mm x 140mm
- Weight: 8.945 kg
Dremel uses the proven Fused Deposition (FDM) 3D printing process. Unlike new methods, FDM costs much less and requires less labor on the part of the user. This makes it an ideal product for both beginners and the education industry. nine0005
The Dremel 3D Idea Builder comes with a proprietary PLA spool. Very little assembly is required and there are minimal loose parts. Inside the box, there is a USB 2.0 cable, a power plug, a wedge, and two covers for the build tray. The build tray needs to be removed in order to install the PLA coil. After that, you apply the ribbon to the build platform. I found that the mounting platform tape comes firmly glued to the extruded PLA plastic. I've tried painter's tape and found that it's much easier to knock it out of newly printed models. nine0005
Setup & Setup
Installation only takes about 15 minutes, depending on how long it takes to watch the Dremel video. Before you start, I recommend watching the video. There are a few things that a user might get hung up on for the first time.
The setup and adjustment process is as follows:
- Remove the build platform;
- Place the spool of thread in the spool holder and lock in place; nine0212
- Pass the filament through the guide tube and into the extruder;
- Place assembly tape over platform;
- Insert assembly try;
- Connect 3D Idea Builder;
- Optional (and highly recommended), install the Dremel software;
What sets the Idea Builder apart from the competition is its ability to store 3D printable models on its internal memory (4GB SD card) so users don't need to connect via USB to start printing. nine0005
3D printing
Dremel software is at the heart of the Idea Builder. The 3D software can load most 3D model files, including STL and a few other formats. But it will convert it to Dremel's own file format before printing. Users can choose between printed designs stored on the included 4GB SD card or can download designs online.
Unfortunately, the printer itself only reads Dremel's proprietary format, so unless the printer connects to a computer with the Dremel software installed, you won't be able to print downloaded models directly from the device. This is somewhat of a limiting factor as it requires users to either install software or convert each STL (or other) file format to Dremel's own format. nine0005
Proprietary
Idea Builder filament works best with Dremel's proprietary PLA filament, but will not print ABS due to the lack of a heated printer bed. Dremel PLA is available in colors ranging from silver to translucent.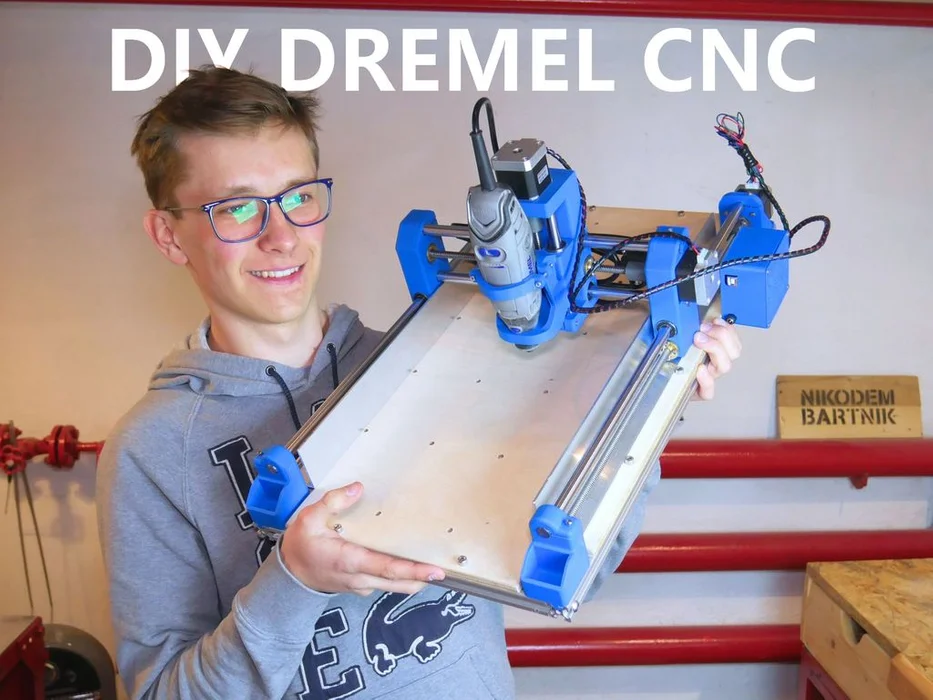 It costs about $30 - compared to other threads, it's about $6-8 more. While it's not a huge difference, it's worth mentioning. I don't think using a proprietary filament is a deal breaker as it has been reported online that the Dremel only recommends using (we expect it to improve print jobs). There were many online accounts of a non-proprietary thread that worked without problems.
Firmware and Software Upgrade
Dremel also includes upgradeable firmware. The update process is incredibly simple:
In short, installing the Dremel 3D printing software and connecting it to the printer automatically updates the firmware. nine0005
Using the Dremel 3D printer
The Dremel user interface includes two main options: Build and Tools . In the Tools section, users can choose between Filament , Level , Home , Operating Mode , Setting , Preheat and About the program" .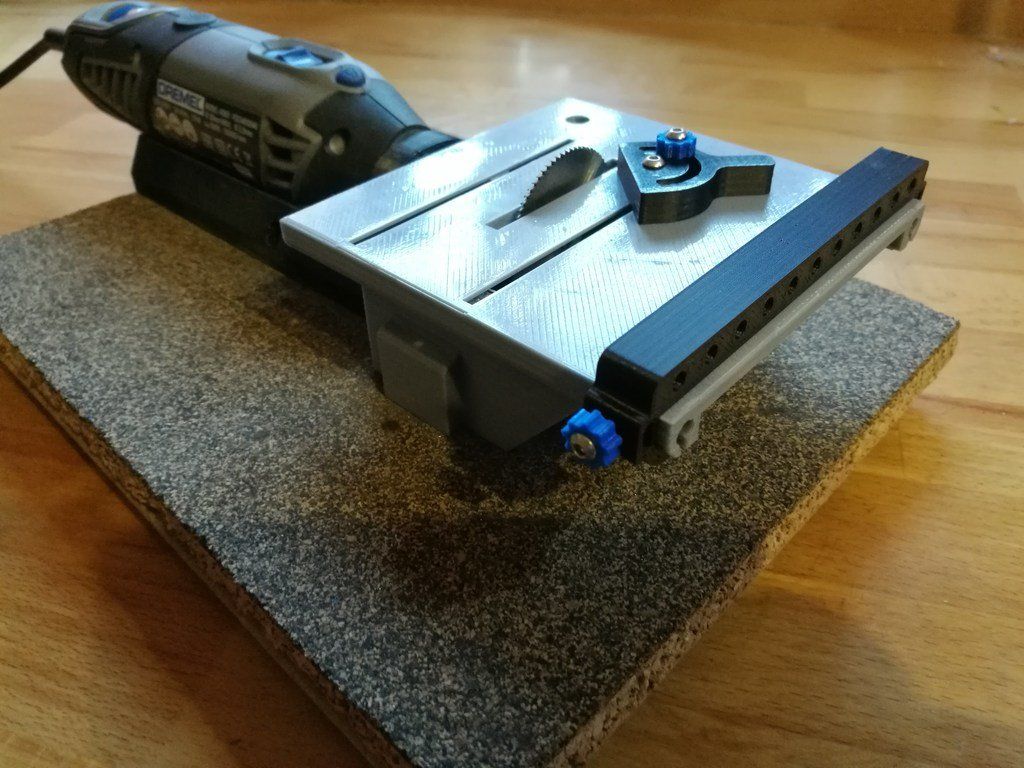 Luckily, most users won't need either of these options, making printing much easier for beginners. The most relevant of the configuration options is preheat, which reduces the time spent waiting for a 3D print to start. But even preheating is an unnecessary step. nine0005
Of the two printing options available (printing from internal memory or via USB cable), I chose to install the Dremel 3D printing software and print via USB cable. Since connecting via a USB cable automatically updates the firmware on the 3D printer, I highly recommend a direct connection between the printer and the PC.
After installing the Dremel software, users simply open the 3D model and the Dremel software should launch automatically. From there, users simply select the build button to start printing. If users have not initiated a preheat cycle, it takes less than 5 minutes to start printing. nine0005
What I didn't like about the Dremel
3D printer The biggest problem with the Dremel 3D printer is that it doesn't read STL files, which is the industry standard for 3D models. Instead, it reads G3DREM's own proprietary files. It is possible to convert G3DREM files to STL, but this is an extra step that consumes an unnecessary amount of time. However, Simplify 3D, the leading third-party commercial printing software, supports Idea Builder. nine0005
The second biggest issue is that the Idea Builder software doesn't seem to automatically generate support for printing bridges and overhang models. We have contacted Dremel Customer Support for confirmation and are awaiting a response.
This is not actually a printer error but mine. The model in question probably won't print on a $1,000 printer. As for the bridges, the Dremel looks pretty good. For example (in the picture below) there is a really well done bridge on the right:
There are some useful ready-made projects: if Dremel wants to really engage users in the home and home goods segment, they need to include ready-made models for practical, useful things. I'm talking spacers, screws, washers, and other components that might require a trip to the hardware store. It's worth noting that Dremel provides a large library of really useful 3D designs - it's just that the models included in the 4GB SD card aren't very useful. If Dremel included amazing 3D models, I would be more likely to choose their printer over competing products. nine0005
Software error : The Dremel software also suffers from bugs. For example, using the Dremel desktop client after printing causes the USB to disconnect from my desktop. I could not determine the cause of the problem, but for this I need to turn off the printer and turn it on again. I'm sure Dremel will release a software update soon.
Resistive touchscreen . Choosing a resistive touch screen in the Idea Builder is both worrying and confusing. This is because resistive screens rely on pressure to register touches rather than conduction. Unlike a smartphone's capacitive touchscreen, a resistive panel breaks down slowly over time.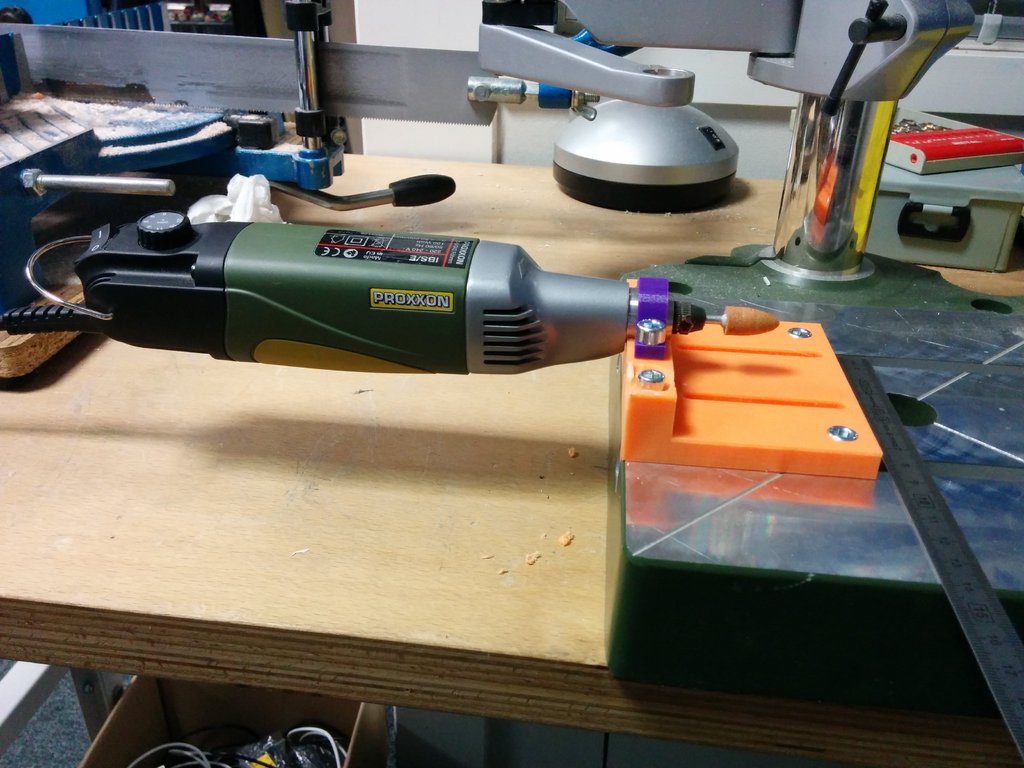 The more the touch screen is used, the faster it breaks down. Although the resistive panel can last for years of heavy use, if it fails, it loses touch sensitivity in the areas that users touch the most. Choosing a resistive screen may just be a cost-cutting solution. nine0005
Should I buy a Dremel 3D Idea Builder?
I was under the impression that the 3D Idea Builder should cost about $100-$200 less. While it offers a simple plug and play setup process, solid software, and good all-round specs, it's not perfect. For $400 more, you can get a CEL Robox dual extruder that prints at 20 micron layer thickness with any filaments (ABS, PLA, etc.). If your target price is under $ $1000, Idea Builder competes with the very similar Craftbot and FlashForge Creator. In the $1,000 category, the Dremel 3D Builder comes out on top in terms of expandable internal memory and ease of setup - though it doesn't offer dual extruders or a heated bed. And if you're printing smaller models, you can try the M3D Micro, which retails for $350.