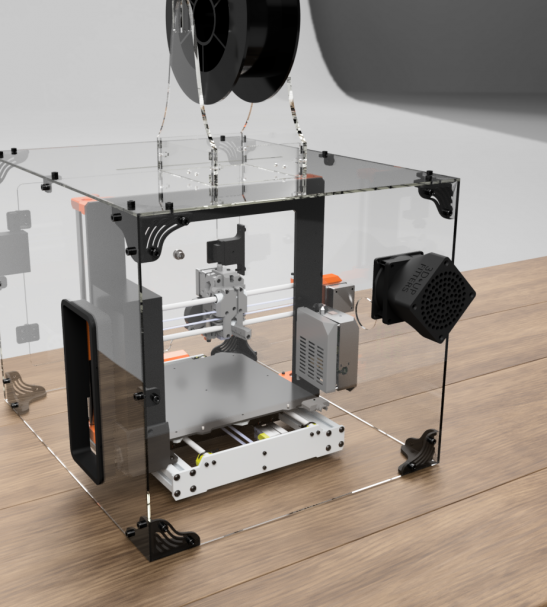
Daz 3d printer
Making Custom Models for 3D Printing with Daz Studio - 3DPrint.com
Blender is a great solution for professional-quality models, and with practice, you can achieve satisfactory results. However, if you find yourself throwing your hands up in exasperation during the process, here’s another route that can help you achieve great results without any prior 3D sculpting skills.
Daz Studio is a totally free program which allows users to create custom models using highly morphable and interchangeable 3D content. They operate a massive library with tens of thousands of items created by their published artists. While the models are geared towards the Daz platform, which allows them to be morphable and customizable, Daz 3D has developed a number of Bridges, which enable you to easily export a model into other programs. This means we can use Daz Studio to design exactly what we were looking for in a model, then export it to a free program like Blender and use that file for 3D printing!
Taking a Model from Daz Studio to Blender
Step 1: Download the Software
Head on over to Daz 3D and register for an account. The software is free to download and easy to set up. You will also be prompted to download Daz Central. This serves as a hub between Daz Studio and the website where you can keep all of your purchased assets organized and access them within your projects in Daz Studio.
Step 2: Design your Model
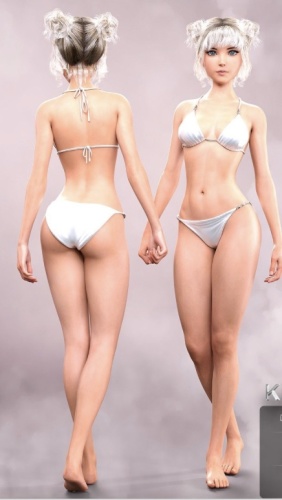
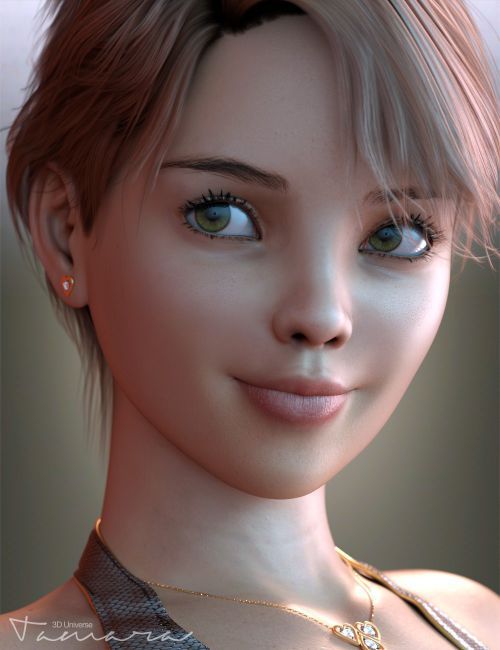
If you are making a human, we start with Daz’s Genesis 8 male or female as the base, which is free and included with your download. Daz offers for sale in their marketplace what are called Morphs. These morphs can be applied to their Genesis characters to change the way they look.
Use free content or find the following (check out the sales pages as well):
- Hair
- Clothing
- Accessories
- Pose
While you are in the Daz marketplace, go ahead and download the Daz to Blender Bridge as well, which is totally free. We will need it later.
Step 3: Assemble the Character in Daz Studio
- Open Daz Studio, and once the scene loads, navigate to the left and click on the Smart Content Tab.
 You will see a tree list.
 - Locate Figures > People > Genesis 8. Double click and Daz Studio will automatically render it in the scene view.
- Still in the Smart Content tab, navigate to Hair, Wardrobe, and Accessories, respectively. Double click each item. (As long as you have your base character selected in the far-right Scene panel, Daz Studio will automatically place each item on your character for you.)
Now that you have the character assembled, navigate to Poses and apply the pose you selected in the same way.
Step 4: Make Fine-tuning Adjustments
Daz does a great job morphing outfits and accessories to characters, though you may have see-through in some areas. This can be fixed using the Shaping Tab.
Select the item you want to adjust in the Scenes window, then use the dials to adjust its fit.
Step 5: Import Your Character to Blender Using the Daz Bridge
Access this Bridge by clicking on Scripts in the navigation bar (top of the screen) then, under Bridges, select Blender > Daz to Blender.
You will be prompted to choose SubDiv 0, SubDiv 1, and SubDiv2. Leave the default and press Accept.
In the next window, uncheck the box at the top, and then hit Accept. You should now have an .obj file containing the mesh, a .mtl file containing the materials and a .fbx file containing the rig saved.
Step 6: Bring it altogether in Blender
Now you can open Blender. We are going to have to configure an add-on in Blender so that you can bring everything together.
- Inside Blender: Edit > Preferences > Add-ons > enable DaztoBlender.
- In the window editor: DaztoBlender > Import New Genesis 3,8.
Blender will now import the model you exported from Daz Studio.
Prepare your Model for 3D Printing
Now that you have your customized character or model in Blender, you are ready to follow your usual pipeline for preparing the model for 3D printing. Check out the Blender for 3D printing tutorial if you need help making additional adjustments within Blender. If you love the model just the way it is, go ahead and export it as an .stl file. Once this done, you can import the model into your preferred slicer and 3D print it!
Stay up-to-date on all the latest news from the 3D printing industry and receive information and offers from third party vendors.
Tagged with: 3D modeling • blender • custom • DAZ 3D • DAZ Studio • Daz3D • modeling
Please enable JavaScript to view the comments powered by Disqus.
Preparing Your Daz 3D Model for 3D Printing from Blender - 3DPrint.com
Daz Studio is a free software that anyone can use, whether they have 3D sculpting experience or not, to create custom models for everything from video game development and animated movies to 3D printing. Once you create the model you want to print, it’s easy to transfer to Blender to add the finishing touches.
Need help making a custom 3D model in Daz Studio? Start here first. This will take you through the basics of how to download Daz Studio, create a model, and use the Daz to Blender Bridge to port your model into Blender. (Make sure you download and install Blender too!)
3D Print with Blender in 4 Easy Steps
Now, let’s get into what you need to do to prepare your model for 3D printing. Complex shapes may need some extra care and attention to make sure your 3D printer can accurately create the model, especially if you want to print a figurine using Daz 3D’s vast array of customizable characters.
Step 1: Enable the Add-on
In Blender, go to Blender Preferences and click on the “Add-ons” tab. Enable the Mesh: 3D Print Toolbox add-on. This will allow you to properly set up your model for printing.
Step 2: Import Your 3D Model & Make Changes
Open your 3D model in Blender and make any necessary changes.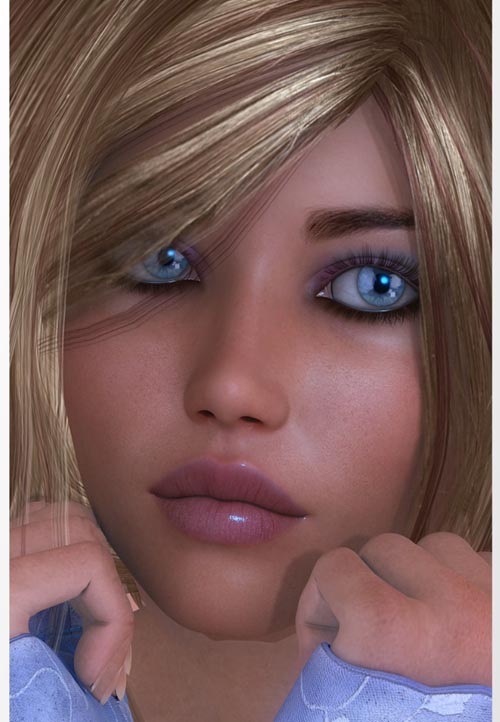 Use the Mesh: 3D Print Toolbox to quickly check if your model is good to go. Do this by selecting the item and pressing N on your keyboard to make the toolbar appear. Select the add-on and click “Check All”. Take a look at the results, focusing specifically on whether or not the model is manifold (which just means that it doesn’t have any holes and is watertight). If there’s a 0 next to “Non Manifold Edge”, you’re good! If not, your model needs a bit of tweaking.
Besides making your model manifold, there are other changes you may need to make. This includes the following:
- Adjust the dimensions – Blender has its own digital scale that measures size, but it doesn’t translate to real-world dimensions. Blender’s 1.0 unit measures about 1 meter in real life, so unless you want a lifesize figurine, you probably don’t have access to a slicer or the resources to print something that large. To change this, go to the Scene Properties tab, then click Unit System and Metric.
 Next, adjust the Unit Scale accordingly so your model is the proper size for what you want to print.
 - Create additional support – Depending on what you’re designing, your figure may need additional support so it stands up and doesn’t fall over once printed. If you’re printing a character, a simple, round base at the bottom of the feet will suffice. Do this by pressing Shift and right-click on the bottom of the model to place the 3D cursor there. Then, press Shift + A and click Mesh and Cylinder to place a cylinder where the cursor is. If you enter edit mode, you can adjust the cylinder to your liking.
- Ensure the model is manifold – You can manually make the model manifold, but the easiest way to do it is to use the Mesh: 3D Print Toolbox. After clicking “Check All” and inspecting the results, select “Make Manifold”. If you needed to add a support, you’ll also need to join the cylinder and figure into one mesh. Simply select both in Object mode and press Control + J.
 Ta-da! Your model is now manifold.
Step 3: Save Your File
When you’re ready to print, save your model as a .stl and .obj. A .stl file is typically best for 3D printing the model in a single color, and an .obj file is normally used when printing multiple colors.
Step 4: Start 3D Printing
This is it! Import your file to a slicer and start printing away. You put in a lot of work to get this model ready, and now you can enjoy the fruits of your labor.
Subscribe to Our Email Newsletter
Stay up-to-date on all the latest news from the 3D printing industry and receive information and offers from third party vendors.
Tagged with: 3D modeling • blender • DAZ Studio • Daz3D • free software • how to • tutorial
Please enable JavaScript to view the comments powered by Disqus.
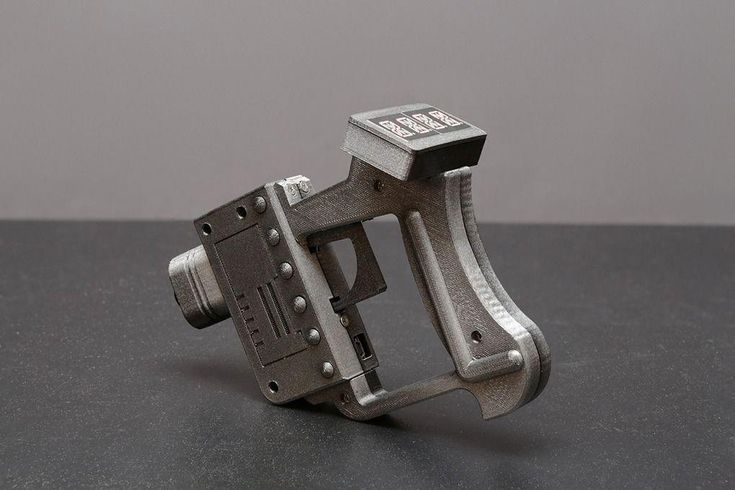
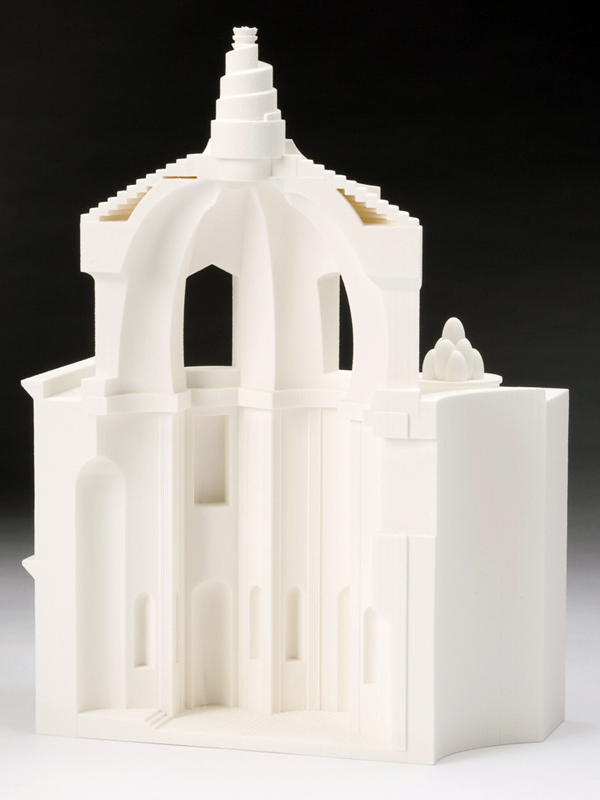
How I printed a model of myself on a 3D printer...
3D modeling
After reading this article, you will learn how I printed a model of my face and body on a 3D printer!
It all started with the purchase of a Kingroon KP3S 3D printer, with a table size of 180 x 180 x 180 mm.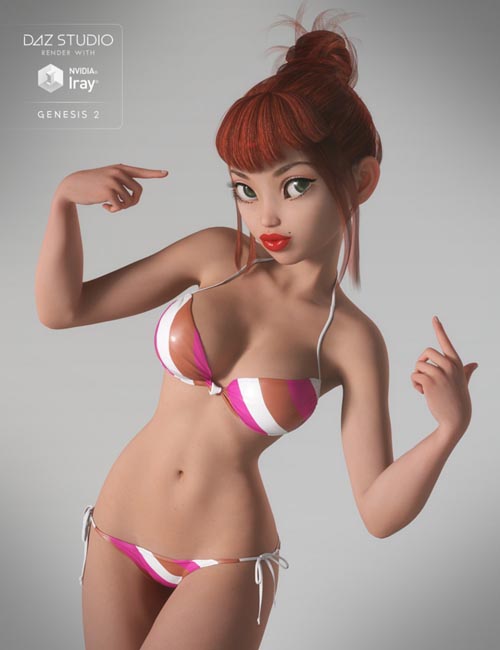
I already had a model of a woman ready, and immediately after assembling the printer, and I assembled it for 15 minutes in total, I sent this model for printing.
For a printer out of the box, and even not fully configured, the quality is normal.
After some manipulations with the printer, I managed to get a completely smooth surface of the figure after printing.
While watching videos on setting up a printer for printing, I came across a video showing a face modeling program.
This program is called DAZ3D. (perhaps there was already an article on this topic, do not throw slippers)
And the idea came to my mind to make a model of my own face and body. Maybe in the future and earn extra money on this, making 3D models of people and printing them to order. (but hardly anyone needs it)
You can download this program on the official website for free.
After installation, we see the initial page of the program.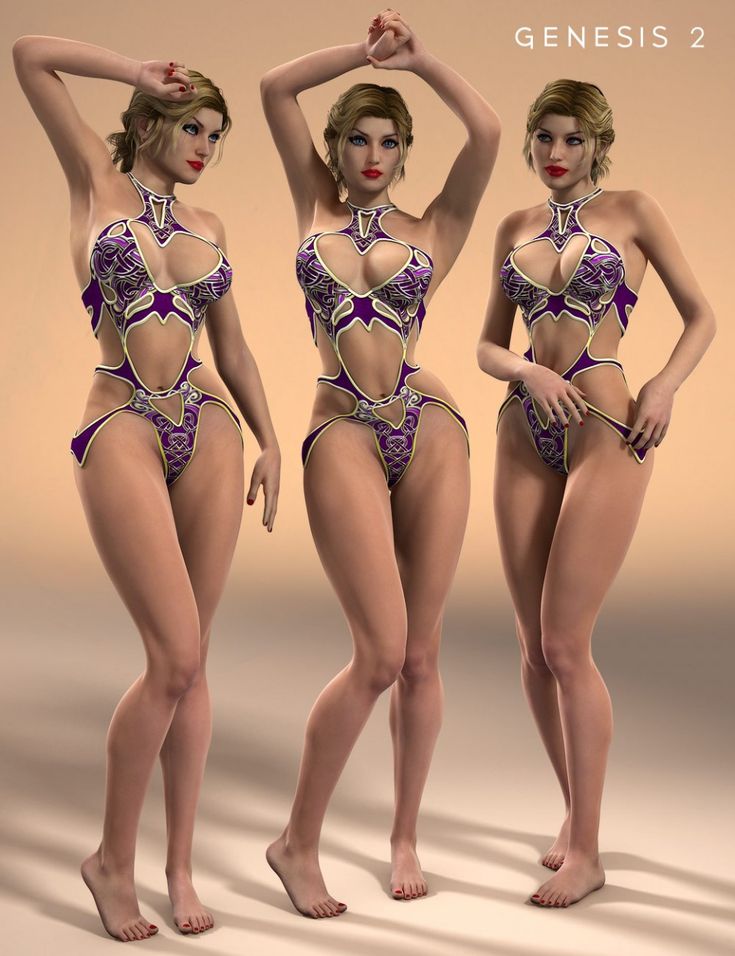
And to create yourself you need to go to the tab Windows - Panes - Face Transfer.
After opening this plugin, you will only have to insert your photo.
Insert a photo, click male - a man (female - a woman) and click - Generate (generation).
A body appears with our face and you see what a resemblance!!!
It seems to be similar, but I hasten to upset you. This model is not suitable for printing.
The point is that our photograph is stretched onto a blank, onto a blank. And it seems to be plausible, but if we print this model, we will get a figure, well, not at all like us. The program tried to automatically repeat our facial features, but she did not do it very well.
What to do?
To create a 3D model of your face, you will have to work hard.
For this we buy an extension for DAZ 3D - MetaMixer Toolkit.
Quickly install and first create a blank. Genesis 8 Basic Male
may not be installed, you will have to buy ;-)
We are looking for and launching Meta Mixer.
Next, select the Shaping tab and select the faces that are most similar to you, in your opinion.
After all, Ok Google MetaMixer is: "MetaMixer is a Daz Studio tool that allows users to create unique faces from a set of previously released characters using add-ons for Metamixer."
This tool will allow us to change the facial features of our disc, and not just overlay a photo (texture) on it.
After selecting the desired faces, we need to start Power Pose. Look at the picture below and start.
In Power Pose, select Sculpting or any other parameters that will help "blind" the face of your dreams. After many hours of work in das 3d, I managed to create my face and adjust the body.
Printing the model. File - Export - I save in .obj format and transfer it to the slicer. (I use Cura).
Printed with PLA.
And if you want to know what I got in the end, then Welcome to my YouTube channel =)
Link to the video:
How I printed a model of myself on a 3D printer . ..
..
Do not swear in the comments, everyone of good. Thank you for reading)
Art Nouveau not made by hands - Russian DAZ
The act of creation, like the formed matter itself, even born with the help of computer software, is undoubtedly a divine symphony.
And let the melody reach thanks to the given microcircuits, and AI processes act as a conductor and part-time ideal architect, the beauty and power of this does not become less. World laser and milling-engraving harmony - sounds a little strange, but modern and relevant.
Turning art
A successful startup is one of the most important components of a successful business. Vasily Borshch knows this firsthand. A native of Kazakhstan with German roots and a sonorous Ukrainian surname, he started his business, although not with the help of minimal investments, but thoughtfully and thoroughly, fully appreciating the advantages of CNC machines. It should be noted that the entrepreneur has a considerable work experience in the profession of a turner.
Vasily Borshch borrowed money from the bank to launch the project, and rented the premises. He recruited employees among his own relatives - it turned out to be a family business in German, which later grew into a small enterprise. Vasily Borshch purchased his own first CNC machine - special automated equipment that performs work with the help of computer software without direct human participation - for 45 thousand euros. And away we go… Today, Vasilij Borsc Metallbearbeitung VB CNC-ZERSPANUNGSTECHNIK owns a workshop for such machines, produces over a thousand items of goods and is known not only in Germany.
- Vasily, one of the recent news: living robots have been created in the USA that can produce offspring. Will there be more, do you think?
Tough question. It turns out that robots are not everything that is made of metal?.. According to our current ideas, artificial intelligence is a machine, but I believe that humanity still cannot avoid its natural development and transformation.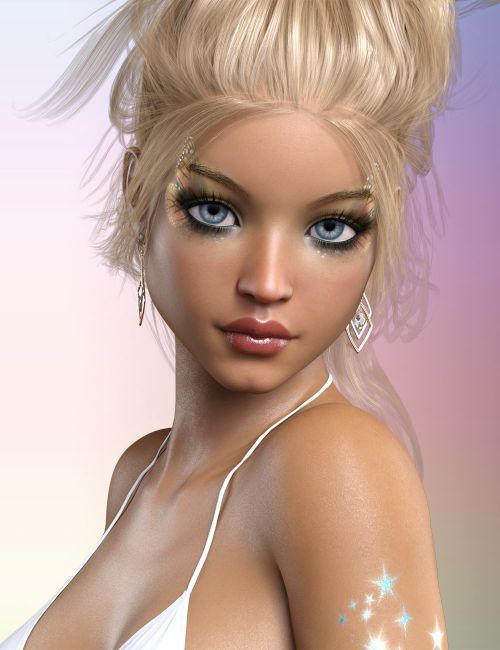 Already today, 3D printers print not only with metals, but also recreate living human organs. I suspect that labor automation is “flowers” compared to what awaits us all in the future.
- "There is no such human fantasy that reality would not effortlessly surpass," said the German writer and screenwriter Patrick Suskind...
- He was right. This is facilitated by the constant development of high technologies that help to look at the familiar and everyday in a different way, in a new way. The world is changing beyond recognition. Until recently, 3D printers and CNC machines seemed like something incredible, today it is commonplace. The main thing is that with the advent of a modernized future, the quality of life does not deteriorate. In any case, people will be prepared for metamorphosis, which obviously will not happen suddenly.
- Many entrepreneurs start their business with minimal investment. Often - in some garage ... How did you start?
- From a bank loan of one hundred thousand euros.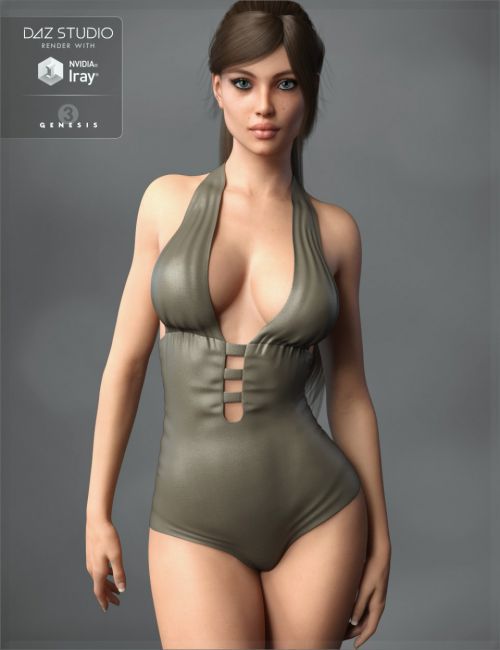 For a period of ten years. Almost half of the amount was immediately spent on the purchase of a Japanese-made CNC machine. Plus, in addition, it was necessary to buy various cutters, milling cutters, drills, etc. for it. I rented a room: a garage is not a suitable place for such production processes. These are issues of both fire safety and the impossibility of operating machines of such huge sizes. Cars simply cannot be placed in a garage, compressors are needed for their normal functioning, and they will not work from an ordinary electrical outlet.
— Why did you choose production engineering and automation as a professional?
— In 1996, together with my family, I moved from the village of Osakarovka in the Karaganda region to Germany. There he graduated from high school, then studied for a year in his future specialty. In general, vocational training provided an extensive direction: I could, for example, become an electrician, but I was given to understand that it was turning work that I did best . .. First I worked on lathes - eight years, after - six years on CNC machines . And in 2014 he decided to open his own
case.
— Are people surprised when they hear your last name? After all, borsch is a dish that is familiar to most Germans.
- Ukrainian surname, father's. But my mother is a German, her ancestors are from the Volga region ... When I introduce myself, I often hear in response: “Borscht, is soup like a Russian dish?” We have to agree and agree.
— Your company's production capacity and product range?
- Our machine shop is equipped with four automated CNC machines, producing a wide range of products - more than a thousand items. One of the suppliers of materials for the production of parts is the world's largest German steelmaker, the multinational conglomerate ThyssenKrupp AG. We purchase working tools from different suppliers. Our team is small, with only six people. Some of the employees are engaged in programming and setting up CNC machines, as well as control the operation process and admire the beauty of machine metalworking. All employees have a seven to eight hour work day, thirty days of vacation and five social insurances.
— How felt is the tide of the fourth wave of coronavirus in Germany now?
- Let's just say, noticeable. Especially after the recent official innovation, which obliges unvaccinated employees to be tested for COVID-19 daily, on working days. In terms of business, the situation is generally improving. Previously, due to quarantine measures, many deliveries were delayed, borders were closed, logistics was lame, and no one knew how the situation would develop further. Accordingly, there was a certain decline, which the entrepreneurs themselves provoked. However, I repeat, the situation is changing in a positive direction. Covid has pushed companies with production outside of Germany back into the German market. And if, for example, before the quarantine, a lot of orders were sent to Romania and Turkey - where the cost of production is lower due to lower wages - now German businessmen are looking for suppliers in their native land, perplexed by the inelasticity of foreign markets .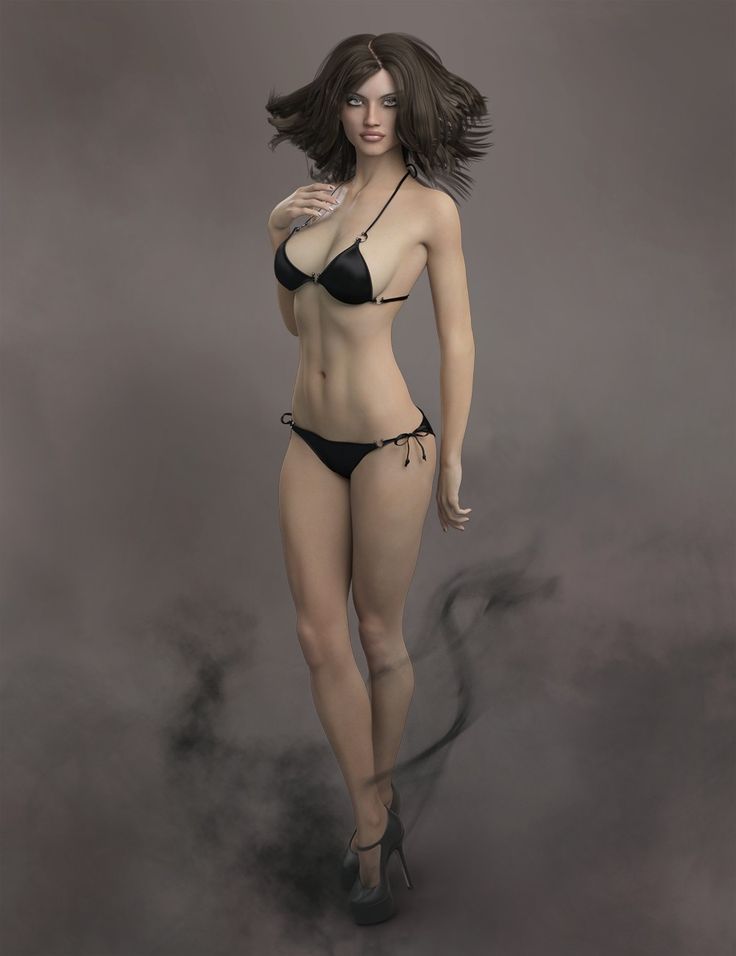 .. However, our company gives preference to customers, cooperation with which is time-tested. In my opinion, this is wise and beneficial ...
— Your dreams?
- Upgrade the machine shop - these are rather plans and further projects. And to produce products that few people can do in the easiest way. So that there is practically no competition, but at the same time, goods should be simpler and more affordable.
— Like under communism?
— Communism is rather a utopia. I am an adherent of the real state of affairs, but I strive to think not only about my own benefit. So, for example, serial production is beneficial for both manufacturers and customers. It helps to reduce the cost of products, but is thereby imposed on the consumer. This is short-sighted and not good... Whether it's a one-off production, a small or a large series - with our CNC production system, we rely on quality, precision, the shortest delivery times and the guarantee of compliance with all drawing requirements.