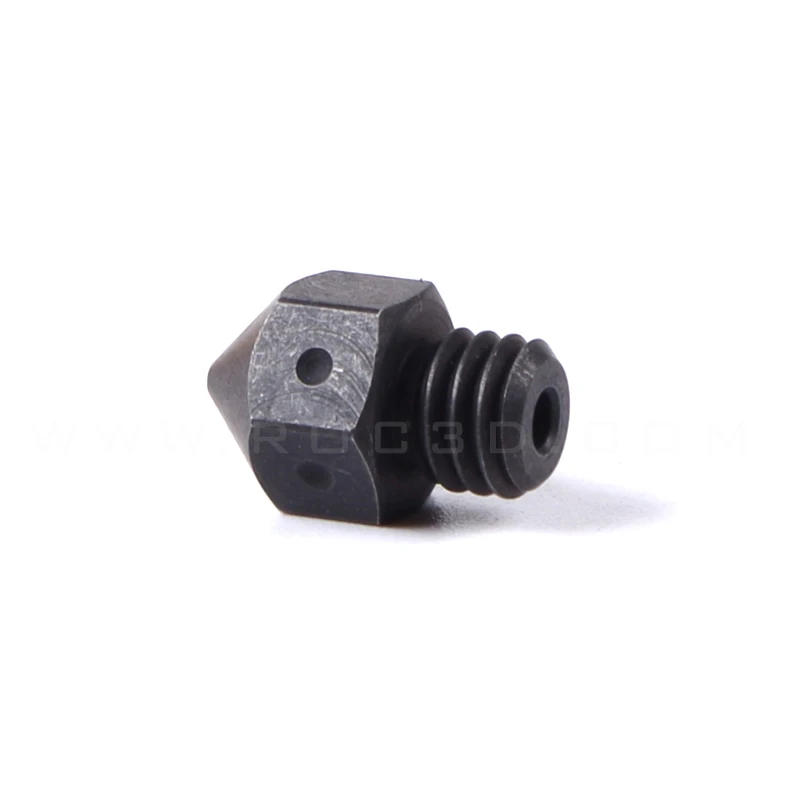
3D printer nozzle clog
How To Unclog a 3D Printer Nozzle
Clogged nozzles - they happen. This informative guide will help you get your 3D printer back up and running.
Posted on April 7, 2017
by
Alec Richter
Every so often, you might find your prints are looking stringy, sparse, and with missing layers. If you check through our 3D printer troubleshooting guide, you'd figure out your nozzle is more than likely clogged. No worries - this guide will help you solve the issue and get you printing again in no time.
What Causes 3D Printer Nozzle Clogs
To understand a clog, it's probably best to know a few things that can cause the issue in the first place. Keeping filament sealed up and clean is a good practice to help avoid clogs.
- Filament stripping in the extruder gear and the filament left in the nozzle solidifies into a plug
- Dust on dirty filament forms a plug
- Something as simple as not cleaning out the nozzle after changing between materials
How To Check if Your 3D Printer Nozzle is Clogged
Disengage the extruder gear lever and push filament through by hand. If it curls, is hard to push through, or doesn’t come through at all, the nozzle is clogged. It doesn’t take much force to get it through, so don’t press on it too hard.
Tools Needed to Unclog Your 3D Printer's Nozzle
If you are using all the methods to unclog your nozzle below, you will need the following tools. We recommend trying them all and finding one that works best for you.
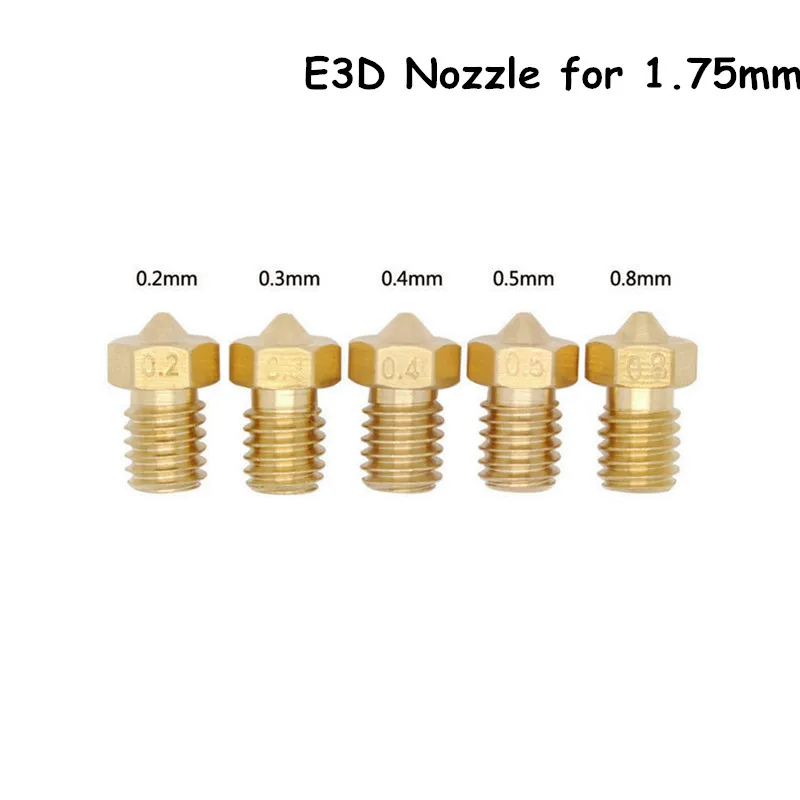
- Cleaning filament or nylon filament in the diameter your printer uses.
- A brass wire brush (steel wire can damage the nozzle)
- Acetone
- Acupuncture needle
- Crescent wrench
- Socket wrench
- Heat gun or blowtorch
Checking the force needed to push filament through the nozzle.
Method One: Brass Wire Brushing
Using a brass wire brush, clean off any debris from the nozzle. Make sure that you use a brass wire brush - do NOT use a steel wire brush, as it can cause damage to the nozzle.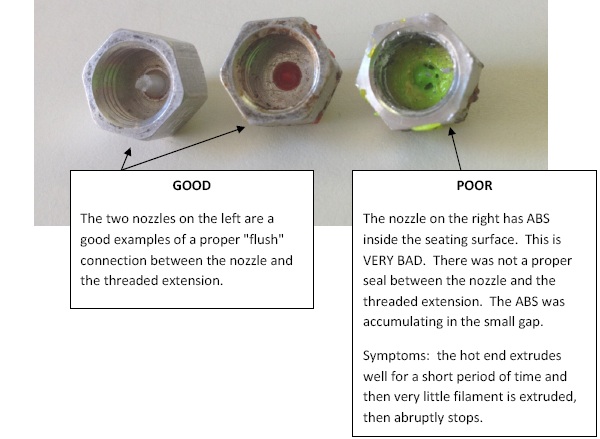
Using a brass brush to clean off a nozzle.
Method Two: Acupuncture Needle
- Preheat your printer to the print temperature of the last material you were printing with.
- Gently and carefully insert the acupuncture needle up through the nozzle.
- You aren’t trying to remove the particles, just break them up so they extrude the next time you extrude filament.
*Do not use on Olsson Ruby Tip Nozzles*
Using an acupuncture needle to break up a blockage.
Method Three: "Cold Pull" With Nylon or Cleaning Filament
- To do a “cold pull” use Cleaning Filament or Nylon Filament in the same diameter filament that you normally print with.
- Heat up the nozzle to 250°C and push the filament through the nozzle until you don’t see any of the previous filament coming out of the hotend.
- Cool down your extruder to room temperature to solidify the filament in the nozzle.
- Set the hotend to 115°C.
- At 90°C, pull on the filament until it yanks out of the nozzle. This should leave the shape of the inside of your nozzle on the end of the filament. You should be able to see the particle in it.
- Again, heat up the nozzle to 250°C and push the filament through until it comes out clean and easy.
Pulling out cold nylon to clear the nozzle.
Method Four: Removing the Nozzle
- Heat up the nozzle to the print temperature of the last material you used.
- Use a crescent wrench to hold onto the heater block, while you use the socket wrench to twist off the nozzle.
- Be careful not to touch any of the hot parts, it’s really easy to slip and burn yourself.
- With the nozzle removed, use chemicals to dissolve the filament and wash out the clog, or use heat to burn it out.
- If your printer clogged after using ABS, simply drop it in a container of acetone and the ABS will dissolve away.
- There are chemicals you can use for other materials, but they tend to be more caustic or hard to find. In those cases, a heat gun or blowtorch (using the proper safety precautions) can melt out the remaining filament.
- With a heat gun or blowtorch, wave the heat over the nozzle like blow drying your hair; direct heat from a blowtorch can actually melt your nozzle.
Place the nozzle into acetone to remove ABS filament clogs
Carefully using the heat gun to remove clogged filament
As you can see, there are quite a few good ways to fix a clogged nozzle. Find the right way that works for you, and keep on printing.
Article Tags
- 3D Printing
- Firmware
- 3D Design
- MatterControl
- Press Releases
- Small Business
- Automotive
- E3D
- Jewelry Making
- Engineering
- Entertainment Industry
- MatterControl Touch
- ESD Materials
- NylonX
- BCN3D
- Open Source
- Crafty Pen
- Digital Fabrication Anatomy
- How To
- Hardware and Upgrades
- Tips and Tricks
- Weekend Builds
- Top Ten
- Education
- Tech Breakdown
- Women in 3D Printing
- Project Ideas
- Advanced Materials
- Reference
- Pulse Dual Extrusion
- Product Spotlight
- Aerospace
- Jobs
- Military & Government
- Multi-Tool Machines
- Getting Started
- Healthcare
- How To Succeed With Any 3D Printing Material
- Creality3D
- Architecture
- 3D Printer Reviews
- Hacker of the Month
Related Products
View all related productsClogged Extruder Nozzle? – What Causes It, How to Avoid It, and How to Fix It
In this guide, we break down the common causes of a clogged nozzle, how to unblock it properly, and how to prevent it from happening again in future.
Nothing can be more irritating, or more intimidating, than a clogged print nozzle. You’re printing a job, everything seems to be progressing nicely, when suddenly you hear a clicking or knocking sound from your extruder motor.
That dreaded clicking sound!
You look over and see that your 3D printer is not extruding, the filament isn’t moving off of the spool and the nozzle is now moving around in thin air above what’s left of your print.
The likely culprit in this situation is a clogged or blocked print nozzle.
Then you have the filament stuck in the extruder to look forward to – dealing with getting it clear and keeping it clear for future prints.
Don’t worry, you’re in the right place.
Read below for a comprehensive step-by-step guide on how to clean a 3D printer nozzle, when your nozzle is partially or fully clogged. We’ll look at some of the common issues that cause a clogged nozzle and what you can do to avoid them.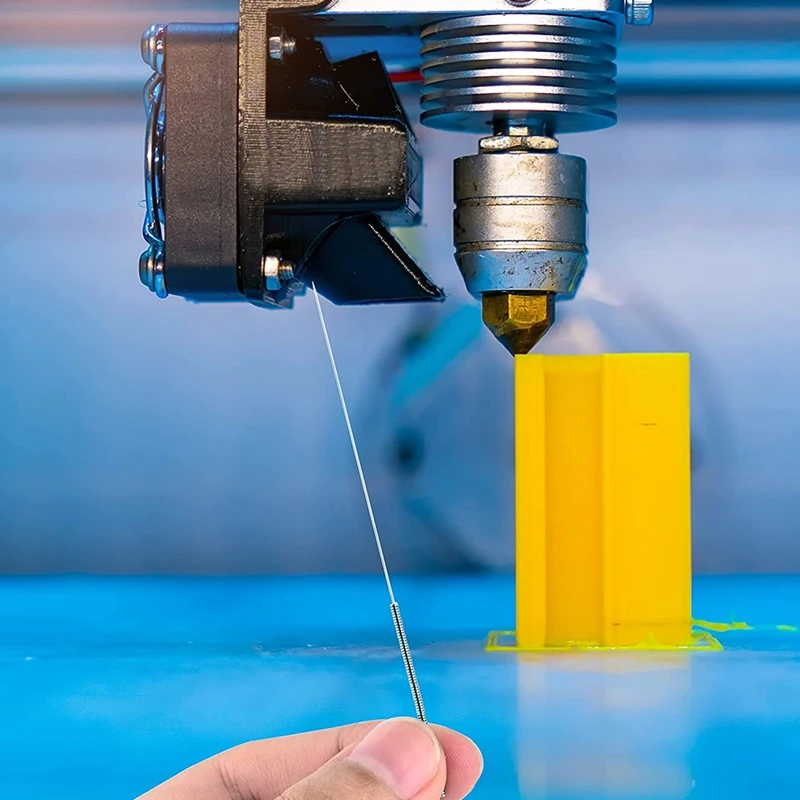
We’ll also show you a couple of techniques that you can use to unclog a nozzle that’s already blocked and get you back printing in no time flat.
Not a complete blockage? You may want to save yourself some time and hassle if you’ve only got a partial blockage. You can read up about Cleaning Filament here which will help.
Common Causes of a Clogged Print Nozzle and How to Avoid Them
A clogged print nozzle is usually caused by one of several common problems.
So, even though a clogged print nozzle is one of those “Are you kidding me, really?” issues that everyone dreads, the good news is that the problem can easily be prevented from occurring by simply paying attention to a couple of things beforehand.
Don’t worry, we’ll cover cleaning a 3D printer nozzle later in the article. You’ll learn how to unclog a 3D printer nozzle in no time.
Incorrect Nozzle Height
As you probably know, your nozzle has to be at the correct height from your print surface in order for you to successfully print an object.
If the nozzle is too high, the print material has to travel a longer distance to reach the surface. This longer distance translates into cooler temperatures. The result is that your material will likely have trouble adhering.
But if the nozzle is too low, a couple of undesirable things will occur. First, there won’t be sufficient room between the nozzle and the print surface to allow the material to extrude correctly.
This will result in the nozzle smearing the thermoplastic all over the surface.
Second, the insufficient room between the nozzle and the surface will begin to cause the retrograde extrusion – the material will begin to back up into the nozzle, ultimately causing a clog.
Explained: Getting the nozzle size, height and flow rate right prevents nozzle clogs.The easy fix for this problem is to make sure that your print bed is leveled correctly and that your starting Z coordinates are sufficient to allow adequate room for proper extrusion.
In general, your Z coordinate should be no higher than the diameter or lower than 1/4 diameter of your print nozzle.
This will allow the nozzle to maintain a slight pressure to the top of the extruded filament that will increase adhesion while avoiding retrograde extrusion.
Incorrect Print Temperature
Correct print temperature is critical for both a successful print run and for printer performance. If the temperature of your hot end is too low, your print material will not melt correctly.
This can cause the material to begin to adhere to the inside surface of the nozzle. This causes pressure to build up in the print head.
Eventually, the extrusion motor can’t feed the filament into the head and before you know it your 3D printer nozzle is clogged.
In addition, printing at too high a temperature, especially with PLA, can cause you to experience what is known as “heat creep”. Essentially, heat creep occurs when higher temperatures extend back and upwards from the hot end.
This causes the “melt area” to extend father back as well, softening and melting the print material well before the nozzle end of the extruder. The softened thermoplastic increases the amount of pressure needed for extrusion.
As with having your print temperature too low, eventually the extrusion motor can’t keep up and the nozzle gets clogged.
In extreme cases of printing at too higher temperatures – PLA and similar filaments can actually crystallize in the nozzle.
You can avoid this problem by always checking to make sure that you’re printing at the recommended temperature for the material that you’re using.
PLA does well at temperatures around 180C and up and ABS likes temperatures around 225C+. Experiment with the material that you’re using and find the “sweet spot” that allows for good adhesion and layering, but doesn’t cause problems like clogging.
In addition, when you are changing materials, always make sure that you’ve removed the previous material completely and flushed it through before changing print temperatures.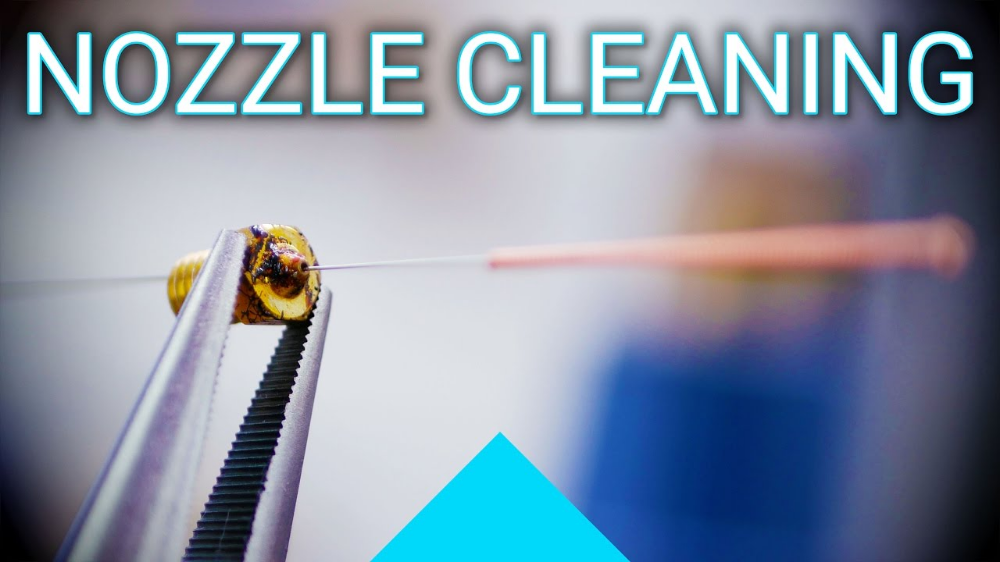 Failure to do so may also cause a clogged nozzle later on.
Poor Quality or ‘Wet’ Filament
Not all filaments are created equal. Low-quality filament is not subjected to rigorous tolerance tests. This can result in an end product that has differing widths throughout the filament strand.
Segments of the filament that have a thicker diameter will not only take longer to melt, but they will also be more difficult to extrude and may cause a clog, although admittedly this is rare.
The main cause of poor quality filament and its frequent blocking is what’s inside the resin.
Cheaper filler and unintended contaminants lurking inside the material can build up or outright clog inside the nozzle at random intervals.
Finding that your 3D printer nozzle keeps clogging? It’s likely down to poor quality filament.
There is an easy way to check the quality of extrusion consistency with the filament that you’re using. Take a pair of calipers and check the diameter of your filament at several different points.
If you’re finding significant deviation from the advertised diameter specifications, it might be time to start thinking about obtaining your filament from a different source. We recommend the top filament brands here.
In addition, if you haven’t stored your filaments in a cool, dry place away from moisture, they’ll absorb some of this water vapor over time as they’re hygroscopic. These ‘wet’ filaments are more likely to clog, and generally print worse quality prints with rougher surface finishes from the ‘bubbling’ in the filament.
You can buy filament dryers to dry your wet filament, and also take action by using filament storage, or even make yourself a DIY filament dry box.
Dust and Dirt
Despite your best efforts, dust and dirt can still become adhered to your filament and travel with it down into your hot end. Once there, they burn in the heat of the nozzle and start adhering to the inside surface of the nozzle as carbon.
When enough carbon builds up on the inside of the nozzle it can start to narrow the width of the nozzle opening, as well as begin to impede the flow of the print material.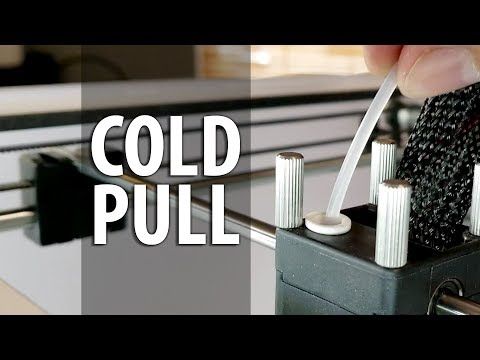
The end result can be a clog. We’ll discuss a fix for this problem in the next section.
How to Unblock a Fully Clogged Print Nozzle
When you’ve got a completely clogged print nozzle there are a number of 3D printer nozzle cleaning techniques that you can use to get it unclogged depending on the material that’s causing the problem.
The first way that we always recommend for partially blocked nozzles is to use cleaning filament regularly – however, that won’t unblock a fully clogged nozzle.
Let’s take a look at some of these other methods for how to clean a clogged 3D printer nozzle.
If you’ve only got a partial blockage or slight under extruding though, there is a much easier way. Keep reading to learn more.
The Atomic or Cold Pull Method
This is a technique that works great if you have a build-up of carbon or carbonized material in your nozzle that’s causing the clog. It also works well if your clog was caused by the switch from a high temperature to a lower temperature printing material.
You can check out the specifics of how to use this method by taking a look at our article on under extrusion problems that can be found here.
But generally, if you heat the hotend to 250-260°C, it will dislodge any stuck materials. Then, allow it to cool, and heat up again to around 115°C+ and manually push the filament through the nozzle at it heats up to thoroughly dislodge any stuck material.
Although we find the 3D printer cold pull method to be effective, it’s very brutal and time-consuming on your machine. Read on to learn about our preventative measures and using 3D printer nozzle cleaner.
Guitar Strings and Acupuncture Needles
Be careful, and try to use a needle the same size as your nozzle, or just under. For example, a 0.35mm or 0.4mm needle will work perfectly in a 0.4mm nozzle, but don’t use a 0.45mm in a 0.4mm nozzle – it’ll never fit.Another method to break out a clog is to essentially break through it using anything strong and narrow. A surgical or acupuncture needle or a B or high E steel guitar string all make excellent routers.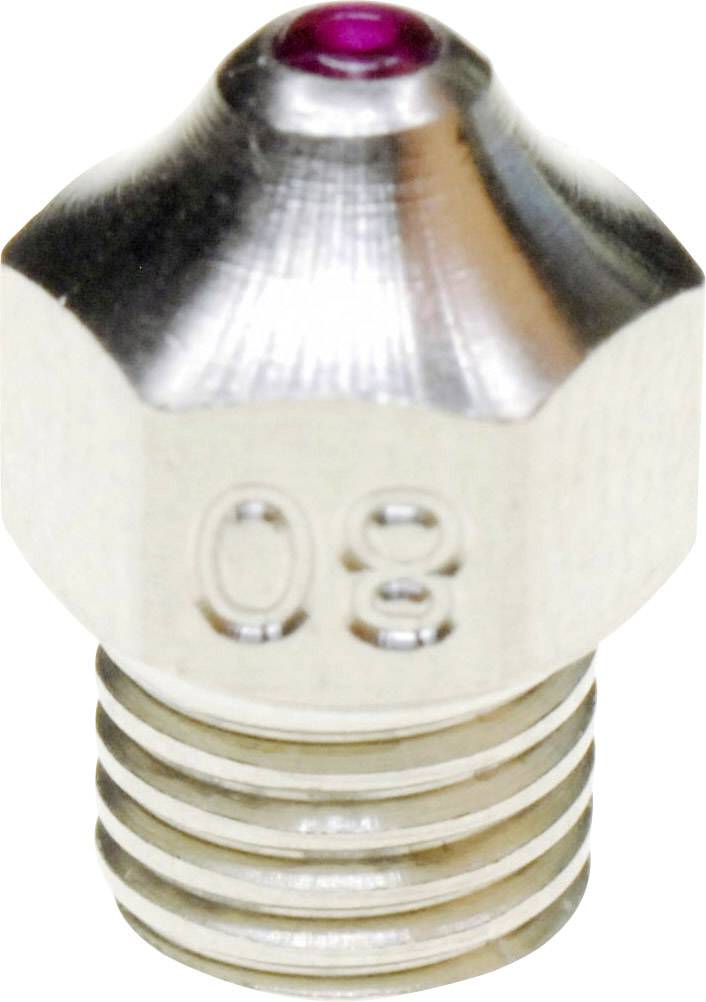
Our favorite nozzle cleaning tool is a hypodermic needle – you can pick them up quite cheaply online. It goes without saying to just be really careful using them.
Simply heat your hot end up to the printing temperature of the material that’s involved in the clog.
Using a pair of pliers, carefully insert the needle or guitar string into the nozzle opening and move it back and forth, essentially breaking through and removing the clogged material.
The Solvent Method
If the material that is causing the clog is somewhat easily soluble then removing the nozzle and soaking it in the solvent in question can provide a solution to really tough clogs.
Every FDM printer has a slightly different technique that’s involved when removing a printer nozzle.
Take a look at your owner’s manual for the specific methods that apply to your printer. Once the nozzle is removed, place it in a container filled with the appropriate solvent.
For example, if you’re trying to dissolve a clog caused by ABS, you’d place the nozzle in a glass container filled with acetone.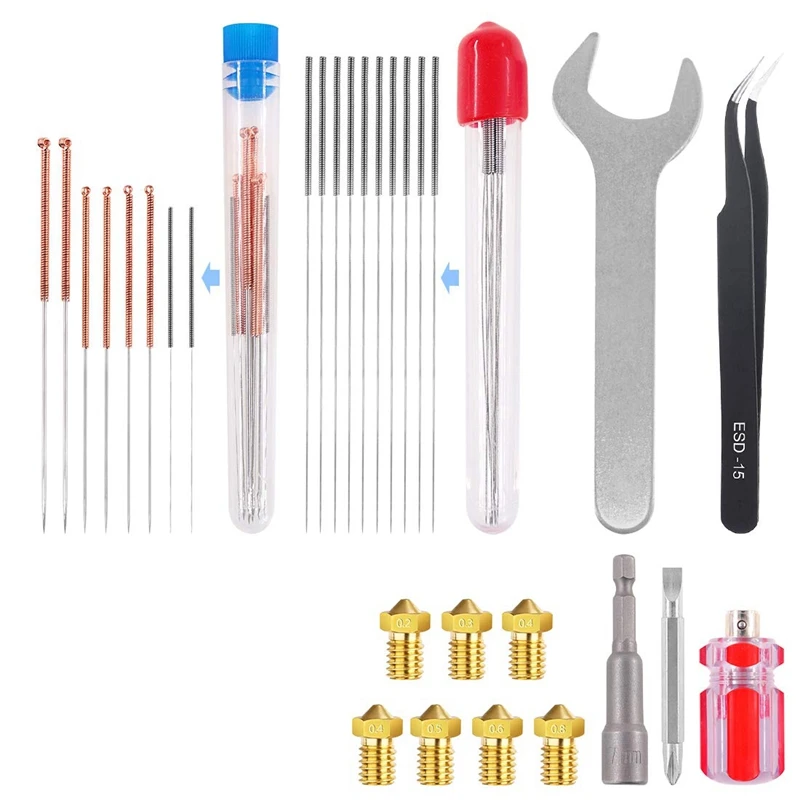 Leave the nozzle in the solvent for 24 hours, agitating it every few hours.
After 24 hours is up, remove the nozzle from the solvent and using a steel guitar string or needle remove as much of the plastic clog as possible. If necessary, repeat the solvent bath for another 24 hours and again attempt to unblock the clog.
It’s sometimes the sad truth that if this is your last resort and has still not worked on your extruder nozzles, you may need to dispose of the nozzle and get a new one.
Sometimes if all else fails, you may just need to buy a new nozzle – which although is a little more expensive if you have a solid blockage and you’ve tried the above steps, it could be your only option.
Brushing
Learning how to clean a 3D printer nozzle can be just as simple as learning to brush your teeth.
If you have a durable nozzle, a simple wire brush is the most effective way to ensure your extruder is free for miscellaneous material or debris that can lead to increased pressure and troublesome clogs.
Like using a paperclip, by thoroughly scrubbing in all directions with a wire brush, extra parts will become dislodged from the heat-end and prevent further buildup, similar to decalcifying a faucet.
Using a softer brush will yield less effective results, but is recommended for weaker nozzles that could become damaged by high-friction scrubbing.
How To Prevent Nozzle Clogs From Happening: Cleaning Your Nozzle
One of the best ways for cleaning an extruder nozzle is to never have a clog happen in the first place. As we discussed, proper printer settings and high-quality filament can go a long way to preventing clogs from happening.
Sometimes you can’t prevent a long-term build-up of particles, dust, and over-cooked filament residue lurking in your nozzle, ready to block it at any moment.
That’s when you need an effective 3D printer nozzle cleaner.
The most effective of which is to regularly use a good quality cleaning filament to remove any remaining plastic and contaminants that might remain in the nozzle between print jobs.
Using good quality 3D printer cleaning filament will actually strip out all but completely blocked nozzles. Ours is completely non-abrasive too, so there’s no detriment to your nozzle.
Cleaning filaments operate at a wide range of temperatures. The purging compound in the filament sticks to contaminants and mechanically removes them when the cleaning filament itself is extruded through the hot end.
It’s an easy way to maintain your printer, allowing you to avoid nozzle clogs that can delay your ability to print the objects that you need.
To find out more about cleaning filaments, we recommend you read this article.
Related articles:
- 3D printer nozzle size – pros and cons and comparison
- The complete 3D printer extruder buyer’s guide
- The best 3D printer hot ends
How to clear a clogged extruder nozzle
A clogged extruder nozzle is a problem that inevitably needs to be addressed immediately, and this article will help you diagnose it correctly, as well as solve it in the simplest and easiest way.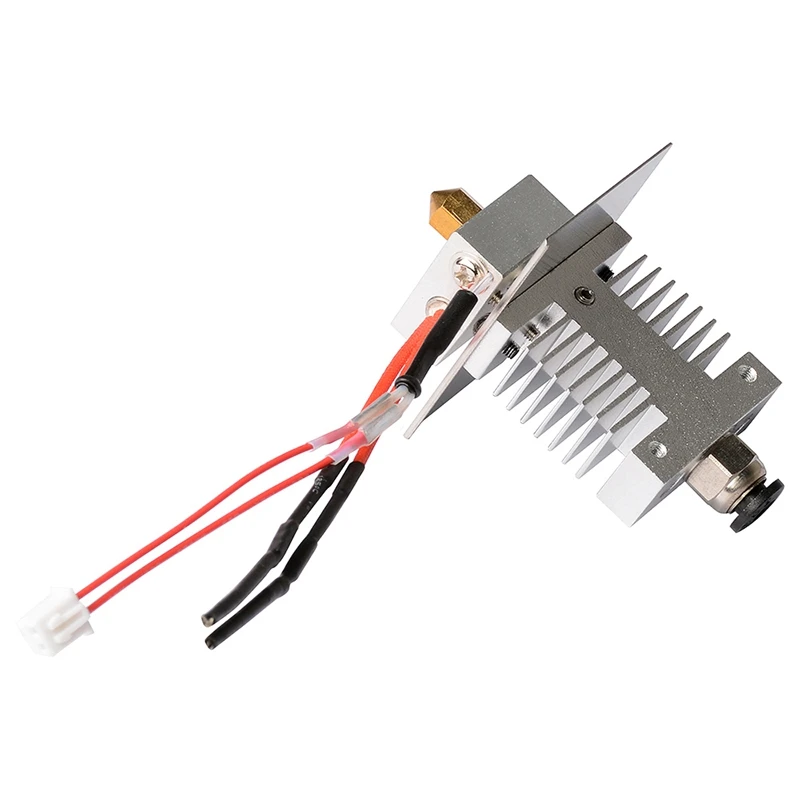
Drill set for cleaning the extruder nozzle in case of blockages.
Unlike many other problems that arise during 3D printing, nozzle clogging negatively affects not only the quality of the print result, but, more often than not, the ability to print at all. Let's take a look at the main causes of a clogged extruder nozzle, and how you can quickly and easily fix this situation.
- 1 Causes of clogging
- 1.1 Extruder temperature too high
- 1.2 Dust and debris caught in the extruder nozzle
- 2 Step-by-step solution to this problem
- 3 Comments of experts (Mikhail Shchekochikhin)
Causes of clogging
Excessive extruder temperature
When using PLA plastic, the optimal extrusion temperature can be from 160 to 220 degrees Celsius. Trying to print at too low a temperature will most likely result in no extrusion at all, but the reverse can become more problematic. In fact, if you are trying to print at too high a temperature for a given material, your filament may simply vitrify right in the extruder and thus clog it.
Vitrify - turn into a glass or vitreous substance, especially when exposed to high temperatures
Vitrification is a process that causes PLA or other plastics to become extremely hard and clog the nozzle.
The same is true for ABS, nylon, PVA and other plastics.
Dust and debris caught in the extruder nozzle
This often happens after a few jobs, as dust and other debris gets into the nozzle along with the filament. Accumulating, they begin to clog the extruder nozzle. This debris can stick to the inside walls of your extruder and obstruct the flow of plastic, eventually clogging the nozzle.
Step-by-step solution to this problem
Cleaning the nozzle with a fine drill.
This problem is fairly easy to solve, but requires the right tools.
You will need a small <0.35mm drill bit or something else that can serve as a drill but is thin enough to fit into your extruder hole.
It is very convenient to use a 0.33mm thick guitar string for this purpose, which can be easily found in any musical instrument store.
Another alternative is to use resistor or LED legs, as they are thin enough to fit through the hole in the extruder nozzle.
- Remove any remaining filament from the extruder.
- Heat the extruder to the optimum temperature for the material.
- Insert a small drill bit into the nozzle hole and clean it of debris by turning the bit slightly (be careful not to break it!).
Now you can print again!
Comments of specialists (Mikhail Shchekochikhin)
The advice is necessary, but technologically incorrect.
The procedure is as follows:
- stop extruder
- clean the heated nozzle, preferably with a special drill
- start the extruder so that the melt flushes the nozzle
- repeat this several times.
 Can even on the go extruder
 - as a result, the nozzle opening will be cleaned and flushed
If you act as indicated in the article, then you can push the carbon plug into the depth of the extruder, and after starting the extruder, it will clog it again.
Go to the main page of the 3D Printing Encyclopedia
Techno Print 3D Company
This is our first review of the most popular and inexpensive 3D printers for 2020. The list will include the best-selling devices in two price ranges (up to 30 tr and up to 60 tr). Printers working with both plastic filament (FDM) and photopolymers (LCD/DLP) will be presented. This list will always be up to date, as it is periodically updated and supplemented. Read more→
The Chinese company Dazz3D announces the launch of the project on KickStarter and accepts pre-orders for Dazz3D Basic and Dazz3D Pro 3D printers. These revolutionary new devices are aimed at both the professional and amateur markets. Read more→
We all know that precise calibration of the 3D printer desktop is the foundation and the key to successful printing on any FDM printer. In this article we will talk about the main and most popular ways to level the "bed". So, as mentioned above, 3D printing without desktop calibration is impossible. We face this process Read more→
It's hard to go through a day today without hearing about 3D printing technology, which is bursting into our lives at an incredible speed. More and more people around the world are becoming addicted to 3D printing technology as it becomes more accessible and cheaper every day. Now almost anyone can afford to buy a 3D printer, and with the help of Read more→
The FormLabs Form 2 and Ultimaker 3 are perhaps the most popular 3D printers today, capable of high quality printing with incredible surface detail. Moreover, these two devices use completely different technologies, and therefore, there are a lot of differences between them.