David 3d scanner starter kit
DAVID 3D Scanner Starter Kit Review
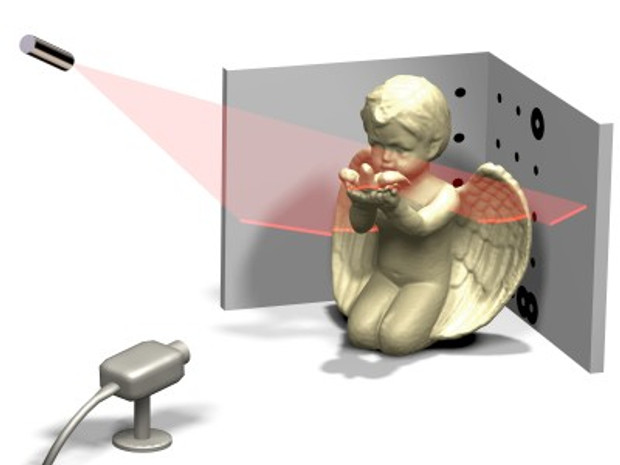
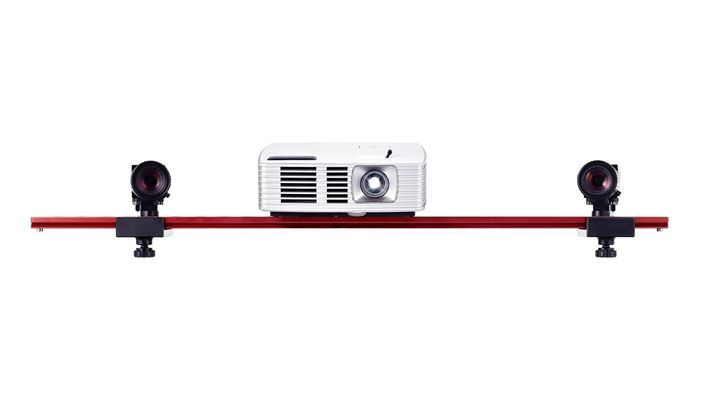
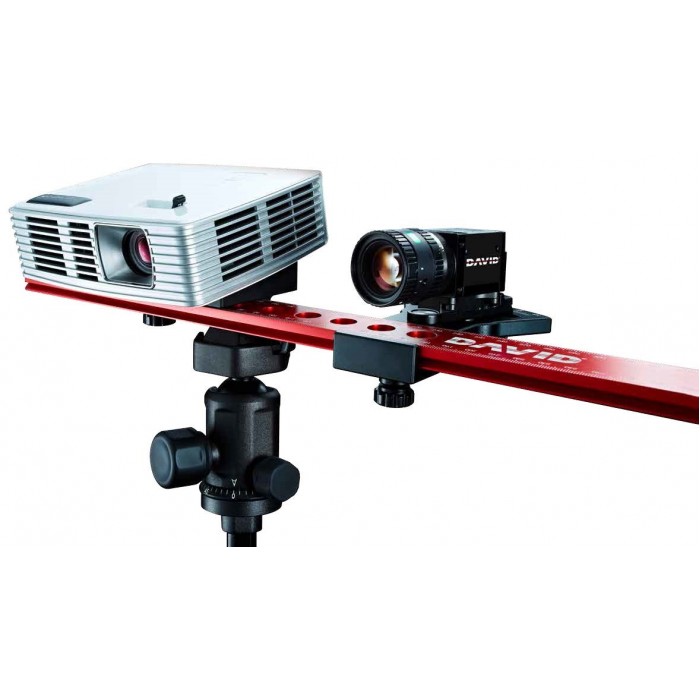
The DAVID 3D scanner is do-it-yourself 3d scanning kit. It uses a line-laser, a webcam and the DAVID software to ‘read’ the depth information of a scene. Once you’ve made multiple scans of an object, it can stitch them together to get a to get a full 360 degree scan.
The cool thing is that you can use the basic DAVID scanning software for free (albeit limited in resolution). The stitching software (‘Shape Fusion’), though, is commercial and is included in the professional version of the software which starts at € 199,-. So if you have a decent webcam and a line-laser (which you can buy starting at € 19,- in the DAVID shop), you can start experimenting with 3D scanning on a *really* tight budget.
- I was curious to see how well this worked and if the scanned models would work with Shapeways, and requested a DAVID starter kit for review. This kit sells for €399 on their website, and contains everything you need to scan and stitch your objects:
- Several calibration panels (for different scan sizes).
- A red line laser, battery operated with adjustable focus.
- QuickCam Pro9000 1600×1200 webcam including a stand.
- A USB Stick with software.
- An extensive manual.
- Monkey not included 😉
Getting started
Installation was easy enough if you follow the manual step by step. The main things to do are to install the webcam drivers, and install .NET 2.0 if you haven’t already. The software itself runs off the USB key (which functions as copy protection) and requires no installation.
The manual I received was in German by the way but I’m sure that was just a mistake. I *was* a bit disappointed though that only after my tests I found out about their excellent on-line manual that contains much better information than the printed version! (You’ll find the link at the end of this article).
Mac users
I immediately ran into a snag: the DAVID software is Windows-only and I’m a Mac user. Fortunately I can run Windows under VMWare Fusion which did a great job in recognizing the webcam and USB key.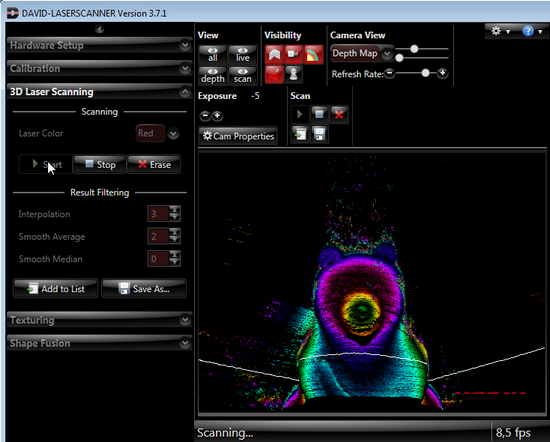 The performance was acceptable on a MacBook Pro, although my system wasn’t powerful enough to use the camera at the highest resolution of 1600×1200 pixels at a reasonable speed. Therefore, the resolution of my scan is probably not the optimal result that you can achieve with DAVID.
Calibrating the system
Before you can start scanning, you’ll have to teach the software about the environment you’re using. This is easy as it’s all done automatically during the ‘calibration’ process. First choose the correct calibration panel; there are three panels for different scan sizes. Use the one that matches the size of the object you want to scan.
Now start the calibration and everything will be taken care of. I did find that during my initial tests the system had trouble to calibrate correctly, but the manual explained how to fix this using some manual corrections on the calibration image.
The system now knows all it needs to know about the lens and the setup to create ‘absolute scale’ models.
After the software is calibrated, do not touch the camera or calibration panels anymore! If you do, you’ll have to start all over.
Tip: If you don’t have calibration panels, you can make them yourself!
Running the scan
Scanning is easy but time consuming: you ‘brush’ over your object with the laser line. At the same time you see the contour lines appear on the screen, and you can keep going until you feel that you’ve scanned in enough points to get an accurate render of your object.
Once you’re happy with the result you save the scan, rotate the object by 45 or 90 degrees and repeat.
I found that creating a good scan takes about 5 minutes per step – I’m guessing that on a faster computer this might be a bit less as it would be easier to accurately scan small details.
Stitching the scans
During the stitching phase you align the separate 3D scans. Again, the software is quite clever. Most of the time, you’ll only need to select two scans and watch the software move them about until they match (this is a lot of fun to watch, actually!).
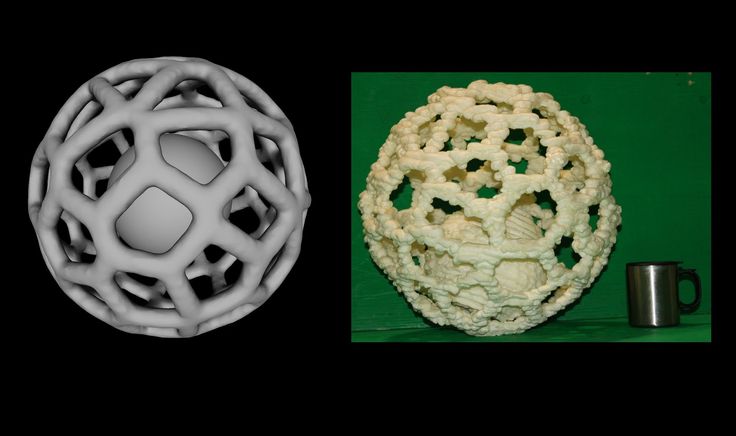
After alignment, the object still looks messy: it has some outliers and holes in them. This is where the ‘Fuse’ step comes in: it’ll smooth the surface of your object and close all the hole in the surface. And here’s where the REALLY good news comes in: *Fuse creates watertight or manifold objects!* Yes, you can upload these models straight to Shapeways! Awesomeness.
You can download the resulting model here.
Conclusion
I love it! There you have it. And I’ve seriously considered NOT to return my review unit to DAVID 😉
Having said that: don’t expect a magic wand: scanning your object takes serious time and effort. You’ll be spending a LOT of time in a dark room tweaking the settings and laboriously sweeping a laser-beam over your objects. After a while it’ll get easier though and you’ll get a feeling for how to set everything up. The scanner won’t be able to scan every object to throw at it: highly reflective or transparent objects are difficult, but you can solve that by spraypainting or powdering them.
I also found the software a bit on the technical side and not as user-friendly as it could be. It gets the job done rather well though, so this is not too much of an issue.
Did I feel that the DAVID Starter Kit is good value for money?
Receiving all the required equipment is very convenient (especially for busy people like me), and I especially appreciated the ready-to-use calibration panels. If you want to save yourself some money you can print these out yourself though and buy a cheap webcam and focusing line laser on the web – that would probably shave off about € 100,- of the total kit price.
The scanned result was impressive enough and I’m sure it could be further improved with more practice and a computer that could actually use the high resolution of the webcam.
Count in Shape Fusion’s ability to generate ready-to-print models for Shapeways and I’d say this is a definitive must-have for designers who are into 3D printing.
Related links
- DAVID Website
- Downloads
- Manual
- User Galleries
- Professional licenses
- Starter Kit
- Shop (for lasers etc)
3D Scanning Blog - Growshapes 3D Scanner Store
| 12/1/2014 0 Comments
THe DAVID TURNTABLE (DAvid-tt-1)DAVID Vision 3D scanner users can now create an even more perfect 360 degree, watertight 3D model with the new Turn Table produced by DAVID Vision! This new DAVID Turn Table will assist users in achieving optimal results: 1. Growshapes will be taking pre-orders soon, so watch this space! Show case: Scanning faces!Look at these impressive results obtained after DAVID Vision scanned the face of a professional model. The detail is amazing and precision is clearly visible. From left to right: 4 scans aligned, the 4 scans fused, the final textured result. growshapes is a us based reseller of david visionDAVID VISION SLS 2 is the best-selling structured light precision 3D scanner on Amazon US. Purchase this amazing product at an incredible price for structured light scanning directly from growshapes from the below links.
0 Comments | growshapesProvider of leading edge 3D scanning products and services. We see 3D! Archives October 2022 Categories All RSS Feed |
Range Vision Spectrum
Range Vision Spectrum You have disabled JavaScript. It scares.
 Partners
-
Scanner for consistently high resolution and accuracy
-
Best price for semi-professional solution
-
No analogues on the Russian market
-
Universal 3D Scanner - for miniature parts, medium and large objects
nine0005
Our bestseller in the Russian Federation and in the world market
One scanner - a range of options
Choose and customize scanner options for your application
Sign up for a free online demo!
Get a unique opportunity to test the RangeVision Spectrum 3D scanner online before choosing. Convince yourself of its capabilities!
Versatile with stable scanning accuracy
3 scanning modes
For convenient work with different types of objects
Choose the right mode for your tasks
-
Scanning on a turntable
Quickly and easily scan an object mounted on a turntable platform with the push of a button.
 When the object is rotated, the fragments of the model are aligned automatically.
 Read more
nine0005 -
Basic Scan
Used to scan objects that cannot be digitized in other ways, such as museum exhibits. The fragments of the model obtained from different angles are combined according to the features of the object surface geometry. nine0003
Read more
Scanning with markers
Automatic alignment of model fragments by markers applied to the surface of the object. Used to improve scanning accuracy. External photogrammetry systems are supported.
Read more
Scanning objects from 1 cm to 3 m
- Small size
- The average size
- Big size nine0008
Applications
Recommended for educational programs and institutions
Order Spectrum Educational
Spectrum scanner that is easy to use
10 questions before buying a 3D scanner
3D model examples
-
Automotive manifold View on site nine0003
-
lighter View on site
-
Dragon View on site
-
Lion figurine View on site nine0003
-
Pedal View on site
-
Sculpture of a deer View on site
-
Skull ring View on site nine0003
-
Tiled View on site
-
badge View on site
-
Inkwell View on site nine0003
-
Bas-relief View on site
-
Bust View on site
-
Helmet View on site
nine0008 -
Turtle figurine View on site
-
Wooden baluster View on site
-
Collectible figurine View on site nine0003
-
Glue gun body View on site
Specifications
| Scan technology | structured illumination nine0003 | ||
| Projector Resolution | 1280 x 800 | ||
| Scan area, mm | 540x400x400 | 320x220x220 | 135x100x100 |
| Working distance, m | 0. | 0.56 | 0.26 |
| Error, µm | 120 nine0188 | 60 | 40 |
| 3D resolution, mm | 0.25 | 0.15 | 0.06 |
| Ability to capture texture nine0003 | eat | ||
| Camera resolution | 3.1 MP | ||
| Model stitching | by markers, by geometry | ||
| Received formats nine0003 | OBJ, PLY, STL, PTX, ASCII | ||
| Scanner Power | 100-230V | ||
| Minimum PC Requirements | Intel Core i5 6500 or better, 8 GB RAM | nine0193 ||
| Connection interface | HDMI, 2 x USB 2. USB 2.0 for desk | ||
| Supported OS | Windows 8.1/10/11 64bit | ||
| Rotary table nine0003 | eat | ||
| Table platform diameter | 20 cm | ||
| Maximum table load | 20 kg | ||
| Table food nine0003 | 220V - 12V/1A | ||
| Dimensions of the scanner in the case | 530x430x200 | ||
| Scanner weight | 1.65 kg | ||
| Weight of the scanner in the case nine0003 | 8.5 kg | ||
| Certificates | EAC, CE | ||
| Guarantee | 1 year | ||
Note: Product appearance may differ from website photos. nine0003
We are trusted
User Testimonials
David Wohanka
EngineerAfter reviewing the various offerings on the market for reverse engineering and prototyping, we chose Spectrum. We really liked the ability to work with markers and changeable scan zones. We can use Spectrum to scan various objects, including those with complex geometry. Perhaps we can agree that the Spectrum is three scanners in one. nine0003
Lukasz Mlynar
Project Manager We specialize in creating visualizations. The Spectrum was perfect for these purposes: the resolution, the accuracy, the ability to scan in color - all perfectly matched our needs. And the equipment made it possible to use it both in the office and on field work (we often cooperate with museums and it is much easier to scan on their territory than to transport exhibits to our office). We really liked that the scanner comes with everything you need to work in different modes - it saved our budget a lot. nine0003
Articles and reviews
Creating a Brain Cutting Template Using a 3D Scanner and a 3D Printer
UMATEX Rosatom uses RangeVision 3D scanner to create a sports body kit for Kawasaki Puccetti Racing motorcycle
How to Solve Shelby Cobra Body Geometry Problems with RangeVision Spectrum 9 3D Scanner0046
RangeVision Spectrum:
Temperature Compensation AlgorithmRangeVision Spectrum 3D Scanner:
promo video
Any questions?
↑Thank you for your question!
Our manager will contact you shortly
Thank you for your application!
Our manager will contact you shortly
This site uses cookies. By clicking ACCEPT or by continuing to browse the site, you consent to their use. More.
Shining 3D
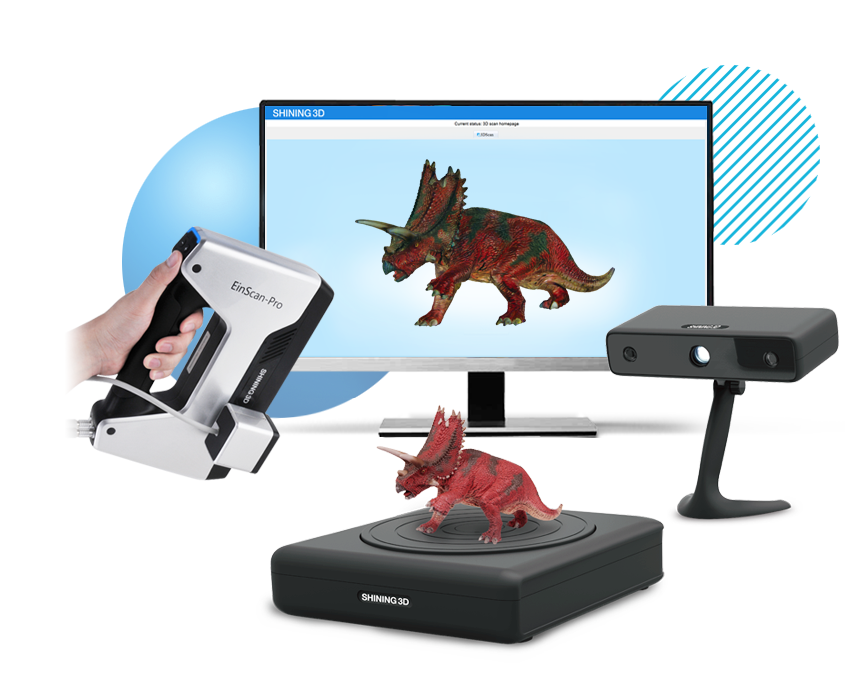
Budget Handheld 3D Scanner review In this article, we'll take a look at the capabilities and key features of the Shining 3D Einstar portable scanner, which has been specially designed to make the 3D scanning process as simple and affordable as possible. Due to its small size and ergonomics, the device allows you to quickly obtain detailed digital 3D objects in full color or monochrome modes, due to which it is used in many fields of activity. nine0003
Let's take a closer look at the characteristics and features of the Einstar 3D scanner, its capabilities and applications.
Contents:
About the Developers
Shining 3D Handheld Compact Scanner Einstar is a product of SHINING 3D, which has been developing digital 3D modeling since 2004. For more than 18 years, the company has been perfecting 3D printing and digitization technologies, using research results to produce state-of-the-art high-precision 3D printers and scanners. nine0003
Improving 3D scanning and printing technology is a key area of SHINING 3D's work, due to which the devices manufactured by the company enjoy well-deserved popularity. SHINING 3D developments are in demand among professionals who use the company's products to obtain high-precision detailed digital models in a wide variety of fields, including education and the arts.
Delivery set
Einstar 3D scanner basic package includes:
- Shining 3D Einstar portable device itself, complete with Exstar software;
- lightweight bag for easy transport;
- silicone protective cover;
- instruction manual;
- set of markers for precise positioning;
- lens cleaning cloth;
- transport strap;
- USB data and power cable;
- power supply.
Description Shining 3D Einstar
Compact handheld 3D scanner powered by VCSEL structured IR light sources that are completely safe under normal operating conditions as certified as a Class 1 laser product.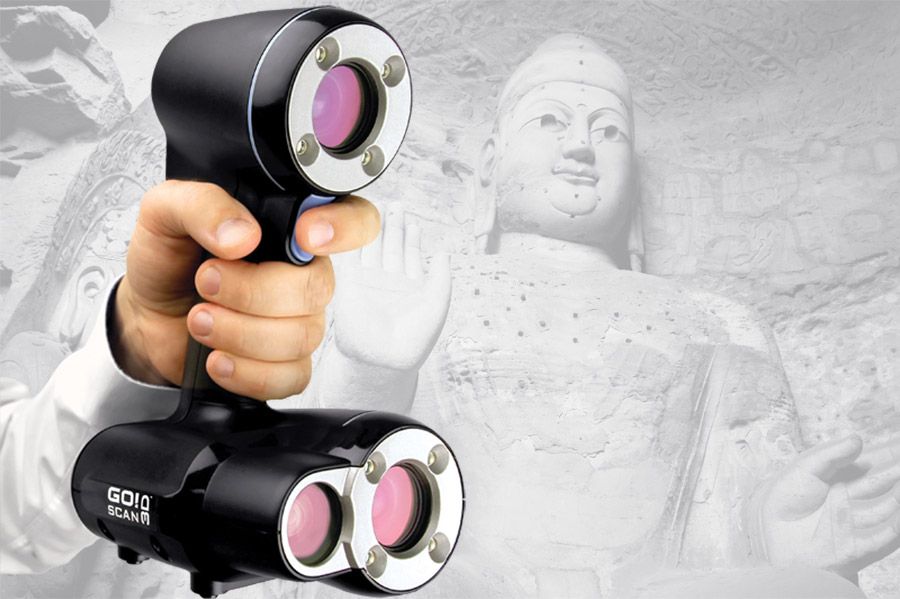 . The device can be used not only indoors, but also outside. There are various alignment functions - by global markers when digitizing objects, as well as hybrid, texture, etc.
Main features of the scanner:
EINSTAR 3D Scanner SHINING 3D
- Weight, kg 0.5
- OS Windows 10/11 64-bit nine0008
- Dimensions with packaging case: 245x245x90 mm
- File formats OBJ, STL, PLY, ASC, 3MF, P3
- Dimensions, mm 220x46x55
- FOV 434 mm x 379 mm
- alignment Texture; Function; Hybrid alignment; Global Markers
- Interfaces USB 2.
 0 or higher
 - Light source Infrared Structured Light VCSEL*
- Working distance Effective: 160mm ~ 1400mm; Optimal: 400 mm
- Distance to point 0.1mm ~ 3mm
- Scan speed up to 14 fps
- Color scanning Yes
- Required computer CPU: Intel Core i7-11800H or higher RAM: 32 GB or higher Video card: NVIDIA GTX 1060 or higher Video memory: 6 GB or higher nine0008
Go to product
A computer with the following configuration is recommended to use the scanner:
- Intel Core i7 processor or equivalent;
- at least 32 GB of RAM;
- GeForce GTX 1060 series graphics card or equivalent;
- 6 GB video memory;
- Windows 10 or 11 (64-bit).

Features of
Features of Shining 3D Einstar include:
- three sources of structured IR light VCSEL;
- a stereo pair with two cameras to obtain models with a better capture of depth, volume;
- light weight and dimensions, which facilitates the transportation and digitization of objects in confined spaces;
- ergonomic shape for ease of use;
- Capturing color information using an RGB camera;
- USB cable transfers data and powers the device. nine0008
These features make it possible to obtain high-quality digital 3D models not only in the studio, but also in natural light, such as street lighting.
Advantages of the Einstar scanner
Data accuracy
EXStar software allows you to quickly process point cloud data (with a distance of up to 0.1 mm from each other).
Excellent color reproduction
The device's full-color RGB camera carefully collects and transmits color information to form color-accurate 3D objects. nine0003
High level of detail
The device uses a special technology to improve detail and optimize point clouds to obtain the most accurate and complete data, which allows you to achieve excellent quality 3D scans.
Easy and convenient scanning
The device allows you to:
- scan at up to 14 fps;
- use intelligent performance control and intelligent scanning algorithm; nine0008
- Achieve excellent quality digital 3D models using the auto alignment algorithm.
In addition, Einstar has:
- compact size and ergonomic design;
- USB cable used to power the device and transfer data;
- Intuitive and easy to install software for easy scanning and post-processing of a digital model.
Safety
The VCSEL structured IR light sources used in the Einstar 3D Scanner are certified as a Category 1 laser product, which ensures that they are safe for the eyes of the operator, model, and bystanders during normal use of the device. nine0003
Portrait Mode
The built-in Hair Mode portrait mode and the eye safety of the device allow it to be used for highly efficient and convenient digital face and head modeling. Thus, the most accurate data is transmitted to the user.
Application examples
Let's look at the possible applications of Shining 3D Einstar and examples of the obtained 3D scans.
Device applications
The capabilities of the Einstar 3D scanner, such as obtaining models of different formats, as well as compatibility with 3D printers and design software, allow it to be used in a wide variety of areas, for example:
- obtaining digitized objects for 3D printing;
- archiving of digital 3D models;
- educational use;
- obtaining copies of works of art, use in the field of culture, in museum work;
- for virtual reality design; nine0008
- obtaining models for augmented reality.
VR human model
Artist Will Huff runs his own robotics company, Robomotics, and also works in the film industry. Both areas of his activity are associated with the need to obtain digital 3D models.
One of the clearest examples of obtaining 3D digital copies is 3D scanning of a person. Such a model can be used to design a 3D avatar and use it in virtual reality, with the ability to control, program to perform certain actions, etc.
At the first stage, the head was scanned, then a 3D copy of the torso was taken, after which the resulting 3D scans were imported into Zbrush to prepare them for use in Unreal Engine. Will Huff then loaded the models into UE 5 and launched the Metahuman Identity plugin, which allows you to recognize the key points of an object, such as eyes or lips.
After checking the correct correlation of the guides with the topology of the digital 3D object, it is finalized in the Metahuman Creator program. The final touches are applied, the model acquires individual characteristics: a hairstyle is created, makeup and clothes are selected, gait, movements, facial expression are modeled. At the final stage, the finished object is exported back to Unreal Engine for subsequent use in virtual reality. nine0003
According to Will Huff himself, the Einstar is a great addition to the SHINING 3D product line. This is a full-featured 3D scanner that is suitable for a wide range of applications and allows you to get detailed, high-precision digital models. The capabilities of the EXStar software, which allows processing groups of point clouds, also expand the functionality of the device.
Fantasy 3D Models
Artist Ken Coleman digitally designs fantasy 3D models based on 3D scans of everyday objects as well as people and various figurines. Ken is inspired by 80s fantasy, surrealist paintings and fantasy art. nine0003
Using an Einstar 3D scanner, complete with a turntable from EinScan-SE, the artist obtains models of armor and toy weapons. Ken Coleman also uses the device to scan objects specially created by hand or found somewhere, and then replenishes his digital database with them, which allows him to later use them to model fantasy scenes.
The artist says that the EinStar scanner, complete with a turntable, is enough to scan large models, such as spaceships or fantasy castles. You can also scan people to obtain digital models and their further use in the works. All 3D objects can be added to the digital database and used in development. The device is well suited for obtaining digital copies of sculptures, as well as other art objects. nine0003
Taking human scans
Content creator David Miao is well known in the fields of 3D printing and woodworking. Over the past years, he has been studying new developments and sharing his findings with the professional community.
David used digital scanning technology to obtain models of objects that are difficult to design by hand, and digitized and archived things he considered important to preserve. He developed and launched the Maker Scan Project, an open source project that allows anyone to download the 3D models available there for free and without any restrictions. nine0003
David focuses on one of the problems of 3D scanning of people - the naturalistic digitization of hair, the ability of devices to detail them and convey the natural shape. As for the Einstar scanner, according to David, the device does an excellent job of capturing hairstyles, hair and their detail.
Custom costume measuring
3D scanning and 3D printing specialist Will Ko co-founded CoKreeate and Replikeate3D, among other things he creates custom costumes and Halloween clothing using digital 3D technologies.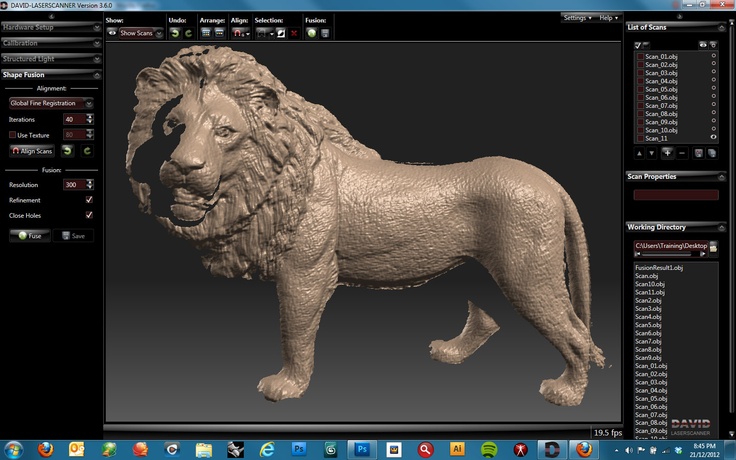


 Simply select the number of scans (e.g. 6) in the DAVID software and click "Start".
 96
96 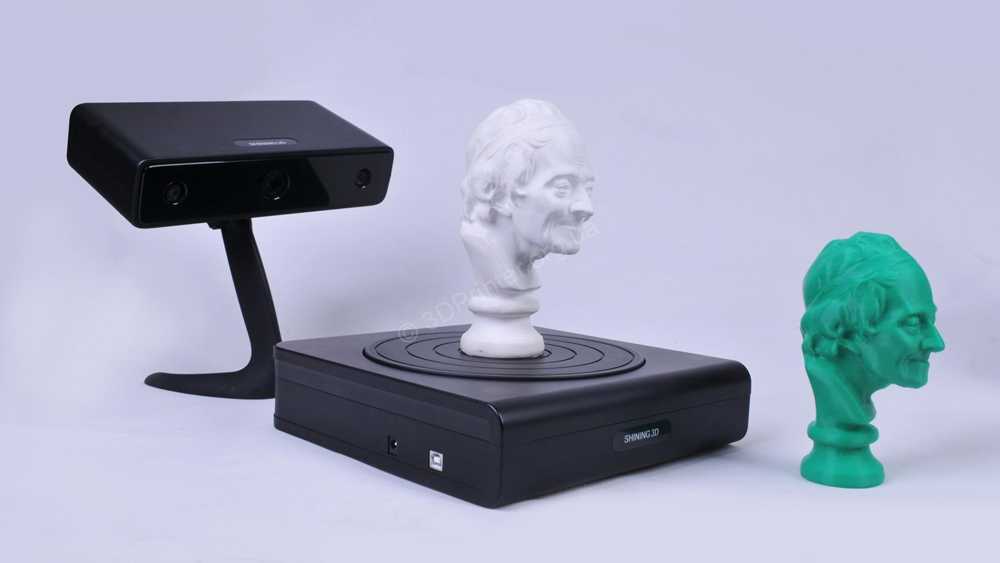 0
0 