Creator max 3d printer
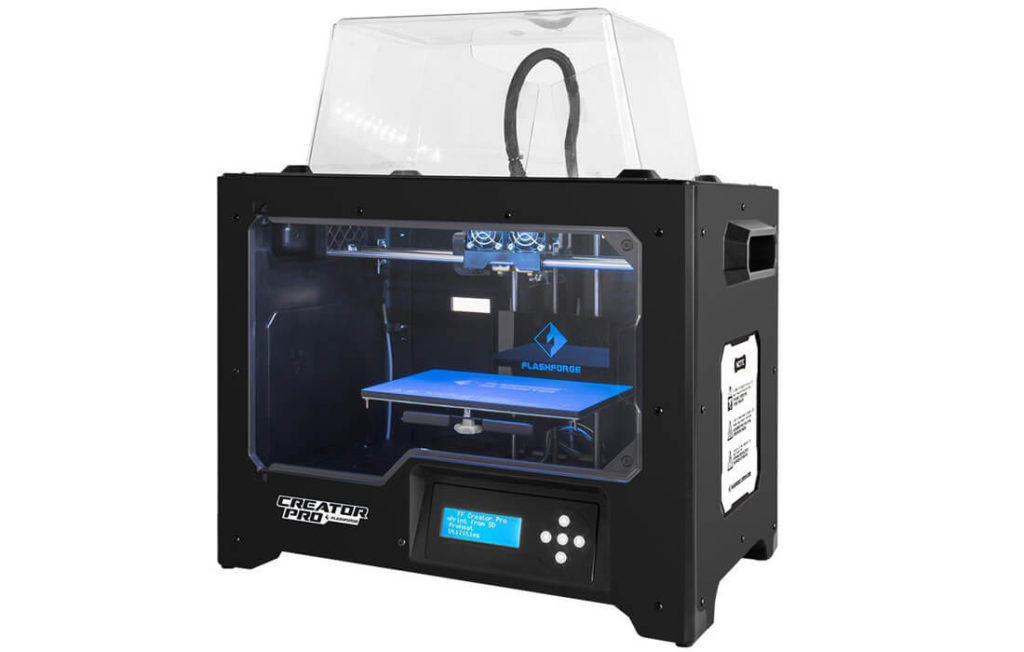
FlashForge Creator Max 2 Independent Dual Extruder 3D Printer, Open-Source, Wi-Fi Enabled, 50 Microns, Touchscreen – FlashForge USA
Skip to contentAdvanced, Reliable, and Easy-To-Use
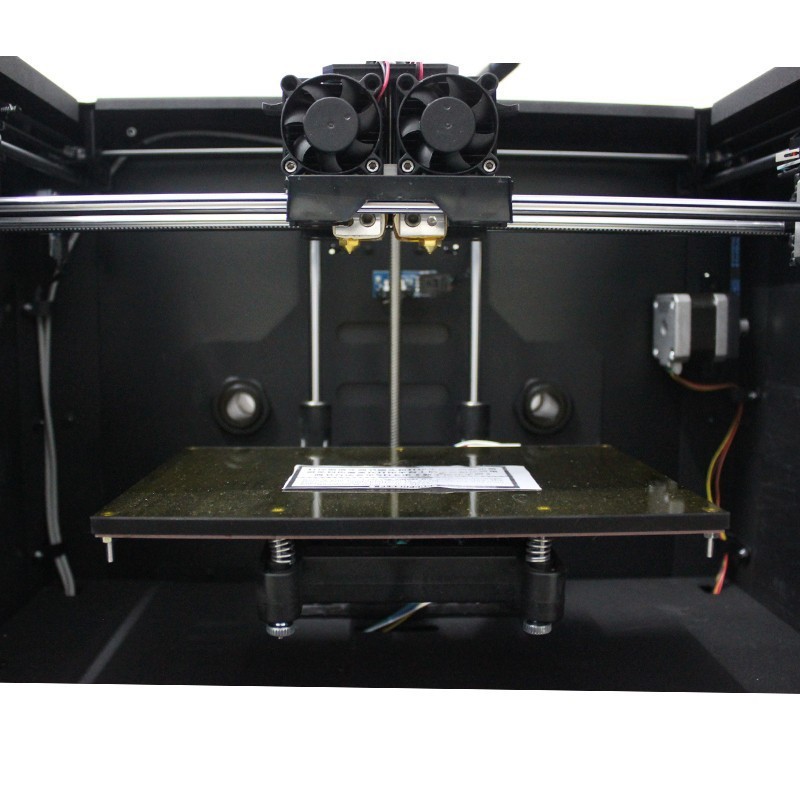
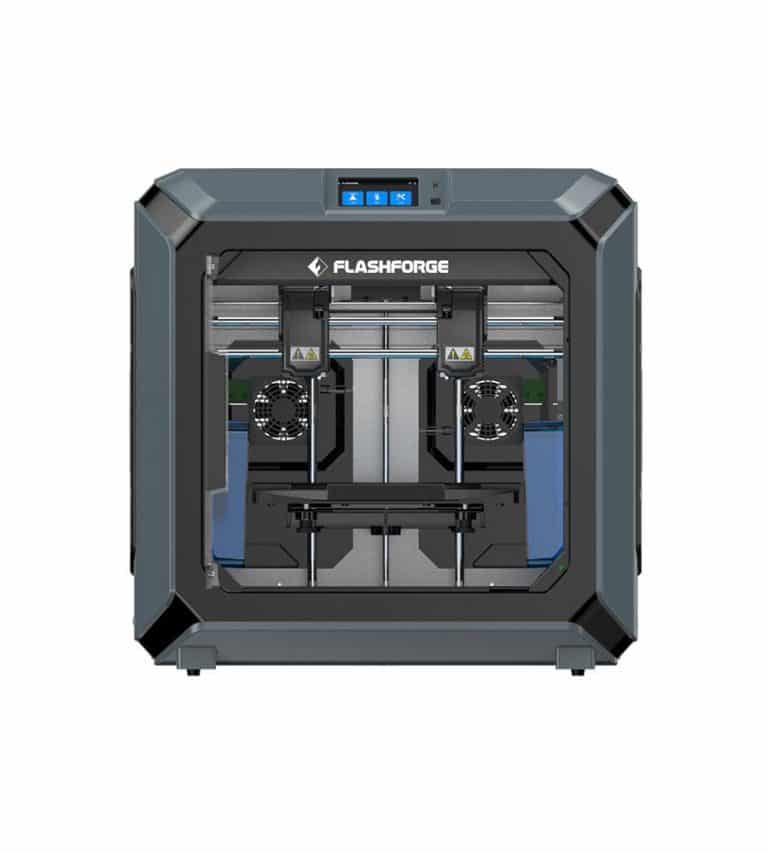
FlashForge Creator Max 2 equips with an industry leading independent dual extruder system for maximizing productivity and efficiency while a fully enclosed printing chamber provides an added printing performance.
As with all FlashForge 3D printer models, operations of Creator Max 2 are easy with a high definition IPS full-color touchscreen.
Filament Extruder Scraper
Scrape off filament residuals automatically when extruding for a perfect print.
Independent Dual Extruder
Support mirror printing mode, duplicate printing mode and soluble printing mode
Touchscreen Interface
HD IPS Full-Color Touch Screen
Metal Frame
Provides stability during printing and printing accuracy
Build Volume
200 x 148 x 150 MM (7. 9 x 5.8 x 5.9 IN)
Filament Compatibility
PLA, High Speed PLA, PLA Color Change, ABS, ABS Pro, HIPS, Elastic(TPU 95A), and PVA
Heated Build Plate
Maximum Heated Build Temperature 120°C (248°F)
Optional Flexible and Removable Build Platform
This optional flexible and removable build platform saves you time when removing prints on your Creator Max 2. You will be off to a new print job in a matter of seconds.
SPECIFICATIONS
Printing
Dual Independent Extruder
Print Technology: FFF
Maximum Printing Temperature: 240℃ (464°F)
Build Volume: 200 x 148 x 150 MM (7.9 x 5.8 x 5.9 IN)
Mirror Mode Volume: 80 x 48 x 150 MM (3.1 x 1.9 x 5.9 IN)
Duplicate Mode Volume: 95 x 148 x 150 MM (3.7 x 5.8 x 5.9 IN)
Nozzle Diameter: 0. 4 MM (0.015 IN)
Filament Diameter: 1.75 MM (0.069 IN)
Filament Compatibility: PLA, Ultra Strong PLA, PETG, PVA, ABS, ABS Pro, HIPS
Print Speed: 10-100mm/s
Maximum Build Plate Temperature: 120℃ (248°F)
Device
Printer Dimensions: 526 x 360 x 403 MM (20.7 x 14.2 x 15.9 IN)
Shipping Box: 560 x 415 x 500 MM (20.1 x 16.4 x 19.7 IN)
Screen: High Definition Touch Screen Control Interface
Net Weight: 15 KG (33 LBS)
Gross Weight: 21 KG (46.3 LBS)
Spool: External with 2 Spool Holders
Software & Connectivity
Software: FlashPrint
Input: 3MF, STL, OBJ, FPP, BMP, PNG, JPG, JPEG files
Output: GX/G files
Power: 100-240 VAC,47-63Hz
Connectivity: USB Cable, SD Card
Supports (OS): Windows and Mac OS
What's in the Box
Creator Max 2 3D Printer
Filament
Top Cover
Leveling Card
Quick Start Guide
Power Cable
USB Cable
SD Card
Spool Holder
Build Tape (6 Pcs)
Flexible Build Plate Kit
0. 4 MM Nozzle (4 Pcs)
Screw Driver
Stamping Wrench
Allen Wrench
PTFE Tube (12 Pcs)
Filament Guide Tube
Grease
Unclogging Pin Tool
Scraper
Leveling Nut
XY Calibration Tool
Glue Stick
Anti-Oozing Plate
We Recommended
Review: The FlashForge Creator Max - a robust, affordable FFF system that makes too many promises
3D Printing Industry reviews the FlashForge Creator Max 3D printer.
Designed by renowned manufacturer FlashForge, the Creator Max is a dual extrusion FFF system based on the widely successful Creator Pro. With a price tag of $879, the machine is aimed at enthusiastic hobbyists and SMEs looking for affordable multi-color, multi-material rapid prototyping.
Following the FlashForge formula, the Creator Max is characteristically sturdy. Its robust 15kg metal frame stands at 320 x 467 x 381mm, meaning it will require a sizable dedicated workspace. The modest 227 x 148 x 150mm build chamber is completely enclosed provided the optional acrylic overhead cover is used, allowing for precise temperature control.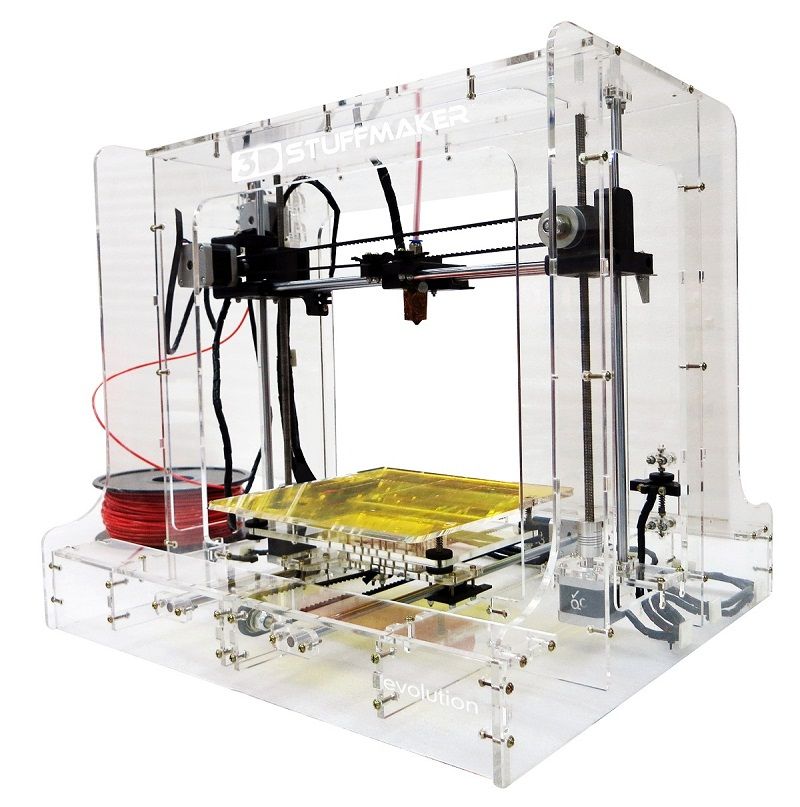 The front of the printer houses a 3.5” full-color touchscreen while the back is home to two external spool holders. Connectivity options include a USB port, an SD slot, and Wi-Fi.
FlashForge has chosen to house the dual extruders in a single printhead, meaning its print speed may be limited as a result of its weight. It works on a cartesian coordinate system, whereby the printhead moves on the X and Y axes, and the bed moves along the Z-axis. The machine has a maximum nozzle temperature of 240°C and a maximum bed temperature of 120°C, claiming it can print with filaments such as ABS, PETG, Wood, and PVA.
The FlashForge Creator Max. Photo via FlashForge.Setup and first impressions
Straight out of the box, we see the various quality of life features on the body of the Creator Max. The thoughtful inclusion of the LED strips on the interior of the build chamber enables in-the-dark printing while a set of handles on the sides of the frame make for easy carrying. The Z-axis also has a 10mm guide rod which allows for smoother bed movement.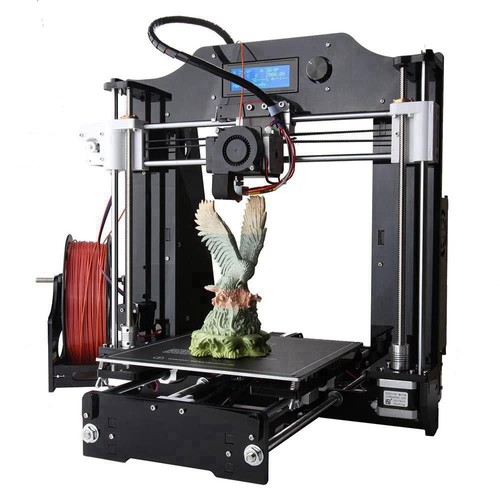
Looking at the build plate, we see a 6.5mm aluminum alloy platform which should be resistant to any deformation while providing excellent temperature distribution. It’s covered by a matte plastic sheet for better print adhesion. One thing to note is that the build platform is not removable, so a bit of elbow grease may be required when removing a not-so-cooperative print.
The bed leveling process is manual but guided by the colorful touchscreen. The Creator Max has a three-point leveling system, whereby three screws under the build plate control its height. The user is required to adjust these screws until a slight frictional force is felt when sliding a leveling card under the nozzle. While it doesn’t take a rocket scientist to level the machine, we thought it could do with a quick auto-level sequence before every print.
One thing we did notice upon closer inspection was the lack of adequate cooling on the printhead. When two nozzles are this close together, they can sometimes affect each other’s temperature profiles as they essentially act like radiators. In the case of dual material prints, this can result in oozing and blockages in the unused nozzle. On the printhead of the Creator Max, the two extruders share just one fan outlet, meaning the space under each nozzle does not have its own dedicated cooling system – a major concern given the enclosed build chamber.
FlashPrint slicing software
As with all of its 3D printers, FlashForge provides its own slicing software for use with the Creator Max: FlashPrint. Much like the FlashForge logo, FlashPrint has a distinct blue and grey color scheme which is maintained in all of its menus. The slicer has a very sleek look with minimal UI elements, leaving plenty of viewport for STL manipulation.
When it comes to functionality, the basic translation, rotation, and rescaling functions are clearly labeled and intuitive. Alongside them is the ‘extruder’ button, which allows users to select which extruder they would like to print with. When it comes time to support the model, users are given the option to choose between two geometries: linear and treelike. The supports can be auto-generated or manually added in a point-and-click manner (or both).
For users that are more familiar with slicers and 3D printing in general, FlashForge has included an expert mode. In expert mode, the full range of parameters is available, including temperatures, speeds, infill, cooling, and even the LED color. When compared to other proprietary slicers, FlashPrint stands out for its ease-of-use and comprehensive set of features – a testament to FlashForge’s experience in the FFF marketspace.
FlashPrint slicer UI. Image by 3D Printing Industry.Benchmarking the Creator Max
Promises and claims aside, it’s time to see if the Creator Max is really worth its price point. We put the machine through its paces with 3D Printing Industry’s comprehensive list of print tests, all designed to test some aspect of the system’s printing capabilities.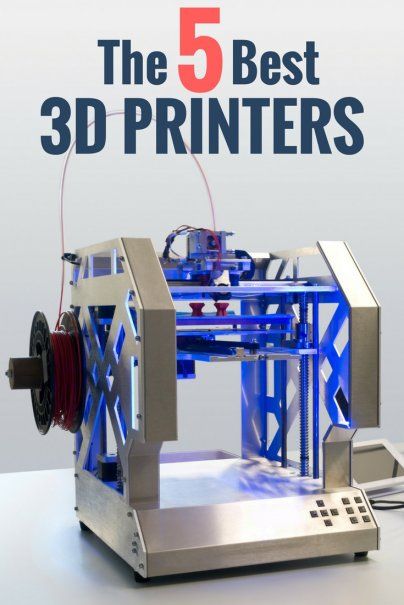
We kicked it off with the test files provided by FlashForge itself on the SD card. We figured if the machine can’t even handle the gcode optimized by the manufacturer, it would raise some major red flags regarding the quality of the system.
FlashForge’s default test models. Photo by 3D Printing Industry.Fortunately, there were no problems here. The red block was printed in PLA on the left extruder while the white block was done in ABS on the right extruder. As expected, both prints ended up virtually perfect with smooth surfaces and no artifacts – no surprises here.
We then moved onto the tower test, which tests the machine’s ability to print tall, thin structures. With this model, we stretch the tower out to the maximum Z-height the printer is able to manage (in this case, 150mm). Cartesian-based FFF systems tend to show their cracks with taller models due to the vibrations and resultant shaking caused by the stepper motors. If the printer’s frame isn’t very robust, this shaking can result in obvious layer lines towards the top of the printed part where the effects of inertia are greatest.
Unsurprisingly, the Creator Max shines in this area. FlashForge frames are generally very sturdy in nature, and this machine is no exception. It may be fairly boxy in appearance, but the full-metal body does a great job of dampening vibrations. A close inspection of the tower model reveals seamless layering and smooth walls.
Next up was the architectural test, which gives us an indication of the system’s ability to print fine details. This time, we chose to go with Helsinki Cathedral due to its abundance of windows and thin pillars, making it quite a tricky model for even the best FFF systems.
The Helsinki Cathedral test. Photo by 3D Printing Industry.The result here was actually pretty great. The edges of the cathedral didn’t suffer from delamination or warping issues, and the mid-19th century architecture held strong. The Creator Max was able to preserve the beauty of Helsinki Cathedral (even if it was in cheap PLA).
Moving on, we had the Creator Max print a differential gear system.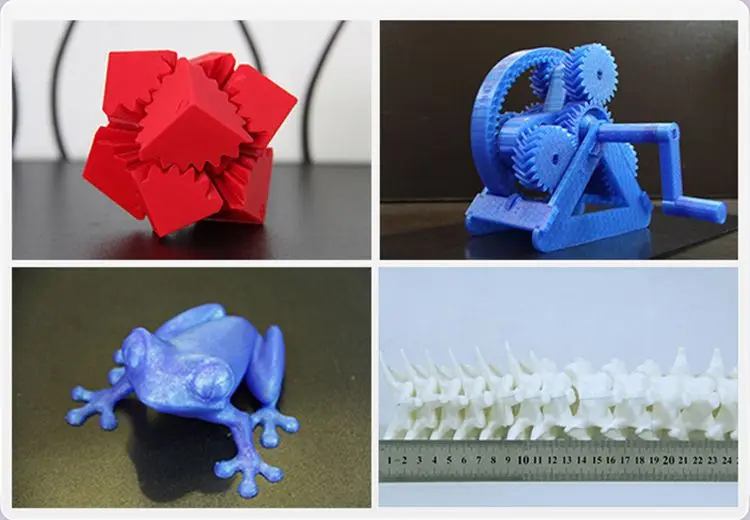 This test is perfect for determining the dimensional precision of a printer as it will only assemble easily and operate smoothly with tight tolerances.
While we did notice some defects on some of the surfaces, they weren’t so severe that we couldn’t sand them off in post-processing. We eventually ended up with a system that worked well with minimal frictional resistance. The parts are precise enough that it can be assembled with ease and used as a functional piece.
Our penultimate test on the Creator Max was with flexible TPU filament, a material that typically extrudes at 220 – 250°C.
The machine handled the flexible thermoplastic very well. Our cube had no imperfections and maintained its flexibility through the printing process. It’s able to return to its original shape despite significant deformation and crushing – a win for the Creator Max.
Finally, we come to the dual material print test, which is perhaps the most important one for any dual extrusion machine.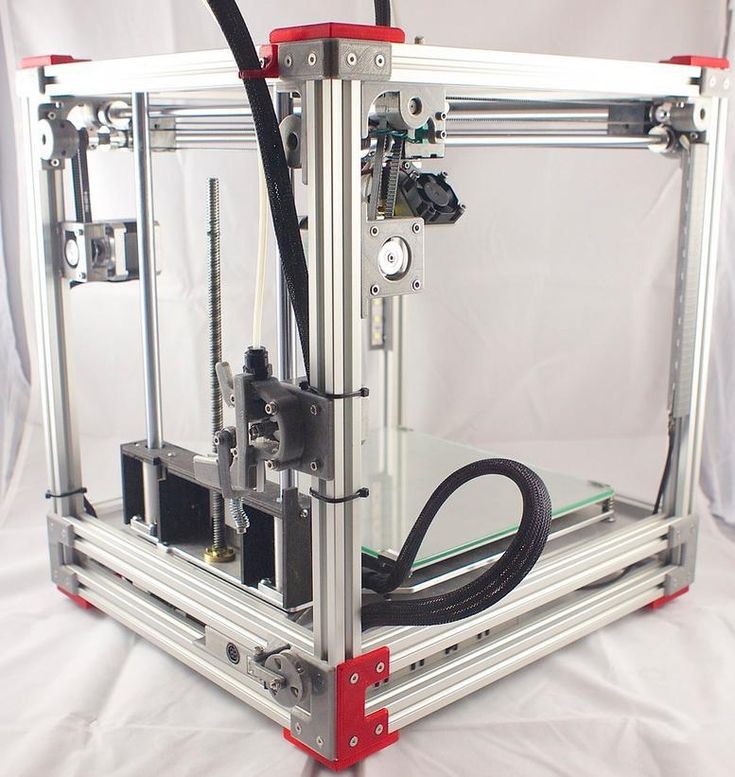 Unfortunately, our fears concerning the poor printhead cooling materialized in this case.
Every time we attempted a bi-color print, one of the nozzles clogged, ruining the print in the process. To unclog it, we were forced to disassemble the entire printhead and go in there manually with an unclogging tool. A dedicated fan outlet leading to each of the nozzles would solve this issue, so we’re unsure what exactly led to the peculiar design choice. This is a system that relies on precise temperature control, and the dual extruder setup on the Creator Max is simply not built for it.
The verdict
Playing around with the FlashForge Creator Max has been a rollercoaster ride to say the least. As per the company’s history, the body of the machine is built like a truck, and features a multitude of design considerations that make it a worthy addition to any workspace. Users are given a whole host of connectivity options (including the coveted Wi-Fi) and the company’s own FlashPrint slicer works like a charm. FlashForge has even given the Creator Max its own internal hard drive, meaning users can store gcode locally for future printing.
The machine’s print quality, at its core, is actually well worth the price point. The only caveat is that you can only use one extruder at a time due to the poorly designed cooling system housed in the printhead. Attempting to pull off dual material prints will likely result in oozing and frequent blockages, all while having to listen to the noticeably loud drivers.
At sub-$900, the machine actually does what it should. It just seems like FlashForge has attempted to pack too many features into its budget punch. The Creator Max makes more promises than it can keep, and falls short of expectations as a result.
Buy the FlashForge Creator Max here.
The 4th annual 3D Printing Industry Awards are coming up in November 2020 and we need a trophy. To be in with a chance of winning a brand new Craftbot Flow IDEX XL 3D printer, enter the MyMiniFactory trophy design competition here. We’re happy to accept submissions until the 30th of September 2020.
Subscribe to the 3D Printing Industry newsletter for the latest news in additive manufacturing. You can also stay connected by following us on Twitter and liking us on Facebook.
Looking for a career in additive manufacturing? Visit 3D Printing Jobs for a selection of roles in the industry.
Featured image shows the FlashForge Creator Max. Photo via FlashForge.
Best 3D Printer Candidate 2022 / 3D Printers, Machine Tools & Accessories / iXBT Live
If you want quality printing out of the box as well as a solid build, then Kywoo3D Tycoon Max is the one for you. This printer attracted me with interesting features at a low price. And most importantly, what attracted me is a very reliable design. After all, it is she who affects the quality of the print.
I found the first mentions of this manufacturer and printer on Kickstarter, and then on local sites.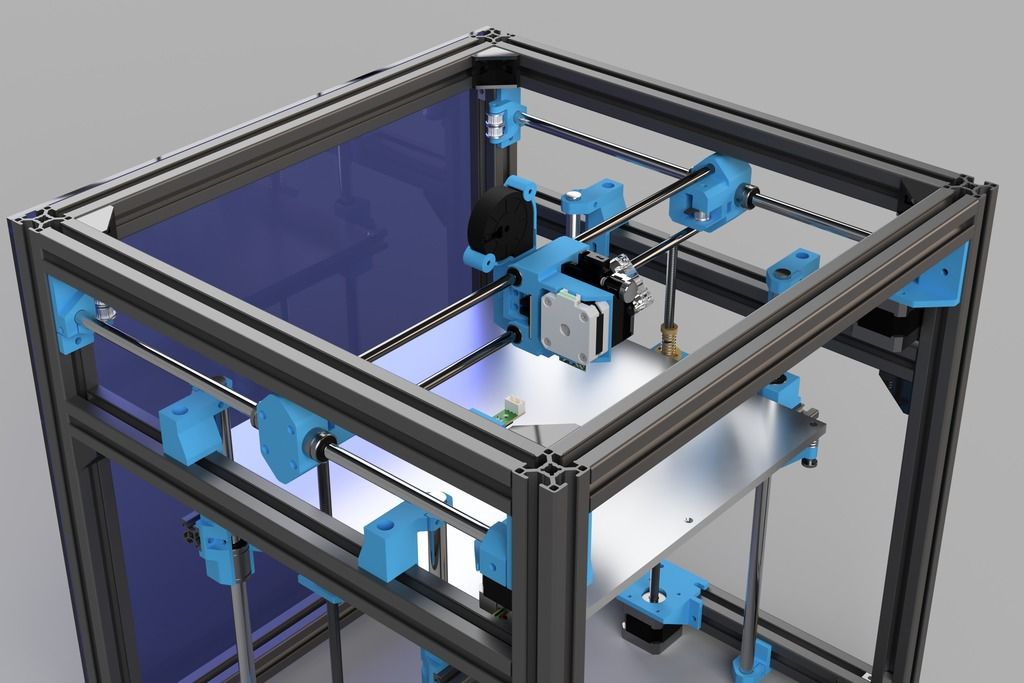 Then the model was simply discussed, but there were no real owners. But then the first reviews appeared, and to be honest, the printer was not praised in them. Despite the thoughtful design, the printer had problems with airflow and buggy firmware. Therefore, when I needed a 3D printer, I took myself Anet ET4 Pro. But then there was a need for another printer, so I, again returning to the question of choice, decided to take myself a Tycoon Max. And now, having used the printer for several weeks, I realized that I made the right choice. The printer for its price really gives excellent print quality, and if necessary, also a very fast print speed comparable to deltas. nine0003
Characteristics of Kywoo3D Tycoon Max:
Well, in words, I’ll add something that is not in the table:
- Print area: 300 * 300 * 230mm
- Print type: FDM
- Number of extruders: 1
- l. -0.4mm
- Nozzle: 0.4mm
- Control: USB, MicroSD card, Wi-Fi
- Power: 350W
- Maximum table temperature: 100C
- Maximum extruder temperature: 260C
- Additional design information:
- High rigidity aluminum profile frame.
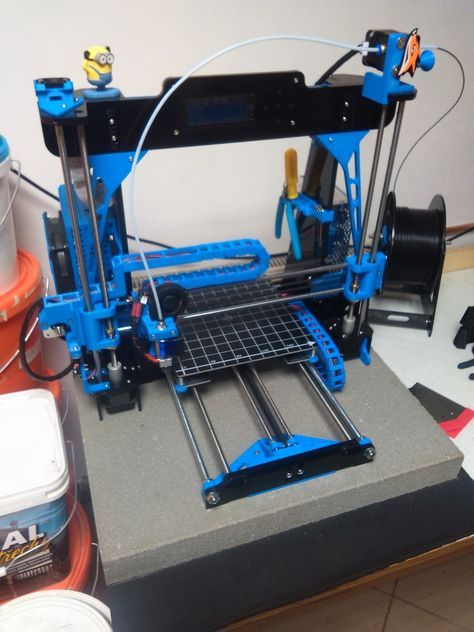
- X-axis rails, Y-axis shafts.
- Z-axis motor belt synchronization
- 16-point auto-leveling
- 3.5" touch screen for printer and printing process control
- Convenient filament threading with ring on extruder 90 015
-
Now let's talk about the printer itself. It was ordered from a warehouse in the Russian Federation, and the delivery time took 5 days. A huge box weighing 16kg was received in the mail:
Inside the box is a printer disassembled into two parts. Everything lies in layers, which are laid with foam material. So it is unlikely that anything could be damaged along the way. Opening the box, the first layer I saw was the lower frame of the Y-axis with a heating table and ultra-base:
Below the next layer is the main frame of the Z-axis, a coil of PLA test plastic, a box with accessories:
I’ll tell you right away about the complete plastic. It has a weight of 500g, wound on a plastic reel, sealed in a vacuum bag.
 I printed part of the coil during the tests, and I liked the plastic. nine0003
 As for complete accessories, everything is relatively standard. Inside the box are a spatula, a set of hexagons in a convenient case, several spare ties, wire cutters, clamps for the ultrabase, four screws for assembling the printer, a Phillips screwdriver, a piece of heat pipe, a spare 0.4mm nozzle, a needle for cleaning the nozzle, a wrench for unscrewing the nozzle, spare limit switch, USB cable, reel mounting stand. Also included is a card reader and a MicroSD 8Gb flash drive manufactured by Netac ( a good manufacturer, I have several flash drives of this company, and they work well )
The printer is powered through a detachable cord with a European-type plug. If necessary, it can be replaced without any problems:
Also included with the printer is an assembly and configuration manual. It is made on high-quality printing, but, in fact, there is no great benefit from it:
Now let's consider ultrabase glass.
 It has dimensions of 305*320mm and a thickness of 4mm. On the edge there is an inscription with the logo of the manufacturer:
 Having already printed enough parts, I can say that the quality of the Ultrabase is excellent. It is strong, there are no problems with plastic sticking, it heats up evenly. And at the end of printing and cooling, the parts come off without problems.
The ultrabase is attached to the heating table with 4 stationery clips (they are included). The heating table itself is made of metal, and is attached to the frame on shafts through plain bearings. By the way, in order to reduce weight and inertia during movement, the manufacturer made the table itself with holes that do not affect rigidity. nine0003
By the way, the table is connected to the control board via the XT60 connector. This is the first time I see such a solution, but logically, this is a fairly reliable connection.
Another thing I would like to note on the table frame and X-axis is the presence of good legs that can be adjusted in height.
 This is useful if the printer is not standing on a completely flat surface, and correct adjustment will avoid unnecessary movement of the frame when printing.
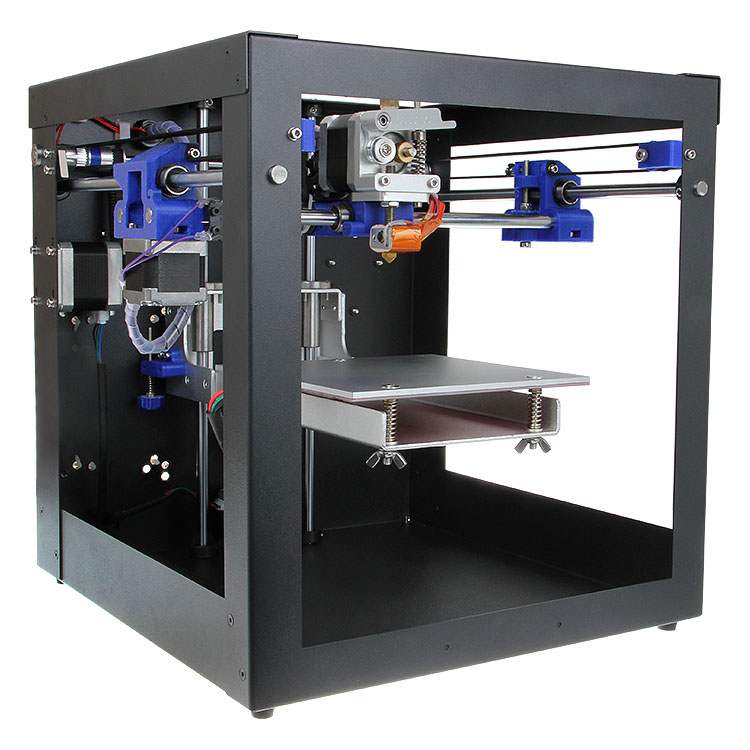
 Now let's move on to inspecting the frame along the YZ axes. It also contains the control board and power supply. It also has an extruder. This is what it looks like:
The first thing I want to pay attention to is the overall rigidity of the frame. It uses a double frame made of aluminum profile, on which there is a metal box on top. This box serves two purposes: hiding the interior of the printer and adding rigidity to the frame. And it has a very good effect on the quality of the print.
The Z-axis of the printer is fixed on the frame through two shafts rigidly fixed to the frame itself and a closed plain bearing, and for moving there are two studs with stepper motors on both sides. Additionally, the manufacturer has added a belt that synchronizes the operation of these stepper motors:
Rails are installed on the printer to move the extruder.
 They are quite high quality, and during the work I personally did not have any problems with them. For better sliding, the rails are immediately lubricated from the factory, and the rails themselves also have holes through which this lubricant enters the rails. Also, through these holes, the rails were fastened along the entire length of the frame.
 As for the extruder, the manufacturer did not reinvent the wheel, and equipped the printer with a proven solution. This is MK10, but with some modifications. First, it adds an iron frame that looks good while protecting the user from contact with hot extruder elements. I would like to think that this frame also serves as an additional radiator, but if you look at how it is fixed, it immediately becomes clear that there is not much heat coming to it. And the second addition is a special lamb for scrolling plastic when refueling. And this is a really handy feature. When refueling, you do not need to press anything, as in other printers.
 We simply pull the plastic through the plastic sensor, point it into the hole of the extruder and turn the lamb. Plastic itself immediately clings and is pressed through. A simple and elegant solution that is sorely lacking in other printer models. nine0003
 Also immediately above the extruder is a low filament sensor. This is also a pretty good solution, since the distance between the sensor and the extruder is minimized here. And this means that you don’t have to throw out 20-30cm filament bars that simply cannot be pushed into the printer. The amount of waste here is minimal.
As for blowing, a fan with an impeller is used here, which is mounted near the nozzle. Fan model pb04010ms4. The airflow itself is realized through a wide slot. I personally did not notice any problems with blowing during printing, there is enough blowing, and it blows directly on the model. The blowing speed can naturally be adjusted both during the cutting of the model, and already directly during printing, the fan has speed control.
 nine0003
 I also once had to disassemble the extruder to replace the nozzle during printing. What was in the kit, I managed to score on my own stupidity, alternating types of plastics without changing the temperature. Therefore, I will show the extruder in disassembled form:
I also want to draw attention to the fact that the printer has a table auto-calibration function. For this, a BL Touch sensor is installed here. More precisely, there is not the original 3D Touch with a plastic plug.
But by the way, I have no complaints about his work. The table calibrates perfectly, and even if there is a misalignment of fractions of millimeters, everything is taken into account and there are no problems with printing. The table itself is calibrated using 36 points (6*6) and looks like this:
Also, in addition, I can also note the presence of a silicone lining on the hotend, so that the temperature is more stable:
Well, after we have examined both halves of the frame, we can start assembling the printer.
 She's very simple. The existing 4 screws are screwed through the grooves, and we stretch harder.
 Additionally, you need to connect the connector to the table and connect the motor along the X axis. By the way, in the printer, all the wires are laid right away, and where they can be fixed with ties. Therefore, nothing dangles here, does not hang down and is as neat as possible:
That's it, the assembly is finished. This is what the assembled printer looks like, well, with the exception of the ultrabase and the bracket for installing the filament spool.
The bracket itself, by the way, is standard, like most printers in this price range. Metal profile and plastic tube. The bracket is installed at any point of the aluminum profile, through two spacer nuts:
Well, once the printer is assembled, you can consider the rest of the design elements. If you look at the back of the printer, you can see the power button and the port for connecting the power cord:
On the other hand, there is a sticker on the frame with information about the printer:
Separately, I would like to note one more convenient feature of this particular printer, which I have not seen anywhere else.
 These are convenient carrying handles:
 They are metal and rigidly fixed to the frame, you can safely lift the entire structure with them and not worry that something will break. For me, this is very important, since my printer can be transferred to different points around the room, and even between rooms. Depending on how long the print is placed. nine0003
If you look at the printer from the right end, then you can see a slot for a MicroSD card through which a model for printing is thrown onto the printer. There is also a MicroUSB port for connecting to a computer (does anyone use this method of printing?) and another slot for SD cards, the purpose of this slot remains a mystery to me:
Well, now the most interesting. It is, of course, a touch screen. When you turn on the printer, we first see a splash screen with the manufacturer's logo, and then the main desktop, from which you can get to different settings:0003
All items on the desktop are interactive. Management is implemented by clicking on the desired element.
 For example, by clicking on the ruler of XYZ axes, we get to the axis calibration menu:
 And if you click on the flash drive icon, the files for printing located on the flash drive are opened:
The printer sees folders and subfolders without problems, but there are Russian file names Problems. In the current firmware, the Cyrillic alphabet looks like unreadable krakozyabry.
If you click on the gear icon, then naturally we get into the settings menu. Here you can select the temperature of the preheating of the table and extruder, change the filament during printing or in idle time. Find out information about the firmware, set up Wi-fi and select the interface language ( there is no Russian language in the photo, but it has already been added in the latest firmware )
By the way, the printer has a built-in Wi-fi module, and it can be run in access point mode or connected to a home wi-fi network.
In the first case, you can connect to the printer and use an additional plug-in in Cura to send files for printing over the air, as well as monitor the status of the printer:
True, the wi-fi module has one minus.
 It stands inside a metal case, and it dampens the signal very noticeably. If the printer is in the next room, then I can no longer connect to it because the signal level is too weak. In fact, the range of the access point is about 5-6 meters maximum. nine0003
 But back to the screen. Despite the modern 32-bit processor, another disadvantage that I want to point out is the lack of model previews. This option is already firmly in use, and I would like to hope that it will also appear in future firmware. But so far the interface looks pretty simple. By the way, this is also visible at print time, when progress is displayed simply as a blue bar with a percentage of completion.
But in general, the management here is really convenient. You can change the Z-axis gap on the fly, change the speed of the blower fan and the temperatures of the table and extruder. nine0003
Well, I also want to show the inside of the printer without disassembling it. How could I get the camera. The printer is powered by the built-in Mean Well LRS-350-24 power supply.
 Already by the name it is clear that this power supply produces 24v / 350w.
 In the future, I plan to crawl up to this PSU and add a backlight tape to the printer frame so that you can see the printing process.
The brains of the printer are located in the upper part of the case, it is already much more difficult to crawl there with the camera:
But since the board is sold separately, I'll just add a photo from the manufacturer here:
True, in this photo it is not clear which processor is used in the board. But let's hope it's good enough.
In general, if we talk about the assembly, then it did not raise any questions for me. The frame here is well thought out and very rigid. All axles run smoothly and there is no backlash. The printer is large, solid and heavy. And gravity, as we know from the words of Boris Razor, is good and reliable.
Now it's time to talk about the printing process and the models I have printed
The first thing I decided to do was check the speed characteristics of the printer.
 The specifications indicate that its maximum speed reaches 150mm / s. Therefore, I printed a test cube at this speed:
 I shot with a macro lens so that the flaws in the layers were immediately visible. And they are here, since my plastic is not the best, besides, it’s also old, taken from the remnants.
Then I printed the same cube, but at a speed of 180mm/s, and put it next to the first cube:
Try to guess from the photo which of these two cubes was printed at what speed.
I'll give you a hint. On faster printing, at 180 mm/s, the plastic from the nozzle no longer has time to come out and lay down evenly, so the layers appear thinner, and there are gaps between the layers.
And yes, on the left it's a cube printed at 180mm/s and on the right it was 150mm/s.
And by the way, this speed is quite suitable for printing rough parts, when you need to determine the degree of fit and size, without regard to quality. This saves a lot of printing time.
 nine0003
 Well, at a speed of 150mm / s, you can already print full-fledged models. Here, for example, I printed a model at this speed:
And this is not a draft part, but a full-fledged one, for a commercial order. Here is what I printed, the size of this medal is 22 centimeters:
If you look at macro photography, you can evaluate both the detail and the level of stacking layers at this print speed:
By the way, as you can see, the medal was printed in two colors of PLA plastic. This type of printing is not difficult, just at a certain moment of printing, you can pause the printer and replace the filament. But I want to add that Cura has a handy plugin that allows you to precisely set the pause on the desired layer. To do this, go to the plugins, and select the “Filament Change” function in the post-processing plugins, in which we simply set the layer on which the pause will occur. The printer will stop printing at the right moment, move its head to the extreme left side in front and squeak loudly, calling for a replacement of the filament:
Through this plug-in, you can set the replacement of the filament at least on each of the layers, which is very convenient and allows you to achieve interesting effects when printing art objects.
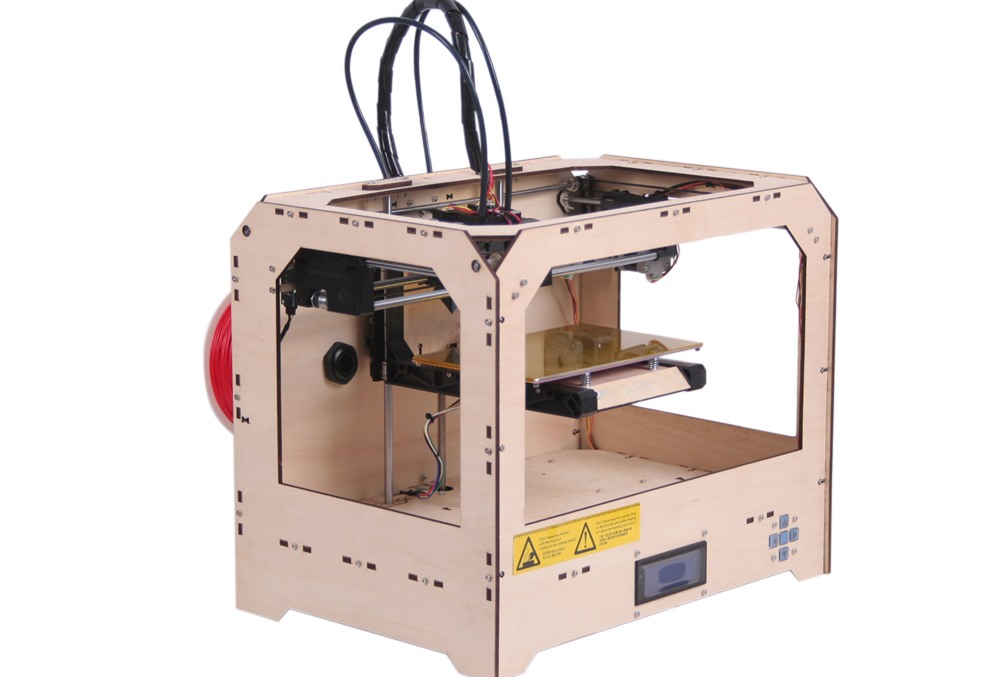 I hope my advice will be useful to those who are fond of 3D printing.
 I also printed an axolotl toy for children, which consists of closed links:
Printing was done at a speed of 120mm / s, and could have been more successful if I had not forgotten to remove the automatic supports in Cura. But since there were supports, I had to spend time post-processing and separating the supports, as well as cleaning up excess plastic in the links. This is what this axolotl looks like on a macro shot:
Layer height 0.25mm, travel speed 120mm/s, table temperature 60 degrees, extruder temperature 220 degrees.
The next model was among the models on the flash drive provided with the printer, this is a ghost keychain.
By the way, I want to add a macro photo of the substrate that remained after printing, so that you can evaluate the uniformity of laying layers and tracks:
a piece of ordinary sponge to clean the plastic from dust, which is very visible on white parts.
 Some print different boxes and cases, but I just took a piece of dish sponge and pierced it with a filament, which I then moved on. After that, the parts became noticeably cleaner. nine0003
 Another custom-printed detail. Steering shaft bushings for Nissan Qashkai. Designed to eliminate the runout between the shaft and the tube in the steering reach adjustment mechanism:
Another model. Decepticon logo overlay for standard Mazda car logo:
Spinner gear. A toy that I printed to test the possibility of printing gears:
Stand legs for Sony PlayStation 4 Slim:
Well, there were many other models that were printed to order, but I did not have time to take high-quality photos. I mainly use PLA and Petg plastics when printing. Well, a little ABS, which I really dislike because of its capriciousness to ambient temperature and drafts. And as you can see from the photo, there are no problems with printing. The only problem I've encountered is changing different types of plastic during printing and clogging the nozzle as a result.
 But it's my own fault, I shouldn't have experimented. nine0003
 Conclusion:
As you can see from the review, I really liked the Kywoo3D Tycoon Max 3D printer. It is definitely worth the money, here it is clear that the manufacturer did not save on everything and everyone, as is the case with other manufacturers. I will try to indicate the advantages that the buyer receives:
Reliable design and rigid frame . A double profile and a metal frame are assembled into a single design that is reliable and does not give any backlash. This has a positive effect on detail and print quality, as well as on the maximum print speeds. Also, all cables and wires are correctly laid in the printer immediately from the factory. And the heating table is attached through the XT60 connector, which has long proven its reliability. nine0003
Shafts along the axes Z and X. The presence of shafts and plain bearings also has a positive effect on the accuracy of printing and the reliability of the design as a whole.
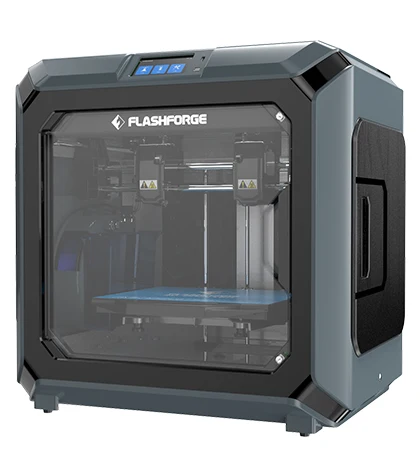 Since they are less subject to wear and play, unlike wheels that drive along a profile.
 Axis rail Y . The advantage of rails over conventional wheels, I think, is not even worth discussing. This is a more accurate movement of the extruder, and the absence of backlash, and durability. Of course, it would be better to have rails on all axes, but this will significantly increase the price of the printer, and it will no longer be so interesting. nine0003
Convenient filament threading with scroll knob . Here I will attribute this not only to pluses, but directly to huge pluses. Such a trifle like, but very much affects the work with the printer, especially if you print a lot and often change the filament.
Short feed extruder MK10 . Allows you to safely print any type of filament, including flex. In addition, unlike Bowden, plastic is saved here. The retract works more adequately. In general, I personally prefer Direct extruders, although I have a printer with a bowden system.
 nine0003
 Availability Wi- fi module. Let it be weak, and not everyone needs it. But for some it will be very useful and necessary.
Axis motor synchronization Z . Another little thing that many manufacturers neglect. Meanwhile, this little thing affects the accuracy of printing. And many people customize their printers by adding a Z-axis belt.
Auto level. The printer builds a table map using 36 points and then takes into account any irregularities during printing. Which is very good for the adhesion of the base layer. Well, of course, there are no dances around the printer with a leaflet for an exact fit. To be honest, this process is what I dislike the most during printing. nine0003
Print area 300*300*230mm. With such dimensions of the printed area, you can print a much larger number of details than with the usual 220 * 220mm in most models.
 True, as a minus, the dimensions of the printer themselves are already acting here. Under it, you need to prepare a surface with dimensions of 62 * 62 centimeters, and not every table is suitable here.
 But to be honest, I did not find any minuses for the printer. Well, except perhaps the dimensions and the weak signal of the Wi-fi module. But I already wrote about this above. Well, perhaps the relatively simple firmware can be attributed to the minuses, although it does not affect the print quality, it's just an interface. nine0003
Kywoo3D Tycoon Max is currently my main 3D printer, on which I print most models. For yourself and to order. Print field 300 * 300 * 230mm allows you to print large enough parts or batches of parts, which suits me completely. I also liked the robust, well-thought-out and monolithic design of the printer, as well as the speed of its operation. As for working on wi-fi, this did not take root for me. At first I dabbled in sending and monitoring, and then, out of habit, I returned to the flash drive and card reader again.
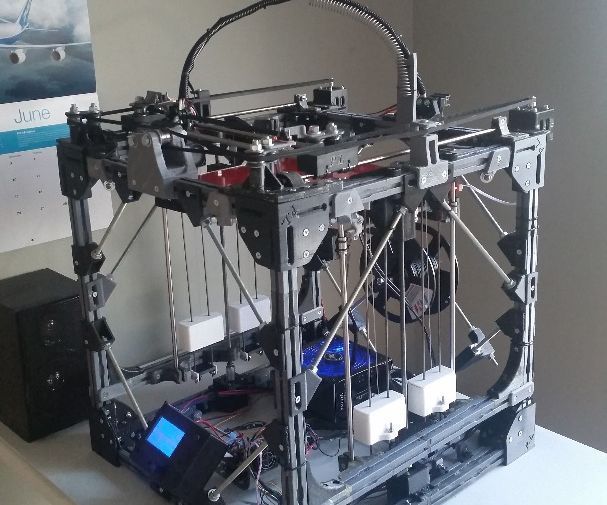 In terms of noise, the printer does not raise any complaints, it is the same as most FDM printers. Mostly you can only hear the fans. I also cannot fail to note the most convenient type of filling the filament with the help of a lamb, in my opinion, this bribed me very much. nine0003
 Well, as it became clear from the review, I can safely recommend this printer for purchase, especially since its price is quite affordable, and frankly, for its price of $280, I cannot find a single competitor for this model. If you like the printer and want to buy it, you can use the promotional code KY3D06 when ordering, which will give an additional discount. And these printers are in stock in the Russian Federation, so delivery will be fast.
Current price for 3D printer Kywoo3D Tycoon Max
3D printing market. Is it time to buy shares? / Habr
In this article I would like to talk about companies, each of which is a "unicorn". Shares of two of the three can already be bought on the New York Stock Exchange.
 There is a pattern: they were all born in the large Boston metropolitan area. And if Silicon Valley is a Mecca for software startups, then Boston, and especially the Massachusetts Institute of Technology (MIT), is the Medina for manufacturing innovation.
 I'll make it clear right away: I won't analyze the entire 3D printing market, but will focus on some of the most notable representatives of the desktop 3D printing segment. But even here everything is very conditional, since in the process of improving technology, products smoothly flow from one category to another, and roughly three main categories can be distinguished: desktop, professional and industrial. So…
In 2011, three American students founded Formlabs in their garage. It was headed by Max Lobowski. Born into a family of engineers - emigrants from Ukraine, from his youth he was interested in robotics and new technologies, attended various specialized additional classes in high school. After earning a bachelor's degree from Cornell University, he went on to graduate school at MIT, where he began designing his desktop 3D printer, which is both powerful and affordable.
 nine0003 Max Lobowski
 The friends were able to quickly get an angel investment, with which they launched their first product, the Formlabs Form 1 printer, in 2013. On the Kickstarter crowdfunding platform, they managed to raise almost $ 3 million from more than 2,000 bakers from around the world, who were excited about the new product, which promised to make 3D printing accessible to almost everyone. At that time, there were models of printers on the market using the technology of illumination with a laser beam of photopolymer resin (SLA) with a price of 100 thousand dollars, Formlabs offered a printer for 1500 dollars. The company, of course, faced a lot of difficulties in the production of the first batch, but it managed to ship the printers to all buyers. And even though they were far from perfect, this made it possible to attract round A investments in the amount of 19million dollars and return the "angel" money.
The company then continued to improve its product and create an ecosystem like Apple, which includes 3D printers themselves, consumables (resins for various tasks), software for preparing models for printing, and post-processing equipment.
 In 2019, the company's turnover reached $100 million, in May 2021 it received $150 million in a round of E from the SoftBank Investment Advisers fund, valuing the company at $2 billion. After that, there was talk of an IPO, which would be an absolutely logical step, since investment funds are planning this in the future for 7-10 years, and this period has already come for investors of the first round. nine0003
 However, despite high market expectations, Max Lobowski said in an interview with BizJournals that he is in no rush to go public: “We would rather take our time and better prepare to be a great public company… We make more money than all 3D -companies taken together that have gone public with the help of SPAC (a procedure that allows startups to go public by merging with another private company). However, when I look at really large, successful, long-term public projects, which is what we are aiming for, I see that they are on a completely different level in terms of predictability and profitability than we are.
 ” These are serious words, and apparently the head of the company has reason to pronounce them. Most likely, the forecast of the company's capitalization in the region of 4-6 billion dollars with a successful initial offering, which will make it the largest company in the market, because even the result of the veteran and long-term market leader - 3DSystems as of August 2021 is no more than 3.5 billion. dollars. nine0003
 Unlike the students at Formlabs, Markforged was founded by older guys. However, even here it was not without MIT. MIT alumnus Mark Greg encountered 3D printing while his company was doing a job for the US Navy. Experiments in the field of improving the quality of products led him to the idea of creating a printer that could reinforce the printed model with carbon fiber to make it strong and suitable for use under load.
Employees of the company together with the Metal X printer, Mark Greg is seated to the right of the printer. nine0002 The company was founded in 2013, and already in 2014 at the Solidworks World exhibition, the startup presented its first product - the Mark One printer, which had two extruders and could reinforce the printed model with nylon, fiberglass and even Kevlar. Later, The Digital Forge, a cloud-based print management platform, was introduced, and already in 2017, MarkForged announced the release of a Metal X desktop metal 3D printer worth $100,000, while competitors' counterparts cost a million. In 2020, the company's turnover amounted to $ 70 million, and the management decided to bring the company to an IPO using SPAC. The company introduced the concept of additive manufacturing 2.0 to potential investors, allowing the production of finished products rather than prototypes, paving the way for 3D printing to the production of goods. The volume of this market is estimated by experts at 13 trillion dollars. nine0003
 Based on the Wholers Report, in 2020 the company predicted the growth of the additive technologies market at an average rate of 27%, which means that in the next 8 years from the current 18 billion dollars, the market will grow to 118 billion in 2029 from 10 multiple growth of own revenue up to 700 million dollars already in 2025.

On July 15, 2021, MarkForged was listed on the New York Stock Exchange under the ticker MKFG. The placement was estimated at 2 billion dollars, but a month later the shares lost a little in price, and the current capitalization is about 1.5 billion dollars. The question remains: is it worth buying shares of a company that plans to be unprofitable for at least another 2 years (the company predicts a turnover of about $100 million this year). nine0003
On the one hand, there are enough companies on the market trading at even higher multiples, and on the other hand, 3D printing is not yet such a mature technology that one can be sure of the 100% success of exactly the concept that MarkForged offers. In fact, the company itself considers the emergence of new technologies as one of the risks that could undermine its current technological superiority. In general, investors are now positive about the future of 3D printing. They were impressed by how the technology performed in the first, most difficult months of the pandemic, when production chains were disrupted and many transport arteries stopped working.
 With the help of 3D printing, it was quickly possible to establish the production of urgently needed valves for ventilation, protective masks, adapters and much more. The concept of distributed production immediately turned from a beautiful idea into a real necessity. So, as always, the coin has two sides, but if you are interested in stocks with great potential, you should at least take a closer look at this company and the market of additive technologies in general. nine0003
 The last one in my story is DeskTop Metal. Formlabs was created by MIT students, Markforged - MIT graduates, DeskTop Metal was created by experienced entrepreneurs Rick Fulop and Johan Mayerberg, as well as 4 (!) MIT professors. Going to the goal, Rick Fulop founded 6 different companies, also headed an investment fund. Johan Maierberg has been a lead engineer for various companies and became the CTO of DeskTop Metal.
Rick Fulop in front of DeskTop Metal Studio System 9 printers0002 The company's goal was to create an affordable desktop 3D printer that prints metal models. The company immediately became a favorite among investors and attracted investment rounds with enviable constancy. Among her donors were BMW, Ford Motor, Stratasys (a pioneer in the creation of 3D printing technology), SaudiAramco investment fund, General Electric and others. The total valuation in the latest round reached $2.4 billion, with a paltry $26 million turnover in 2019. The funds received were used for R&D and attracting the best engineers and developers to the company. In 2017, a three-component metal printing system based on FDM layer-by-layer printing technology was introduced, followed by burning and baking the final model. The system was very "raw": a small amount of materials was available for printing, and the printing itself had a lot of restrictions, the final products looked rough with large dimensional errors. Nevertheless, the developments continued, and the company announced its potential star - the Production System, a high-speed metal printing system, which can hardly be called a desktop one.
 The company claims that its Single Pass Jetting technology is 100 times faster than any other existing metal 3D printing technology, but deliveries of printers should begin only at the end of this year, so in this case you have to take our word for it. nine0003
 The company entered the IPO on December 10, 2020 under the same SPAC scheme and in its presentation for potential investors outlined the following parameters: planned turnover in 2025 - 942 million dollars, reaching operating profit in 2023, and also indicated that , which plans to spend a significant portion of the proceeds on acquisitions of other 3D printing companies.
Capitalization on the New York Stock Exchange at the time of its IPO on December 10 was a fantastic $6 billion. During the placement, $580 million was raised and the company was assigned the laconic ticker DM. Already in February 2021, the shares rose even more, and the company's capitalization exceeded $8 billion. DM has said it will be the first company in 3D printing history to have a capitalization of over $10 billion.
 Having received huge funds at its disposal, already in January 2021, DM announced the first takeover deal: the German manufacturer of professional photopolymer 3D printers EnvisionTEC (founded in 2002 and is one of the oldest on the market) was bought for $ 300 million. For me, this choice was not obvious, it is difficult to find something in common between DM and EnvisionTEC and it will be difficult to achieve a significant synergistic effect from this transaction. EnvisionTEC has continued to operate under its own brand as a 100% subsidiary of DM and plans to release a number of new models for its key customers - dental clinics and jewelry companies. Also during this year, several small companies specializing in the production of materials and software were bought. DM expands its patent base due to this and gathers under its wing the best ideas and people. The most high-profile acquisition was the $575 million purchase announced in August of another public company, the American ExOne.
 Established in 2005 in Pittsburgh, it specializes in the production of industrial 3D printers for creating injection molds from sand and other materials. It is also noteworthy that she managed to commercialize a patent for this technology, issued by MIT back in 1993 year. In this case, we can say that the product lines of DM and ExOne are closer to each other and they have already presented a joint portfolio based on the products of both companies, in which one product complements the other.
 It would be logical to assume that DM stock skyrocketed after such high-profile acquisitions, but in reality the opposite happened. Since its peak in February, the shares have fallen 4 times and are now trading at $8 a share, and the capitalization is slightly over $2 billion. Apparently, the first euphoria of investors gave way to a more sober approach to the current results of the company. Perhaps this was influenced by the dissatisfaction of some ExOne shareholders, who considered the sale price of the company unfair and were preparing a class action lawsuit against management in order to block the deal.
 nine0003
 Should I buy DM stock now that it has fallen so much, or wait for further decline? I would say that their current level is very comfortable for entry, but, of course, such investments also have a certain risk. This is despite the fact that the company has reported strong first half results, which DM expects to generate over $100 million in revenue this year.
Summing up, I would like to say that a number of stock analysts consider what is happening in the market of additive technologies to be a "renaissance". The market came into motion after the pandemic, which gave everyone hope that the technology was ripe for serious tasks, and that the situation in the industry of 2013-2014 would not repeat itself. Then the technique was still very "raw", but attracted a lot of attention from the press and potential investors. This drove the stocks of market leaders 3DSystems and Stratasys to unknown heights, and then, when there was disappointment in the results of their work, the fall reached 20 times from peak values.

Learn more
- Maximum print speed: 0mm/10mm s (personally tested up to 140mm/s and it prints fine)


