Cr10 3d printer review
Creality CR-10 Review 2022 - Is This 3D Printer Worth The Money?
So is the Creality CR-10 3D Printer even worth it? We tested this printer recently and here are all things that we discovered!
By Justin Evans
3.8
See Price
When it comes to low-cost 3D printers, there are a lot of choices. The problem is that some of them just aren’t worth your time. Maybe they’re just too small, or perhaps the print quality just isn’t up to scratch. However, there are some real diamonds in the rough if you know where to look.
Take the Creality CR-10, for instance. This comes to us from a relatively little-known company, and as a result, it hasn’t seen as much success as some of its entry-level rivals. Today, we’ll be taking a closer look at this model to see if it’s right for you and your high standards.
| Filament Diameter | 1. |
| Extruders | 1 |
| Supported Materials | PLA, ABS |
| Connectivity | USB, SD Card |
| Printing Speed | 100mm/s |
| Build Volume | 11.8 x 11.8 x 15.7” |
Table of ContentsShow
Design
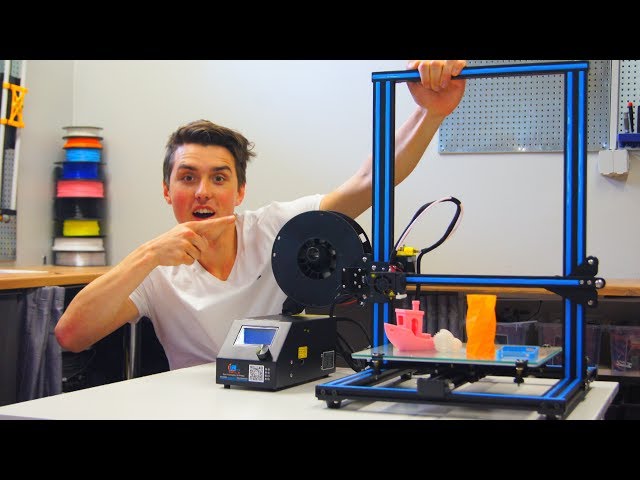
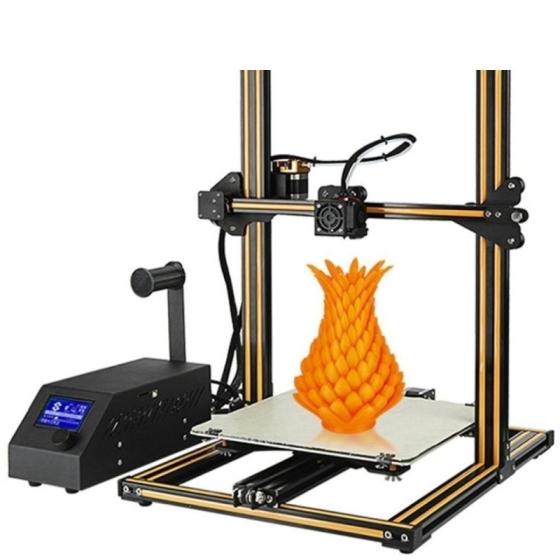
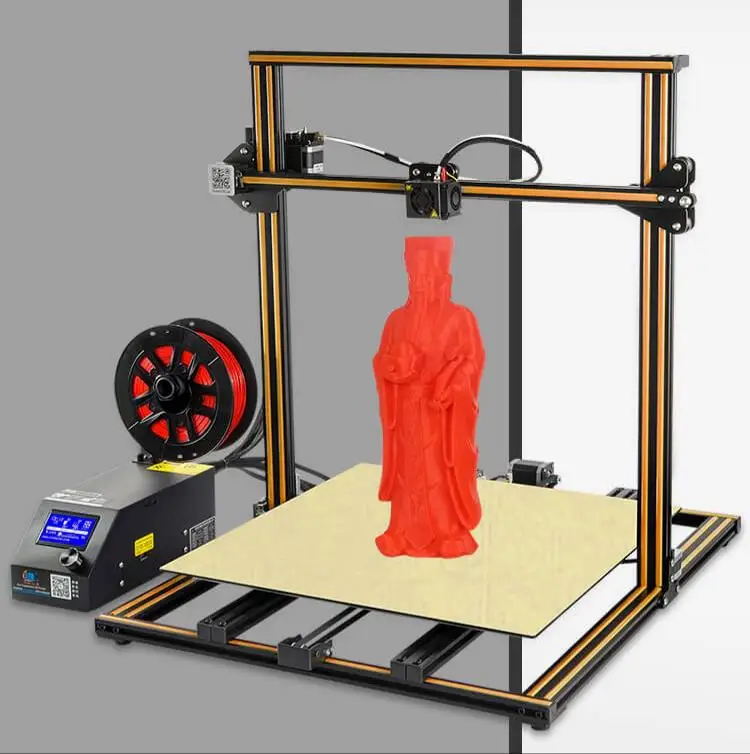
First things first: this printer has an open design. Better still, though, it has one of the largest build areas we’ve ever seen on such a low-cost product. After all, just because it’s for beginners, doesn’t mean you have to put up with only being able to make tiny prints.
You can control this unit either directly from the PC, or by using the microcontroller. We’d advise using the computer whenever possible, though, since the controller can be a little tricky to get to grips with. There’s also the option to import models from an SD card if you choose.
Now, as you might expect, there’s just one extruder. The print speed isn’t exceptional either, but at this price, it’s difficult to complain too much. Suffice it to say, you’ll spend a little extra time on each model, but the crucial thing is that they come out looking especially great. So do they?
Printing
Actually, yeah. Now don’t get us wrong – you’re not going to be creating extremely complex models, but for day-to-day use, it works surprisingly well. Edges are generally sharp and clean, and there’s a good level of detail reproduction. Essentially, the CR-10 prints like something that costs twice its price.
One of the first things you’ll want to make is an enclosure. This printer supports PLA but can struggle to maintain a consistent temperature for ABS filaments. Enclosures are very simple to make, although they’ll have to be assembled in parts. It’s worth it, though, as it greatly expands the number of things you can do.
You’ll find that there can be some layer skipping, and occasionally, you’ll notice visible stepping between the layers, but overall, this isn’t a huge problem.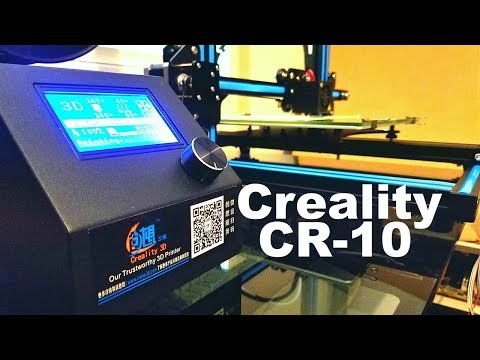 Just bear in mind that this is very much a hobbyist’s printer – not one for commercial use.
Features
The CR-10 comes with a heated glass print bed, but you’ll have to manually level it. There’s also no software included, so you’ll have to find that for yourself. We recommend using Cura – it’s free and ranks among the most popular 3D printing applications. If you look, you can even find a settings profile for the CR-10.
Unfortunately, there’s no WiFi compatibility. Admittedly, this is usually only found on higher-end printers, but it still would have been nice to have. With a little extra investment, you can add this functionality, but you should know that it’s not included as standard.
The CR-10 is pretty barebones. You won’t find many advanced features or functionality out of the box. However, it’s important to remember that it is a low-cost model and intended to help familiarise you with the basic elements of 3D printing. Besides, you can always upgrade when you outgrow it.
Cost
The Creality CR-10 retails for around $400, so it’s one of the cheapest around. There is a weird quirk, though – Creality doesn’t actually sell it themselves. Instead, you’ll have to find a third-party retailer, each of which has their own warranty terms and support options. This seems designed to free Creality from any kind of obligation after the printer has been purchased.
We liked that you can use 1.75mm filament from any brand, though. Sometimes you’ll find that low-cost printers are more expensive to run due to their proprietary-only materials, but luckily, that’s not the case here.
The CR-10 provides exactly what it says it does: an inexpensive, powerful printer with minimal running and maintenance costs. Really, the only thing you’ll have to pay for is extra filament and possibly adhesive sheets for the print bed.
Now, there really isn’t much in the way of support. Creality have a brief FAQ section on their website, but there’s no mention of any warranty or support of any kind.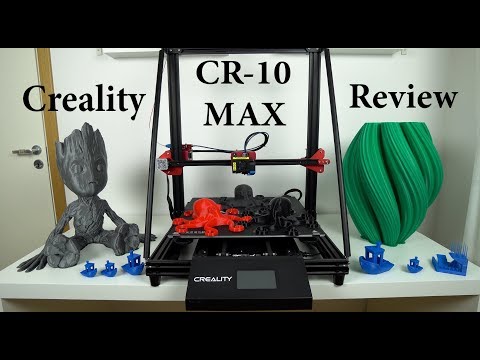 Really, you’re relying on the retailer to provide a good enough warranty, which is a real shame since they’re unlikely to do any repairs for you.
The “Download” tab is very interesting. Its headings include “Firmware”, “Product File”, and “Model” but each of these pages is completely empty. As such, it falls to the user to find and install the correct version of any updates or software they choose to use.
This is a real shame. The CR-10 is an excellent printer for beginners, but there’s very little in the way of direction here. At the very least, we’d have liked a support ticket system, but sadly, this is non-existent.
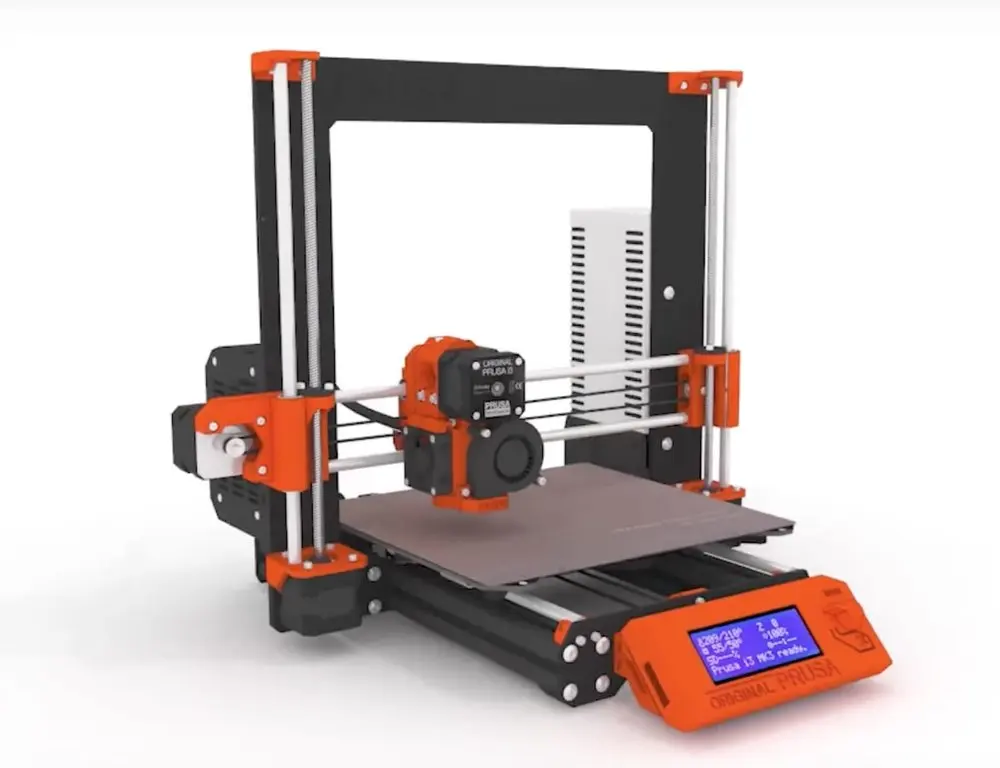
Wanhao Duplicator i3 Review
Creality CR-10 V3 Review - Is It the Best Mid-Range 3D Printer?
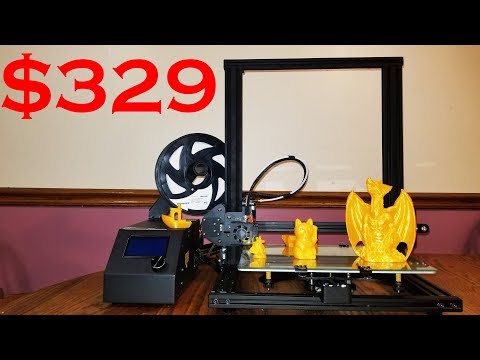
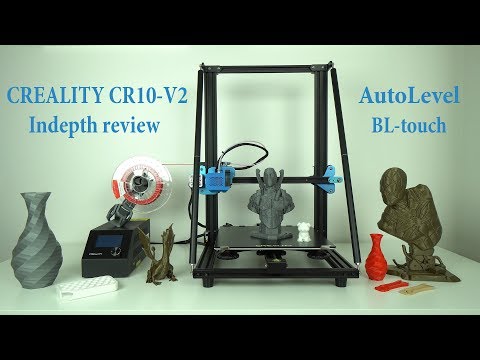
The Creality CR-10 V3 is a 2020 successor of the ultra popular CR-10 which was released back in 2017. The CR-10 has been a workhorse for many 3D printing enthusiasts, including me, so the new CR-10 V3 has to offer something really valuable so people can go for it.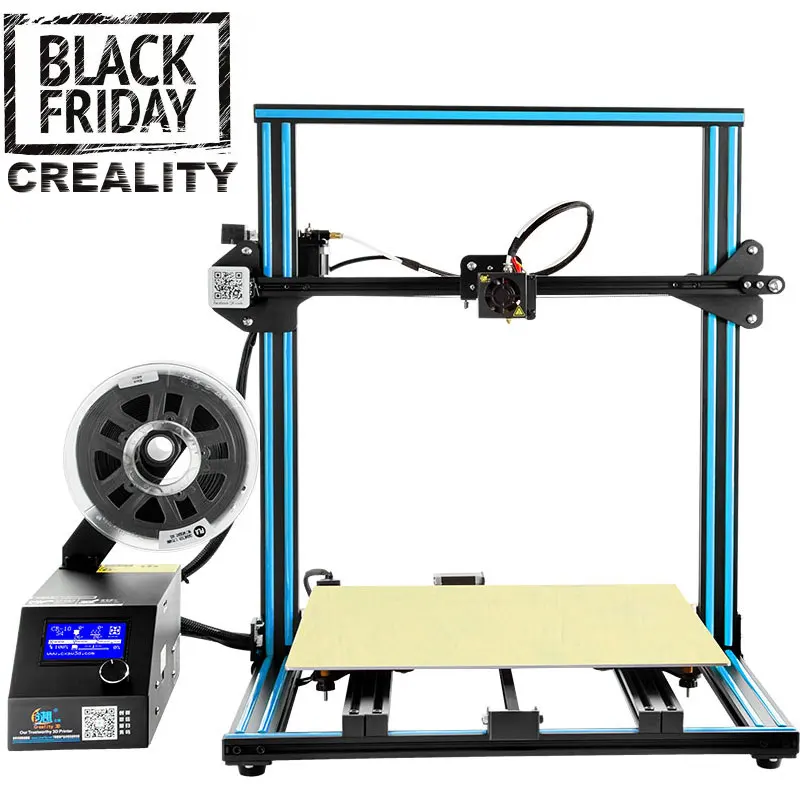
In this review, we will take a look at the Creality CR-10 V3 new features, see what has improved compared to the original CR-10 and whether is worth you money.
Also, I will make an unboxing and show you the process of assembling the printer, which is fairly quick and easy. At the end I will show you the printing quality of the CR-10 V3 with several test prints that I made with it.
Check price at Amazon / Banggood
Disclosure: These are affiliate links. As an Amazon Associate I earn from qualifying purchases.
CR-10 V3 Features
Let’s taka e look at the major new features of the CR-10 V3.
Sturdy Frame
The Creality CR-10 V3 comes with the same large printing volume of 300x300x400mm like the original CR-10 but now with an improved frame design. The huge vertical frame is now supported with two metal rods that connect the top of the frame to the base. This forms, what Creality calls it, a “golden triangle” which makes the entire frame significantly more rigid and stable.
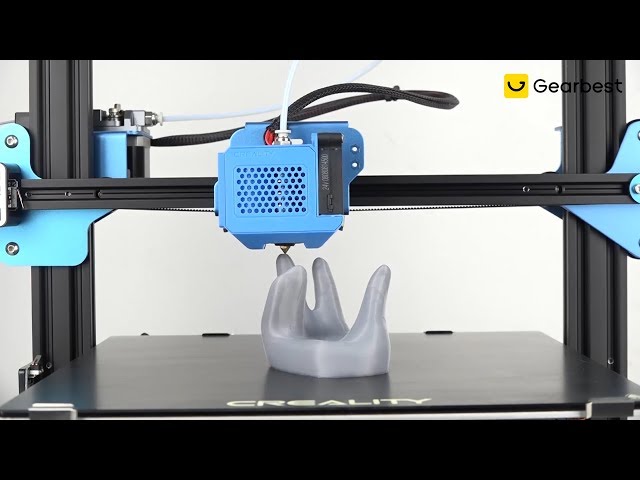
Direct Drive
Another big change is the print head which is now a Titan Direct Drive. Having a direct drive extruder provides some benefits, like easier loading of the filament, faster filament retraction, better handling of flexible filaments and overall better or more consistent extrusion.
Of course, it’s not that the Direct Drives are superior over Bowden Drives, they also have some cons. For example, the added mass to the gantry, because of the motor location, can cause more vibrations and backlash when printing, especially at faster speeds.
Additionally, the new print head has a dual cooling setup. One fan is for cooling the hot end, but at the same time cools the filament from one of the vent ducts, and another fan for the main cooling of the filament.
Improved Print Bed
The print bed is another improvement, which is now a special ceramic coated glass. When warmed up, the filaments sticks quite good to the print bed, so there is no need to use any kind of glue or tape.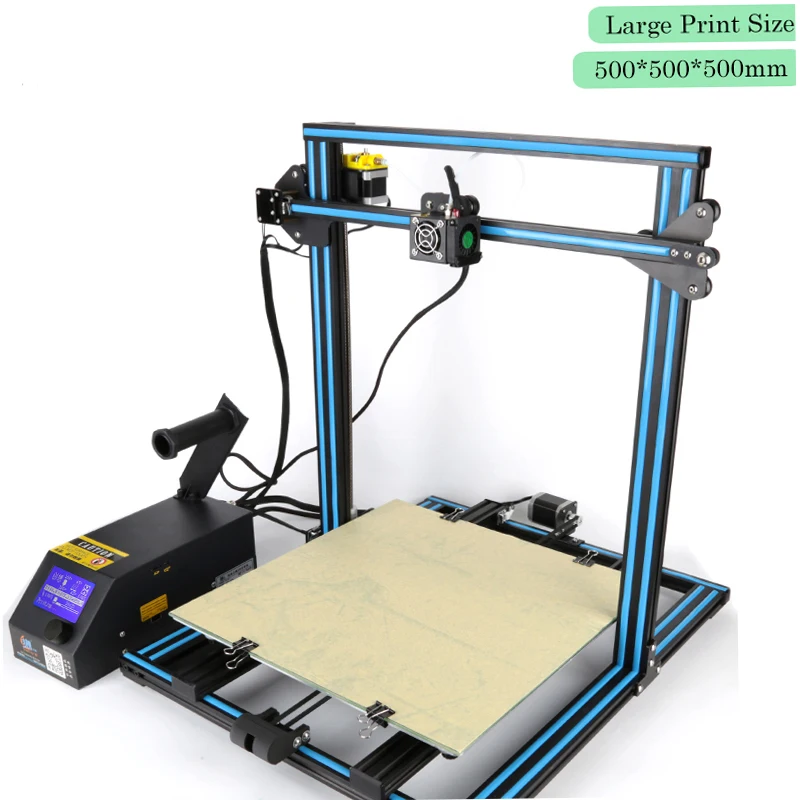 Once cooled down, the prints just pop out easily on its own.
Though, it’s worth nothing that this surface can be easily damaged when using sharp objects like, for example, a spatula. Also, the print nozzle can easily scratch the surface so you should be careful when leveling your print bed.
Filament Runout Sensor
The Creality CR-10 V3 comes with a filament runout sensor which is placed at the top of the printer frame. This feature is very handy, especially when printing large parts. The printer will pause when the filament will runout and you can continue the print after inserting a new filament.
Also, it features resume after power loss function. This means if the power is lost for some reason, the 3D printer can continue the same print when power is back.
Powerful Control Box
Next up, is the upgraded control box. Visually and in terms of control and interface it’s almost the same as the original CR-10. It has a knob and a monochrome display for controlling it which is actually a bit disappointing considering it’s 2020.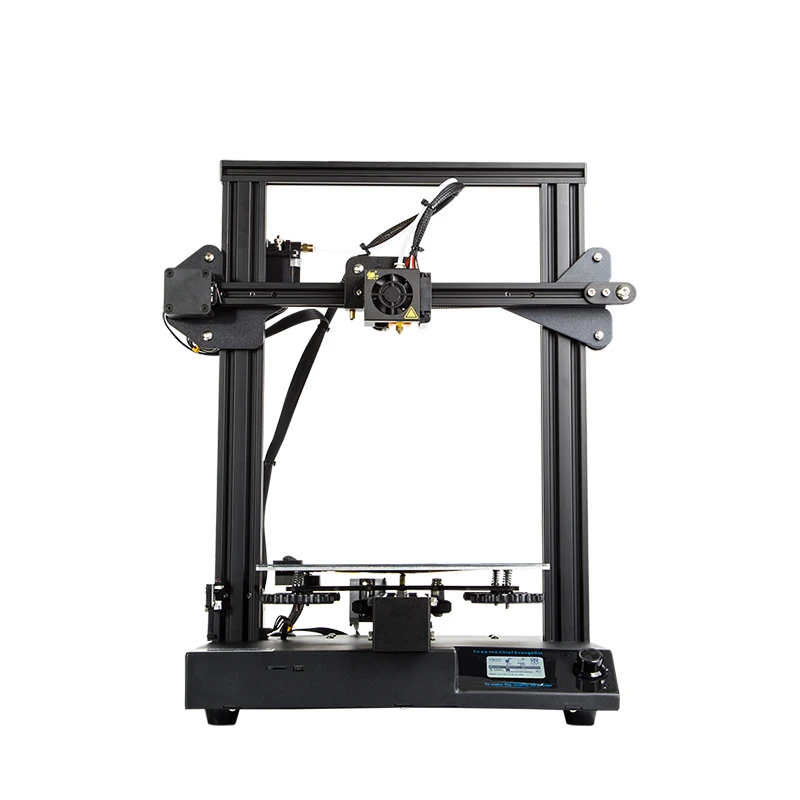 However, the real change comes from the inside. There is a new 24V / 350W Mean Well power supply. This helps reaching desired print temperatures faster, as well as, allowing printing with wider range of materials.
Silent Stepper Drivers
The CR-10 V3 is equipped with the latest version of the Creality motherboard which is now paired with new TMC 2208 ultra-silent stepper drivers. These stepper drivers are indeed silent and the stepper drivers are almost mute. All you can hear is the fans and some moving mechanical parts. Though, there are three fans in the control box, plus two fans on the print head. So, it can be a bit noisy in terms of fan noise, but overall the 3D printer is much more silent compared to the old CR-10. With the new stepper drivers, we should also get a smother and better print quality.
Creality CR-10 V3 Unboxing
The Creality CR-10 V3 comes well packed with foam cushions, keeping it safe during shipping.
The 3D printer is like 80% preassembled so it takes around 30 minutes to an hour to fully assemble it.
Before assembling, it’s always a good idea to check the Y-carriage bearing wheels. If needed, you can tighten them appropriately with the small wrench that comes in the box. Not just on this axis, but you should check all other bearing wheels. They should be tight, but neither too tight, nor slipping.
So, first we need to connect the base with the upper frame. The 3D Printer package includes all needed bolts as well as tools for assembling it.
There is also a user manual which explains each step.
Using the two supporting rods we connect the top of the frame to the bottom front of the base. This makes the 3D Printer very sturdy.
The spool holder and the filament runout sensor go on top of the frame.
Next, we need to attach the Z-axis limit switch in place and connect it with the appropriate Z connector.
Then we can connect all the cables in place, and that’s easy because each one has a unique connect so you can’t connect anything wrong.
At this point t’s important to select the proper input voltage on the control box, either 230V or 115V, depending where you live.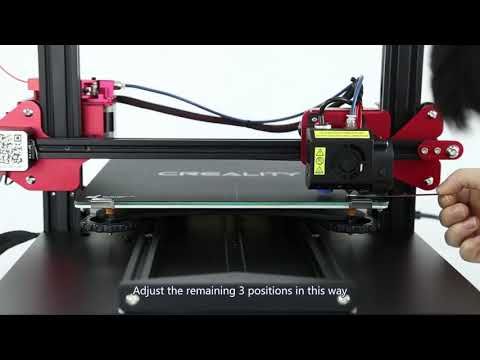
Finally, we can power up the printer, level the printing bed and we are ready to rock!
Test Prints with the CR-10 V3
In this section we will take a look at some prints I made with the Creality CR-10 V3. Of course, the first test print was the 3DBenchy boat.
Initially I didn’t get good a print result, but after some tweaking in the slicing software the result came out almost perfect.
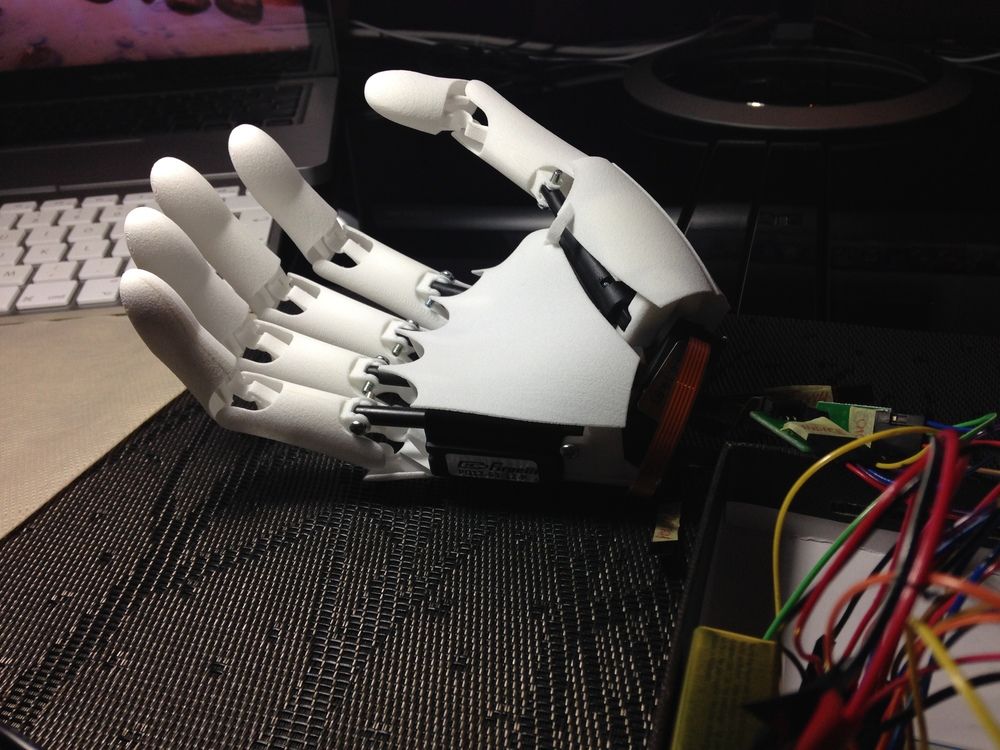
Then I 3D Printed the MatterHackers mascot: Phil A. Ment. It came out great with high level of details.
I 3D printed the Waving Groot 3D Model at 0.15mm layer and it came out beautifully.
And probably my favorite 3D print, the Terminator T-800 3D Model. Just take a look how good, accurate and detailed the 3D print is. The CR-10 V3 did a really great job on this one, the model looks like it’s a cast metal rather than 3D printed plastic.
Finally, I tested the 3D printer with some flexible filament, which also handled it quit good.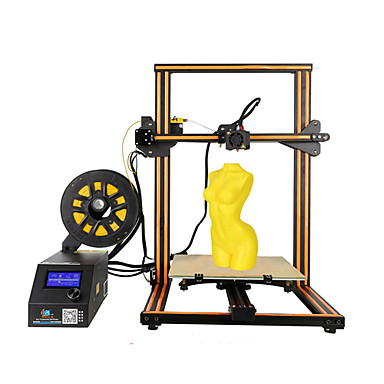 I printed this wrench model and this TPU wheel model.
Conclusion
So, after testing the Creality CR-10 V3 for a week, I can say that it definitely delivers. The Titan Direct Drive is great as it can print with high details and can easily handle flexible materials.
The printing bed heats up quickly and it ceramic coating does great job at sticking the parts. Though, the bed leveling is manual, but you have the option to get the optional BL-Touch leveling probe for automatics leveling.
The control box with it’s new branded power supply and the silent stepper drivers are also great. But here also comes it’s biggest weakness I think, and that’s the dated monochrome display and control knob style which are not so user-friendly, compared to touch displays.
So, to answer the some questions. Is the CR-10 V3 better than the original CR-10? Yes, it’s better. Is it worth your money? Yes, it’s worth it as you really get what you pay for. However, the original CR-10 is still good option if you are on a tighter budget.
Additionally, you could also go with the CR-10 V2, which is basically the same 3D printer which instead of Direct Drive it has a Bowden extruder.
An alternative to consider which matches the specs and performance of the Creality CR-10 V3 is the Artillery Sidewinder X1.
Check out my Exclusive Coupons from Banggood
- Creality CR-10 V2…………… Coupon: BGCRV211 | Price: $369
- Creality CR-10 V3…………… Coupon: B6a98d0 | Price: $399
- Artillery Sidewinder X1…… Coupon: BG52699 | Price: $359
- Creality CR-10 …………….…. Coupon: BG95990e | Price: $319
setup and calibration instructions, print examples
In modern times, technology does not stand still. So, 3D printers are widely included in our daily life and simplify it.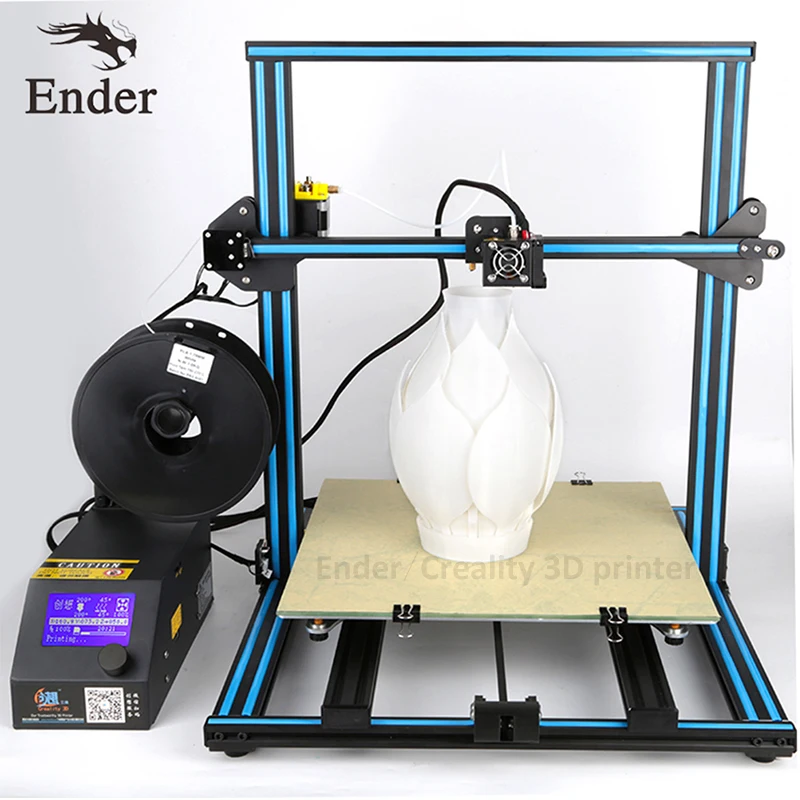 In this article, we will take a closer look at the Creality CR-10 brand representative. We will present the reader with a brief overview of the functionality, technical characteristics, analyze the advantages and disadvantages. We hope that the information received will easily solve the issue of choice.
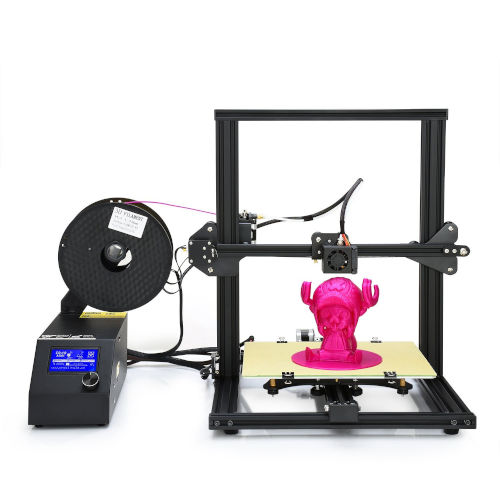
Creality CR-10 3D printer overview
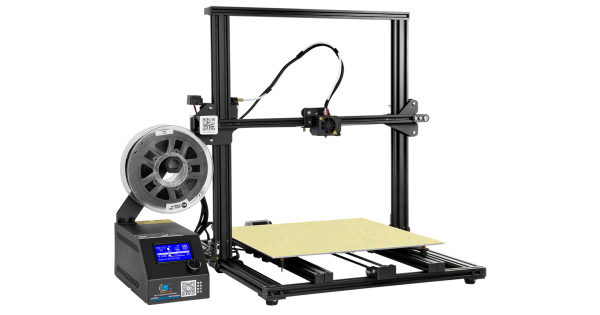
The Creality CR-10 3D Printer is small enough to fit on a small desk. This will provide an opportunity to realize all your creative desires even at home. The design of the three-dimensional printer consists of a durable aluminum housing, which will allow the printer to last for quite a long time. Another positive criterion is the ease of assembly and further configuration.
Description
The printer was invented in 2017 by the Chinese company Creality 3D, which in turn was founded in 2014. Despite its rather impressive dimensions of 540 × 640 × 310 and a weight of about 10.3 kg, assembly time takes an average of only 20 minutes.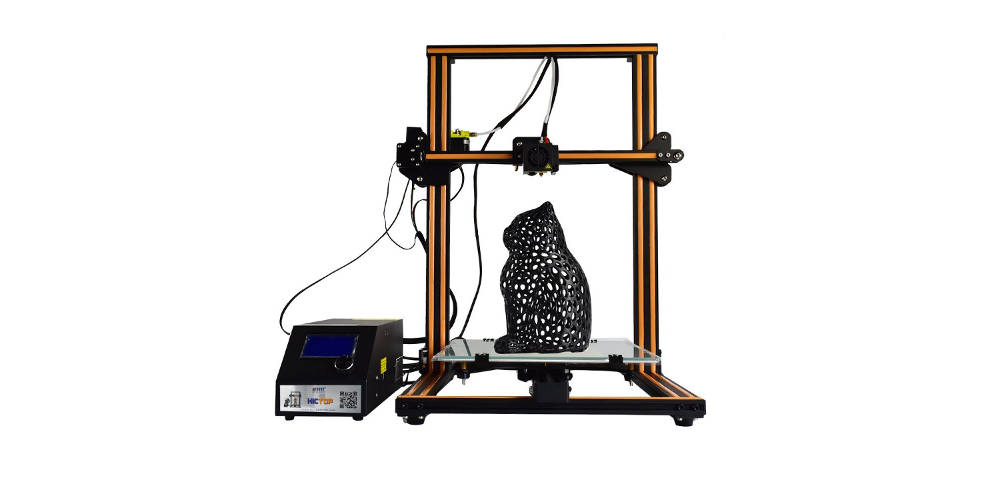 The device is equipped with an industrial printed circuit board, which is able to work continuously for 200 hours. The linear pulley system is a patented technology: V-profile and precision pulley with ideal smoother running is considered to be wear resistant. With these characteristics, the printer works almost silently. nine0003
Loading filament for printing is quick and easy, and the filament prints smoothly and well. The display is bright and spectacular, equipped with contrast adjustment and easy to control. The screen displays the temperature of the bed and nozzle both in a given format and shows the current value and flow rate.
For reference . On the information board, you can find out data on excessive extrusion (we are talking about the fact that a lot of material is loaded) or too low extrusion (too little material), as well as the speed of the fan. nine0003
The 3D printer in its original assembly requires a heated platform.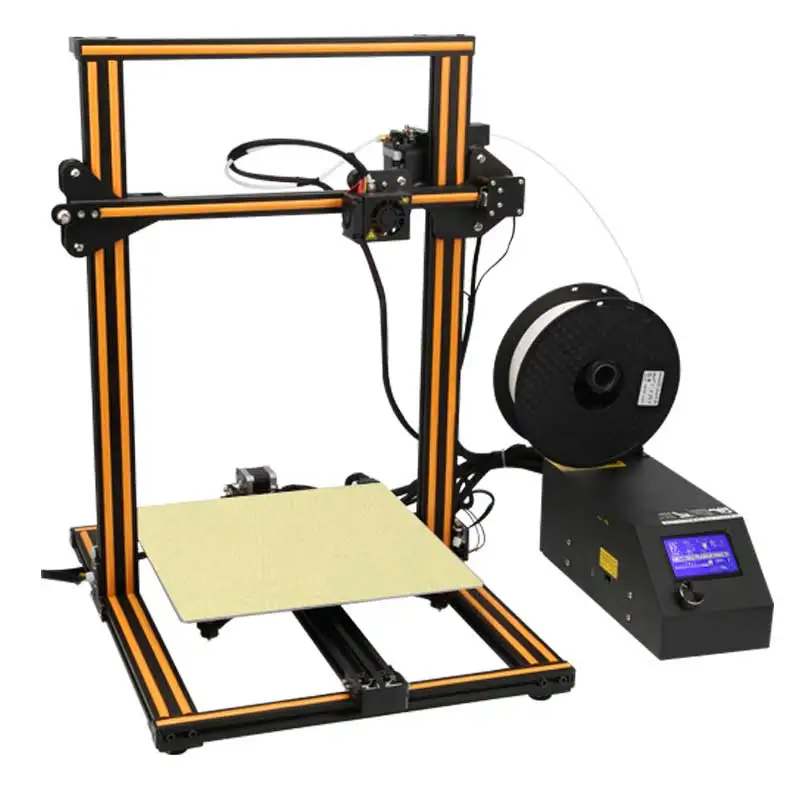 The kit comes with an extruder in a single quantity. The Creality CR-10 is also equipped with the ability to use several types of plastic in printing at once, such as ABS and PLA. The thickness of the plastic wire must be 1.75 mm. Printing can be done from both USB and SD cards. When building three-dimensional models, Cura software is used, which is also included with the printer. The maximum temperature that the nozzle produces reaches 270 degrees. The printable area of the printer is 300 × 300 × 400 mm. nine0003
The manufacturer recently released an updated version of the CR-10S. The parameters of the machine are almost the same, but some of the functionality has been significantly upgraded. The following are a number of upgrades:
- Upgraded CR-10S Motherboard - equipped with Creality 3D V2.1 board, can print 200 hours of high quality non-stop printing without interrupting the production process.
- Resume feature - The printer can resume printing when there is a power outage.
 The motherboard has been completely redesigned and supports permanent power outage monitoring. nine0028
 - Thread break sensor - the printer is equipped with a special device that allows you to monitor the process. When the filament runs out or breaks, the printer will automatically stop to ensure smooth and continuous printing of the model.
Creality CR-10 3D Printer
- Dimensions, mm 615x600x490 mm
- Seal FDM
- Extruder temperature Up to 250 °C
- Working chamber area 300x300x400 mm
- Speed ≤200 mm / s
- Layer thickness from 100 µm
- Nozzle diameter, mm 0.
 4
4
- Thread diameter, mm 1.75
Go to product
Pros and cons
Like any technique, the printer has both advantages and disadvantages.
Let's start with the positives:
- Has a large printable area.
- Easy to use. nine0028
- Assembly does not take much time.
- Silent operation.
- No software update required.
- 3D printed, easily removable platform.
- Sustainable power supply.
- Quality build.
Cons:
- It takes quite a long time to warm up the platform.
- The room temperature rises because the platform is very hot.
- The cable from the motor to the extruder is relatively heavy, which can affect the quality of prints. nine0028
- The touch screen does not display all saved model files.
- Layer displacement when changing plastic filaments.
Package contents
The 3D printer comes semi-assembled and in a modest cardboard box. It is obvious that at first glance the package looks cheap. But in fact, this model is made of quality materials. Of course, the manufacturer should have placed an image of a 3D printer on the packaging, but apparently he did not consider this necessary. nine0003
Opening the Creality CR-10 box you will find two foam trays with a small number of parts including tool kits and spare screws.
The installation instructions included in the package are at first glance incomprehensible and vague. To avoid assembly errors, use the information on the Internet.
Creality CR-10 3D Printer includes the following parts:
- 3D printer,
- two spools with ABS and PLA consumables,
- tool kit,
- power cable,
- SD memory card with software,
- packing box,
- warranty card.

Print quality and product examples
If the printer is set up correctly, the finished part is good and of good quality. The Creality CR-10 3D printer prints models with a minimum layer thickness of 100 microns.
Next, consider the samples that the device can print. nine
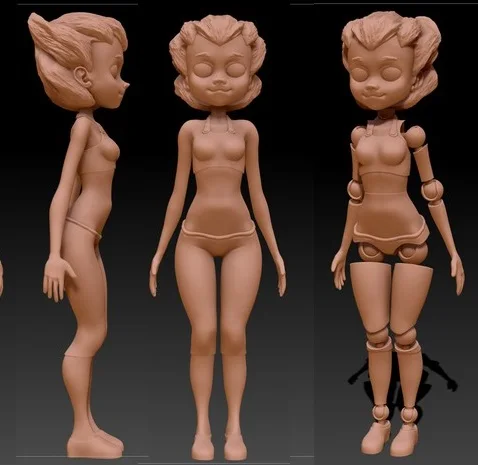
The Creality CR-10 3D Printer can be used in various fields such as education, design and architecture. But that's not all. Also, the device is capable of printing on fabric with a plastic filament - this opens up new horizons for the use of a 3D printer.
Consider how 3D printing can be used in jewelry. With its high level of detail, the Creality CR-10 is capable of realizing any jewelry design. The main thing here is to understand that the printer does not print finished products for wear. In other words, 3D printers don't print gold rings and earrings. nine0003
The Creality CR-10 is able to create a high quality, detailed model of a piece of jewelry that will later be used to make molds.
The benefits of using a 3D printer in the jewelry industry:
- Improving the skills of making unique products.
- Creating a plastic model of a piece of jewelry will save time and provide an opportunity to coordinate the item with the customer at the modeling stage.
What materials are used?
The printer uses 0.75 mm filaments such as ABS and PLA as consumables for work:
- ABS - Acrylonitrile Butadiene Styrene, an impact resistant thermoplastic. This material is used in the automotive, medical and souvenir industries, as well as in the manufacture of sanitary ware, credit cards, toys, furniture, etc. Due to its low cost and strength, ABS has become popular among 3D printing enthusiasts. The melting point is about 105 degrees. nine0028
- PLA (polylactide) is a plastic whose structural unit is lactic acid. It is made from corn or sugar cane. Potato and corn starch, soy protein, cassava tubers and cellulose are also used as a material for producing plastic.
 To date, polylactide is most often used as a consumable for printing on 3D printers. This material is absolutely harmless to human health. The melting point of such plastic is 173 degrees. nine0028
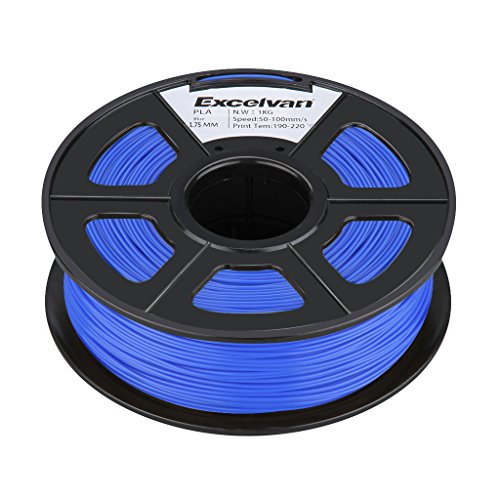
A big advantage of this printer is the fact that the Creality CR-10 uses open spools. Thanks to this, you are not tied to one manufacturer. So, many companies produce consumables in special cartridges, which are much more expensive. A thread with a diameter of 1.75 mm is ideal, since a sufficient number of companies produce such a sample. At the same time, the color palette pleases with a huge assortment.
Instructions for initial setup and preparation for operation
Here is a quick guide to setting up and preparing the printer for use.
- Remove all parts from box and remove protective tapes and gaskets from parts.
- Inspect each item for shipping damage.
- Proceed with the installation of the structure, based on the enclosed instructions, or use information from the Internet.
 Assembly will take no more than 20 minutes.
After installation, the first step is to calibrate. The build plate should be level and the nozzle approximately 0.1-0.2mm from the platform at all locations. You need to adjust the height so that you can barely slide the paper between the nozzle and the assembly. nine0003
Set up carefully and follow the steps below:
- Turn on the printer first.
- Choose Select Control > Temperature > Bed. The heating temperature should correspond to 55 degrees.
- Select Prepare > Preheat PLA. This will heat up the nozzle and melt any hardened plastic that may be on the nozzle and interfering with the alignment process.
- Select Prepare > Auto home. This will move the nozzle to its original position in the front left corner of the slab. nine0028
- Select Prepare > Disable steppers. This will allow you to move the nozzle in the X-axis and in the Y-axis manually.
- Wait until platform temperature reaches 55 degrees and nozzle temperature reaches 195 degrees.
 Temperature information is displayed on the screen.
 - Insert a sheet of paper between the nozzle and build plate.
- Adjust each of the four screws so that the gap is the same everywhere and the sheet of paper moves with little resistance.
- Select Prepare > Auto home then Prepare > Disable steppers and check a few places again. It is important to do this to make sure that the Z-Axis lead screw is not loose while adjusting the clearance. nine0028
Important! You may need to adjust the platen level during printing. The first layer of detail will show if the correct distance is selected between the nozzle and the pastel.
Let's summarize. The Creality CR-10 3D printer is a worthy Chinese representative that will easily fit into both home and production environments. We list the main points that you should pay attention to when buying:
- 3D printer is easy to operate and assemble. nine0028
- The model has many advantages, including silent operation, large print area and quality assembly.
- Good quality prints.
- Creality CR-10 is a great tool for jewelers.
- Filaments made of ABS and PLA plastic are used as consumables.
- May 31, 2020
- 2561
Get expert advice
unboxing, installation and first print experience - CNXSoft - Android Set-Top & Embedded Systems News
Today I bring you a first look at the Creality CR-10 3D Printer. Most likely there will be several articles about this device, Today I will present you with unboxing and initial setup. I have no experience with 3D printing and when I found out I would be doing this review I was ecstatic. It took a while for it to finally reach me, due to the wild popularity in Gearbest. While waiting, I read a lot of different information about 3D printing, so to speak, to be savvy in this matter. and I'm glad I did.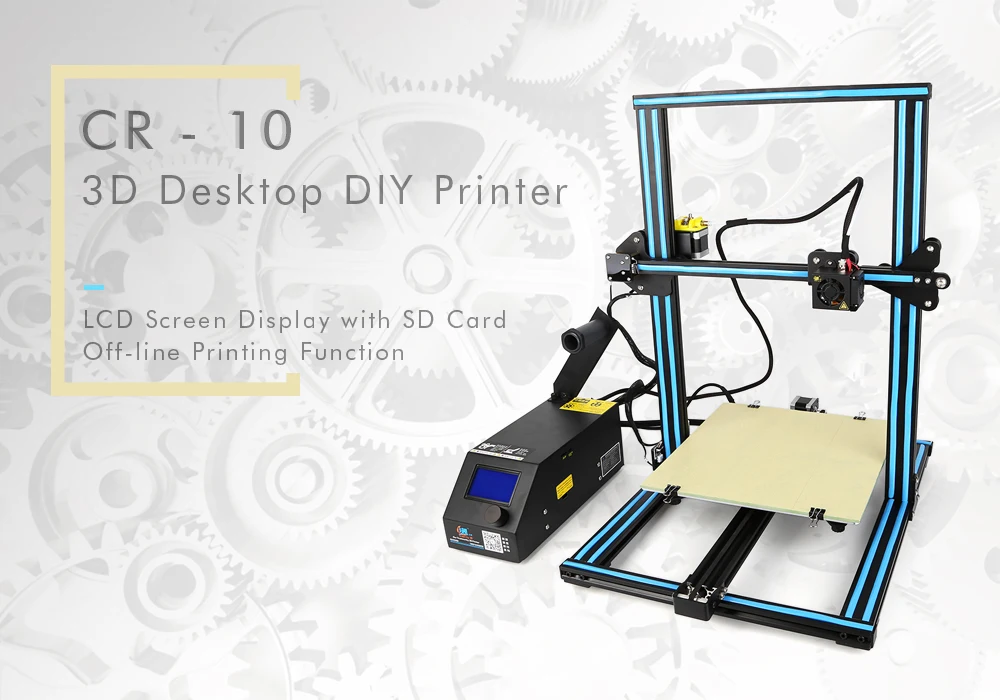 nine0003
Creality CR-10 3D Printer Specifications
- 300 x 300 x 400 mm Build Quantity
- Nozzle diameter: 0.4 mm
- No memory card
- print: SD card
- Print up to 80mm/s (but the slower the better)
- File format: G-code, JPG, OBJ, STL (I just made g-code)
- 1.75mm
- Software - Cura; octoprint
Unpacking and setting up the CR-10 3D printer
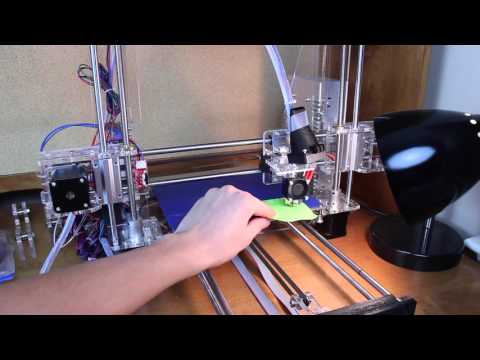
I assembled the CR-10 in about an hour and printed my first cat model a couple of hours later. The kit comes with one file with a cat model on an SDCard. In order to assemble everything, it was necessary to connect everything with a few bolts and make several electrical connections. I've read some reviews that said the build is wobbly, but I didn't have that problem. I downloaded the assembly instructions to my mobile phone and worked from there. All tools for working on the printer are included, including some additional parts. To align the printer, I turned on the machine and ran "autohome". In the settings, I disabled the stepper motors and aligned it. This is done by moving the print head around the 4 corners and turning the wheel. I calibrated the printer 4 times to be sure)
I don't have a well ventilated printing area that is ventilated. So I tried to assemble a ventilated box.
Inside the control box
Inside the control box, everything is organized and convenient. The wires are the right size. I've read reviews of some of the cheaper printers and they had problems with wires. I took these shots 2 weeks later and I didn't notice any problems.
Click to enlarge
First printing experience on CR-10
The cat that was used as an example was already prepared for printing. The next night, I uploaded other schematics, so I went to Thingiverse. Thingiverse is a site where people upload 3D files that can be downloaded for free. My children chose what to print.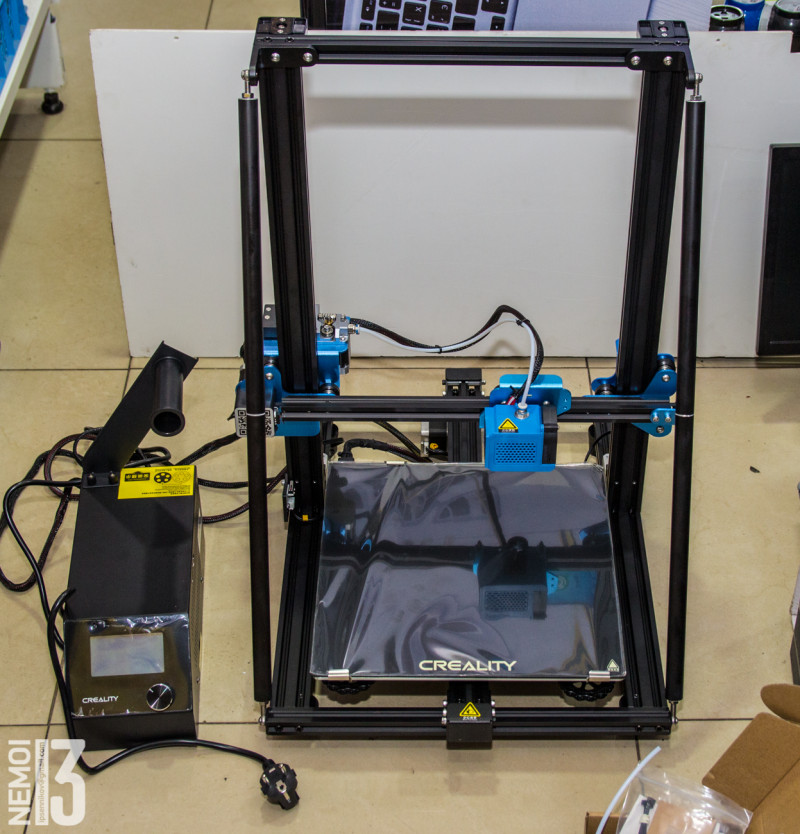 The daughter chose an owl. The son chose a pirate ship. I decided to prepare the files for printing myself. I downloaded the latest version of Cura from their website as it was newer than the one shipped on the SD card. Cura requires a profile to be selected, and I found the profile on the Facebook user group page. After downloading, the first thing that began to print was an owl. Everything was going well, so I went to bed. The next morning, I discovered that things were not going so smoothly. About a quarter of the owl was printed and then there was a failure and the printing failed. Without hesitation, I took a new tape, which was provided in the kit. But again it didn't work. When I was researching print materials, I found out that you can try using hairspray to improve the adhesion of 3D printing. But it's not for me. I used glue stick. nine0003
After the problem was solved, I sent the models to print again, and everything worked out.
Slicing
If you have a 3D object that you want to print, you need to cut it into circles.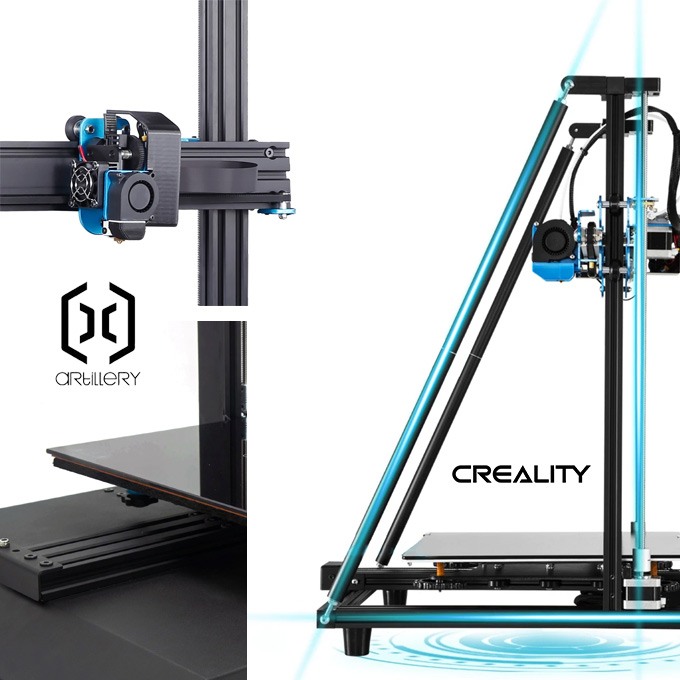 The sliced 3D object is placed in a printer format file called GCode. The printer comes with an older version of Cure. I chose the new version to get more features. More features are better? There are a ton of settings you can change to customize the print quality as well as the filament set. Not all threads are the same. I will talk about this later. nine0003
facebook group
Although the company has a forum, the CR-10 Facebook group has a lot of useful information. I really recommend joining her and reading the posts. It helps to see what other people are doing. As of the last couple of days, a mod for the latest firmware is coming soon. This is a really good sign. This is a fairly large group with 1800 members.
My CV
I have red, black and wood thread and will print something with them. I will make small models. I will also delve into model slicing systems, their settings and problems. I know it's fashionable to print big objects too. I feel like 3D printing is becoming an art form and I have to master these settings.