3D printing assignments
Popular 3D Printing Projects - Instructables
Very Easy 3d Puzzle to Do DIY But Devilishly Difficult for Smart People by DanielC788 in 3D Printing
Judges Prize 19 2.5K
Helical Dissection Puzzles by voidbubble in 3D Printing
First Prize 28 2.8K
Customizable 3D Printed Stocking Ornament by Penolopy Bulnick in 3D Printing
22 1.4K
Lampy: the Desk Buddy That Brightens Your Workspace by Forma Designs in 3D Printing
Runner Up 30 1. 3K
Create Your Own Circular Puzzle!!! by dslrdiy in 3D Printing
Second Prize 30 1.2K
JEDA LAMP by 2306 in 3D Printing
Runner Up 49 2.5K
Custom Metal Printed Hotend! by JGJMatt in 3D Printing
44 3.6K
Dancing Santa Clause Automata by Fay3dlab in 3D Printing
Runner Up 17 1.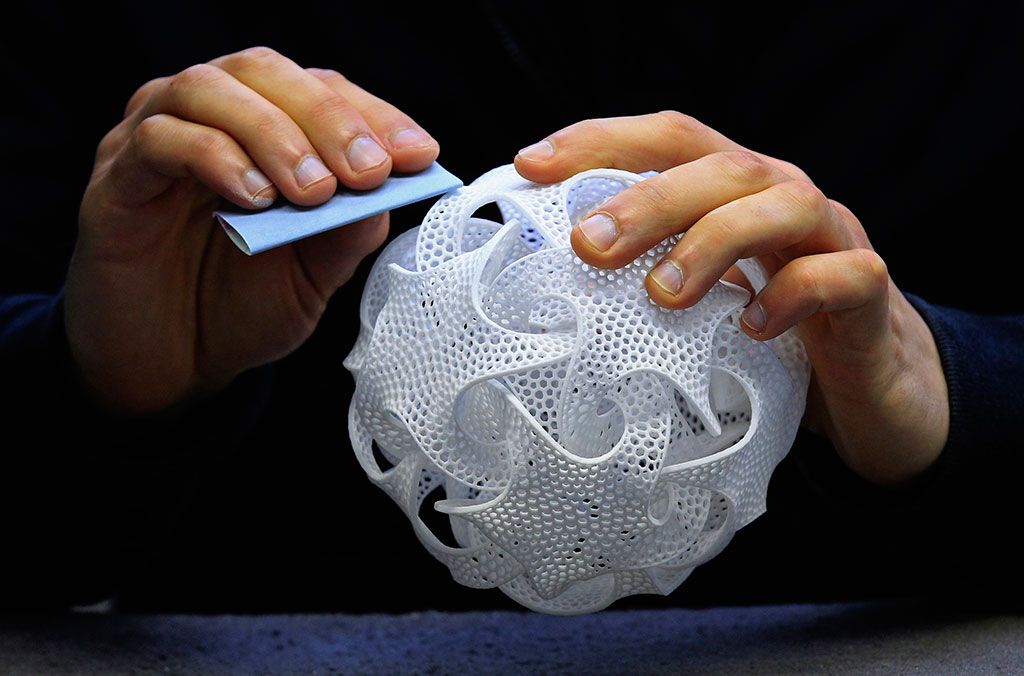 2K
2K
Make a Cookie Cutter With Tinkercad by Penolopy Bulnick in 3D Printing
1 41 2.6K
Design and 3D Print a Sturdy Puzzle Box by BrittLiv in 3D Printing
Second Prize 37 6.3K
Concentric Rings Fidget Toy by voidbubble in 3D Printing
19 1.1K
Best DIY Camera Lens Caps V2.0 by dslrdiy in 3D Printing
31 2.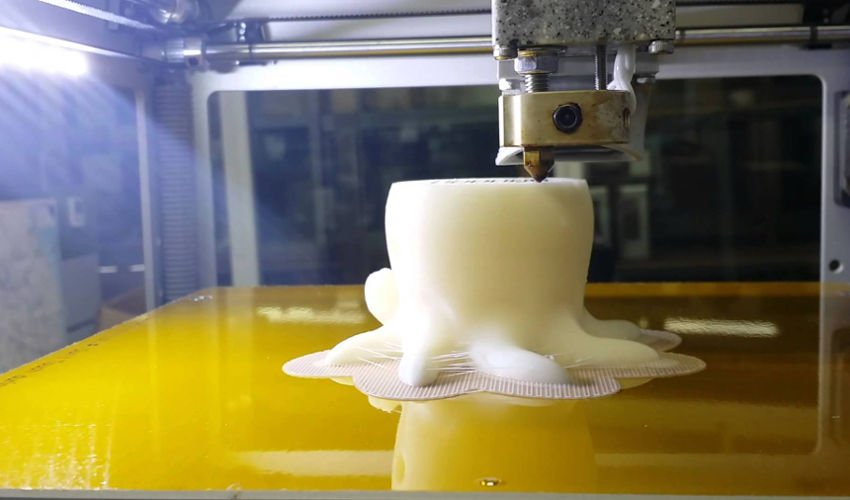 2K
2K
3D Printed Pop Its by MrErdreich in 3D Printing
Runner Up 48 5.5K
The Simply Impossible Puzzle by TheMadWrapper in 3D Printing
Judges Prize 7 157 20K
PiBM PS/2 Model 25 - 3D Printing, Assembly, and Electronics by poprhythm in 3D Printing
Second Prize 102 20K
Penrose Triangle by NEW PEW in 3D Printing
2 31 18K
G Wagon - RC Scale Model by Rambros in 3D Printing
46 2.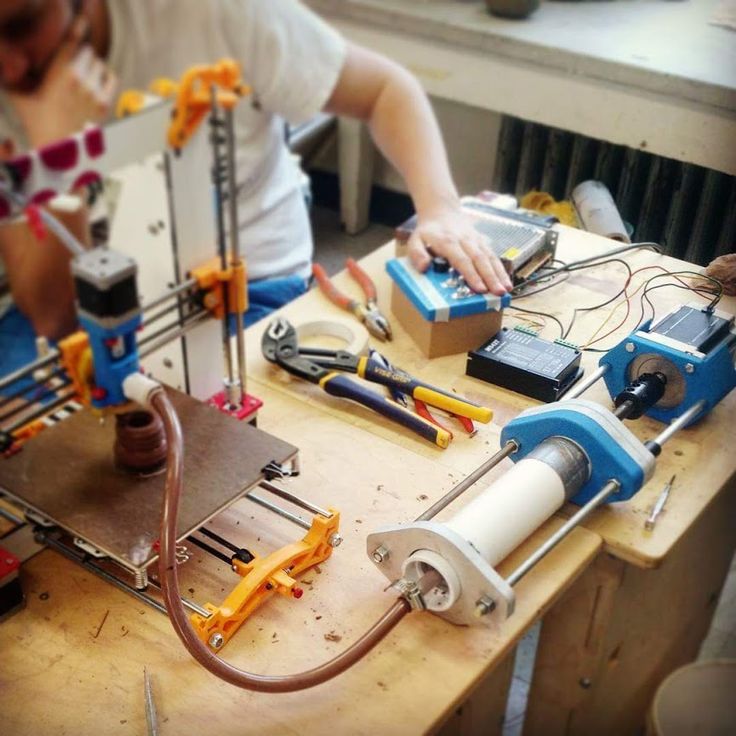 8K
8K
3D Printed IMac G3 Mini - Fully Functional Hackintosh Powered by Intel NUC by GregO29 in 3D Printing
Runner Up 46 3.0K
A New Perspective on 3D Printing! by Caelestis Cosplay in 3D Printing
Runner Up 44 12K
Marblevator, Clouds. by gzumwalt in 3D Printing
35 3.4K
Repurpose Old Earphones to Capture 3D Printing Time-Lapses by NirL in 3D Printing
Second Prize 1 109 11K
A 3D Printed Windup Car Using a "Runaway Escapement" Speed Regulator.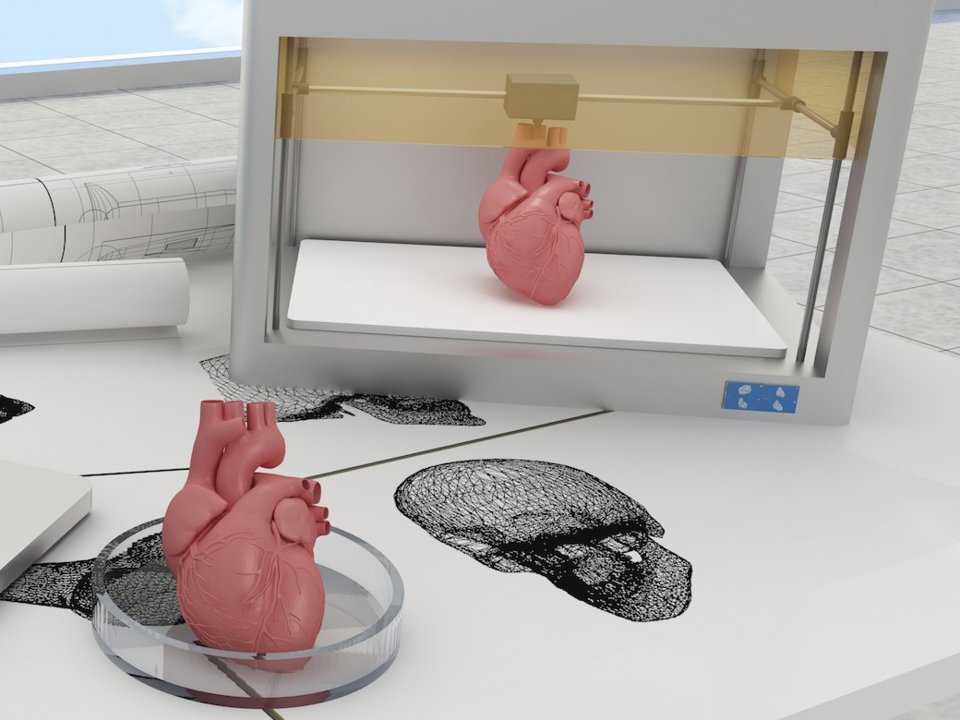 by gzumwalt in 3D Printing
Second Prize 1 67 4.0K
3D Printed Universal Drill Holder by Timbertime in 3D Printing
71 4.2K
Diy Tape Measure Yagi Antenna for Ham Radio by Mikiah in 3D Printing
Runner Up 57 5.7K
Memory Lamp by Banhammer in 3D Printing
56 4.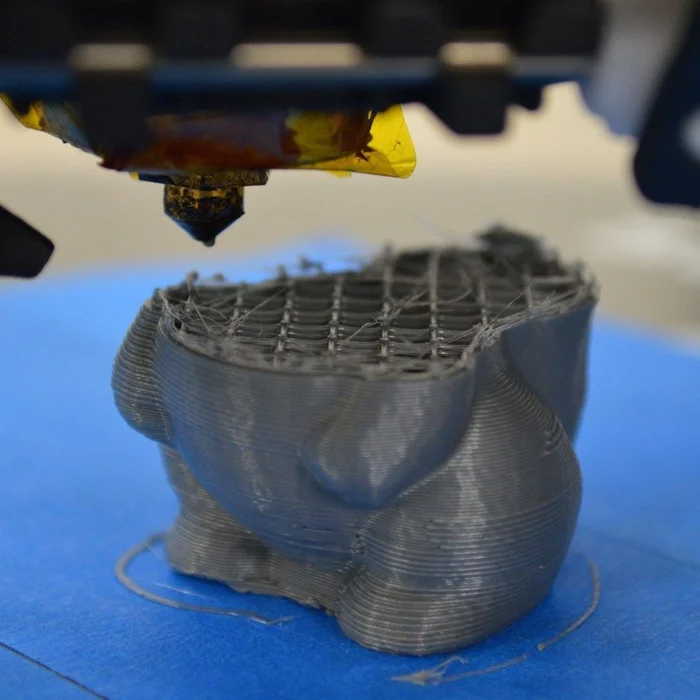 0K
0K
A 3D Printed Slinky Machine by gzumwalt in 3D Printing
3 59 4.0K
Hobby Lamp / Lampara Para Hobby by modelkitsdeluxe in 3D Printing
133 6.3K
Marblevator, "The Ferris Wheel at the Pumpkin Patch" by gzumwalt in 3D Printing
Runner Up 3 31 2.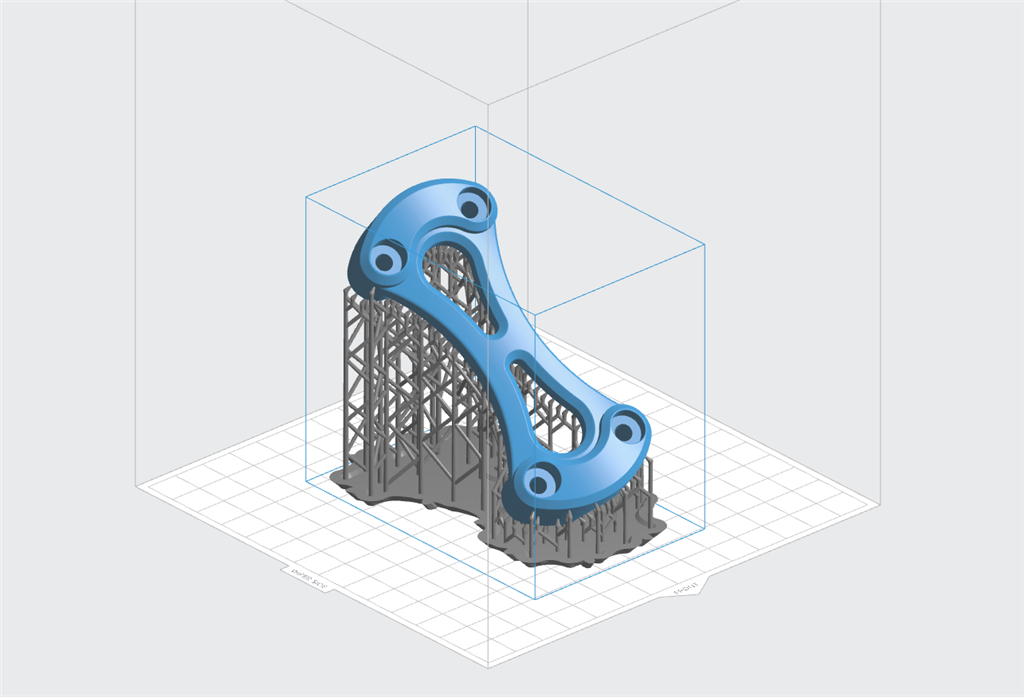 6K
6K
WINTURER: a Portable NP-F Battery Charger Wind Turbine by adriancubas in 3D Printing
Grand Prize 659 67K
3D Printed Wigglegram Lens (Sony E-mount / APSC) by scealux in 3D Printing
Runner Up 40 3.9K
Blastoise Humidifier by Fay3dlab in 3D Printing
First Prize 46 2.0K
Tens'EGG'rity - Halloween - 3D Printed by seabirdhh in Decorating
59 9.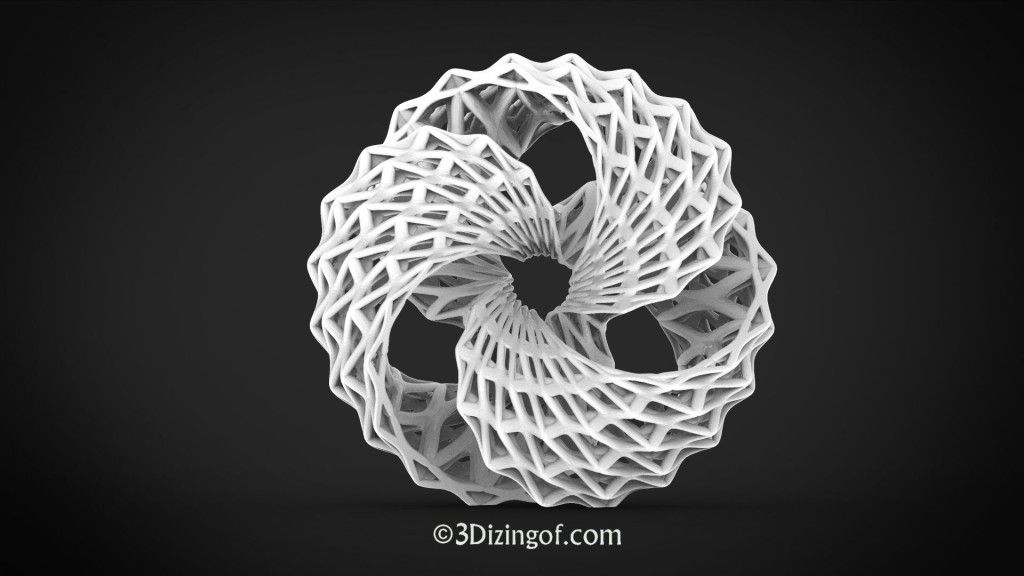 9K
9K
Faux Barbed Wire Choker and Bracelet - Flexible 3D Print by Penolopy Bulnick in 3D Printing
1 62 5.3K
Animatronic Robot by Nitin r in 3D Printing
1 760
Ultimate (On a Budget) Home Vacuum by Icelandian in 3D Printing
Runner Up 52 5.9K
Life Sized Talking BMO From Adventure Time (that's Also an Octoprint Server!) by katzcreates in 3D Printing
Grand Prize 129 10K
Forged Fabric Parts!!?.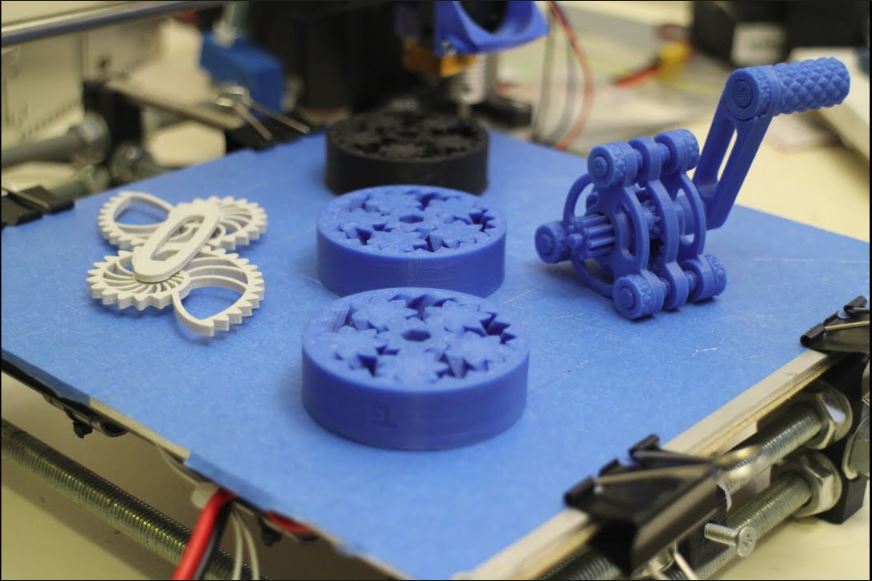 . With 3D Printed Compression Molds by JGJMatt in 3D Printing
Runner Up 115 5.5K
3D PRINT a STEAM TRAIN 🚂 With Live Camera Streaming and Wifi Controls by DIY Machines in 3D Printing
First Prize 277 41K
Cut 3D Print Times in Half With Negative Volume Printing by MechanicalMashup in 3D Printing
20 1.5K
Are Expensive Nozzles OVERRATED? by diyperspective in 3D Printing
16 16K
Marblevator, Golf by gzumwalt in 3D Printing
Judges Prize 2 43 3. 1K
1K
Egg Topper -Tinkercad basics by sigritom in 3D Printing
First Prize 1 38 3.6K
Make an Ostrich Egg Lamp by alatorre in Reuse
Second Prize 41 7.2K
Jurassic Park Gate Remote Control by Fay3dlab in 3D Printing
Judges Prize 42 4.7K
Brush and Display Together: Camera Lucida for Light Strokes by RichardGreene in Digital Graphics
Runner Up 25 1. 9K
9K
Model Paint Shaker by Fay3dlab in 3D Printing
Runner Up 52 3.6K
Slidee: Non-motorized Automatic Camera Slider by Shivam Dehinwal in 3D Printing
Second Prize 110 6.3K
3D Printed Multi-Angle Drill Guide by Kartik_Nanduri in 3D Printing
108 7.2K
Smack Activated Cat Toy 🐈 by JGJMatt in 3D Printing
Runner Up 50 2. 3K
3K
Pet Bowl Riser - 3D Printing by garweb in Pets
Runner Up 22 1.4K
Silent Omni-Directional Desk Fan by JGJMatt in 3D Printing
Runner Up 123 6.5K
Tool for Making Soil Blocks (3D Printed) by DonnaCohn in Gardening
Runner Up 1 80 5.2K
Cat and Dog Selective Feeder by tomasdiazwahl in 3D Printing
First Prize 95 8.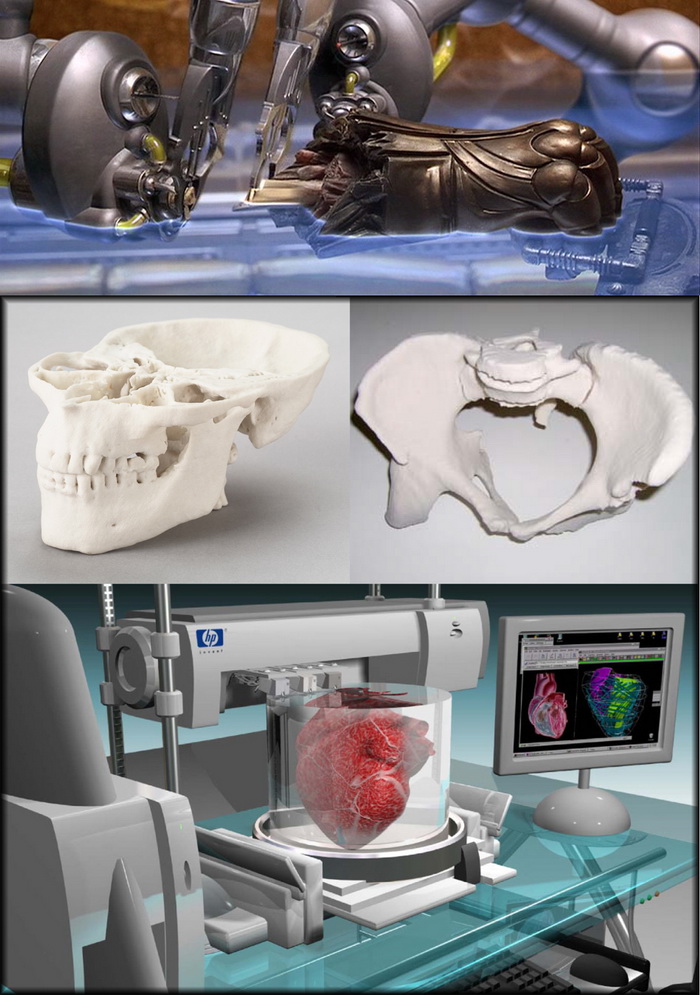 7K
7K
3D Printer Enclosure - Wood With Acrylic Windows by poprhythm in 3D Printing
Runner Up 139 6.1K
217416670000000000000000000000:1 Cycloidal Drive by ShirdelY in 3D Printing
35 5.7K
Altoid Arcade by AndrewDuong01 in 3D Printing
Fourth Prize 107 8.7K
3D Printed - V6 Internal Combustion Engine by aseeshpaulbandaru in 3D Printing
Fourth Prize 51 3. 3K
3K
MOTUS - Open-Source 3D Printed Robotic Arm by alatorre in 3D Printing
Grand Prize 239 10K
Custom Color Art Board by cfb70 in 3D Printing
First Prize 92 15K
Marblevator, Pick and Place, Version 3 by gzumwalt in 3D Printing
1 73 5.2K
7 Fun & Easy 3D Printing Lesson Plans
Are you ready to take on a learning journey that keeps students motivated and engaged from start to finish? The MakerBot Learning Team’s got a great collection of 3D printing lesson plans to help get you started. You’ll reinforce complex STEAM concepts with Thingiverse projects that encourage experimentation and innovation. You’ll give your students the freedom to explore, design, and create new things, all in one lesson.
Many Thingiverse lesson plans come with step by step instructions, downloadable activity sheets, photos, and more. You’ll keep them engaged with interactive activities like building bridges, designing artifacts, making 3D-printed games, and more. Read on to check out some lesson plans that are sure to excite the innovators in your classroom.
Science
With the Cutaway Earth Model project, your class can expand on Earth Science concepts by exploring the various layers of the Earth. Elementary school students can reinforce their comprehension of the Earth’s layers by printing and coloring individual 3D printed pieces. They’ll enjoy piecing together its layers to make their own world.
Explore meteorology in the Hurricane Patricia lesson. Grades 3 through 5 will learn to analyze the atmospheric conditions of a storm from the perspective of space.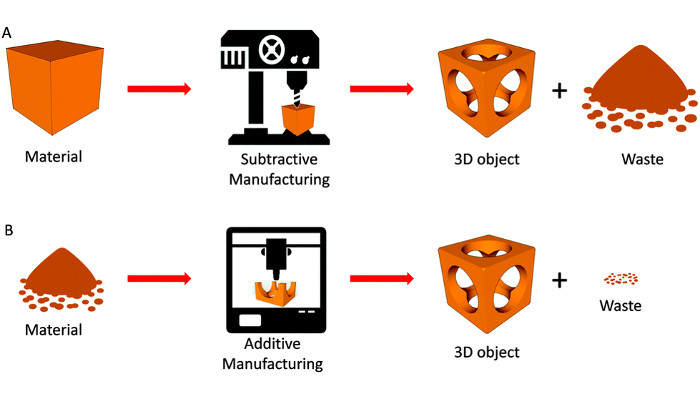 In just seven steps, they’ll use embossify to create physical models of storms from satellite images, and then use those models to order them by their intensity.
Technology
There’s a rewarding sense of pride that students feel after they’ve created a complex 3D print. One such project is the K-12 Design Project: Freight Car & Train lesson. All it takes is five classroom sessions for students to create their very own freight cars and trains. They’ll learn to identify and model basic CAD designs, duplicate them, and assemble those designs into larger recognizable structures. Complete with Prezi presentations, worksheets, and step by step guides for each learning session, this lesson plan can be easily integrated into a larger curriculum. The lesson could also be adapted for other grade levels and class sizes by modifying the design or the project complexity. The Freight Car & Train lesson shows students that their ideas are just 3D models and structures waiting to happen.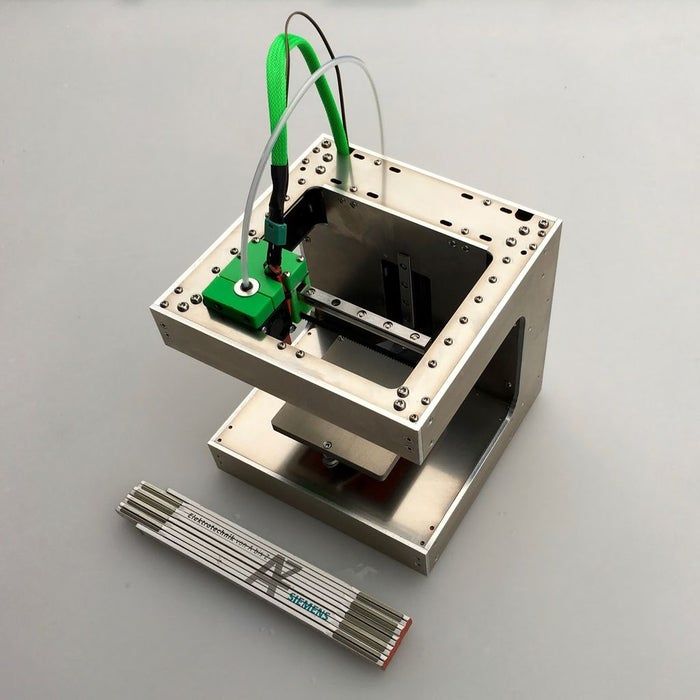
Engineering
Empower students by giving them the freedom to engineer and build their own structures. In the Bridge Building lesson, students have the chance to design, create, and build bridges. In this lesson, each student must design and print structures that can fit together to make a 25 cm long bridge capable of holding at least 5 kg of mass. Once the 3D pieces are printed, they’ll assemble the pieces and prepare their bridges for weight testing.
As Thingiverse designer 2teacher4u suggests, you might want to ask student to complete a quick report that analyzes and compares their bridge to others in the class. This report will help students look back on the engineering process and talk about what they’ve learned. The Bridge Building Lesson, originally created for third graders, is a simple engineering adventure that can be easily adapted for younger or older students.
Art
Your students have wild, vivid imaginations. With the Snowflake Machine project, your students can create their own unique 3D printed snowflakes.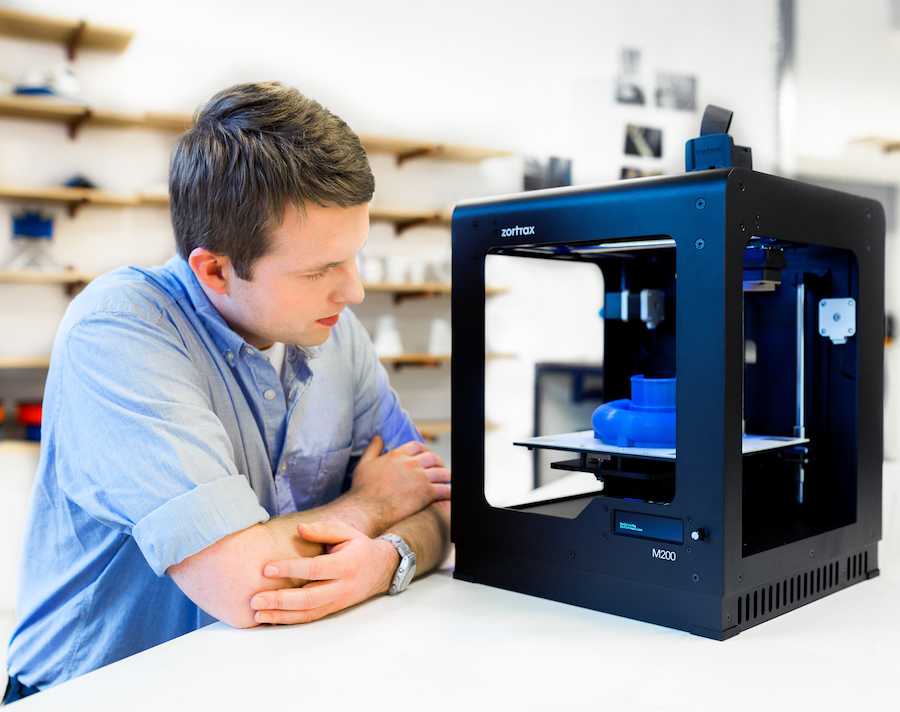 Using Thingiverse’s Customizer app, the snowflake machine uses random numbers, mathematical algorithms, computer code, and more to mirror the way that snowflakes structures are created in real life. This lesson plan comes complete with tips and tricks and demo models to help you get started.
In the Aztec and Mayan Structures lesson, sixth graders design and print an artifact or structure based on Mayan or Aztec aesthetics. To prepare for this lesson, students research the two cultures, and use what they learn to create a design that’s historically accurate. To finish the lesson, students present the function or cultural significance of their print to the class.
Math
The best teaching moments happen when you blur the lines between learning and fun. In the Beast Belly: Fraction Game, grades K through 8 are challenged to fill a 3D printed beast’s belly up with tokens to make a whole number. They’ve got to see how many different fraction combinations they can use to fill the beast’s belly. The game helps students add and subtract fractions, express whole numbers, and recognize fractions that are equal to whole numbers.
This lesson plan comes with helpful print directions and worksheets. The game gives students a fun way to memorize fractions. You might even hear them challenging their friends, well after the lesson is over.
To get started in your classroom or for more lesson plans, explore the MakerBot Learning Collection!
Popular tasks that metal 3D printing solves
Basics of 3D
Author: Aleksey Chekhovich
Author: Aleksey Chekhovich
Creation of heat sinks in an additive way | Spare parts | 3D printing with metals in the production of structural components | Tools | 3D printed medical devices | Food industry | Additive technologies in fashion and design | industrial automation
To get the most out of the possibilities that 3D printing opens up, you first need to have a clear understanding of the technology, materials, and design process.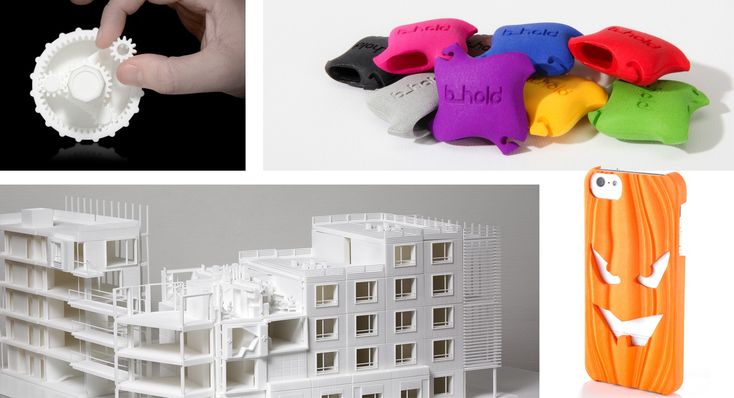 A flawless 3D printed metal part is always the result of a perfect interplay of these factors, given the application. In some areas, metal 3D printing technology (selective laser melting) can bring real benefits, providing significant improvements in terms of performance, functionality, aesthetics or weight reduction. nine0003
The purpose of this article is to show for which tasks and products 3D printing with metals is most suitable.
Aluminum Heat Absorber for Manufacturing Plant
1. Heat sinks
Heat exchangers are designed to dissipate heat, such as heat generated by electronic and mechanical devices. The surface area significantly affects the performance of the heat sink, but usually the available space is quite limited. This means that maximizing the surface area within the available boundaries is a key issue. nine0003
The design freedom offered by metal 3D printing allows the creation of subtle and complex geometries and lattice structures that make optimal use of the available space.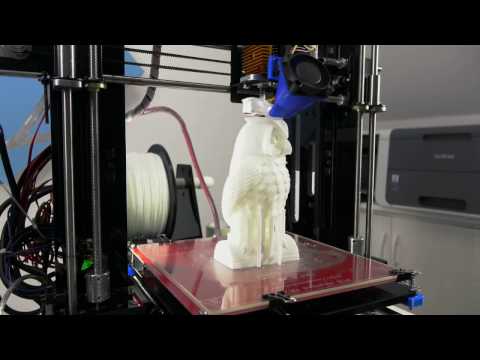 Combined with the excellent thermal conductivity of aluminum used in 3D printing, this is an ideal solution for making heat sinks.
Aluminum cooler with internal channels
2. Spare parts
nine0002 Demand for spare parts is usually volatile and it is difficult to predict when and where certain parts will be needed. Storage of spare parts on the shelves is expensive - it is necessary to store not only parts, but also tools. With additive manufacturing, parts can be made locally and as needed, avoiding stockpiling and transforming all supply chains.To get the most out of the technology in terms of material usage, weight and functionality, redesign is recommended. But the more companies adopt additive manufacturing for first batches, the easier it will become to manage spare parts. nine0003
Fitting a titanium wishbone to an InMotion race car
3. Structural components
Areas such as bionics and structural optimization show great potential for industrial applications. The structures created as a result of topological optimization can have a very complex shape. With the freedom to change the geometry that metal 3D printing provides, complex shapes can be realized with fewer constraints or rework associated with the manufacturing process. nine0003
Given the excellent mechanical properties of the metal used in additive manufacturing, structural components become lighter and require less material without sacrificing strength. This approach opens up great opportunities for the design of structural components.
Aluminum device with cooling channels
4. Tools
In the tool industry, the issue of cost reduction is especially relevant. These costs can be controlled in part by optimizing machine performance and by reducing waste. One solution is to use conformal cooling. In the process of manufacturing tools using additive manufacturing, the most complex cooling channels can be integrated close to the surface of the part. This results in optimized heat flow and reduced cooling time, which reduces the risk of warping and improves part quality. nine0003
For parts that are so complex that conventional methods would require labor-intensive and expensive tools to manufacture them, additive manufacturing can have undeniable advantages.
Titanium hip implant custom made for the patient
5. Medical devices
Mass customization can only be stably realized through 3D printing, where design flexibility does not compromise cost-effectiveness. For this reason, the medical industry was one of the first industries to embrace additive manufacturing for the manufacture of customized devices such as implants and personalized medical devices. nine0003
The biocompatibility of titanium used in 3D printing, combined with the ability to create complex structures, has opened up new possibilities for minimizing surgery, promoting bone ingrowth and increasing patient mobility. At this level of customization to individual patient requirements, 3D printing is the only technically feasible and cost-effective production method.
Titanium nozzle with complex internal channels nine0003
6. Food industry
Food manufacturing and processing companies are often in need of custom made parts. The creation of tools for the production of small series often leads to an increase in production costs. The cost of 3D printing, which does not depend on the volume of the lot, makes it possible to reduce costs.
In addition, the biocompatibility of titanium used in 3D printers allows it to come into direct contact with foods and liquids. Combined with design flexibility, this makes it possible to produce more functional and complex complex components used to fix, serve and store food. By increasing functionality, we can reduce the number of components, which reduces the risk of downtime and the need for maintenance. nine0003
Lightweight shoe with titanium heel by Scherf Design
7.
 Fashion and design
 Attracted by the ability to create unusual shapes and configurations - for reasons of both aesthetics and functionality - designers and artists have been experimenting with 3D printing since the early days of the technology. As metal printing becomes more accessible, new possibilities open up for creating things that were previously unthinkable. Customized jewelry, eyewear, designer objects and accessories can be made from an ever-growing range of materials and finishes. nine0003
In an industry where brands need to constantly innovate designs to stay competitive, additive manufacturing will be the best choice due to the cost-effectiveness of small-scale production and rapid production.
Weight-optimized aluminum pneumatic gripper
8. Industrial automation
Each industrial automation project has its own requirements, which require the development of individual solutions. 3D printing solves this problem with cost-effective small batch production and unlimited design possibilities. Comprehensive integrated functionality allows grippers and clamping devices to use fewer components and less manual assembly. Volume optimization results in lighter, lower cost grippers that allow robots to operate at optimum speed. nine0003
The high strength and light weight of aluminum used in 3D printing makes it suitable for the development of robust custom automation solutions, while stainless steel can be used where food safety is a requirement.
Materials provided by Materialize. iQB Technologies - is the official distributor of Materialize in Russia. nine0081
Article published on 05/08/2018, updated on 04/29/2021
3D printing — Worldskills Russia national team
“
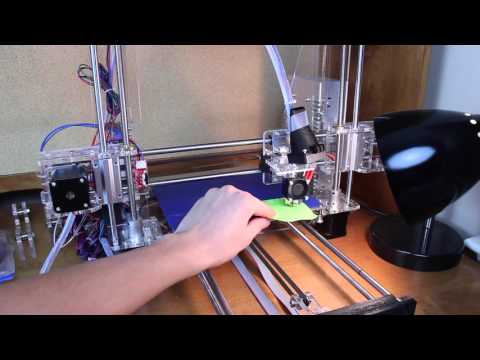
3D printing technology was invented back in the 80s of the last century, but became popular not so long ago. With this printing method, the material is layered on top of each other, forming a finished product, and not just a two-dimensional image.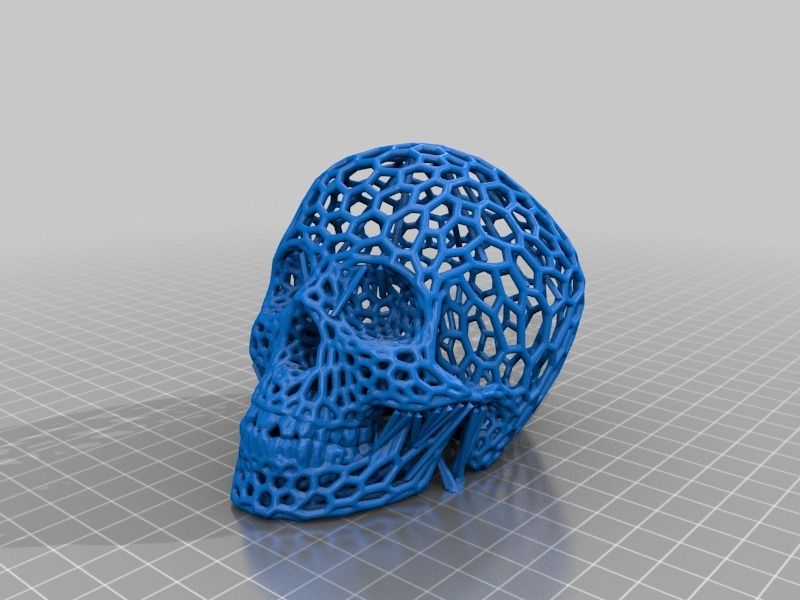 Thanks to this, the possibilities of 3D printing are almost limitless: you can produce both a small high-precision part and an entire structure! In this tutorial, we'll walk through the entire 3D printing process from start to finish. nine0003
Glossary
To help you master the material, we recommend that you study the following concepts:
Apparatus that works on the principle of additive manufacturing. The finished product is, as it were, "grown" from a certain material
The principle of production, in which the finished product is formed by gradually adding material to the base
Programs that allow cutting STL models into layers and, based on this, generating a G-code in which commands are written for 3D printer
Video Lecture
Abstract
Additive Manufacturing Technologies
There is a huge variety of 3D printing technologies in the world today, from the oldest and simplest FDM technology to the emerging 3D bioprinting technology.
SLA (Stereolithography)
Technology for the production of models from liquid photopolymer resins. The polymerization of the resin occurs due to irradiation with an ultraviolet laser at the points of contact of the material with the beam. Upon completion of the contour construction, the working platform is immersed in a tank with liquid resin for a distance equal to the thickness of one layer. After leveling the surface of the liquid material, the process of building the next layer begins. The cycle is repeated until the complete model is built. nine0119
The main advantage of stereolithography is its high printing precision. The minimum layer height can be as low as 25 microns.
Among the shortcomings, it is worth noting the high cost of manufactured models due to the high price of consumables.
Here is an example of a printed part with mechanical supports.
SLS (Selective Laser Sintering)
In this manufacturing process, a laser selectively sinters polymer powder particles, fusing them together to create layer after layer. nine0003
This technology provides high precision, detail and allows the production of parts with good and stable mechanical properties, unlike FDM and SLA. And printing in the volume of consumables allows you to print parts of even the most complex shape without mechanical supports.
Here is an example of a part printed using this technique.
MJP (Multi Inkjet 3D)
This technology is based on layering an object from a wax-based photopolymer to build supports and a resin with properties selected for the part itself. nine0003
MJP is somewhat similar to SLA technology: both use photopolymer resins and UV lasers. But MJP is distinguished by more detailed printing and the presence of wax supports, which, in turn, allows you to completely get rid of the post-processing of the model.
This is what a part made using this technology looks like.
CJP (colour inkjet)
The principle of printing is to apply powdered materials layer by layer, after which a binder polymer is applied.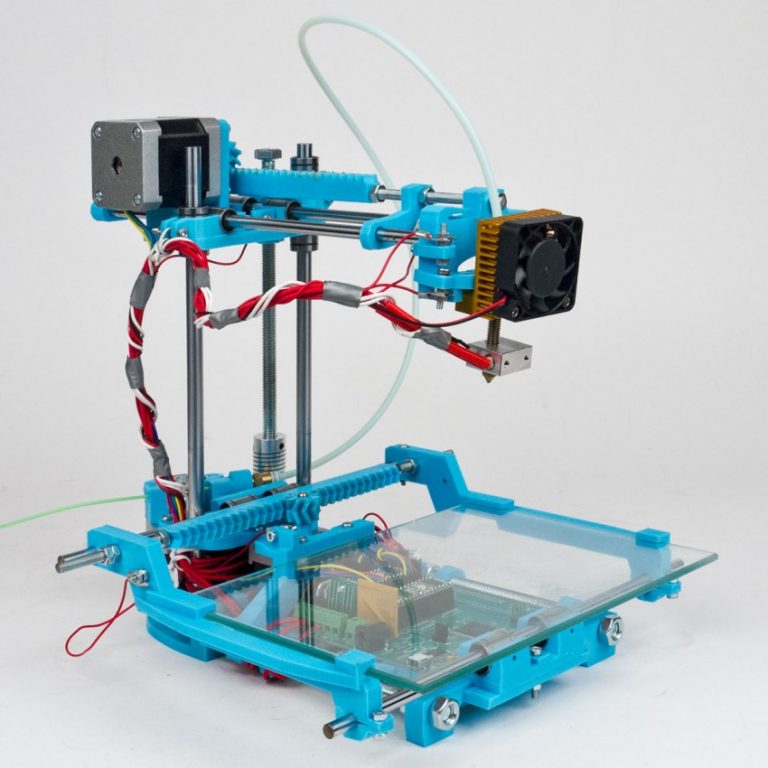 The peculiarity of the technology is that polymers of different colors can be used, which makes it possible to create multi-colored and textured parts. nine0003
This technology is used to create realistic prototypes of buildings, clothes and shoes, human organs in medicine, and to make scanned human figures.
FDM (Fusion Deposition Modeling)
This technology is printed by fusing the material layer by layer.
Although FDM technology is the oldest printing technology, it has become widespread relatively recently. It includes ease of study and use, availability on the market of additive technologies and an excellent ratio between price and quality of finished products. nine0003
FDM technology allows you to use different types of media for printing. Each material differs in its properties and printing parameters. These can be:
- simple plastics: ABS, PLA;
- engineering plastics: PetG, ePeek;
- special materials: PVA, Hips, Flex.
Making a part on a 3D printer
Safety precautions
- When using a 3D printer, do not reach into the working area where printing is being done. nine0119
- Protective goggles and gloves should be worn when handling photopolymer printers that use photopolymer resin.
- Wear respiratory and eye protection when using printers that use powder media.
What we need
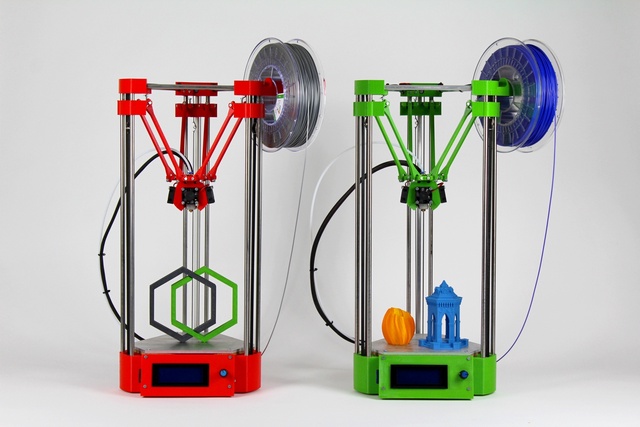
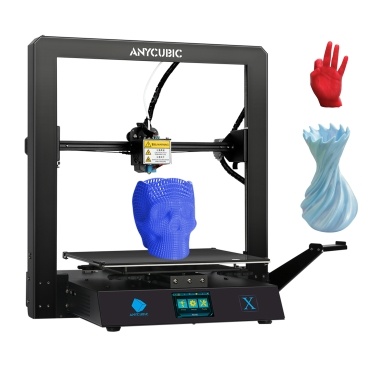
3D printer
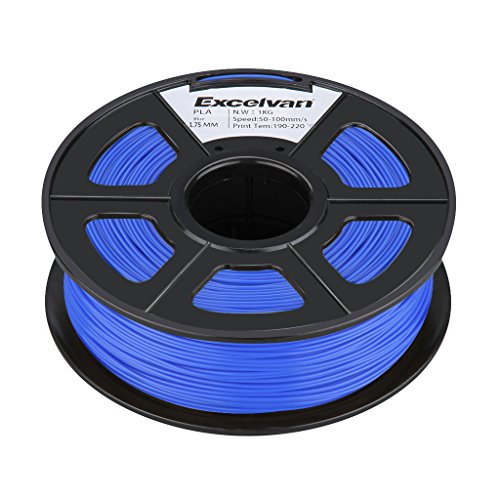
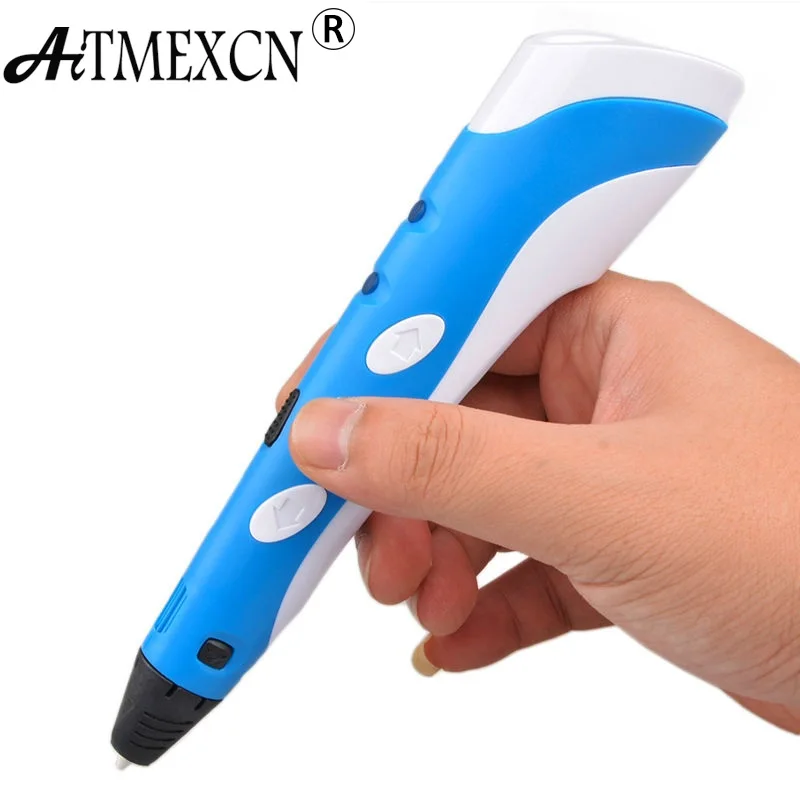
3D printing plastic
Computer with 9003 slicer installed7
USB-drive
Special glue for 3D prints
Napkin
Printing
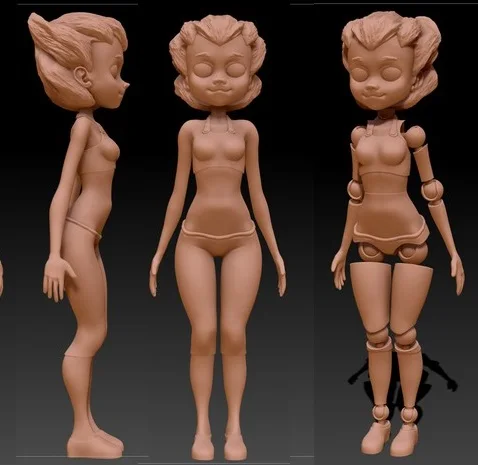
1. 3D model STL We load the special Software called the School.
2. We arrange the model so as to minimize the number of supports.
3. Set the print options. Set the height of the layer. It should not exceed the diameter of the nozzle installed on the printer. The higher the layer height, the faster the print, but the surface quality of the model suffers. nine0003
4. Set the fill percentage. They affect the occupancy rate of the model: the higher the percentage, the stronger the model. But at the same time, material consumption and printing time increase.
5. Perform support settings. The main ones are the gaps between the model and the support body during printing. When setting supports, you must take into account the height of the layer.
6. Perform adhesion settings. They allow you to create "skirts" around the models, which increase the contact area of the model with the table. The smaller the contact area, the wider the "skirt" should be. nine0003
7. After setting all parameters, press Slicing.
8. Save the job and send it to the printer.
Preparing the printer
1. Loading material into the printer.
2. In the program, go to the "Plastics" section, select the "Plastic Loading" item and set the type of plastic you want to load.
3. Calibrating the printer. To do this, go to the "Service" section, select the "Desk settings" item and follow the instructions on the screen. nine0119
4. The job can be run in one of the print speed profiles: Draft, Standard, or Quality. Each profile is labeled with an estimated print time. Select the required profile.
5. Apply the 3D printing adhesive to the napkin and spread it evenly on the table.
6. We start the job and wait for the part to be printed.
Finished product measurement and post-processing
1. Printing completed. Let the model cool down and remove it from the table.
Important
Do not remove the finished model from the table immediately, as this can ruin the model itself or even damage the table
2. We are reviewing the finished product. We take the dimensions of the physical model and compare them with the dimensions of the three-dimensional model.
3. We evaluate the surfaces of the model. Very slight roughness is the norm for FDM printing. To achieve ideal surfaces, the model needs further post-processing. nine0119
“
In this lesson, we went through the entire path of a 3D printer operator and figured out the steps that go into it. And now consolidate your knowledge by completing a small task.
Interactive task
To reinforce your knowledge, take the test
| Let's start! |
| Next |
| Check | 0322
Sorry, you answered all the questions incorrectly
Read the lecture and watch the video again