Business card 3d printing
3D Print the Ultimate Business Card
This is a guest post by David Wu, MD-PhD Candidate, UCSF Medical Scientist Training Program
Hey! If this is what you’re here to learn about…
You’re in the right place!
This is a lithophane. You’d traditionally have to manually carve it from a porcelain or wax plaque. Under normal lighting, it’ll look like a poorly-made relief, if like anything at all. But when backlit, an incredibly detailed image appears!
So how does it work? Essentially, it’s a 3D grayscale image, with darker areas thicker than lighter areas. That’s it! There are no magical materials or tricks. And luckily for those of us with less than perceptible artistic skill, lithophanes are ideally suited for 3D printing. In fact, you can easily learn to do this in less than 30 minutes. Read on, below!
Backstory
The first time I saw a 3D printed lithophane, I was absolutely astonished. There’s the moment – when the image reveals itself – that simply feels like magic.
You can use this technique in many creative ways, from family photo boxes to panoramic lamp shades. But I wanted something I could carry with me – something I could share at a moment’s notice. Hey, why not a business card?
Larger lithophanes are quite fun, but I’ve found people to be surprisingly impressed when I pull out the 3D printed business card. Initially, there’s some polite confusion when they don’t quite understand what it is. But as soon as they hold it up to a light, they are blown away. A professor of mine once stared at it and kept saying, “This is amazing, I don’t even understand how this works!”
Though I independently came to this idea, I’m certainly not the first to 3D print business cards. However, here I present my take and experiments on this concept.
Workflow
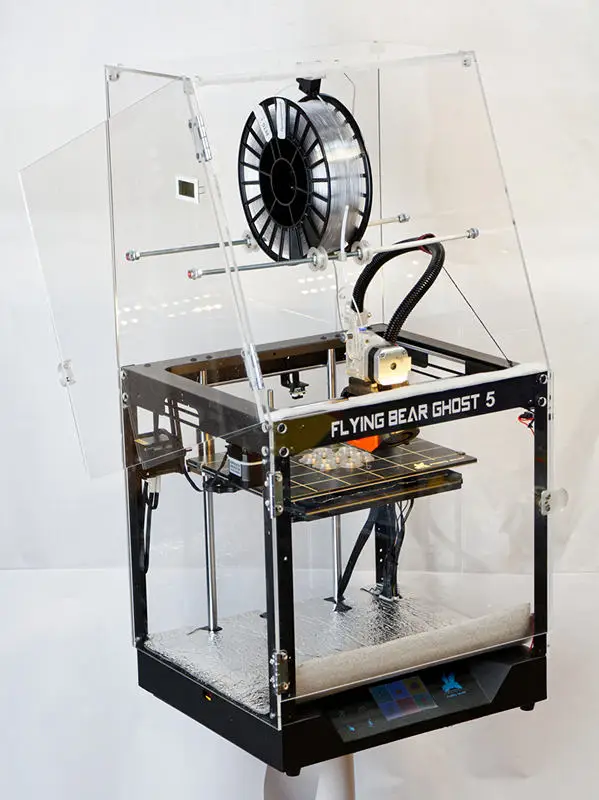
Here is the complete workflow for creating the 3D printed business card. All of the software in this guide is free, and you can easily adapt this method for photographs and other images.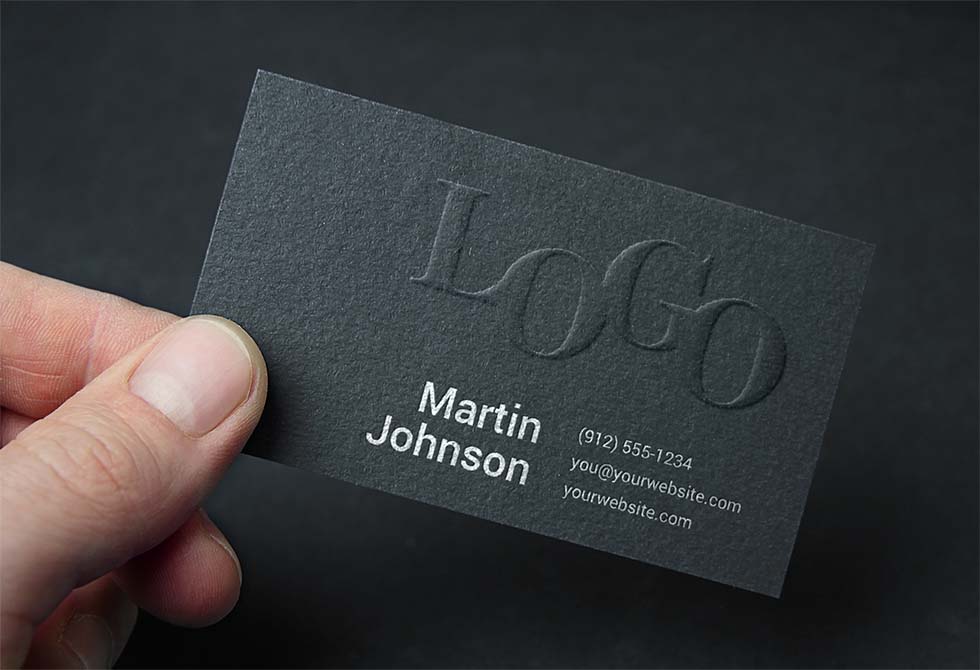 I’ve written this guide with the Ultimaker 2+ in mind, since we’ve had great success using it for lithophanes at the Makers Lab.
Step 1: Design your business card
Feel free to use professional vector image software such as Adobe Illustrator or Sketch, but to keep things simple (and free), I’ll use Google Slides.
Set up the slide to your desired size (3.5 in x 2 in) under File: Page setup.
Insert your photo. Since the final card is small, make your image as big as possible!
Add some text and background colors. As mentioned above, this is a 3D grayscale image so colors won’t show up in the final print (but see Advanced Tips). I like to add colors so the background isn’t too thin when printed. For related reasons, I typically avoid using black text.
Additionally, if you want the text embossed (raised), make sure the text is darker than its surrounding. If you want it engraved (recessed), add a darker text box around it.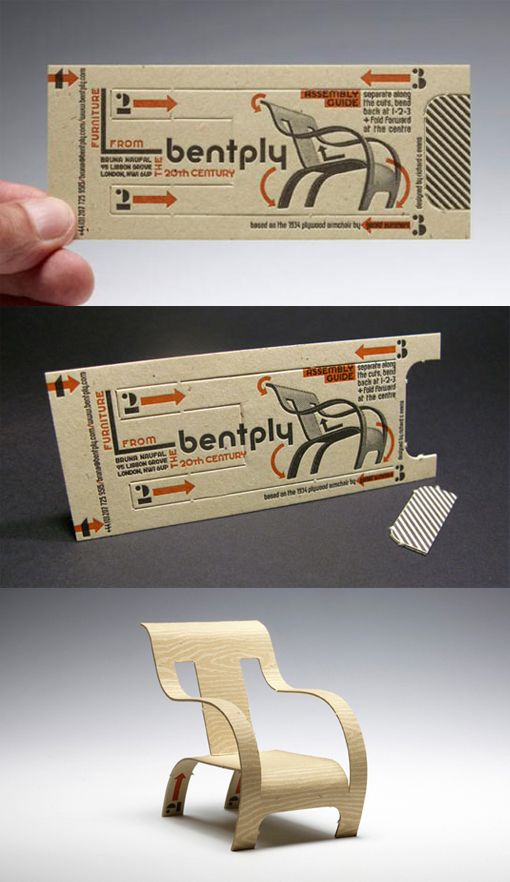
Here are some font sizes, for reference. I’ve also made all my text in bold.
When you’re done, go to File: Download as and select PNG.
Step 2: Convert to a 3D model
There are 2 ways I like to do this.
The super easy way: Open Ultimaker Cura and simply drag and drop your file in. You’ll have a few settings to change.
Here is what I recommend:
Still easy, but with some more options: We’ll use this online tool to convert the image to a 3D model. For some reason these lithophanes turn out nicer than those I load directly into Cura. There are also many options you can play with, like adding curvature and borders.
Upload your .png under “Images.” Make these 2 changes:
- Image Settings: Positive Image
- Model Settings: Maximum Size = 89
Refresh the model and download your .stl file. Drag and drop into Ultimaker Cura for the next step.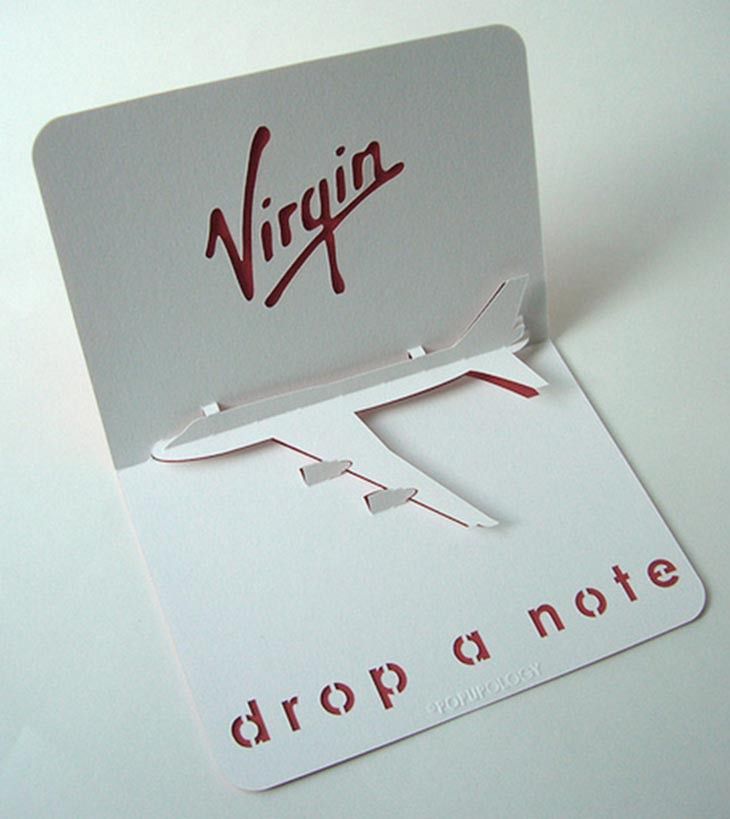
Step 3: Set up your print
This may be counterintuitive, but lithophanes typically come out much better when you print them standing up rather than laying flat on the build surface. If you don’t believe me, check out the Advanced Tips for the same design printed vertically as well as flat.
Your business card will start out looking like this:
Rotate it 90 degrees to look like this.
Now, change these settings:
- Infill: 100% (the print needs to be solid for the 3D grayscale effect to work properly)
- Build Plate Adhesion: Enable (this will help the card stay put during the print)
- Layer Height: 0.1 (lower layer height is typically considered “higher quality” and will linearly increase the required print time. I usually go with 100 or 150 micron layers. Check out Advanced Tips for examples of the same file printed at different resolutions)
Some people also recommend these additional settings, though I haven’t thoroughly tested how important these are myself.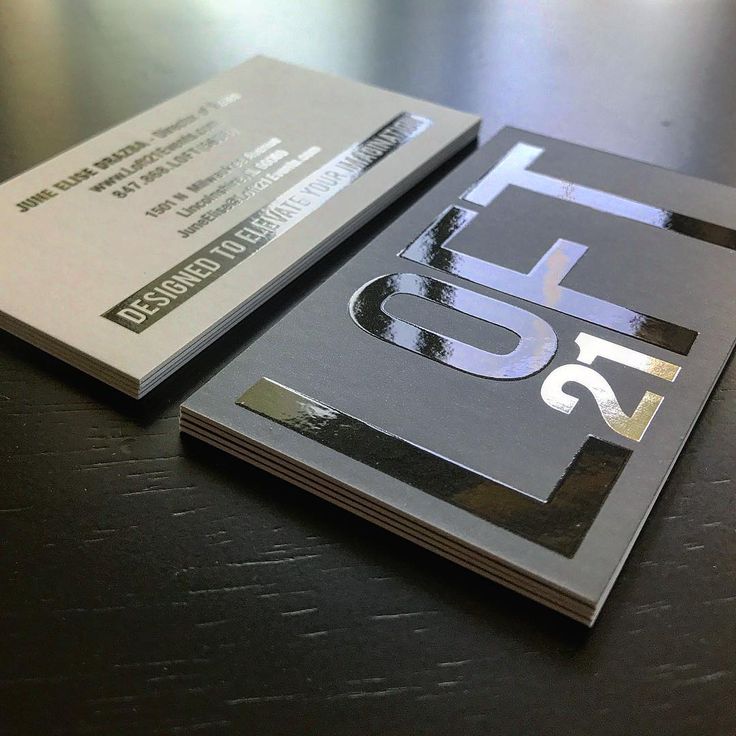
Next to Print Setup, select “Custom” rather than “Recommended.” Then use the search box to find these settings:
- Wall Thickness: 1.75 (basically half the card thickness; should be a multiple of the line width; this ensures your entire lithophane is printed as smooth perimeters and not in an infill pattern)
- Infill Pattern: Concentric (in case the wall thickness doesn’t cover everything, any infill will be printed match the walls)
- Outer Wall Speed: 30 mm/s (slow down the speed to get those nice smooth details)
- Coasting: Enable (might give cleaner prints if you’re seeing some imperfections)
Voilà!
You’re ready to go! Check out Cura’s estimated print time. If you’re doing this here at the UCSF Makers Lab, reserve the Ultimaker 2+ for the amount of time you need (usually around 2 hours – see Advanced Tips for more info). Then print away!
As always, feel free to ask any Makers Lab staff member for help.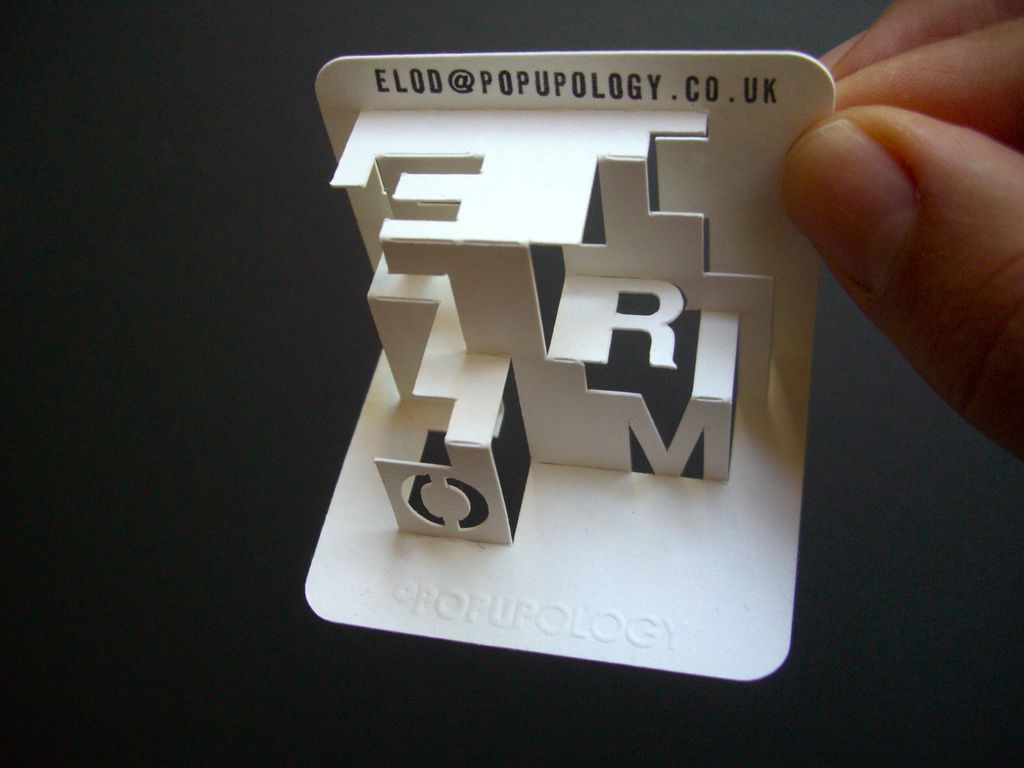 And finally, please don’t take the steps I’ve outlined here as gospel. I encourage you to experiment with different settings, materials, and workflows. Please let us know if you find out anything so that we can learn too!
Advanced Tips
Converting to Grayscale
You don’t need to convert your design to grayscale, but it can help you visualize how your final lithophane will look. To do this for free, upload to your .png to Google Photos and throw on one of the grayscale filters on (Eiffel, Vogue, or Vista). You can adjust additional settings (brightness, contrast, etc) if you please. When you’re happy, download the edited image and proceed to step 3.
Material
We typically use PLA, though other materials can also work. My main suggestion is to avoid “transparent” materials such as T-glase and even crystal PLA, as the lithophane effect depends entirely on the thickness of the print being directly correlated to the amount of light passing through. Opaque materials such as ABS also don’t work well.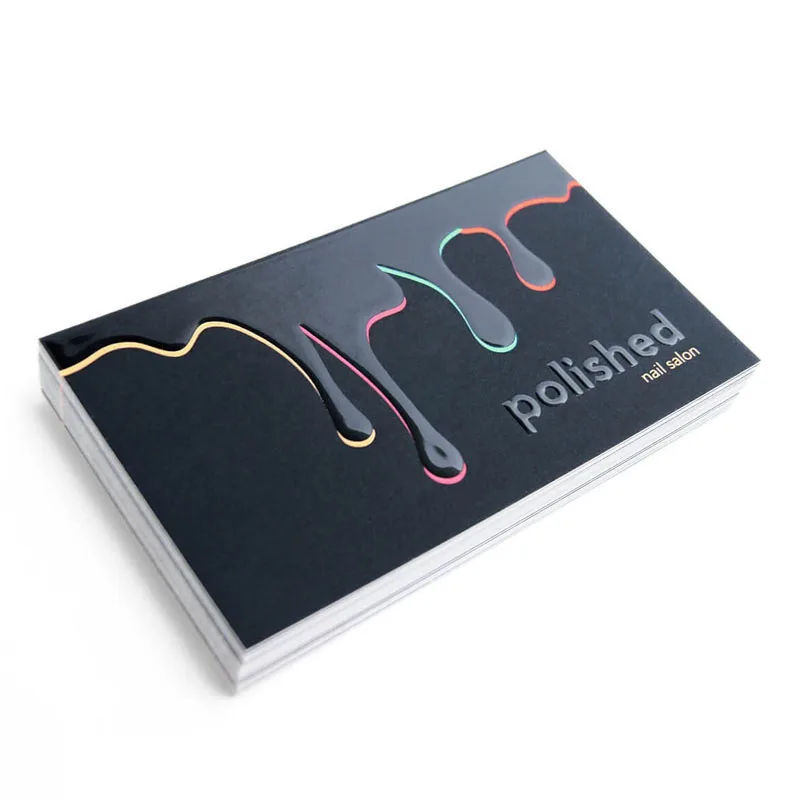
Printer
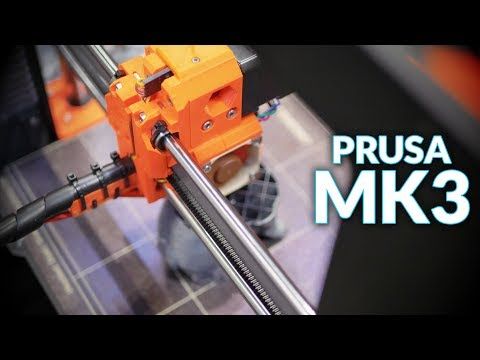
We get amazing results on the Ultimaker 2+, but I’ve also had success on a number of other printers including the Original Prusa I3 MK3 as well as the Creality CR-10. Some limited attempts on Lulzbot printers haven’t produced great results, but if you find otherwise, please let us know and send us your print settings!
Color
While white PLA is commonly used, in fact you can use all sorts of colors – I’ve used red, yellow, and blue before, which produce nice effects. Dark gray and black don’t work quite as well. Neither do certain infused PLA filaments (e.g. woodfill or metal composites). Milky white tends to work better than a flat white.
Colorizing Lithophanes
If you want a colored lithophane, you can actually achieve this effect by coloring the back with markers. Some say this detracts from the simplicity and beauty of the medium, which I tend to agree with. Though I haven’t had great success doing this myself, I’ve seen some mesmerizing examples online.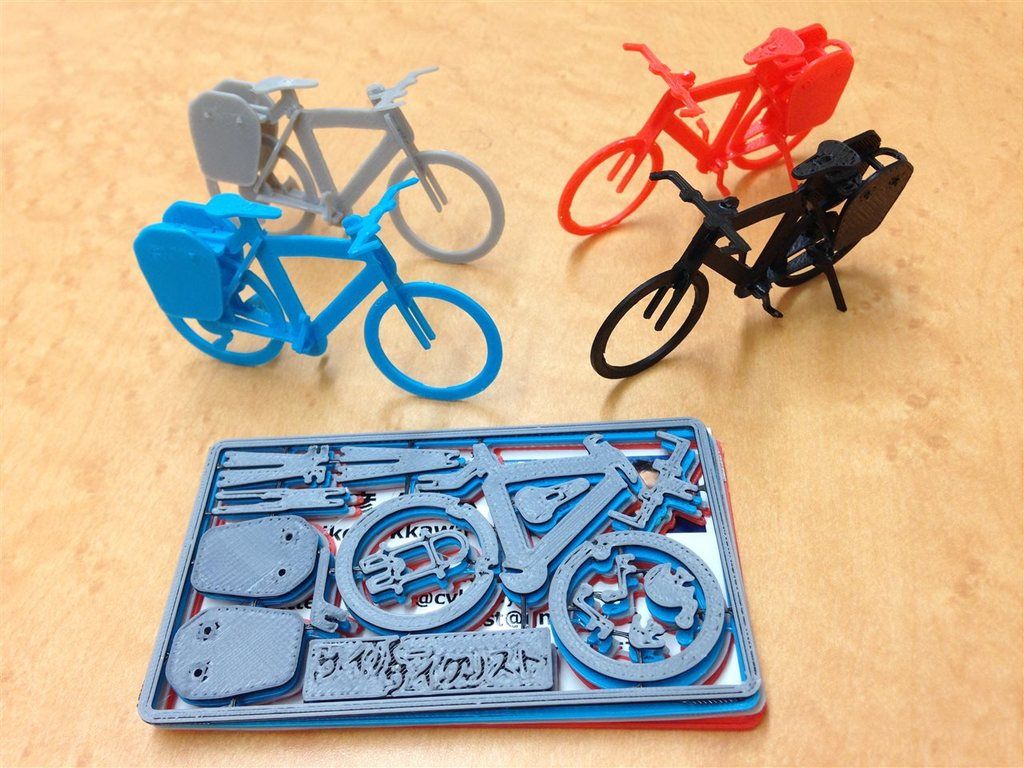
Thickness
Even with a fat wallet, at 3 mm, you won’t be carrying many business cards! So how thin can we go and still get a nice result? I’ve gotten excellent results with a 2mm total thickness:
Layer Resolution and Printing Orientation
Why are lithophanes typically printed vertically? This has to do with the layer by layer printing process. The idea is that you want as many degrees of contrast in your print as possible for the image to show up well. If you print it flat, it’s easy to figure out how many shades of grayscale you’re going through – it’s simply the thickness (3 mm – 0.5 mm base thickness = 2.5 mm) divided by the layer resolution. So for 100 micron layers, you only get 25 degrees of contrast. However, this only occurs in the Z axis. In XY, the print nozzle is not restricted by the incremental layering process. For the Ultimaker 2+ with its XY positioning accuracy of 12.5 microns, you’d get about 200 degrees of contrast, with the print nozzle smoothly tracing the outline of your lithophane.
Here is the same card, printed in different orientations at different resolutions (hover over image to see settings and print time).
Vertical at 100 micron resolution (2 hours 30 minutes)
Flat at 100 micron resolution (2 hours 45 minutes)
You can see the flat print has a more “topographical” effect, while you if you look closely you can make out the layer lines in the vertical print. If you prefer the topographical effect, by all means go for it.
Here are some more resolutions (hover over image to see settings and print time).
Vertical, 60 micron resolution (4 hours 15 minutes)
Vertical, rotated, 60 micron resolution (4 hour 15 minutes)
Acknowledgements
Around June 2017, I stumbled upon the Makers Lab at the UCSF Library. With zero background in design and engineering, I came to the “Intro to 3D Printing” workshop. I really need to give a huge shout out to Dylan Romero, who made this creative space possible, and Jenny Tai, the first Makers Lab staff technician.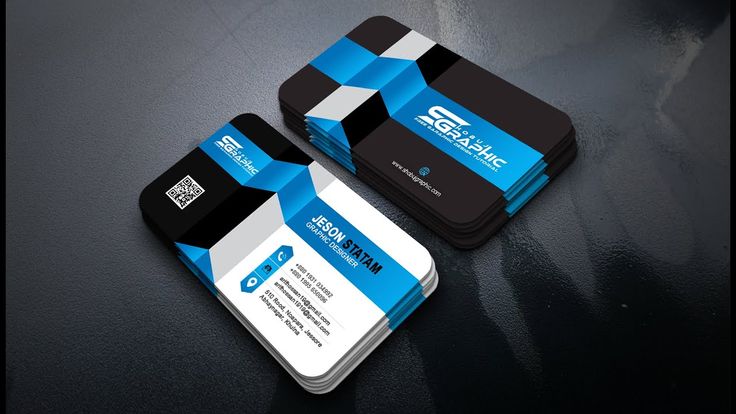 I had never touched or used a 3D printer before and the amazing atmosphere they fostered truly empowered me to learn, tinker, fail, and learn some more. With their help and encouragement, I learned as much about 3D printing as I could and soon how to design my own 3D models.
At one point, I came across a lithophane online, and immediately knew I had to bring back to the Makers Lab to share. And in November 2017, I had my first opportunity to pay things forward by leading a Makers Lab workshop of my own, “3D Print the Ultimate Business Card.” We continue to run this on a regular basis, and you can find the Ultimaker booked constantly, pumping out lithophanes projects of all kinds.
I wouldn’t have had this opportunity today without the help of a huge number of people who continually inspire and empower me. I hope this guide inspires and empowers you, and that you do the same for others.
If you have feedback, questions, or new ideas you’d like to share, please let us know! You can contact the Makers Lab or reach us on @ucsfmakerslab on Twitter or Instagram.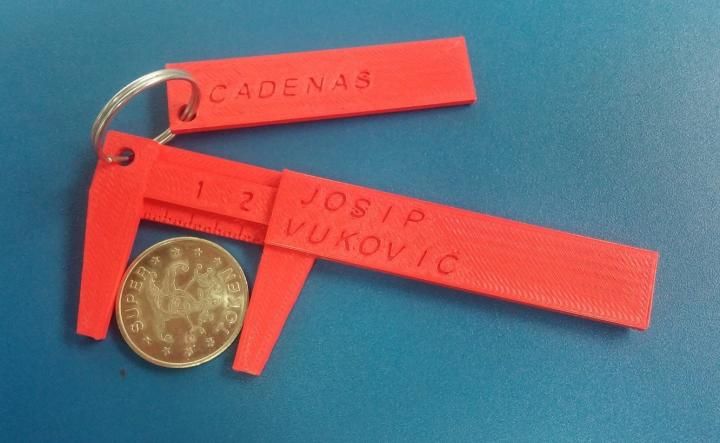 We’d love for you to share your thoughts, questions, and prints!
Resources
- Lithophanes Facebook Group
- Printing Lithophanes on the Prusa i3 MK2S
- Blair Museum of Lithophanes
3D Printed Business Cards - Make Your Business Stand Out More for Less
No matter what business you’re in, there are very few professions out there that don’t have use for business cards.
While using a professional service to make these cards is a standard way to go, what you often get is a cut-and-paste of hundreds of other cards out there. Despite what that famous scene in American Psycho told us, most people can’t really tell that much of a difference.
3D printing business cards is a great way to make your business stand out amongst the crowd, giving you something wholly unique that will stick in your potential customer and clients’ minds.
There are a lot of creative routes you can take when 3D printing your own business card, and here we’re going to look at how you can get started along with a few of the coolest examples we could find.
Why 3D Print Business Cards?
3D printing has been a handy resource for all kinds of businesses, including dentistry, toy making, and general online retailers. So it should come as no surprise that you can use 3D printing for business cards to help advertise too!
Steve Wozniak’s metal business cards have become something of a legend in business – don’t you want to have the same effect when you hand your card to people?
In Japan, business cards are considered an extension of yourself, and are treated with care and respect, following their practice of meishi. In the same vein, don’t you want to create a unique experience and make people remember the experience of meeting you, with an unforgettable business card?
Here are some of the top advantages of 3D printing your own business cards.
- It’s cheaper than going to a professional printer
- You can make something wholly unique to your business
- 3D printing business cards is a great exercise in creativity
- By saving the CAD file, you can always print more whenever you need them instead of returning to a printer and paying more
- Homemade business cards stand out more than your average affair, drawing more attention to your business in often interesting ways
How to 3D Print a Business Card
Unlike most 3D printing projects, 3D printing a business card requires a little more creativity.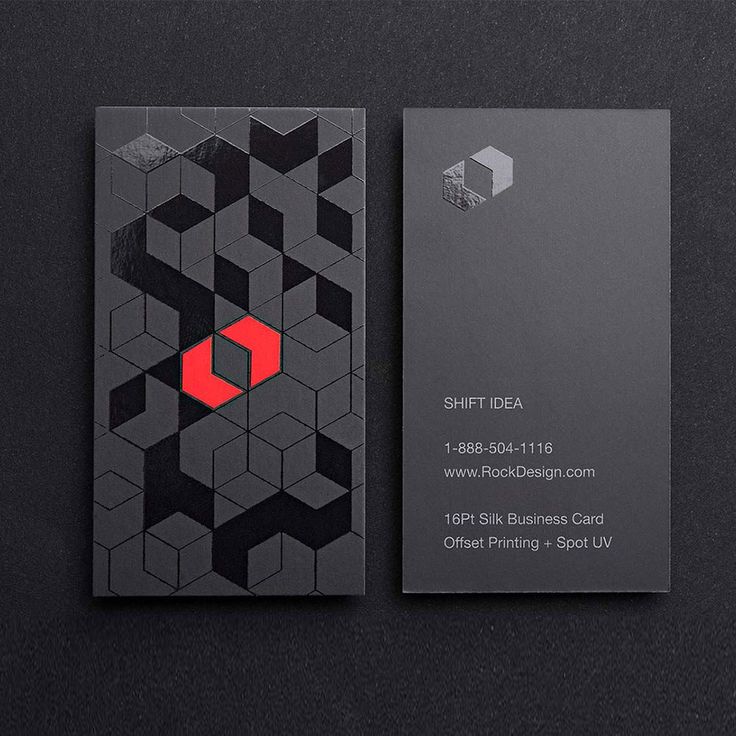
Each business is unique, so while you can begin with a standard template as a blank canvas, you will need to do a lot of the design work yourself to make something unique to you and your customers.
Don’t be discouraged, though! It’s simpler than it sounds. With just a little bit of imagination, you can print a card that will really stand out.
Here are a few simple steps and tips to get you started.
Brainstorm Your Design
Starting any project from scratch seems daunting, but don’t worry, the answers to any creative problem are easier to find than you think.
A lot of why you’d want to 3D print your own business card is to show off your business your way. So it’s good to have an idea of just how far you want to go.
Deciding what kind of business card you want to print is a good first step before you even put pen to paper. Whether you want something really outstanding or even practical, or want to stick to a more traditional design, it’s good to know which avenue you’re willing to take before making any real first steps.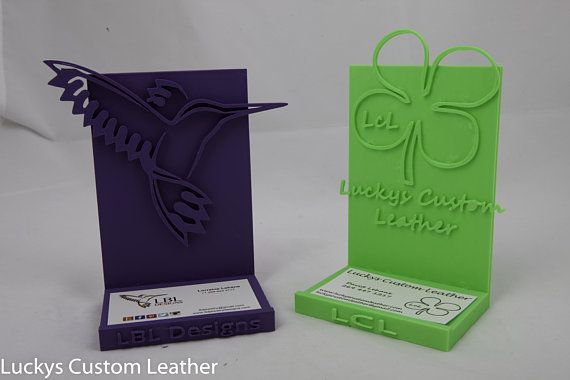
Start With Rough Drafts
It may be tempting to hop onto your preferred design software and get going, but to make the process easier, I recommend beginning with a simple pencil and paper.
Making rough drafts and polishing them over time is a great way to get your imagination flowing. With enough creativity and tweaks, you’ll end up with a design that you can use as a blueprint when you get to designing.
Know What Equipment You’ll Need
While your 3D printer will be able to do most of the work, your design may need some extra help. If the design you’ve finalized includes an intricate graphic or a picture of your face, you may need to employ the use of a laser engraver.
This is good news if you already have an all-in-one machine, but otherwise you’ll need some extra equipment. Be sure you know exactly what you’ll need to make your own business card before getting started to avoid disappointment down the line.
Don’t Be Afraid to Redraft
As with any creative venture you start from scratch, trial and error is a natural and expected part of the process.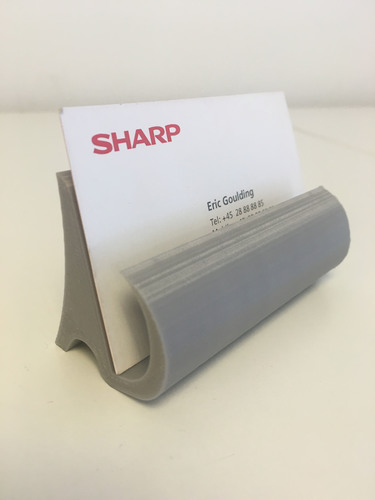
Don’t be discouraged if your first few attempts don’t turn out quite right, you can always make your tweaks and change them later. Recognizing what works and what doesn’t can even fuel your creativity and lead to some awesome results!
Here Are Examples of Great 3D Printed Business Cards – Types and Templates
If the idea of starting from nothing has got you sweating, don’t worry, there are plenty of customizable templates for all sorts of 3D printed business cards that you can download and make your own if you wish.
From fun and practical, to straight-laced and traditional, here are a few business card templates to give you a leg up.
Simple Customizable Business Card
Sometimes simpler is better, as this customizable business card file proves.
An easy design that still stands out due to its hollow lettering, this 3D printed card will come in very handy as a final design or a first step if you want to add your own flare.
As a business card, it will do the job perfectly as it is once you add your own details. As a base, it works well as a stepping stone ripe for customization and flare.
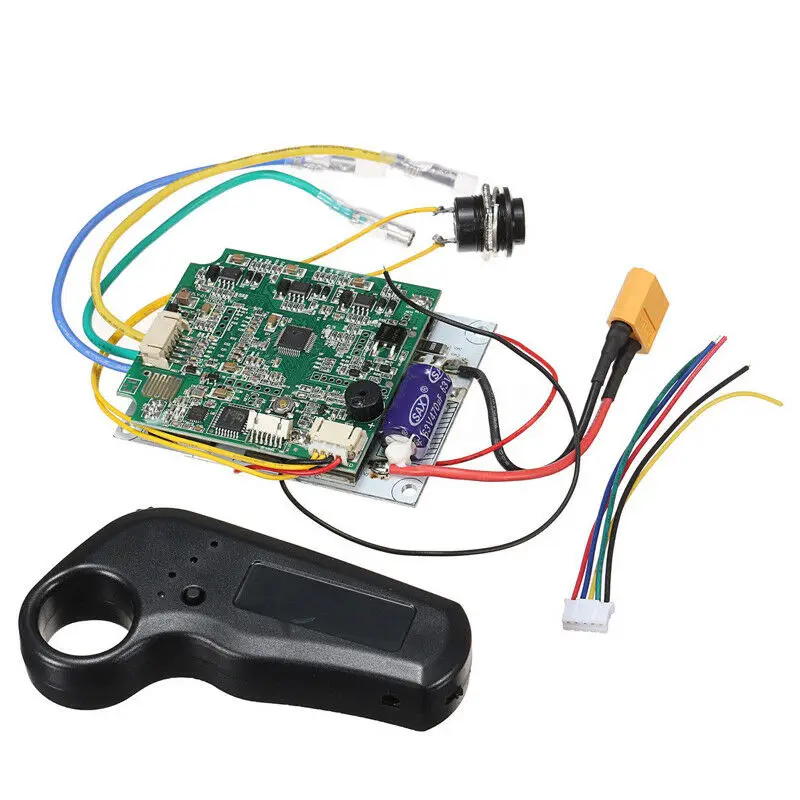
Circuit Board Business Card
If you work in technology, computer science, or any computer-based industry, then this circuit board business card template could be the eye-grabber you need.
It’s an easy design with room for your professional details. Picture it, someone needs your services and reaches into their wallet for your card, it’s pretty easy to find a business card that looks like a circuit board.
Not to mention the creative look of the otherwise simple template will help make you stand out as a pro.
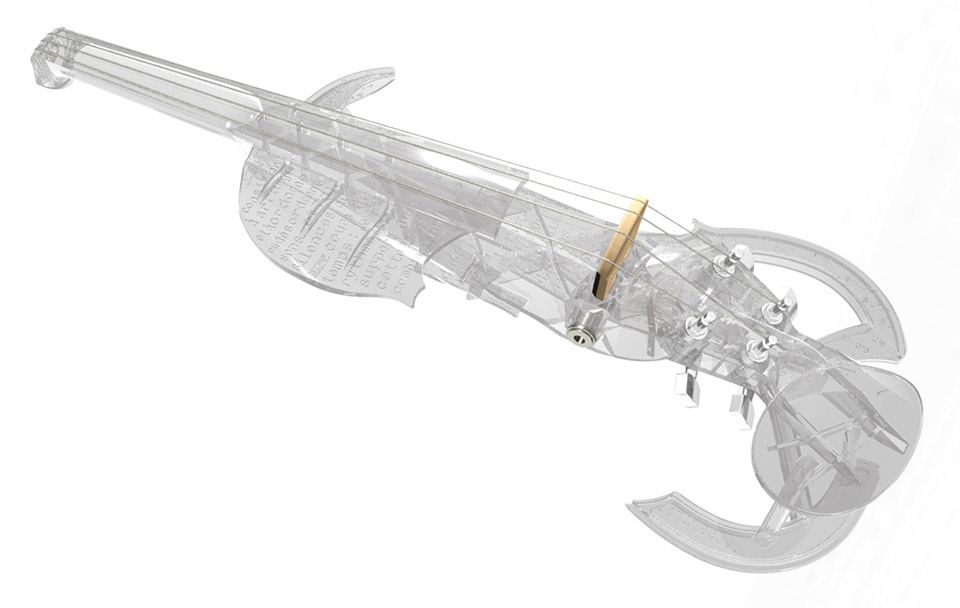
Cassette Tape Business Card
Like the circuit board card above, 3D printed business cards are even more effective if they represent your company or service.
If you work in the music industry, then this cassette tape business card is a great way to get people in on your business. It looks cool and definitely stands out. No one’s going to be fishing through their wallet for long to find your details!
The only real downside to this example is that it’s a frame rather than an actual card.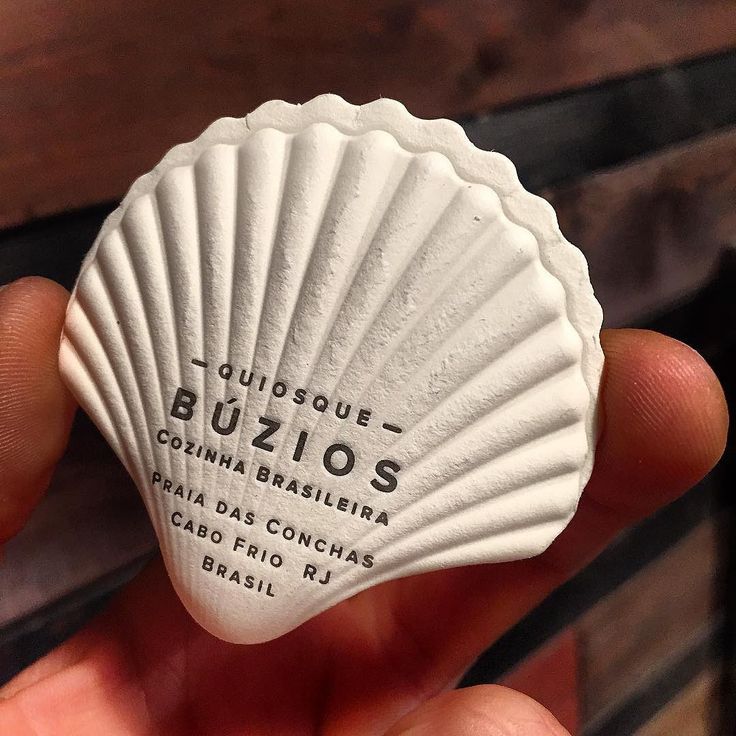 You will still need to print out your business card with the details in place to be visible under the tape itself.
For the best results, you’ll also need access to a laser cutter to complete the old-school look.
QR Code Business Card
This business card is a prototype that’s just waiting for a creative business owner to perfect.
If you don’t mind a little extra work, then you can make this modern-day business card with a QR code that leads straight to your business’ website!
Being up to date with modern technology is an important look for almost every business.
Plenty of people will be impressed with a QR code that looks sleek on the card, and comes in extra handy when they want to get in touch immediately to request your services.
Please note, however, that you will need a multi-color or 3D printer with dual extruders to make the QR code stand out enough to be recognizable to most devices.
Fun and Practical Business Cards
Nothing makes a business stand out quite like a fun or practical business card that really makes people take notice.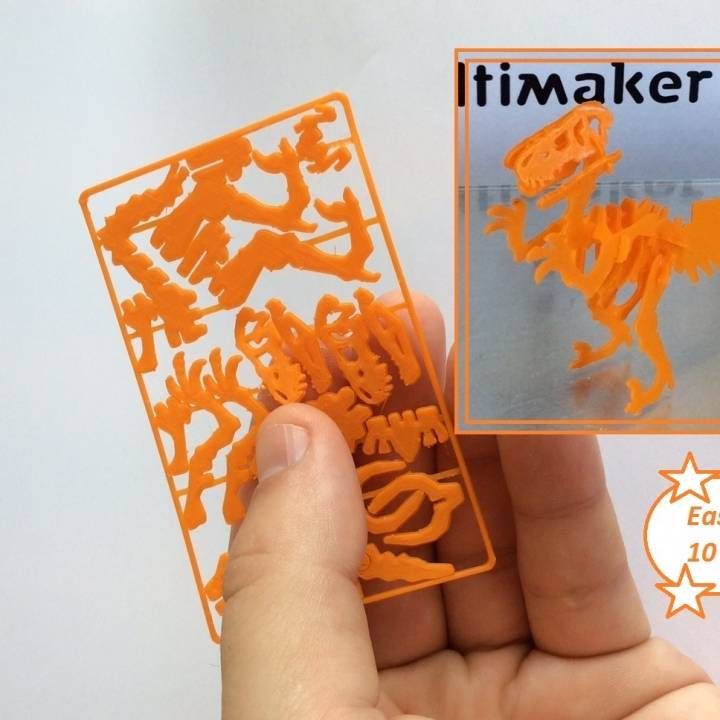
If you’re shying away from the more traditional aesthetic, you can really get imaginative with your cards to let people know just how passionate you are.
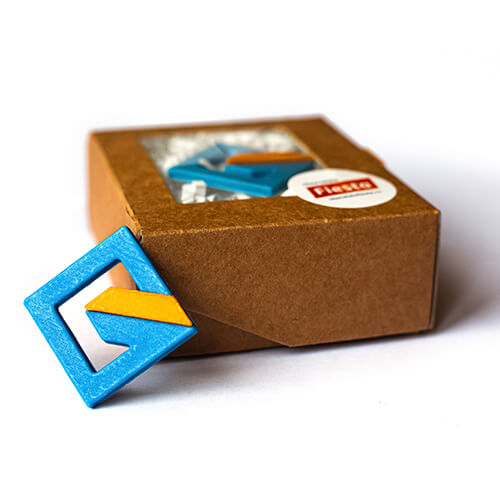
Business cards that double as puzzles or games are always a good look for any business. Like this card with a miniature model of a man you put together.
Truth be told, you can take just about any snap card like this catapult and add extra space for your details.
You can also make practical business cards from almost anything by customizing other 3D prints. You can either print or engrave your business details on things like this SD card holder.
Putting a business’ logo and details onto other, more practical thing has been a staple in free advertising for a long time. By adding this information to something people use every day, you’ll find a lot more eyes being drawn to you than simple cards that spend most of their lives in wallets.
Honorable Mention: 3D Printed Business Card Holders
There are plenty of public spaces like cafés and bars that allow people to advertise on their premises.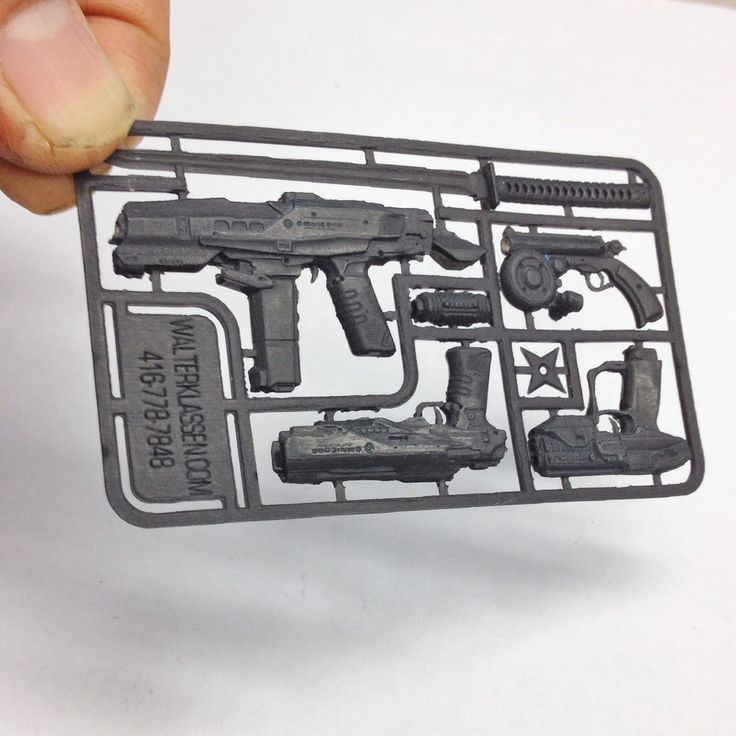 This has been a valuable resource for freelancers for decades, and can really attract some attention to your business.
However, the eye-catching doesn’t have to end at the card itself. If you can find a particularly permissive place to leave your 3D printed business cards, you can make use of some cool 3D printed business card holders.
This one, for example, is a standard business card holder that has room on the front for a small company logo or emblem if you tweak it enough.
There’s also this business card dispenser with a special design that makes it easier to remove just one card at a time, as opposed to more standard models that can take a little bit of fidgeting.
It may seem like a tiny bugbear, but first impressions are everything, and no one wants their business to be introduced via an inconvenience, however minor.
If you work in a multi-faceted business, or have partnered up with friends to offer a variety of services, then this multi-story card holder is perfect for you.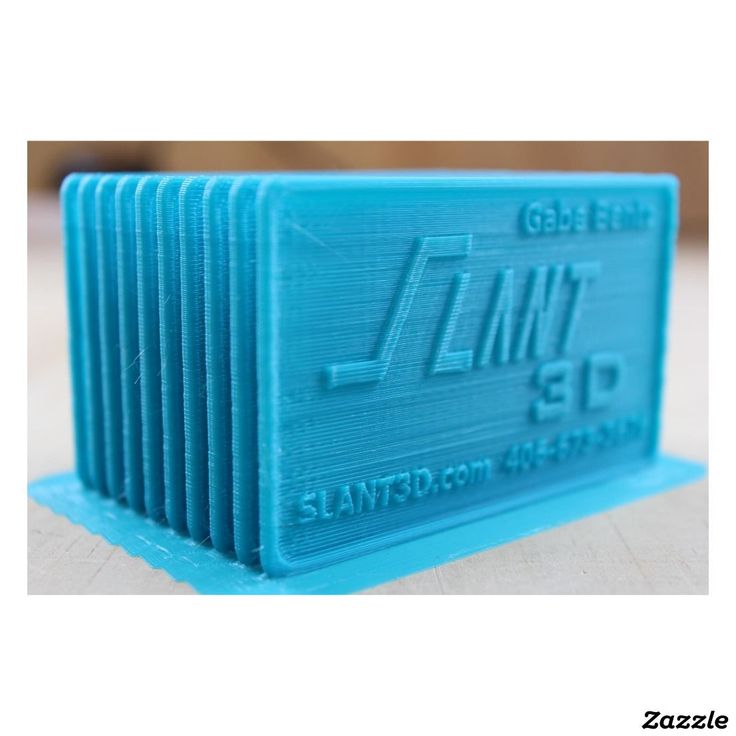 It’s a good design that does the job well and lets you advertise multiple services at once.
As mentioned above, you can also get more whimsical with business card holders that can be specific to your business. Bakers will love this card holder, while upholsterers and carpenters can advertise with this armchair holder for their cards.
That’s just a couple of examples! With a little searching and a touch of imagination, you can advertise your services easily before potential customers have even seen the card!
My personal favorite, however, is this fox speech bubble business card holder. It’s cute, eye-catching, and finally answers the age-old question of what does the fox say?
Can you 3D print a card?
Cards of all kinds can be 3D printed easily. Their standard shapes and a host of customizable templates online make 3D printing anything from greetings cards, wedding invitations, and business cards a snap.
How do you make 3D business cards?
Once you’ve got an idea of how you want your business card to look, you can either design a template from scratch or download a pre-made one ready for your professional details to be added.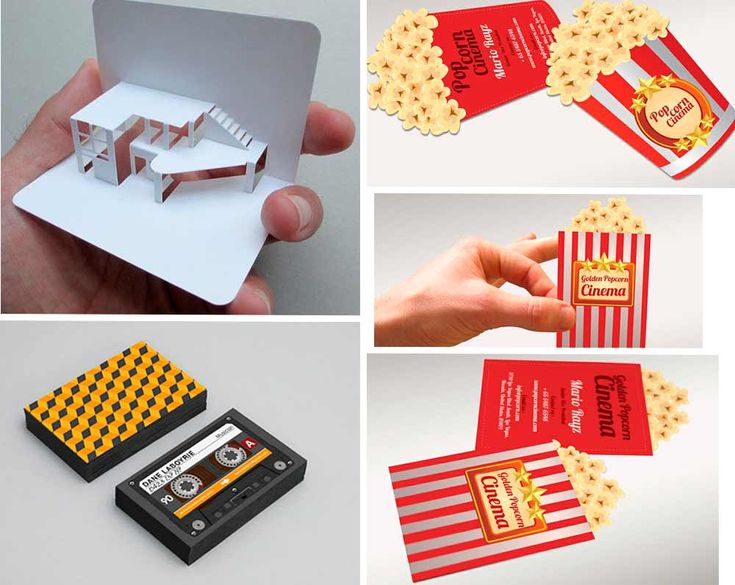 Once you’re happy with the design, you can 3D print as many business cards as you like.
Pilot Brothers: Business cards 3D varnish/foil 2 sides
- Home
- Products
- Printing
- Business cards
- Business cards 3D varnish/foil double sides
- Lux ♛
Modern advanced 3D printing process enables us to produce modern exclusive business cards with 3D varnish and 3D foil finish in a palette of 9colors.
The individual elements of the finished product stand out beautifully from a flat surface, create three-dimensional images and thus attract attention. With the help of technology, it is possible to bring to life unique design solutions for any circulation.
Order bright, memorable products and stand out from the "boring" competitors! Our designers and technologists will help to realize all wishes and ideas.
The price is considered on condition that no more than 10% of the layout area is filled with varnish or foil.If your layout has more %, the manager will recalculate the cost upwards. Filling more than 20% is not allowed.
Order layout development to typography designers. We will make a layout for 1 ruble for any order amount.
Spectacular business card with selective 3D foil and lacquer finishes, min. 100 pieces
Item number: [VBK3D2STCP]
Foil and selective varnish with 3D effect.
Latest 3D printing technology with foil and spot varnish without cliches.
Not embossed. Not silkscreen. From 100 business cards.
Features
We produce business cards with 3D varnish and three-dimensional foil in standard size - 90x50 mm, as well as business cards in euro format - 85x55 mm. The business cards are digitally printed and varnished and foiled on the MGI JETvarnish 3D & iFoil digital luxury finishing system.
Business cards are printed on high-end Swedish white cardboard, 350 gr.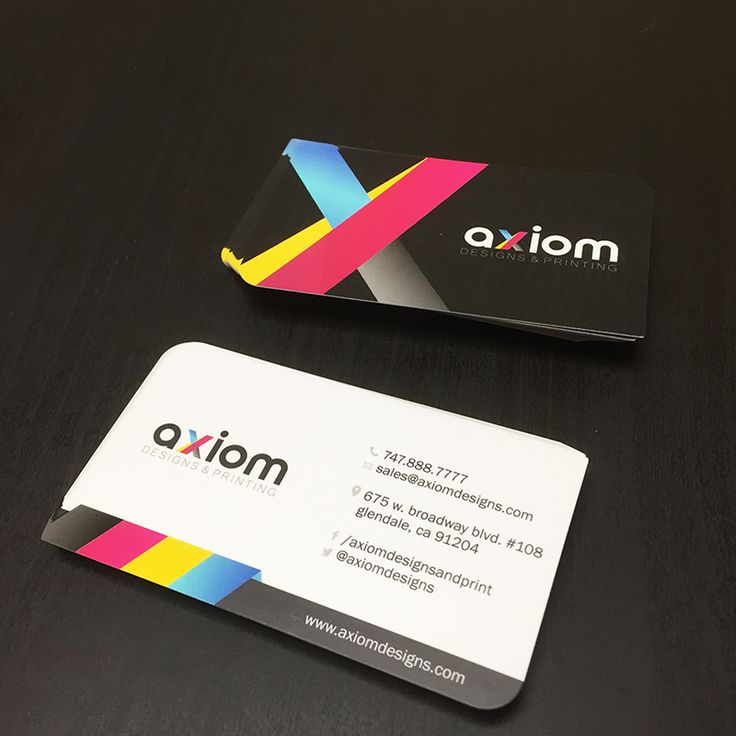
1
Order details
Order name
Business card size
standard 90x50 mm
euro 85x55 mm
Paper
Elite cardboard Creato 350 g/m²
Plain cardboard 300 g/m²
Paper weight
Paper weight
Varnish
Without varnish
Lacquered
Lacquering
Lacquer on the front side
Lacquer on the reverse side
Varnish on both sides
Foil
Without foil
With foil
Apply foil
Front side foil
Foil back
Foil on both sides
Front Foil Color
If you choose to print with 3D Foil, please select the front foil color.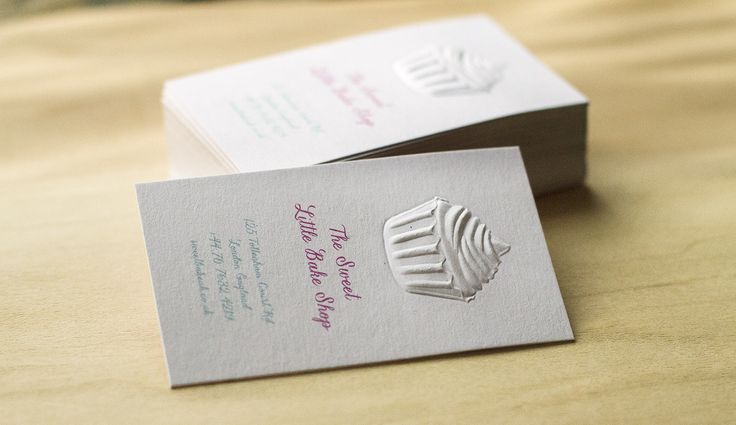
Without foil
3D Silver
3D Gold
3D Green
3D Indigo
3D Red
3D Raspberry
3D Orange
3D Blue
Back Foil Color
If you choose to print with 3D Foil, please select a back foil color.![]()
Without foil
3D Silver
3D Gold
3D Green
3D Indigo
3D Red
3D Raspberry
3D Orange
3D Blue
Let's check the layout for compliance with the print requirements.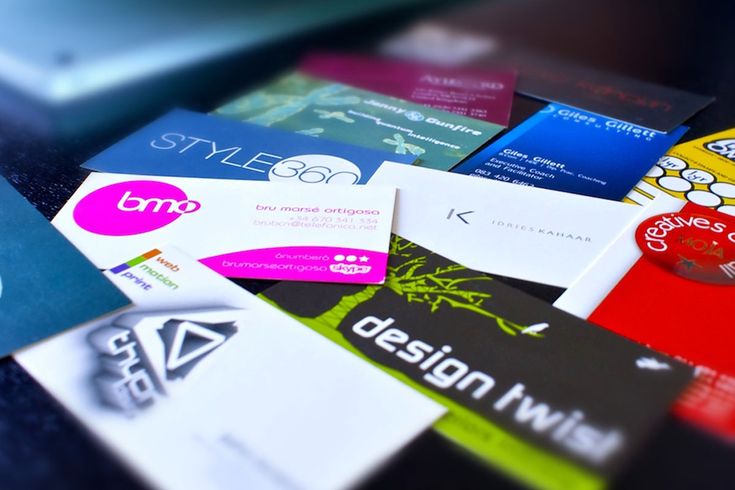
Read more ...
Professional check of your layout by a designer
2
Finish
Corners
Right angles
Rounded corners
3
Select quantity
Business cards are printed only in multiples of 100 pcs.
Date of manufacture 03/17/23
4
Layout development
1. Own layout. Download the finished file.
If you have a layout prepared according to the requirements of the printing house, download it and send an order for printing.
2. Quick order.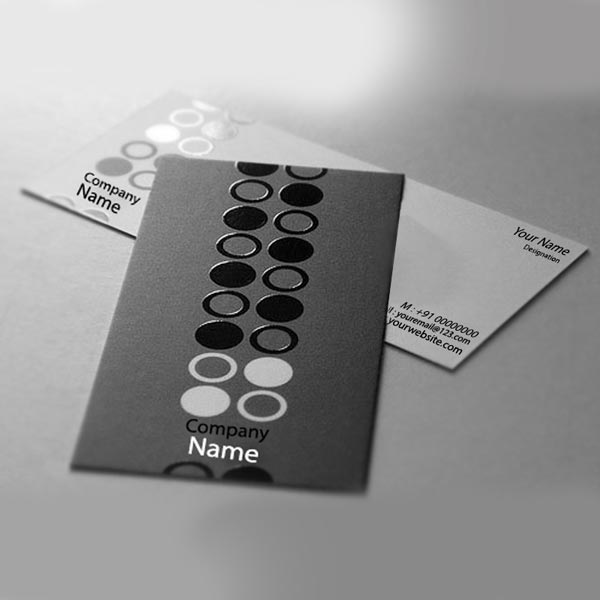 Development of an individual layout.
If you do not have a file ready for printing or want to clarify the details of the order, use the button "Quick order" in the header of the cost estimate to send the request to the manager.
Let's make a layout for 1 ruble
To properly prepare a layout, download the instructions and templates.
Quick order
If you need to develop a layout for 1₽, please indicate it in the comments.
Your name
Phone
Comment
Upload file
Uploaded
I hereby confirm and consent to the processing of my personal data in accordance with the terms of personal data processing
Prepare files that meet the printing requirements, download instructions and a template.
Manual
Download
Templates
Download
Print samples with 3D varnish and foil
3D foil colors
Design guidelines for 3D finishing
What should be the layout size?
Selected product size +2 mm overhang on each side.
What percentage of varnish and foil filling on the layout can be used?
The price on the website is based on a 10% filling with varnish and foil. You can use more varnish and foil, in which case the price will be recalculated upwards by the manager. Max. possible number of varnish or foil 20% of the size of the layout.
What happens if the varnish or foil goes straight to the border of the layout?
It is not recommended to apply lacquer/foil to the edge of the product (under the cut). When cutting, the varnish and foil will move away from the paper, especially on large dies.
Individual thin lines (under the responsibility of the customer) can be cut straight through. They can also move away at the cut site, but less noticeably.
Accuracy of registration of the printed image and a foil?
The alignment accuracy is +/- 0.2 mm.
Perfectly accurate color image and lacquer/foil layer do not match.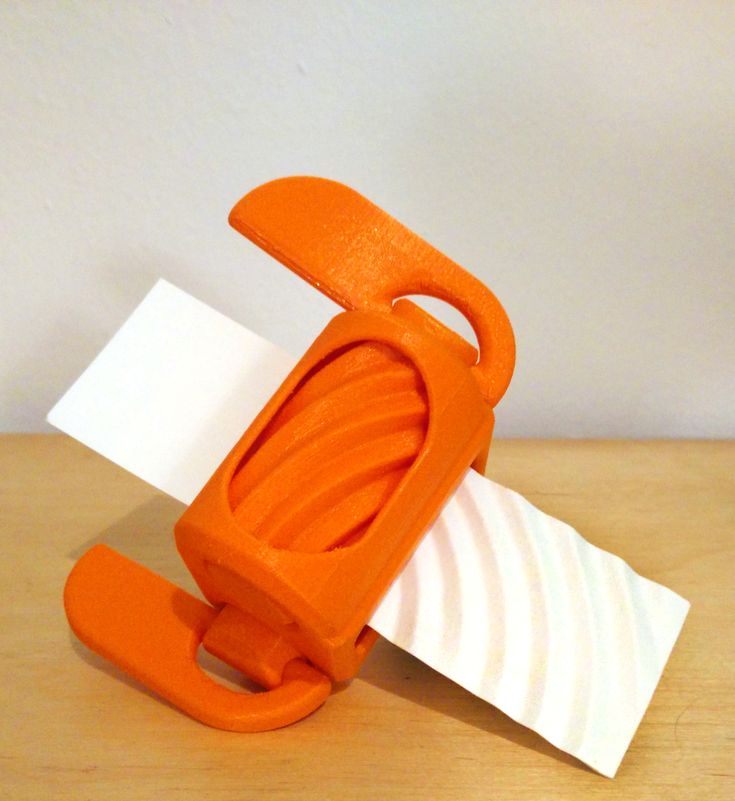 There is always a slight shift to one side or the other, and such a shift of up to 0.2 mm is considered a technological norm.
This means that, for example, large elements are perfectly emphasized with varnish, while on small and thin elements, the varnish shift can be very noticeable.
Same with foil. If the foil is an independent image on a solid background, then everything will be fine on print, and if the foil is the border of a colored element, then it is necessary to provide for the thickness of the foil line, taking into account a shift of 0.2 mm, and make it at least 0.4 mm.
Minimum line thickness for 3D polish?
- Minimum line thickness for varnish: 0.15 mm (2 pixels). 0.35 mm (5 pixels).
Minimum line thickness for 3D foil?
- Minimum line thickness for foil (only problem): 0.3 mm (4 pixels).
Applied to the font: a simple font, such as Arial is 9points and more. For serif fonts like Times, to have all the serifs visible is 30 points. 0.35 mm (5 pixels).
In relation to the font: a simple font, such as Arial, is 13 points or more. For serif fonts like Times, to have all the serifs visible is 40 points.
What fonts are best to use?
Any fonts without serifs (We strongly do not recommend fonts like Times New Roman and similar).
Is it possible to print with 3D varnish and foil on both sides?
No, not possible. Printing with varnish and foil on one side of the product only. The back can be printed in full color.
Layout format for printing with 3D varnish and foil
PDF/X-1a:2001 only. The main image, varnish and foil must be separate files with the same dimensions.
Main image: CMYK color model, embedded pictures with a resolution of at least 300 dpi and no more than 600 dpi. There is no need to make any overprints (holes under the main image) in place of varnish and foil! All vector gradients and effects must be rasterized.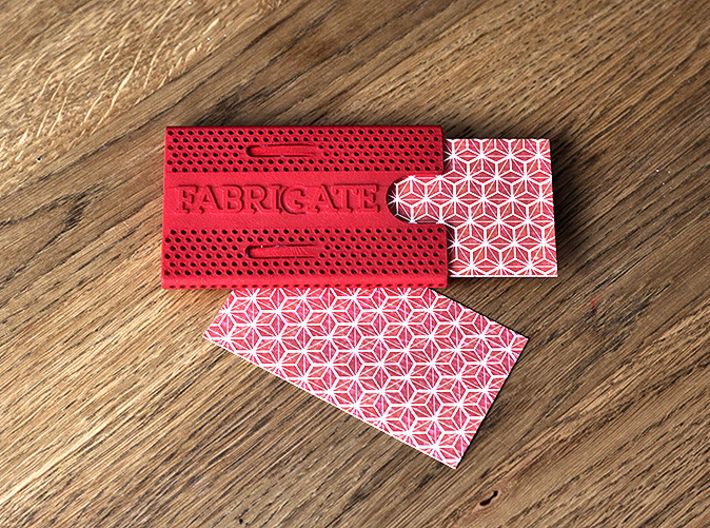
Varnish & Foil Vector only, color C0M0Y0K100. Raster images are not allowed.
For example, you need to print a full-color double-sided leaflet with both varnish and foil on the front side. As a result, you should have 4 files:
- CMYK front side layout;
- CMYK reverse side layout;
- Vector layout for varnish, all elements painted with C0M0Y0K100;
- Foil vector layout, all elements painted with C0M0Y0K100 color.
No search results found
Panel only seen by widget owner Tell your customers about
new website functionality!
More Good Things
- NEW
Flyers with 3D varnish and foil | digital printing
Delightful foil and voluminous varnish
Place an order
Laminated business cards
min 24 | 🔥 from 200+
digital print
hit - silk
🕔 1 - 3 days
from 1 141.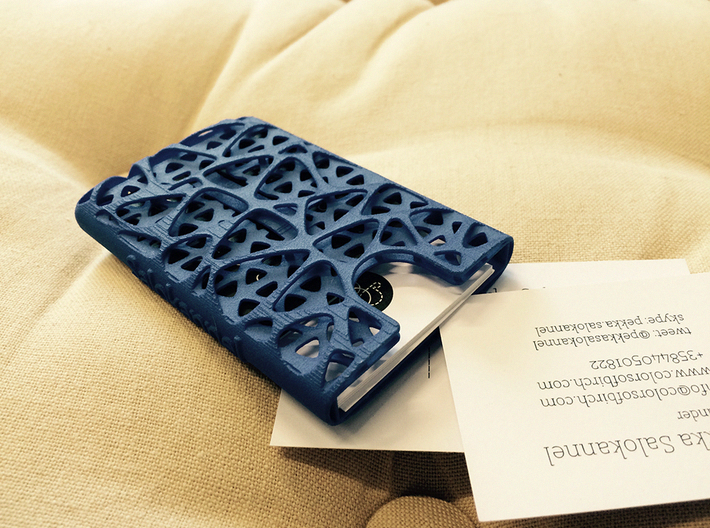 20 for 120 pcs.
We will produce: February 28
Make an order
- Hit ♥
- Lux ♛
Business cards on designer cardboard
min 25 | 🔥 from 200+
digital printing
16 types of paper
🕔 3 hours - 2 days
from 1 023.00 for 100 pcs.
Production time: 3 hours
Make an order
- Lux ♛
Multilayer business cards (TRIPLEX LUX)
min 50 | 🔥 from 100+
color. layer inside
layout for 1 ruble
🕔 7 days
from 3 244.00 for 100 pcs.
We will produce: March 8
Place an order
What our customers think
+7 (3952) 242-000
Call us during business hours
[email protected]
Email us at
+7-924-627-36-00
Send a message to Telegram
We use cookies to improve and make the site work correctly, analyze traffic and personalize it.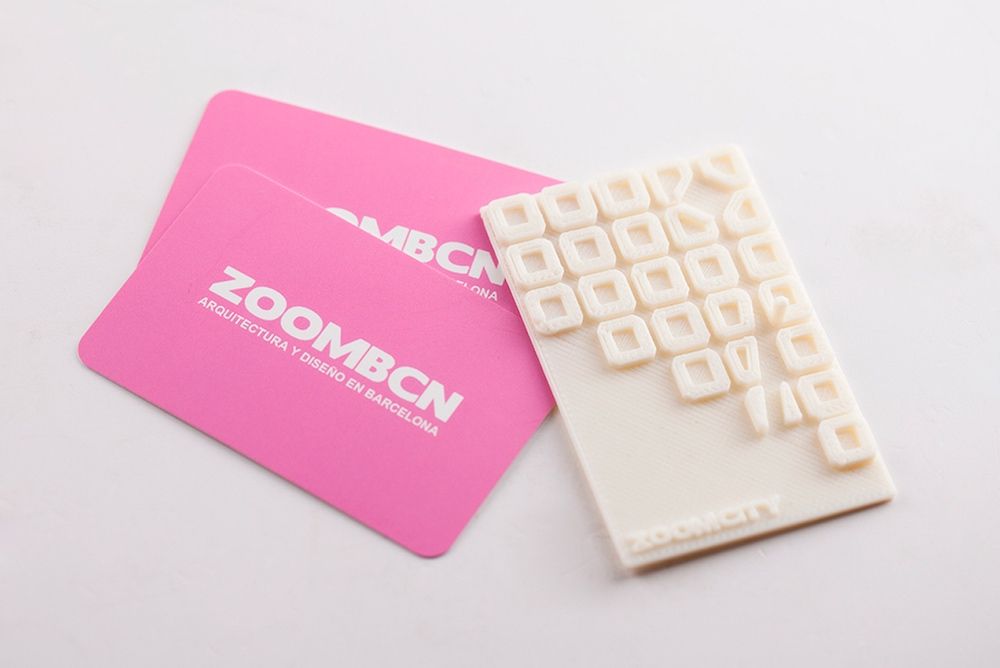 By using the site or by clicking on "I agree", you agree to our cookie policy. Read more
Printing designer business cards ? with 3D varnish and 3D foil in St. Petersburg - "Alfa Print"
Prompt delivery of any orders throughout St. Petersburg
Order
3D varnish and foil aldmin 2022-02-15T01:19:31+03:00
Loading...
Application method *
3D varnish
3D foil
Material *
Silver
Gold
Number of sides *
Single sided
Double sided
Print *
Single side
Double side
Quantity *
100 pcs.
200 pcs.
300 pcs.
400 pcs.
500 pcs.
600 pcs.
700 pcs.
800 pcs.
900 pcs.
1000 pcs.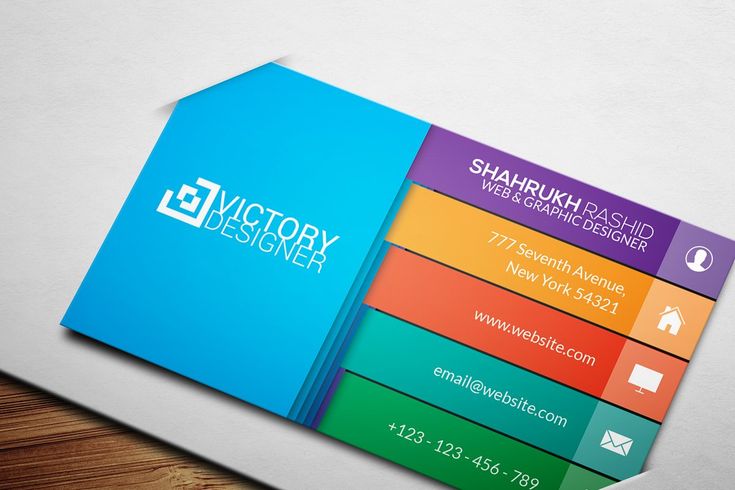
Account 1
Account 2
Name *
Phone *
Email *
Attach file
0%Complete
Total:
0Р
* Required fields.
Cost of printing with 3D varnish and 3D foil
Business cards with varnish
| edition | 100 | 200 | 300 | 400 | 500 | 600 | 700 | 800 | 900 | 1000 |
| one-sided | 1100 | 1250 | 1500 | 1700 | 1900 | 2200 | 2500 | 2800 | 3100 | 3400 |
| double-sided (lacquered on one side) | 1200 | 1500 | 1700 | 2100 | 2300 | 2700 | 2900 | 3300 | 3600 | 3900 |
| double-sided (lacquered on both sides) | 1500 | 1900 | 2300 | 2800 | 3200 | 3600 | 4000 | 4400 | 4800 | 5200 |
Business cards with 3D varnish or foil (gold, silver)*
| edition | 100 | 200 | 300 | 400 | 500 | 600 | 700 | 800 | 900 | 1000 |
| one-sided | 1300 | 1600 | 2000 | 2250 | 2650 | 3000 | 3300 | 3700 | 4000 | 4400 |
| double-sided (3D varnish on one side) | 1400 | 1800 | 2200 | 2500 | 3100 | 2450 | 3800 | 4200 | 4500 | 4900 |
| double-sided (3D varnish on both sides) | 2200 | 3100 | 3800 | 4400 | 4950 | 5300 | 5700 | 6600 | 7000 | 7700 |
* Business cards with lacquer and foil are printed on elite cardboard of increased rigidity Creato with a density of 350 gr.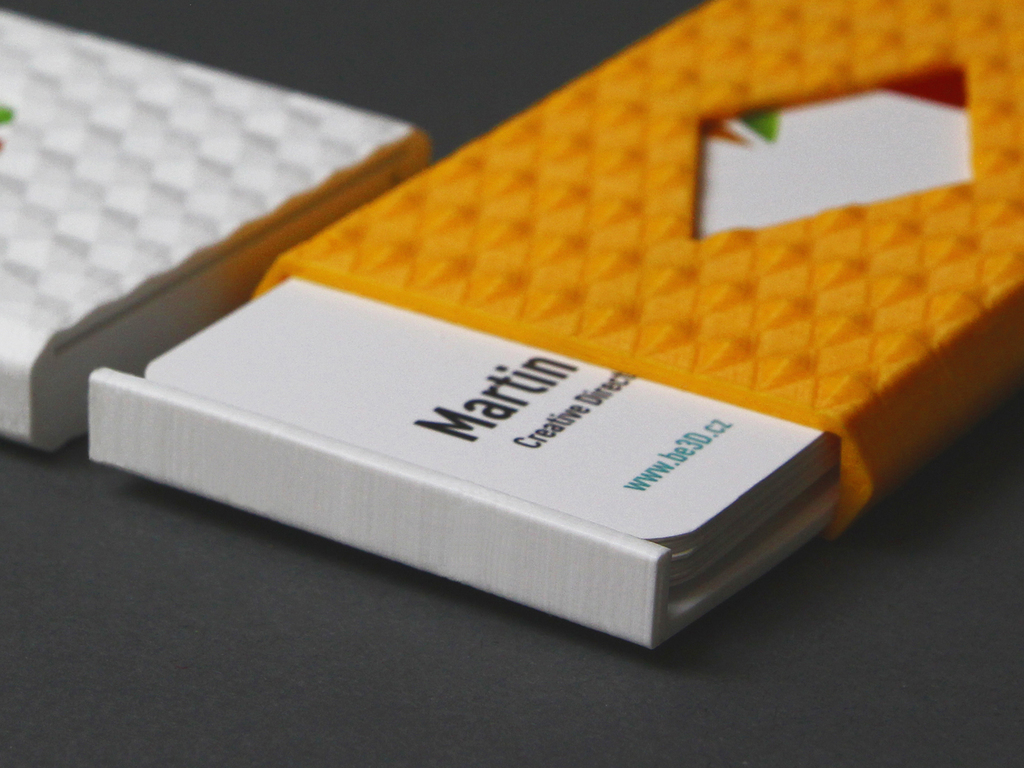
The price is indicated for a production time of 4 business days. Urgent production (1 day) is also possible, in this case the price is considered individually.
The price is valid when filling 10% of the area with varnish or foil
If a large area of filling is required, then the price is considered individually.
3D printing with varnish and foil
3D printing is a digital printing that does not require forms, clichés, stamps, and the minimum print run is 1 copy. The production speed is also impressive - up to 3 days.
3D printing - three-dimensional. This means that when you touch the varnish or foil with your fingers, you will feel the relief. 3D printing looks very impressive: it sparkles and shimmers like a dewdrop in the sun. Comparing 3D printing with the usual technology (varnish or foil stamping), you will notice a significant difference: in the first, all sides of raised letters reflect light, forming a complex pattern of shadows and highlights; the second line is smooth, so the light is reflected by one plane.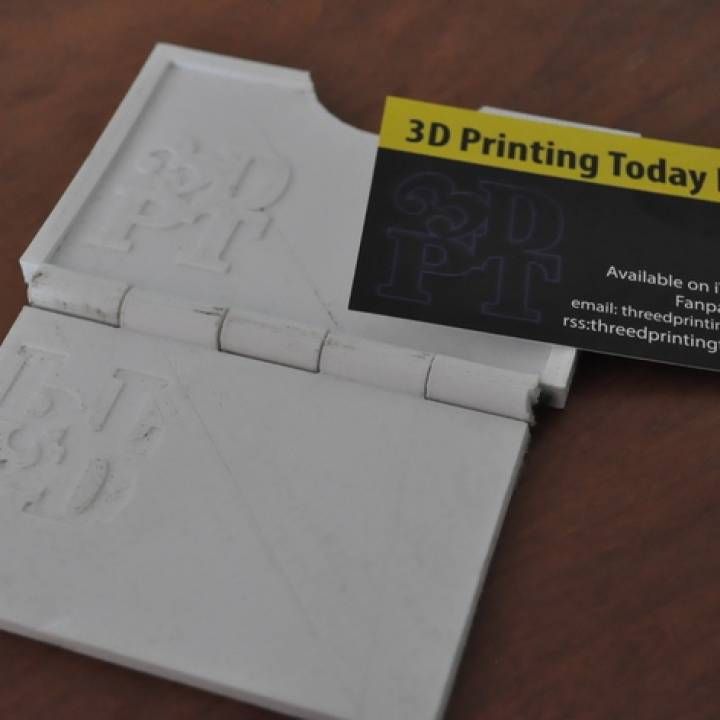 There is even an opinion that only green-eyed people can see the glare, while this joy is not available to owners of brown and blue eyes.
Benefits of 3D printing
- Embossed design (due to thermal rise).
- Large selection of foils (gold, silver, copper, holography, red, blue).
- An effect similar to embossing (embossing letters on plastic cards).
- Fine lines (minimum thickness 0.15 mm).
- Lamination, incl. soft touch
- Fast production (unlike embossing, no need to make clichés and remove films).
- Processing of offset and digital print runs.
Small format features
- The most common small format for 3D printing is business cards. There are a few things to keep in mind when designing.
- The company name and logo are best suited for highlighting.
- Foil is recommended for the logo.
- Due to possible inaccuracies in cutting, it is not recommended to make edging around the perimeter.
Learn more