How strong are 3d printed objects
How Strong Are 3D Printed Parts? Central Scanning
How strong 3D printed parts are depends on several key aspects, including:
- The material you use for printing, and
- How you design and print your 3D parts.
Why 3D Printing Materials Matter
Your 3D print will only ever be as good as the material you use.
This means selecting a quality material from a reliable supplier. But, also ensuring that the material you select will be right for the intended purpose of your finished part.
There is a broad range of 3D printing materials available. In addition, the options will depend on the properties you want the material to have.
For example, you might want your part to be:
- Impact resistant
- Chemically resistant
- Flexible
- Rigid
- Heat resistant
- Water resistant.
PLA OR POLYLACTIC ACID
One of the most popular materials users select for desktop 3D printing is PLA, or Polylactic Acid.
Why do so many people choose PLA as their 3D printing filament?
It provides ease of use at a low cost and, importantly, it is reasonably strong. Additionally, you can print with PLA at a low temperature, without a heated bed, but it has a tensile strength of 7,250 psi. However, PLA is also biodegradable, so while it is environmentally friendly, it is unlikely to be suitable for bearing heavy loads, as it can become brittle.
ABS – ACRYLONITRILE, BUTADIENE AND STYRENE
A more advanced engineering material for 3D printing is ABS. ABS is the combine polymers Acrylonitrile, Butadiene and Styrene. It is widely used in everyday household items and in cars. It is an engineering-grade material and more stable than PLA. There is a catch here though. When it comes to actual tensile strength, ABS is weaker than PLA.
There are other alternative 3D printing materials out there. For example, there is a type of nylon suitable for 3D printing that is stronger and more durable than either PLA or ABS.
NYLON
Nylon filament is flexible when thin but with excellent adhesion between layers. It has a high melting temperature and a low friction coefficient. Nylon is suitable for various functional applications and parts such as hinges.
POLYCARBONATE
Another strong 3D printing material is polycarbonate. It offers a high level of toughness and a very good thermal and dimensional stability. In addition, it is ideal for high-strength, functional components. For instance, it is commonly used in manufacturing bullet-proof glass.
Matching Material with Design and Production
To ensure you have sufficiently strong 3D printed parts you need to make sure they are well designed and that you use appropriate print settings.
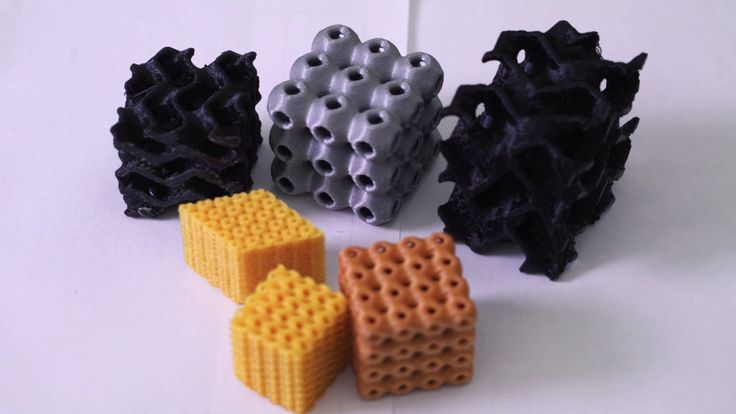
- First, select a suitable infill pattern. This is the printed material inside the walls of your print. Selecting a naturally strong infill design pattern, such as honeycomb or rectilinear, will add strength to the finished 3D part, regardless of the material you choose.
- Next, you should ensure your print settings are of a sufficient quality, as this can influence the final result.
- Finally, choose the right orientation for your 3D print. You will find that 3D parts tend to be weakest along the z axis. Therefore, you must make sure that the areas of the part receiving the most stress will not be along this axis.
The strength of 3D printed parts is relative to their function and the material you choose should reflect this.
For more information about our 3D printing solutions, please use our online contact form, or call us direct on 01527 558 282.
Are 3D Printed Parts Strong & Durable? PLA, ABS & PETG – 3D Printerly
Companies worldwide have recently turned to 3D printing to create technical parts quickly while saving some money in the process. But, developing 3D versions of pieces involves using new materials that might not be as durable. So, are 3D printed parts strong?
3D printed parts are very strong, especially when using specialized filament like PEEK or Polycarbonate, which is used for bullet-proof glass and riot shields.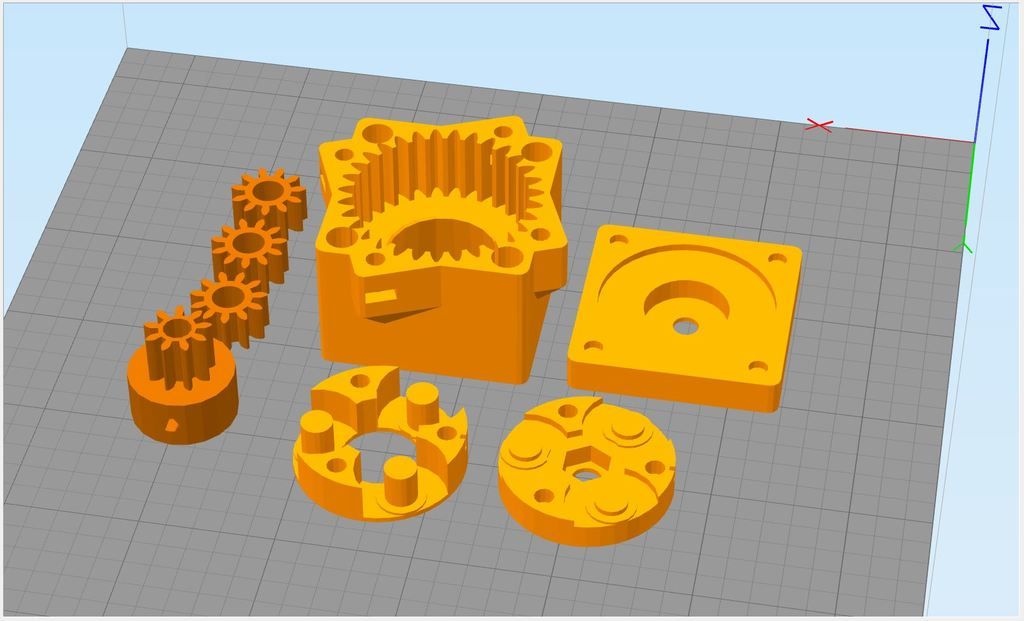 Infill density, wall thickness and print orientation can be adjusted to increase strength.
There’s a lot that goes into the strength of a 3D part. So, we’re going to be reviewing the materials used during 3D printing, how strong they really are, and what you can do to increase the strength of your 3D printed parts.
Are 3D Printed Parts Weaker & Fragile?
No, 3D printed parts aren’t weaker and fragile unless you 3D print them with settings that don’t give strength. Creating a 3D print with a low level of infill, with a weaker material, with a thin wall thickness and low printing temperature is likely to lead to a 3D print that’s weak and fragile.
How Do You Make 3D Printed Parts Stronger?
Most 3D printing materials are rather durable on their own, but there are some things that can be done to increase their overall strength. This mostly comes down to the minor details in the design process.
Most important would have to be manipulating the infill, wall thickness, and the number of walls. So, let’s take a look at how each of these factors can impact the strength of a 3D printed structure.
Increase Infill Density
Infill is what’s used to fill in the walls of a 3D printed part. This is essentially the pattern within the wall that adds to the density of the piece overall. Without any infill, the walls of a 3D part would be completely hollow and rather weak to outside forces.
Infill is a great way to increase the weight of a 3D part, also improving the strength of the part at the same time.
There are plenty of different infill patterns that can be used to improve the strength of a 3D printed piece, including a grid infill or a honeycomb infill. But, just how much infill there is will determine the strength.
For regular 3D parts, up to 25% is likely more than enough. For pieces designed to support weight and impact, closer to 100% is always better.
Increase Number of Walls
Think of the walls of a 3D printed part as the support beams in a house. If a house only has four exterior walls and no support beams or interior walls, just about anything can cause the house to collapse or give under any amount of weight.
In the same way, the strength of a 3D printed piece will only exist where there are walls to support weight and impact. That’s exactly why increasing the number of walls inside a 3D printed piece can increase the strength of the structure.
This is an especially useful strategy when it comes to larger 3D printed parts with a greater surface area.
Increase Wall Thickness
The actual thickness of the walls used in a 3D printed piece will determine how much impact and weight a part can withstand. For the most part, thicker walls will mean a more durable and sturdy piece overall.
But, there does seem to be a point at which it’s difficult to print 3D printed parts when the walls are too thick.
The best part about adjusting the wall thickness is that the thickness can vary based on the area of the part. That means the outside world probably won’t know that you’ve thickened the walls unless they cut your piece in half to dissect it.
Generally speaking, extremely thin walls will be quite flimsy and won’t be able to support any exterior weight without collapsing.
Generally, walls that are at least 1.2mm thick are durable and strong for most materials, but I’d recommend going up to 2mm+ for a higher level of strength.
The Strength of Materials Used to Create 3D Parts
3D printed parts can only be as strong as the material that they’re made of. With that said, some materials are a lot stronger and more durable than others. That’s exactly why the strength of 3D printed parts varies so greatly.
Three of the more common materials used to create 3D parts include PLA, ABS, and PETG. So, let’s discuss what each of these materials is, how they can be used, and how strong they really are.
PLA (Polylactic Acid)
PLA, also known as Polylactic Acid, is perhaps the most popular material used in 3D printing.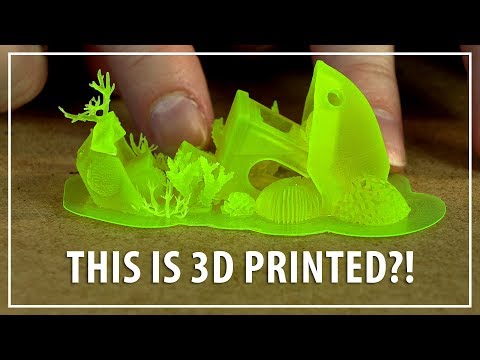 Not only is it quite cost-effective, but it’s also very easy to use to print parts.
That’s why it’s often used to print plastic containers, medical implants, and packaging materials. In most circumstances, PLA is the strongest material used in 3D printing.
Even though PLA has an impressive tensile strength of about 7,250 psi, the material does tend to be a little brittle in special circumstances. That means it’s a little more likely to break or shatter when placed under a powerful impact.
It’s also important to note that PLA has a relatively low melting point. When exposed to high temperatures, the durability and strength of PLA will severely weaken.
ABS (Acrylonitrile Butadiene Styrene)
ABS, also known as Acrylonitrile Butadiene Styrene, isn’t quite as strong as PLA, but that doesn’t at all mean that it’s a weak 3D printing material. In fact, this material is much more capable of withstanding heavy impact, often flexing and bending rather than shattering completely.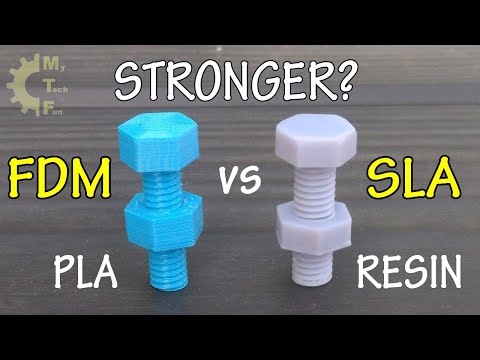
That’s all thanks to the tensile strength of about 4,700 PSI. Given the lightweight construction yet impressive durability, ABS is one of the best 3D printing materials out there.
That’s why ABS is used to make just about any type of product in the world. It’s quite a popular material when it comes to printing children’s toys like Legos, computer parts, and even piping segments.
The incredibly high melting point of ABS also makes it able to withstand just about any amount of heat.
PETG (Polyethylene Terephthalate Glycol-Modified)
PETG, also known as Polyethylene Terephthalate, is usually used to develop more complex designs and objects when it comes to 3D printing. That’s because PETG tends to be much denser, more durable, and more rigid than some of the other 3D printing materials.
For that exact reason, PETG is used to make plenty of products like food containers and signage.
Why Use 3D Printing at All?
If 3D printed parts weren’t at all strong, then they wouldn’t be used as an alternative production method for many supplies and materials.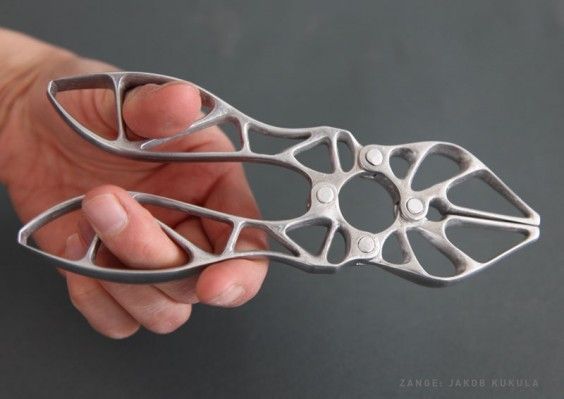
But, are they as strong as metals like steel and aluminum? Definitely not!
However, they are quite useful when it comes to designing new pieces, printing them at a lower cost, and getting a good amount of durable use out of them. They’re also great for small parts and have a generally decent tensile strength given their size and thickness.
What’s even better is that these 3D printed parts can be manipulated to increase their strength and overall durability.
Conclusion
3D printed parts are definitely strong enough to be used to make common plastic items that can withstand great amounts of impact and even heat. For the most part, ABS tends to be much more durable, though it does have a much lower tensile strength than PLA.
But, you also need to take into consideration what’s being done to make these printed parts even stronger. When you bump up the infill density, increase the number of walls, and improve the wall thickness, you’re adding to the strength and durability of a 3D printed piece.
SLA 3D printing: how durable is the resin?
SLA 3D printing is said to produce complex and precise parts with good surface quality. In addition, due to the wide variety of resins, the range of SLA applications is constantly expanding. However, when tough and functional parts are required, SLA printing is usually not the choice. Why?
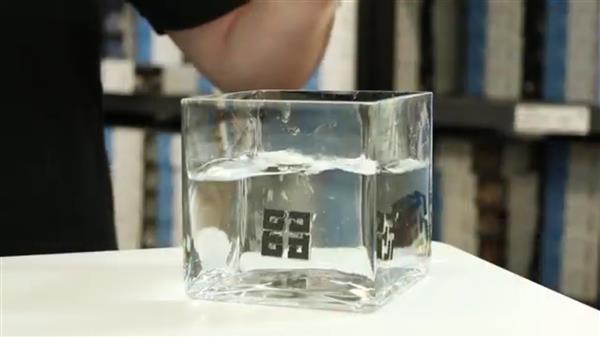
See how durable your resin print can be (Photo: SolidSmack)
Well, it is true that most standard resins are relatively brittle compared to other 3D printing materials and are not recommended for stressed parts or outdoor use, but there are tough and durable resins on the market that are specifically designed for more durable applications. .
In this article, we'll take a look at these tough 3D printing resins and show you just how strong they can actually be.
There are many SLA resins on the market, each suitable for a specific application (Source: Pinterest)
Most 3D printing resins are based on epoxy or acrylate, the latter being more commonly used in desktop printers. Therefore, SLA-printed parts are considered to be fragile and are most suitable for decorative applications and prototypes rather than functional and load-bearing components. But this is true only if the resin is chosen incorrectly.
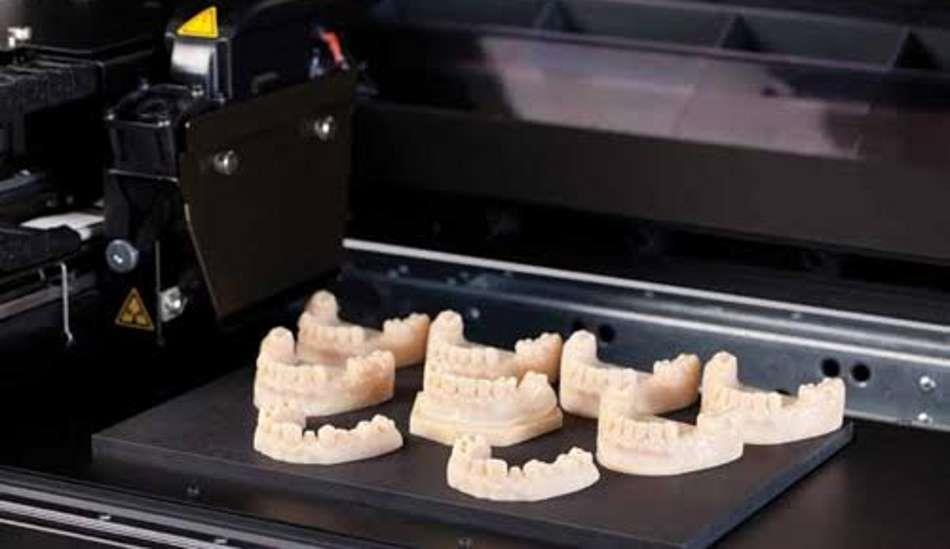
Examples of heavy duty resin can be found in a wide variety of industries. There are casting resins for jewelry making and 3D printing in the field of dentistry for making mouthguards, crowns and surgical guides. There are also high temperature resins that are suitable for a variety of industrial applications, and even resins that can produce rubber-like parts.
Let's take a look at the strongest resins available and find out how durable they are compared to other FDM 3D printing materials.
Cycle test in progress (Source: Afinko)
Let's start with a brief look at the mechanical property, which is closely related to the tensile strength of the material. Tensile strength is defined as the maximum stress a particular material can withstand when stretched before failure.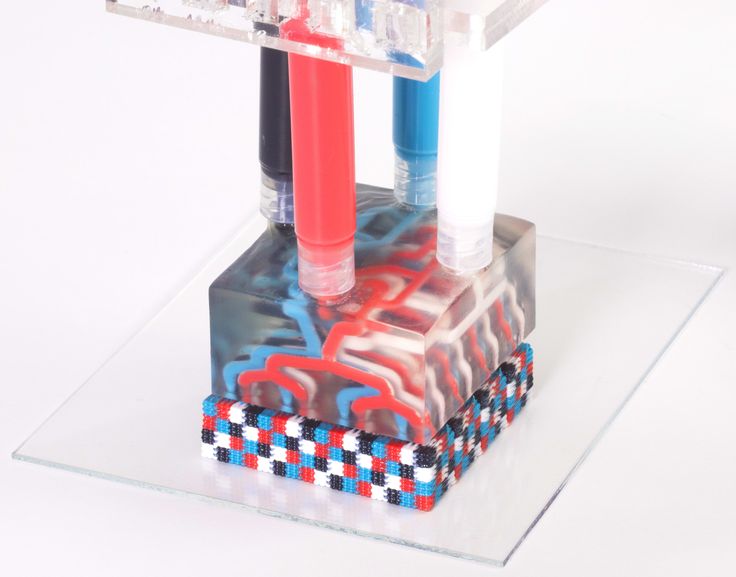
The higher the tensile strength, the stronger the material is considered.
Now about resins. Let's first compare standard 3D printing resins with resins sold as rigid, and then compare these stiffer resins with common FDM materials such as ABS, PLA, and PETG.
Standard and hard resins
Tough resins show double strength compared to standard resins (source: Lucas Carolo via All3dp)
with a standard resin, was a color UF-mol of ANYCUBIC because the Photon SLA printer is one of the most popular on the market.
It is clear from the graph above how much stronger the hard resins are compared to the standard. In fact, the three resins selected for this comparison—Formlabs Tough 2000, eSun Hard-Tough, and Siraya Tech "Blu"—show nearly double the tensile strength of Anycubic resin. (The Formlabs rigid resin line, including 2000, can only be used with the latest Formlabs printers.)
Just because a resin is strong does not mean that prints made with these resins will be twice as strong as when printed with standard resin. Other factors such as model design and print parameters also play an important role in the final strength of the product. However, comparing tensile strength is an easy way to determine which material is stronger.
But how do these tough resins stand up to other plastics produced by FDM 3D printers?
Siraya Blu had more strength than some FDM materials (Source: CNC Kitchen via YouTube) , who developed a test method in which a 3D printed hook is stretched to failure, simulating a tensile test.
Stefan constantly tests different materials with this method and the results are shown in the graph above. In a video where he tests Siraya Blu resin, Stefan found that Siraya's rigid resin was stronger than some FDM materials such as ABS and ASA, although not as strong as PLA and PETG.
SLA print (left) has the same strength regardless of orientation, but FDM print does not (right) (Source: Formlabs)
Although material properties largely determine the strength of a given print, there are other important factors that can affect mechanical performance.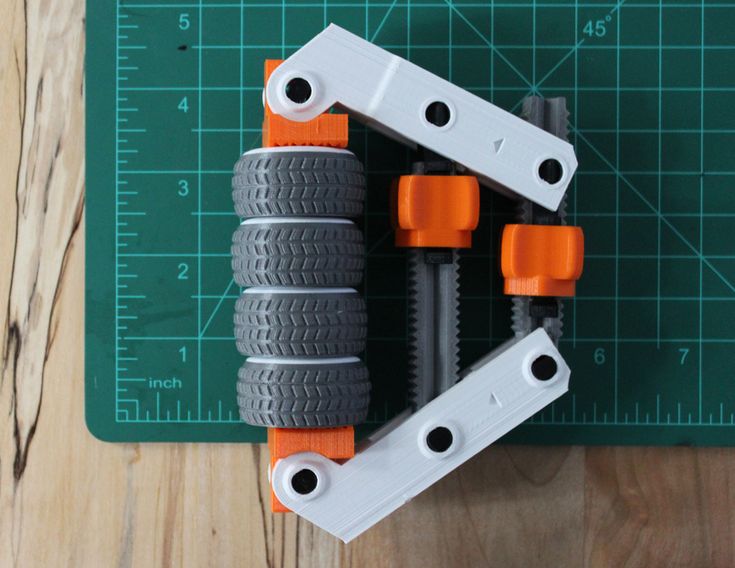
How a design is printed greatly affects its durability. For example, a certain component can be strengthened by distributing more material in places where stress will be concentrated. The freedom of design afforded by 3D printing means that there are often computational tools such as topology optimization that automate the process.
How a part is made also depends on how well it can withstand external influences. In the context of 3D printing, this is determined by the print settings determined during slicing. It is well known that the height of higher layers greatly affects the strength of FDM parts and this is also true for SLA prints. Most FDM slicers have multiple infill densities and patterns to reduce media and print time, however they are rare in SLA. However, the third-party ChiTuBox slicer includes these features, which provide the ability to increase toughness while optimizing material utilization.
Anisotropy is when a physical property of an object or material has a different value when measured in different directions.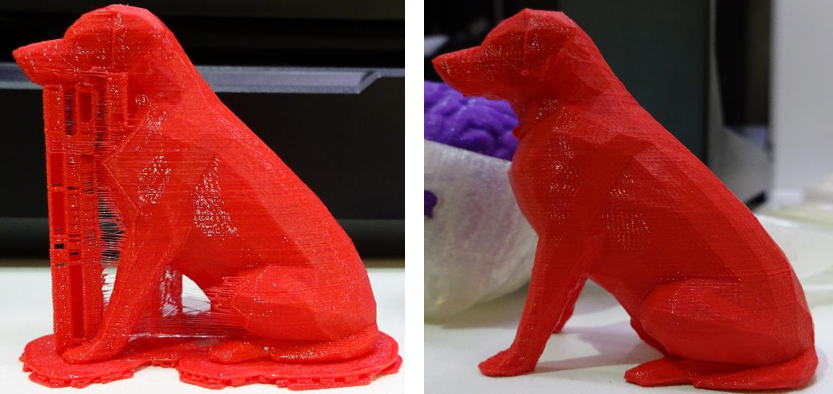 This happens in 3D printing when FDM printed objects display different material properties depending on the direction in which the part is assembled. More specifically, this happens when a lower adhesion is created between layers on the Z axis, which causes lower tensile strength compared to the X or Y axis. As you can see in the image above, when a weight is applied to an FDM print that is not oriented or not modeled for anisotropy, it may break. However, when it comes to SLA printing, the opposite is true because the resin is isotropic. During his testing with Siraya's Blu, Stefan confirmed this by experimentally showing that the parts are equally strong regardless of the assembly direction. Formlabs also came to the same conclusion, which is discussed in their article on the isotropic properties of SLA printing.
Orthesa on an ankle joint from a durable resin (Source: Animake)
Given everything that we learned, it becomes clear that when choosing the correct resin, 3D firsts of SLA can make imprints of stubborn like FDM.
To illustrate this point, here is an inspiring example of how resin prints strong, functional, and complex parts in the world of orthopedics.
Matej Vlašić's son Nick from Slovenia was born with cerebral palsy and could not stand or walk without assistance. Mr. Vlašić created special orthopedic ankle orthoses for Nick using SLA printing. About a year later, the final product design allowed Nick to walk for several days.
Like many other orthotic devices, AFOs must be strong enough to provide support while supporting the entire body weight during movement. Mr. Vlašić used Formlabs resin, which proved to be durable and comfortable even over long periods of use. Thanks to this success, Mr. Vlašić founded Animake. He and his team provide diagnostic treatments and 3D printed orthotics to help other children in need of special AFOs.
Source
Tags:
SLA 3D-printing, 3D-printed orthopedic devices, FDM resin, CHITOOX Skoton SLA, ANYCUBIS resin, FormLabs TUUGH.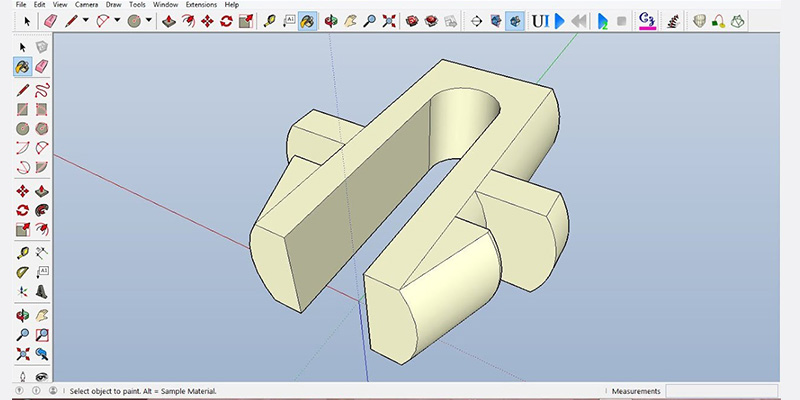 actual product size after 3D printing?
05/10/2018 in 3D Modeling, Expert Blog, Instructions
In this article, we will consider the most common reasons for changing the final dimensions of manufactured products printed on a 3D printer. This article will be helpful for designers and inventors to understand how to design 3D models for 3D printing.
First, let's introduce some terminology. All deviations that occur in the technological process of 3D printing and related technologies, we will call “error”. Consider what types of errors are and delve into each of them.
- Extrusion width error.
- Approximation of radii depending on layer height.
- 3D printer extruder positioning accuracy.
- Inertial beats.
- Uncontrolled material shrinkage.
- First layer error.
- Porosity.
- Matching accuracy after printing details, splitting into components.
- Support material tearing points.
- Thin wall roughness.
Extrusion width error.
Preparing a 3D model for 3D printing comes down to creating a so-called G-code. G-code is a computer code that sets the movement for all the electric motors of a 3D printer. These motors include those responsible for moving the extruder (the 3D printer's 3D printed head). The movements and movements of the extruder are given by the trajectory, which is determined by the line. In preparation for 3D printing, the model is split along the Z axis into layers, determined by the selected layer height. The trajectory of the extruder is built based on the dimensions of these layers, and in the case of the layer perimeter, it describes the outer surface of the model, averaged along the Z axis. In turn, the extruder repeats the trajectory laid down in the G-code, namely the center of the nozzle. Ultimately, when designing models, it is necessary to take into account the fact that the nozzle itself has a hole diameter through which plastic is extruded. In simple terms, the nozzle radius is added to the size of the 3D model. When choosing a 3D printer, in terms of extrusion width error, the accuracy of the part will be higher on the one with a smaller diameter nozzle. And when designing three-dimensional models for 3D printing, it is necessary to lay a margin for model widening. I want to note that in other 3D printing technologies that use a laser or an illumination device, the width of the outer perimeter line depends on the focus, that is, on the thickness of the beam. As a rule, these parameters can be clarified with the manufacturer of the 3D printer or with Studia3D specialists.
Let's see how it works on the example of a 3D model that has a hole.
The figure shows the 3D model, rendering of the prepared G-code and the trajectory of the center of the extruder nozzle for the 7th layer of 3D printing. Select the perimeters of the holes and overlay the actual extrusion width on the trajectory (Highlighted in light green).
As you can see, the hole diameter is smaller. How much? On the nozzle radius on one side + the nozzle radius on the other. That is, when designing a hole, I need to lay a gap equal to the width of the nozzle. The same goes for all other cars. The smaller the nozzle size, the closer to the nominal dimensions the part will be. At the same time, printing with a nozzle of a smaller diameter will cost more. This is due to performance. Through a larger nozzle, more plastic comes out per unit time, which affects the speed of printing. The operating time of the printer, as well as the amount of material, affects the cost of obtaining the product.
Approximation of radii depending on layer height.
The specified layer height directly affects the accuracy of 3D printing. This is clearly expressed on the radii in the sections of the model along the vertical. Consider the part from the previous paragraph, positioning it on the edge in the 3D printer chamber.
As you can see in the figure, the quality of the hole depends on the selected layer height. The lower the layer height, the better the detail. In this case, it is worth considering the time of 3D printing. As the layer height increases, the print time decreases by reducing the total length of the trajectory described by the extruder. Accordingly, the price of the part is reduced, because. The operating time of a 3D printer directly affects the cost of 3D printing.
3D printer extruder positioning accuracy.
This parameter determines the accuracy of repetition by the center of the extruder nozzle of the trajectory specified in the G-code. In other words, this parameter characterizes the maximum possible deviation of the center of the extruder nozzle from the trajectory during printing. This parameter is specified by the 3D printer manufacturer for a specific printer model. But it should be noted that this parameter corresponds to the manufacturer's recommended 3D printing speed. In turn, Studia3D specialists, when preparing the G-code, reduce the influence of this parameter to a minimum, but do not exclude it at all. In addition to speed, this parameter is affected by the rigidity of the 3D printer and the extruder drive system.
Inertial beats.
As a special case of positioning accuracy, we single out inertial beats that occur during 3D printing as a separate point. This parameter is affected by the same positions that were described in the previous paragraph, however, this error is reduced in a different way. This can be understood by studying the moment at which the influence of this error on the print quality arises - a sharp change in the direction of the extruder's motion vector. When the electric motors, together with the drive system, abruptly change the direction of the trajectory, the print head, which has some characteristic weight, continues to move in the previous direction by inertia. As a result, dynamic damped oscillations occur, which negatively reflects the surface. The influence of this error is reduced in two ways. Decreasing the speed of printing the outer perimeter, which we use when printing all models without exception and is laid at the stage of preparing the G-code. The second method is laid down when designing the model: if possible, it is necessary to add mates to acute-angled faces in the model, which, when the part is positioned on the 3D printer platform, in sections parallel to the XY plane, will give sharp corners in the perimeters. As practice shows, a pairing of 2 mm is considered sufficient. We show with an example.
As you can see in the figure, by rounding the corner (by entering a fillet on the face), we minimized the influence of this error.
Uncontrolled material shrinkage.
This parameter has its effect, as a rule, in the case of 3D printing of large objects. Large - this means more than 30% of the maximum size of the 3D printer camera along any of the coordinate axes. Most often, this error manifests itself in interlayer adhesion and a decrease in dimensions in planes parallel to XY.
Our observations have shown an approximate shrinkage for some of the most common materials in relation to cross-sectional dimensions parallel to the coordinate axes.
ABS: XY ≈ 5%; Z ≈ 1%
PLA: XY ≈ 2%; Z ≈ 0.5%
Polypropylene: XY ≈ 7%; by Z ≈ 10%
First layer error.
The G-code preparation program considers the 3D printer platform to be absolutely parallel to the XY plane, however, in practice, platform calibration also has its own error. In Studia3D, the norm for the difference in thickness of the first layer is:
Δ=0.1 mm from a layer height of 0.2 mm
Δ=0.05 mm from a layer height of up to 0.2 mm
Porosity.
Porosity in the case of 3D printing is usually discussed only in the case of the percentage of filling of internal floors up to 100%. However, when printing with 100% infill, the porosity does not go anywhere.
This can be clearly seen by examining the gap in the workpiece through a microscope to determine the strength characteristics.
If the model is not included in the printable area of the 3D printer, it is split into components. In the best case, grooves are provided for the most accurate assembly. You need to understand that the assembly of the model from the components also affects the accuracy of the overall design. This accuracy is very difficult to assess. We accept deviations from the given model of the order of + - 2%. To fix the joint, we almost never use glue, but use a special chemical solution. Ultimately, the parts are not glued, but soldered, only not by thermal melting of the material, but by chemical. As for the adhesion strength: it is higher than the adhesion between layers. In simple terms, if you throw such a part against a wall, it will break, but first of all not at the joints.
Locations where support material has been torn off.
This item applies to mechanically removed supports. Since the material of the support and the material of the main part consist of the same material, they are simply soldered together under the influence of temperature. When such supports are torn off, traces, threads, chips, etc. remain.
To minimize this error, it is necessary to order 3D printing with soluble supports. Due to the expensive soluble support material, the cost of 3D printing also increases significantly. Accuracy, like beauty, requires sacrifice.
Thin wall roughness.
When preparing a G-code in standard form, the program strives to make your part as strong as possible. This is bad only in one case, when the product has thin-walled elements. When constructing a trajectory, we set the minimum wall thickness inside which the infill will be built. As a rule, this thickness is equal to the 3rd nozzle diameter. But in cases where there are places where the thickness is less than the thickness of the outer wall, when constructing the trajectory, the program will draw one perimeter on each side, and fill the void between them. Due to the fact that filling will occur at a distance of 1 to 2 nozzle diameters, the extruder will begin to vibrate, inertial beat will begin (see point inertial runout ). The more this distance is reduced to 1 nozzle diameter, the faster the near-resonant frequency occurs. All this negatively affects the appearance of this wall, since the vibration is transmitted to the nearby material. Let's look clearly.
To minimize this error, it is necessary to design the part in such a way that the wall thickness is a multiple of the nozzle diameter. Face difference!
Conclusion.
In conclusion, I want to note that when designing three-dimensional models for 3D printing, it is necessary to take into account the totality of all factors affecting the accuracy of products, and not consider any particular one. The Studia3D team works every day to ensure that the 3D printing process is completely predictable and controllable, however, like any kind of production, 3D printing has its own precision. There are no ideal sizes. Therefore, we are very pleased if, in addition to three-dimensional models, a working drawing of the product is provided, where all fits, tolerances, roughness, etc. are indicated. Only in this case we can choose the technology, properly prepare the G-code and guarantee the quality laid down by the designer.